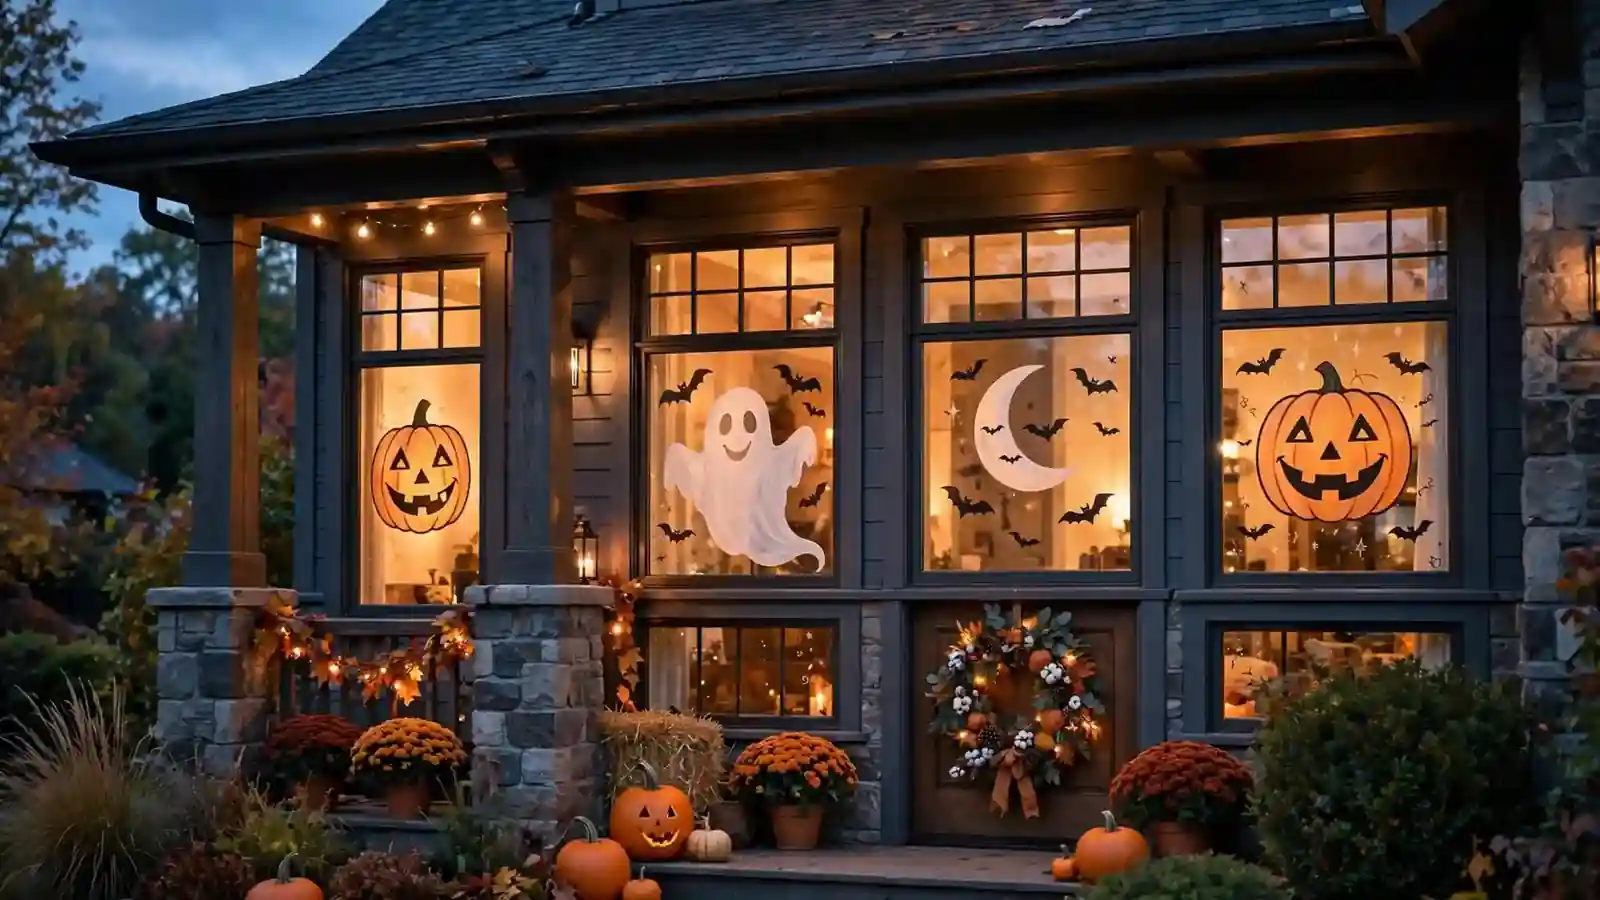
22 Halloween Window Painting Ideas for Spooky Seasonal Fun
A plain window becomes the best canvas in the house each October, and halloween window painting turns that glass into a glowing seasonal display your whole street will notice. Kids love watching the designs appear, neighbors slow down to look, and the whole project costs less than a bag of candy. You do not need artistic training to pull this off. Simple shapes, bold outlines, and washable paint do all the heavy lifting.
This guide walks you through 22 playful designs, from friendly ghosts to starry night skies, each one broken into simple steps anyone can follow. Most projects take under an hour and use supplies you already own or can grab cheaply at a craft store. If you are decorating beyond the glass, these halloween door decor ideas pair perfectly with painted windows for a coordinated entrance. Grab your brushes and let us turn those windows into something magical.
Spooky Silhouette Cats
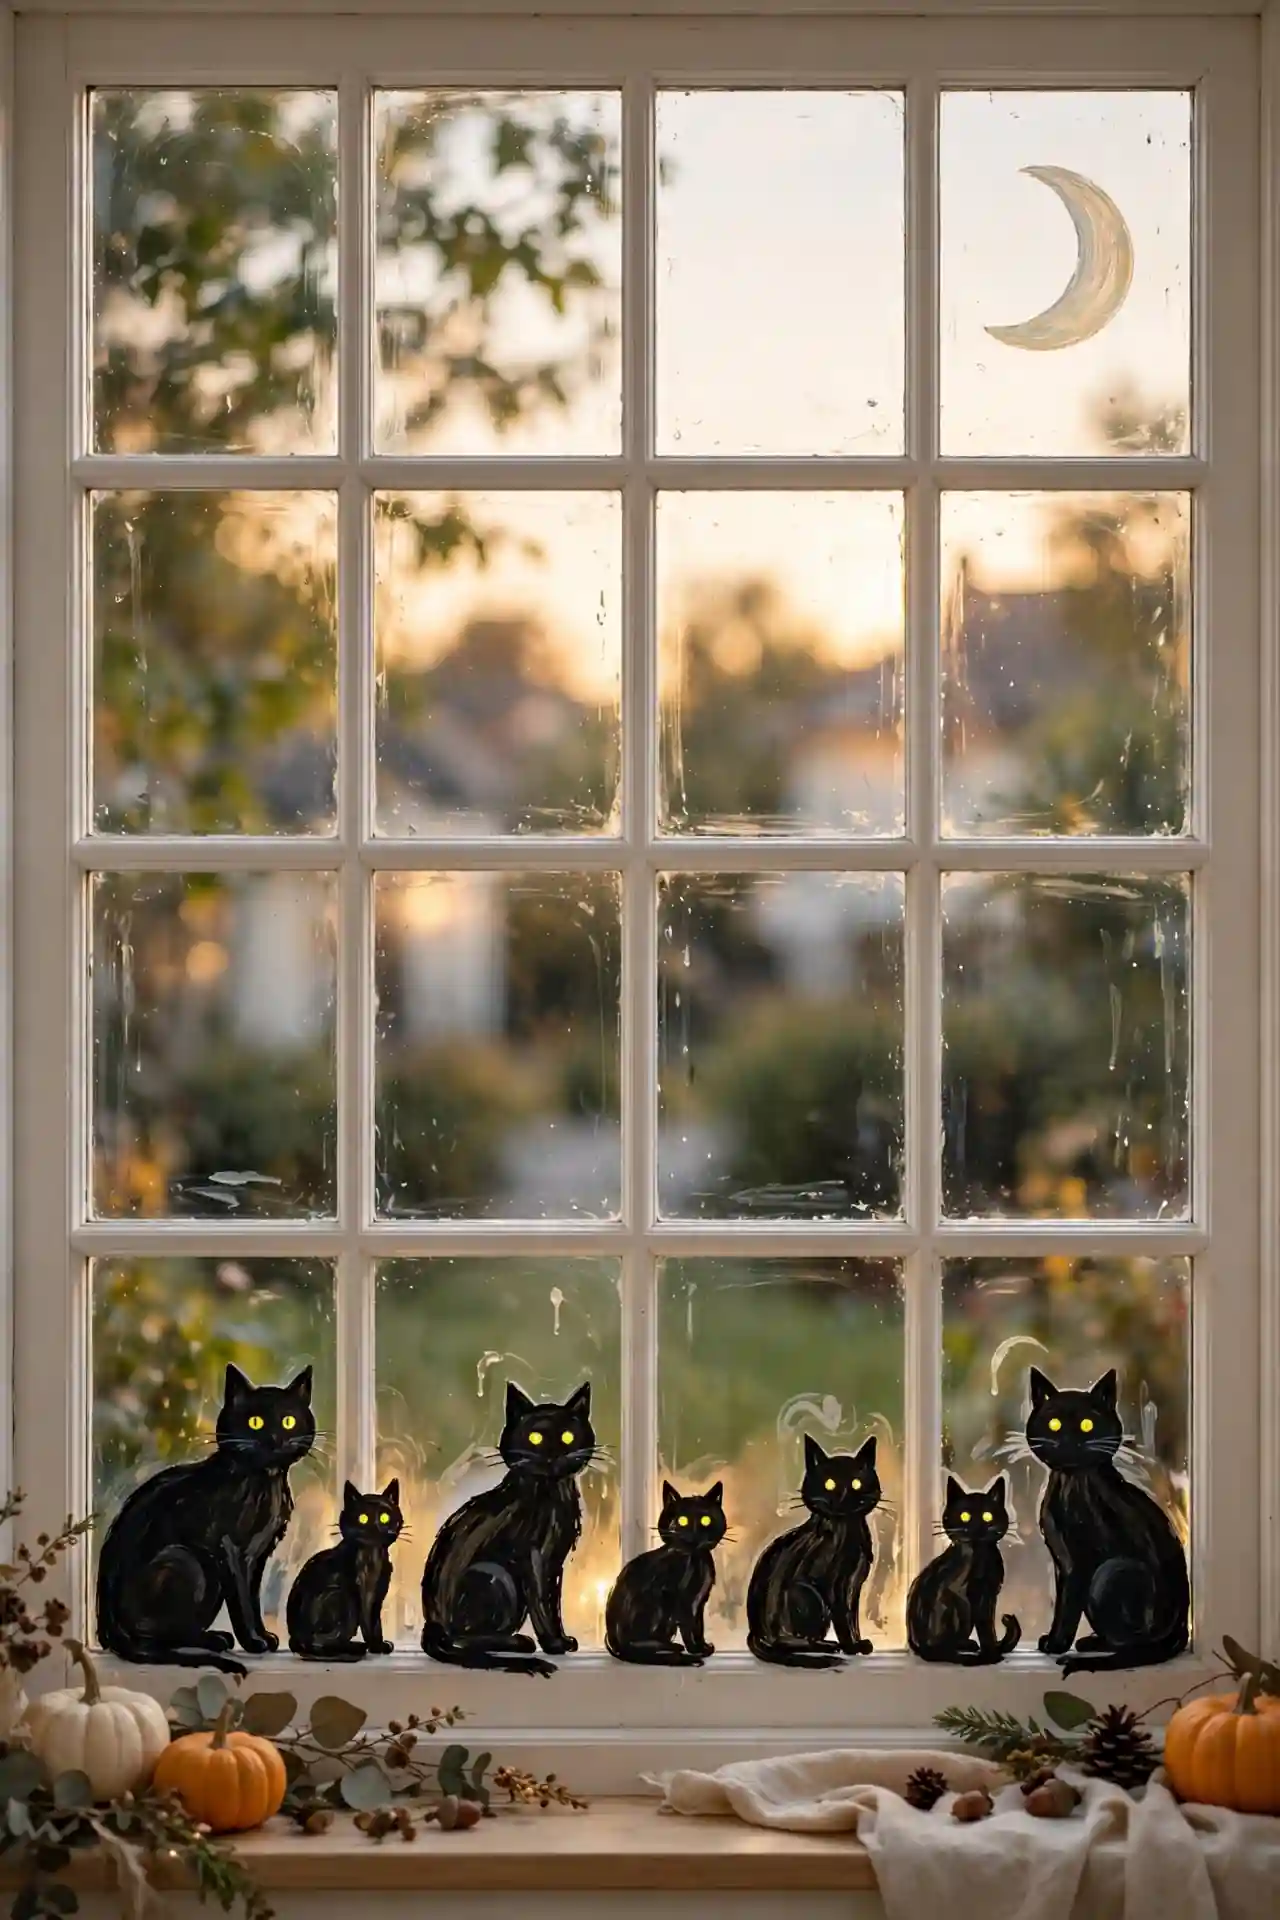
Black cat silhouettes crouched along the bottom of your window create instant Halloween mood with almost zero effort. Cut the shapes from black construction paper or paint them freehand with a wide brush. Arch the backs, curl the tails, and add pointed ears for that classic spooky profile. Place three to five cats at different sizes along the sill line.
Add glowing yellow eyes with small dabs of yellow paint once the black dries completely. From the street at night, backlit windows make the cats look like they are watching passersby. I have seen this work well in many cases where renters want big impact without damaging glass. The paint washes off with warm soapy water.
Ghostly Window Decals
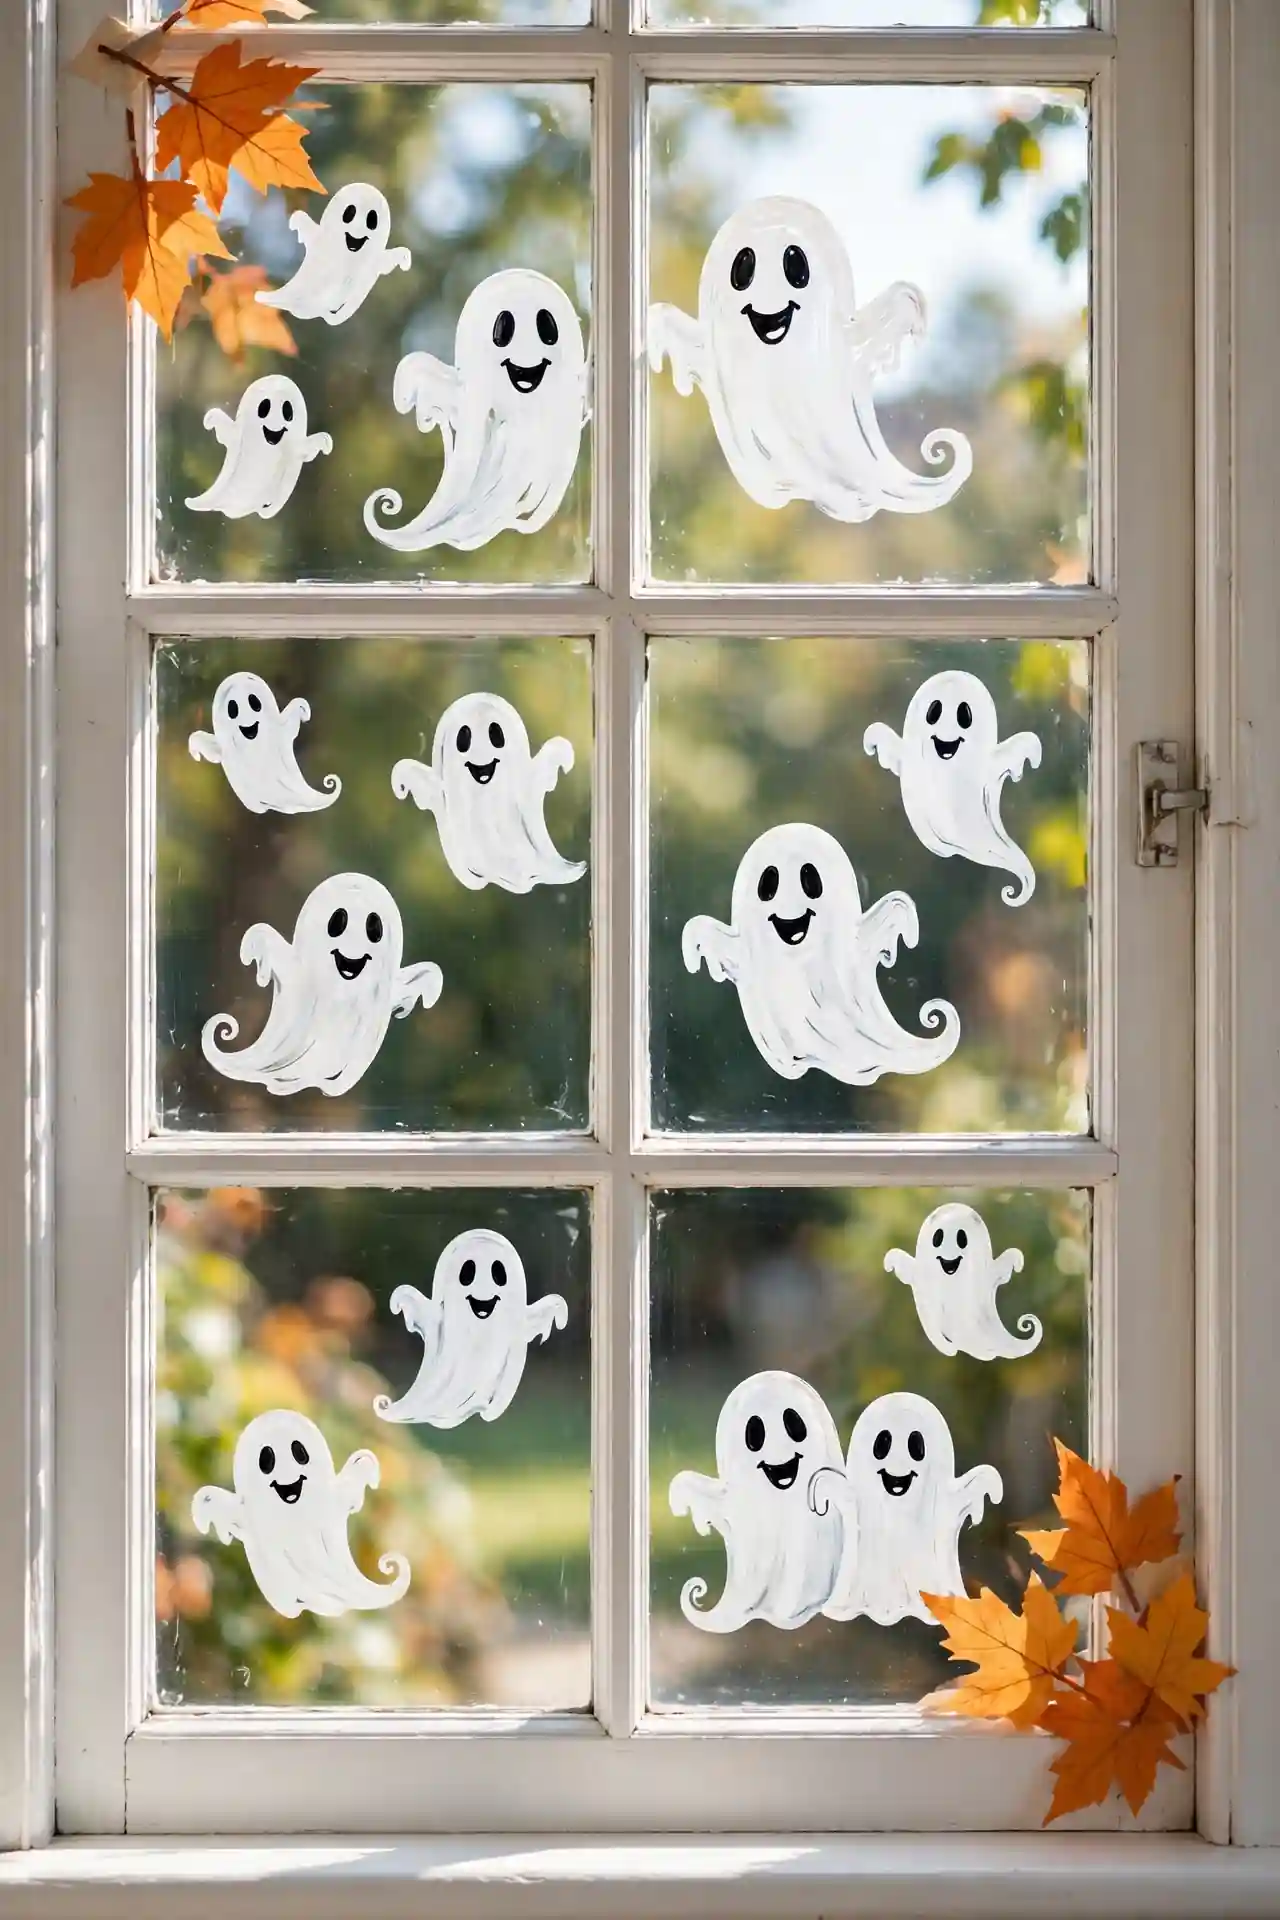
- Sponge white ghost bodies onto the glass with a round craft sponge.
- Dot on black oval eyes and an open mouth for a friendly look.
- Mix tiny ghosts with one large centerpiece ghost for variety.
- Wait twenty minutes before detailing so the white paint sets.
These floating ghosts look adorable during the day and slightly spooky at night when the porch light hits them. Kids can paint their own ghosts alongside you, making this a perfect family afternoon project. Keep a damp cloth nearby for quick fixes. The washable paint lifts off easily in November with just warm water.
Pumpkin Patch Scene
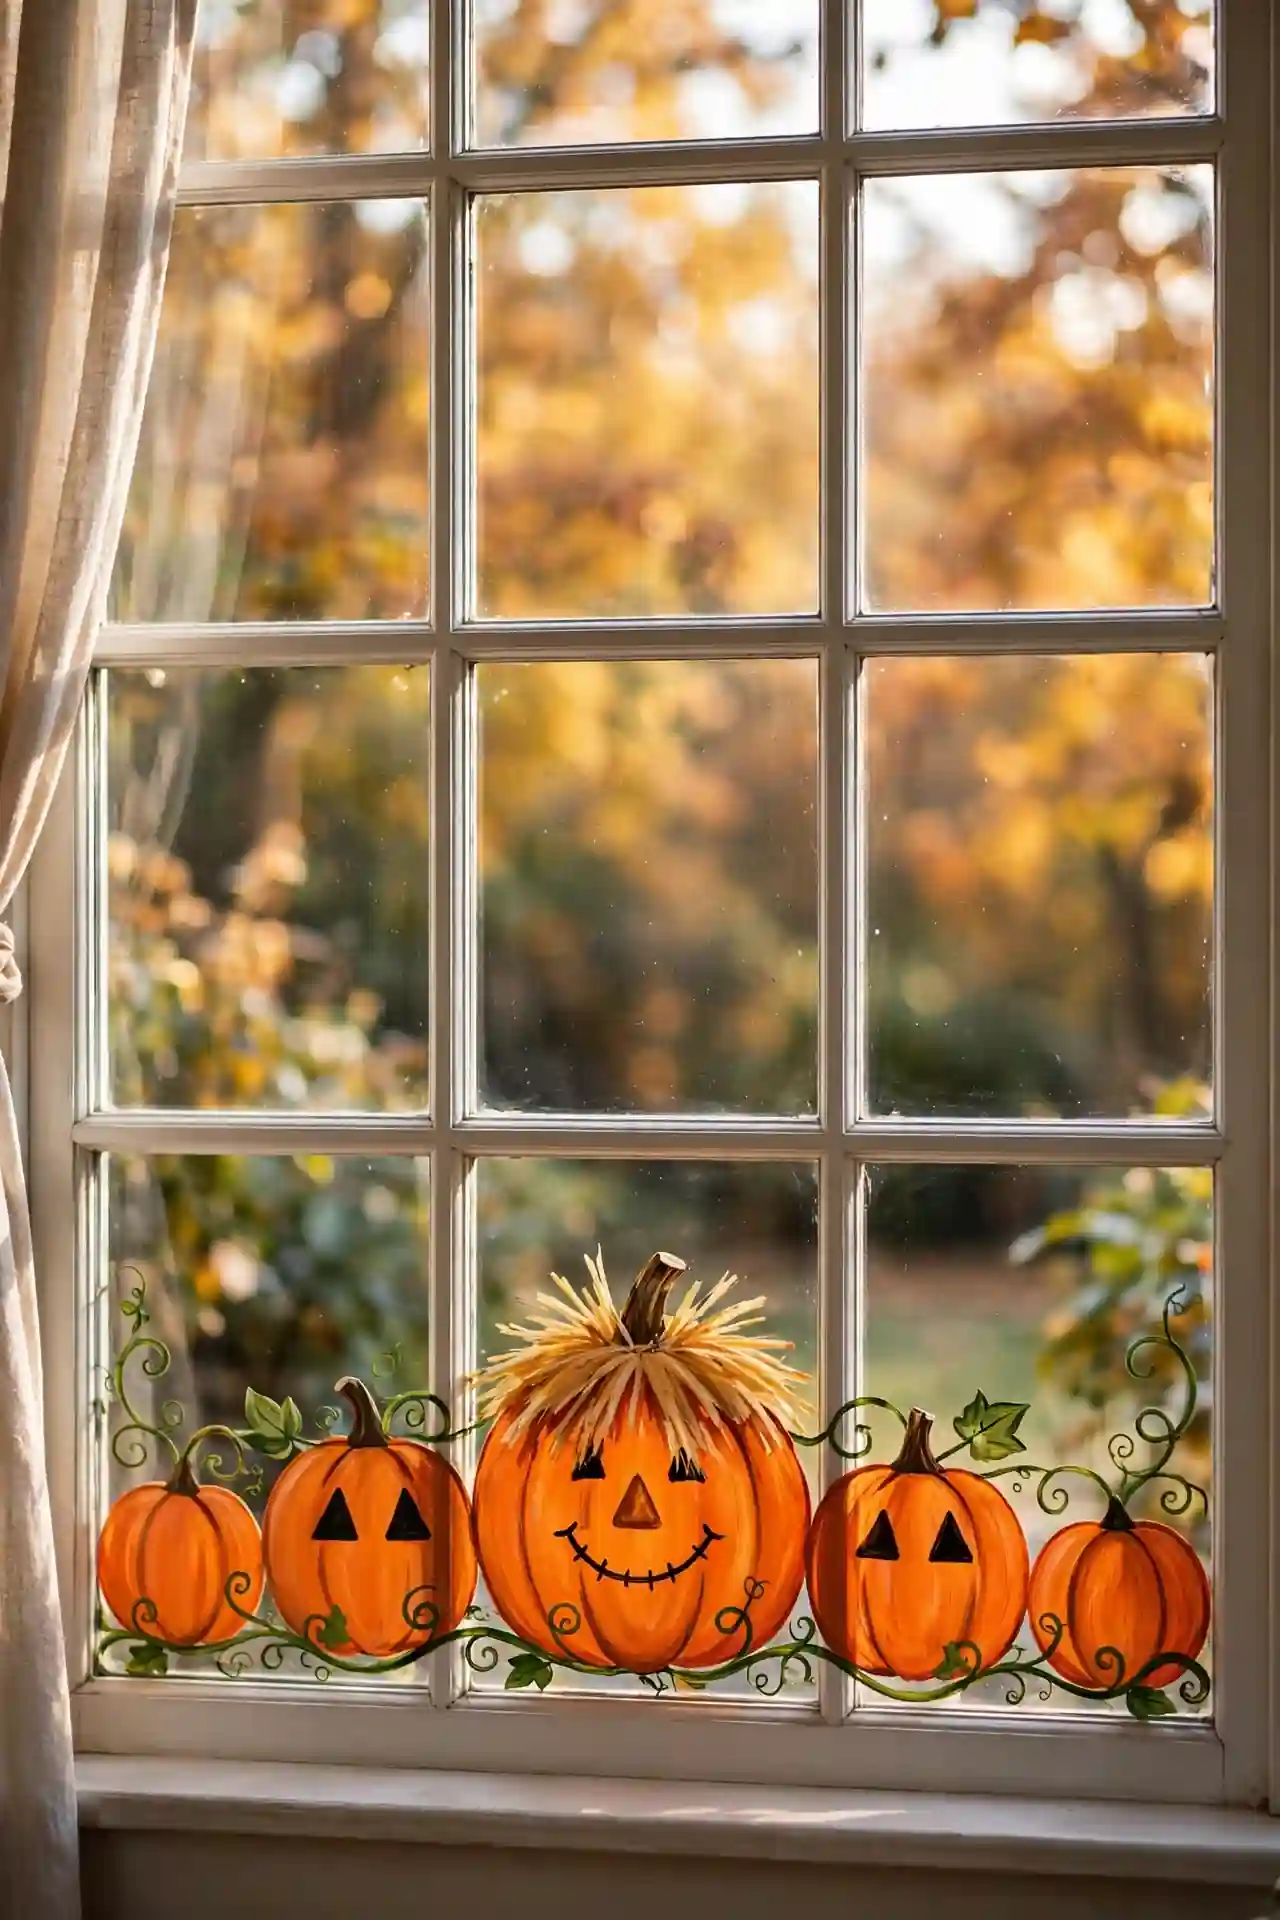
Quick Tip: Sketch your pumpkin layout on paper first so the spacing looks natural on the glass. Draw light pencil guides directly on the window with a washable marker before painting. This keeps your pumpkins evenly spaced and stops the scene from crowding one corner.
A pumpkin patch scene turns a wide picture window into a harvest celebration. Paint round orange pumpkins in a row along the bottom, adding green curly vines that connect them. Tuck a scarecrow face on the largest pumpkin for extra charm. This design photographs beautifully for holiday cards. Use orange, green, and brown washable paints, and finish with black triangle eyes on two or three pumpkins for a jack-o-lantern twist.
Bat Swarm Border
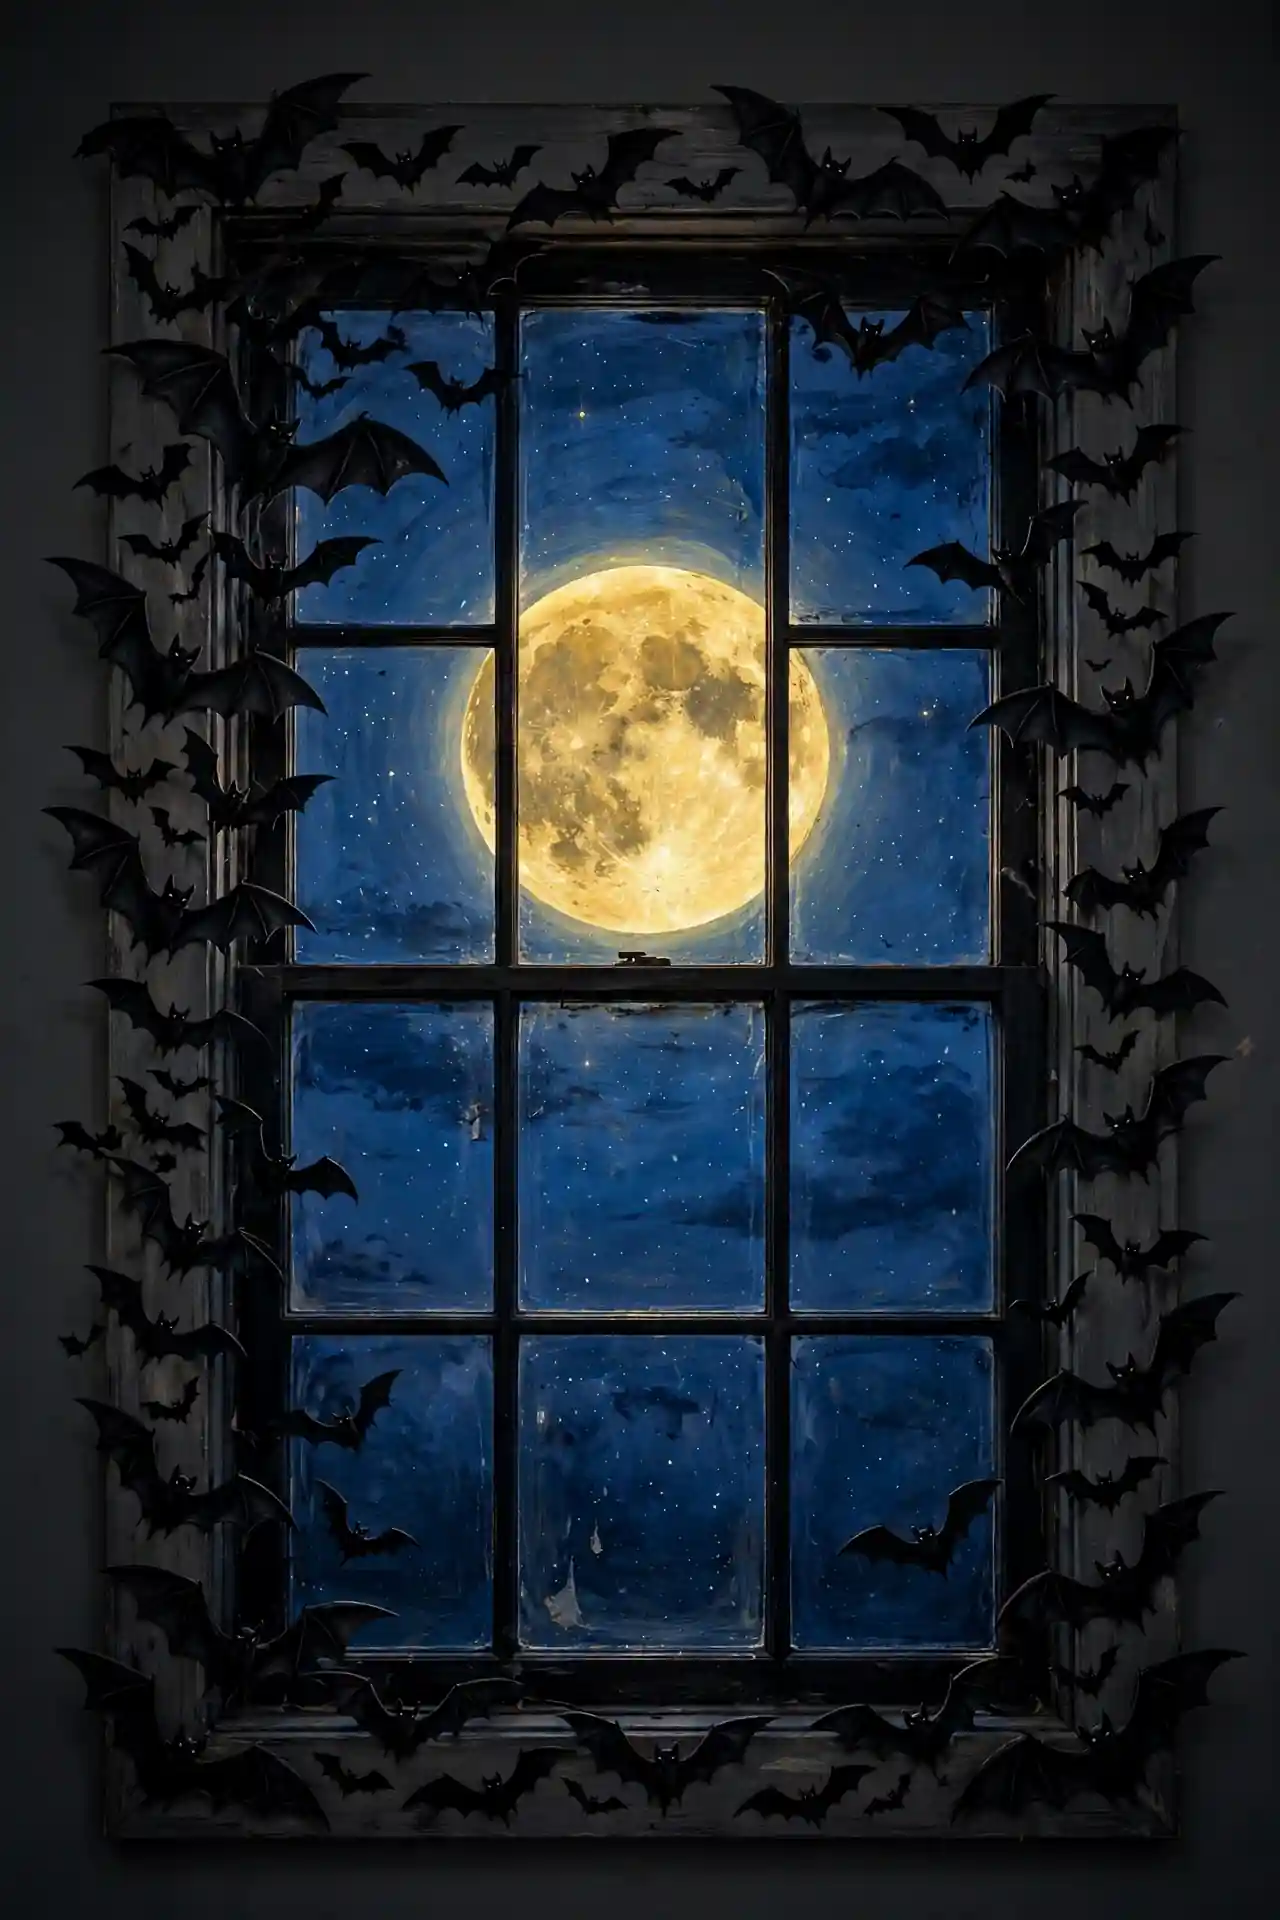
BEFORE: Bare window edges look plain and forgettable, especially on big street-facing glass. Without a border, your painted designs float awkwardly with no frame to hold them together.
AFTER: A swirling border of black bats swooping around the edges gives the whole window a finished, dramatic frame. The bats draw the eye inward toward your center design.
Cut a simple bat stencil from cardboard and trace it repeatedly along the window border with black washable paint. Overlap some bats and vary their sizes for a natural swooping effect. Start at the top corners and work downward on both sides. In my experience, a border like this makes even simple center designs look professional and complete.
Haunted House Corner
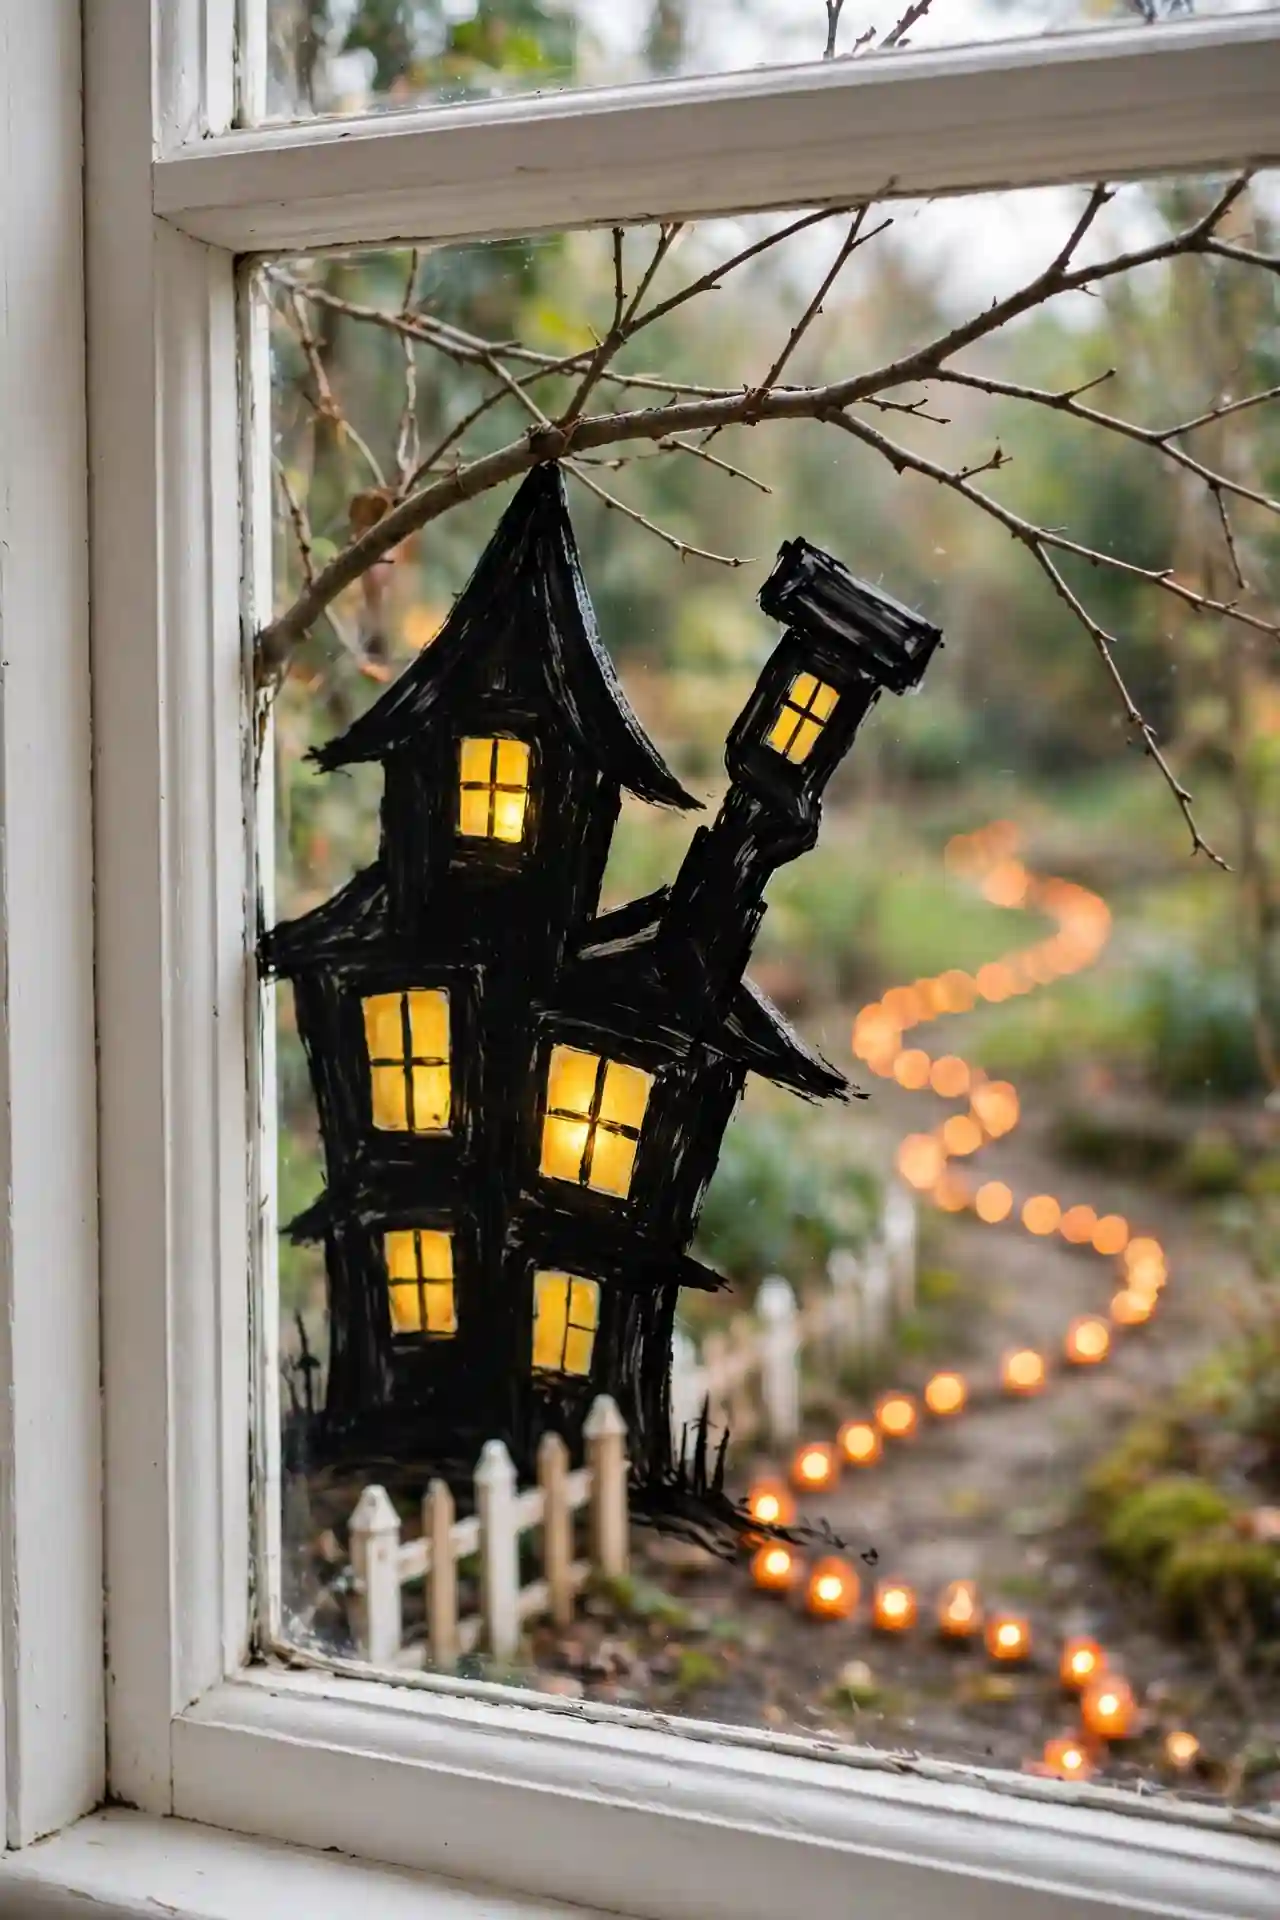
- Paint a crooked black house silhouette in one bottom corner of the window.
- Add glowing yellow windows and a tilted chimney with gray washable paint.
- Dot a winding path of small orange dots leading up to the crooked door.
- Finish with a bare tree branch stretching over the roofline.
This corner vignette works beautifully on smaller windows where a full scene would feel crowded. The crooked lines are forgiving, so wobbly brushwork actually improves the haunted effect. Let kids add the glowing windows with a sponge. Once the paint dries, the silhouette looks striking against daylight and mysterious when backlit at night.
Witch Flight Path
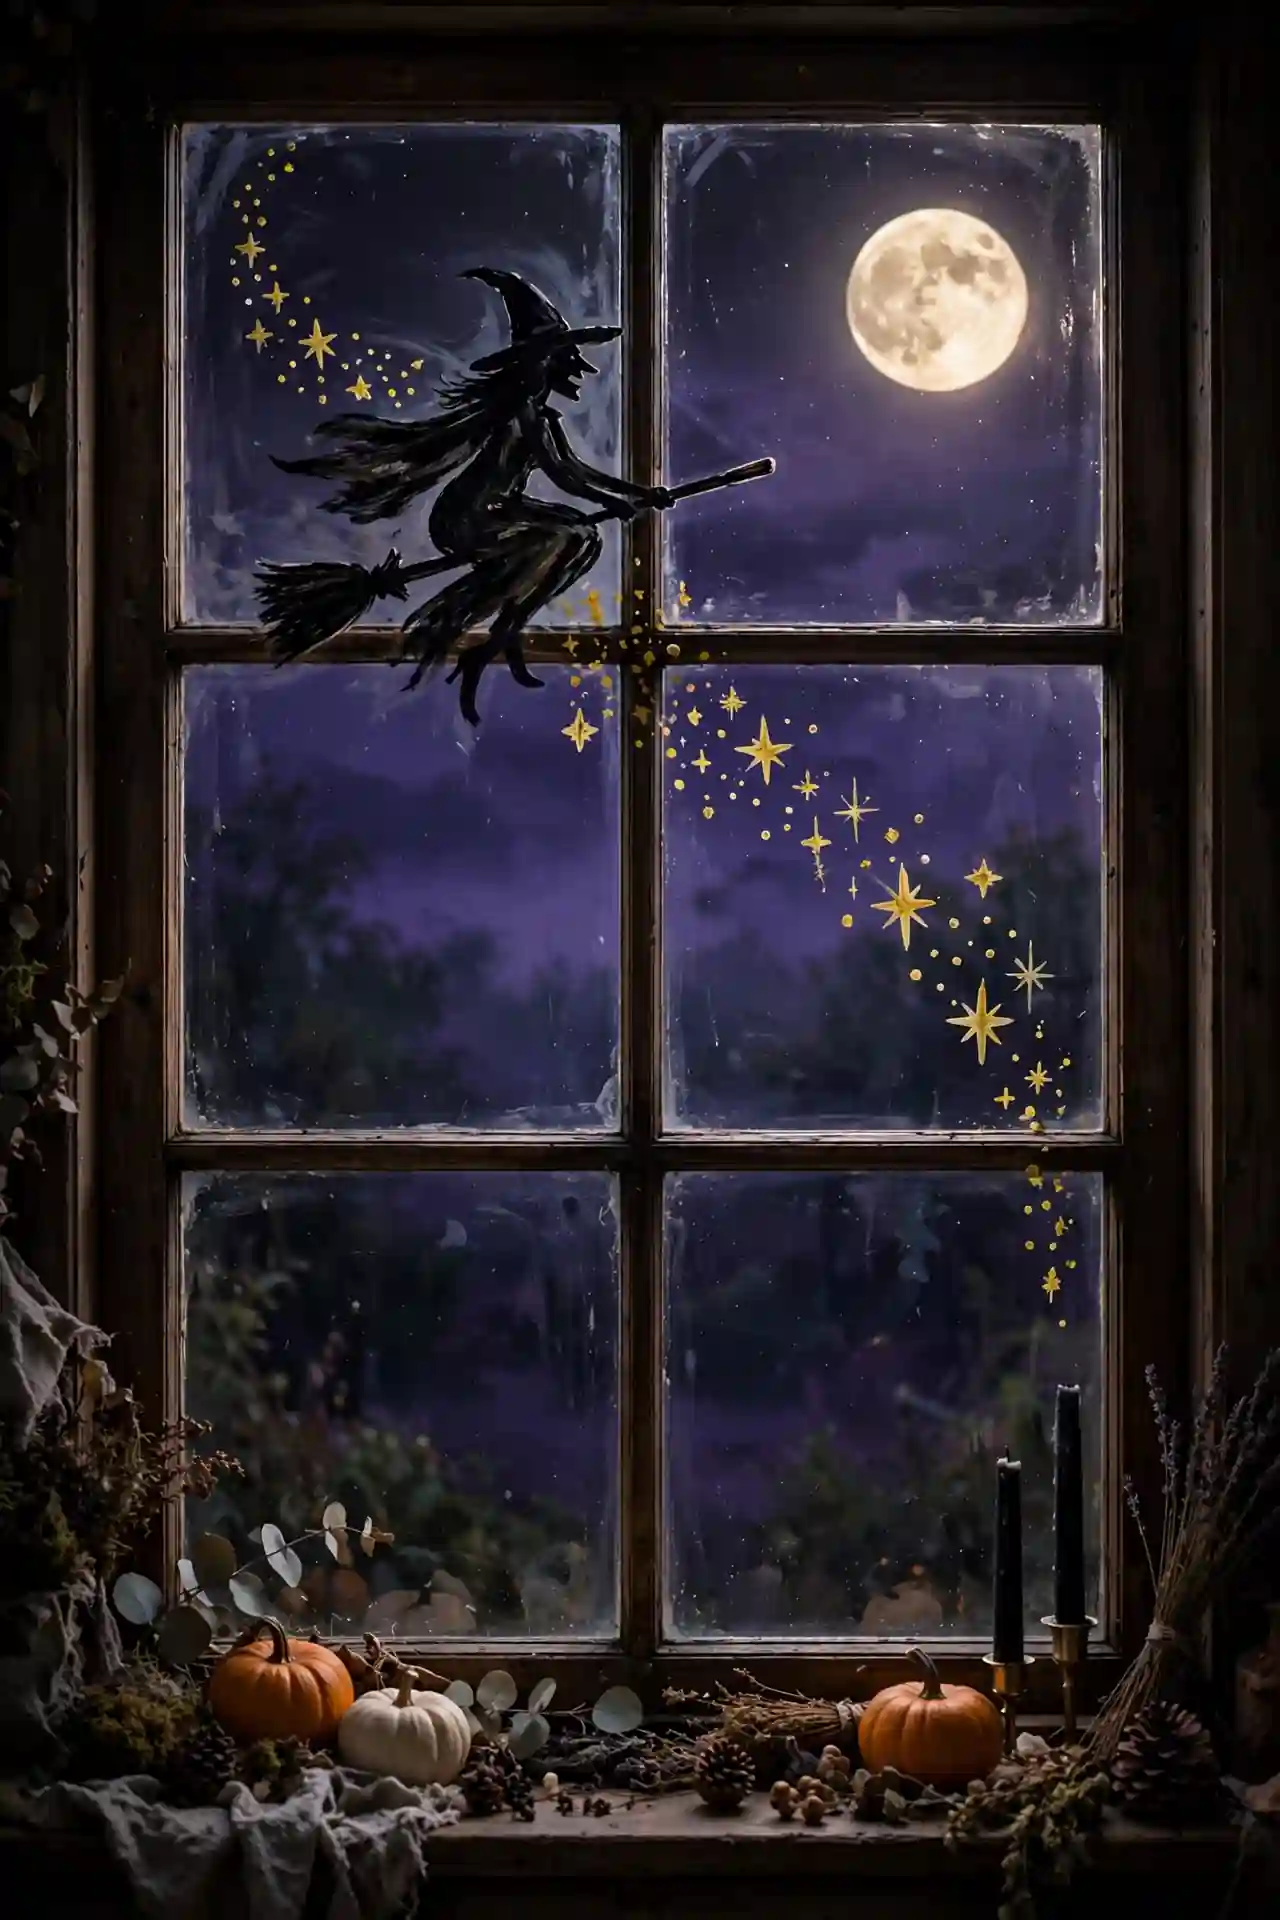
A witch silhouette soaring across the glass with a flowing cape brings motion and magic to your window. Paint the profile in solid black, adding a pointed hat and a broomstick angled beneath her. Trail small stars behind the broom to suggest flight. Position her high in one corner so she looks like she is gliding past the moon.
Freehand vs. stencil: freehand witches look more dynamic and unique, while stencils give cleaner edges for beginners. Freehand suits confident painters who enjoy organic shapes. Stencils work better for symmetrical hats and brooms. Try freehand first on paper, then choose the method that felt easier before touching the glass.
Crescent Moon Glow
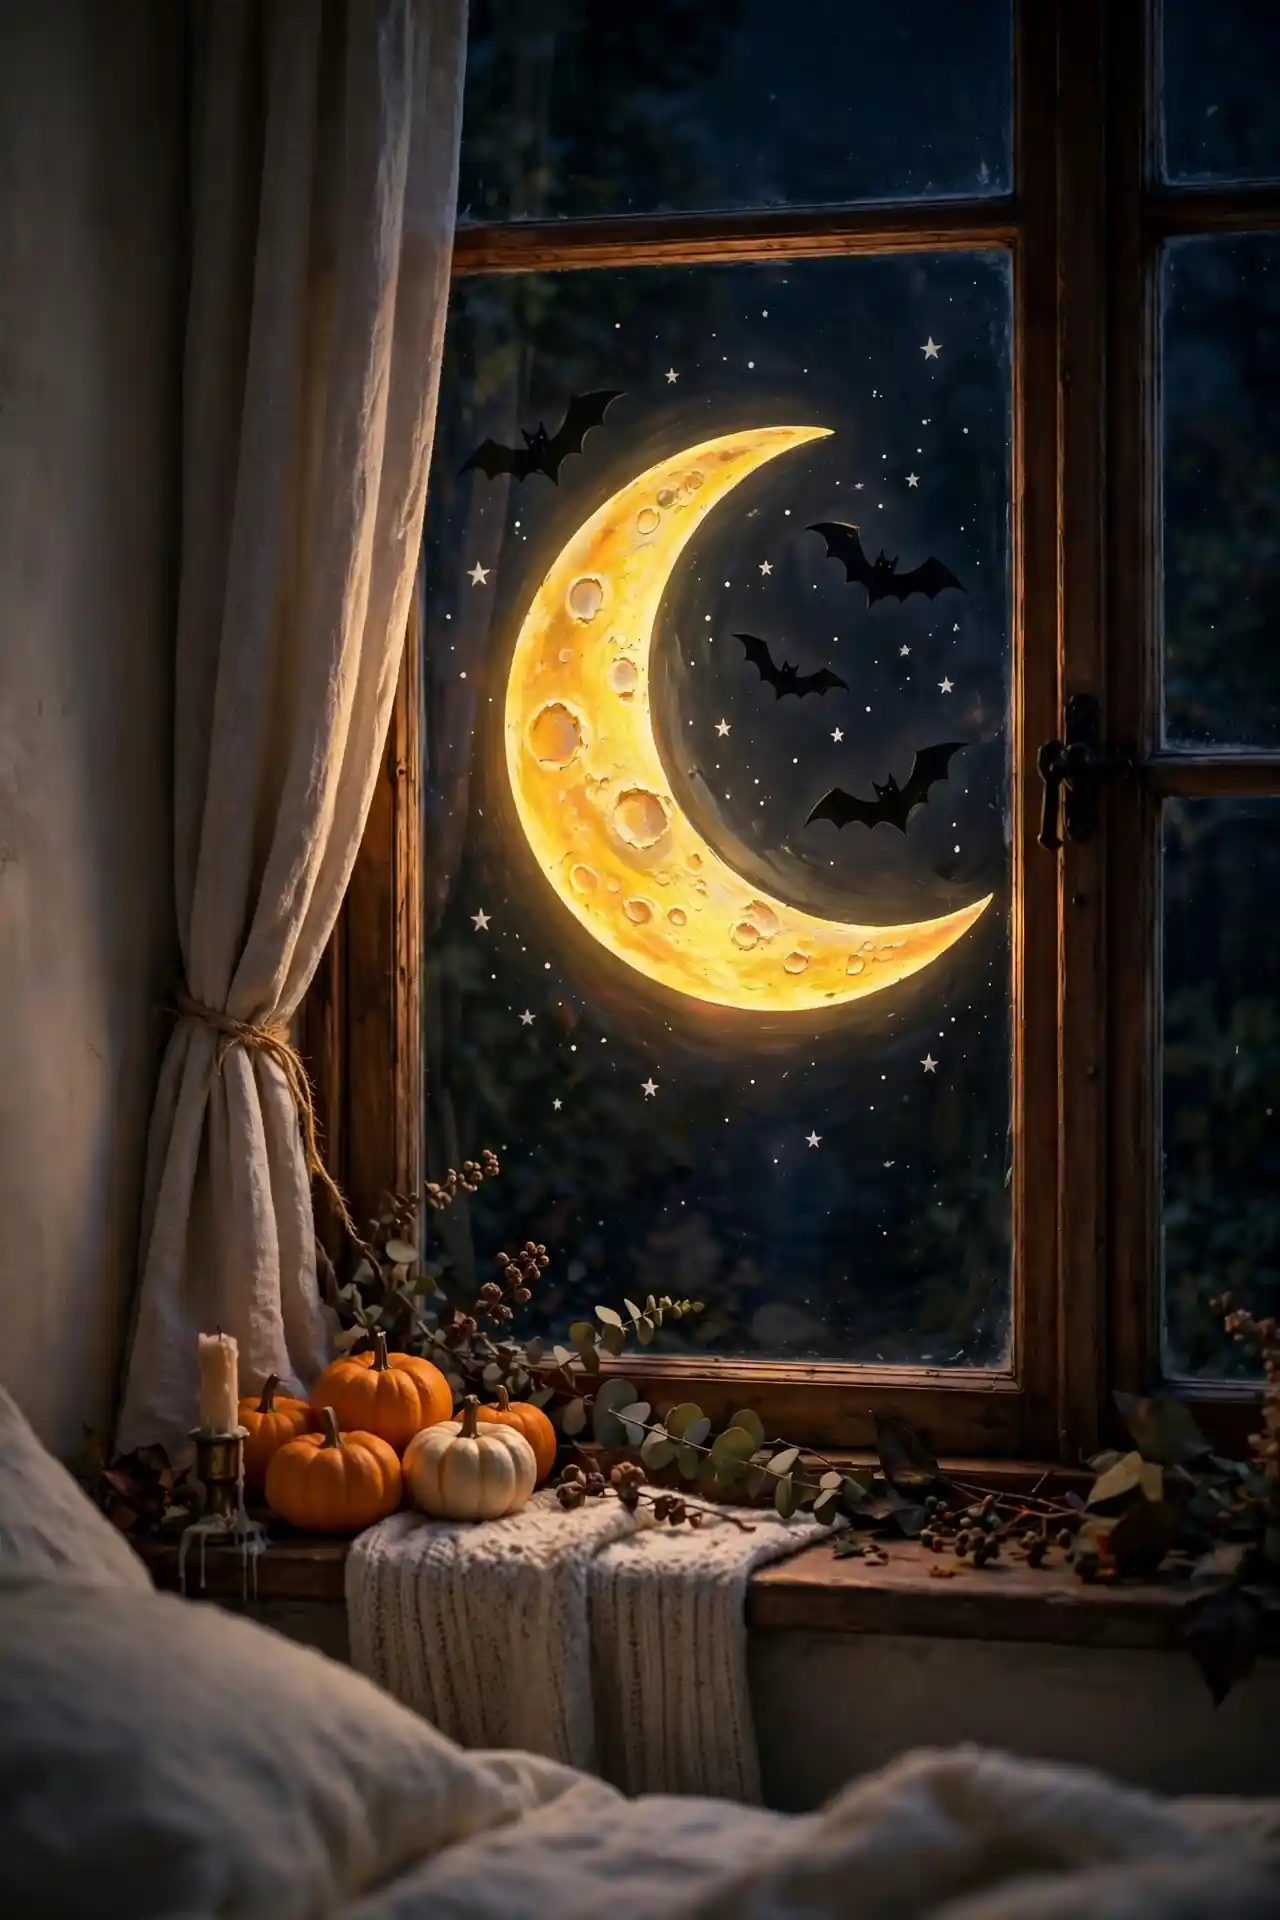
DO: Paint the crescent large enough to anchor the whole design. Blend yellow into soft orange at the edges for a glowing effect. Add tiny craters with a dry brush for texture.
DON’T: Don’t make the moon too small or it will disappear against the glass. Don’t use pure white since it looks flat. Don’t forget to let each layer dry before adding glow.
A glowing crescent moon gives every Halloween window a dreamy focal point that works with any theme. Layer it behind bats, witches, or bare branches for instant depth. The soft glow effect comes from blending, not from fancy supplies. I have noticed that moons painted slightly off-center look more artistic than perfectly centered ones.
Spider Web Lattice
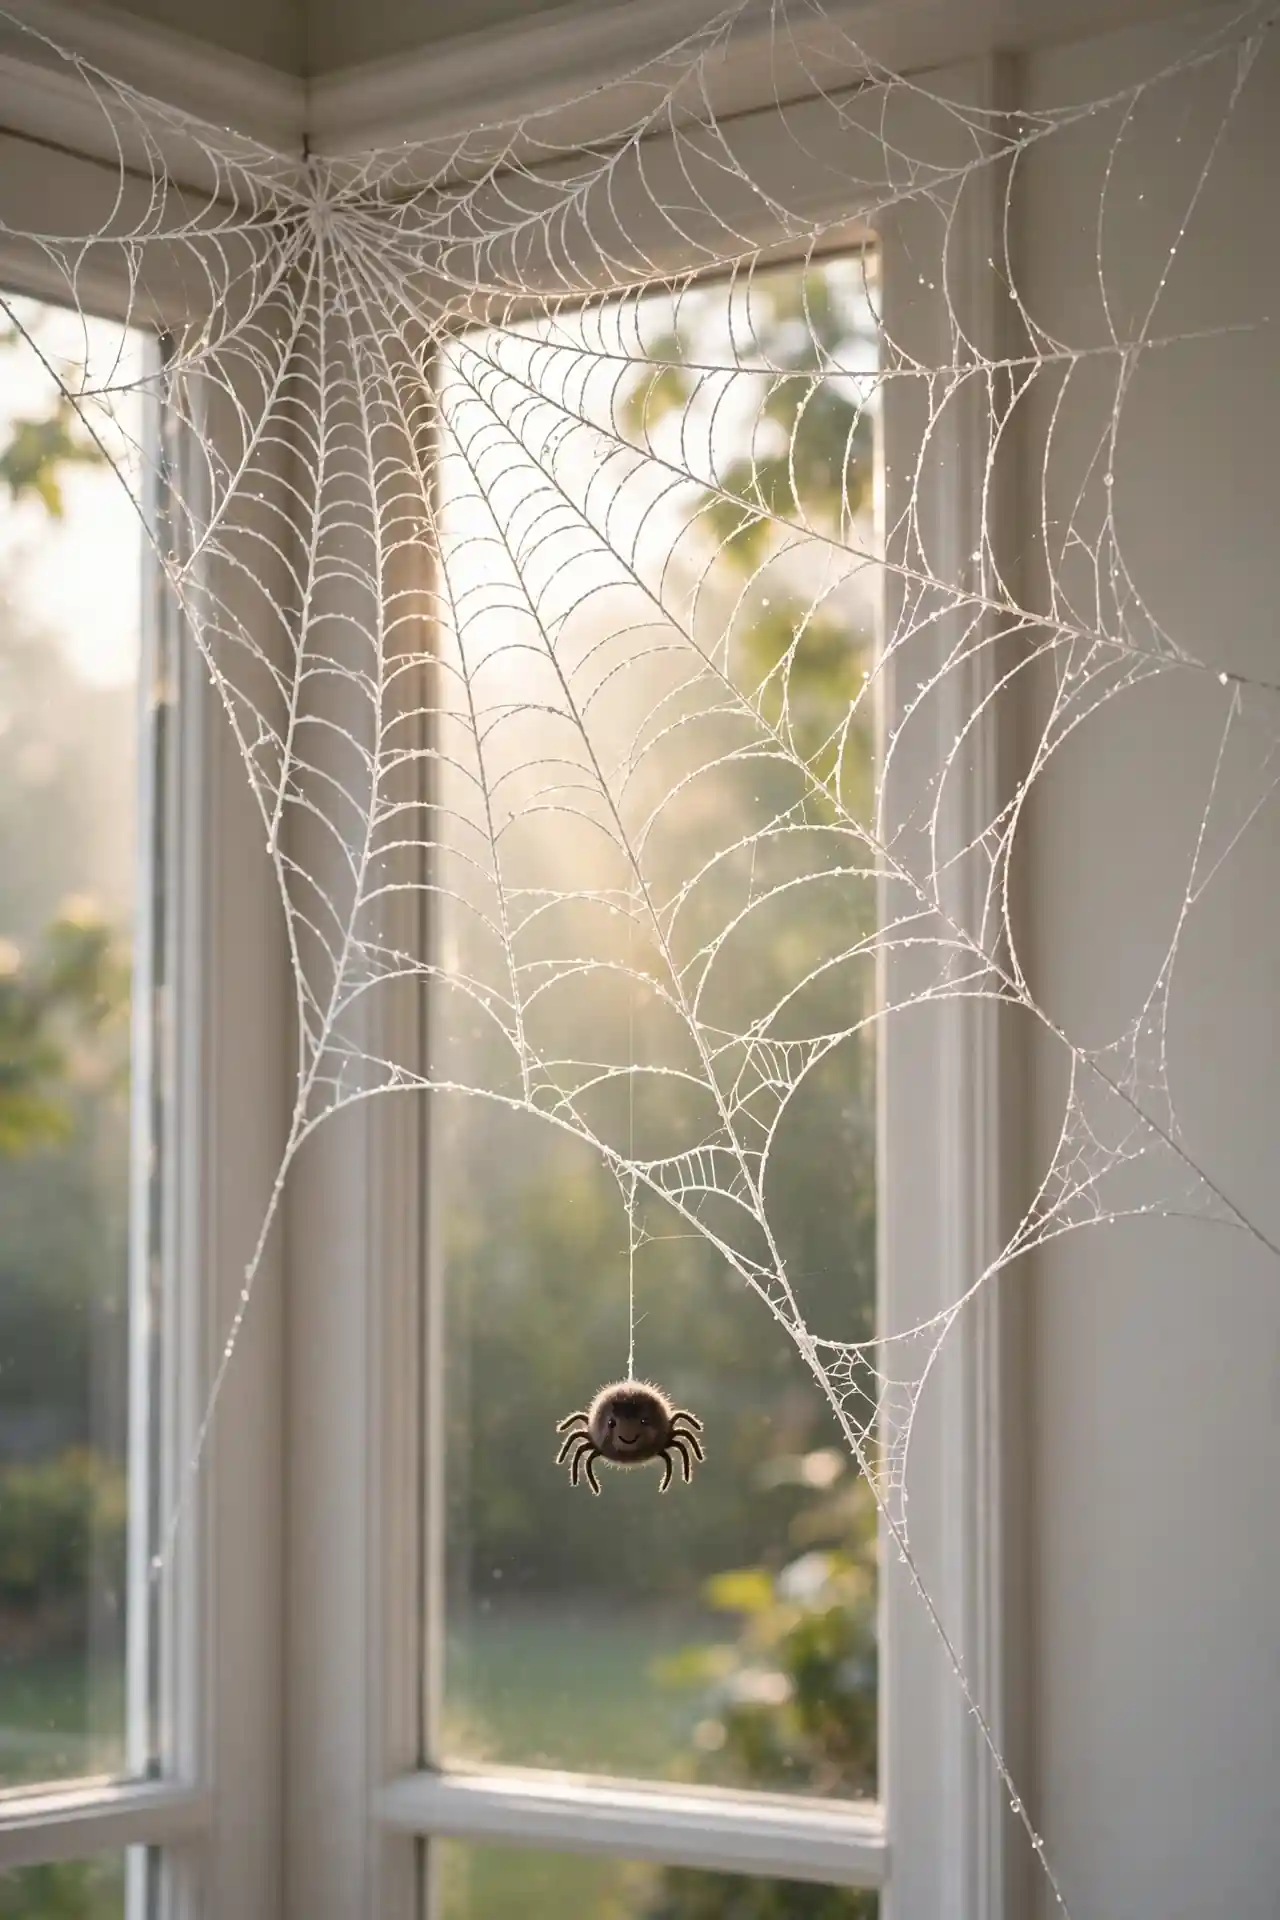
Cost: Very low | Time: Thirty minutes | Skill Level: Beginner | Best For: Filling large empty panes | Paint: White washable tempera
Spider webs stretch beautifully across corners and fill awkward empty spaces on big windows. Paint thin white lines radiating from one corner, then connect them with gentle curved arcs. Add a small smiling spider hanging from one thread for charm, keeping the lines delicate so they read as elegant rather than messy. This design looks stunning when morning light catches the white paint. For extra fun, let kids paint the spider while you handle the web lines. Washable white paint wipes away cleanly, so you can redo any wobbly lines without stress.
Candy Corn Stripes
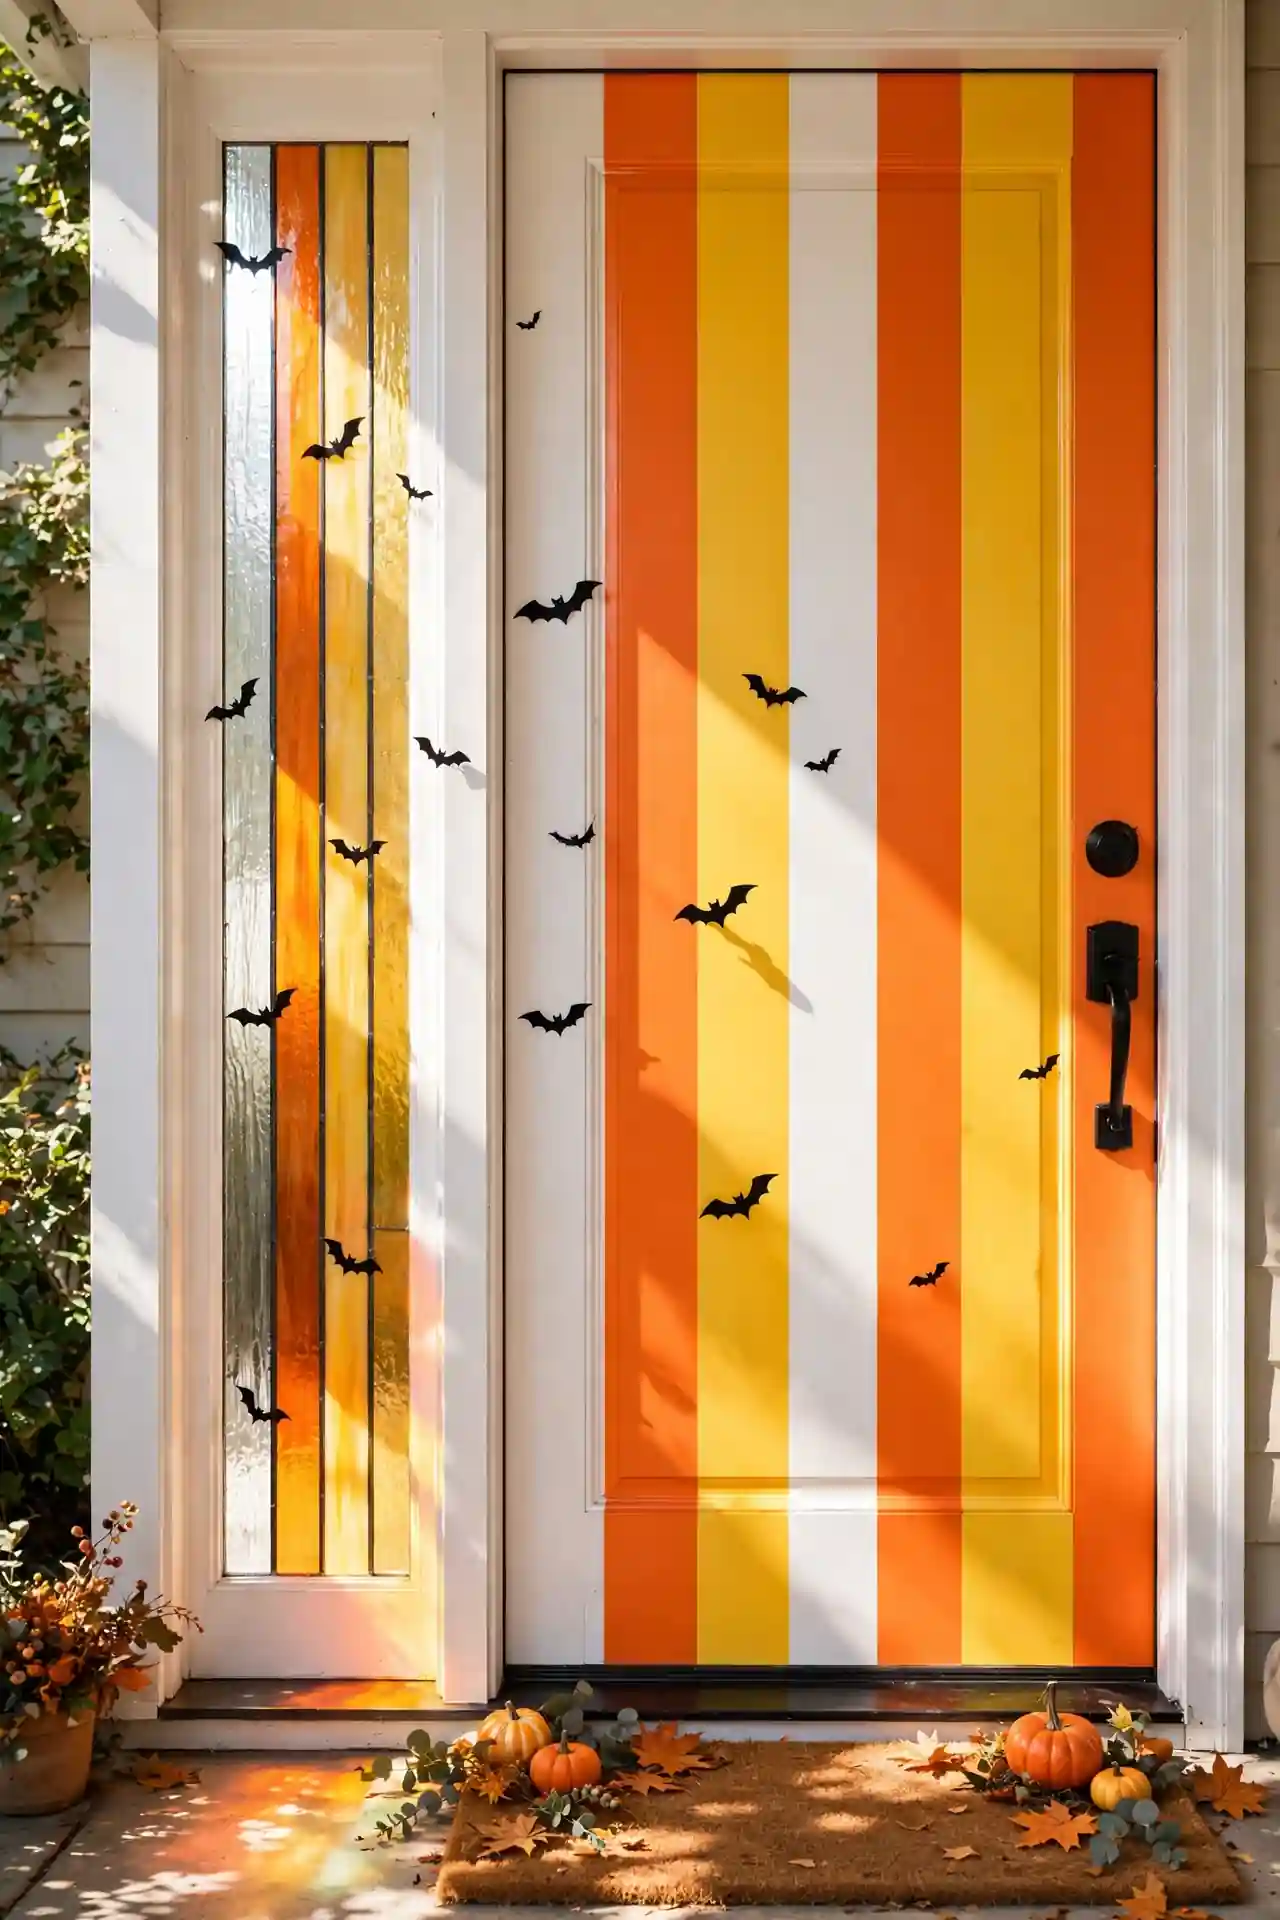
Candy corn stripes bring instant Halloween color to any window with a design so simple a child could paint it. Divide the glass into vertical bands with painter’s tape, then fill each band with white, orange, and yellow sections. The classic candy corn order is white on top, orange in the middle, and yellow at the bottom.
Peel the tape while the paint is still slightly tacky for crisp clean lines. These bold stripes look fantastic on narrow sidelight windows flanking a front door. Add small black bat silhouettes over the stripes for extra Halloween flair. The bright colors glow beautifully when sunlight streams through the painted glass.
Friendly Ghost Faces
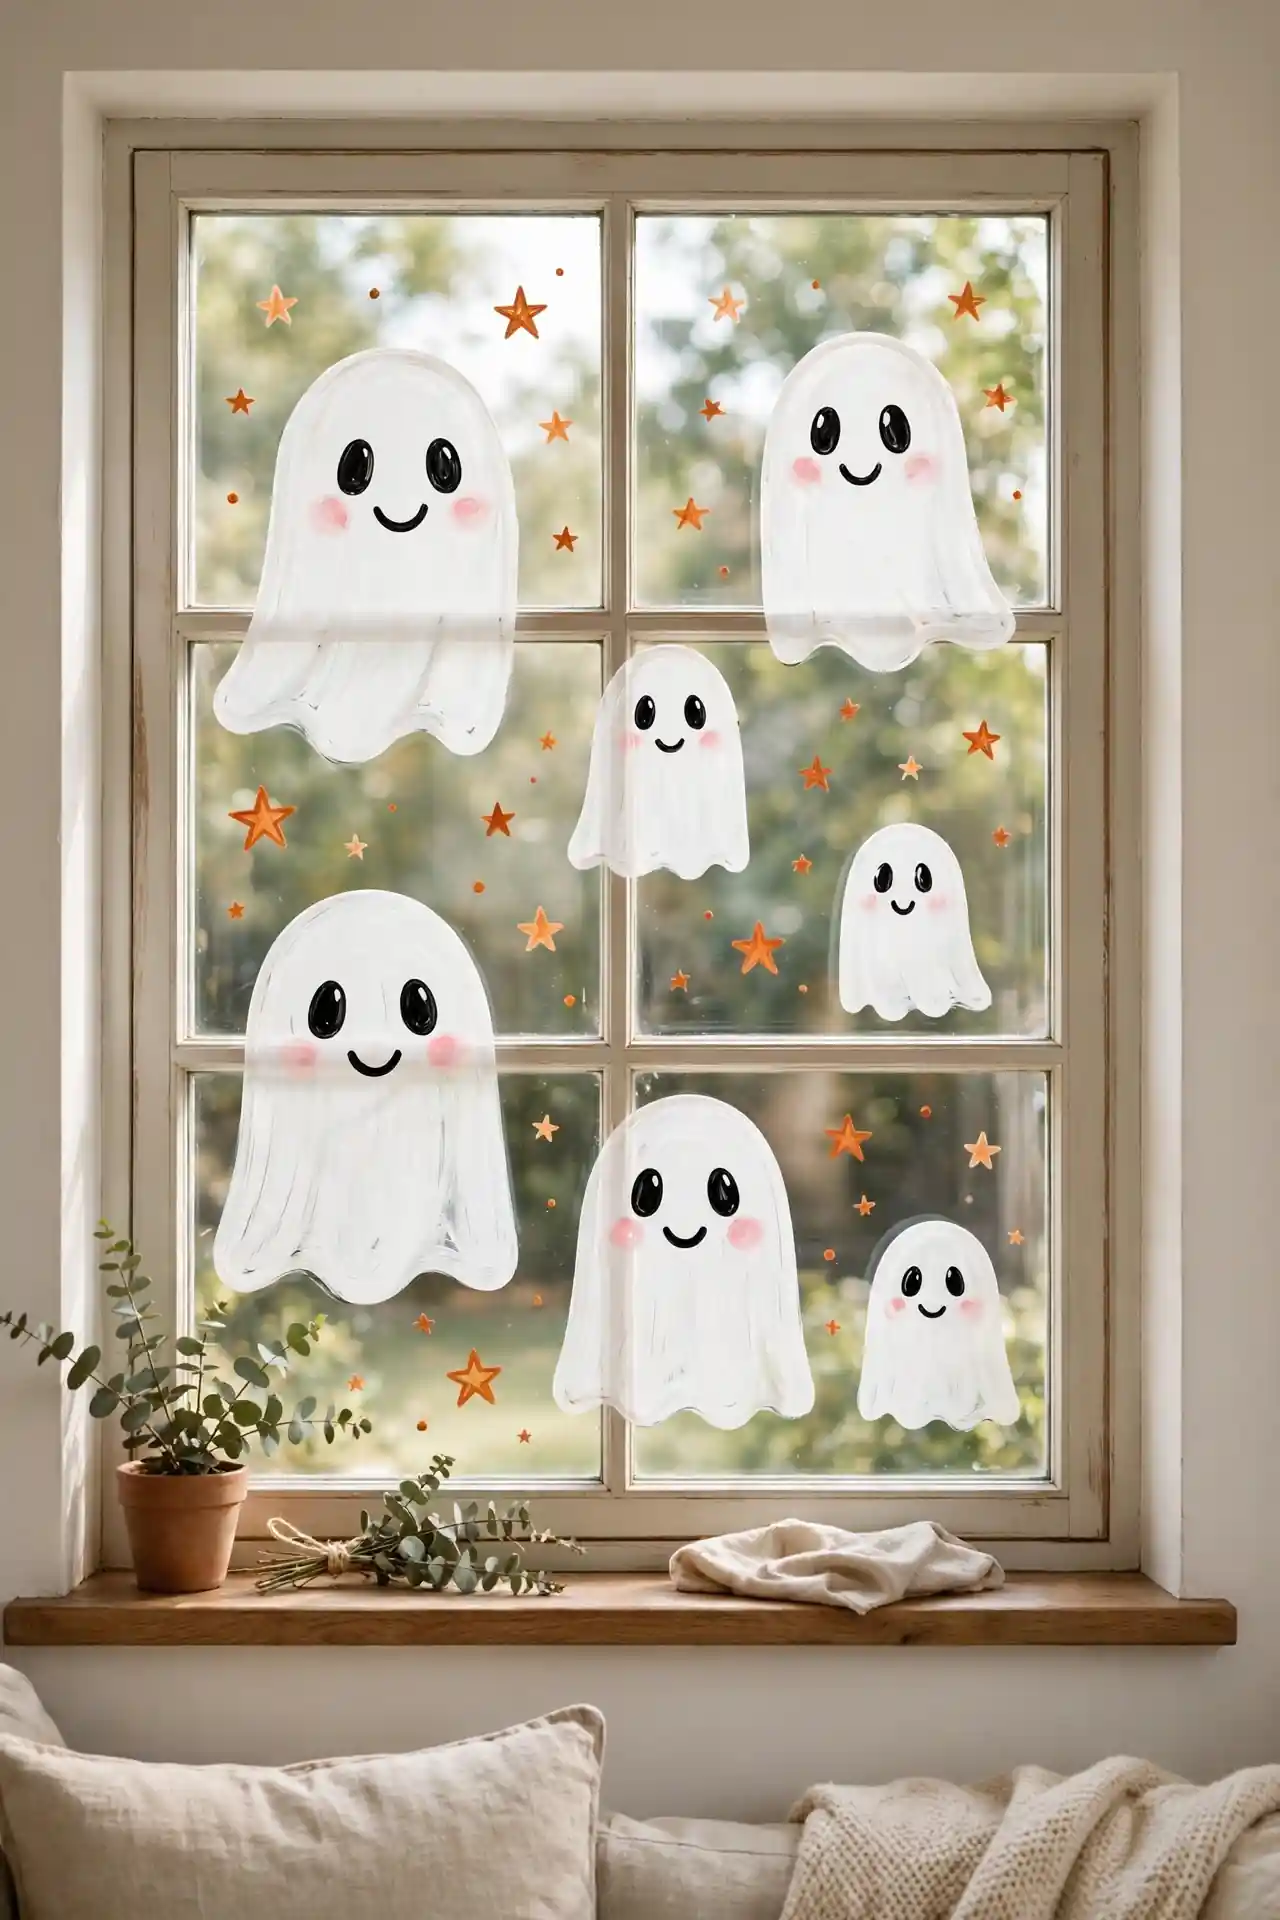
- Paint white oval faces directly on the glass with a medium flat brush.
- Give each ghost a different expression with black oval eyes and mouths.
- Add rosy cheeks with light pink dabs for a cute, welcoming look.
- Scatter the faces at different heights so they seem to float.
Unlike spooky ghosts, these friendly faces make trick-or-treaters smile instead of shiver. They work wonderfully on low windows where small children can see them up close. Let each family member paint their own ghost face for a personal touch. The simple ovals are forgiving, so even shaky hands produce charming results. Seal with nothing; washable paint removes easily.
Owl Perch Night
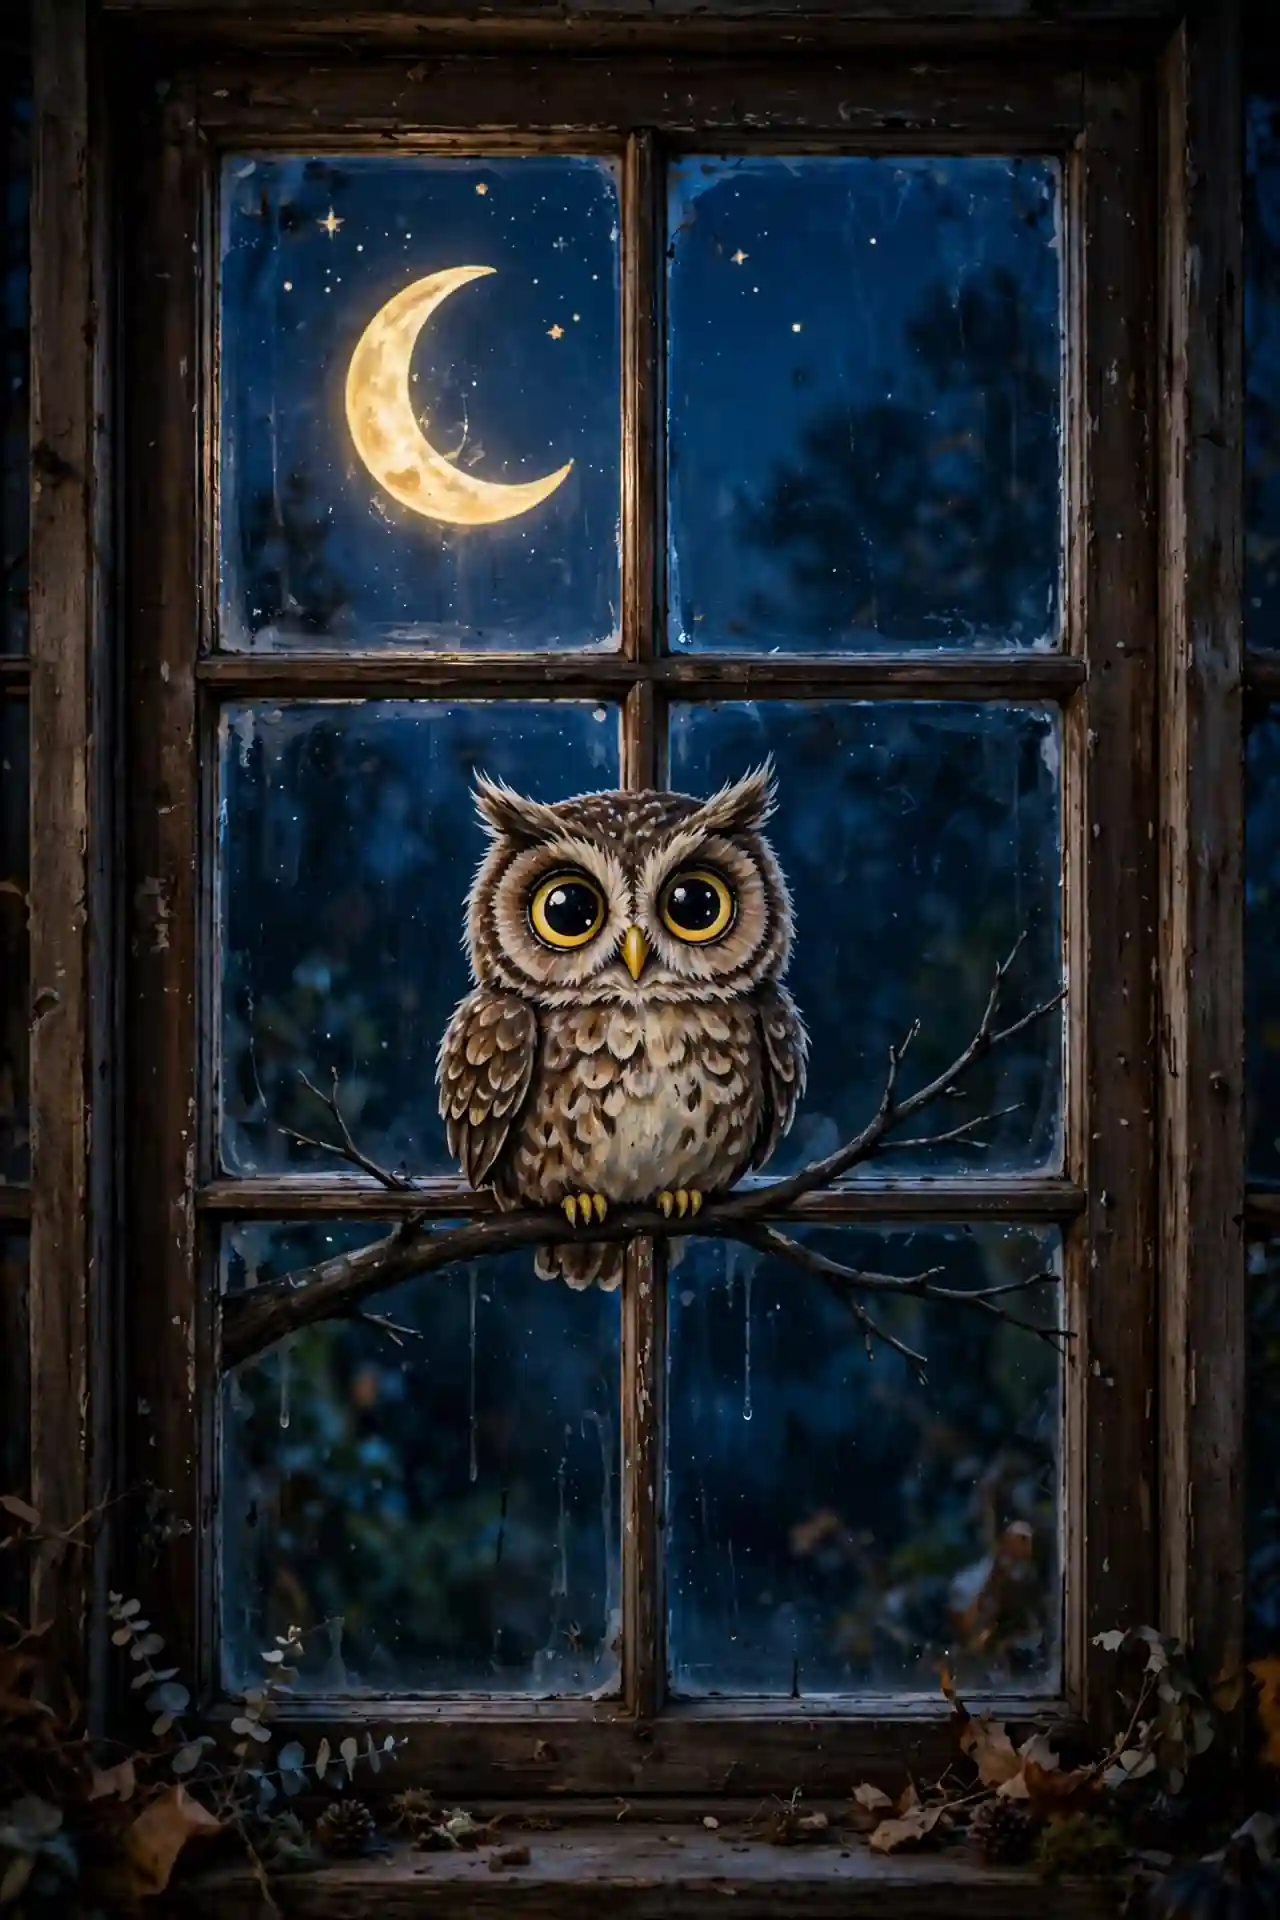
Quick Tip: Paint the branch first and let it dry completely before adding the owl. A sturdy horizontal branch gives your owl a natural perch and anchors the composition. Use dark brown washable paint for the branch and add small twig details with a thin brush.
A wide-eyed owl perched on a bare branch brings wise, watchful charm to your Halloween window. Paint a round brown body with big circular eyes in yellow and black. Feather texture comes from short, light brush strokes layered over the body. Position the owl in a lower corner so the moon or stars can fill the upper glass. This design looks especially striking on bedroom windows where the owl seems to guard the night.
Falling Leaf Frame
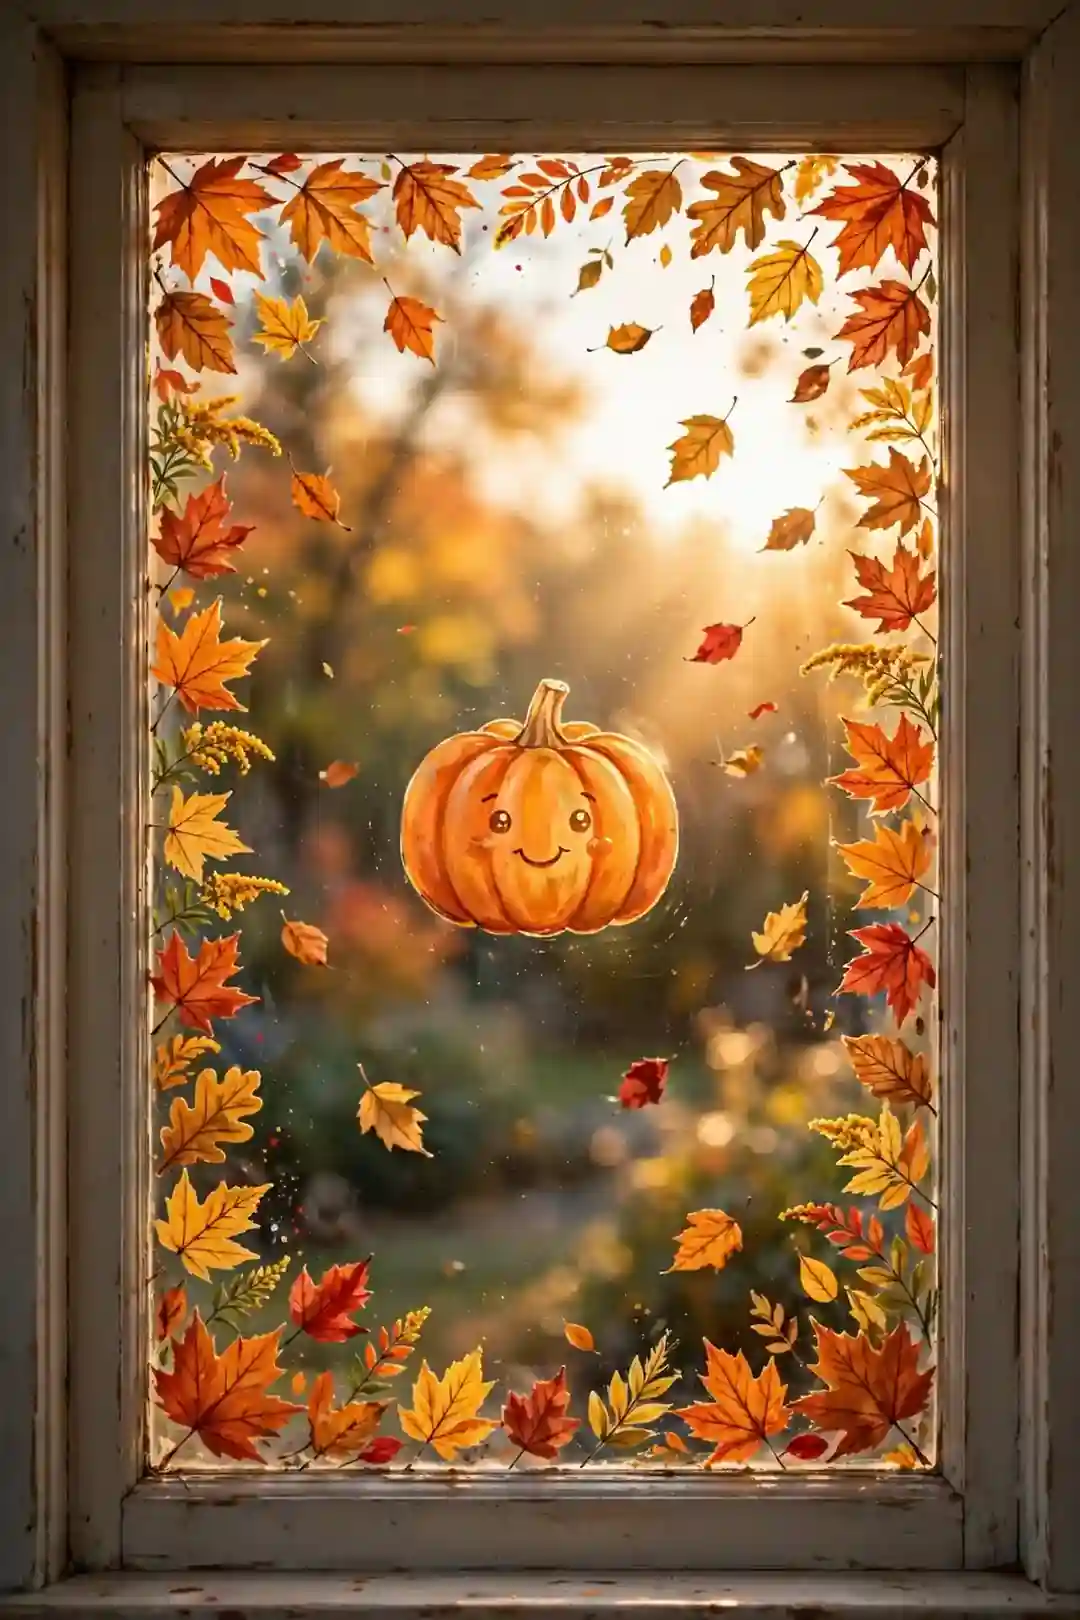
BEFORE: Plain glass with a single centered design can look sparse and unfinished. The empty corners draw attention away from your main artwork.
AFTER: A frame of falling autumn leaves in orange, red, and gold fills the edges with warm seasonal color. The leaves guide the eye toward whatever you paint in the center.
Sponge leaf shapes around the window border using orange, red, and gold washable paints. Overlap the leaves slightly and let a few appear to drift inward. A simple leaf stencil cut from cardboard keeps the shapes consistent. This frame pairs beautifully with pumpkins, owls, or moons in the center. The warm colors glow richly when afternoon sun shines through.
Skeleton Dance Row
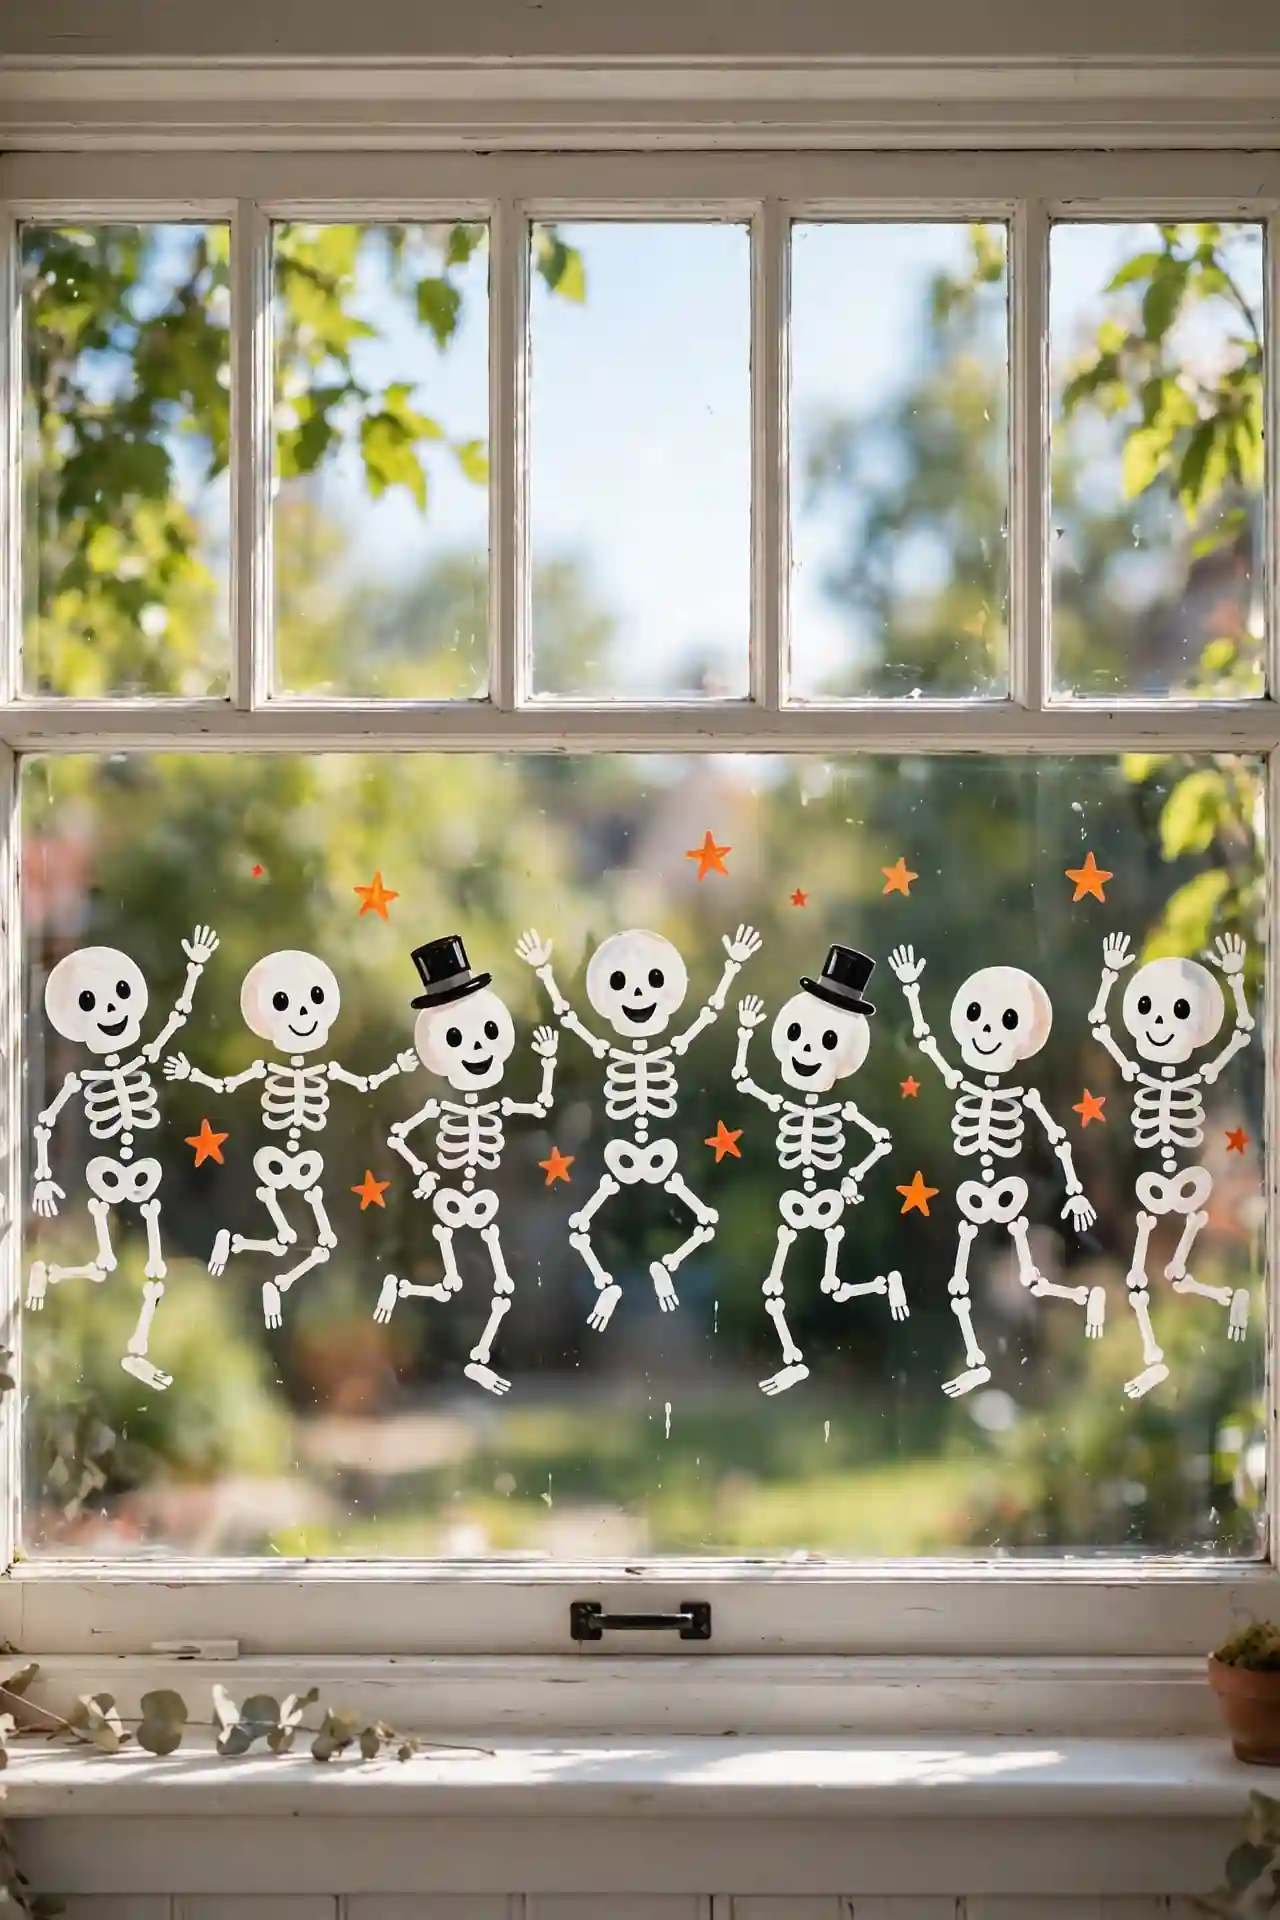
- Paint simple white skeleton figures dancing in a row across the lower window.
- Use circles for skulls, lines for ribs, and dots for joints.
- Give each skeleton a different dance pose with bent arms and legs.
- Add small black top hats on two skeletons for playful personality.
Dancing skeletons bring goofy, lighthearted energy that kids absolutely love. The stick-figure style means no artistic skill is required, just white paint and a steady hand. Space them evenly like a conga line across the glass. This design looks hilarious when backlit at night. Keep the faces smiling so the skeletons read as fun rather than frightening for young trick-or-treaters.
Monster Eye Peeks
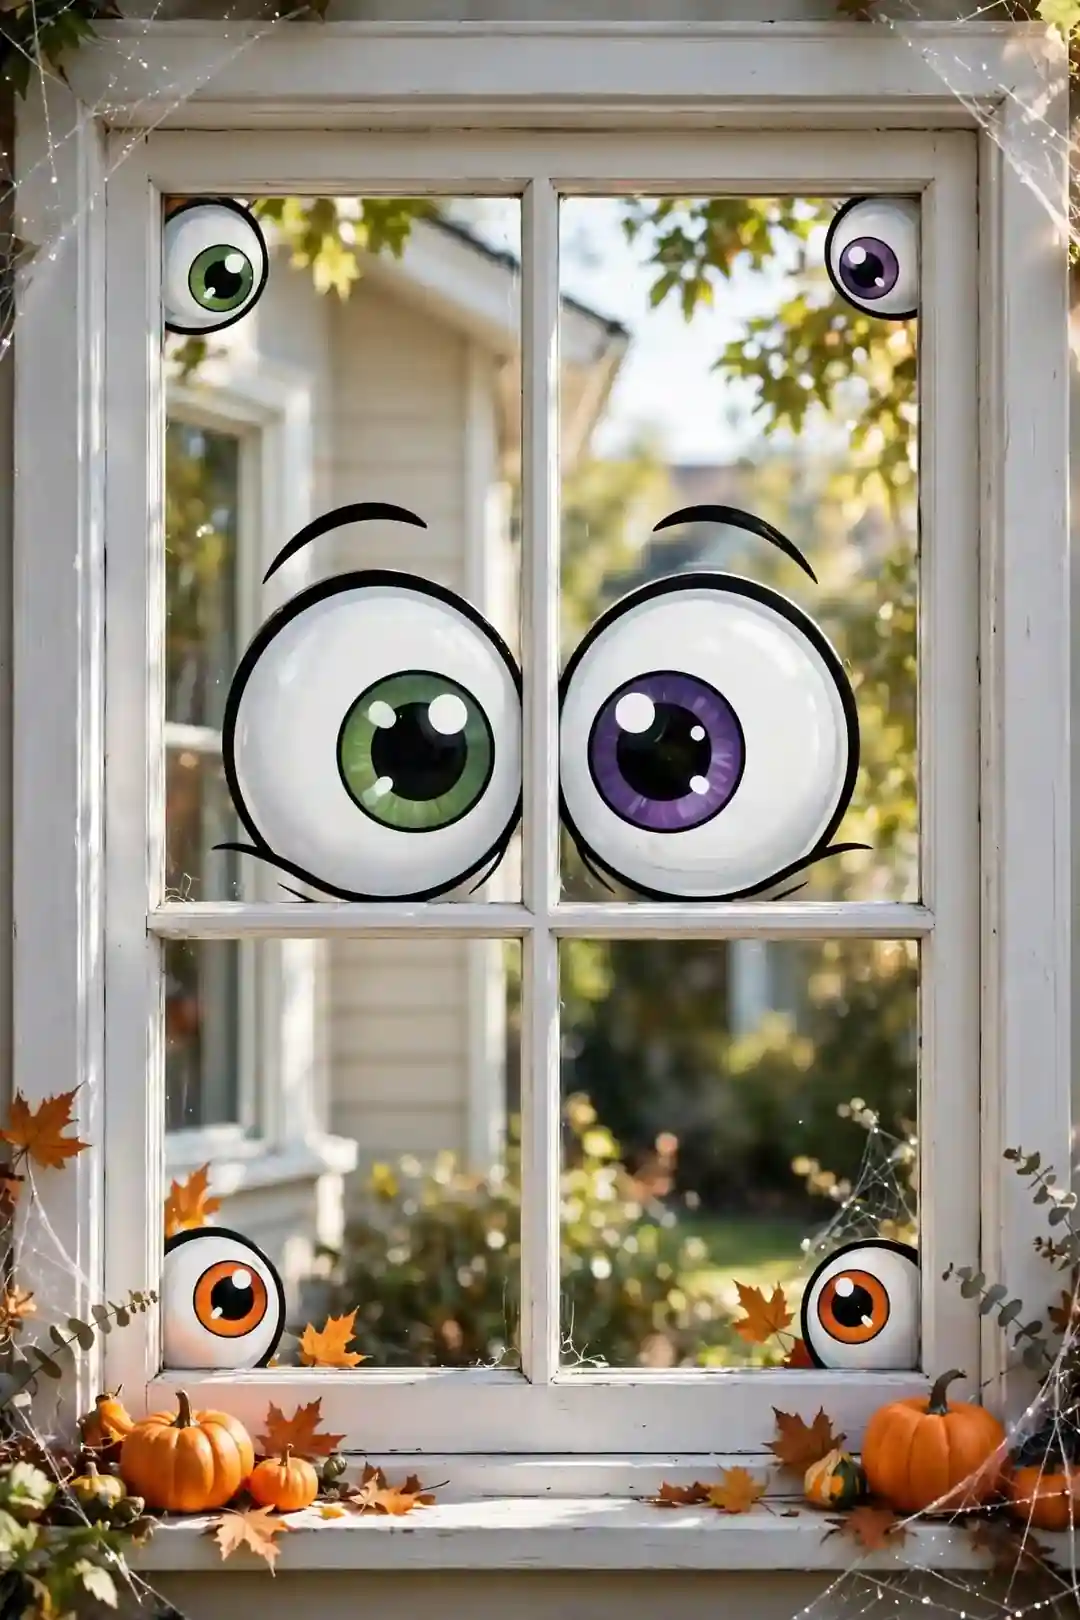
Peeking monster eyes turn your window into a playful guessing game for passersby. Paint large cartoon eyes in white with colorful irises, half-hidden behind the window frame edges as if creatures are spying in. Vary the eye colors with green, purple, and orange for a silly monster crew. Kids love inventing stories about who the eyes belong to.
Symmetrical vs. scattered: symmetrical eye pairs look like one big monster watching, while scattered single eyes suggest a whole crowd of creatures. Symmetrical suits a focused, bold statement. Scattered works better for a chaotic, funny vibe. Combine both by placing one big pair in the center with singles peeking from the corners.
Foggy Forest Edge
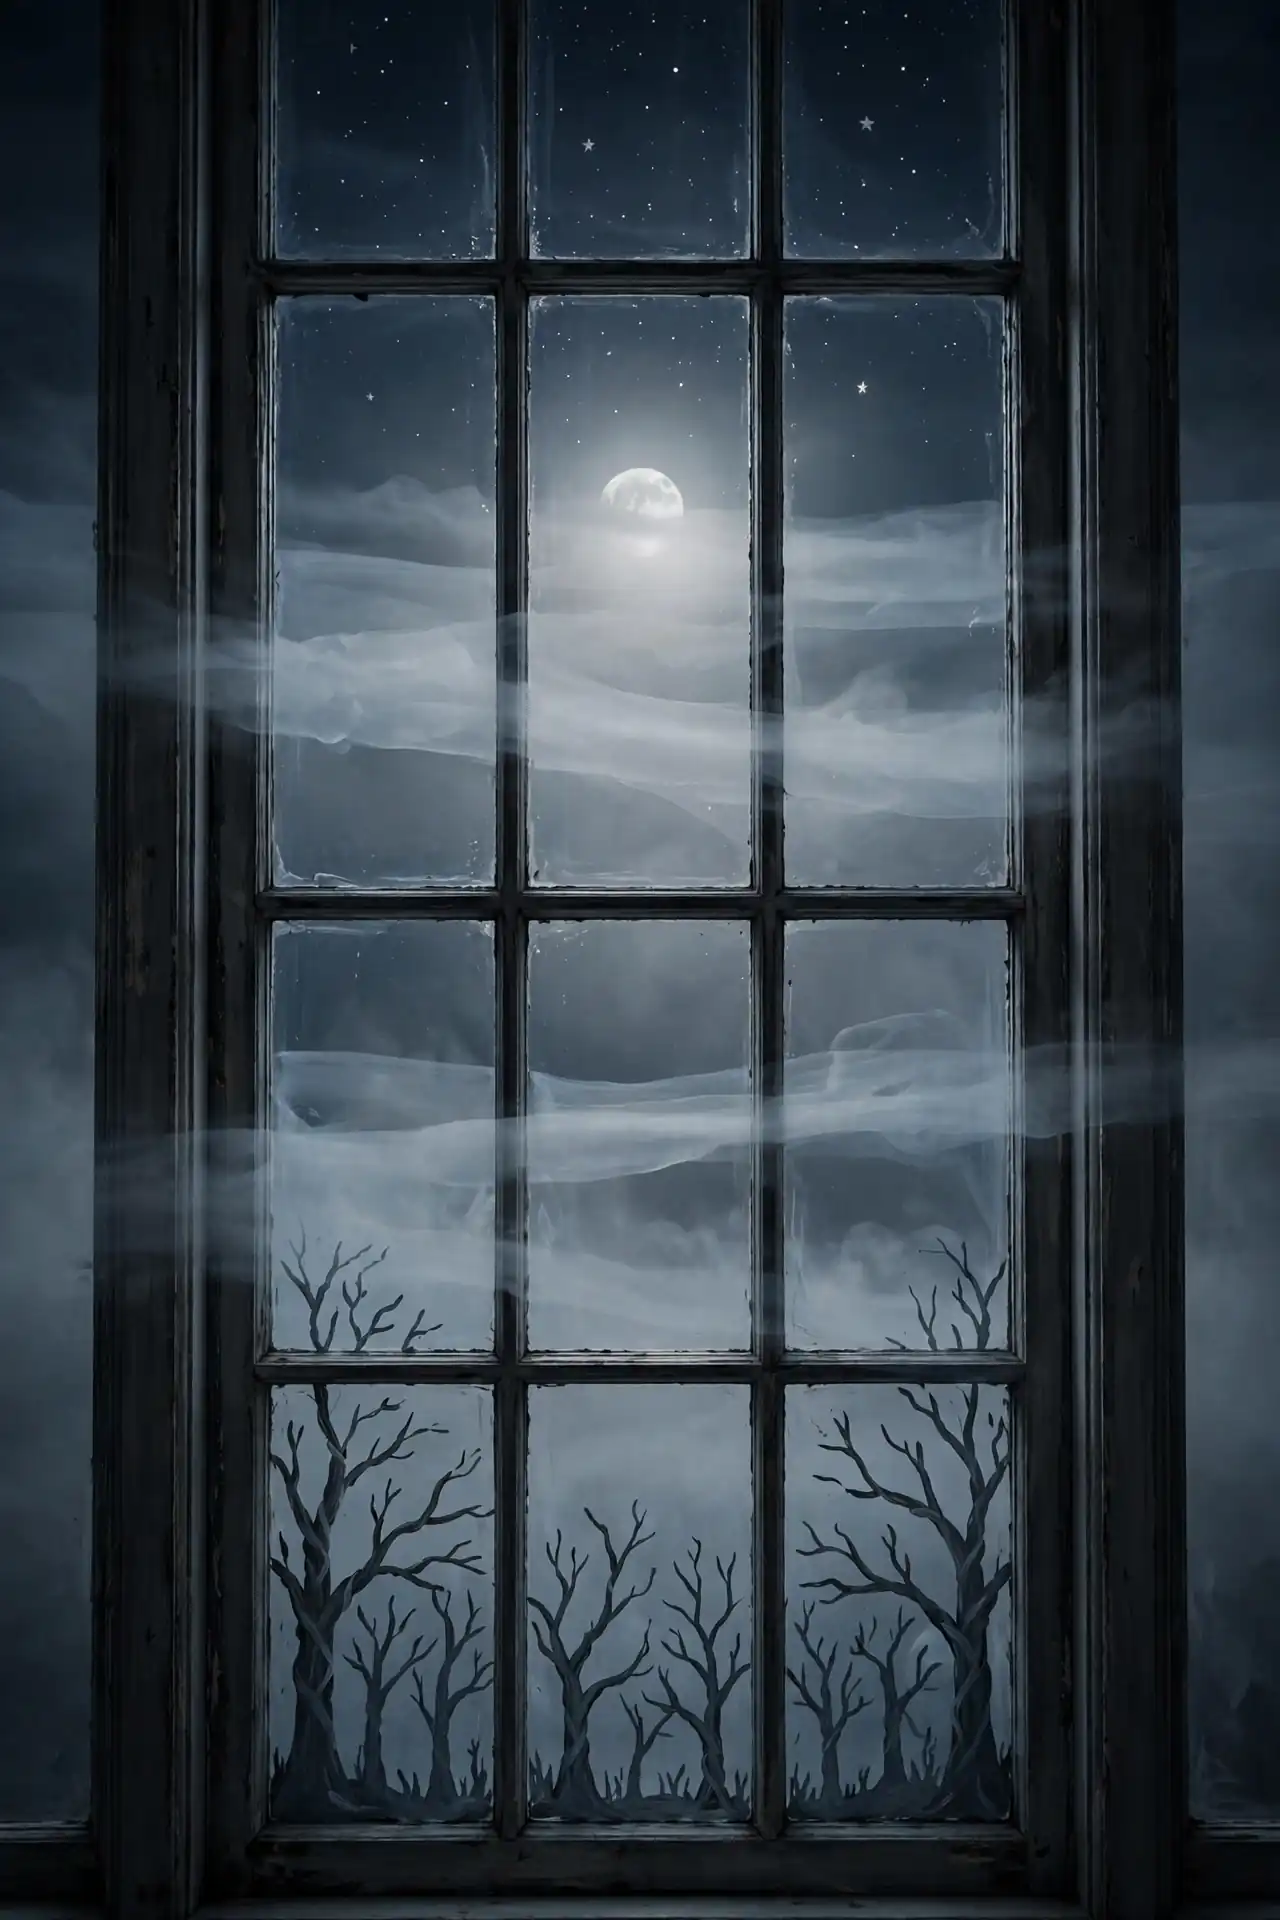
DO: Paint bare tree silhouettes in dark gray along the bottom edge. Layer lighter gray mist bands above them for depth. Keep the trees simple with just trunks and a few branches.
DON’T: Don’t use black for everything or the scene loses its misty softness. Don’t overcrowd the trees; leave gaps for the fog to show. Don’t add details that fight the spooky simplicity.
A foggy forest edge gives your window an atmospheric, mysterious backdrop that suits any Halloween theme. The layered grays create depth without demanding precise brushwork. This design works beautifully behind brighter elements like pumpkins or moons. I have seen this transform plain garage windows into genuinely eerie displays that neighbors talk about for weeks.
Starry Witch Sky
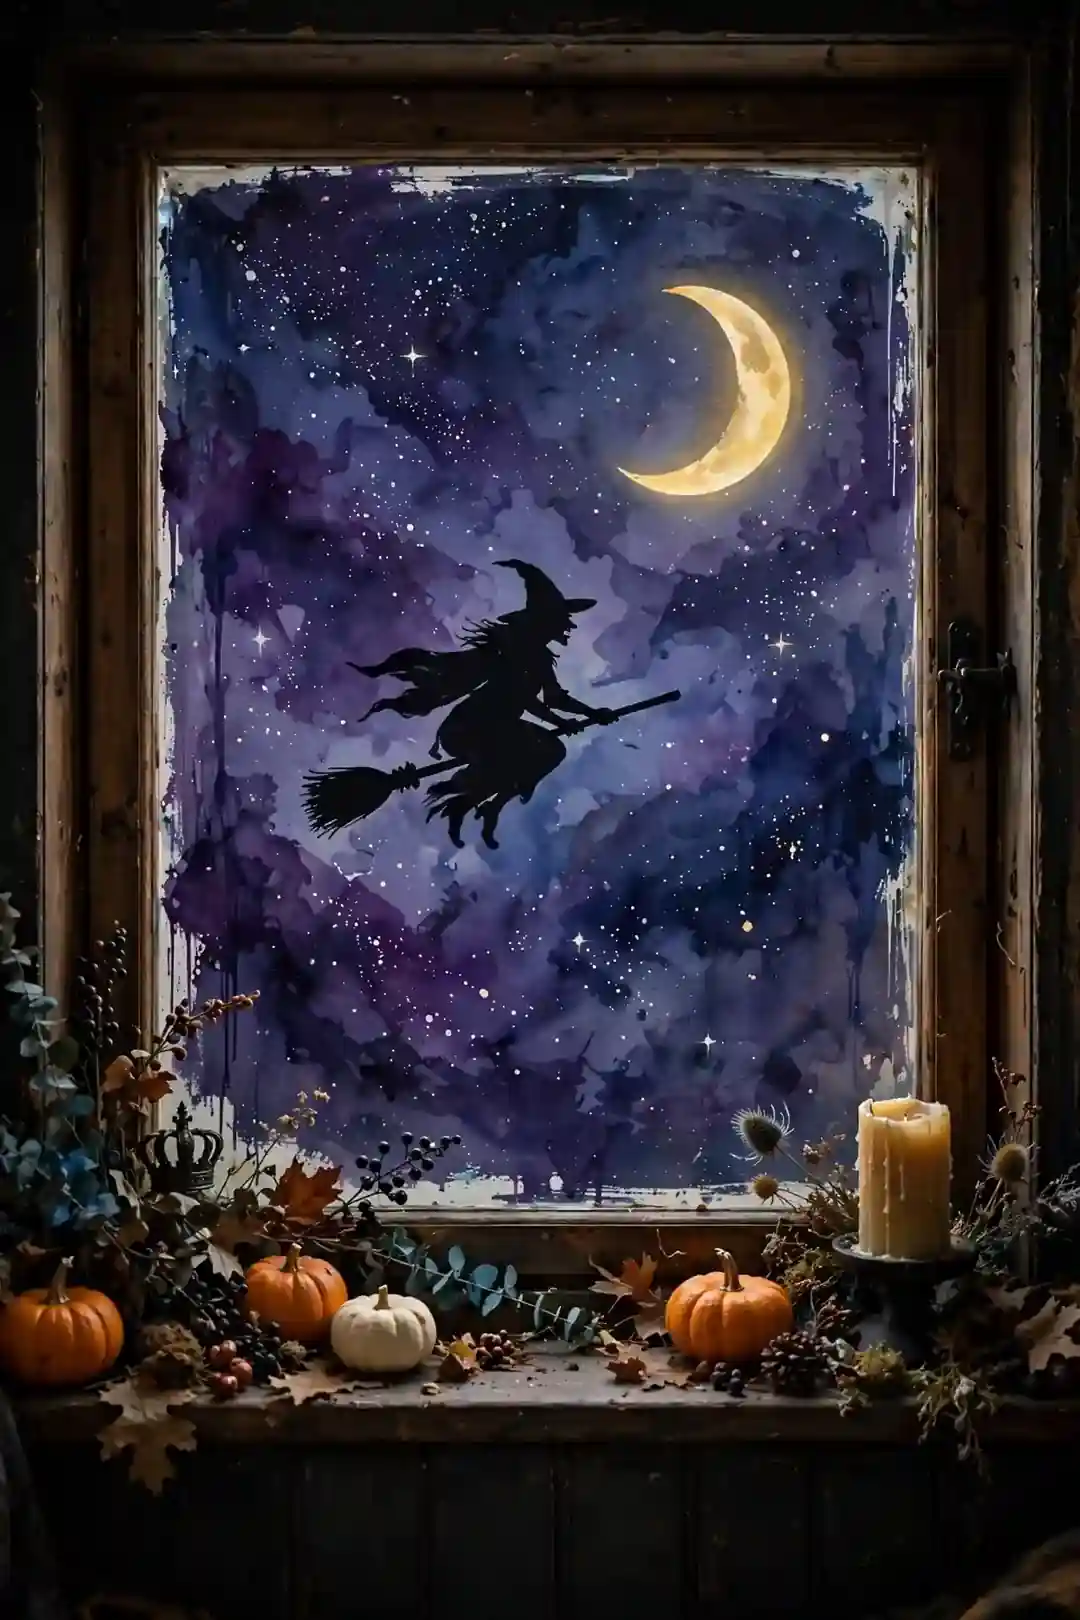
Cost: Very low | Time: Forty minutes | Skill Level: Beginner | Best For: Big picture windows | Paint: Washable tempera
A deep purple night sky scattered with stars turns a large window into pure Halloween magic. Sponge purple and dark blue washable paint across the glass, blending where they meet. Flick white paint from a toothbrush for tiny stars, then add bigger star dots with a brush tip. Paint a witch silhouette soaring across one side for the finishing touch. This backdrop makes every other decoration pop, and the blended colors look gorgeous when porch lights shine through at night. Let kids flick the stars while you blend the sky for a fun teamwork project.
Trick or Treat Script
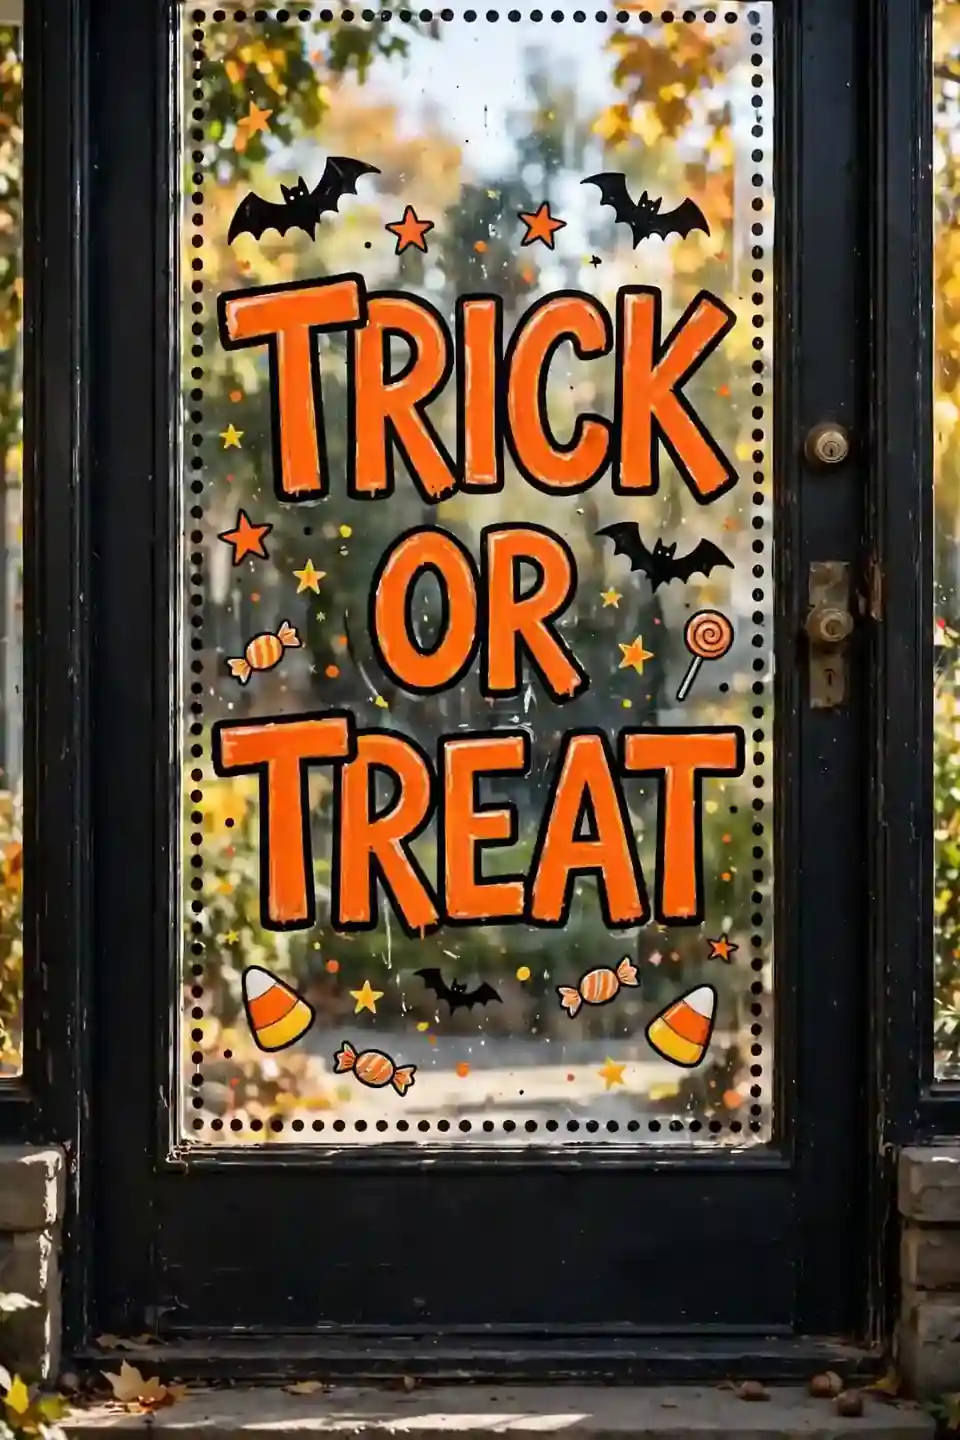
Bold painted lettering turns your window into a welcoming sign for trick-or-treaters. Use a wide flat brush to paint the words TRICK OR TREAT in large playful letters across the center pane. Orange letters with black outlines read clearly from the street. Keep the letters chunky and slightly uneven for a hand-painted, festive feel that looks charming rather than sloppy.
Surround the lettering with small painted stars, bats, and candy shapes for a complete design. A simple border of dots frames the words nicely. This project suits beginners because lettering hides wobbly lines better than detailed scenes. For more doorway inspiration, these funny halloween costumes for families ideas complete your festive entrance.
Creepy Tree Branches
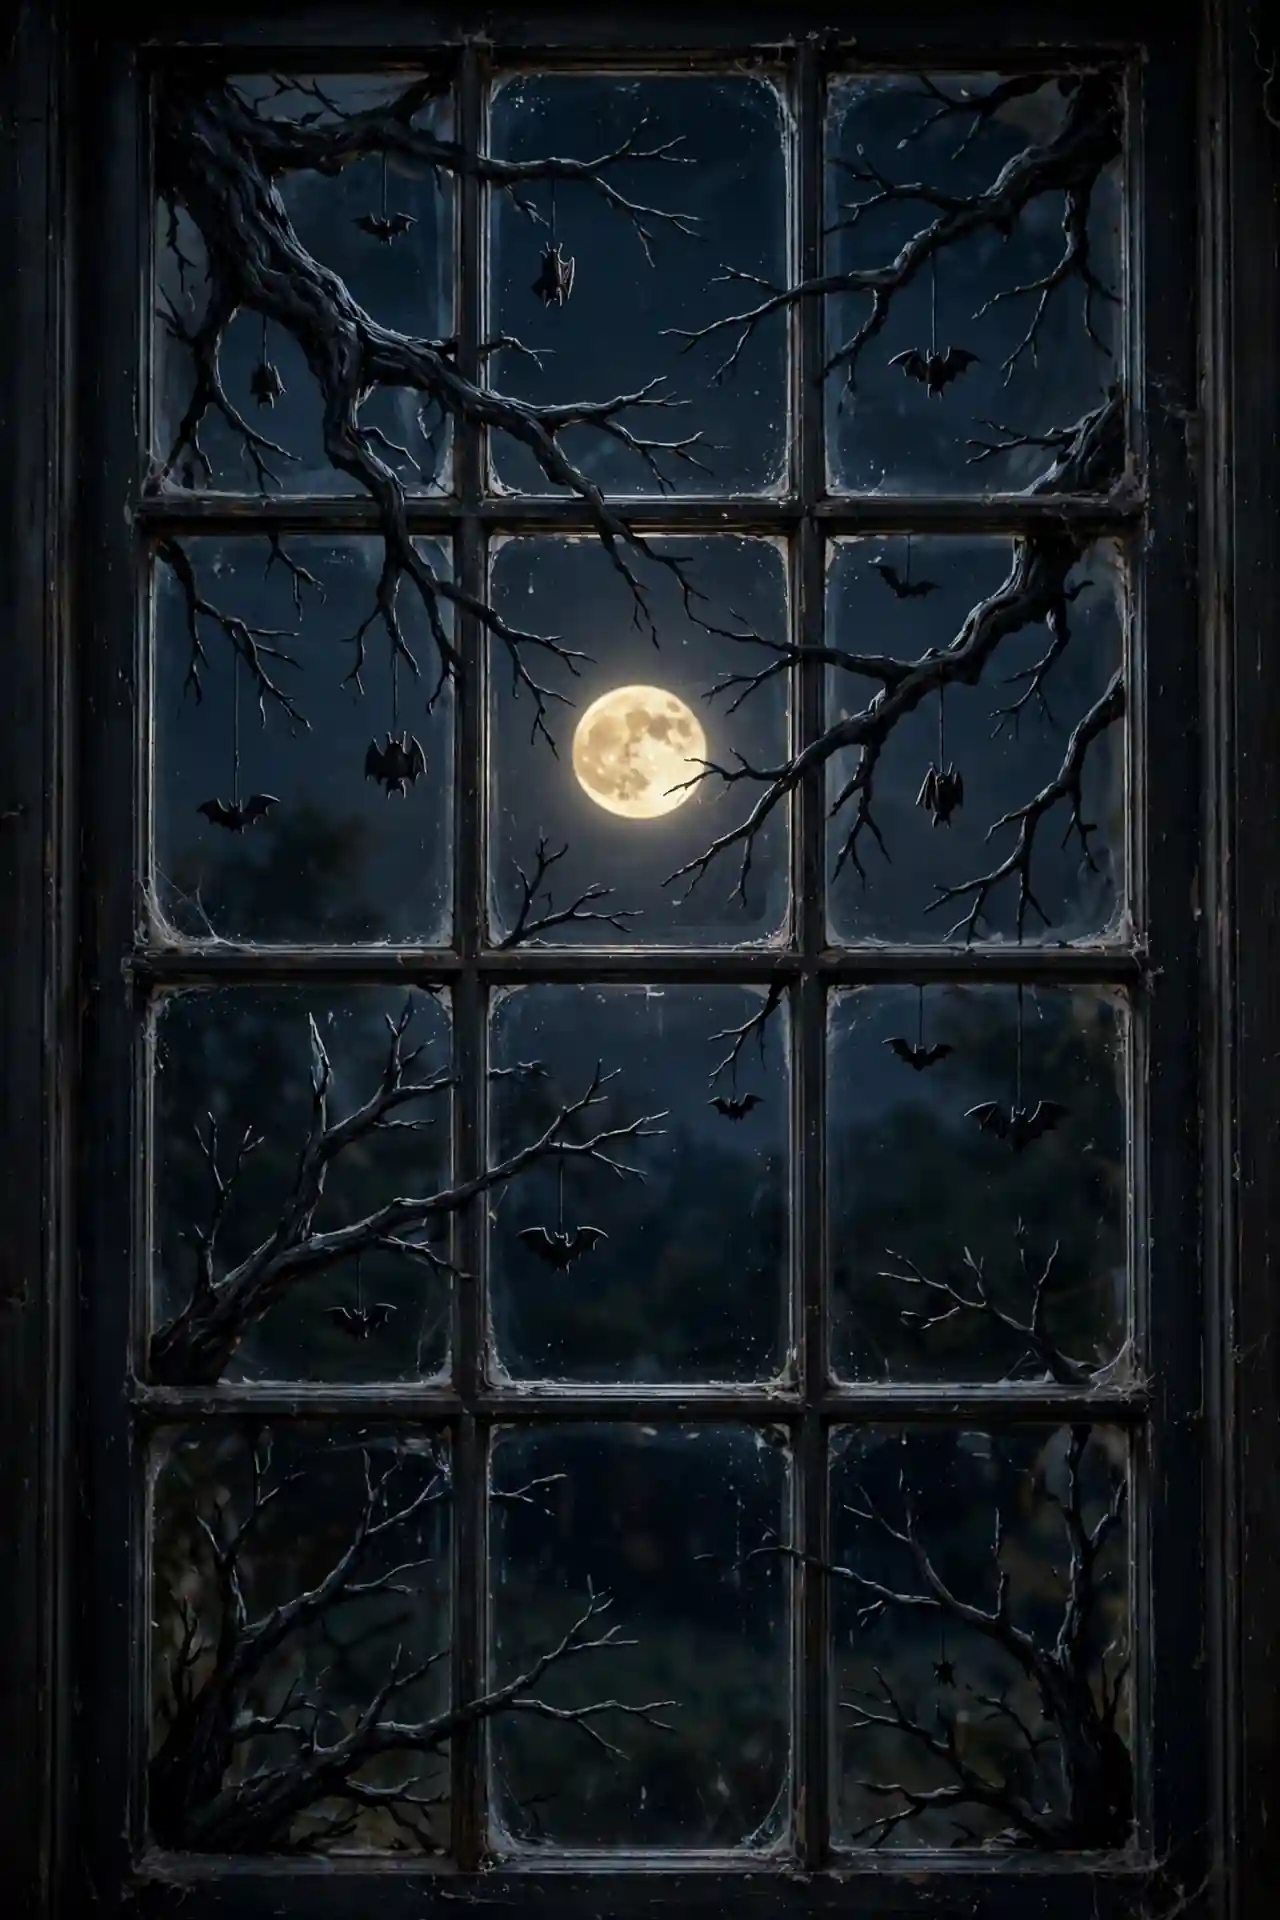
- Paint gnarled black branches reaching in from the window corners with a thin brush.
- Add smaller twigs branching off at sharp angles for a spooky silhouette.
- Dot a few hanging bats or owls among the branches for life.
- Keep one corner denser and let branches thin out across the glass.
Twisted bare branches create the eeriest Halloween window with the least amount of paint. The irregular shapes look creepy precisely because they are imperfect, so beginners shine here. Layer branches from two corners so they seem to reach toward each other. At night, backlit branches cast dramatic shadows into the room. This design pairs wonderfully with a painted moon glowing between the limbs.
Jack-o-Lantern Grins
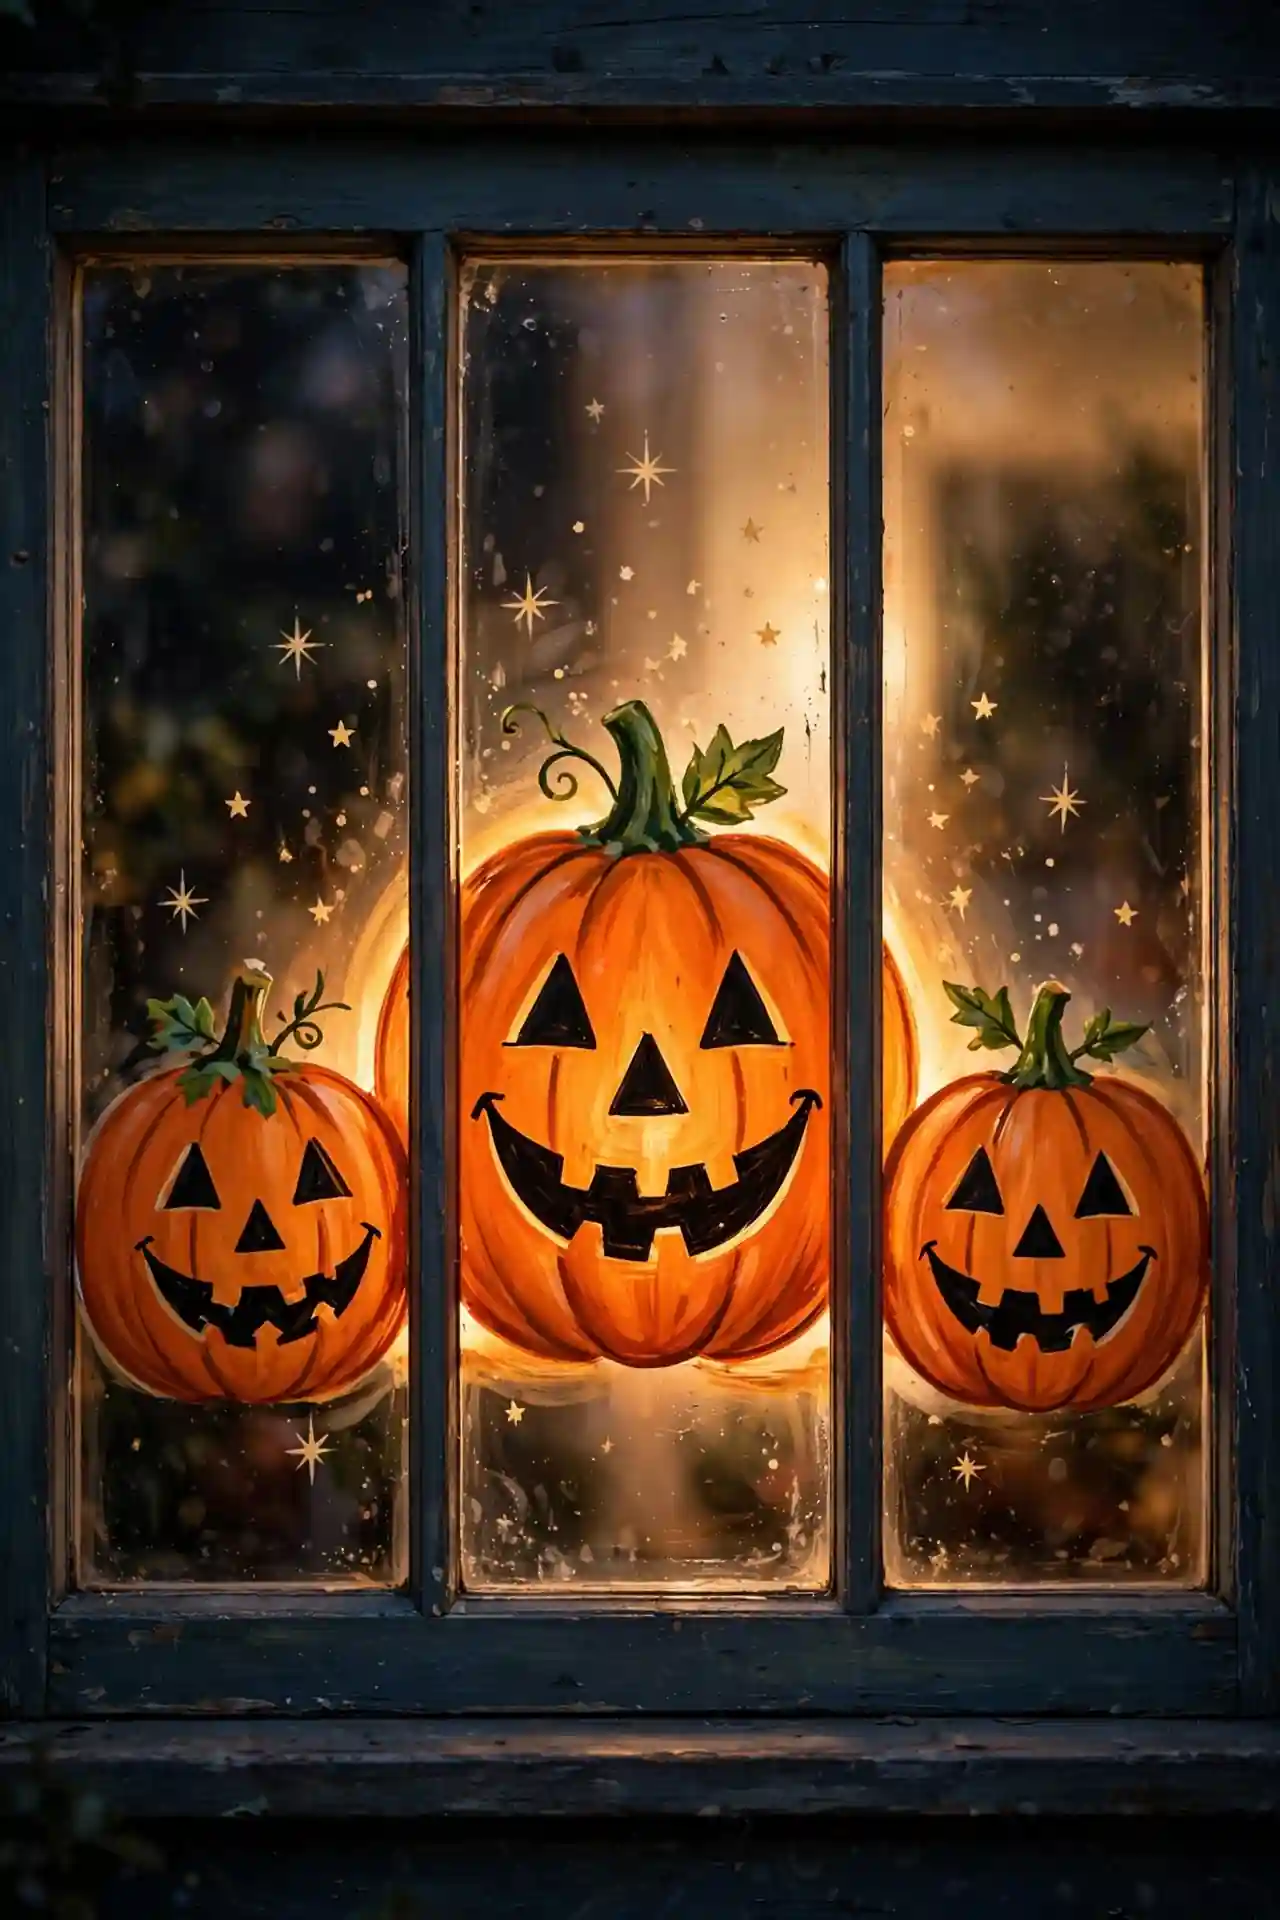
Quick Tip: Paint the pumpkin shape first in solid orange and let it dry fully. Then add black triangle eyes, a jagged grin, and a green stem on top. Painting details over dry orange keeps the black crisp instead of muddy.
Nothing says Halloween like a grinning jack-o-lantern glowing in the window. Paint three pumpkins in a row with different expressions: happy, silly, and surprised. Vary their sizes so the middle one stands out as the star. These cheerful faces delight young visitors and glow warmly when lights shine from inside. Use bright orange washable paint and bold black features for maximum visibility from the street.
Mummy Wrap Lines
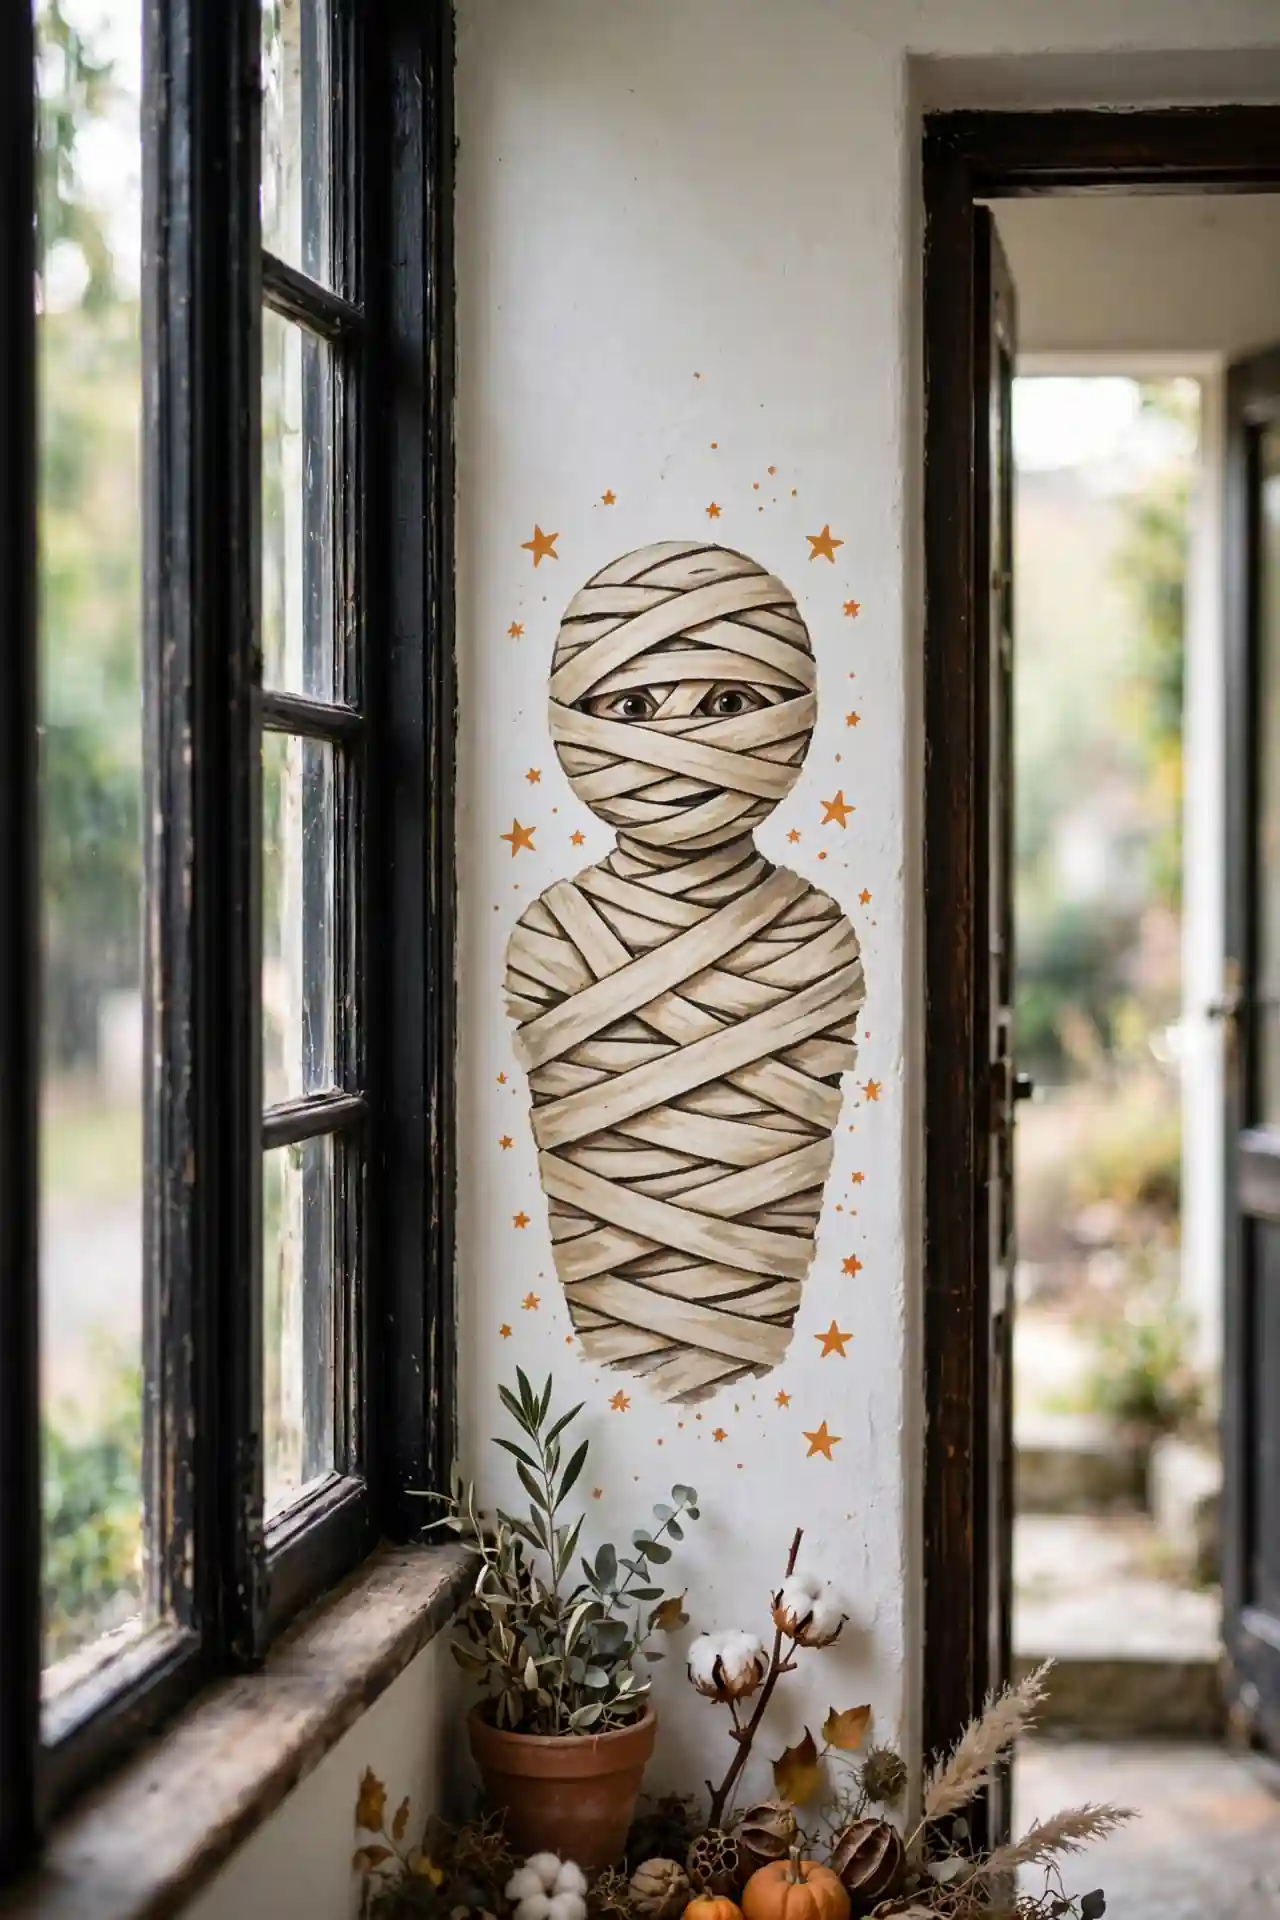
BEFORE: A plain white ghost shape can look flat and boring on big glass. Without texture, simple shapes disappear against bright daylight.
AFTER: Wrapping the shape in crisscrossing bandage lines turns it into a cute mummy with instant texture. The overlapping strokes add depth that flat paint cannot match.
Paint a white rounded body first, then layer beige crisscross strokes over it to mimic wrapped bandages. Leave two peeking eyes visible through a gap in the wraps for adorable effect. This mummy looks fantastic on narrow windows where a full scene would crowd. The textured strokes catch light beautifully. Kids find mummies hilarious rather than scary, making this a family favorite.
Purple Potion Bubbles
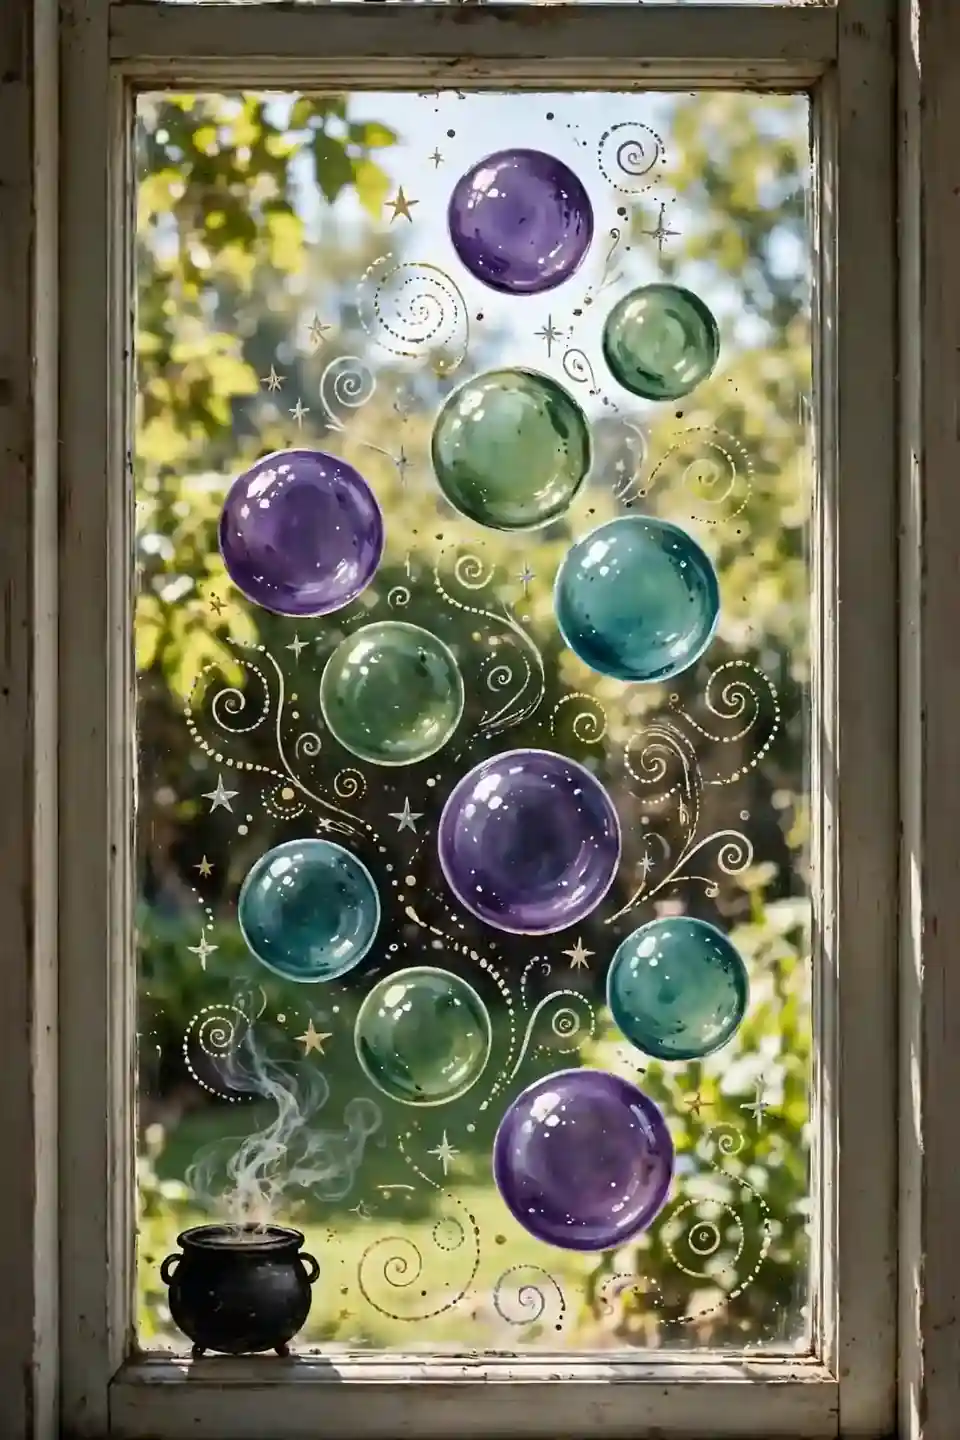
- Paint round purple and green bubbles floating upward across the window.
- Add white highlight dots on each bubble for a glassy, magical shine.
- Dot tiny stars and swirls between the bubbles for extra whimsy.
- Finish with a small cauldron silhouette steaming at the bottom corner.
Bubbling potion magic brings color and whimsy without a single scary element. The translucent-look bubbles are easy: just circles with highlight dots. Layer purple, green, and teal for a magical palette that glows when backlit. This design delights younger kids who might find ghosts too spooky. The rising bubble pattern naturally draws eyes upward across the whole window.
Midnight Harvest Moon
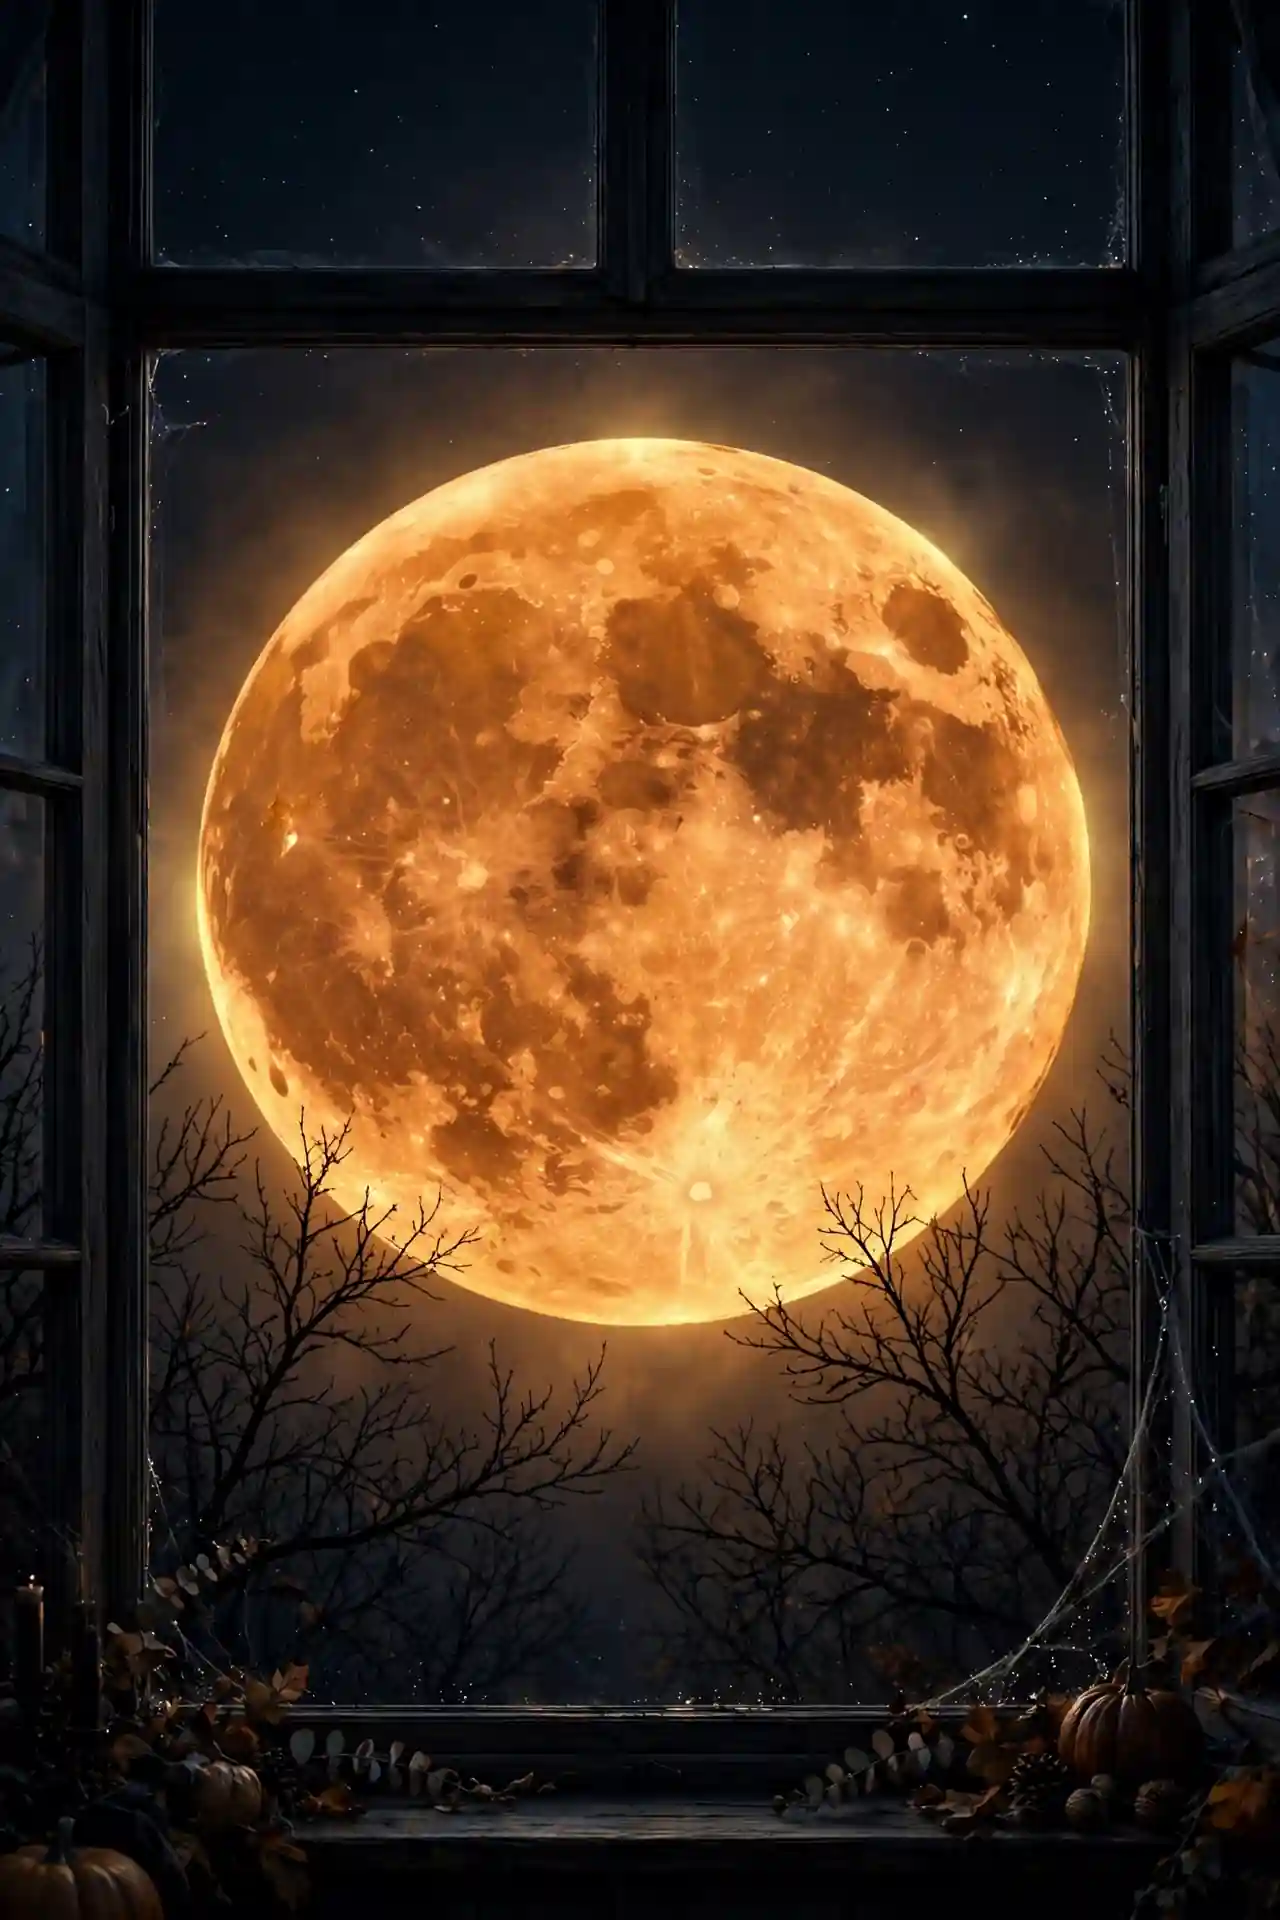
A giant harvest moon in deep orange dominates the window with breathtaking simplicity. Paint a large circle in warm orange, blending the edges into soft yellow for a realistic glow. Add subtle crater texture with a dry sponge for depth. This single bold shape needs no other elements to stun, though silhouettes layered over it look incredible.
Orange vs. yellow moons: orange harvest moons feel warm and autumnal, perfect for October. Yellow moons read cooler and more nighttime. Orange suits rustic and harvest themes. Yellow works better for spooky night skies. Choose orange for this design since the warm tone glows beautifully against dark blue glass washes.
Conclusion
These 22 halloween window painting ideas prove that a little washable paint turns ordinary glass into the highlight of your Halloween display. Pick one favorite to start, or combine several for a full haunted gallery across every window. I have seen how small changes like these can completely shift the way a space feels. Most designs wash off with warm soapy water in November, so paint boldly and have fun experimenting. Save your favorites to Pinterest, gather the family this weekend, and share your spooky masterpieces with neighbors who will stop to admire them. Your windows are waiting for their spooky makeover.
One Comment