
23 Whimsical Garden Ideas to Create an Enchanting Outdoor Oasis
Backyards hold quiet magic, and the right whimsical garden ideas bring it bursting into view. A garden can feel like a storybook when tiny doors hide in tree trunks and fairy lights twinkle overhead. Ordinary yards turn playful with a few clever touches and a weekend of work.
This collection gathers 23 playful projects, from glowing lantern lanes to mossy stone steps, each one simple enough for a single afternoon. You will find fairy touches, storybook corners, and twinkling details that guests remember long after they leave. For even more tiny magic, explore these fairy garden ideas to pair with your favorite looks below.
Fairy Light Canopy
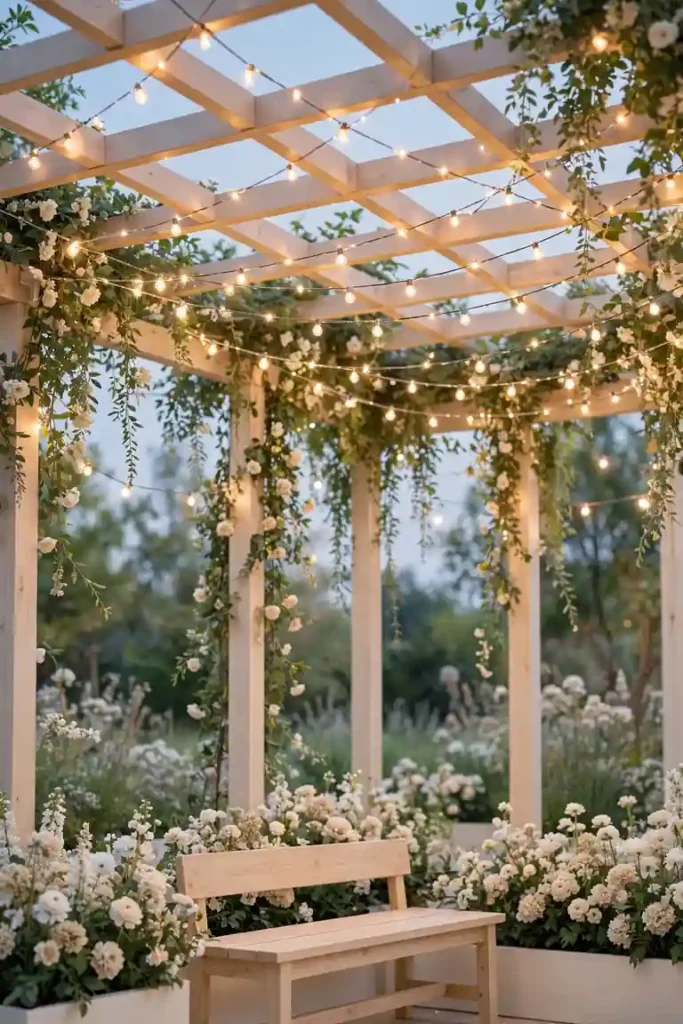
Evenings glow differently once strings of fairy lights crisscross above the garden beds. The soft shimmer lands on leaves and petals like fallen stars. Guests linger longer when the whole yard hums with warm light. A few strands over a small patio deliver the same spell as a big installation.
Hang them from shepherd’s hooks or drape them across a pergola in loose swags. Solar strands save on wiring and switch on by themselves at dusk. The result feels straight out of a storybook, and neighbors slow down to peek. Start with one strand and add more each season, weather permitting.
Mushroom Ring Path

- Trace a winding line through the beds with flat stepping stones, leaving soft gaps between them.
- Tuck clusters of mushroom ornaments in red, cream, and speckled white between the stones.
- Add low tufts of moss or creeping thyme around each stone edge for softness.
- Edge the whole path with small solar toadstool lights for nighttime charm.
- Finish with a crooked wooden sign pointing toward the fairy trail.
Kids will invent entire worlds along this trail, and adults smile just as much. I’ve seen this work well in many spots where a plain path needed personality. Keep the curves loose, because straight lines kill the magic. A little mulch between stones keeps weeds from stealing the show.
Teacup Planter Tower

Quick Tip: Stack three mismatched teacups on a sturdy dowel sunk into a large pot, then fill each cup with tiny succulents or trailing sedum. Drill a small drain hole in each cup first so rainwater never pools. Glue felt pads under each cup so they sit steady on the dowel.
Vintage shops sell chipped teacups for pennies, and the tower suits patios with zero soil. Tuck it near the kitchen door so you see it daily. Water sparingly, since teacups dry out fast in summer sun. I’ve noticed sedum handles neglect better than fussy flowers. Swap cups each spring for a fresh look.
Enchanted Birdhouse Village
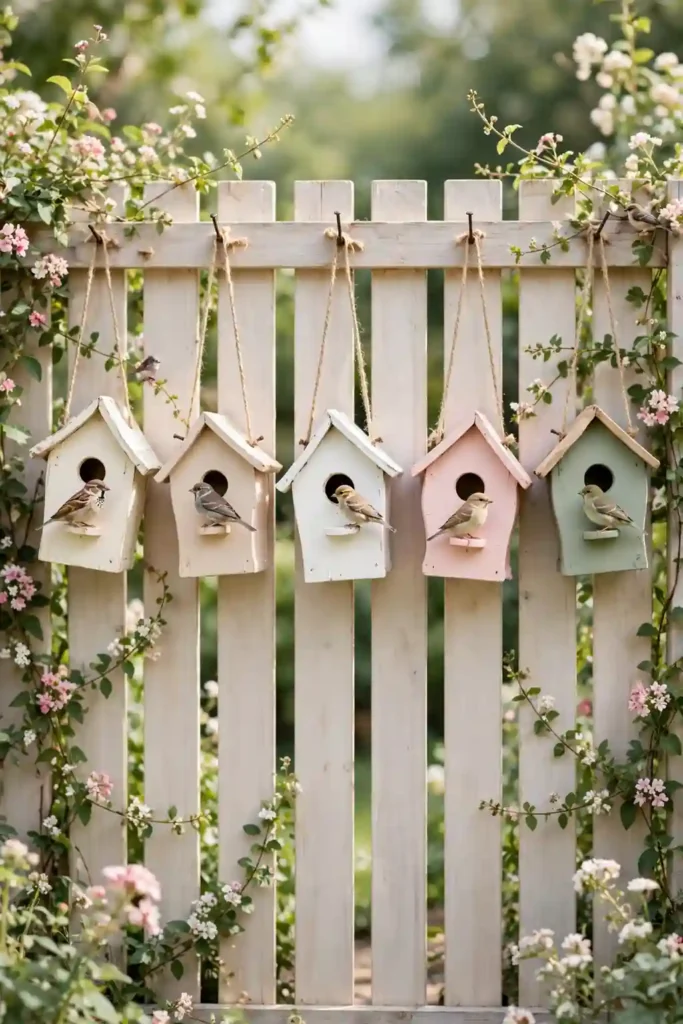
BEFORE: A plain fence line stood bare, offering birds nowhere to land and visitors nothing to admire. The corner felt forgotten and honestly a little sad.
AFTER: Now five tiny birdhouses in crooked shapes climb the fence in a row, each painted a different pastel shade. Wrens and chickadees moved in within a week, and the corner buzzes with life.
Paint houses before mounting so color reaches every crevice. Add a small perch dowel to each front. In my experience, birds choose the quirky crooked houses over perfect store-bought ones every time. Clean out nests each fall so new families move in. A dab of wood glue keeps roofs on through storms.
Storybook Reading Nook

- Pick a shady corner and lay a weatherproof rug or pallet platform as the base.
- Surround it with tall planters so vines and flowers close the nook in gently.
- Add a comfy chair or floor cushions plus a small side table for tea.
- Hang a string of fairy lights overhead so the spot works after sunset.
This becomes the garden’s most claimed seat, morning coffee and bedtime stories included. For finishing touches, browse these flower bed ideas in front of house and pick pieces that match your nook’s mood. Add a blanket basket so readers stay cozy when evenings cool. A small rug underfoot makes it feel like a real room.
Whimsy Wind Chime Corner
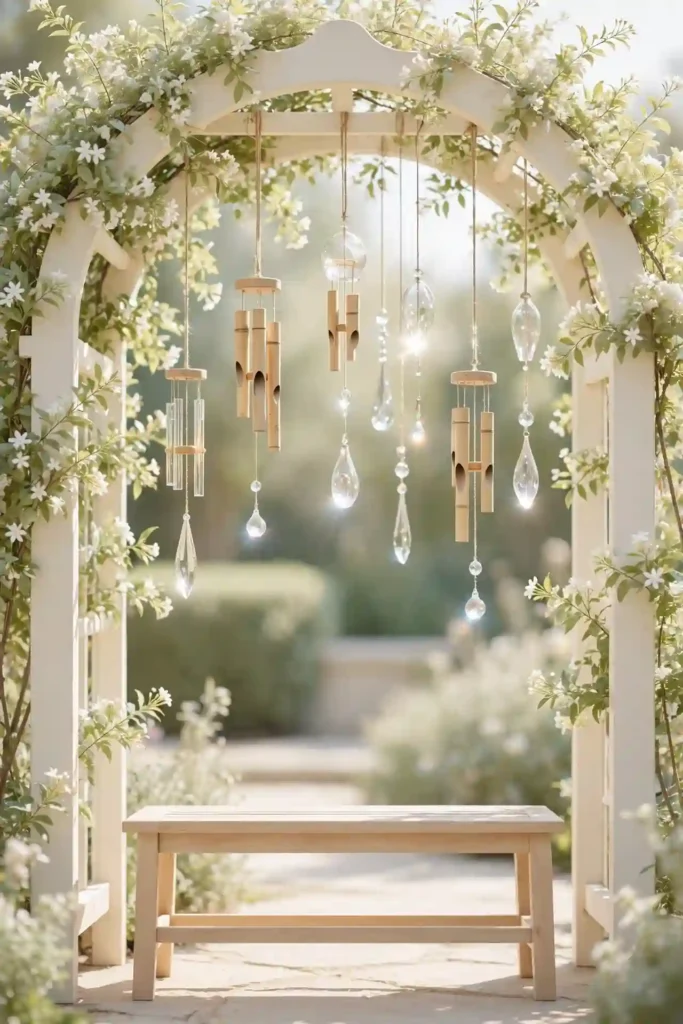
Chimes come in many moods, and these two favorites suit different corners. Both sound lovely, but they ask for different spots and budgets.
| Bamboo Chimes | Glass Chimes | |
| Material | Hollow bamboo tubes | Hand-blown glass pieces |
| Sound | Soft wooden knock | Bright gentle tinkle |
| Best Spot | Shaded porch corner | Sunny fence with breeze |
| Cost | Budget-friendly | Mid range |
Hang chimes where the breeze actually travels, near a corner or between posts. Lower heights catch more wind. I’ve noticed bamboo chimes last years outdoors while painted metal ones flake fast. Keep them away from bedroom windows if you sleep light. Oil bamboo tubes each spring to prevent cracks.
Mossy Stone Cottage Steps

DO:
- Do scrub stones with a wire brush so moss slurry sticks well.
- Do paint slurry from buttermilk and moss onto shady spots.
- Do keep new moss damp for the first three weeks.
- Do choose flat stones with rough texture.
DON’T:
- Don’t place steps in full sun, since moss crisps fast.
- Don’t seal stones with clear coat over the moss.
- Don’t walk on fresh moss for two weeks.
- Don’t expect instant coverage, because it spreads slowly.
Patience pays off beautifully with moss. In my experience, shady north-facing stones green up within a month. Skip this project if your garden bakes all afternoon, since moss needs cool damp corners. A light mist each morning speeds things along nicely. Soon the steps look centuries old.
Butterfly Puddle Station
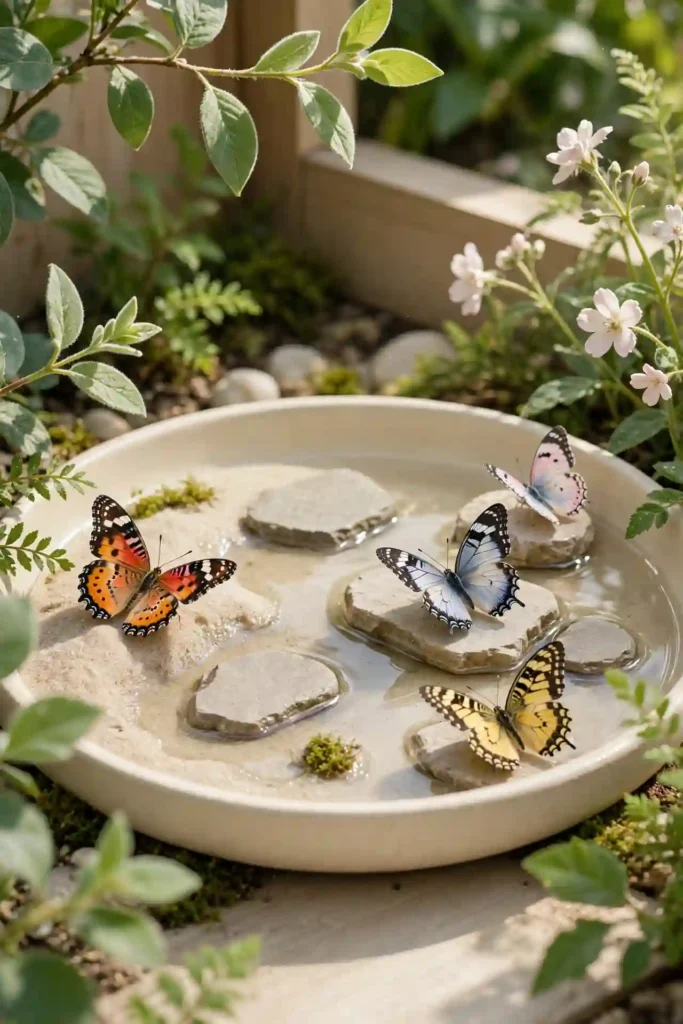
Cost: Under ten dollars | Time: One hour | Skill Level: Beginner | Best For: Shady garden corners
A puddling station gives butterflies the minerals plain water lacks. Spread damp sand in a shallow dish and press a few flat stones into it for landing spots. A pinch of salt mixed through the sand draws them in. Place the dish in a shady corner where cats rarely prowl.
Butterflies land to sip minerals with wings opening wide, and I’ve noticed they return daily once they find it. Refresh the water each morning so it stays clean. Set the dish near flowers but out of the wind.
Gnome Gathering Grove
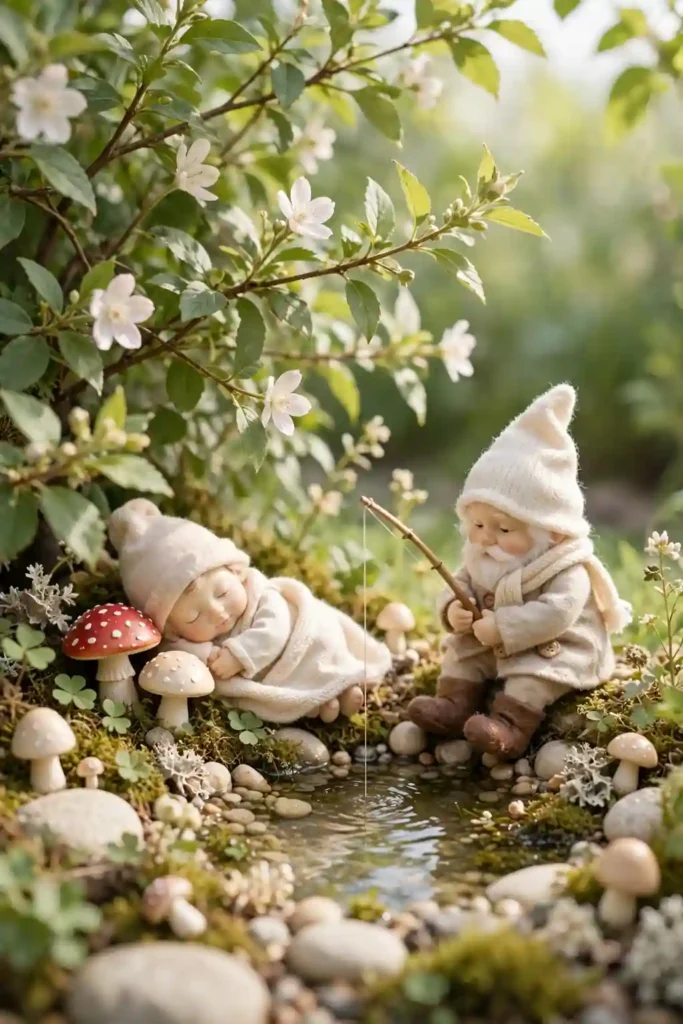
A cluster of gnomes tucked beneath a bush feels like a secret neighborhood springing to life. Give each one a tiny job: one fishes in a pebble pond, another naps by a mushroom, a third guards the gate. Painted pebbles become their tiny garden paths.
Keep groupings odd-numbered and partly hidden for the best effect. Partially buried gnomes look more natural than ones standing in a row. Neighbors will stop to peek, and kids will invent stories about each resident. Swap their spots each season to keep the grove surprising. A hidden door in the bush makes the grove feel inhabited.
Lantern Lit Garden Lane
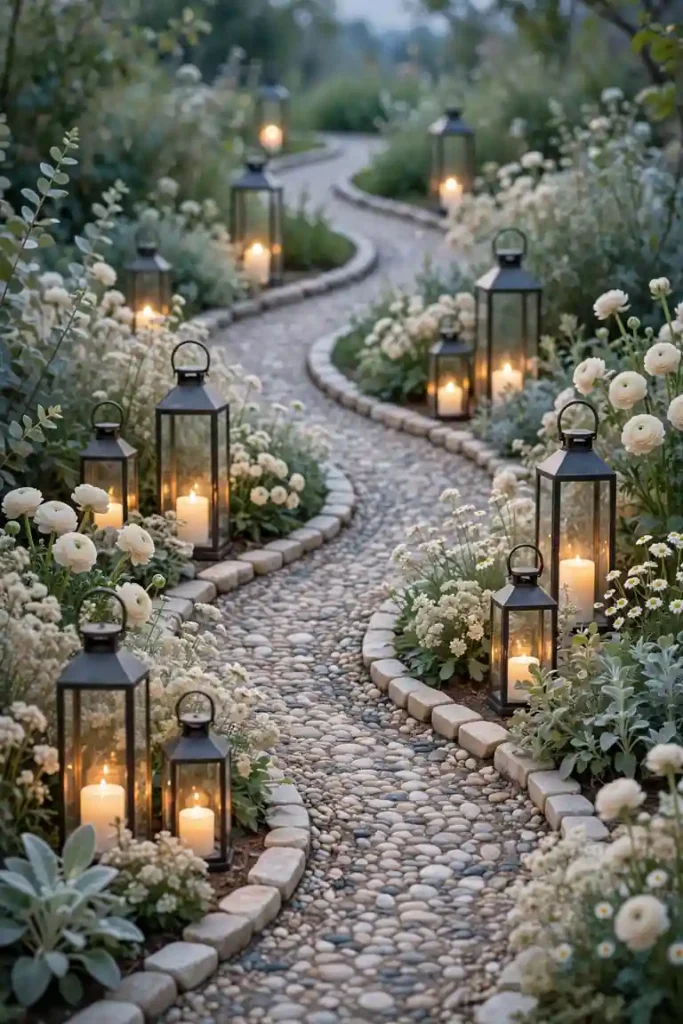
- Line a path with metal lanterns in mixed heights, two or three per cluster.
- Use warm LED candles inside so nothing blows out or burns.
- Set lanterns slightly off-center from the path for a natural feel.
- Add one taller shepherd’s hook lantern at each bend.
- Connect the look with matching lanterns on the porch.
Lanterns turn an ordinary path into an evening event. The flicker effect sells the magic more than brightness does. Store glass lanterns under cover through winter so they survive for years. Timer candles switch on by themselves at dusk. LED candles never melt or drip. Guests always comment on the glow.
Twinkle Twig Trellis
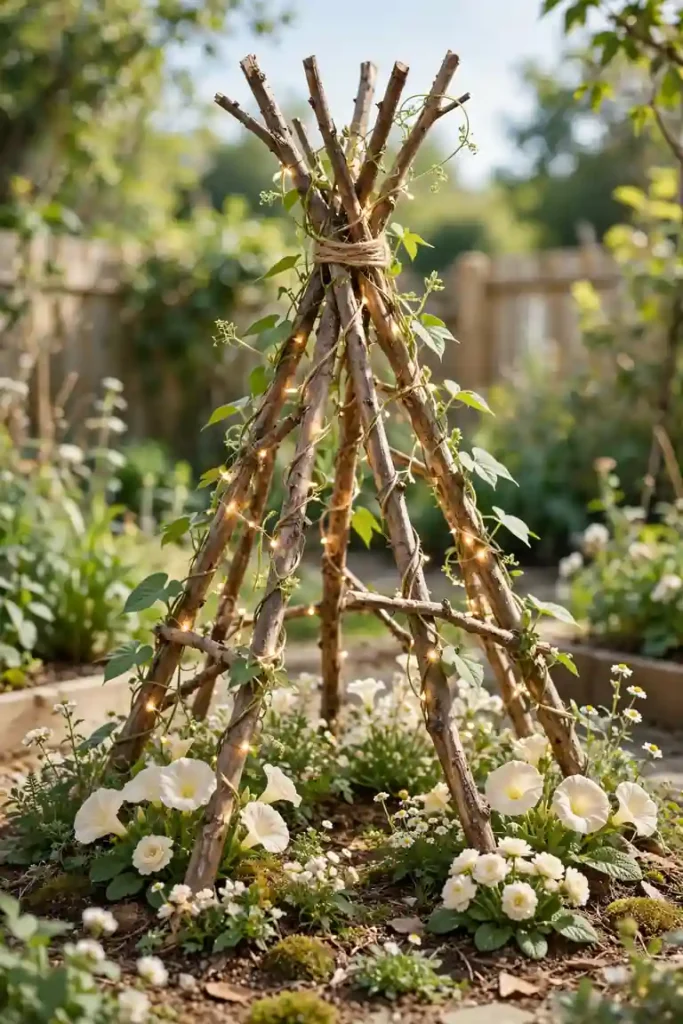
Quick Tip: Gather fallen branches and tie them into a rough teepee shape with garden twine, then wind warm fairy lights around every branch. Anchor the base deep in soil so wind cannot topple it. Plant a fast climber at the base so vines soon hide the twigs.
Morning glory climbs the teepee and the lights peek through leaves like fireflies. I keep mine up all season, then rebuild fresh each spring. Kids love ducking inside the little tent. Water the climber daily through the first hot weeks. By August the whole thing blooms nonstop. Fall cleanup takes ten minutes with pruning shears.
Wildflower Whisper Meadow

BEFORE: The far corner grew patchy grass and weeds no one wanted to mow. It looked tired, honestly, and the mower struggled there every week.
AFTER: Now a sown wildflower strip ripples with poppies, cornflowers, and daisies from June onward. Bees hum through it all day, and the corner earns compliments from everyone.
Scatter seed in fall for the strongest spring show. Press seeds gently into bare soil and water lightly. That’s why many experts recommend a thin straw mulch over fresh seedings. Leave the patch standing through winter for bird food. Cut it back just once in early spring.
Painted Pebble Parade
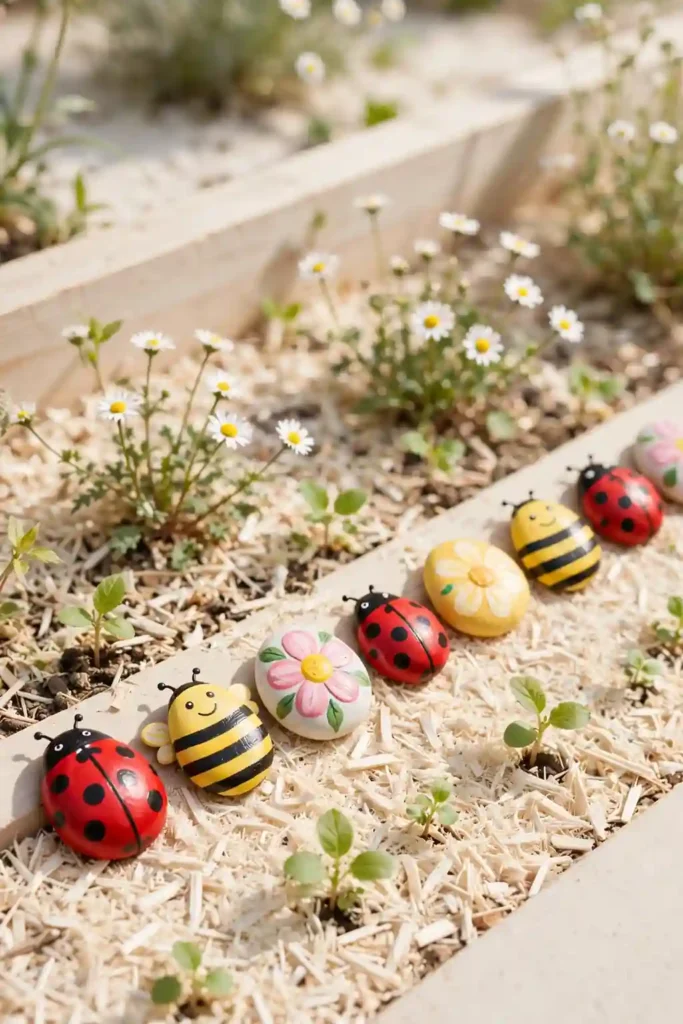
- Collect smooth flat pebbles from the garden or a craft store bag.
- Wash and dry them, then paint each one with bright cheerful patterns.
- Dot tiny ladybugs, bees, and flowers with a fine brush.
- Seal with outdoor varnish and line them along bed edges.
- Hide a few around the garden for a treasure hunt.
Kids paint pebbles happily for hours. The varnish keeps colors bright through two seasons. Replace a few each spring and the parade never ages. I’ve noticed grandparents love receiving a painted pebble as a gift. Store extra pebbles in a bucket for rainy day crafts. The whole project costs almost nothing.
Hobbit Door Hideaway
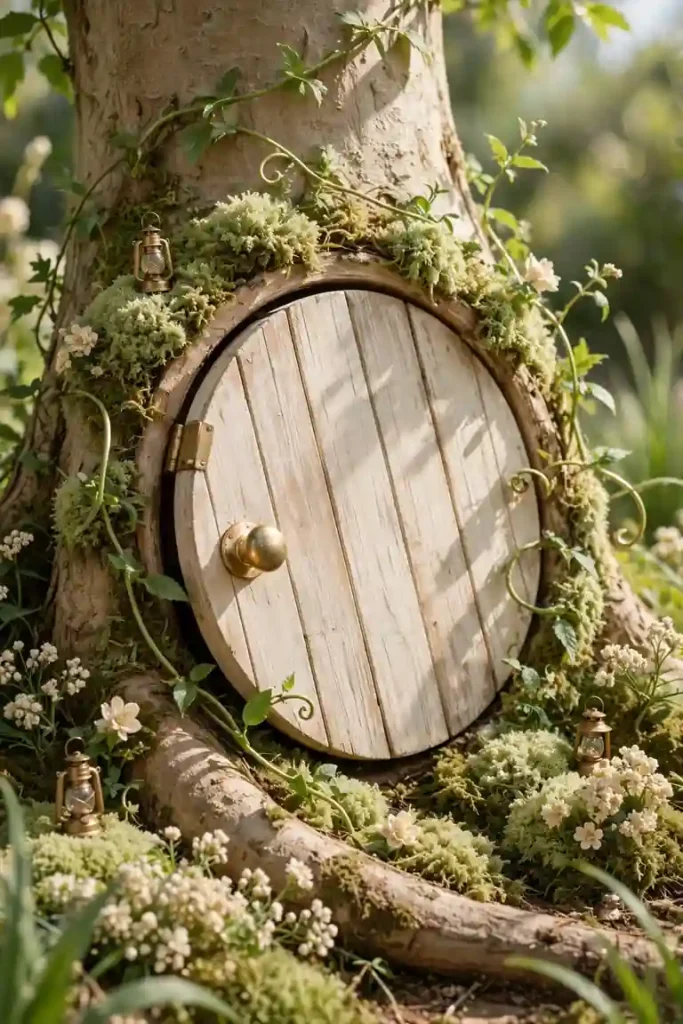
A hobbit door suits two favorite locations, and each one sets a different mood. Both take an afternoon, and both delight every age.
| Tree Base | Shed Wall | |
| Door frame | Small cedar arch | Salvaged window frame |
| Decor | Soft moss and tiny lantern | Flower boxes and vines |
| Effect | Woodland hideout | Storybook cottage |
| Cost | Almost free | Low |
Mount the door slightly tilted for extra storybook crookedness. A tiny brass knob sells the illusion. Leave it ajar just a crack so imaginations run wild about what lives inside. Kids will check daily for fairy visitors. Weatherproof paint keeps the door fresh for years. Add a tiny welcome mat for extra charm.
Pixie Dust Swing Seat
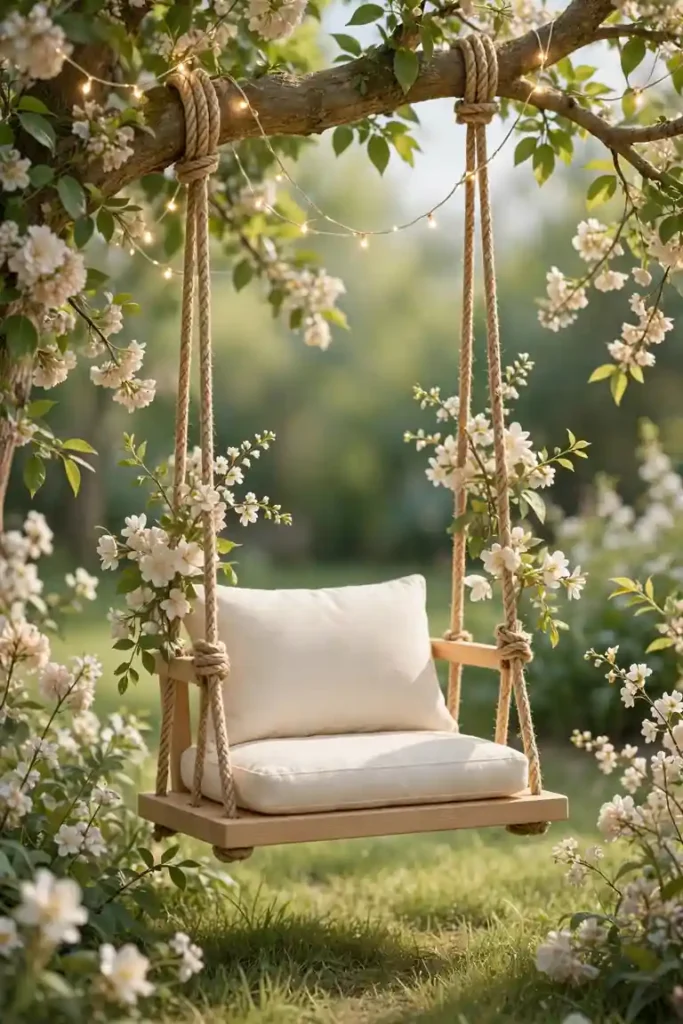
DO:
- Do hang the swing from a tested branch or a sturdy frame.
- Do use rope thick enough to grip comfortably.
- Do place soft plantings, not stone, beneath the seat.
- Do add outdoor cushions for long sits.
DON’T:
- Don’t skip checking the branch strength each spring.
- Don’t hang swings over water features.
- Don’t use indoor rope that rots in rain.
- Don’t forget a small canopy for sun protection.
A slow evening swing under fairy lights resets any rough day. I’ve seen this work well in spots where gardens needed a gathering point. Keep the seat low enough that little legs reach the ground. A small side table holds books and lemonade. Guests fight over this seat.
Vintage Bicycle Bloom Rack

Cost: Low to medium | Time: One weekend | Skill Level: Beginner | Best For: Fences and garden walls
Lean a vintage bike against a wall and fill its basket and frame with trailing blooms. Petunias and sweet potato vine spill beautifully over old metal. Wire small pots to the spokes for extra color. Add a small wicker basket to the handlebars too.
The whole setup reads as a rolling garden, and it costs almost nothing if the bike came from a yard sale. Water pots daily since they dry fast in the wind. I’ve noticed this display stops foot traffic like nothing else.
Starry Night Sky Pots

Navy pots dotted with gold stars glow like the night sky on a patio table. Paint constellations freehand or use star stickers as stencils. Group three in different sizes for a constellation family that anchors the table. Kids love helping with the star painting. A clear sealant keeps the stars bright through rain.
Plant silver-blue foliage inside so the colors keep the night theme going. Dusty miller and blue fescue suit perfectly. Visitors always ask about these pots first, so place them where guests gather. A tiny solar star light inside adds evening magic. They suit porches and balconies alike.
Toadstool Seat Circle
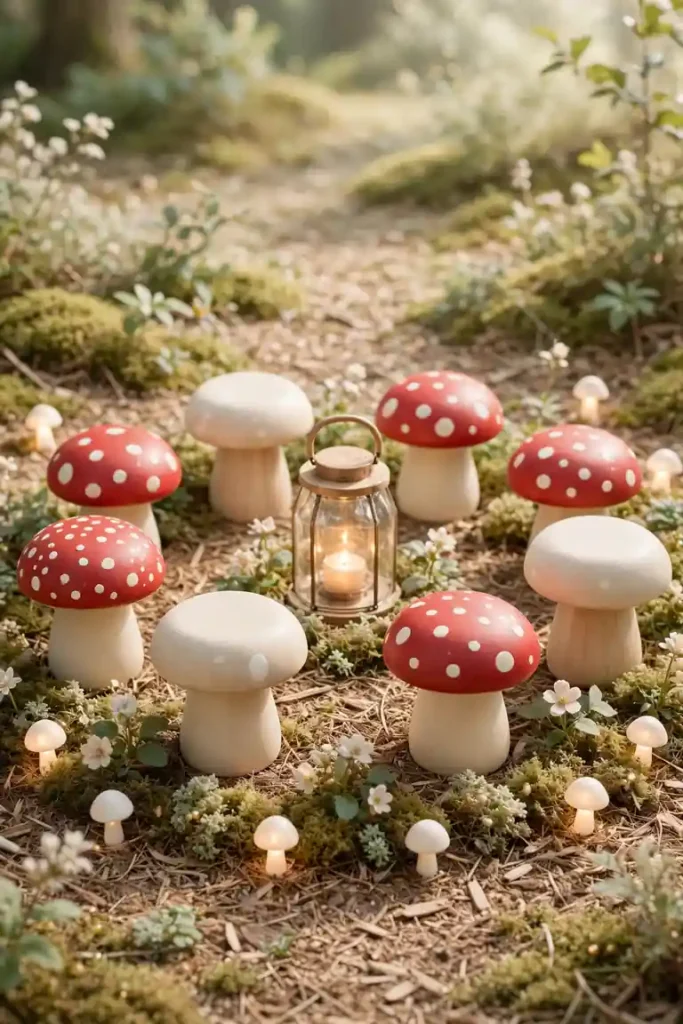
- Arrange three to five toadstool stools in a loose circle on mulch.
- Choose stools in red, cream, and spotted patterns for storybook feel.
- Plant low groundcover between the stools so they settle in naturally.
- Add a tiny fire pit or lantern at the circle’s center.
- Scatter a few mushroom path lights around the edges.
This circle becomes the favorite hangout for kids and story time. Weatherproof stools last for seasons with zero care. In my experience, a small rug underneath keeps feet clean and defines the space. Add a tiny side table for snacks and drinks. Evenings around the lantern feel magical.
Whispering Willow Corner
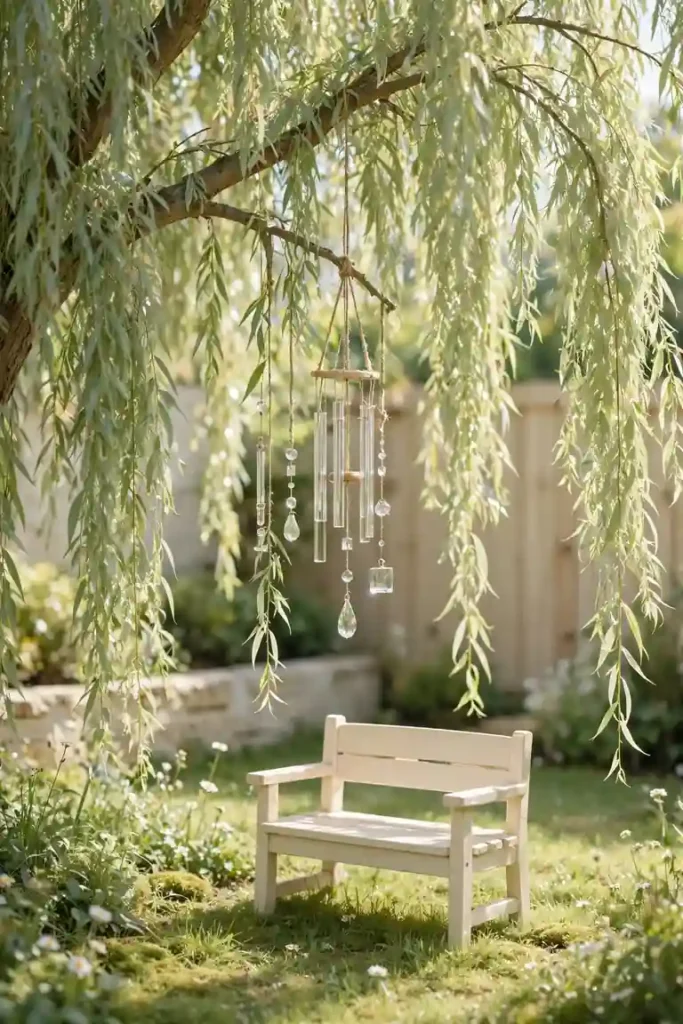
Quick Tip: Weeping willow branches root easily from cuttings pushed straight into damp soil. Keep new cuttings watered daily through the first summer. In three years the corner gains real privacy and shade. Take cuttings in early spring for the best rooting.
The long branches sway and murmur in every breeze, giving the corner its name. Hang one glass chime from a low limb for extra music. Plan for size, since willows grow large and thirsty. A bench beneath the branches makes the perfect reading spot. Keep willows far from pipes and foundations. Mulch thickly to hold moisture through dry spells.
Sun Catcher Spiral

BEFORE: The vegetable bed corner held nothing decorative, just bare stakes and string. It worked fine, but nobody ever looked twice.
AFTER: Now a spiral of glass sun catchers spins above the beans, throwing rainbow dots across the soil. The corner sparkles from dawn to dusk, and harvest visits feel festive. Bees seem unbothered by the glitter.
Hang catchers at staggered heights from a copper pipe arc. Rain rinses them naturally. I swap a few pieces each season so the spiral keeps surprising me. Stainless wire holds up better than string. Space them so they never tangle in wind. Kids love spotting the rainbow dots.
Dainty Dewdrop Path Lights

- Choose teardrop-shaped solar lights in frosted glass.
- Press the stakes along path edges, spacing them two feet apart.
- Angle each globe slightly toward the walking surface.
- Let them charge a full day before the first evening.
- Test one light at night before staking them all.
These glow like dewdrops caught in the grass, subtle rather than glaring. Frosted glass spreads the light softly. Replace the rechargeable batteries each spring for steady brightness. Wipe globes clean each month for full glow. They recharge even on cloudy days. Guests always ask where you found them. The effect beats harsh floodlights every time.
Cottage Window Box Garden
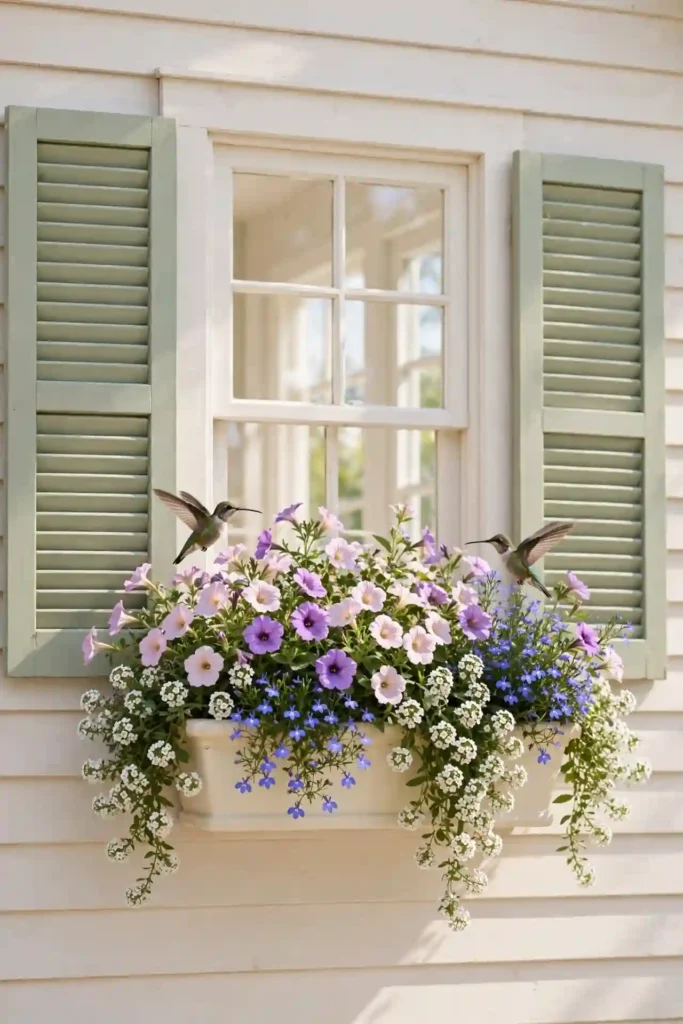
Window boxes shine in two styles, and each one brings its own kind of charm. Both take an afternoon to plant, and both spill color all summer.
| Floral Overflow | Herb Mix | |
| Plants | Petunias, lobelia, alyssum | Basil, thyme, trailing rosemary |
| Watering | Daily in summer heat | Every other day |
| Look | Storybook cottage | Kitchen garden charm |
| Bonus | Attracts hummingbirds | Snip herbs for dinner |
Line boxes with coconut fiber so soil stays moist longer. Mount brackets into studs or masonry for safety. Refresh spent blooms weekly to keep both styles blooming nonstop. Herb boxes earn their keep at dinner time. Deadhead petunias twice a week for best color.
Dreamy Hammock Hideout
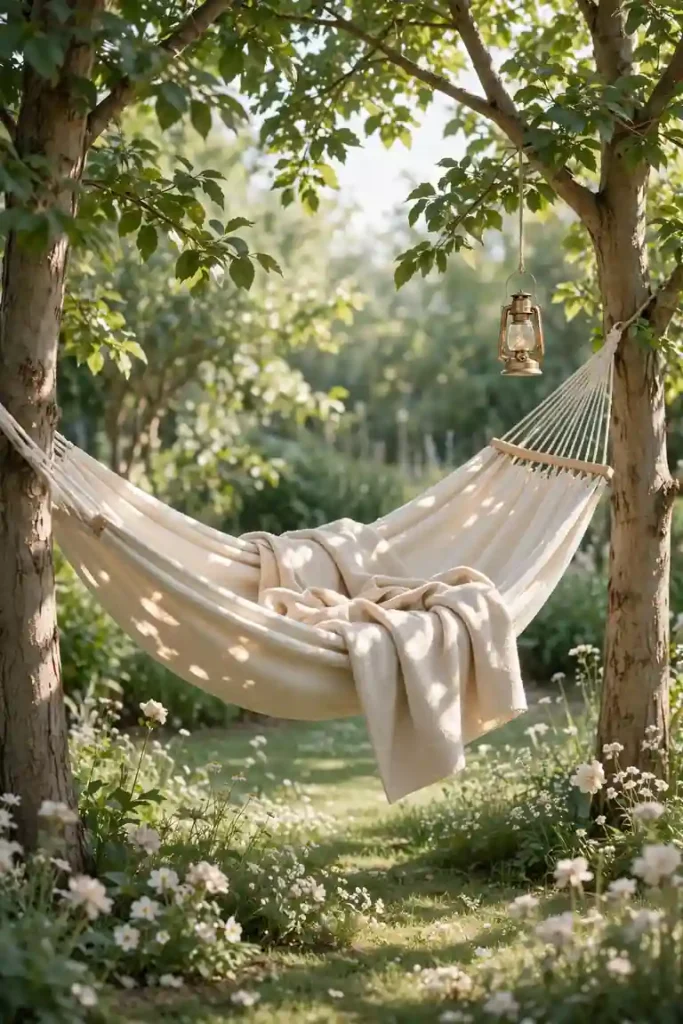
DO:
- Do string the hammock between two strong trees or posts.
- Do add a weatherproof blanket for cool evenings.
- Do hang a small lantern on one support.
- Do keep a side stool for books and drinks.
DON’T:
- Don’t hang a hammock more than a foot off the ground.
- Don’t leave fabric out through heavy storms.
- Don’t string it over sharp rocks or edging.
- Don’t overload it beyond the weight rating.
An afternoon nap in a garden hammock beats any indoor couch. The canopy of leaves above makes dappled light. String fairy lights nearby so the hideout works for evening reading too. A mosquito net turns buggy nights into calm ones. You will claim this spot daily.
Conclusion
These ideas prove any yard can grow a little magic with paint, lights, and imagination. Start with one project this weekend and watch your garden’s mood shift by sunset. Your backyard deserves a touch of storybook charm, and these whimsical garden ideas make it easy. Save this post to your Pinterest board so every project waits when you need inspiration. Try two or three looks, mix them freely, and share your favorites with friends. I’ve seen how small changes like these can completely shift the way a space feels. Happy gardening, and may your evenings glow.






2 Comments