21 Flower Bed Ideas in Front of House for Stunning Curb Appeal
These flower bed ideas in front of house can completely change how your home looks from the street, and the best part is that most of them are easy weekend projects. A well-planned bed frames your entry, adds color through the seasons, and makes the whole front yard feel cared for without demanding constant upkeep.
Below you will find beds for sunny spots, shady corners, narrow strips, and wide open lawns, so there is a plan here no matter what your frontage looks like. Pick the ones that match your light and your maintenance style, then layer in taller plants at the back and low edging plants at the front for that polished look. For more front yard inspiration, browse these wedding reception table decor ideas for event-ready styling tricks that translate surprisingly well to garden beds.
Layered Cottage Bloom

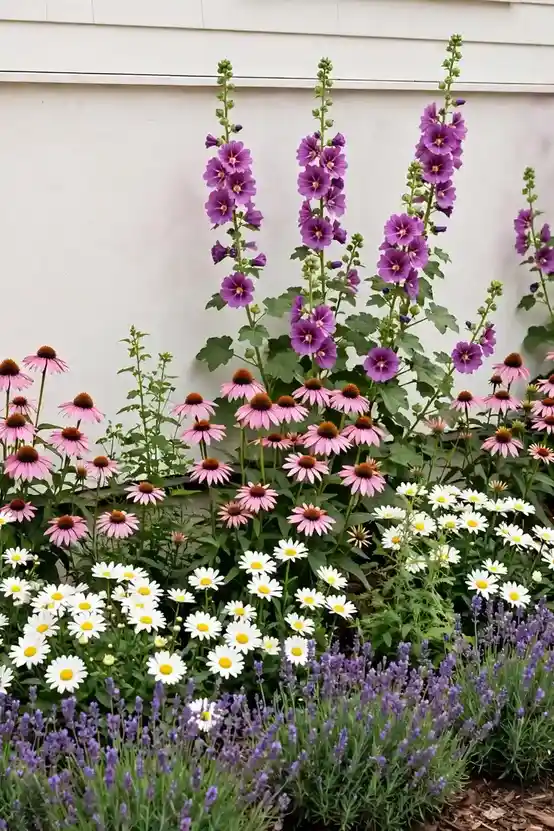
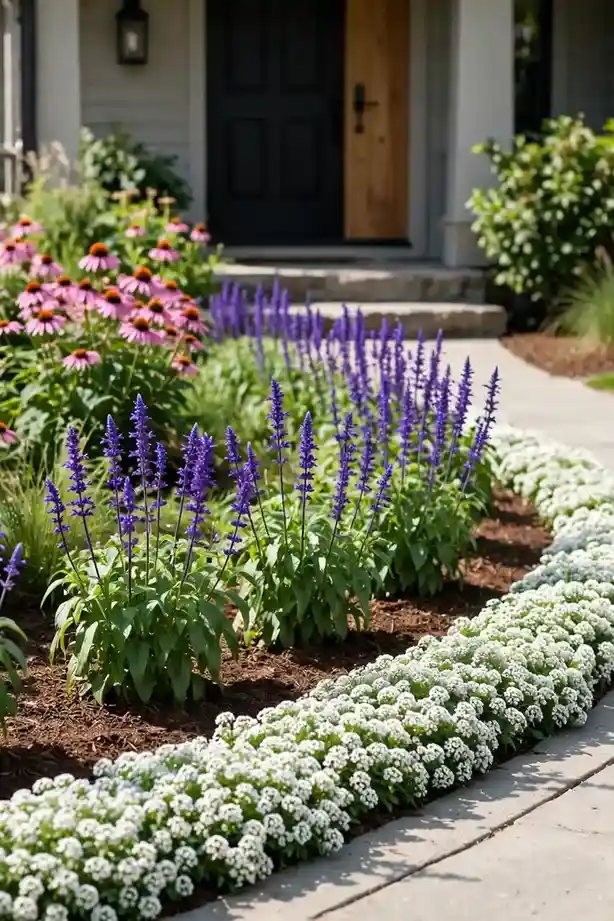
Cottage-style layering turns a plain strip of soil into a storybook bed that looks full from the first summer on. Set low edging plants like lavender along the front, mid-height blooms such as coneflowers in the middle band, and tall hollyhocks against the back wall. Repeating each plant in groups of three or five keeps the look natural, and overlapping foliage shades out weeds so the bed needs less water.
In my experience, the secret to a cottage bed that thrives is giving each plant its full mature spacing at planting time. New gardeners often pack everything tight for instant fullness, then spend years thinning overcrowded clumps. Fill the temporary gaps with bark mulch or a quick row of sweet alyssum for the first season only.
Stone Border Edge
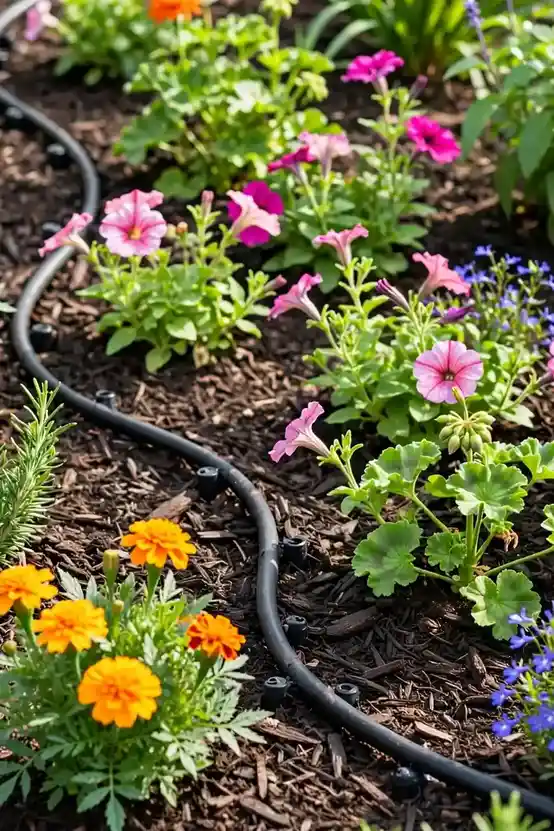
- Dry-stacked fieldstone gives a relaxed, timeless edge that works with almost any house style.
- A single-course brick border costs little and keeps mower blades away from delicate stems.
- Set stones slightly below soil level so mulch stays inside the bed after heavy rain.
- For a modern look, use long steel landscape edging with a rusted or black finish.
- Reclaimed chunks of broken concrete can form a rugged mosaic edge for next to nothing.
I have seen this work well in many cases: a crisp edge makes even a simple planting look intentional and finished. Spend an afternoon defining the bed line with a half-moon edger first, then lay your border material on fresh soil. The edge also stops grass from creeping in, which saves hours of trimming later.
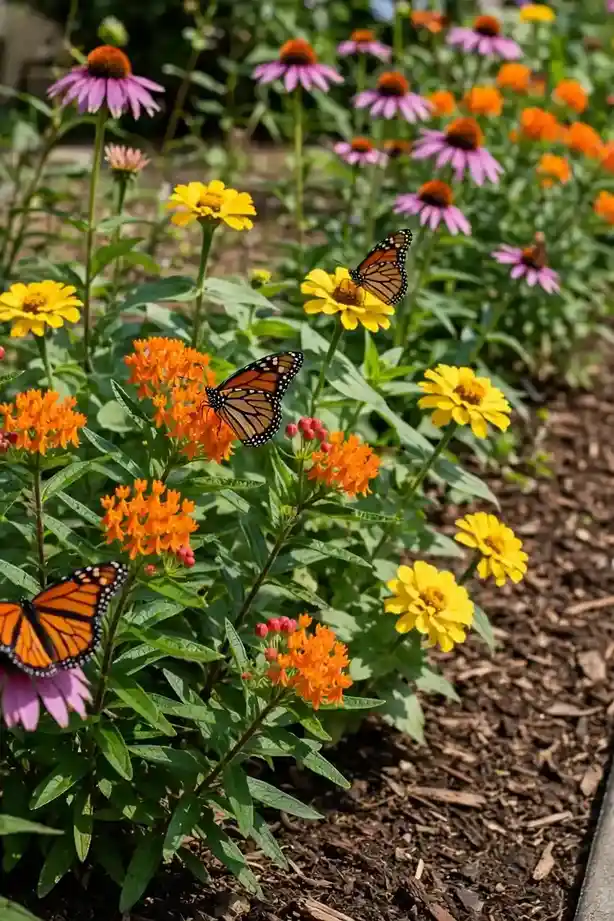
Monarch Waystation Strip
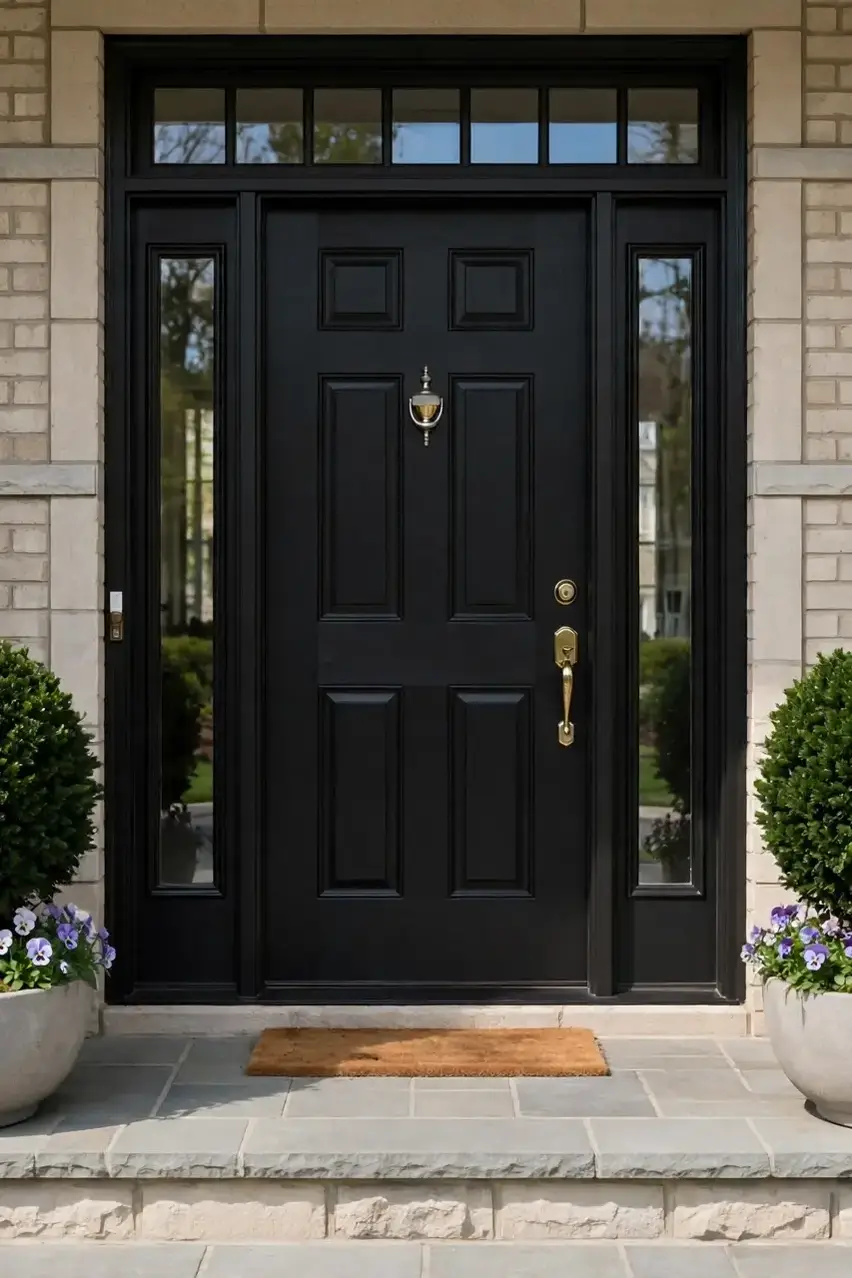
A narrow strip along the driveway or walkway can become a working waystation without taking over the whole front yard. Skip pesticides, since even organic sprays can harm caterpillars, and leave the seed heads standing through fall so migrating butterflies have late-season fuel. Watching the first chrysalis open on your own porch steps feels magical.
White Fence Pop
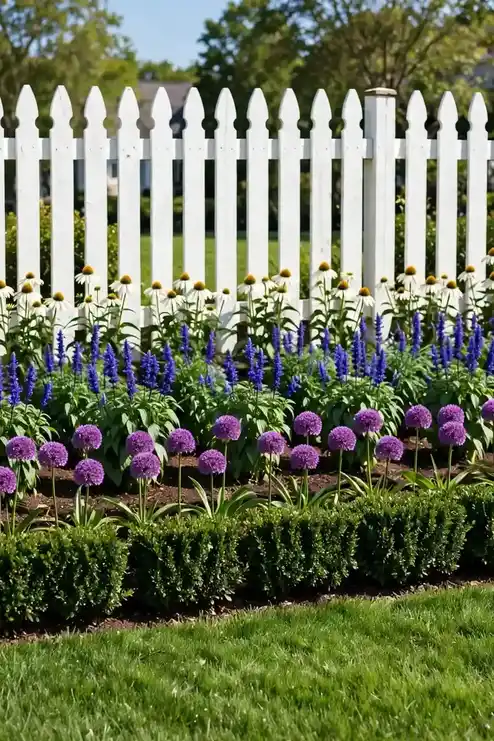
Before: a flat lawn runs straight to the house foundation, and the white picket fence stands bare against green grass with nothing to soften the line.
After: a deep bed of white coneflowers, blue salvia, and purple alliums runs the full length of the fence, with a low boxwood hedge in front for structure. The repeating color echoes the fence paint, and the bed makes the whole front yard look professionally designed.
Matching bloom colors to your fence or trim creates instant cohesion without buying a single new plant in a fancy color. Whites and silvers glow in evening light, which matters because this is the view your neighbors see most. Keep the bed depth at least three feet so plants have room to layer.
Corner Island Bed
- Mark an oval about eight by ten feet at the corner where two sidewalk or property lines meet.
- Dig out the sod, loosen the soil twelve inches deep, and mix in two inches of compost.
- Plant a small ornamental tree or large shrub in the center, ring it with mid-height perennials, and edge the whole island with low groundcover.
- Mulch three inches deep and water deeply once a week for the first season.
A corner island draws the eye away from awkward lot lines and gives the front yard a focal point from the street. In my experience, the center anchor is what makes it work, so choose a tree with interesting bark or multi-season color. Underplant with something evergreen so the island never looks empty in winter.
Native versus Tropical
| Native Plants | Tropical Plants | |
|---|---|---|
| Water needs | Low once established | High, daily in heat |
| Winter care | Dies back, returns | Must be replaced yearly |
| Wildlife value | Feeds local pollinators | Mostly ornamental value |
| Upfront cost | Moderate | High for large specimens |
| Maintenance | Prune once a year | Deadhead constantly |
| Bloom season | Long, staggered bloom | Bold summer-only show |
Native plants almost always win for front-of-house beds because they shrug off local weather and pests with far less fuss. Tropicals deliver instant drama, but budget for replacing them each spring in frost zones. That’s why many experts recommend native bones for structure, plus a few tropical accents in pots for summer punch.
Porch Path Landing
Do:
- Do flare the bed wider where the path meets the porch for a welcoming landing.
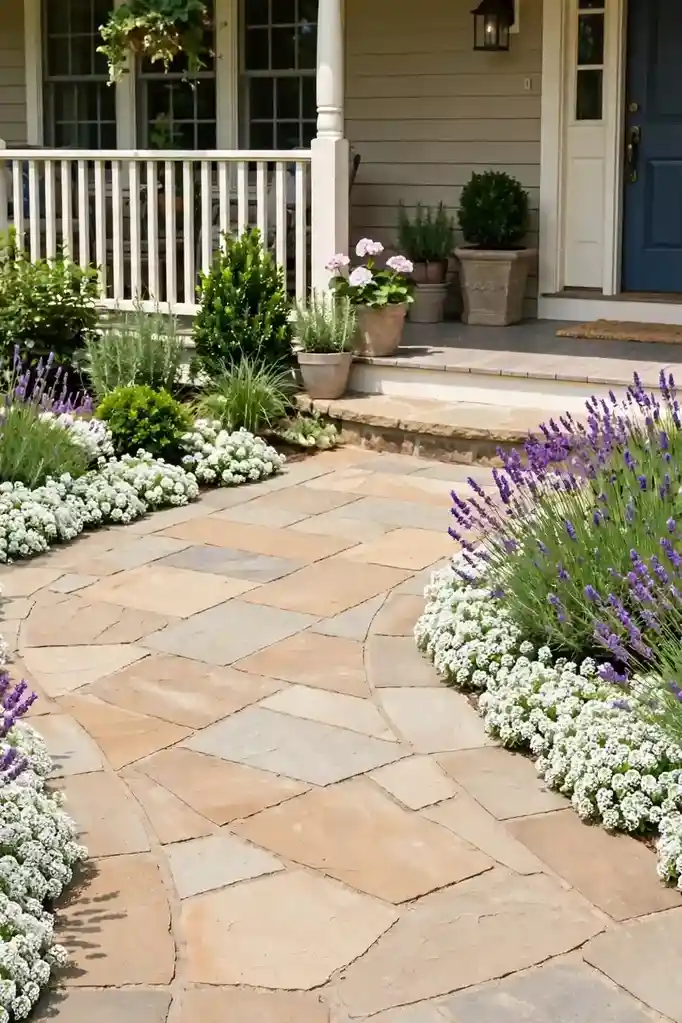
- Do use fragrant plants like sweet alyssum or lavender where guests brush past.
- Do keep mature heights under the porch railing so the entry stays visible.
Don’t:
- Don’t plant thorny roses right at the path edge where sleeves catch.
- Don’t let mulch pile against wooden posts, which invites rot.
- Don’t choose plants that drop messy fruit onto a light-colored walkway.
The landing where the path meets the porch gets more foot traffic than any other bed, so durability matters as much as looks. Tuck in tough, low plants that bounce back when brushed, and refresh the mulch each spring so the entry reads clean. Guests notice this bed before they ever ring the bell.
Mailbox Flower Skirt
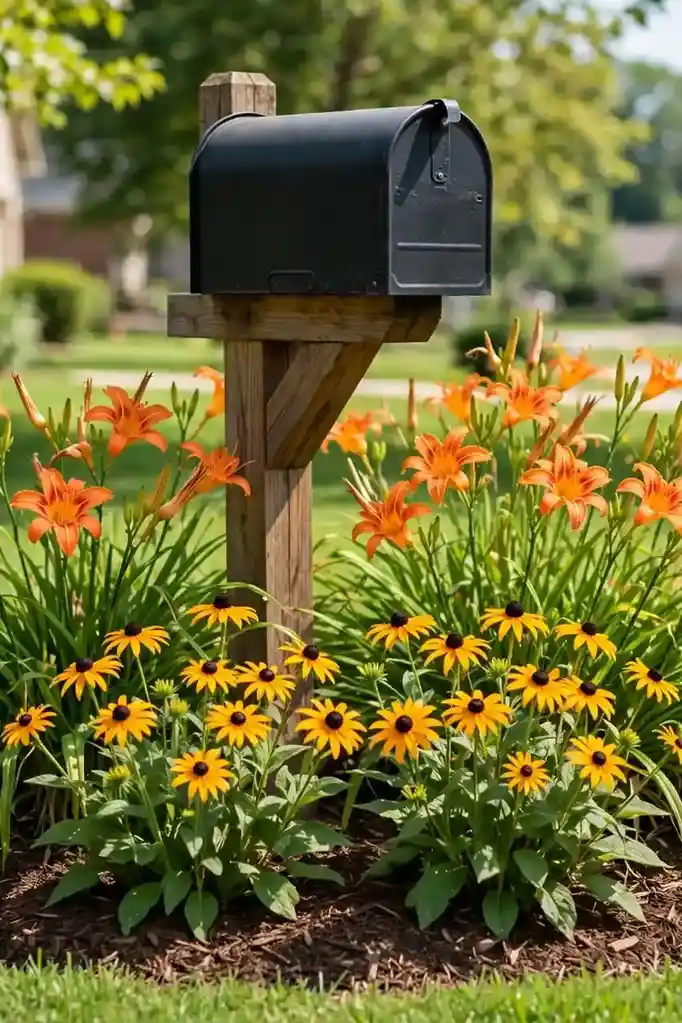
- Best size: A generous ring 3 to 4 feet wide around the post base.
- Toughest picks: daylilies, black-eyed Susans, and ornamental grasses.
- Mail access: Keep plants 12 inches clear of the box door swing.
- Water note: These beds dry fast, so mulch 3 inches deep.
The mailbox bed is small, but it gets seen by passersby, so it punches above its weight for curb appeal. Choose plants that tolerate road salt, heat bouncing off pavement, and the occasional bump from the mail truck. I’ve noticed that a skirt of one flower type looks far tidier than a jumble of leftovers.
Window Box Rhythm

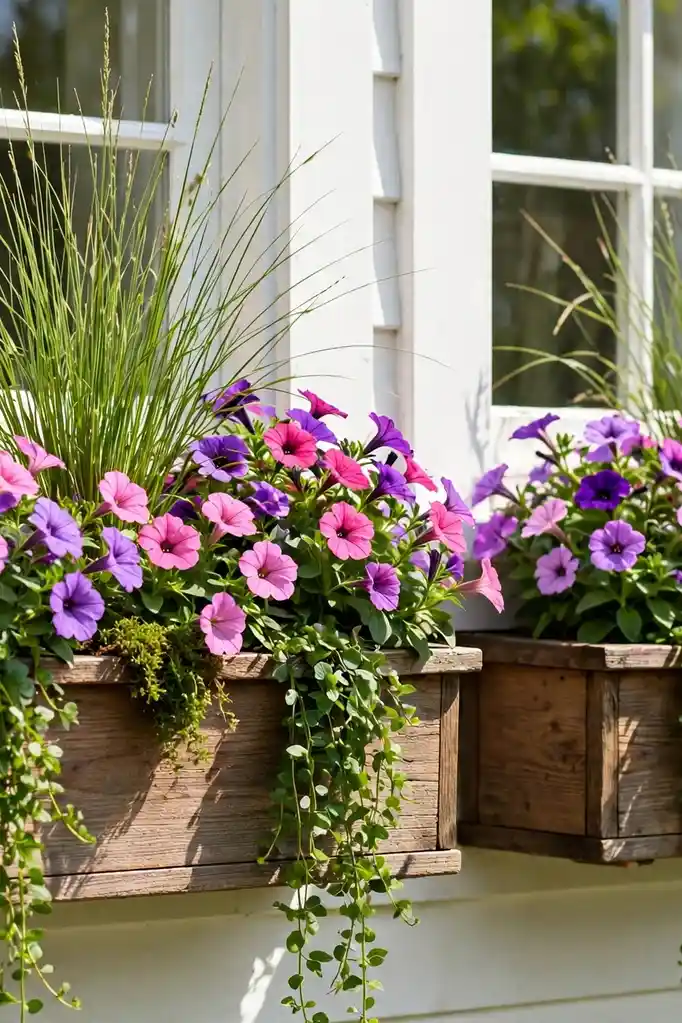
Window boxes read as part of the house itself, so treat them like jewelry for your facade rather than random pots. Line them up under every front-facing window for rhythm, and plant each box with the same thriller, filler, and spiller formula: one upright grass or spike in the center, mounding petunias around it, and trailing sweet potato vine spilling over the front edge.
Because boxes dry out fast in sun and wind, mix water-retaining crystals into the potting soil and check moisture daily in summer. In my experience, a slow-release fertilizer at planting time keeps blooms coming without weekly feeding. Swap in pansies or ornamental kale when temperatures drop so the boxes never sit empty.
Gravel Mulch Contrast
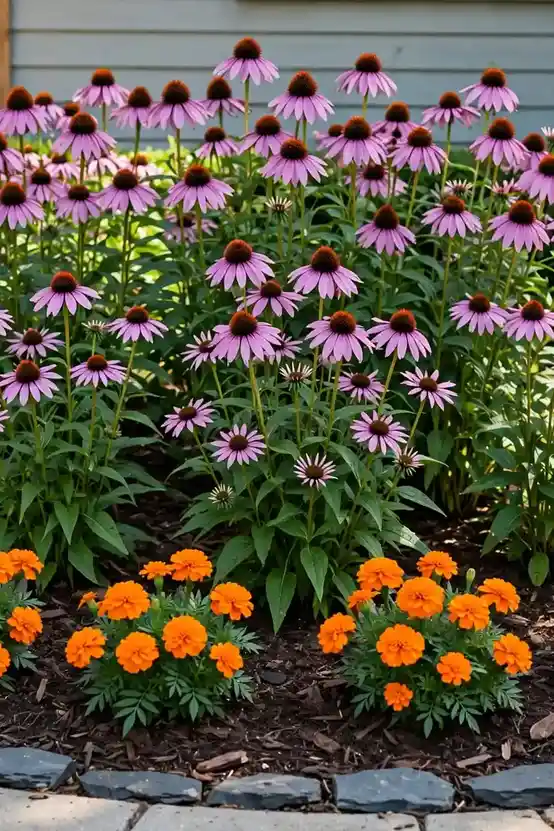
- Pale gravel mulch makes dark green foliage and bright blooms look electric by contrast.
- Use landscape fabric underneath to stop weeds while letting rain drain through.
- A two-inch layer is plenty; thicker gravel can overheat roots in full sun.
- Rinse the gravel once after spreading to wash off dust and brighten the color.
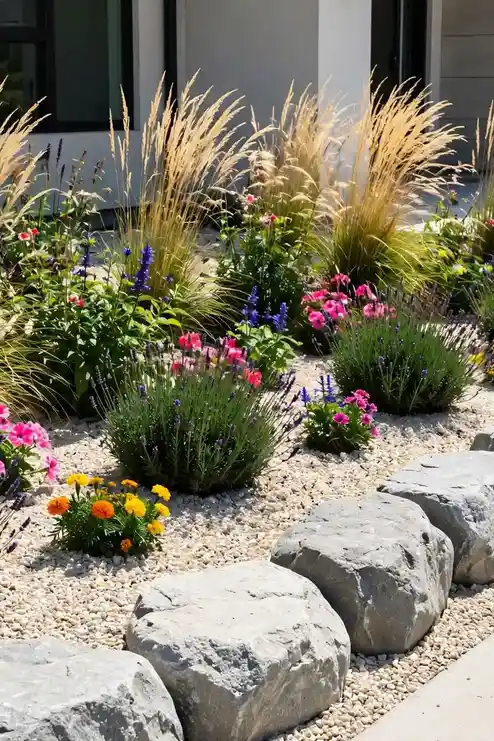
- Edge the bed with larger boulders so the gravel never migrates onto the lawn.
Gravel suits Mediterranean and modern plantings best, especially lavender, agave, and ornamental grasses that hate wet feet. The stone holds heat into the evening, which extends the growing season slightly in cooler zones. Just keep it away from acid-loving plants that prefer bark. Refresh the top layer every couple of years as dust settles in.
Shade Tree Underplanting
Tree roots drink first, so choose plants with similar needs and accept this bed will never be as lush as a sunny one. I’ve seen this work well: a simple carpet of one groundcover under a big tree looks calm and intentional. Skip the lawn grass under the canopy and mulch the drip line instead.
Year-Round Evergreen Base
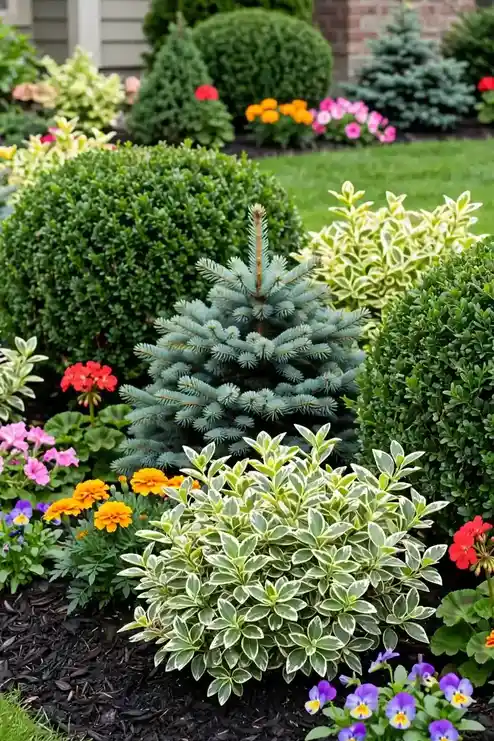
Before: the bed bursts with summer color, then collapses into bare brown soil from November through March, leaving the front of the house looking abandoned all winter.
After: boxwood balls, dwarf spruce, and variegated euonymus form a green skeleton that holds the bed together year-round. Seasonal flowers plug into the gaps each spring and fall, so the bed always has structure no matter what is blooming.
Evergreens are the backbone every front bed needs, especially in climates with long gray winters. Plant them first, spacing for their mature size, then treat annuals as the jewelry you swap each season. The result reads polished in February and festive in July with the same effort.
Drip Line Edging
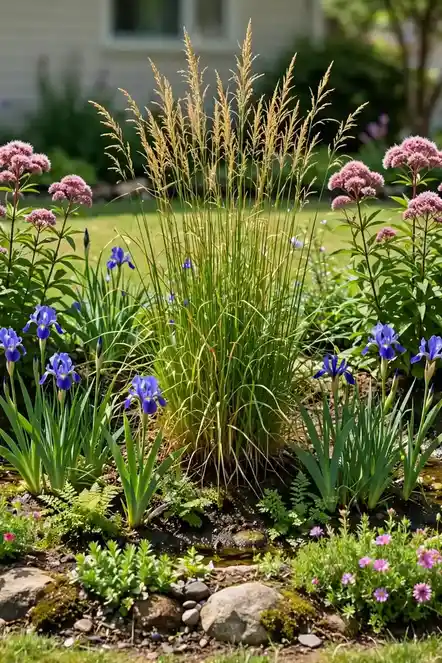
- Lay drip tubing along the back of the bed, looping it around thirsty plants.
- Punch in emitters at each plant base, using two emitters for large shrubs.
- Cover the tubing with mulch so it disappears and stays cool in summer.
- Run the system early morning twice a week, adjusting for rainfall.
Drip irrigation waters roots instead of leaves, which means less disease and far less wasted water on the sidewalk. The upfront afternoon of work pays back every hot week of summer. Connect the line to a simple battery timer so the bed gets its drink even when you travel.
Perennial versus Annual

| Perennials | Annuals | |
|---|---|---|
| Lifespan | Returns for years | One season only |
| Cost over time | Lower | Higher yearly spend |
| Bloom power | Shorter peak | Nonstop color |
| Care | Divide every 3 years | Replant each spring |
| Soil prep | Once at planting | Amend every spring |
| Winter look | Tidy crowns remain | Bare soil |
| Best for | Low upkeep beds | Maximum color |
Smart front beds use both: perennials for the permanent backbone and annuals for the high-impact color that perennials cannot sustain. That mix keeps yearly costs down while the bed still looks freshly planted each June. In my experience, a seventy-thirty split in favor of perennials hits the sweet spot.
Front Door Flank
Do:
- Do mirror matching planters or shrubs on both sides of the door for symmetry.
- Do choose evergreens so the entry looks finished in every season.
- Do scale the plants to the door: half the door height is a safe maximum.
Don’t:
- Don’t block the door swing or the path with wide, sprawling shrubs.
- Don’t mix more than two plant types here; restraint reads elegant.
- Don’t forget uplighting, which makes the flanking pair glow at night.
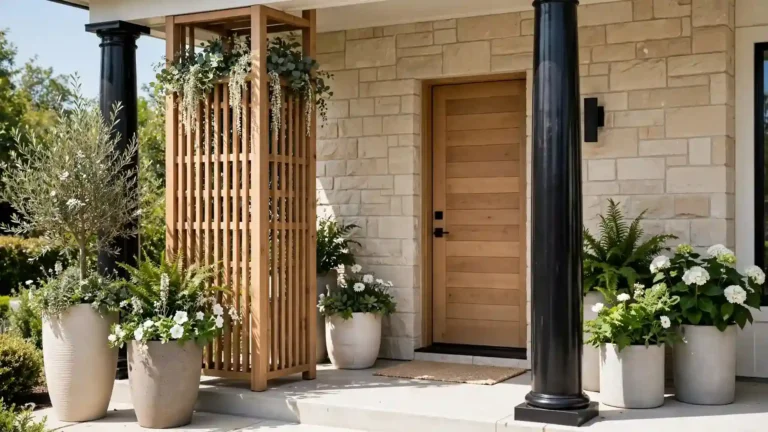
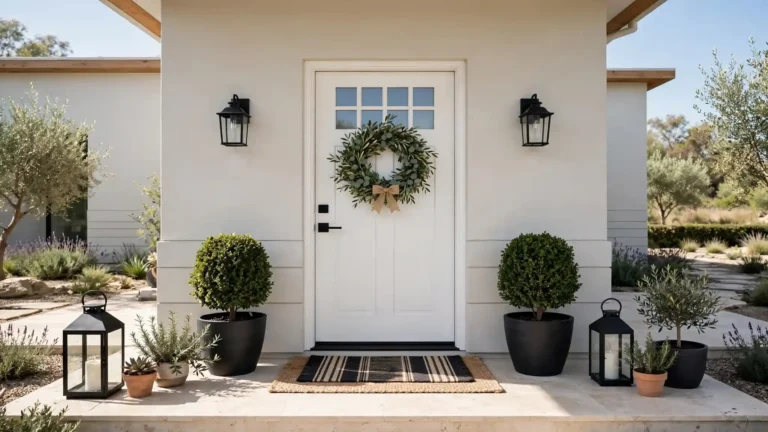
Symmetrical flanking is the oldest trick in curb appeal because the human eye reads balance as beauty. Keep the pair identical in size and shape, and refresh the pots with seasonal annuals twice a year. For more entry styling ideas, see these small front porch decor ideas that pair perfectly with flanking planters.
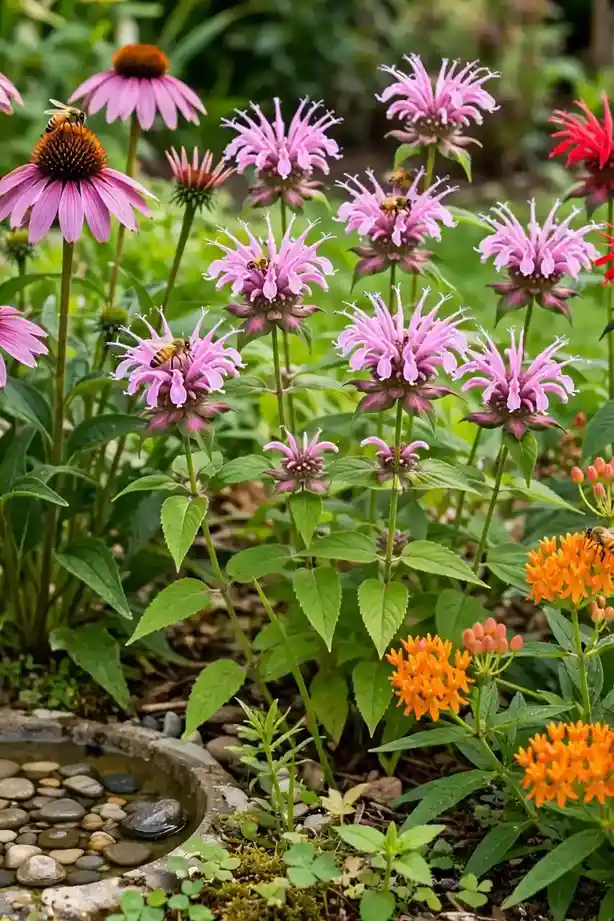
Pollinator Patches
- Bloom window: Choose flowers that overlap from April through October.
- Color magnets: Bees love blue and purple; butterflies chase red and orange.
- Water source: A shallow dish with pebbles gives insects a safe drink.
- Pesticide rule: Never spray; even organic oils kill beneficial insects.
- Night shift: Add evening primrose and moonflower for moths after dark.
A front bed buzzing with bees and butterflies feels alive in a way no static planting can match. Group the same flower in drifts of five or more so foragers spot them from the air. Leave a few stems standing through winter as shelter, and the whole patch becomes a tiny ecosystem.
Low Retaining Wall
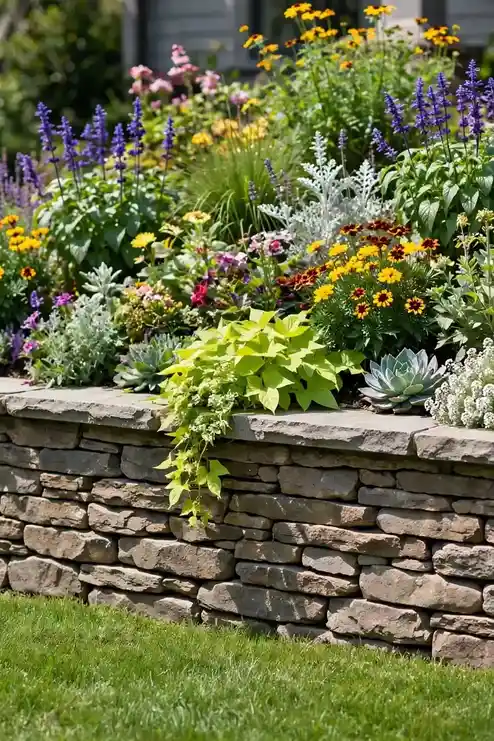
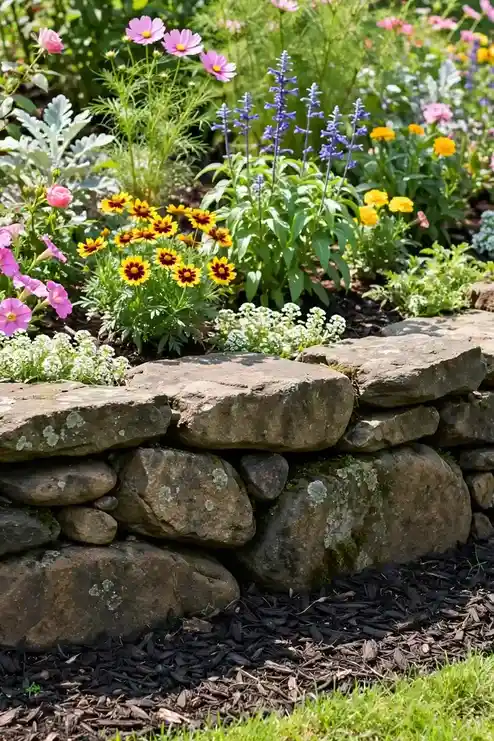
A low retaining wall, just one or two courses high, turns a sloping front yard into a flat, plantable bed with real presence. Dry-stacked stone or interlocking concrete blocks both work for walls under two feet, and neither needs mortar or a contractor. The wall lifts the planting closer to eye level, which makes even modest flowers read larger from the street.
Backfill behind the wall with a mix of native soil and compost, tamping it firm in layers so it never settles into dips. Leave weep gaps between stones for drainage, or drill weep holes in block walls. Cap the wall with flat stones for a finished seat-height edge that doubles as extra display space.
Sunset Color Drift
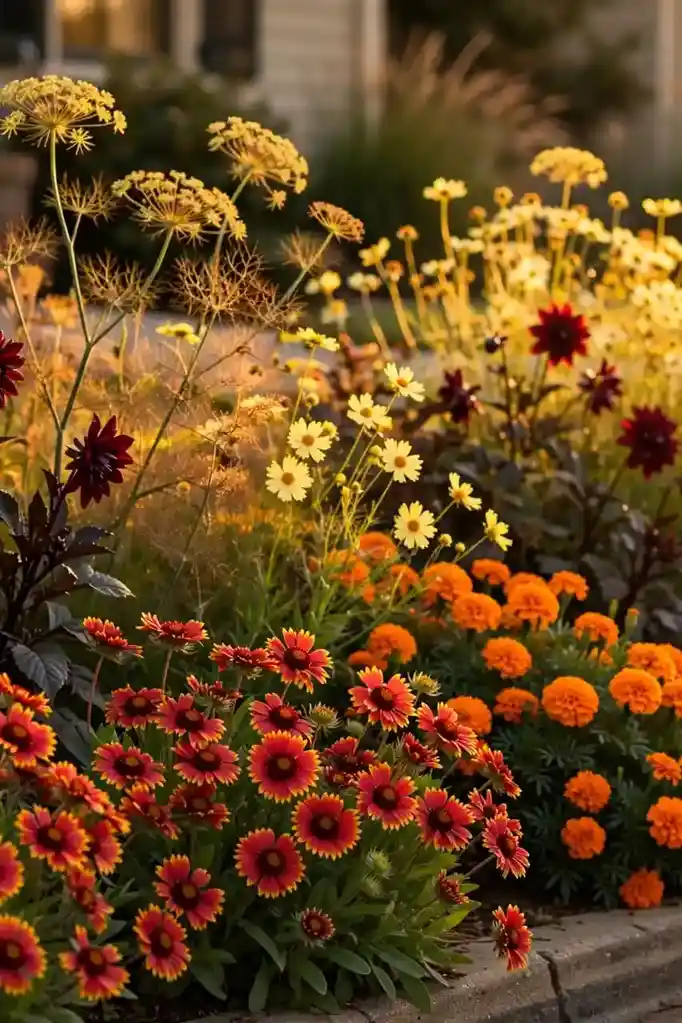
- Blend reds, oranges, and golds in long drifts for a bed that glows at golden hour.
- Start with deep maroon at the back and fade to pale yellow at the front edge.
- Gaillardia, marigolds, and coreopsis are the workhorses of this palette.
- Tuck in bronze fennel or dark-leafed dahlia for contrast between the bright blooms.
- Deadhead weekly to keep the sunset colors coming until first frost.
Warm palettes advance toward the viewer, which makes a shallow bed look deeper than it really is. I’ve noticed this scheme photographs beautifully for listing photos if you ever sell. Keep the foliage mostly green and let the flowers carry the fire. Water in the morning so petals dry before evening.
Rain Garden Corner
A rain garden corner solves two problems at once: it handles soggy runoff and becomes one of the lushest beds in the yard. Never use pond liners here, since the whole point is letting water soak into the ground. In dry weeks, the bed needs almost no extra watering.
Vintage Urn Focal
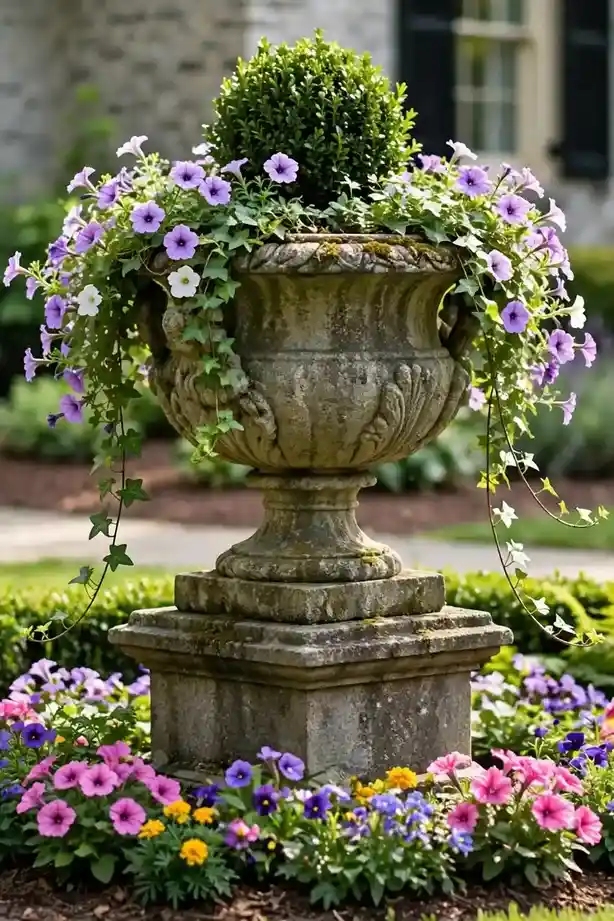
Before: the center of the bed sits flat and forgettable, with no single spot for the eye to land as you walk up the drive.
After: a weathered stone urn on a pedestal rises from a ring of trailing petunias and ivy. Planted with a small boxwood ball and seasonal color at its base, the urn gives the whole bed a center of gravity that reads from fifty feet away.
One strong vertical accent beats a dozen small decorations every time. Hunt flea markets and salvage yards for urns with real patina, since new copies often look flat. Anchor the urn with a buried concrete paver so it never tips in wind. Top the urn with trailing plants that soften its rim each season.
Walkway Ribbon Bed
- Lay a garden hose along the walkway to sketch a gentle S-curve for the bed edge.
- Cut the new edge with a half-moon edger and peel away the sod inside the curve.
- Plant a repeating ribbon of three perennials: tall at the back, medium in the middle, low along the front.
- Mulch evenly and water the whole ribbon deeply to settle the roots.
A ribbon bed guides visitors to the front door like a red carpet made of flowers. Curves feel more welcoming than straight lines, so exaggerate the bends slightly. That’s why many experts recommend repeating just three plants along the whole run for a designer look on a small budget.
Conclusion
These flower bed ideas in front of house prove that curb appeal comes from planning, not from spending a fortune. Start with one bed this weekend, whether it is a simple edged border or a full cottage layer, and build from there as your confidence grows. Take photos of your progress and pin your favorites to a garden board on Pinterest so you can track what blooms when. Your front yard is the first hello your home gives the world, so make it a warm one. Come back next season and layer in a few more plants, because the best beds are the ones that keep growing with you.