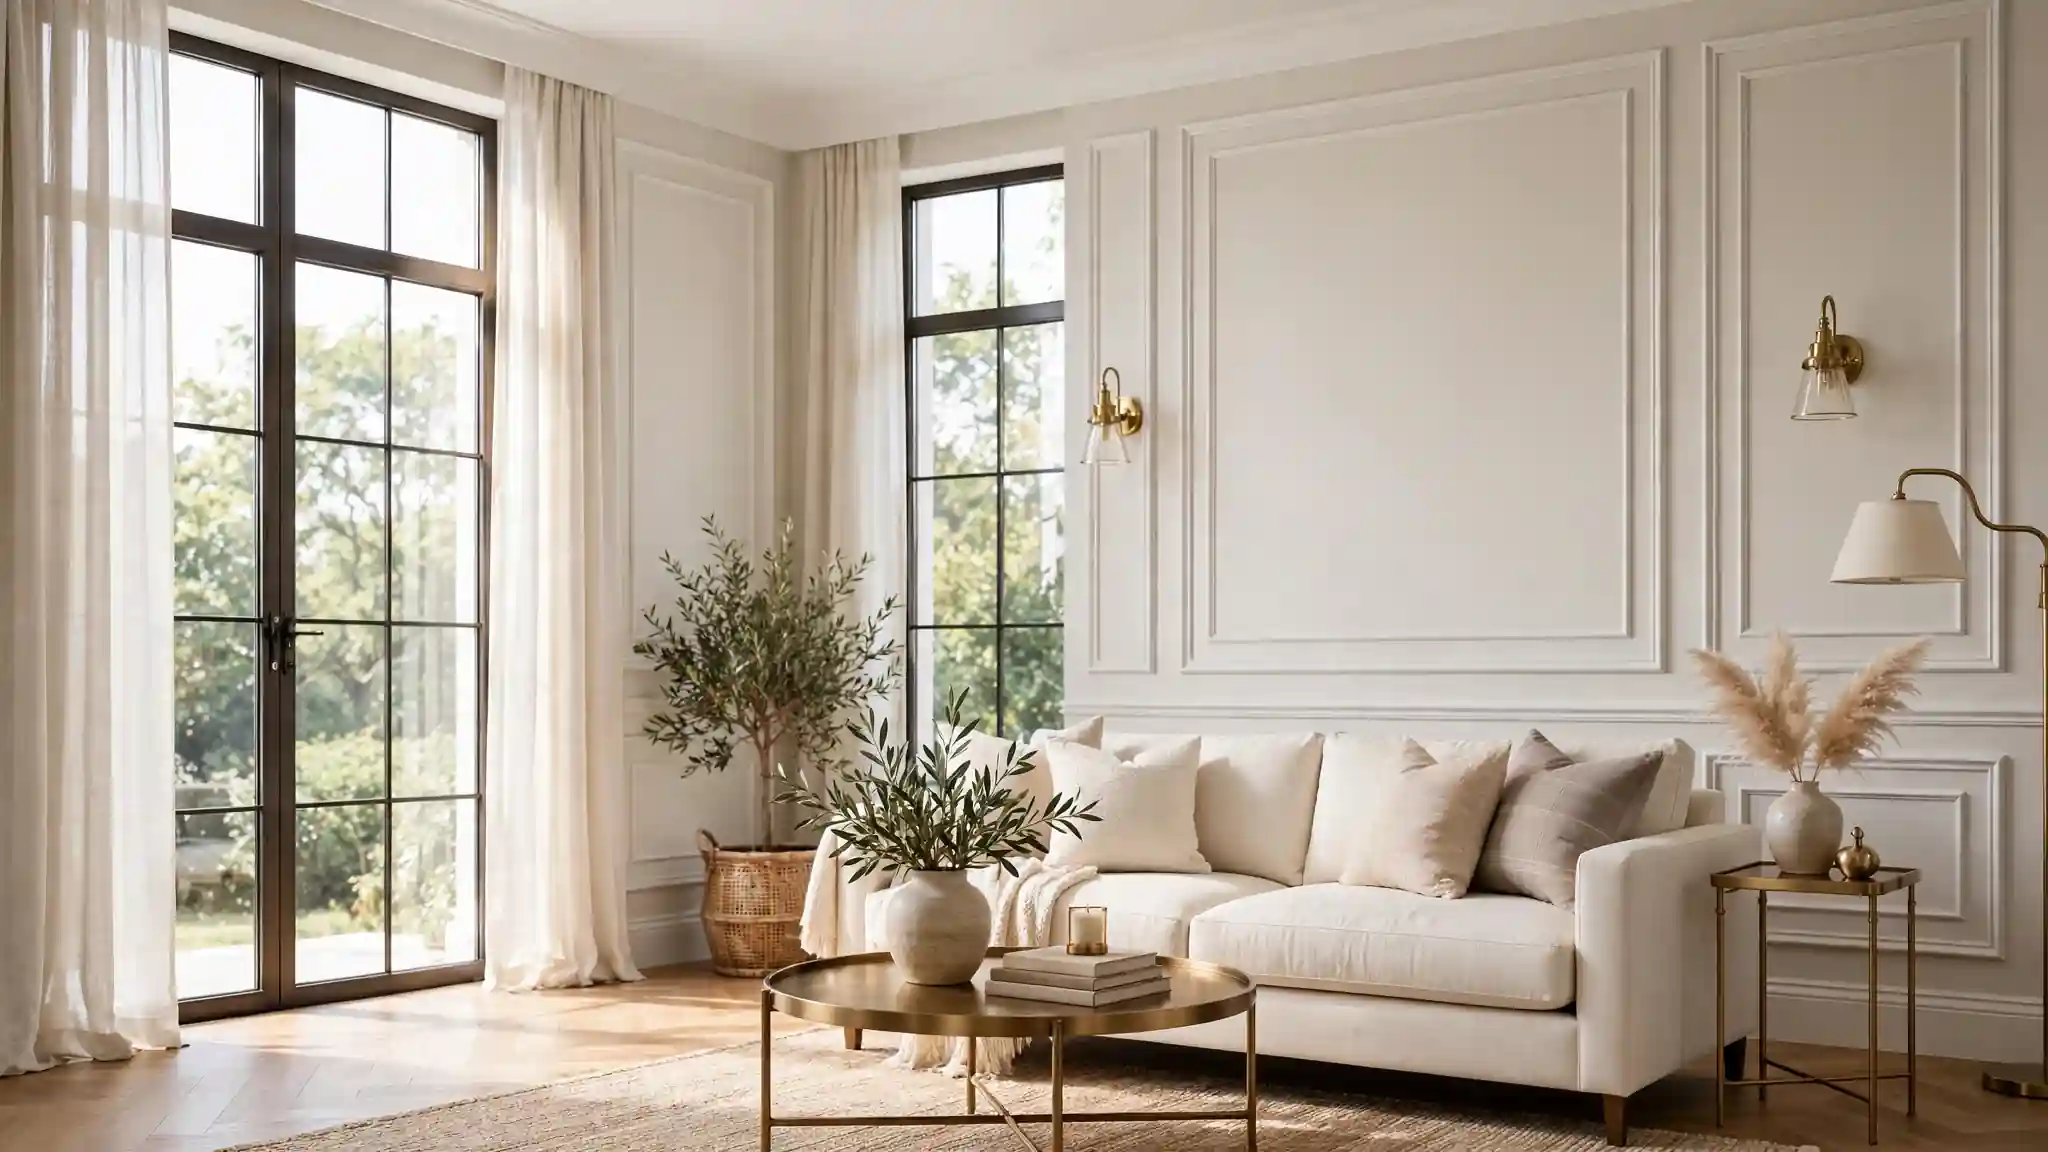
21 Wall Molding Ideas for an Elegant, High-End Interior
Plain walls can feel unfinished, even when the furniture is perfect. I have learned that wall molding ideas change the entire mood of a room without a full renovation. Simple trim shapes turn flat drywall into something layered and intentional. Guests notice the difference right away, even if they cannot name what changed.
This guide walks through 21 ways to use molding, from classic box panels to slim modern profiles. Each one works on a budget and fits real homes, not just magazine spreads. Pair any of them with soft window treatment ideas for a finished look that feels warm and pulled together.
Classic Box Panels
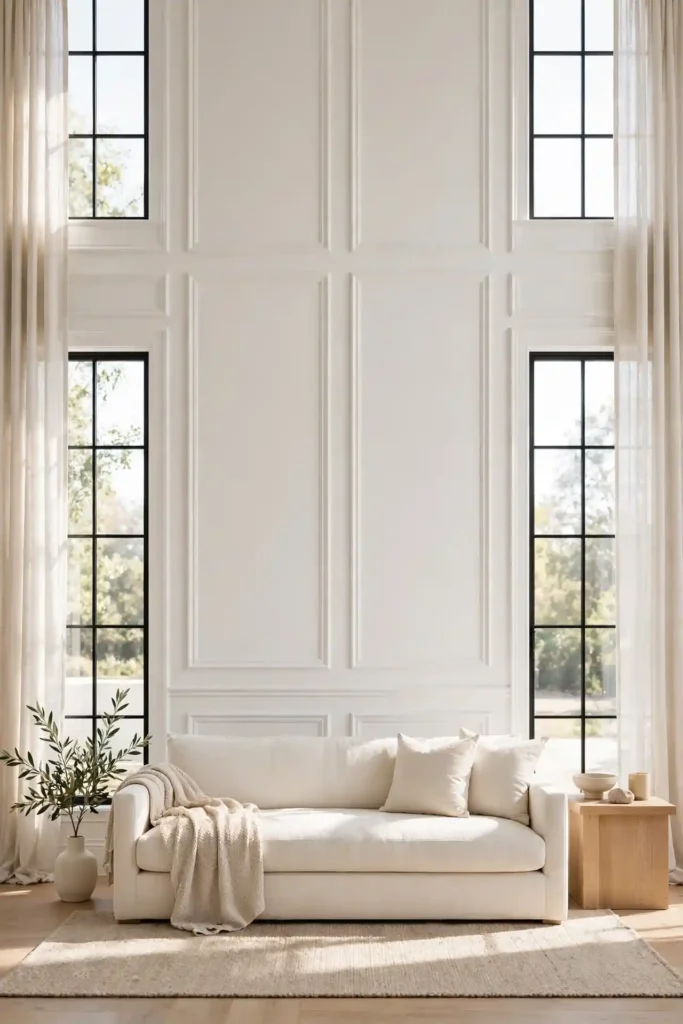
Framed rectangles are the friendliest place to start. A carpenter once told me that spacing boxes evenly matters more than any fancy detail. Measure the wall, divide it into equal sections, and keep a consistent margin from the baseboard and ceiling. Paint the trim the same color as the wall for a soft, quiet effect.
Boxes look best in living rooms and dining spaces with some wall height to spare. The trick is keeping lines straight and corners tight, since paint hides small gaps but not crooked cuts. In my experience, a weekend is plenty for one accent wall. Stand back often to check symmetry as you work.
Picture Frame Accents
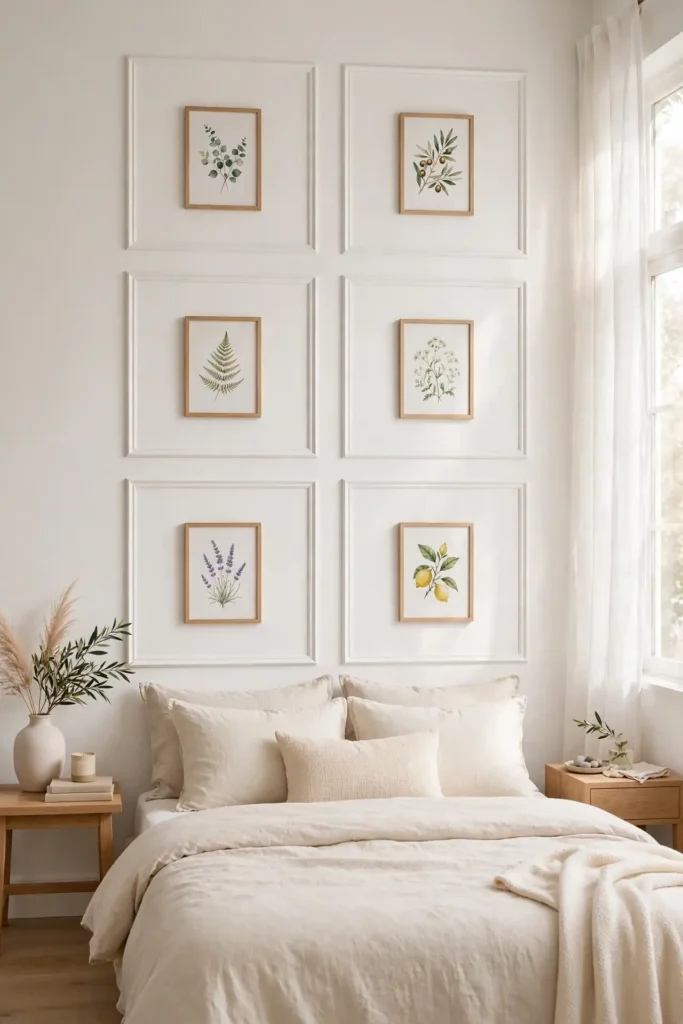
- Apply small rectangles inside larger ones for layered depth.
- Use 1 to 2 inch trim stock for a delicate, jewelry-like line.
- Space frames 3 to 4 inches apart for a clean rhythm.
- Paint frames and wall in one shade to blur the edges.
- Leave the centers bare so art or photos shine against the trim.
Lightweight frames forgive beginners because small gaps vanish under paint. Choose the softest wood you can find at the lumber rack, since it cuts cleanly and sands smooth in minutes. A single wall takes one afternoon when the plan is marked clearly first. I have noticed that painting the frames before nailing them up saves hours of taping and touch-ups later.
Full Wall Grids
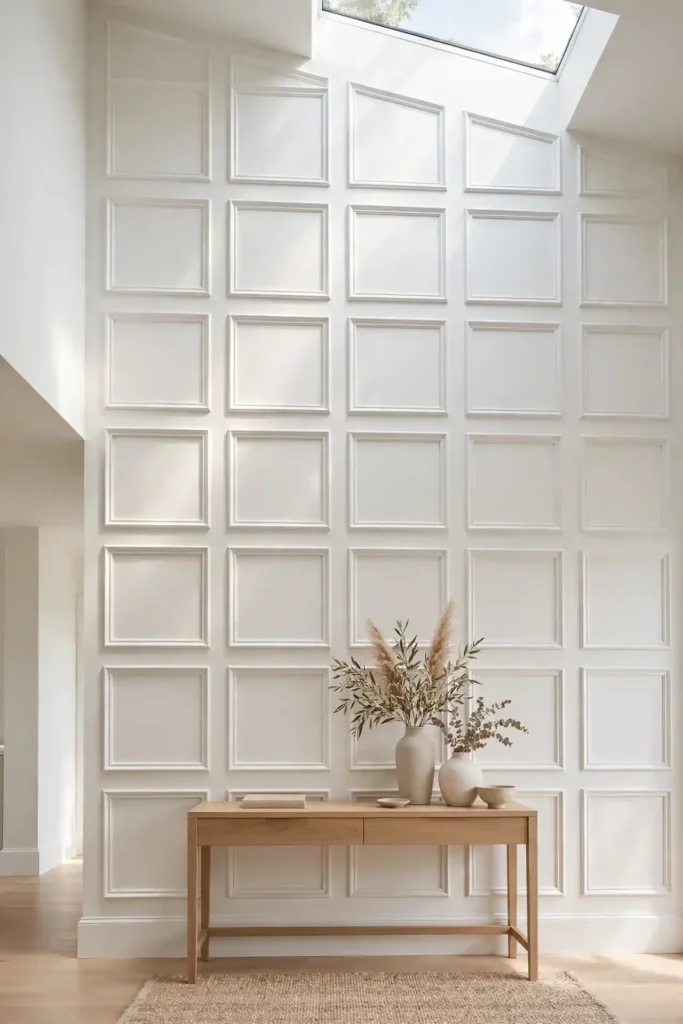
Quick Tip: Grid walls reward planning more than skill. Sketch the wall on paper, mark every stud, and pre-cut all pieces before you pick up a nail gun. When pieces are numbered in cut order, assembly takes half the time and joints stay tight.
Grids run floor to ceiling and suit tall entry walls or staircases where drama is welcome. I have noticed they make high ceilings feel intentional rather than empty. Keep the grid squares roughly the same size as a standard picture frame so the pattern reads calm instead of busy. Paint the whole wall, trim included, in one satin finish for a tailored result.
Painted Panel Depth
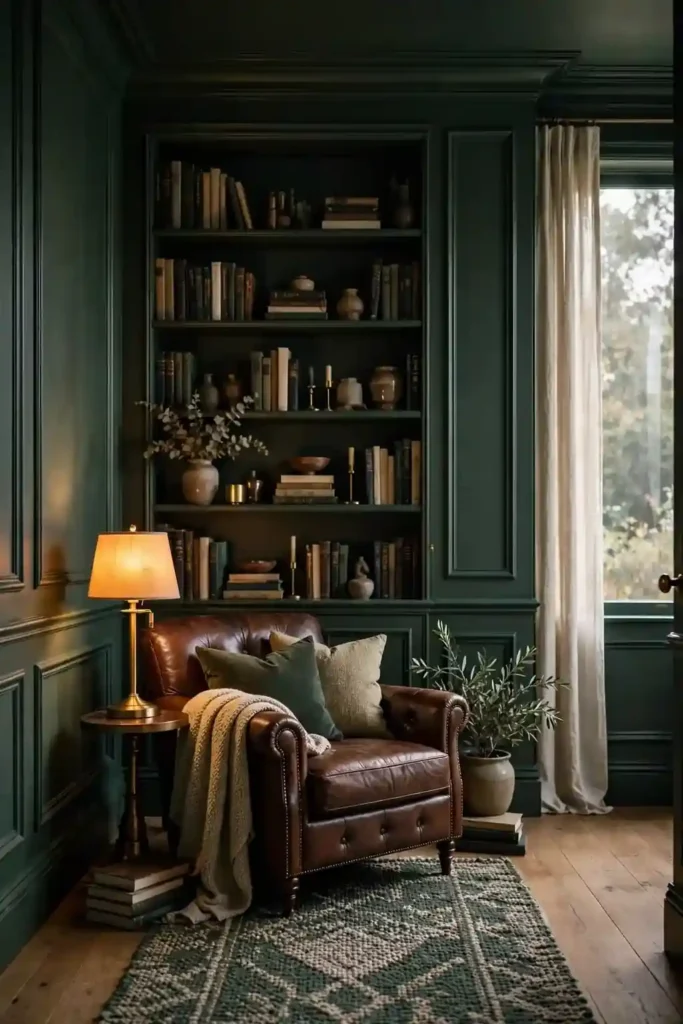
BEFORE: Flat beige walls made the den feel dull no matter what furniture moved in. AFTER: Two coats of deep green with matching wall molding ideas painted tone on tone gave the same room an old-library richness. The contrast between light and shadow does all the decorating.
Tone on tone works because molding catches light differently than flat drywall. I have seen this work well in many cases when the paint has a soft sheen. Choose colors with gray in them for living spaces, since they stay elegant in morning and evening light. The shadows in the trim grooves deepen the color naturally, which is why even simple profiles look rich when painted dark. Test a large sample before committing.
Board and Batten
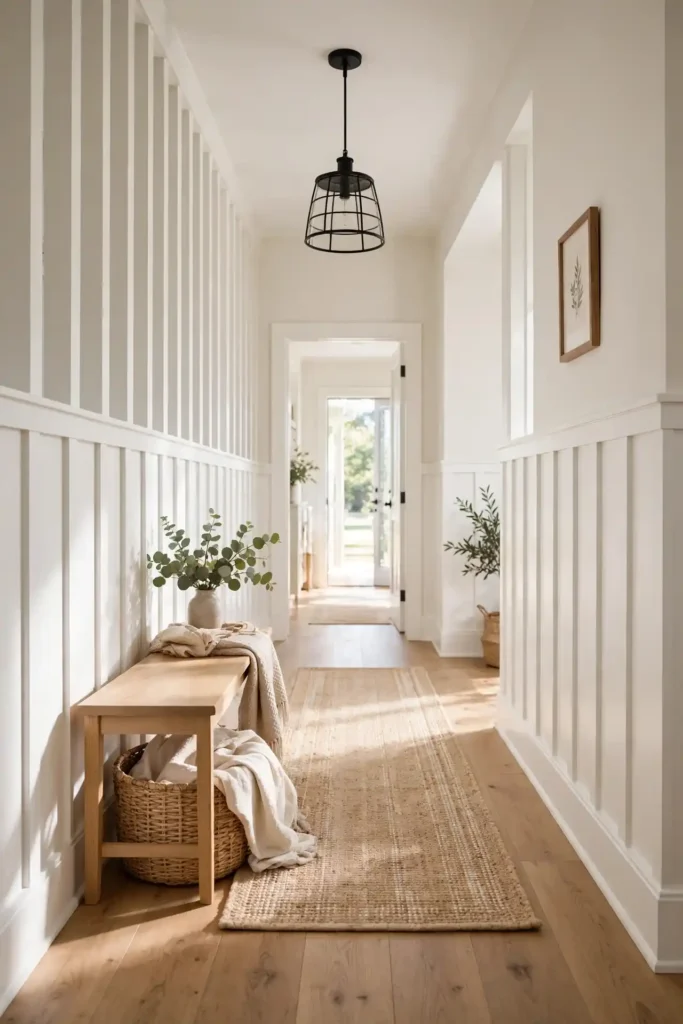
- Remove the baseboard and mark stud locations with a pencil.
- Attach vertical battens every 16 inches, nailing into studs.
- Add a horizontal ledge board at the top of the wainscot height.
- Caulk every joint, then sand smooth once the caulk dries.
- Prime everything and finish with two coats of semi-gloss paint.
Battens bring farmhouse warmth without looking themed. The vertical lines draw the eye upward, which helps low ceilings feel taller. Caulking is the step people skip, yet it is what separates a DIY look from a pro finish. Take your time there and the wall will look crisp for years.
Wainscot Styles
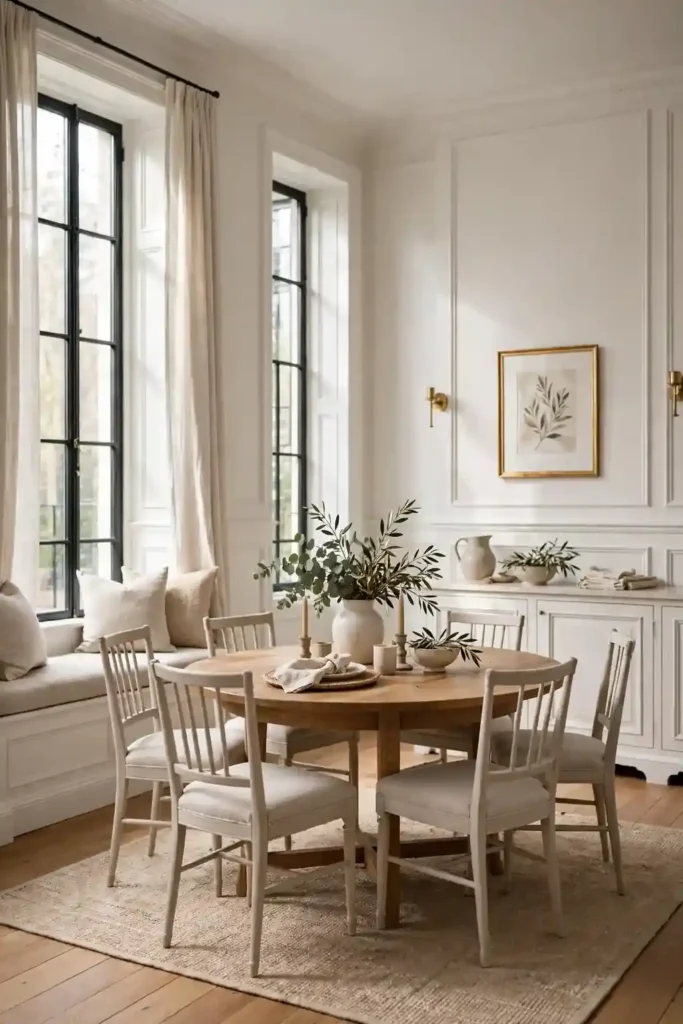
| Style | Height | Best Room |
|---|---|---|
| Traditional wainscot | 32 to 36 in | Dining rooms |
| Tall board and batten | 48 to 60 in | Hallways |
| Full height panels | Floor to ceiling | Libraries |
Height changes the whole character of wainscoting. Low panels feel classic and formal, while tall versions lean modern and bold. Measure twice before cutting, and always start on the longest straight wall to build confidence. In my experience, consistent rail height across rooms keeps the home feeling connected. Full height panels make the strongest statement, so save them for rooms where you want real drama, like a library or a formal dining space.
Charming wall molding ideas
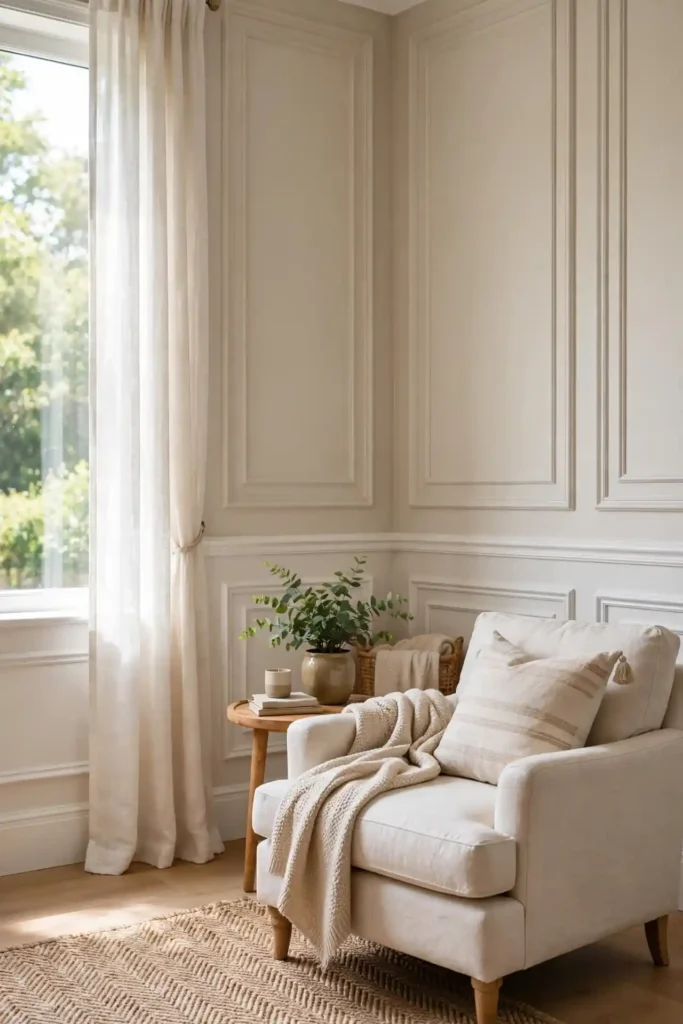
DO:
- Match trim scale to ceiling height.
- Prime raw wood before painting.
- Caulk before the final coat.
- Keep a consistent reveal on every joint.
DON’T:
- Mix ornate and flat profiles on one wall.
- Skip sanding between coats.
- Nail trim only into drywall with no stud.
- Choose glossy paint for uneven walls.
Restraint turns a good wall into a great one. When every joint is caulked and every line is level, even simple stock trim looks custom. Step back often, because the eye catches mistakes from across the room faster than up close. I have noticed that the best molding jobs are the ones you barely notice at first, since they simply make the room feel finished and calm.
Ceiling Crown Touches
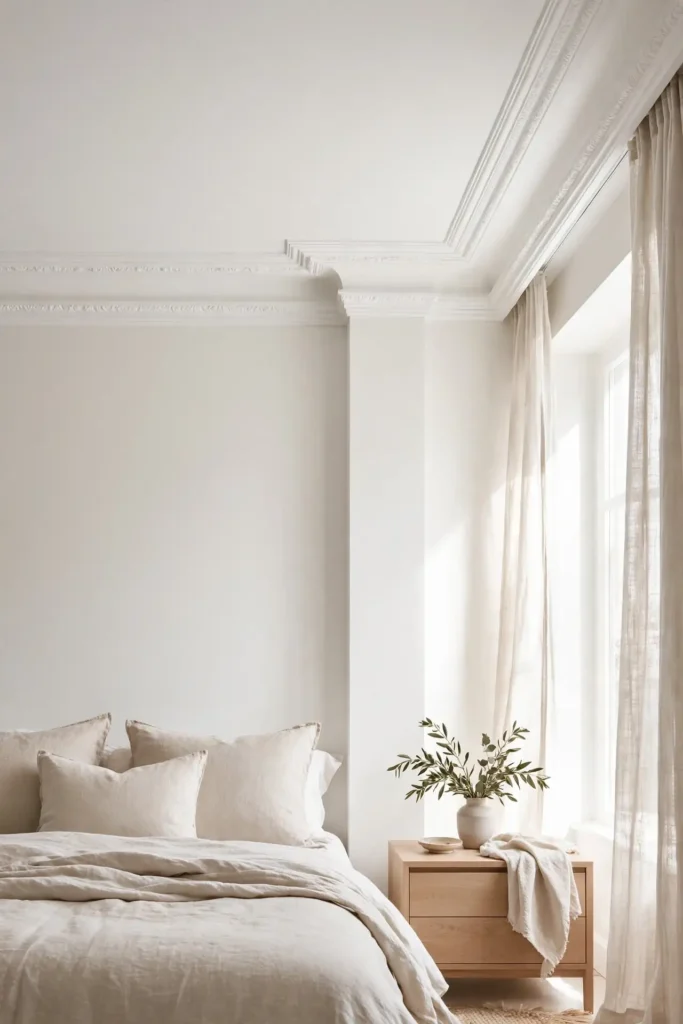
Cost: Low to moderate | Time: One weekend | Skill Level: Beginner | Best For: Living rooms, bedrooms
Crown where wall meets ceiling softens the hardest line in any room. Small profiles work in rooms under eight feet, while taller crowns suit open living spaces. I have noticed painted crown disappears into the ceiling while stained crown draws the eye upward. Either choice adds a finished edge that flat walls lack. For the cleanest joints, cope the inside corners instead of mitering them, since walls are rarely perfectly square and coped joints stay tight as wood moves with the seasons.
Chair Rail Charm
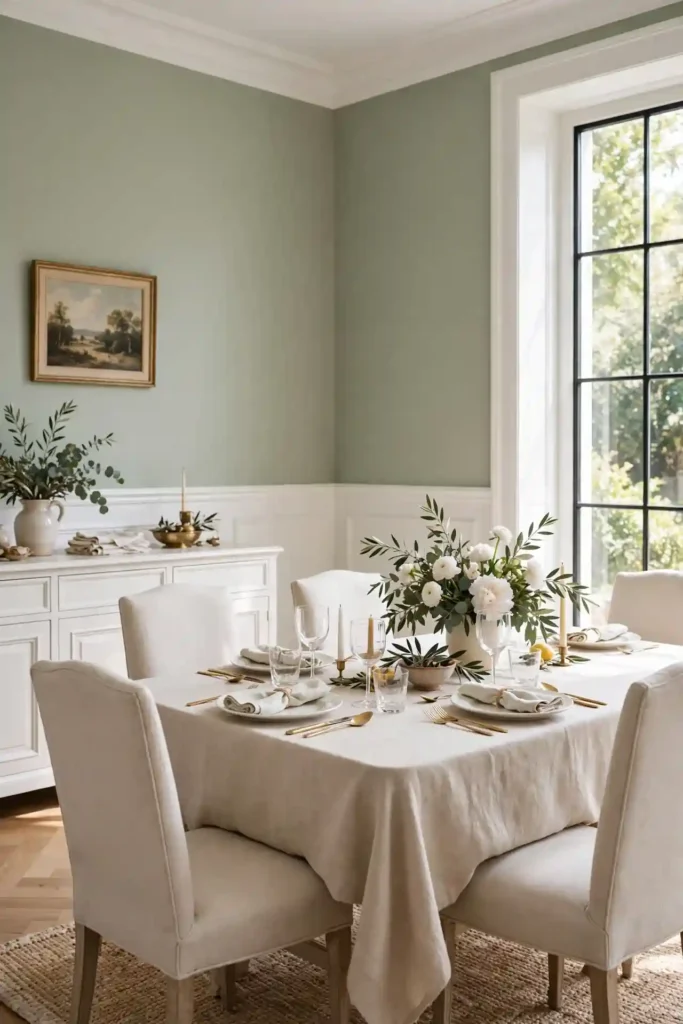
Chair rails divide tall walls into pleasing proportions. A friend painted hers a shade darker than the wall above, and the room suddenly felt designed instead of plain. The rail also protects plaster from chair backs, which is where the name comes from. Keep the rail at 32 to 36 inches for classic balance.
Rails pair well with wainscot below or wallpaper above. When mixing, let one element lead and the other stay quiet so they do not compete. I have seen this work well in many cases where the lower section is painted and the upper stays neutral. Small rooms benefit most from this horizontal break.
Vertical Fluted Lines
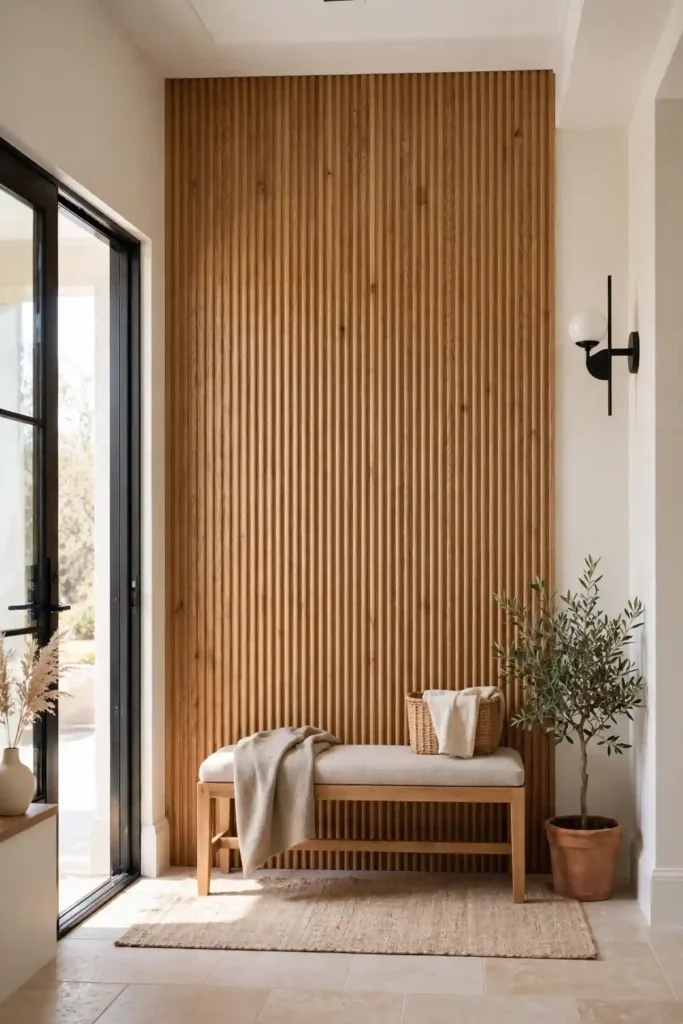
- Fluted trim works on columns, kitchen islands, and bold accent walls.
- Narrow grooves suit small spaces without crowding the room visually.
- Paint flutes the same color as the wall to keep the texture subtle.
- Stain flutes in a warm tone to highlight the natural wood grain.
- Combine fluted sections with flat panels for contrast on large walls.
Vertical lines make ceilings feel higher, a trick designers use in low apartments. Buy pre-fluted stock to save hours of router work. The grooves collect dust, so a quick pass with a soft brush keeps them crisp between deep cleans. I have noticed fluted panels photograph beautifully, which makes them a smart pick for rooms you love to share online.
Archway Trim Frames
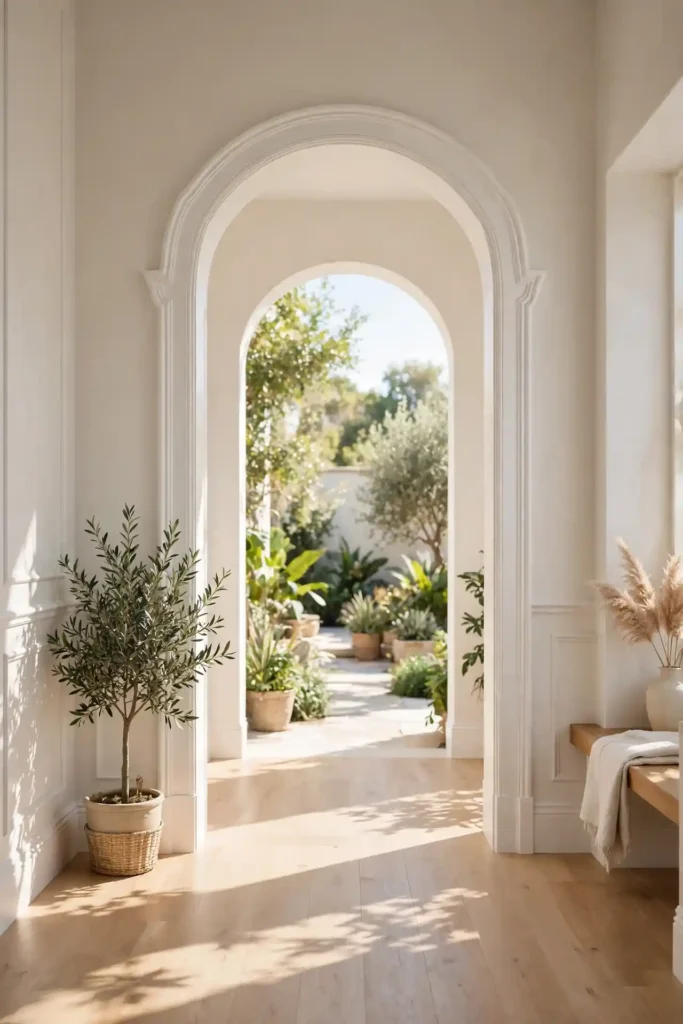
Quick Tip: Arches need flexible trim or many small segments. Kerf-cut the back of straight stock every half inch to bend it, or buy flexible polyurethane trim made for curves. Test the bend on scrap before committing to the wall molding ideas layout.
Curved openings deserve trim that follows the line instead of fighting it. Segmented pieces work when each cut is measured twice and glued tight. I have noticed painted arches look softer than stained ones, especially in cottage and farmhouse rooms. Keep the profile simple so the curve itself stays the star. When the arch is finished, the doorway feels like a deliberate design moment rather than just a passage between rooms.
Shadow Box Rhythm
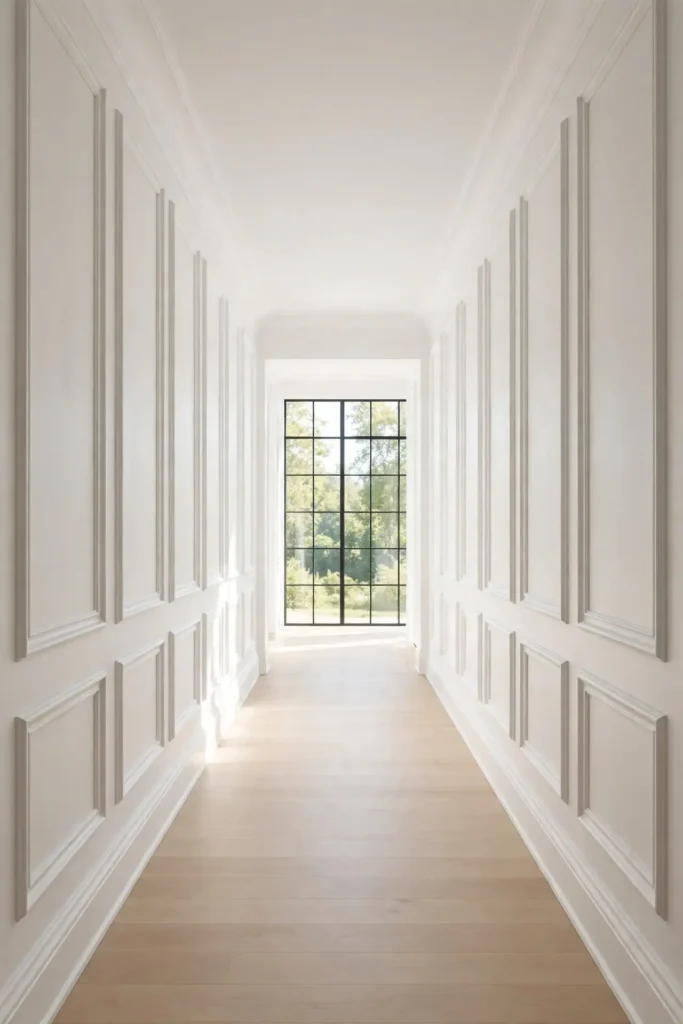
BEFORE: A long blank hallway felt like a tunnel with no destination. AFTER: Evenly spaced shadow boxes turned the corridor into a gallery walk. Each frame catches a different slice of light through the day, so the hallway changes mood from morning to evening.
Rhythm matters more than size on long walls. Space boxes by the same gap every time, and the pattern carries itself. I have seen this work well in many cases where homeowners start with painter’s tape layouts before cutting wood. Tape lets you live with the pattern for a day before committing. Once the boxes are up, the hallway finally has a purpose beyond connecting rooms.
Paneled Alcove Corners
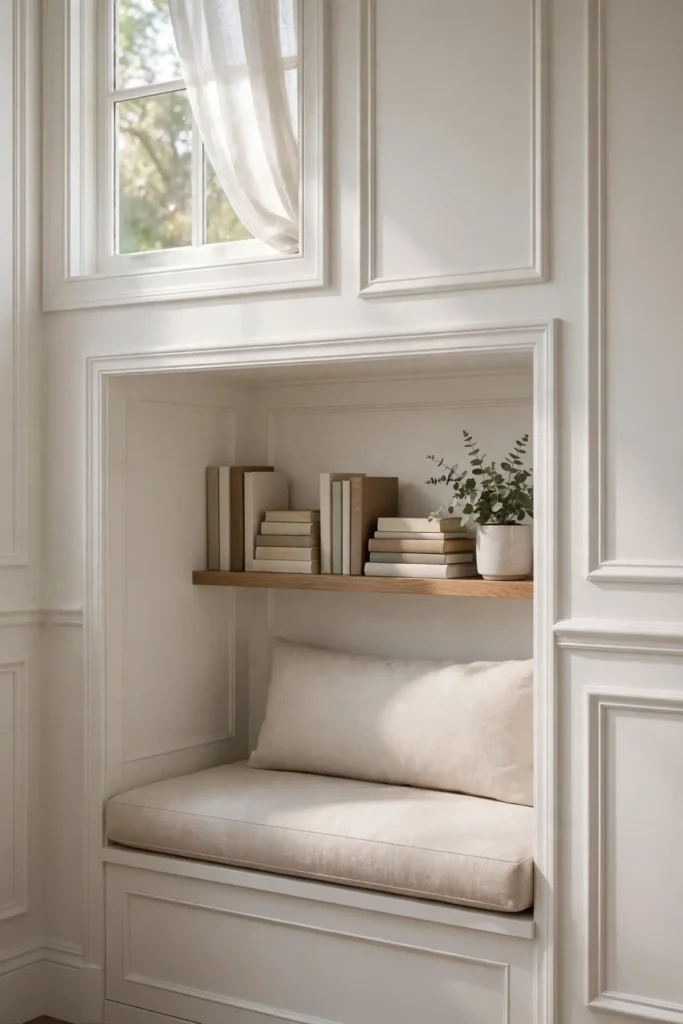
- Measure the alcove carefully and cut a back panel to fit snugly.
- Frame the panel with simple square trim stock on all sides.
- Add a small ledge shelf inside the alcove at a useful height.
- Caulk every seam, sand smooth, and paint the whole unit one color.
- Style the shelf lightly with books, a candle, or a small plant.
Alcoves turn dead corners into moments. The panel gives the eye a boundary, and the shelf adds function without bulk. In my experience, painting the alcove a shade deeper than the room adds cozy depth. Keep styling simple so the trim work stays visible. A finished alcove feels like a custom built-in, even though it took just a weekend to create.
Trim Contrasts
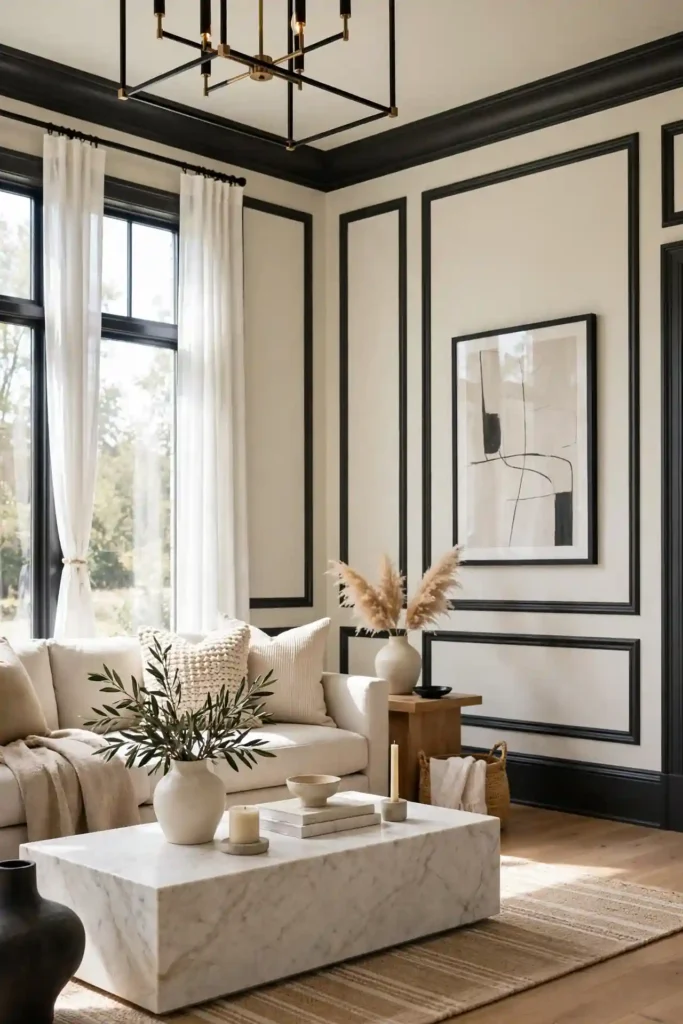
| Approach | Look | Effort |
|---|---|---|
| Paint match | Soft, seamless | Low |
| Dark contrast | Bold, graphic | Low |
| Two-tone layers | Custom, layered | Medium |
Contrast is the fastest way to make molding pop. Dark trim on light walls reads dramatic, while tone-on-tone stays serene. I have noticed bold choices photograph well but tire faster in daily life. When unsure, paint the trim and wall the same color first; you can always add contrast later. The beauty of paint is that nothing is permanent, so testing a bold look on one wall costs little and teaches a lot about your taste over time. Live with it for a week before deciding.
Entryway Focal Walls
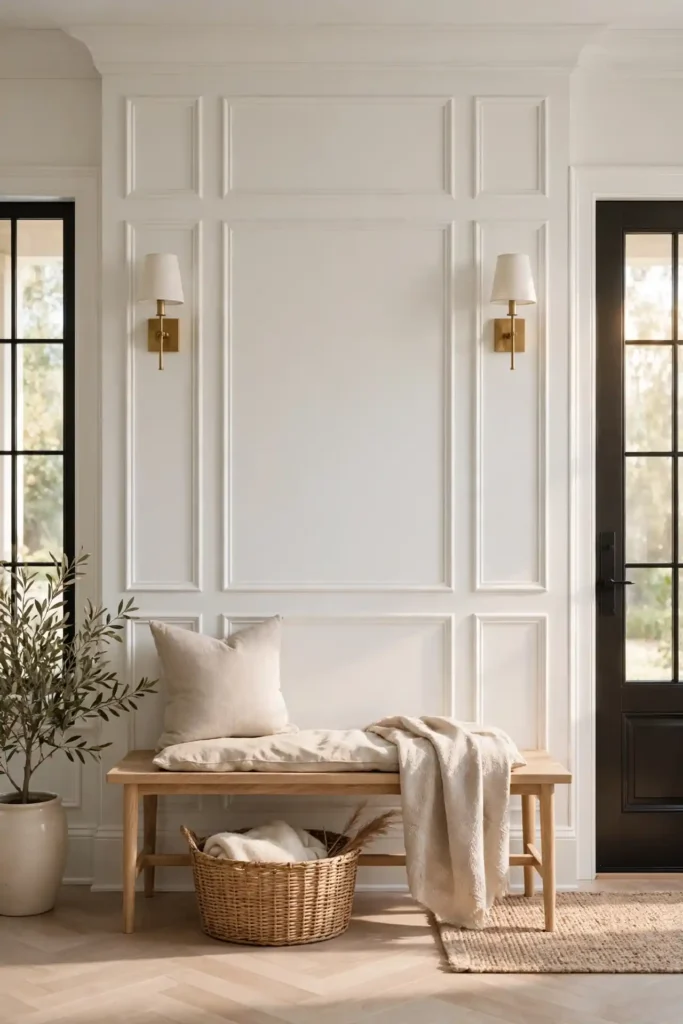
DO:
- Center the design on the front door sightline.
- Use durable semi-gloss for scuff resistance.
- Add hooks or a bench that fits the panel grid.
- Light the wall with a warm sconce.
DON’T:
- Run panels behind heavy furniture that hides them.
- Use flat paint in high-traffic entries.
- Crowd the wall with too many small frames.
- Forget to seal the bottom edge near floors.
Entries set the tone for the whole home. A paneled wall behind a simple bench looks intentional from the first step inside. Keep the design bold enough to read from the doorway, since guests see it from several feet away.
Fireplace Surround Trim
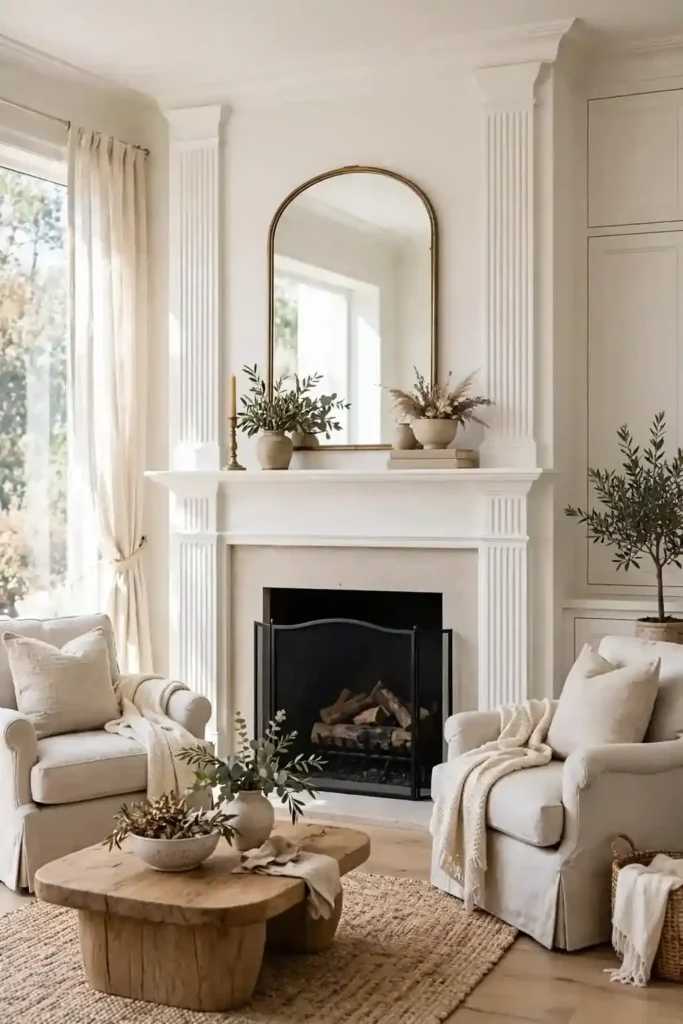
Cost: Moderate | Time: One weekend | Skill Level: Intermediate | Works In: Living rooms, dens
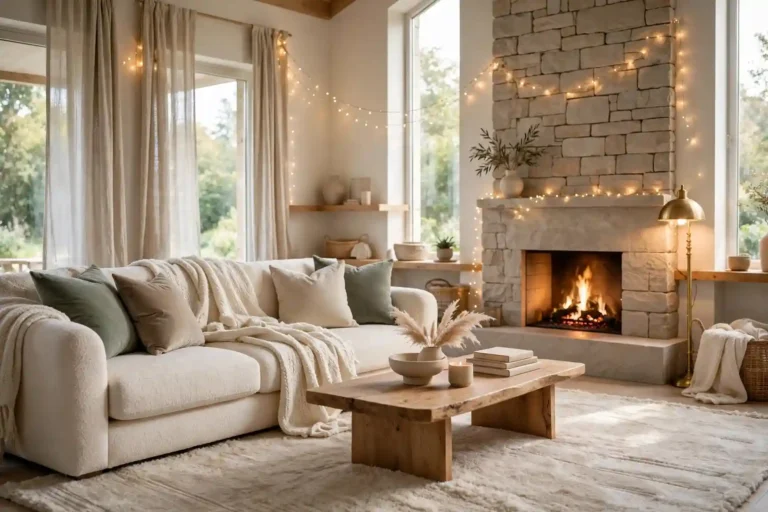
Molding around a fireplace turns the hearth into architecture. Fluted pilasters and a deep mantel shelf give weight to the wall molding ideas display above. I have noticed simple mantels style better than busy ones, since decor changes with the seasons. Keep the profile scaled to the firebox so the trim frames rather than overwhelms. A well-trimmed fireplace becomes the natural gathering point, pulling furniture and conversation toward its warmth all year long in every season. It anchors the entire living room design beautifully.
Bedroom Headboard Panels
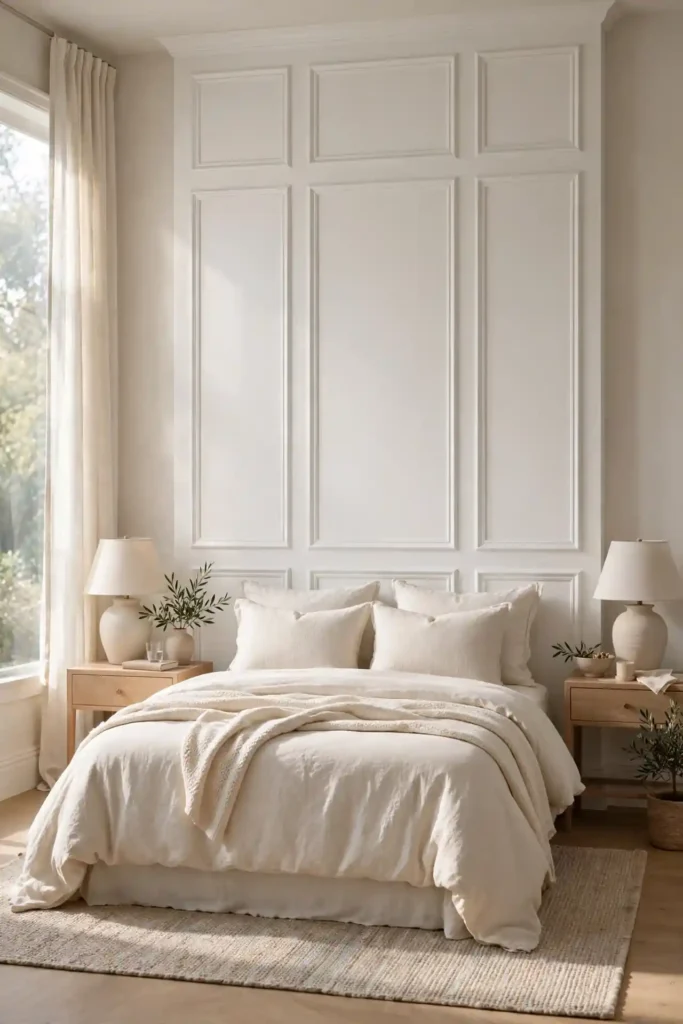
Paneled walls behind beds replace the need for a tall headboard. A renter I know used peel-and-stick trim panels, and her landlord never noticed the upgrade was removable. The panels give the bed a visual anchor that bedding alone cannot provide. Paint them the wall color for calm or contrast for drama.
Headboard walls work in any bedroom size. Keep the panel grid wider than the bed by at least a foot on each side so the proportions feel generous. I have seen this work well in many cases where lighting is added above the panels. A pair of sconces turns the trim into evening art.
Dining Room Elegance
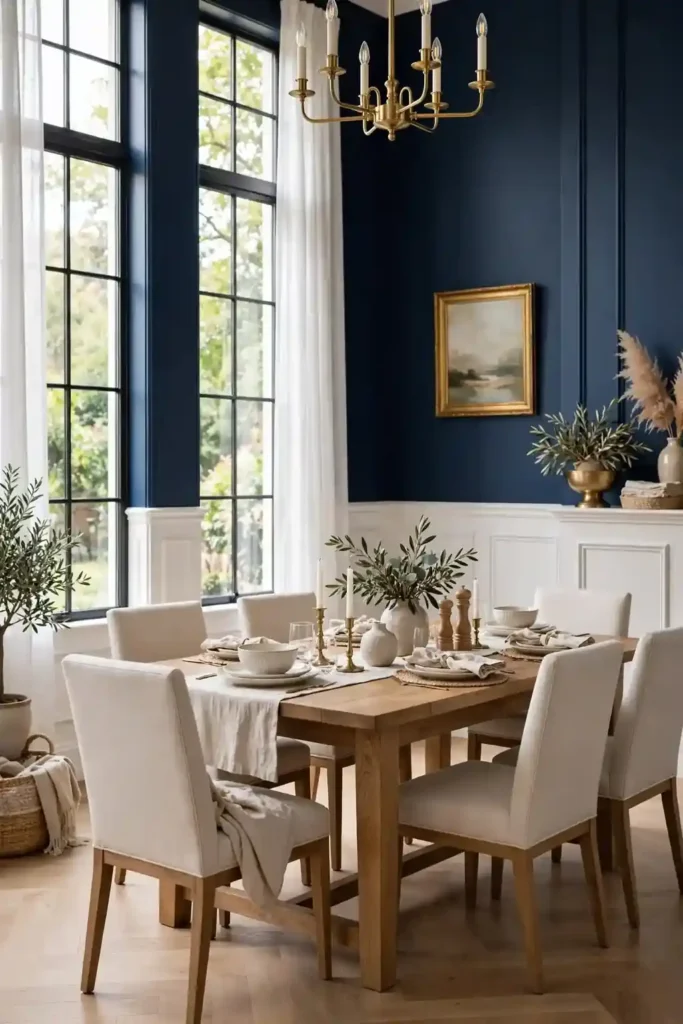
- Run chair rail and wainscot together for classic structure.
- Add a picture ledge rail above for rotating art displays.
- Frame the ceiling perimeter with a simple crown line.
- Paint every trim element in one rich, deep color.
- Hang a large mirror inside the biggest panel frame.
Deep colors and trim are natural partners. The molding catches highlights that flat walls miss, so the room glows at dinner time. I have noticed guests linger longer in rooms with layered walls. Keep the table simple when the walls carry the detail. A second decor anchor like accent ceiling ideas can lift the whole room even higher.
Hallway Panel Runs
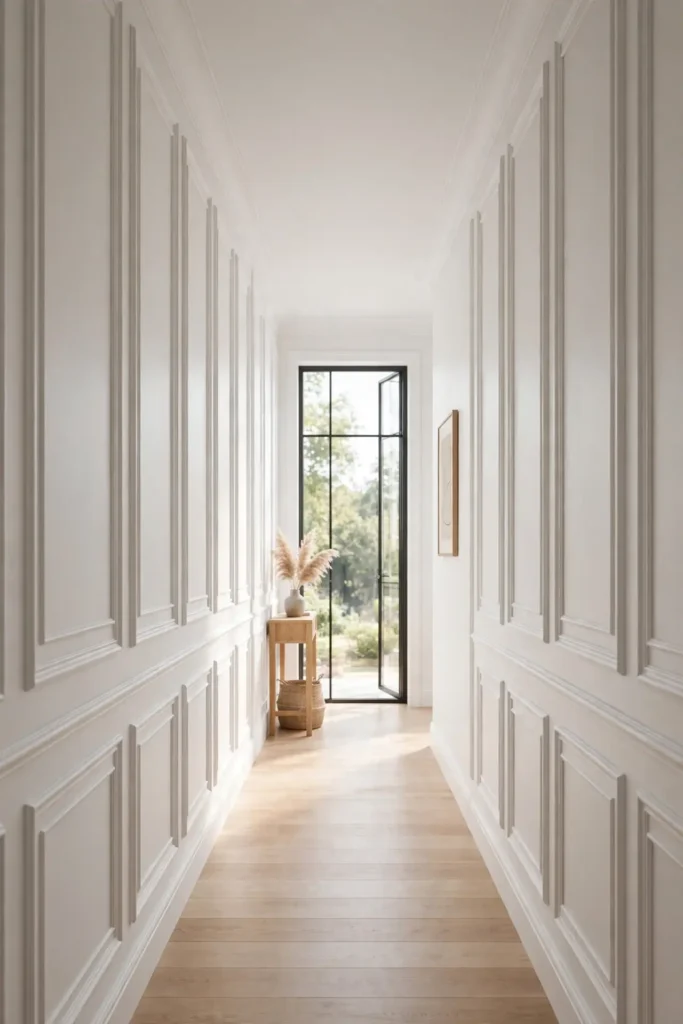
Quick Tip: Hallways punish crooked work because you see walls at a glancing angle. Use a long level, not a short one, and snap chalk lines before nailing anything. When lines are true from ten feet away, they will look perfect up close.
Long corridors need rhythm to avoid feeling endless. Repeating panels break the run into beats that the eye can follow. I have noticed narrower panels suit tight halls while wider ones fit grand entries. Paint the trim semi-gloss so it wipes clean where hands brush past. When the hallway finally feels designed, the whole home flows better from room to room.
Painted Ceiling Borders
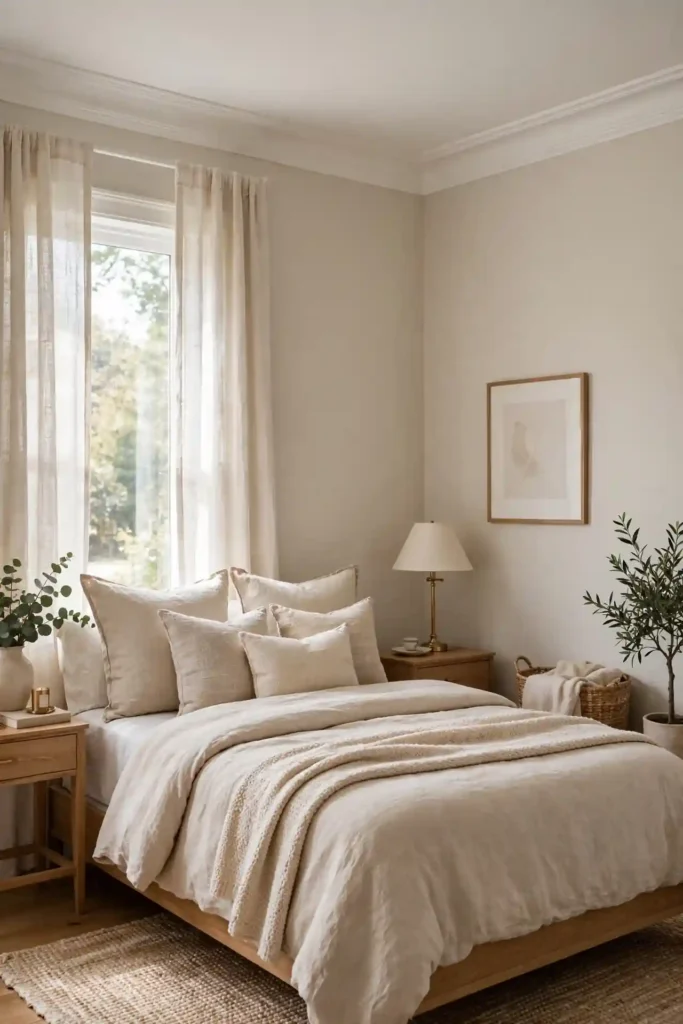
BEFORE: A white ceiling floated disconnected above colored walls. AFTER: A painted border of wall molding ideas around the ceiling edge tied the room together like a picture frame. The border made the ceiling feel lower and cozier in the best way.
Ceiling borders suit rooms where the walls already carry enough detail. Keep the border slim so it reads as a line, not a beam. I have noticed this trick works beautifully in bedrooms where coziness matters more than height. Paint the border the trim color for a clean, deliberate edge. Guests will sense the polish without quite knowing what changed, which is exactly the point.
Modern Slim Profiles
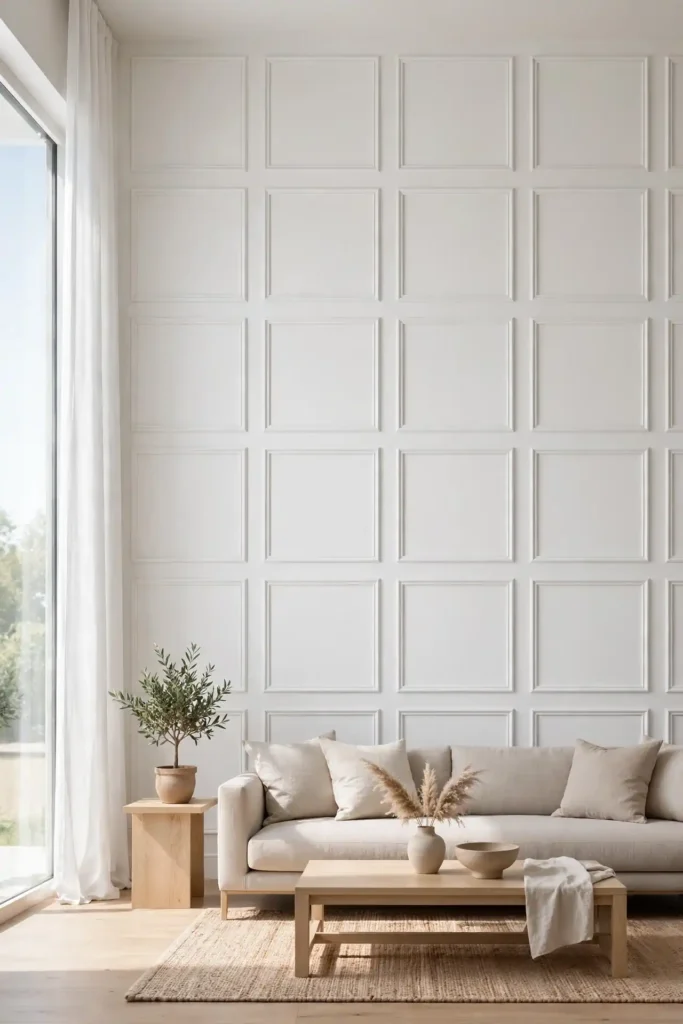
- Choose flat stock trim, 1 to 2 inches wide, with crisp square edges.
- Lay out a simple grid on the wall with generous wide spacing.
- Nail each piece with the face perfectly flush to the drywall.
- Fill every nail hole, then caulk along all edges for clean lines.
- Paint the wall and trim together in the same modern white.
Slim profiles suit minimal interiors where chunky trim would shout. The shallow relief adds interest without shadows. In my experience, wider spacing keeps modern grids from looking busy. Let negative space do the talking and the wall will feel calm and current. This is the easiest molding style to live with long term, since it never fights the furniture.
Conclusion
These wall molding ideas prove that walls deserve as much thought as furniture. Pick one wall, one profile, and one weekend to start, and let the results guide your next project. I have seen how small changes like these can completely shift the way a space feels, turning plain rooms into places people want to linger. Save your favorite look on Pinterest, gather your trim and tools, and enjoy the process from first cut to final coat. Measure carefully, caulk generously, and stand back often. The finished wall will greet you every day with quiet confidence. Start this weekend and see the difference one wall can make.
One Comment