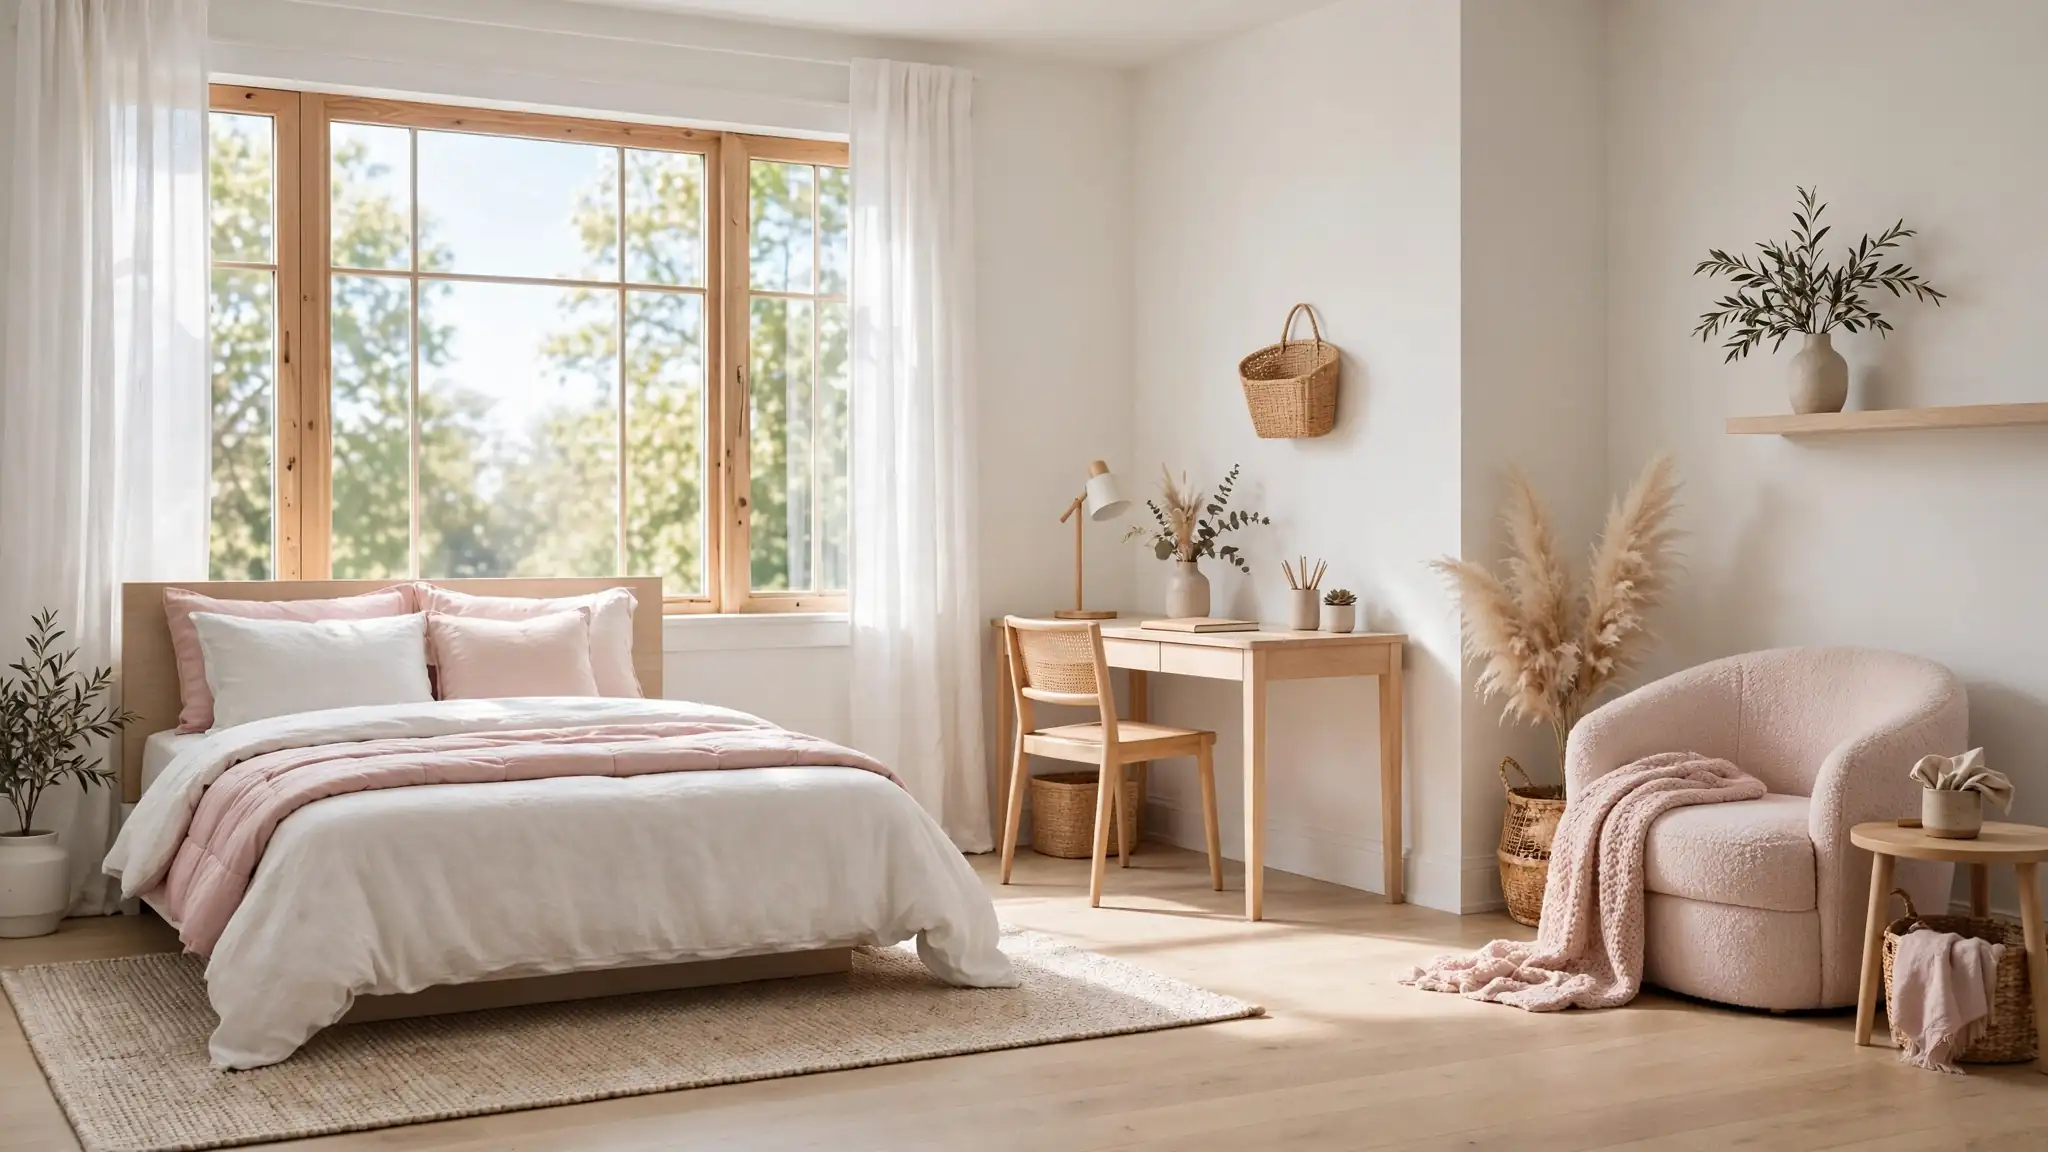
22 Teen Girl Bedroom Layouts for a Brilliant Space Flow
A pretty room that flows badly never feels restful. These teen girl bedroom layouts arrange every zone brilliantly, from sleep to study to hanging out with friends. Most teen rooms grow by accident: the bed lands where the delivery people left it, and everything else squeezes around. In my experience, one afternoon of rearranging beats a year of shopping for new decor. The 22 layouts below show smart zones, pretty arrangements, and dreamy flow for teen rooms. Each plan works with real furniture in real room shapes, and every one is easy to try this weekend. Measure the room first, then test each layout on paper before moving a single piece.
Start with a layout that fits, then style it pretty. These teen girl bedroom ideas layer perfectly over any plan below once the furniture lands right. Sketch two or three favorites, measure twice, and recruit help for moving day.
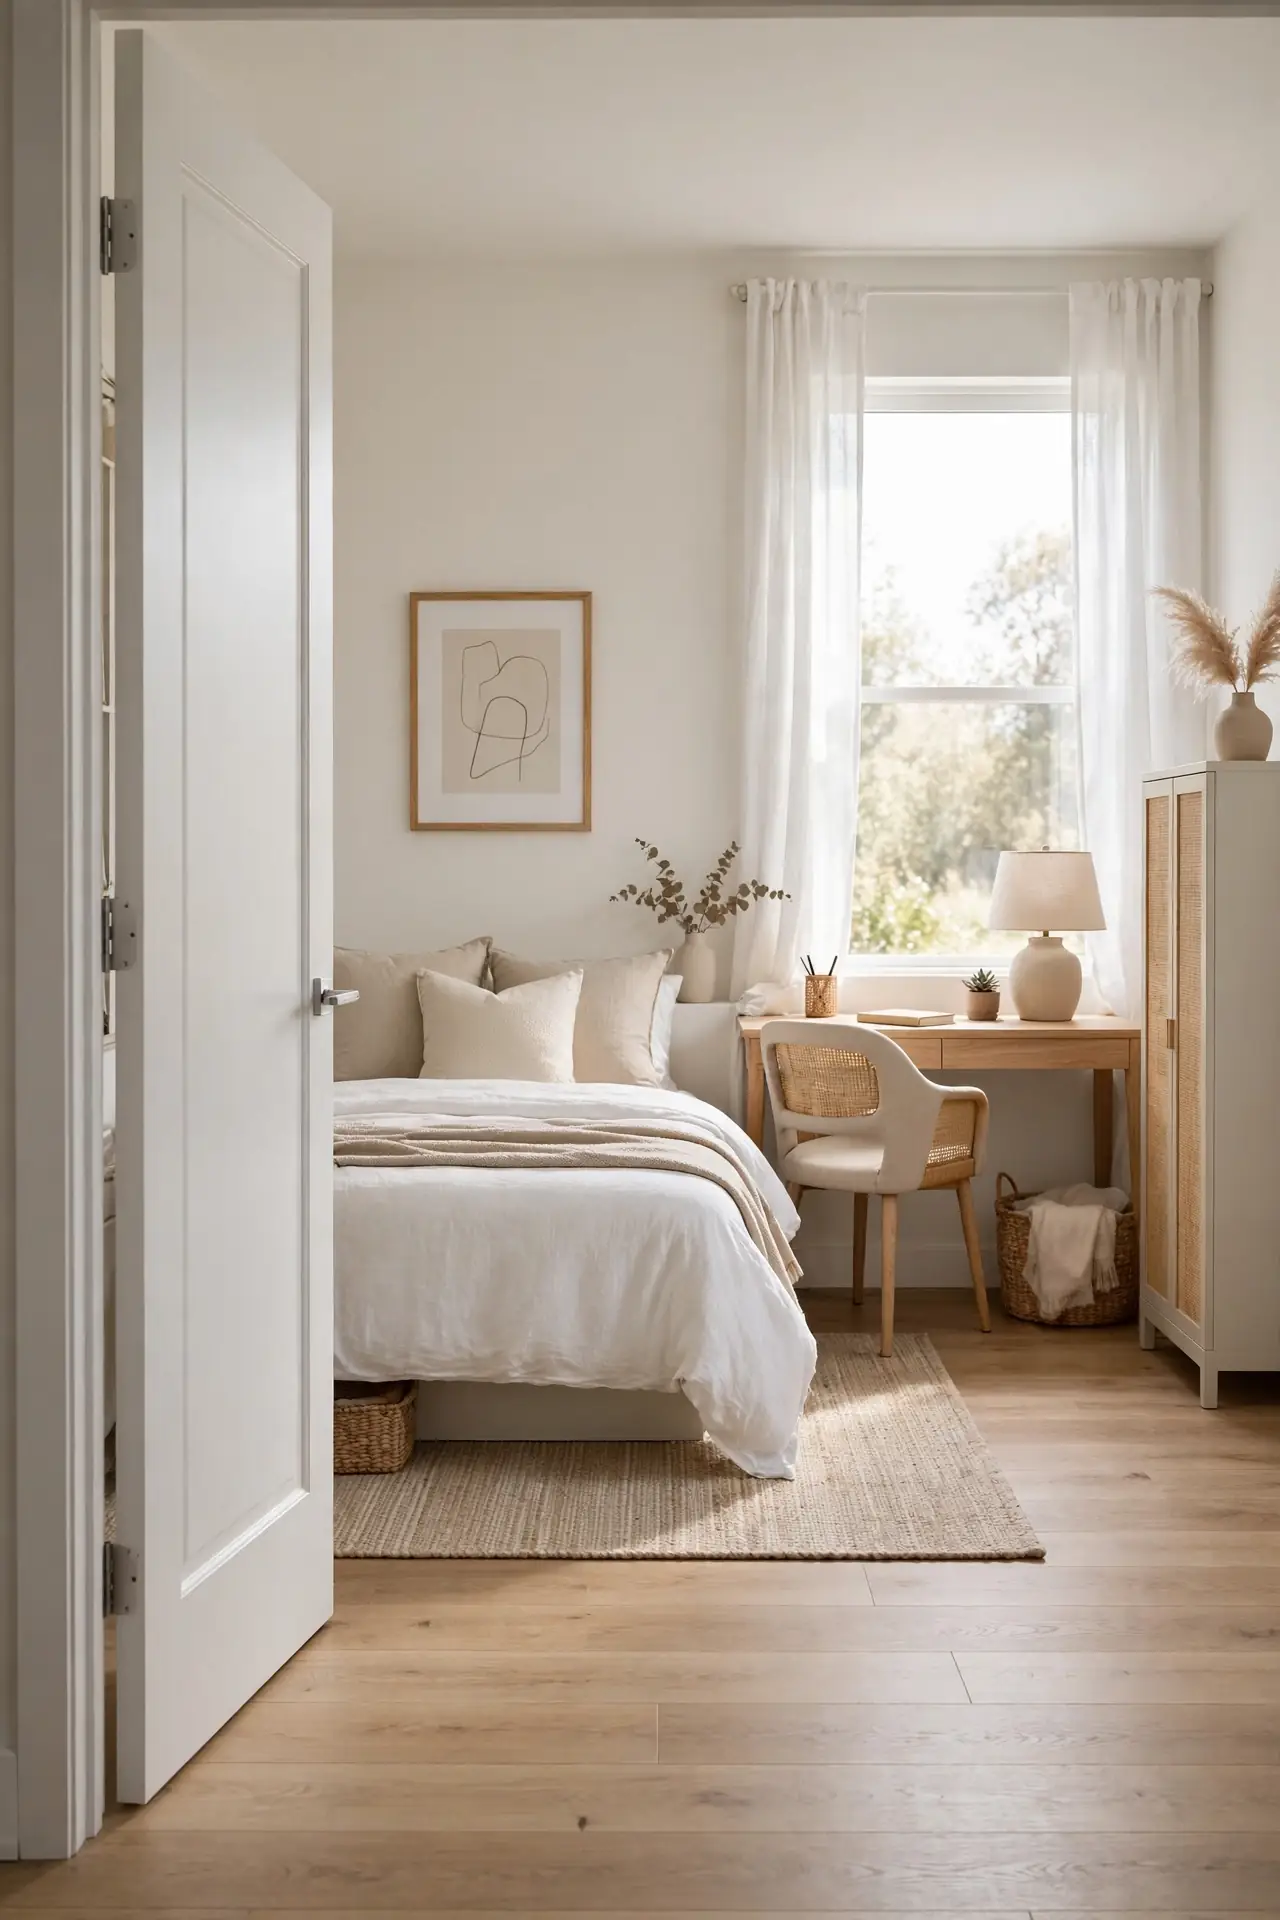
Window Bed Placement
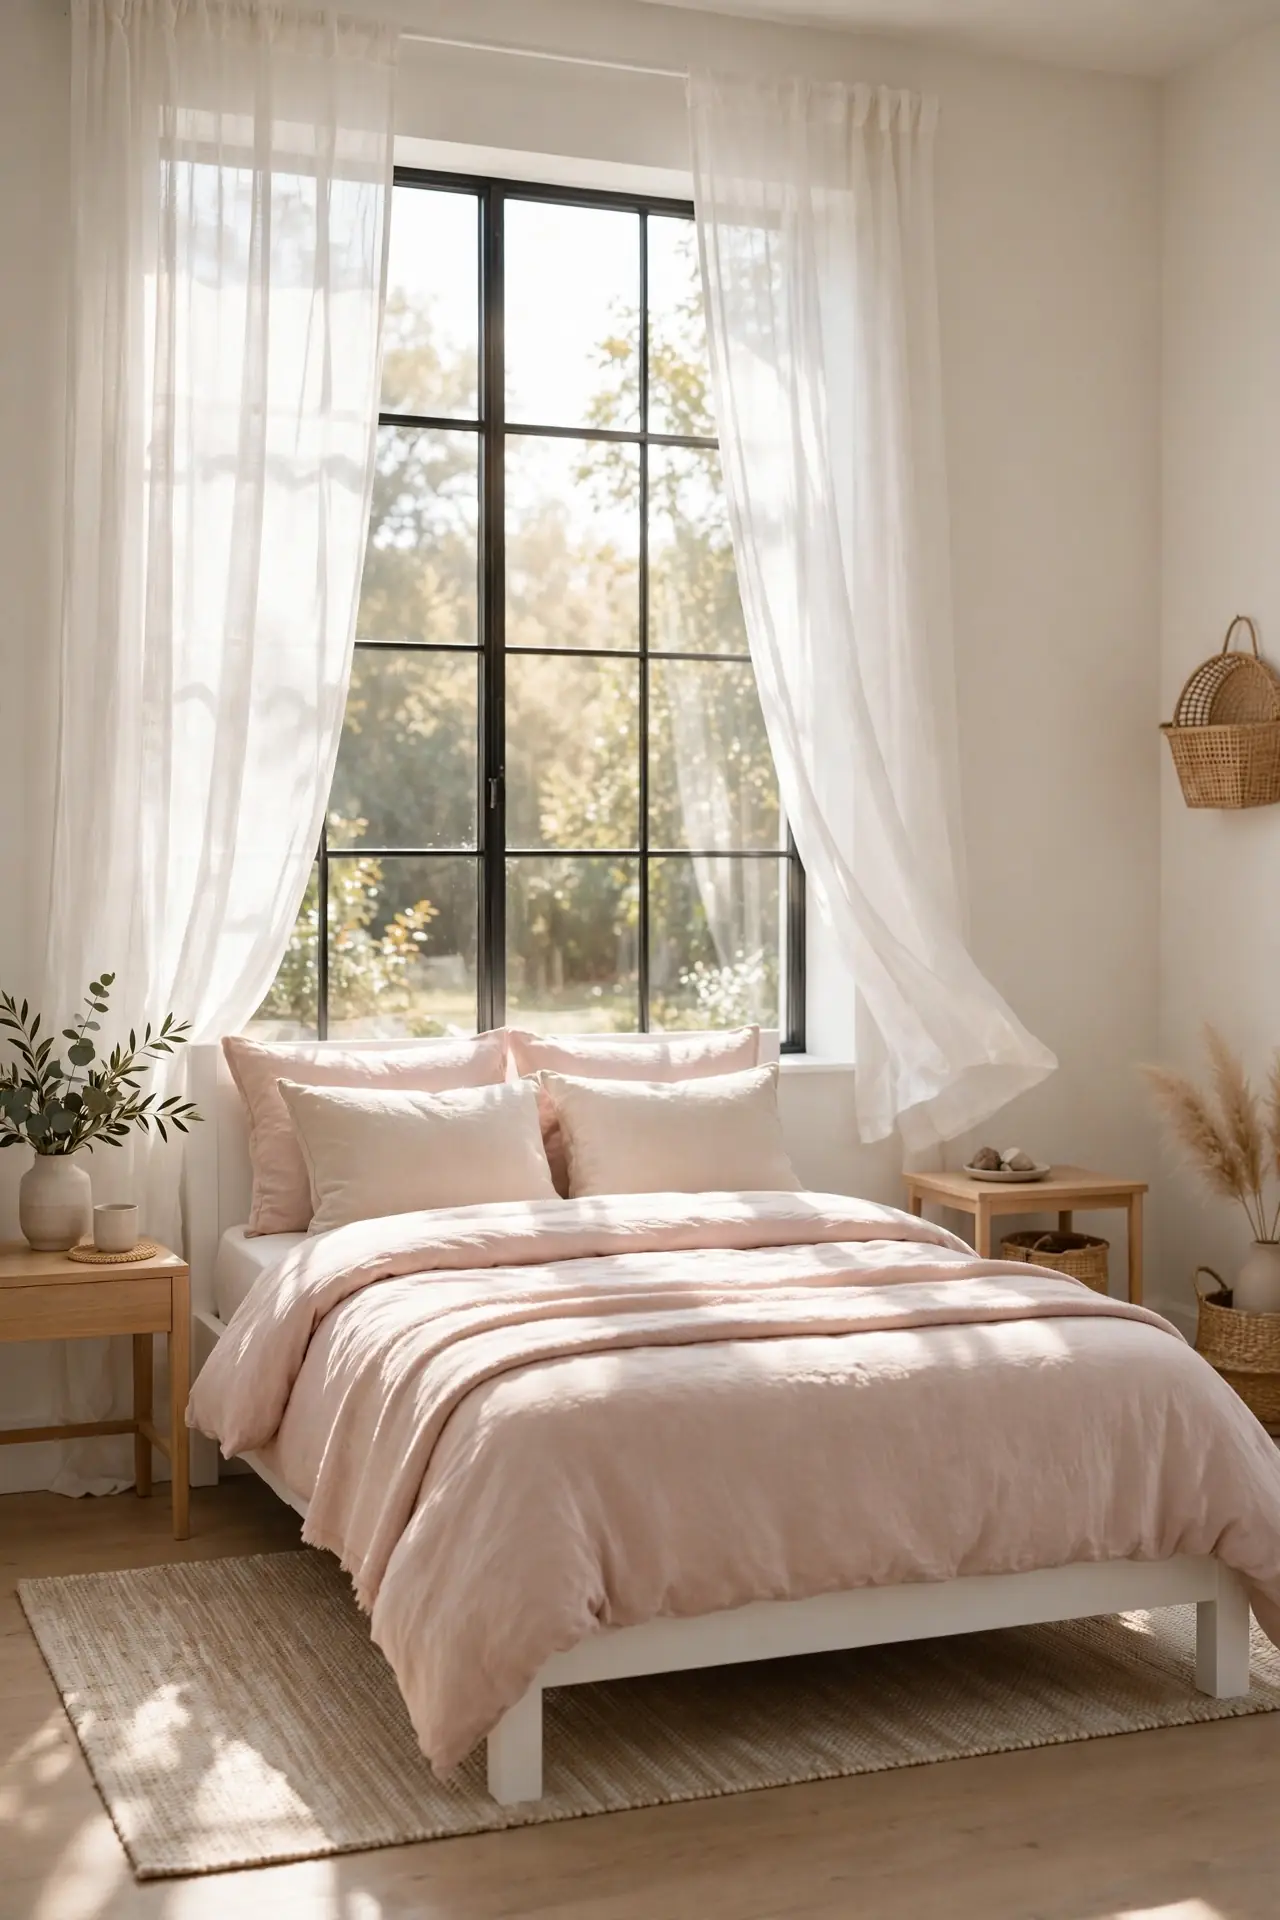
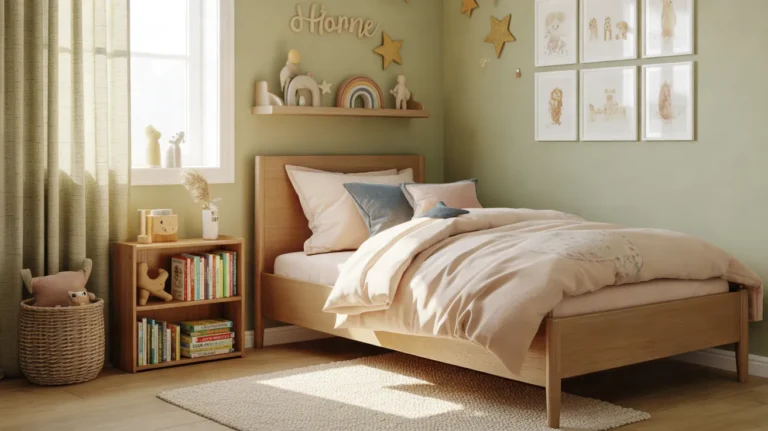
Waking up to daylight changes how the whole day starts. Placing the bed under the window turns the brightest wall into the room’s natural focal point. Keep the headboard low so it never blocks the glass, and let sheer curtains frame the bed like art. A low-profile frame keeps sightlines open across the room.
This layout frees both side walls for a desk and dresser. Morning light does the job of an alarm clock, gently and naturally. I have noticed girls who sleep by the window report brighter moods on school mornings. Add blackout blinds behind the sheers for sleepovers and lazy weekends.
Corner Desk Zone
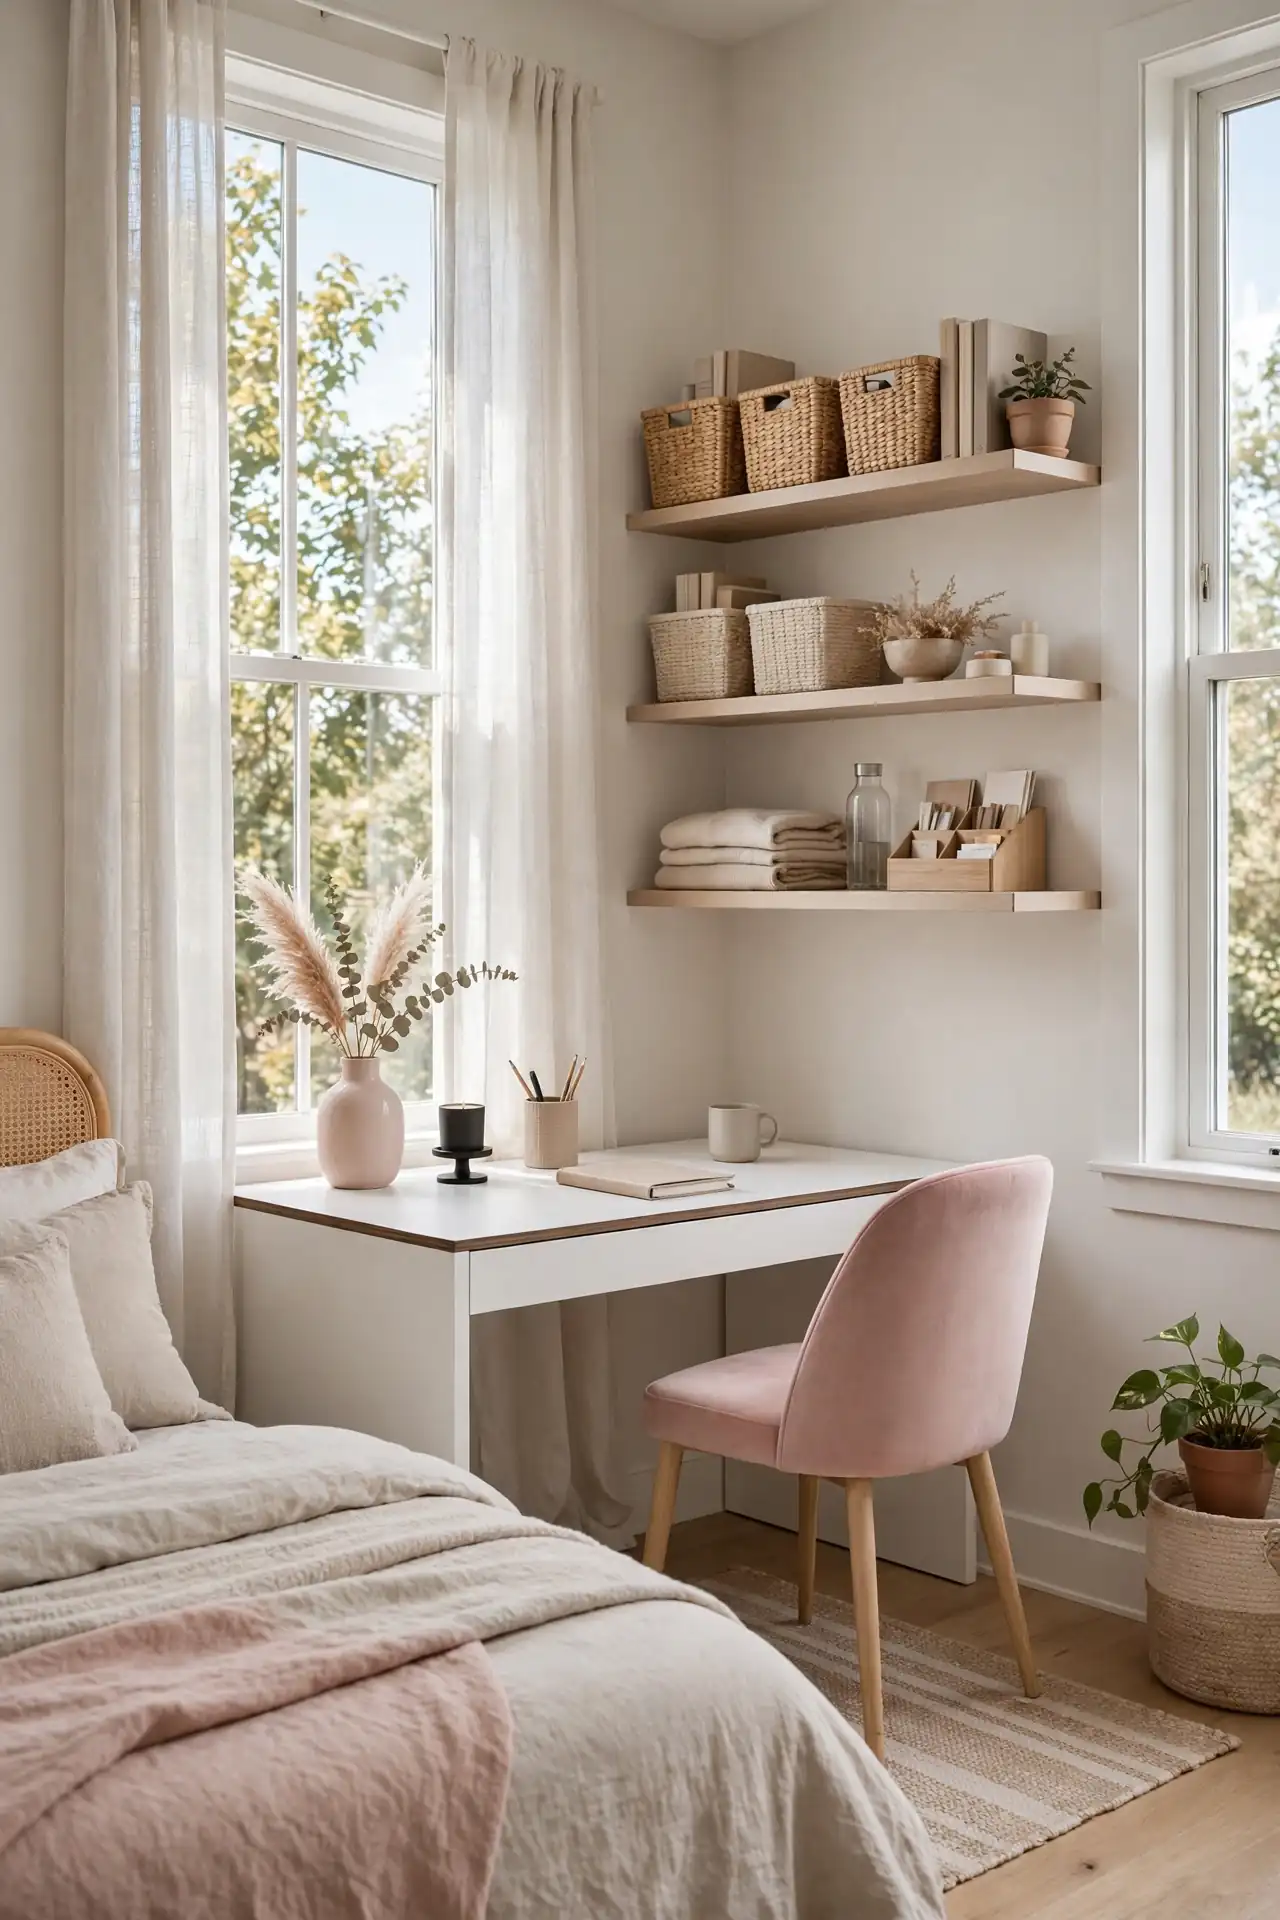
- Tuck an L-shaped or straight desk deep into the brightest corner for a focused study zone.
- Face the chair toward the room so she never feels boxed in while working.
- Mount shelves above the desk to keep supplies up and the surface clear.
- Add a small rug under the chair to mark the zone visually.
A corner desk claims dead space and turns it into the room’s productivity hub. Corners catch two walls of light and leave the center open for everything else. Keep the desk facing outward so the zone feels intentional, not exiled. This placement works in rooms as small as ten by ten feet.
Sleep Study Split
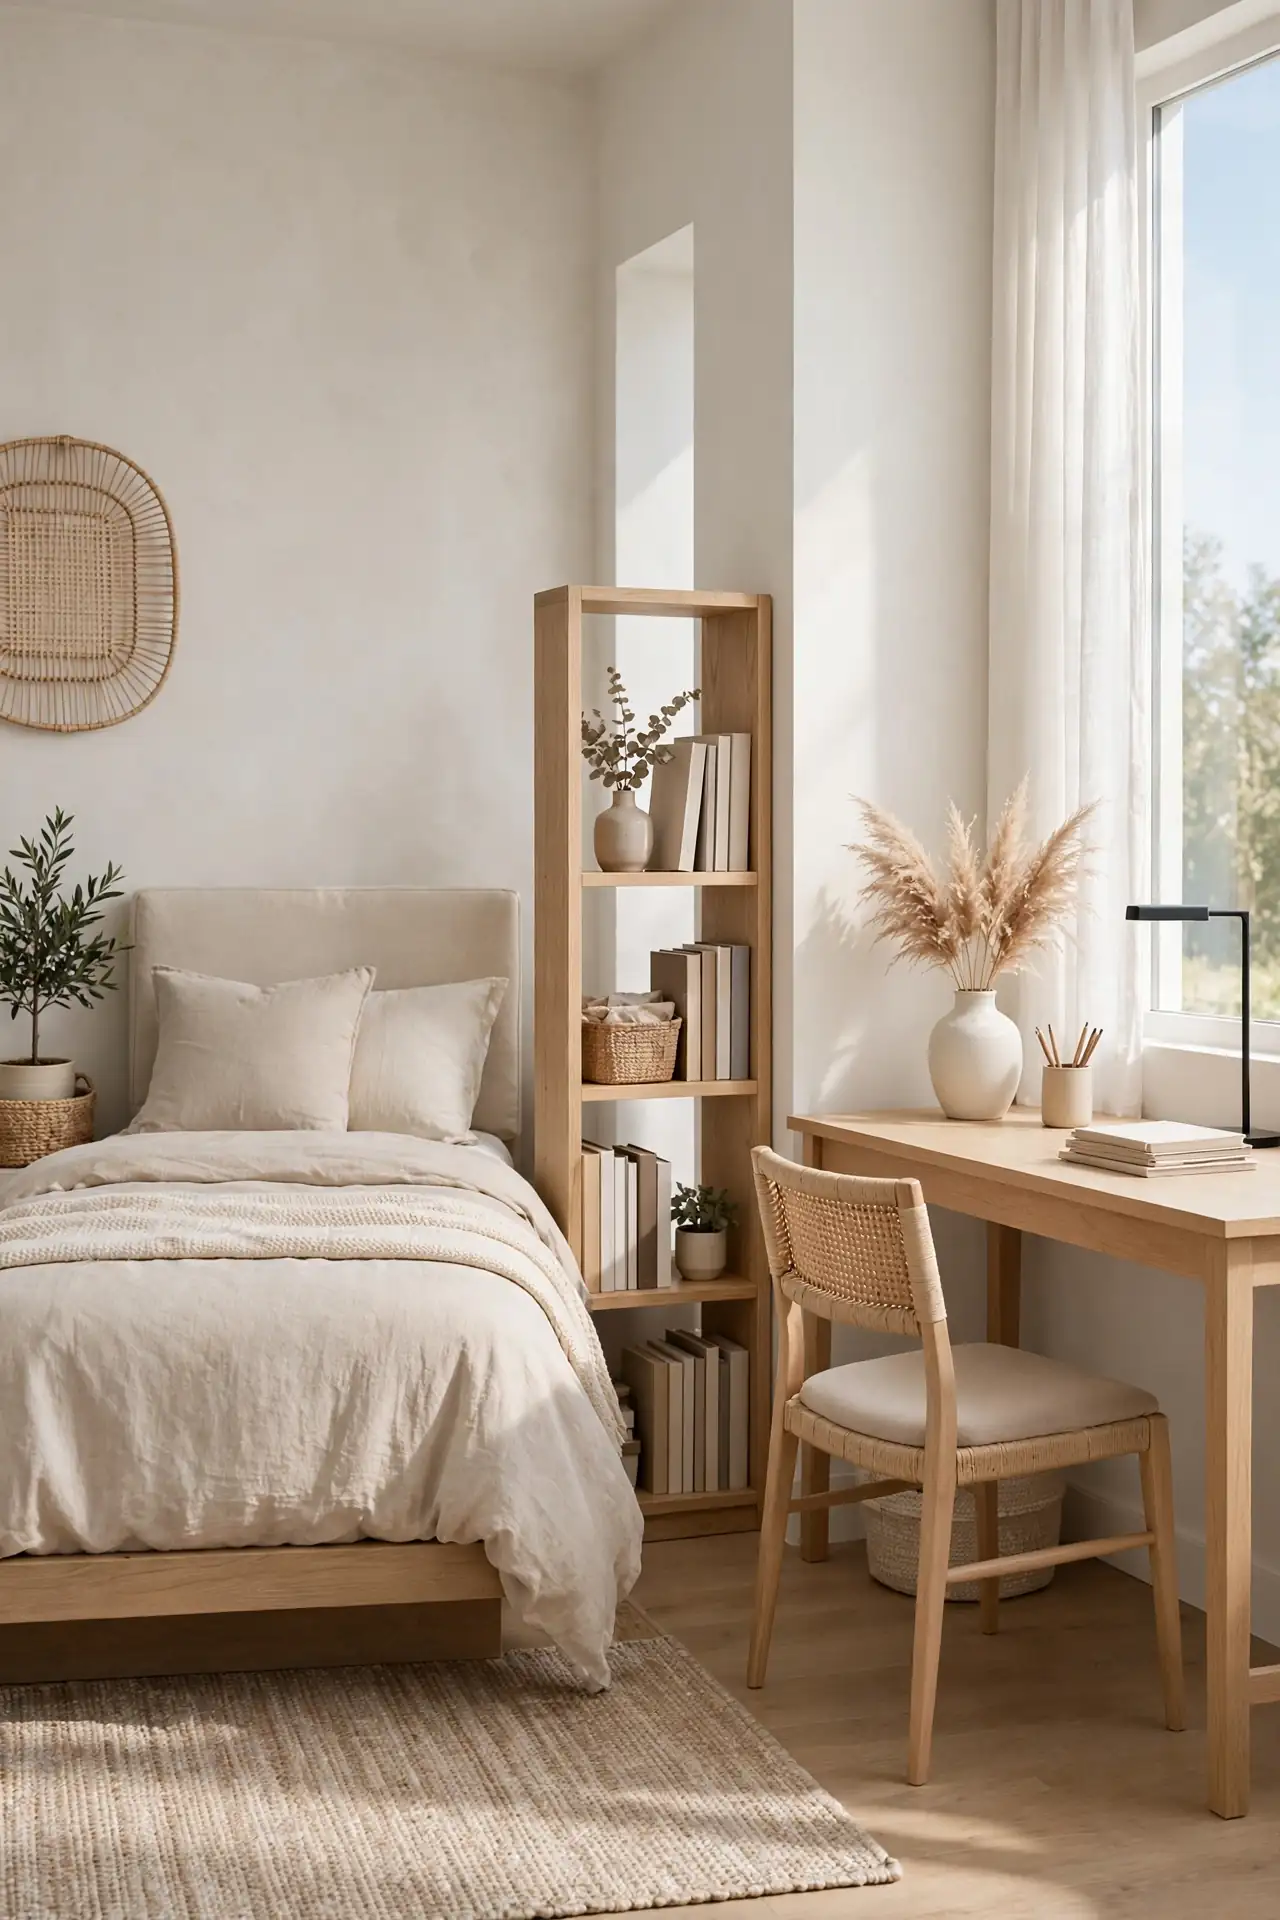
Quick Tip: Split the room into two clear halves: rest on one side, work on the other. Use a low bookshelf or a curtain as a soft divider between the zones. Keep all school supplies on the study side so the bed stays a true rest zone.
This mental split helps the brain switch modes faster. Homework stays contained in its zone instead of spreading across the bed. Choose a divider under four feet tall so light still flows across the room. A small rug under the desk side reinforces the boundary. The two halves can even carry slightly different color accents for extra definition.
Floating Bed Flow
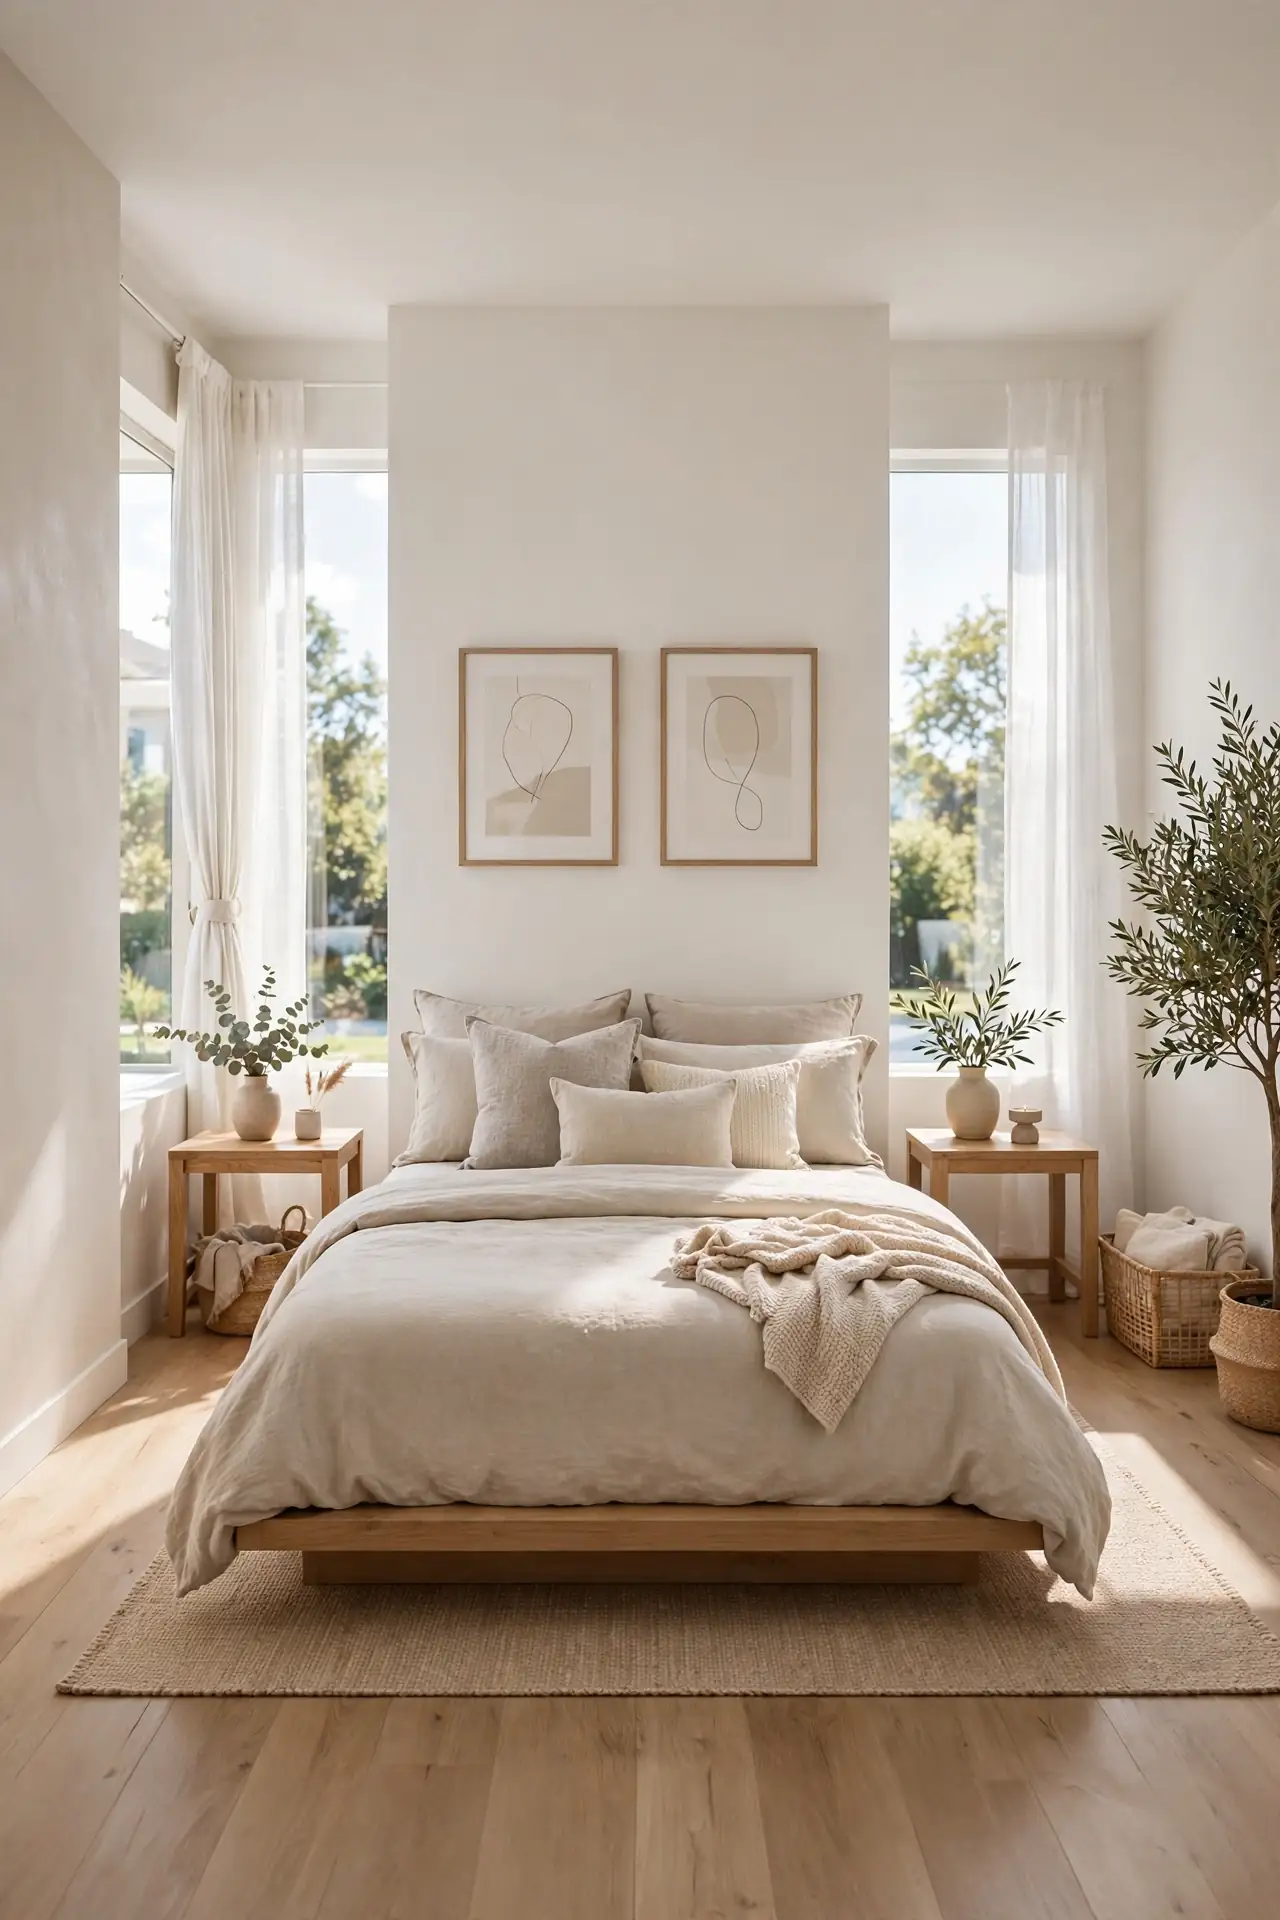
BEFORE: The bed jammed into the corner left one side unreachable and the room feeling lopsided. Making the bed meant climbing over it, and the far side collected dust and lost socks.
AFTER: The bed now floats with walkways on both sides, and the room breathes. Both sides get made easily, and the layout feels balanced and intentional from the doorway.
Floating the bed takes courage in a small room, but the payoff is real. Walkways on both sides make the room feel larger, not smaller, because flow beats wall-hugging. Leave at least twenty-four inches per side for comfortable passage. Anchor the look with a rug that extends beyond the bed.
Reading Nook Corner
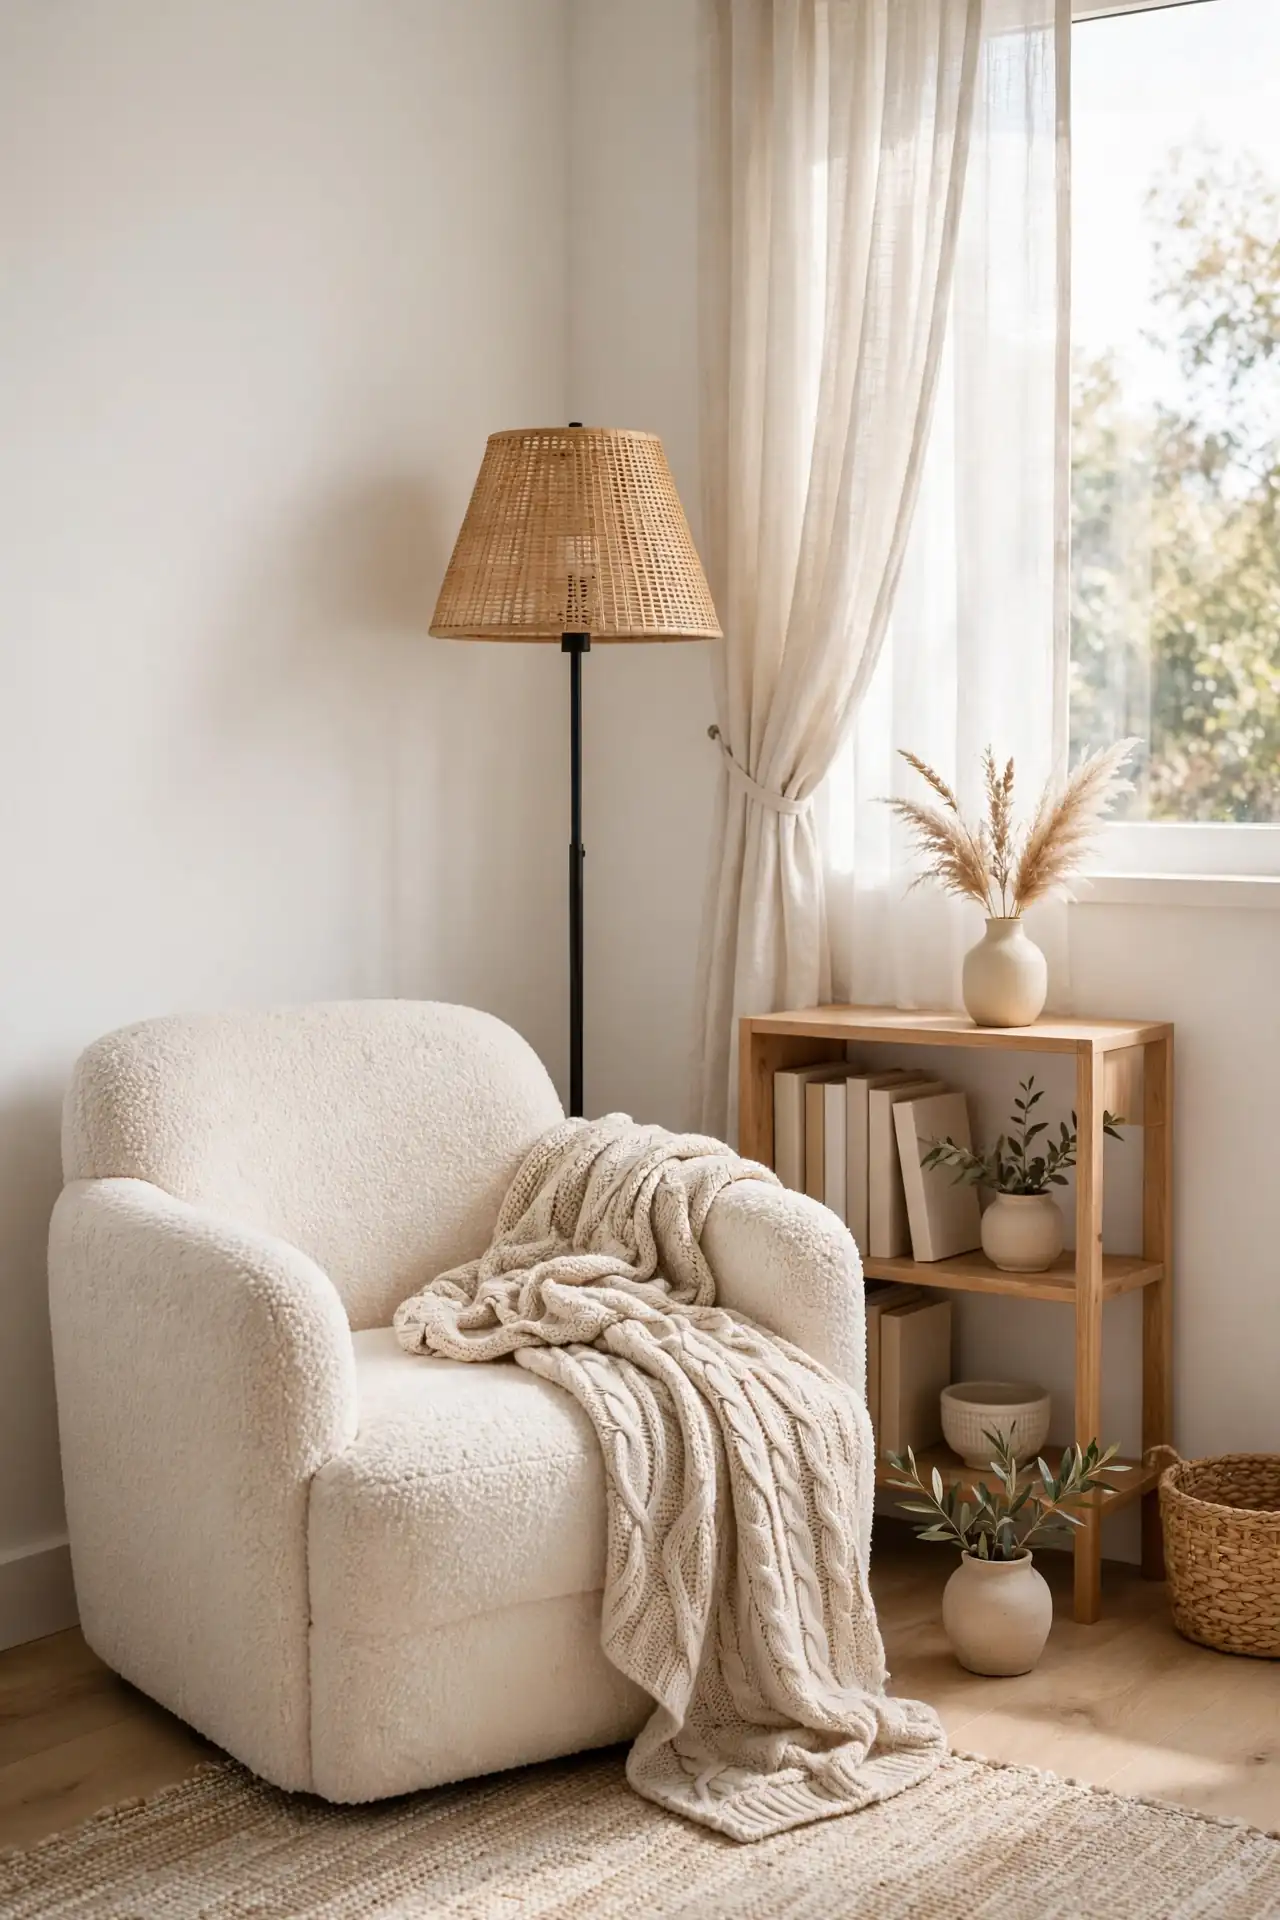
- Pick the quietest corner, ideally near a window but away from the door.
- Place a comfortable armchair angled toward the light at forty-five degrees.
- Add a floor lamp with warm light for evening reading sessions.
- Finish with a small bookshelf and a basket for current reads.
A reading nook gives the room a third zone beyond sleep and study. It becomes the default spot for phone calls, journaling, and decompressing after school. Keep the chair deep enough for curling up sideways. A soft throw within reach makes the corner irresistible daily. This corner will quietly become her favorite square footage in the house.
Vanity Entry Spot
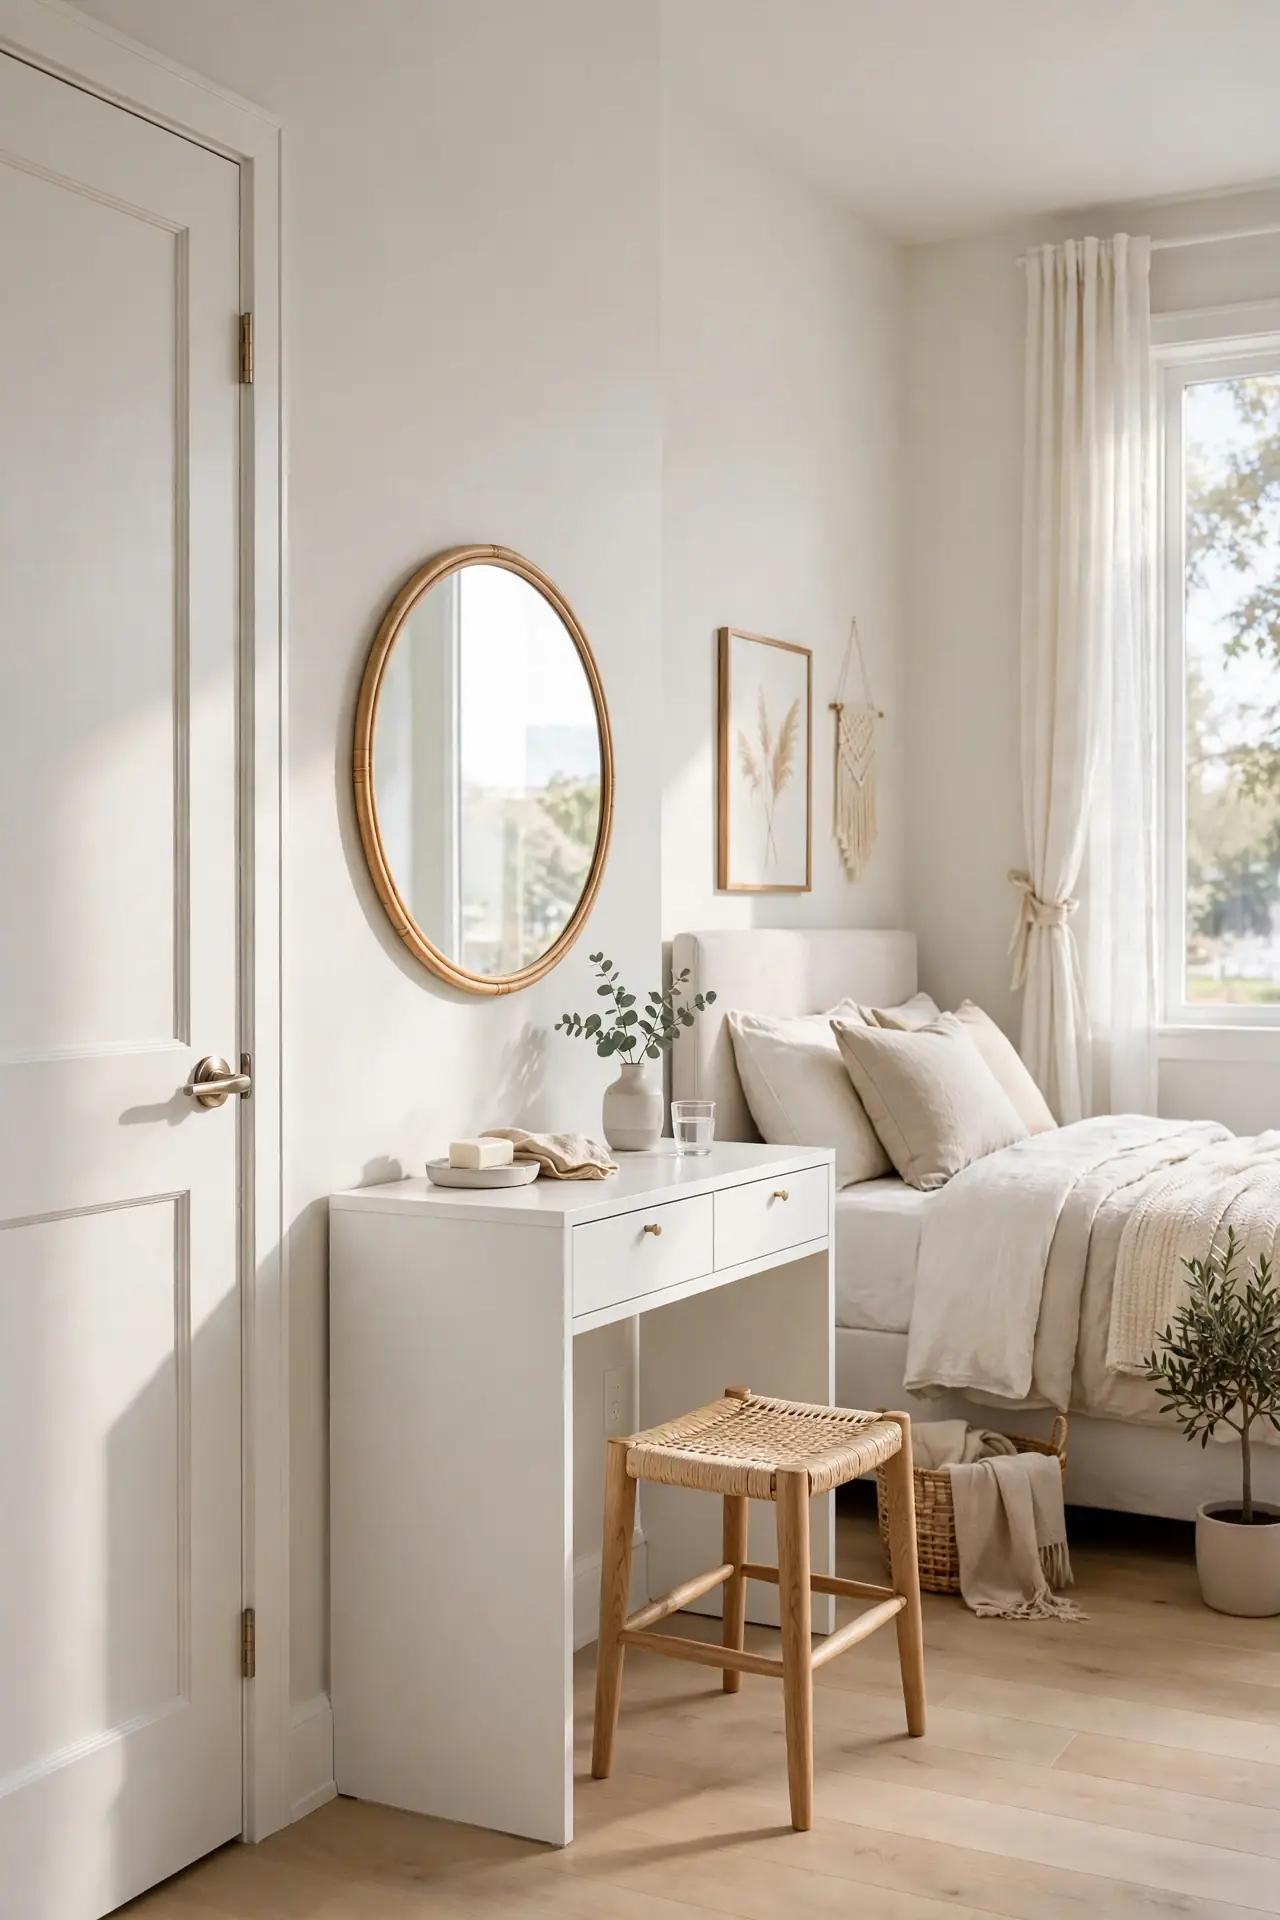
| Spot | Pros | Watch |
| Near the entry door | Last mirror check before leaving | Keep the walking path clear |
| Beside the window | Best natural daylight available | Needs curtain privacy added |
| Right beside the closet | Outfit plus makeup flow together | Can feel crowded fast |
Placing the vanity near the door creates a natural getting-ready flow. She moves from closet to vanity to mirror to door in one smooth path. Keep the route at least thirty inches wide so mornings never bottleneck. A small stool that tucks away keeps the entry feeling open all day. A wall-mounted mirror saves surface space in tight entry corners.
Rug Zone Anchors
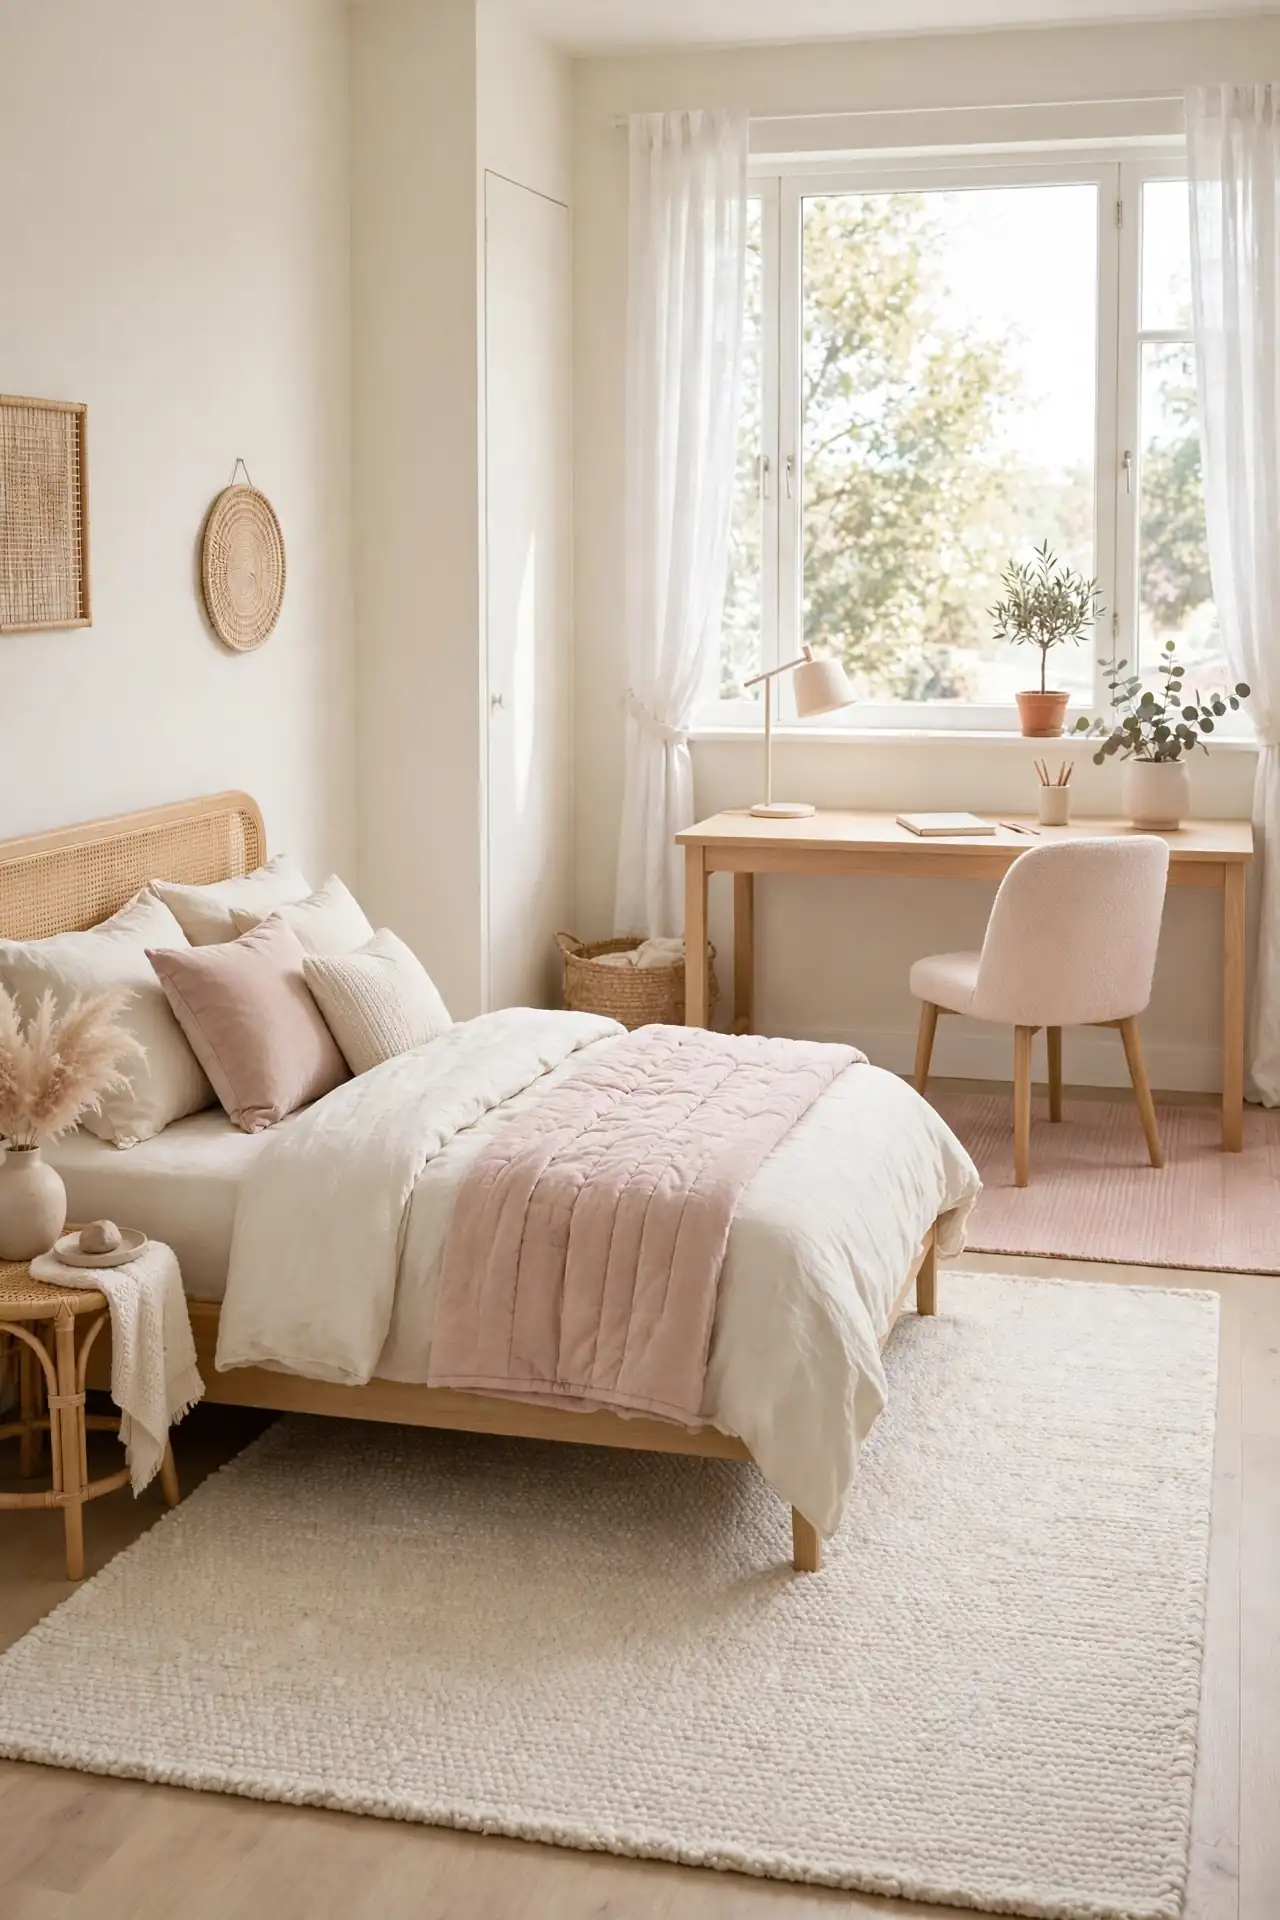
DO: Use one rug under the bed and a smaller one under the desk chair.
DO: Keep both rugs in the same color family for a calm, unified look.
DO: Size the bed rug to extend eighteen inches beyond each side.
DON’T: Float tiny rugs that stop short of the furniture they serve.
DON’T: Mix clashing patterns that chop the room into visual fragments.
DON’T: Layer rugs so thick the desk chair cannot roll smoothly.
Rugs are the simplest way to draw zone lines without walls. Each rug tells the eye where one activity ends and another begins. The softness underfoot also makes each zone feel intentional and cared for. This trick works especially well in long, narrow rooms that need visual structure.
Closet Wall Bed
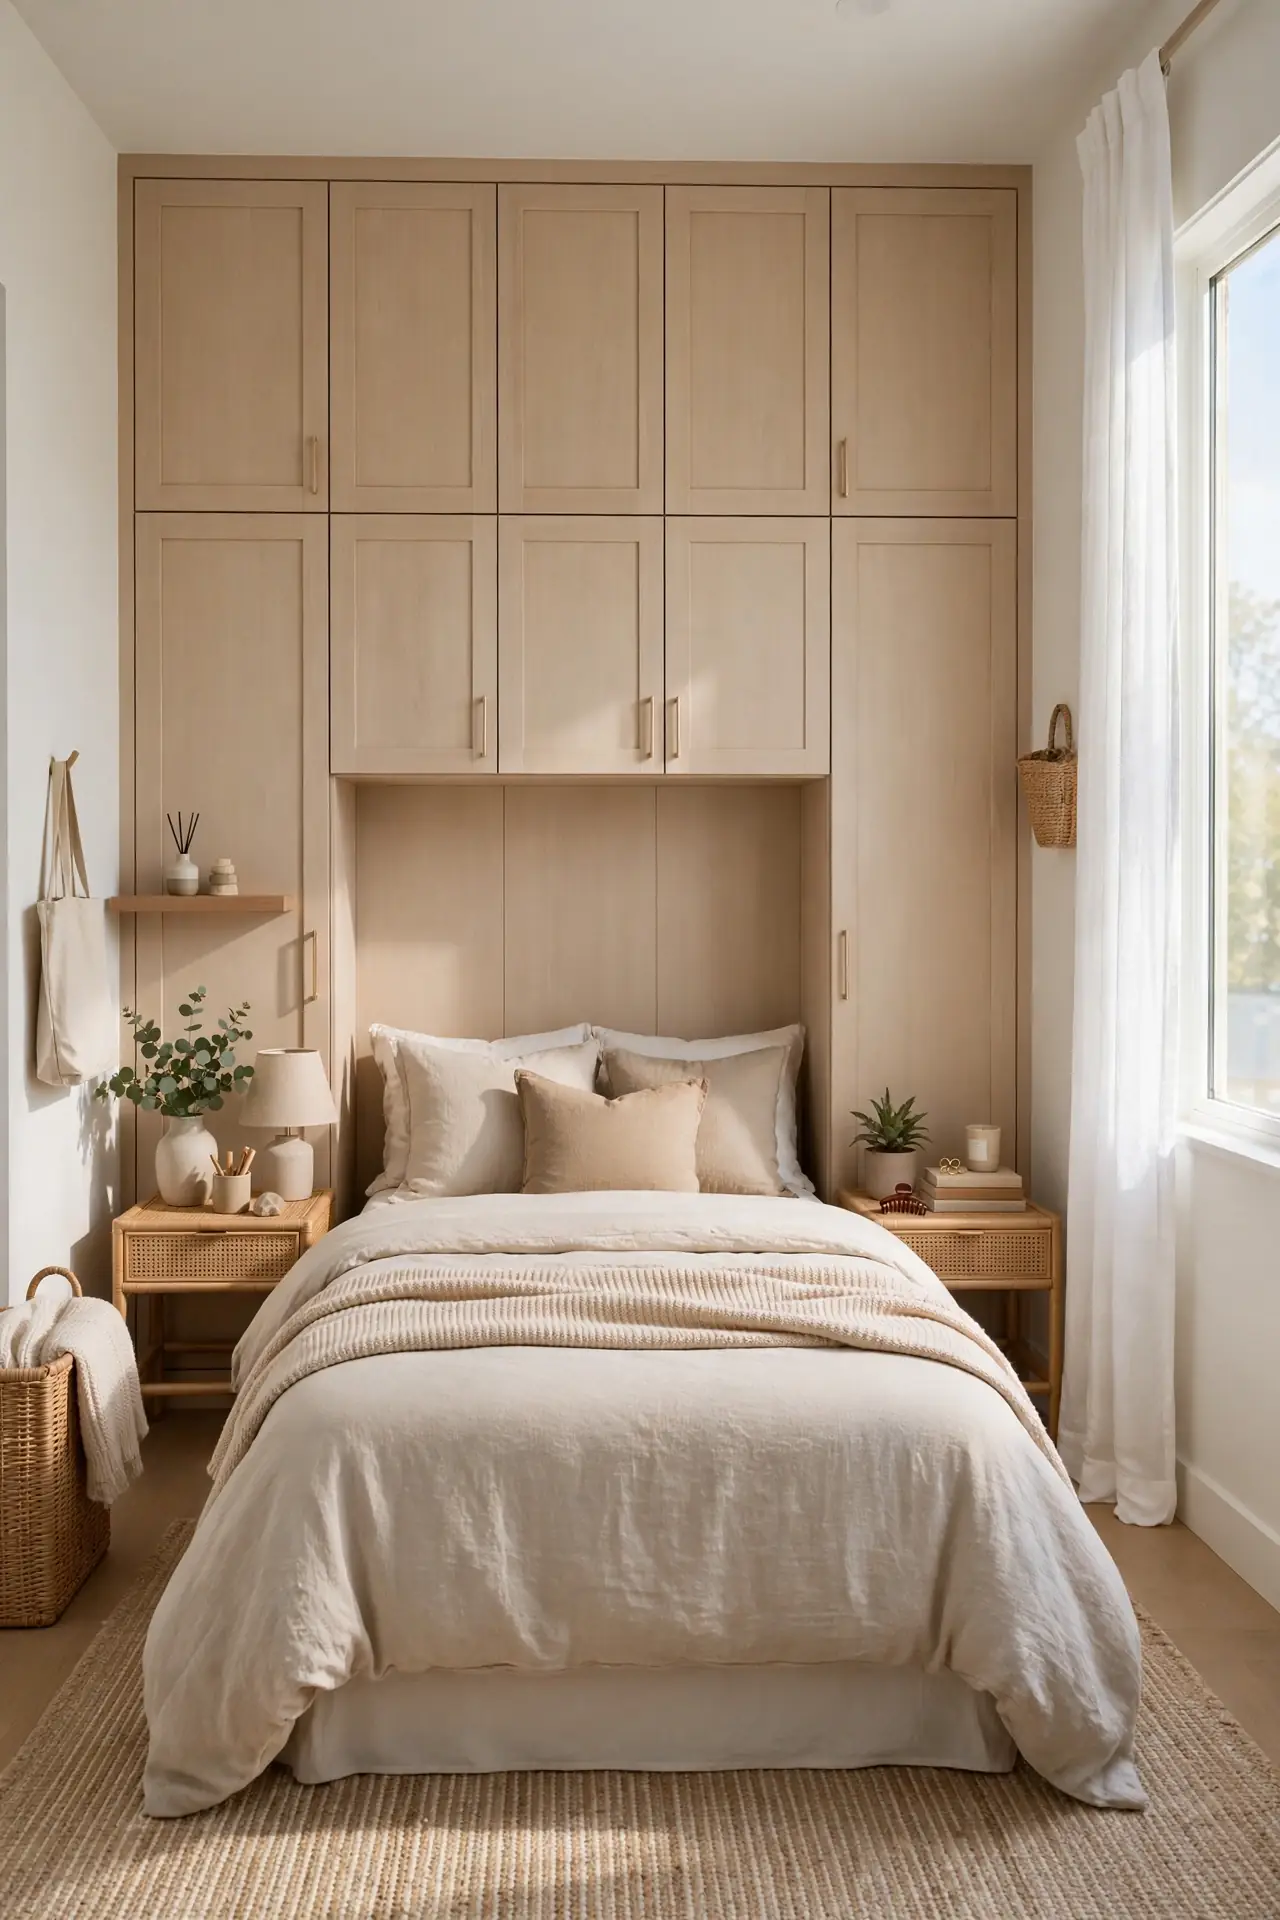
Cost: Zero dollars, since this layout only moves existing furniture. Time: About two hours with help to shift and restyle everything. Skill Level: Beginner, though measuring first saves heavy lifting. Best For: Square rooms where the window wall is too short for the bed.
Placing the bed on the closet wall sounds odd until you try it. The long window wall stays free for the desk and reading chair, which need daylight most. Keep closet doors clear with at least three feet of swing space. A slim bench at the foot adds seating without blocking doors. This layout often creates the best flow in tricky square rooms.
Angled Bed Layout
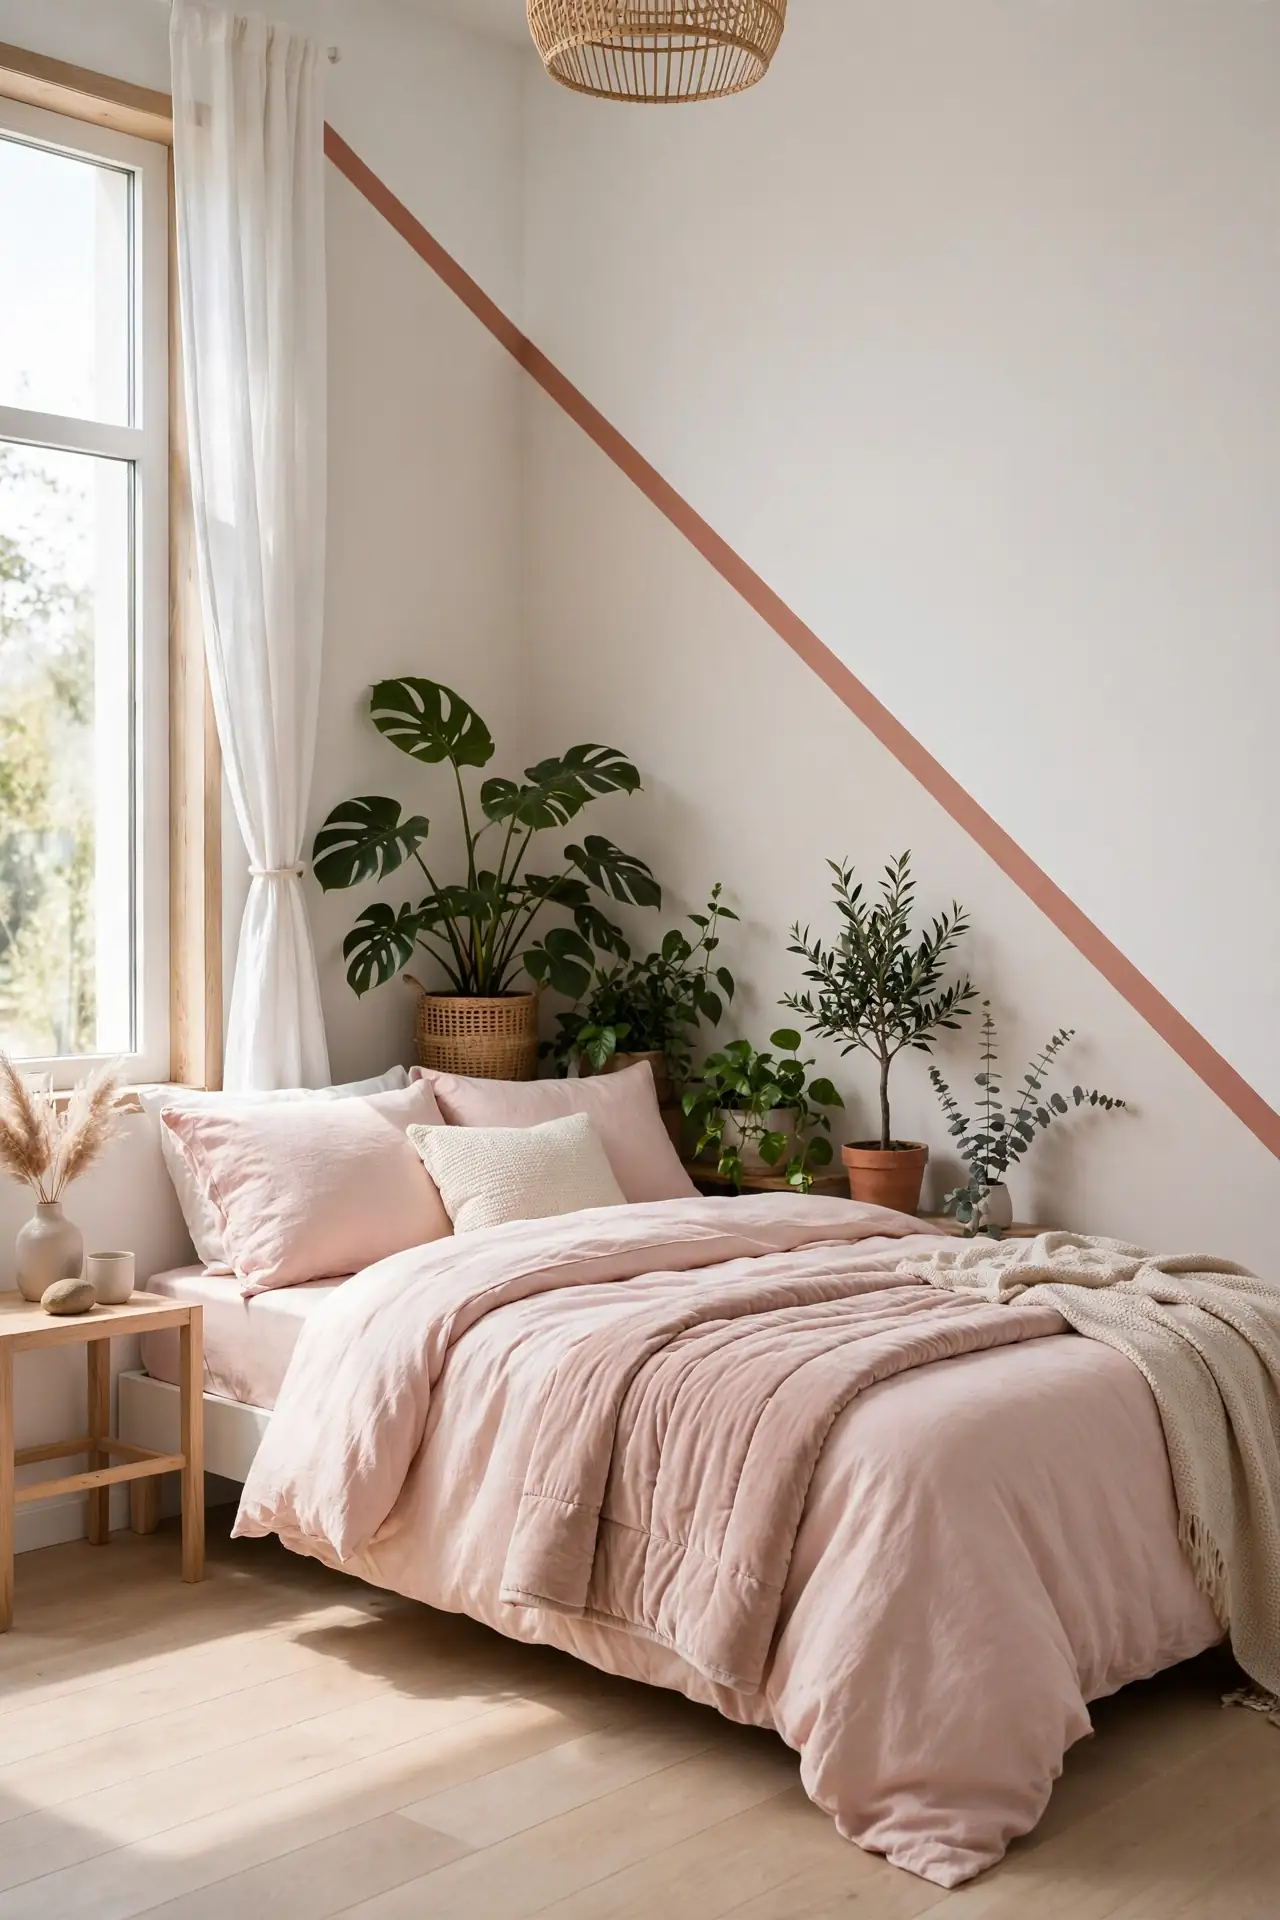
Angling the bed across a corner breaks the boxy feeling of a square room. The diagonal line draws the eye through the space, which makes the room feel wider. Tuck a tall plant or floor lamp into the triangle behind the headboard so no space goes to waste.
This layout suits girls who want their room to feel different and personal. It creates natural pockets on both sides for a nightstand and a small chair. Measure carefully, since angles eat more floor than straight walls. I have seen this work well in many cases where a plain layout felt boring and flat.
Twin Bed Duo

- Arrange two twins in an L along adjacent walls to free the room’s center.
- Dress both beds identically so the pair reads as one designed unit.
- Place a shared nightstand or small table in the corner where they meet.
- Use the setup for siblings, or keep one bed as a daybed lounge.
Two twins in an L shape sleep two without the bulk of a full bed. The arrangement leaves a generous open floor in the middle for hanging out. Matching bedding unifies the look so it never feels like a camp bunkroom. This layout is a sleepover dream that works every single weekend.
Loft Study Under
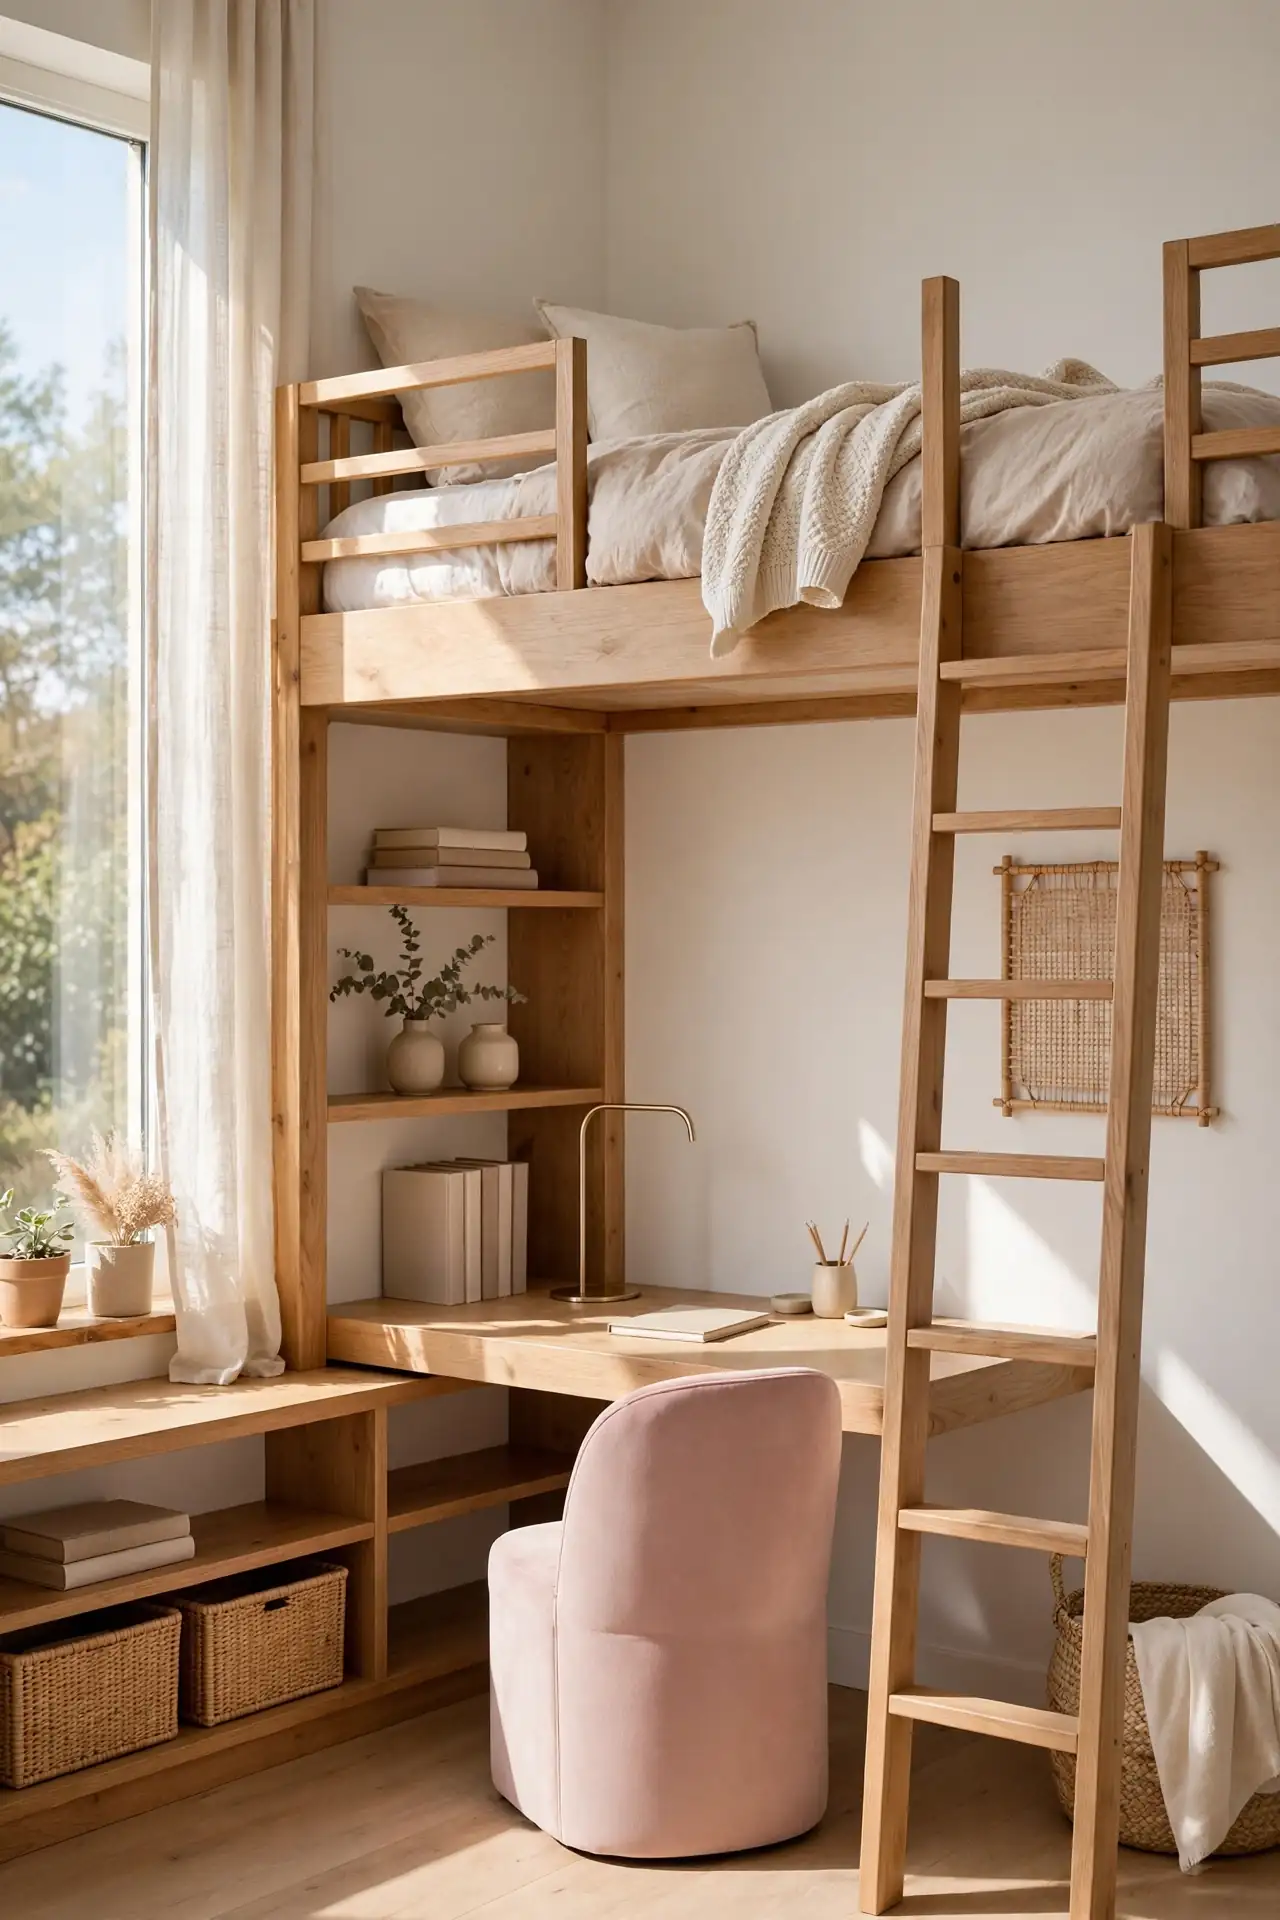
Quick Tip: Raise the bed on a loft frame and build the study zone underneath it. The desk gets a cozy, den-like feel that many girls love for focusing. Add a clip-on light and a small shelf so the under-loft desk works as well as any other.
This layout doubles the usable zones in a tiny footprint. Sleeping happens up top while homework, crafts, and laptop time live below. Keep the palette light underneath so the space never feels cave-like. A small rug defines the study zone and softens noise. Anchor the frame to wall studs for total stability and parent-approved safety.
Daybed Lounge Flow
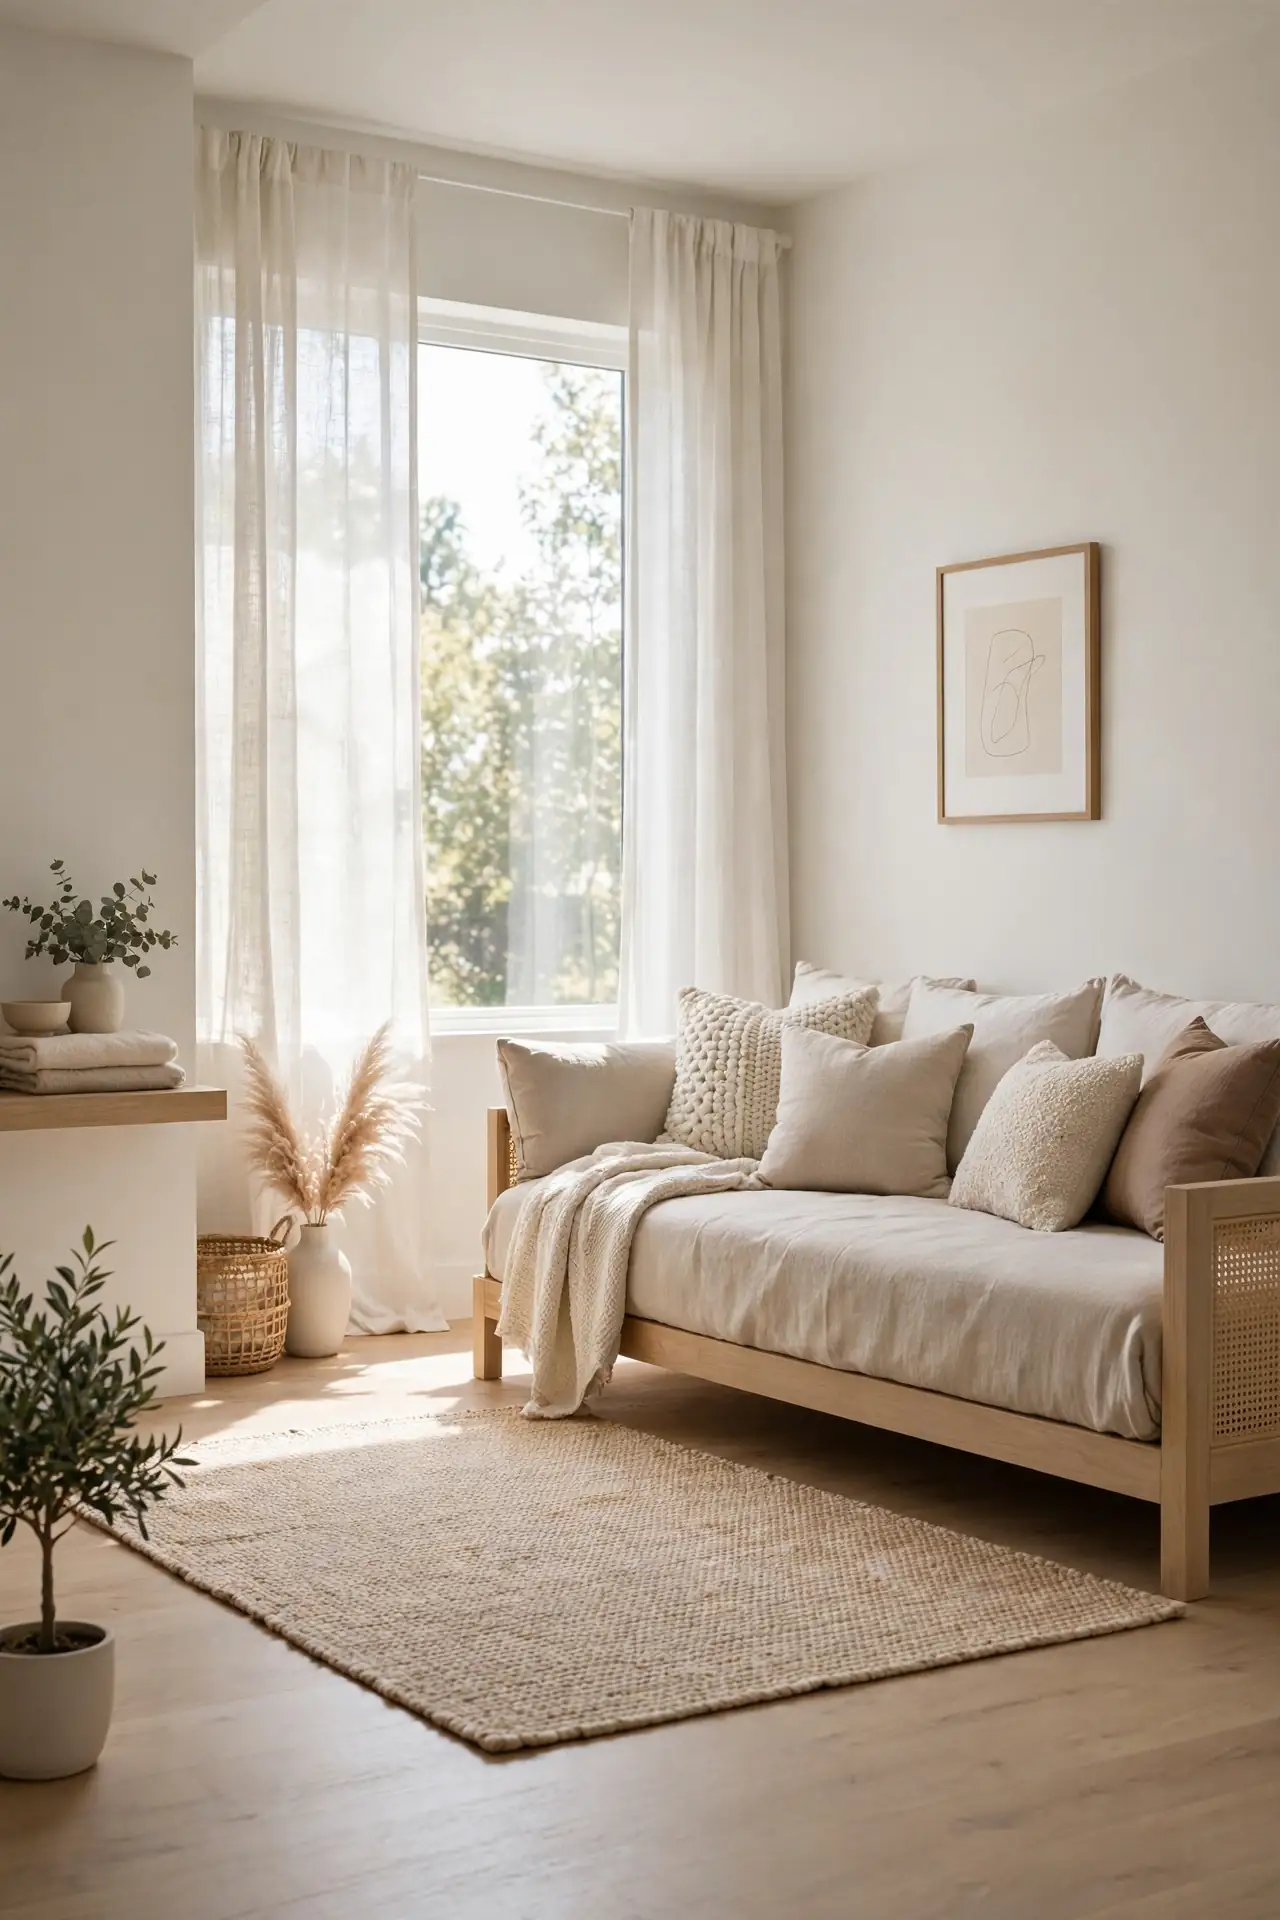
BEFORE: A full bed dominated this narrow room, leaving a single walkway and zero hangout space. Friends sat on the floor, and the room felt like only sleeping happened there.
AFTER: A daybed against the long wall acts as a sofa by day and a bed by night. The open floor now hosts movie nights, and the room finally feels like a place to live.
Daybeds are the ultimate teen-room multitaskers. Push it against the longest wall and style the back with firm cushions for sofa comfort. The freed floor space changes how the room gets used daily. Choose a twin XL if she is tall, since standard twins run short.
Dresser Room Divider
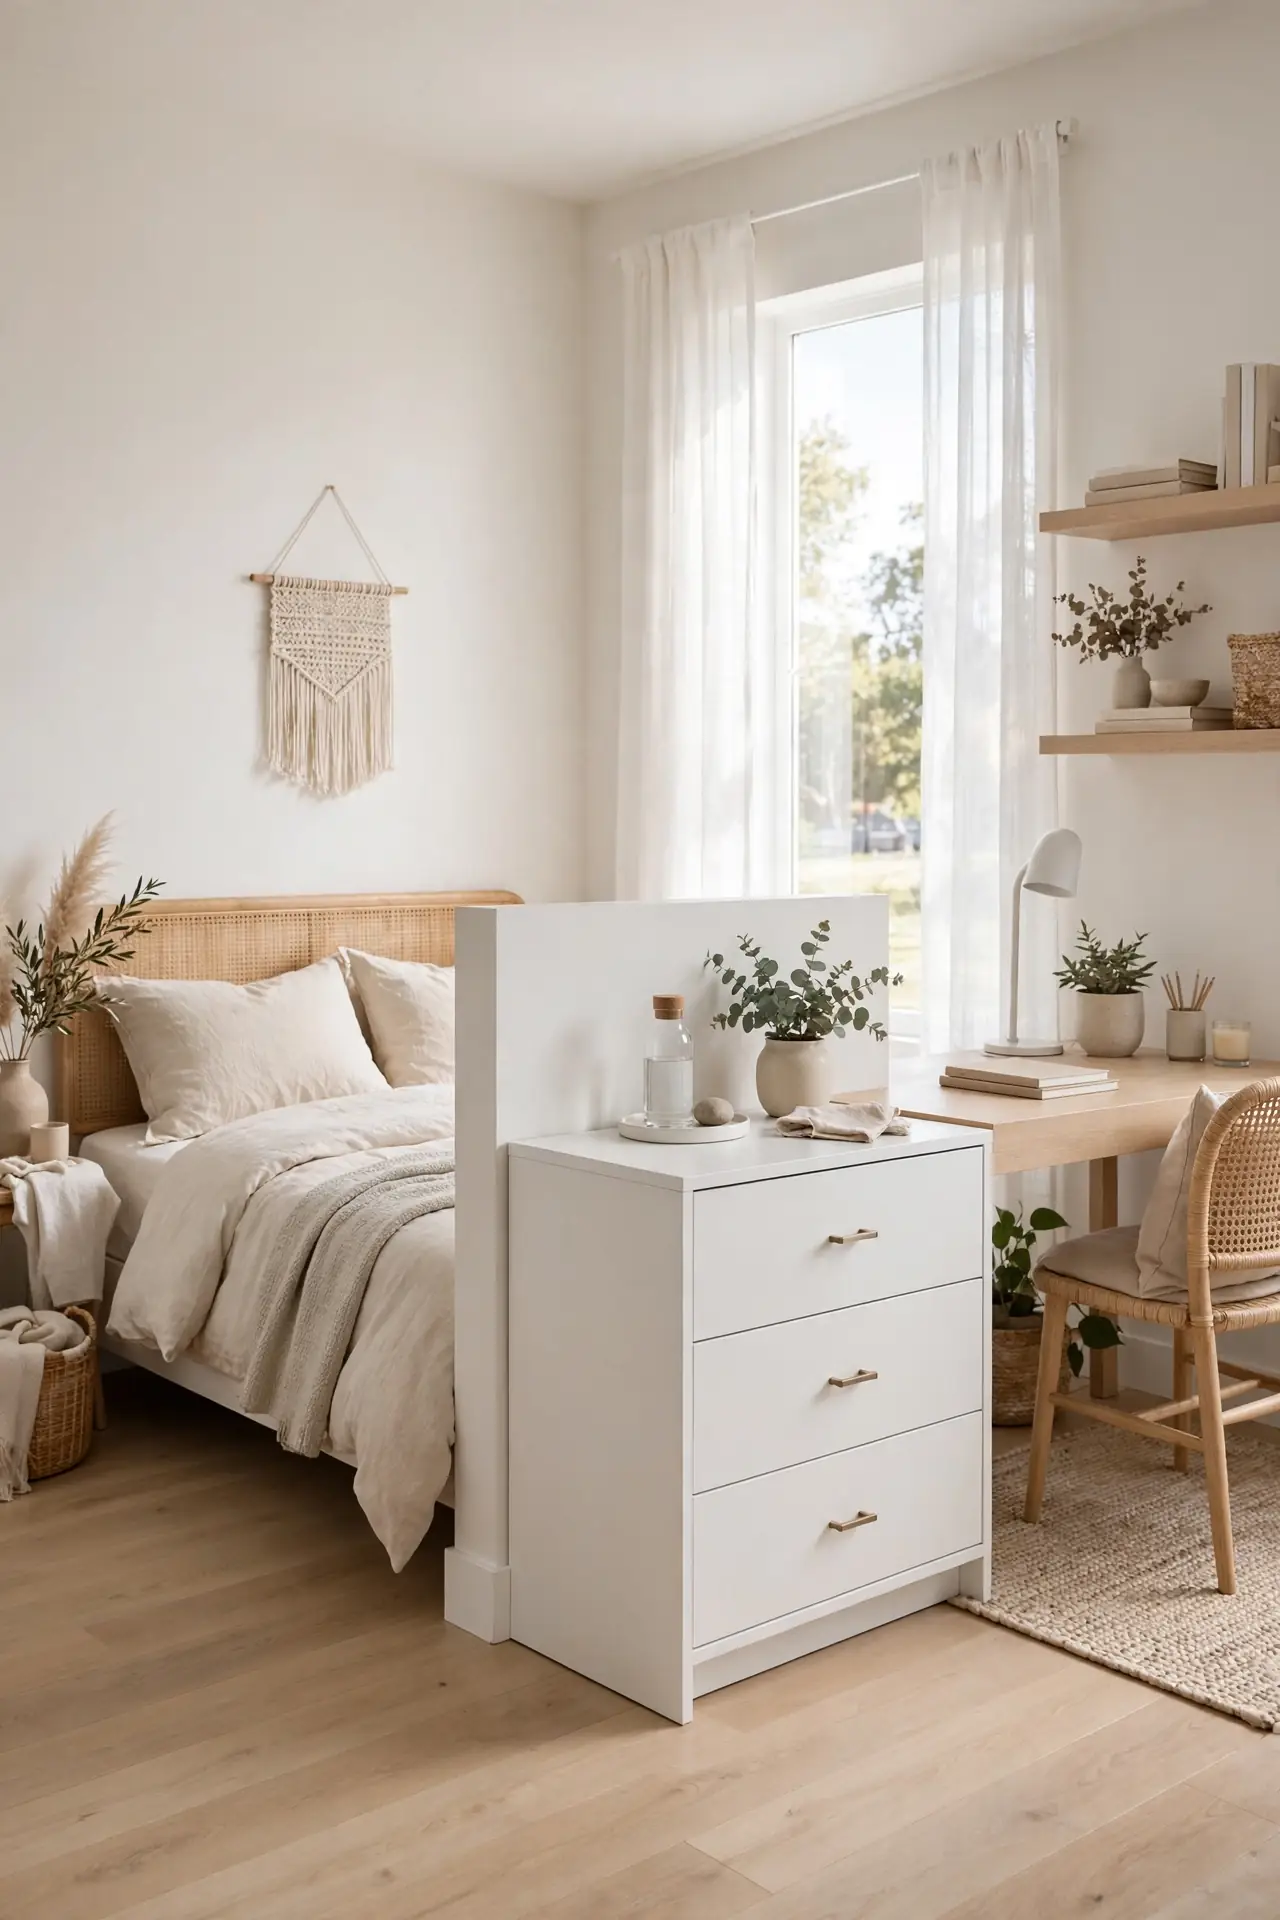
- Pull a low, wide dresser away from the wall into the room’s middle.
- Position it perpendicular between the bed zone and the study zone.
- Style the top with a lamp, a plant, and one framed photo.
- Keep both sides accessible so drawers open without blocking paths.
A dresser divider defines zones while adding storage both sides can share. The low height keeps sightlines open, so the room never feels chopped up. This works beautifully in long rooms that need structure. Secure tall dividers to the wall so they never tip. That is why many experts recommend furniture dividers over curtains for teen spaces.
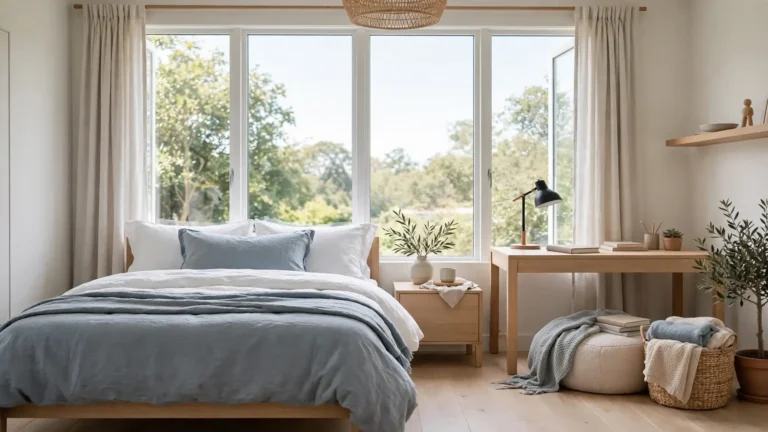
Desk Window View
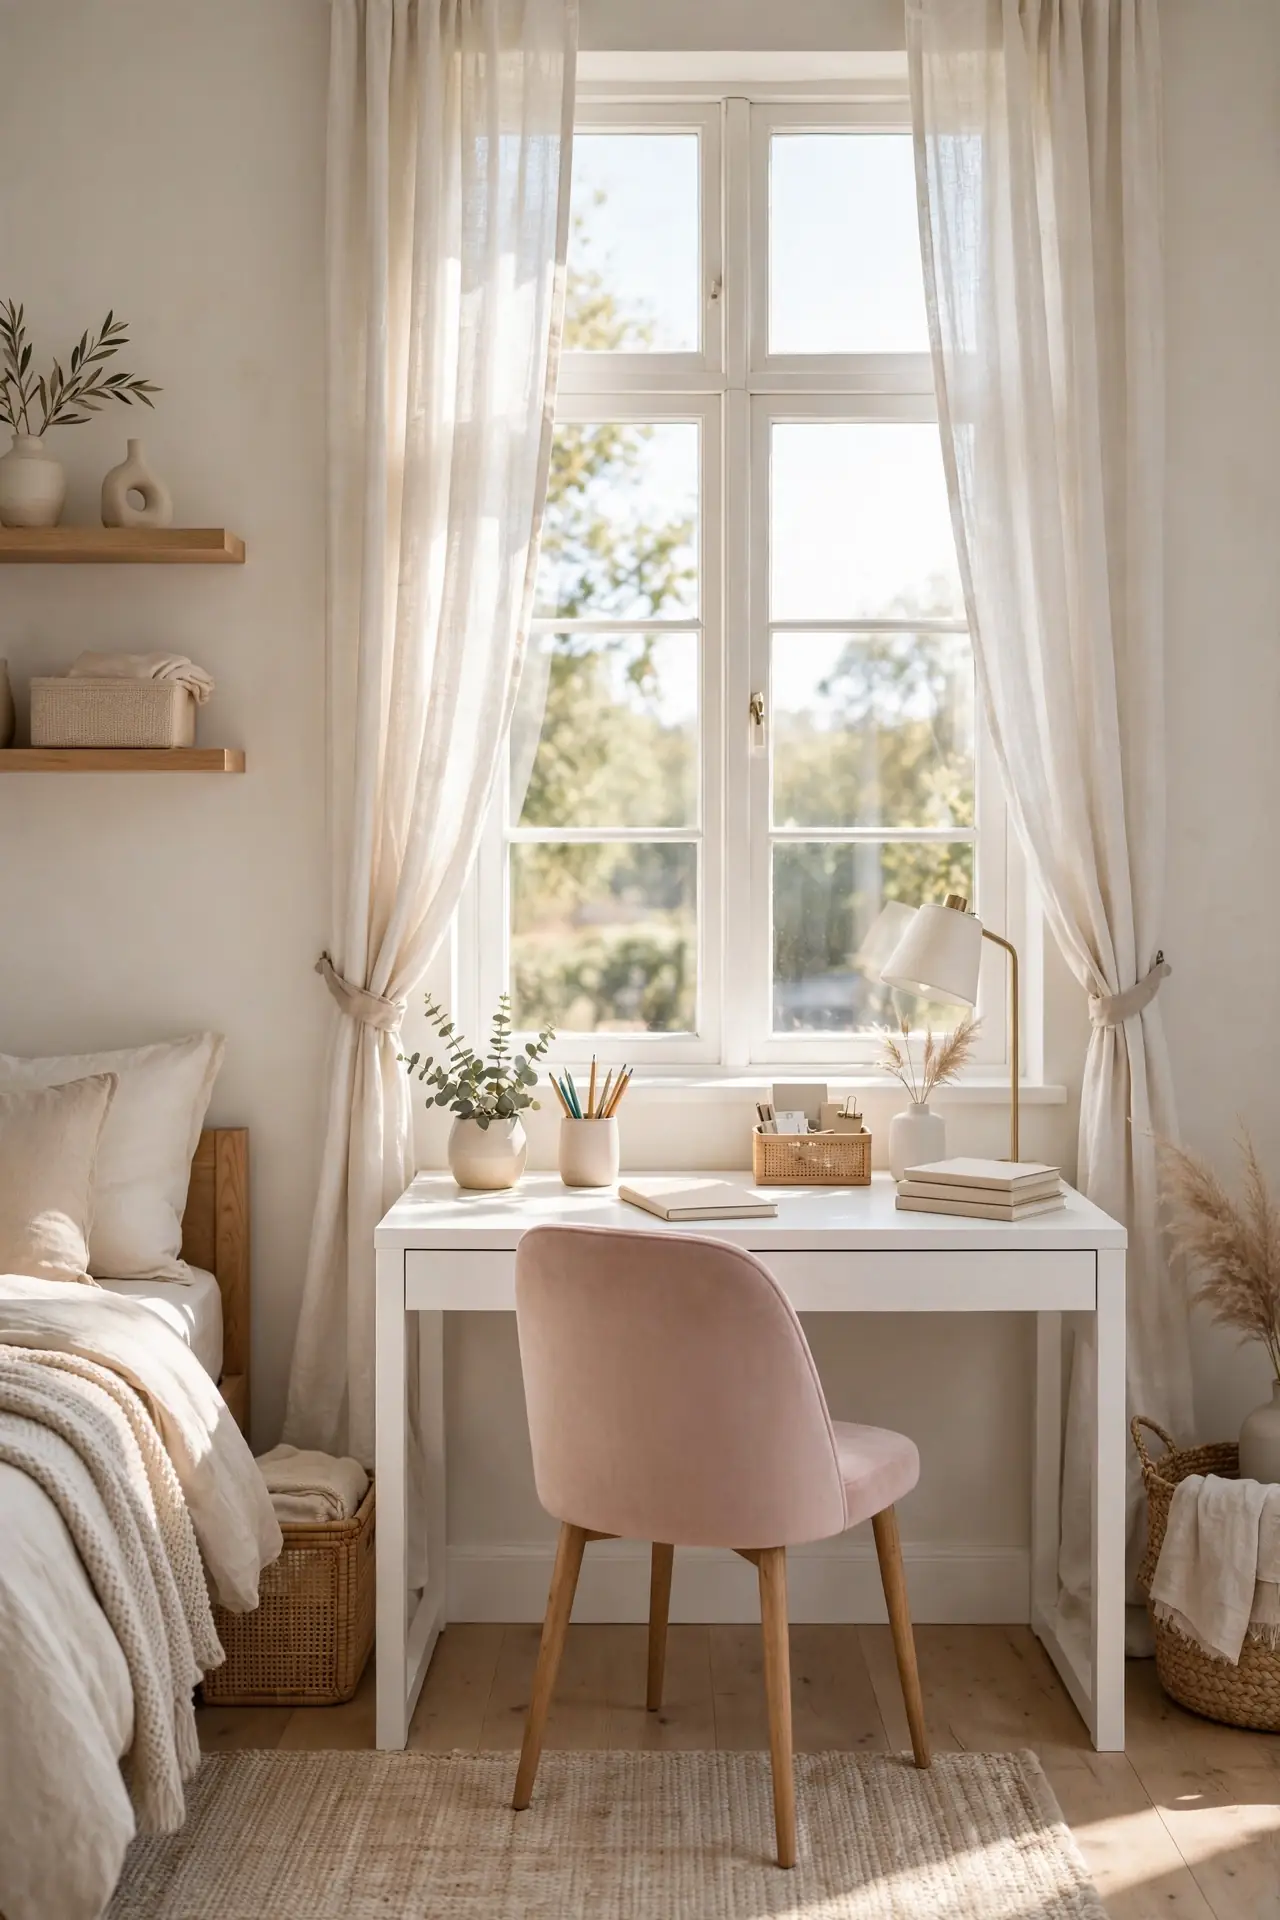
| Desk Spot | Light | Mood |
| Directly under the window | Bright natural light all day | Cheerful focused mood |
| Right beside the window | Soft angled side light | Calm and glare-free |
| Directly across from window | Soft reflected glow | Even gentle light |
A desk under the window turns homework into the brightest part of the day. Natural light beats any lamp for focus and mood, and the view gives eyes a healthy break. Add sheer curtains to cut glare on screens during peak sun. Keep the sill clear so the workspace feels deep and uncluttered. A monitor riser keeps screens at eye level for better posture.
Open Center Floor
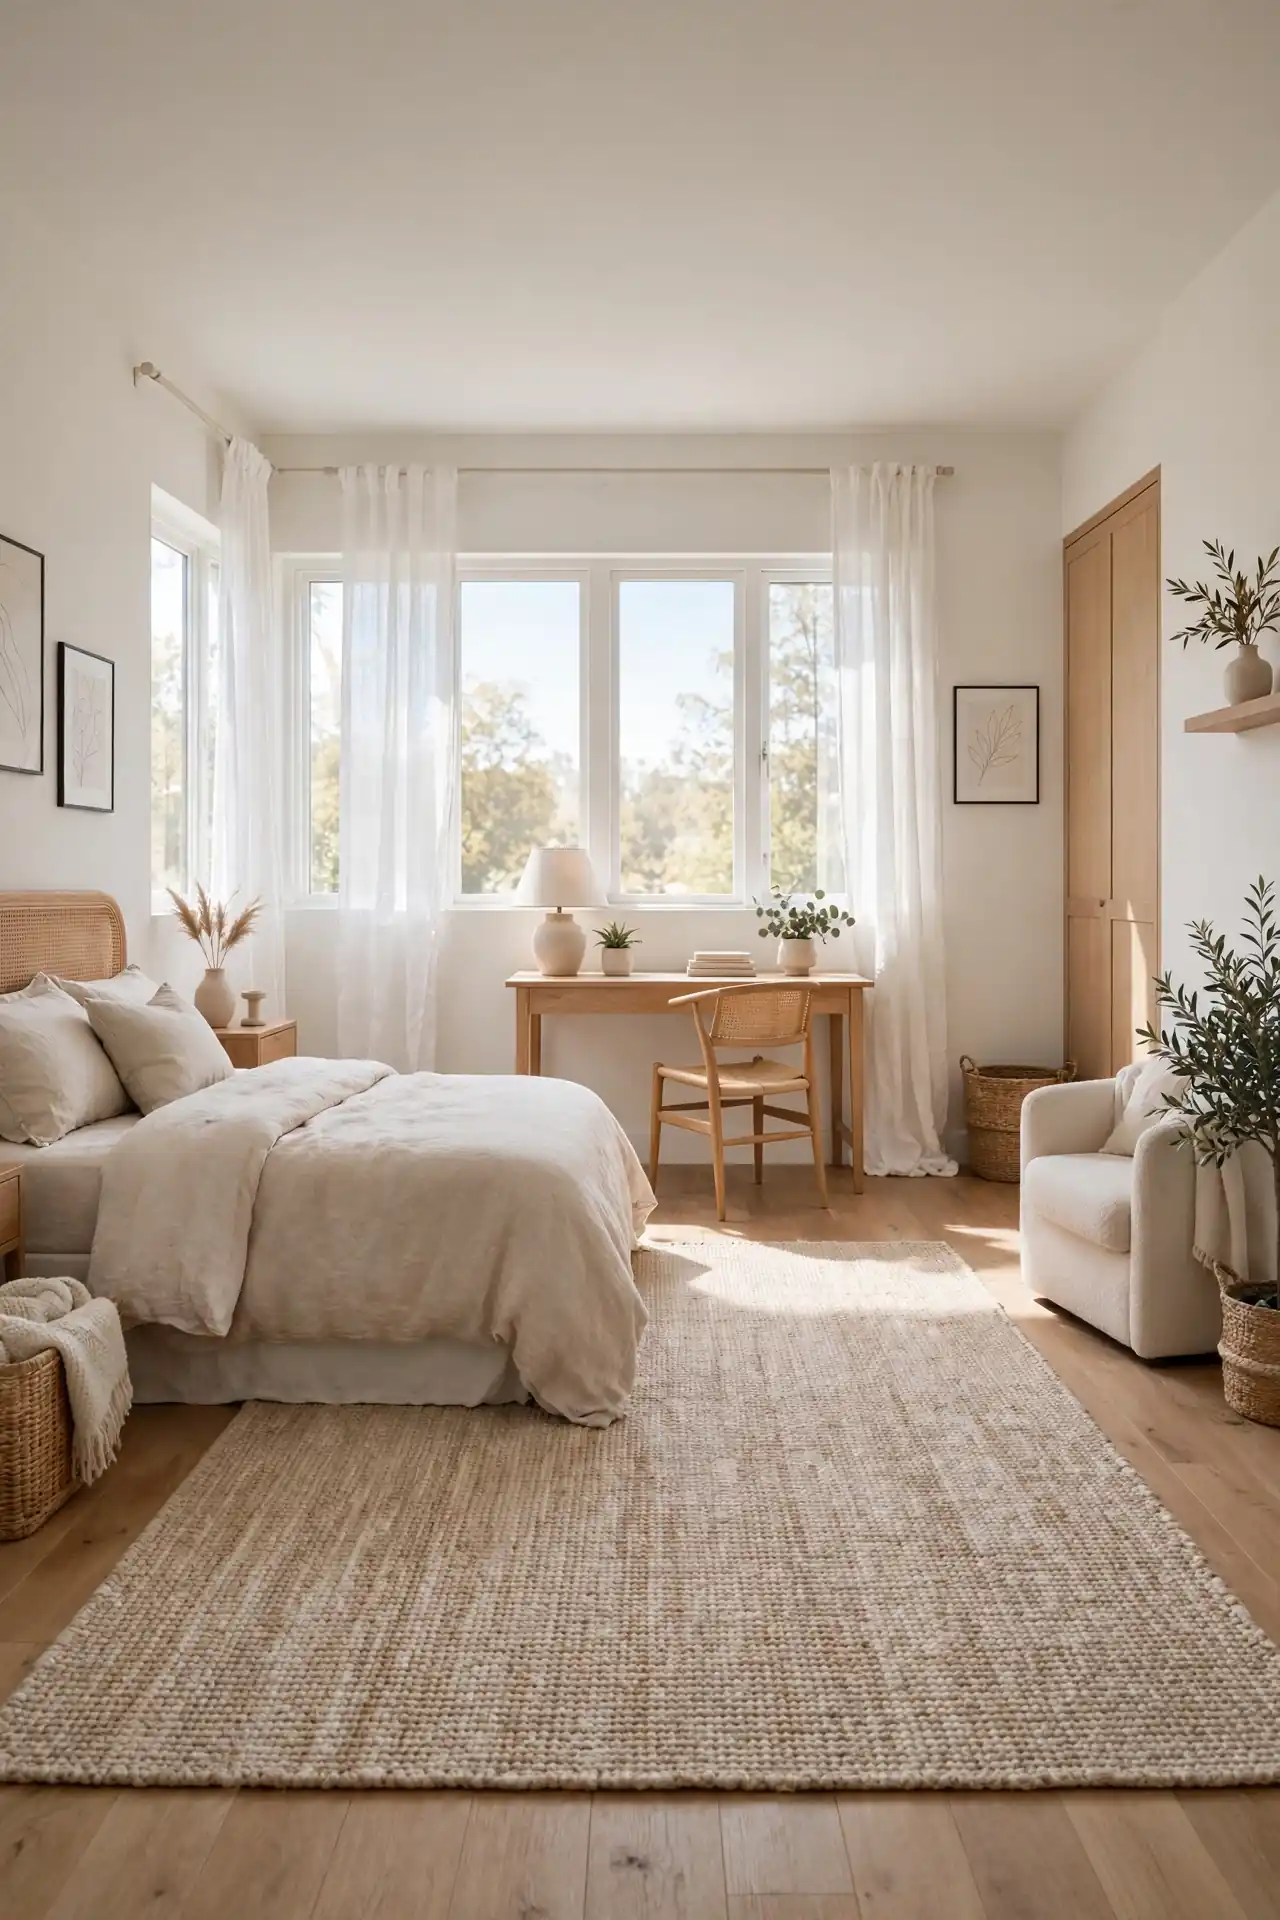
DO: Push every large piece against a wall to free the middle.
DO: Lay one big soft rug in the center as the hangout zone.
DO: Keep floor cushions stacked nearby for instant extra seating.
DON’T: Let the open floor become a drop zone for bags and laundry.
DON’T: Choose a rug so small the center still feels empty.
DON’T: Block the open space with a chair that nobody uses.
An open center turns the bedroom into a true living space. Yoga, dance practice, sleepover games, and sprawling craft projects all need floor more than furniture. The room feels dramatically larger the moment the middle clears. Protect the openness with a strict one-in, one-out rule for floor items.
Clear Wall Space
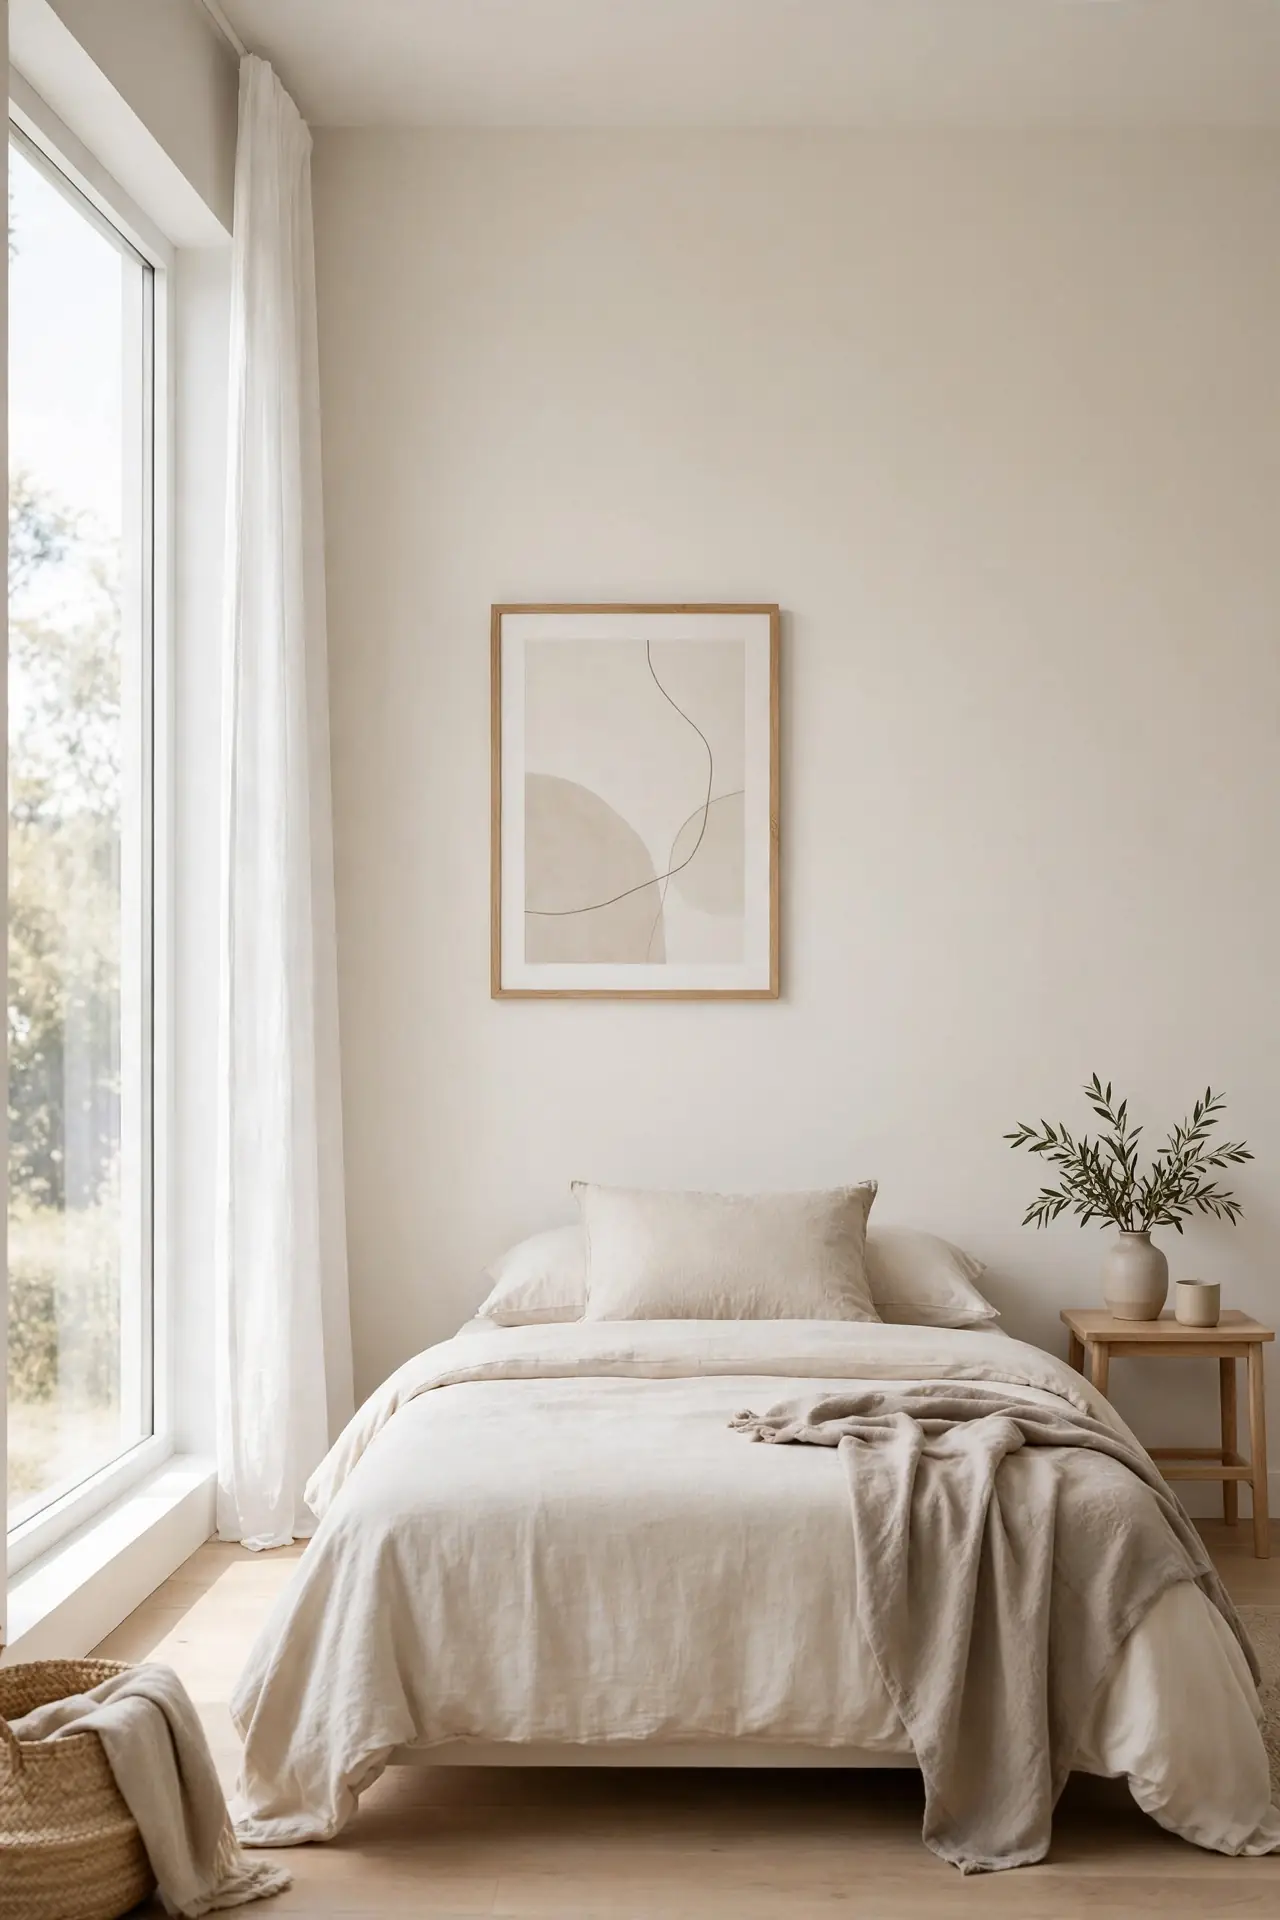
Cost: Nothing, since this layout removes rather than adds. Time: One hour to clear, patch, and restyle a single wall. Skill Level: Beginner, with help moving heavy pieces. Best For: Small rooms that feel crowded no matter how they are arranged.
Leaving one wall completely clear is the bravest layout move here. The empty wall gives the eye a resting place, which makes the furnished walls feel intentional. Hang one large art print as the only decoration. For smart ways to use the storage this frees up, see these teen girl bedroom storage ideas that keep clutter hidden. Negative space is a design choice, not a missing piece.
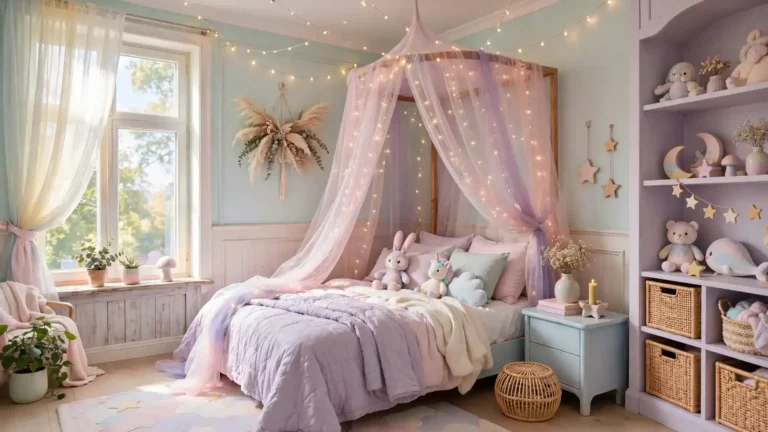
Alcove Bed Nook
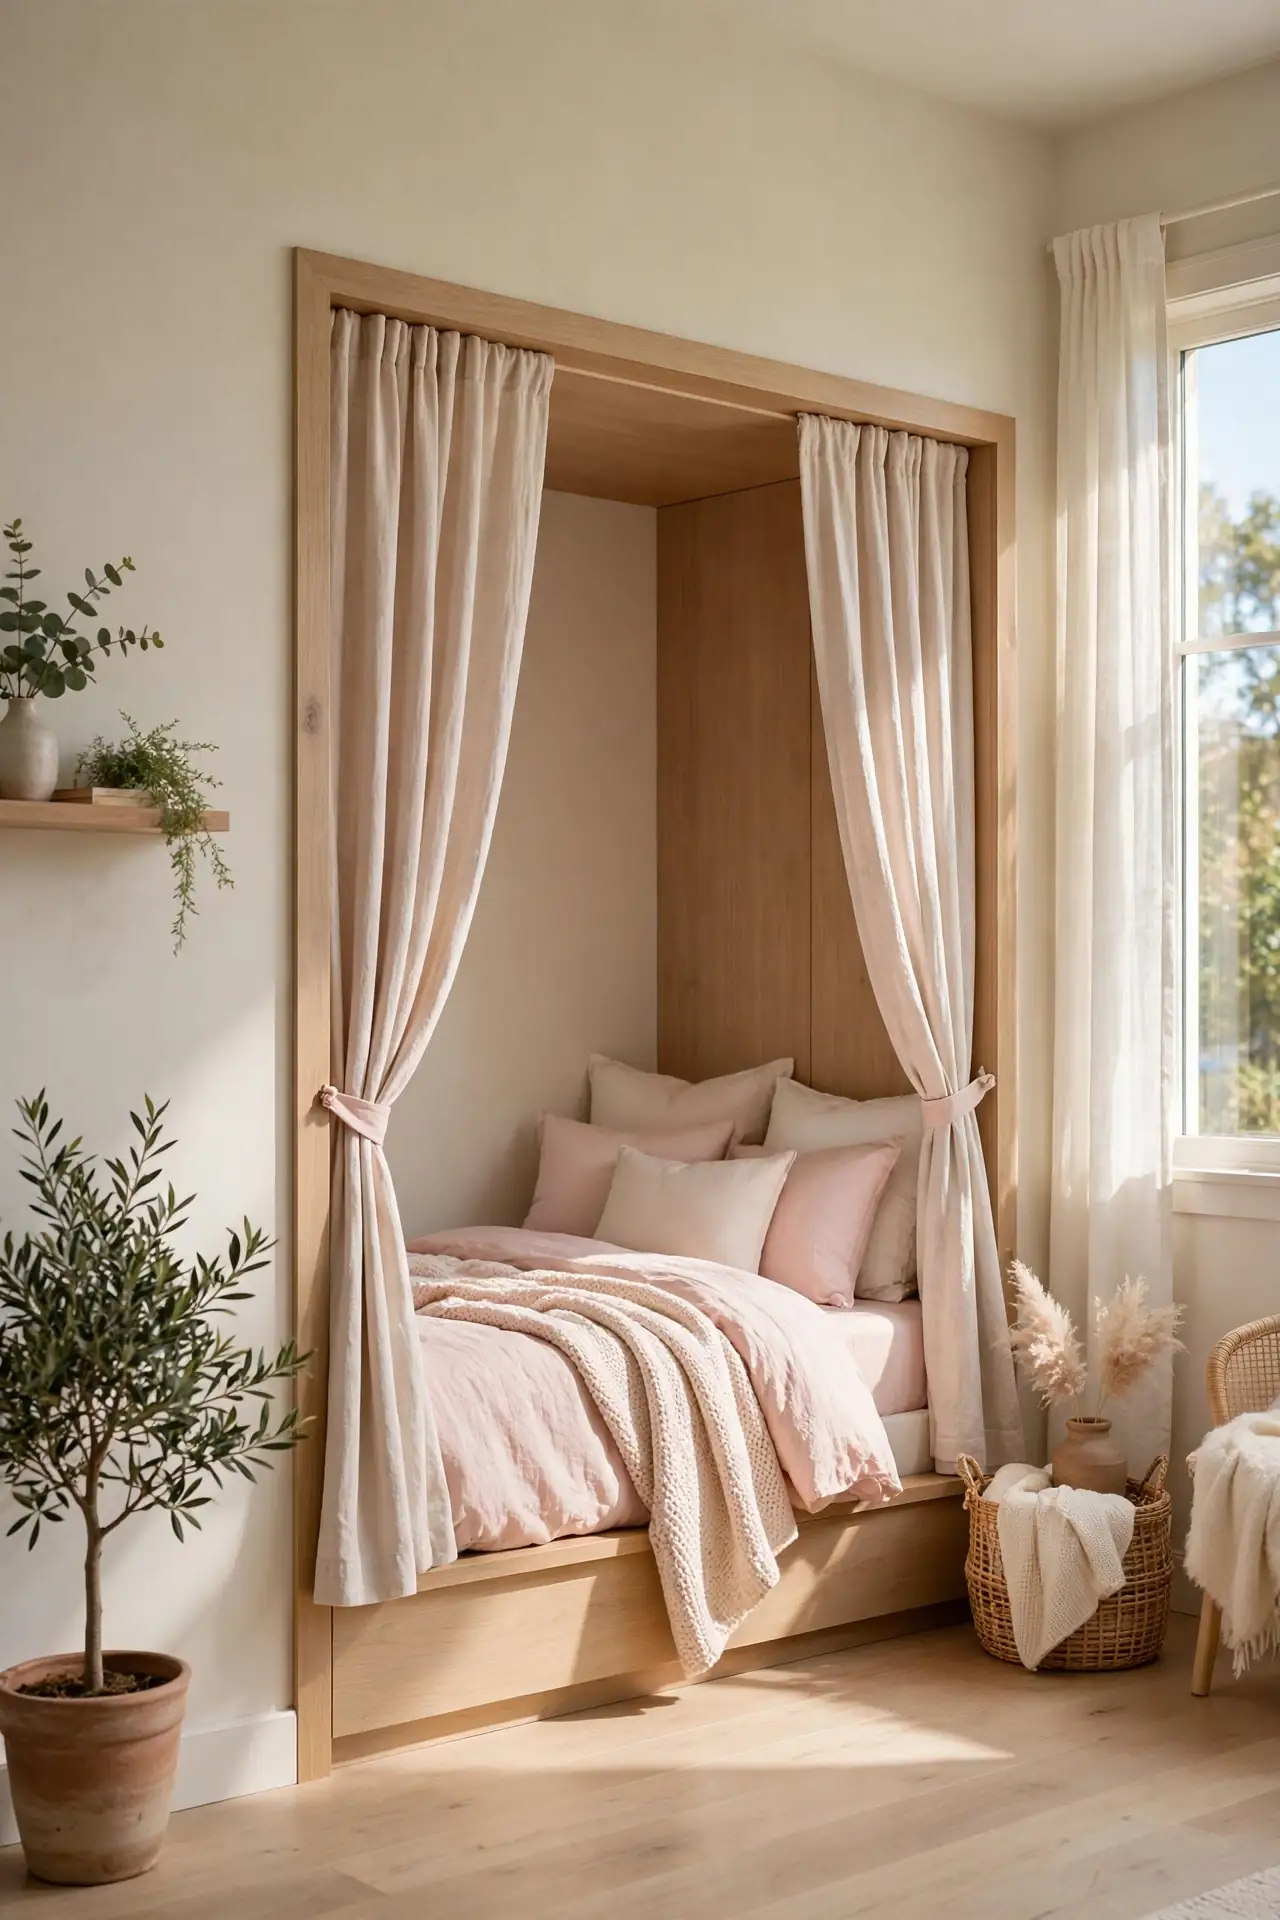
An alcove turns the bed into a cozy built-in nook with almost no work. Tuck the bed into the recess and hang a curtain across the opening for privacy. The enclosed feeling reads as intentional architecture, not a tight squeeze. String lights along the alcove edge add evening magic.
Add wall-mounted reading lights inside the alcove so the nook works day and night. Keep bedding light so the recess never feels dark or heavy. I have seen this work well in many cases where an awkward wall bump became the room’s most loved feature. Curtains also hide unmade beds in seconds flat.
Matching Lamp Pair
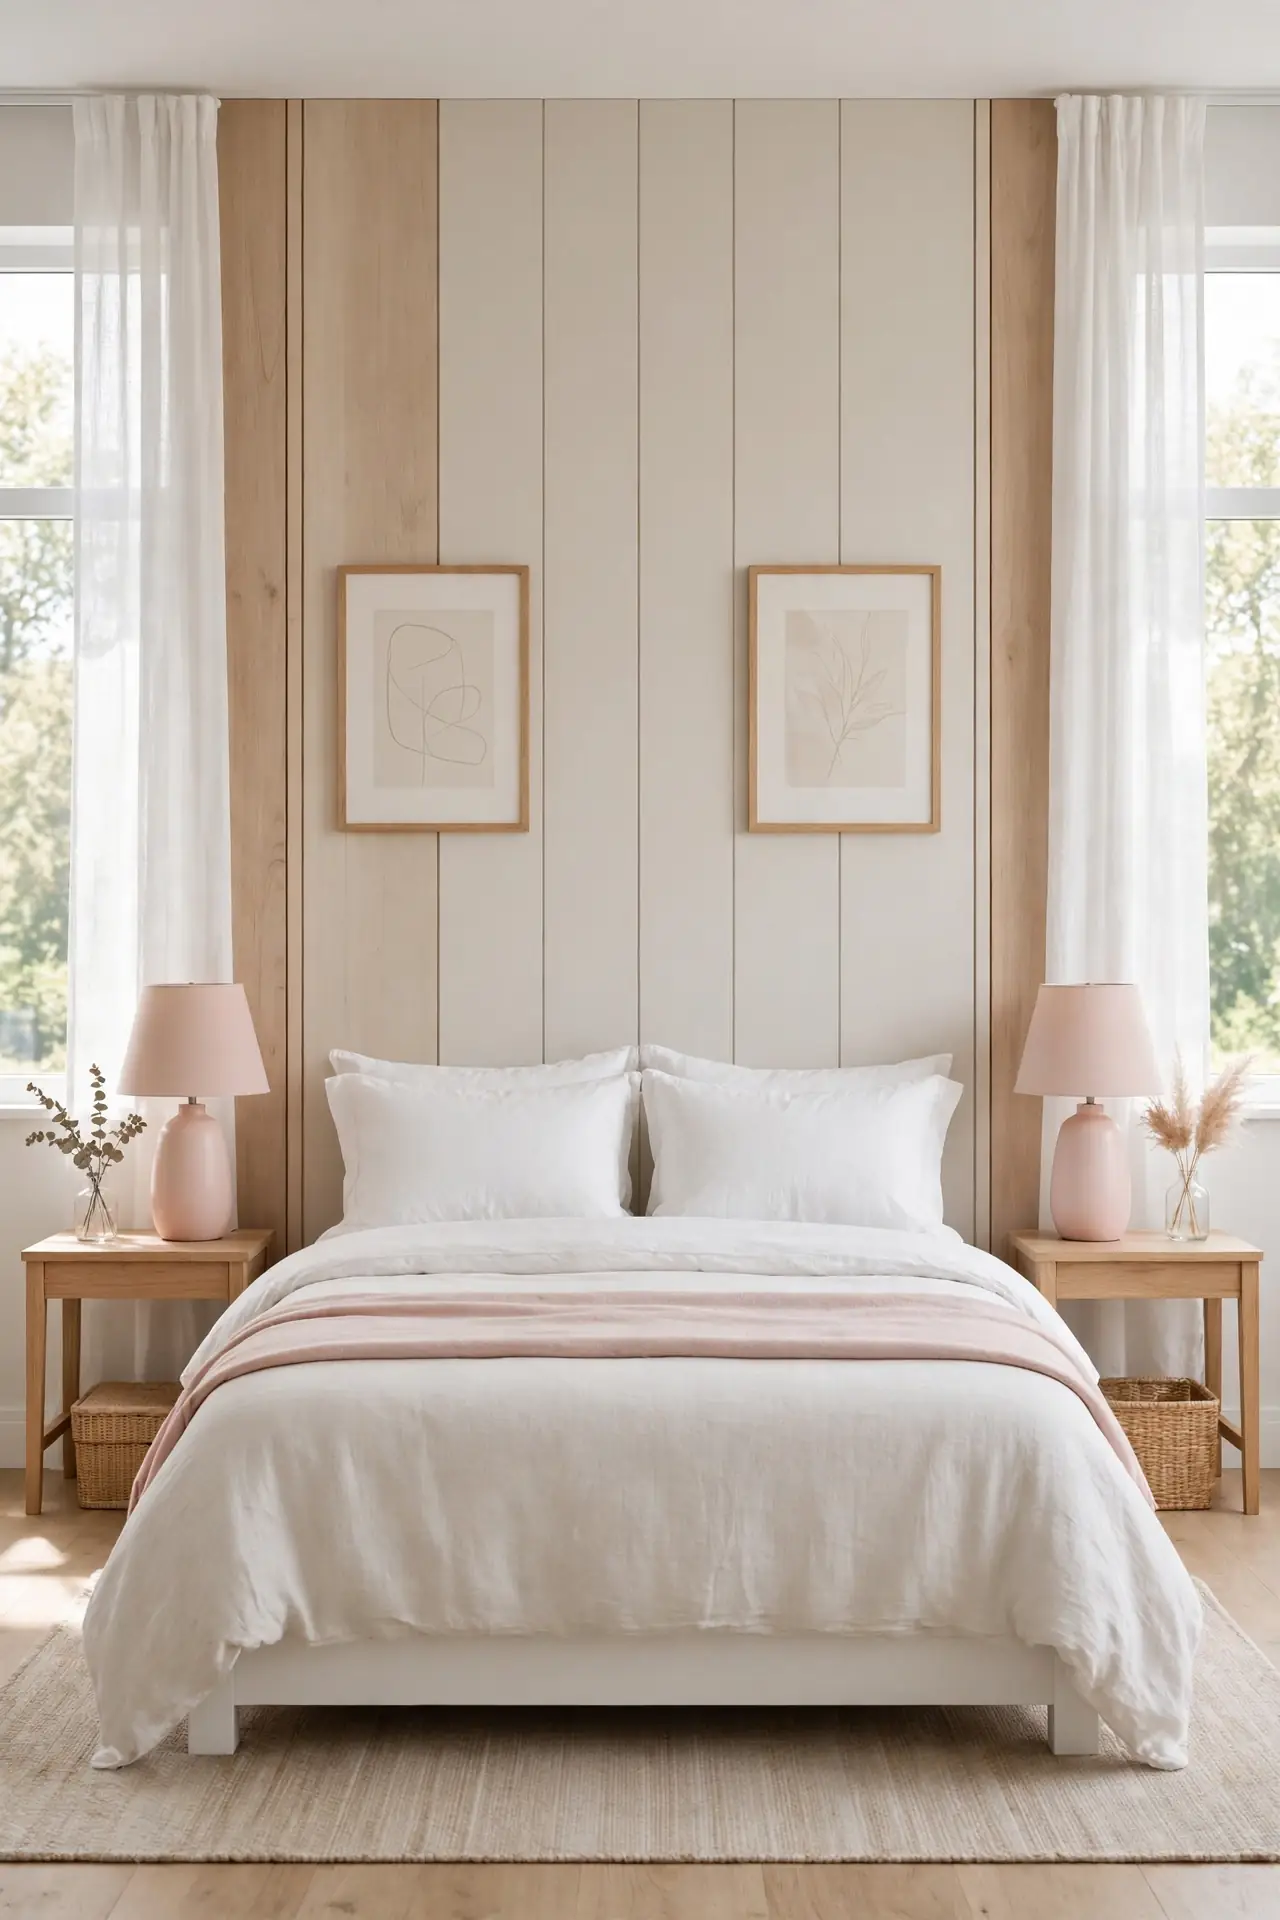
- Place matching lamps on both nightstands to anchor the bed symmetrically.
- Choose warm bulbs and linen shades for a soft, flattering evening glow.
- Keep the lamp bases slim so nightstand surfaces stay usable.
- Plug both into one smart plug for single-tap control at bedtime.
Symmetry around the bed brings instant calm to a busy teen room. Matching lamps frame the headboard like a finished vignette, even when the rest of the room is mid-project. The paired glow makes evenings feel cozy and deliberate. Dust the shades monthly so the glow stays bright and clean. This small move delivers outsized polish for very little money.
Mobile Cart Corner
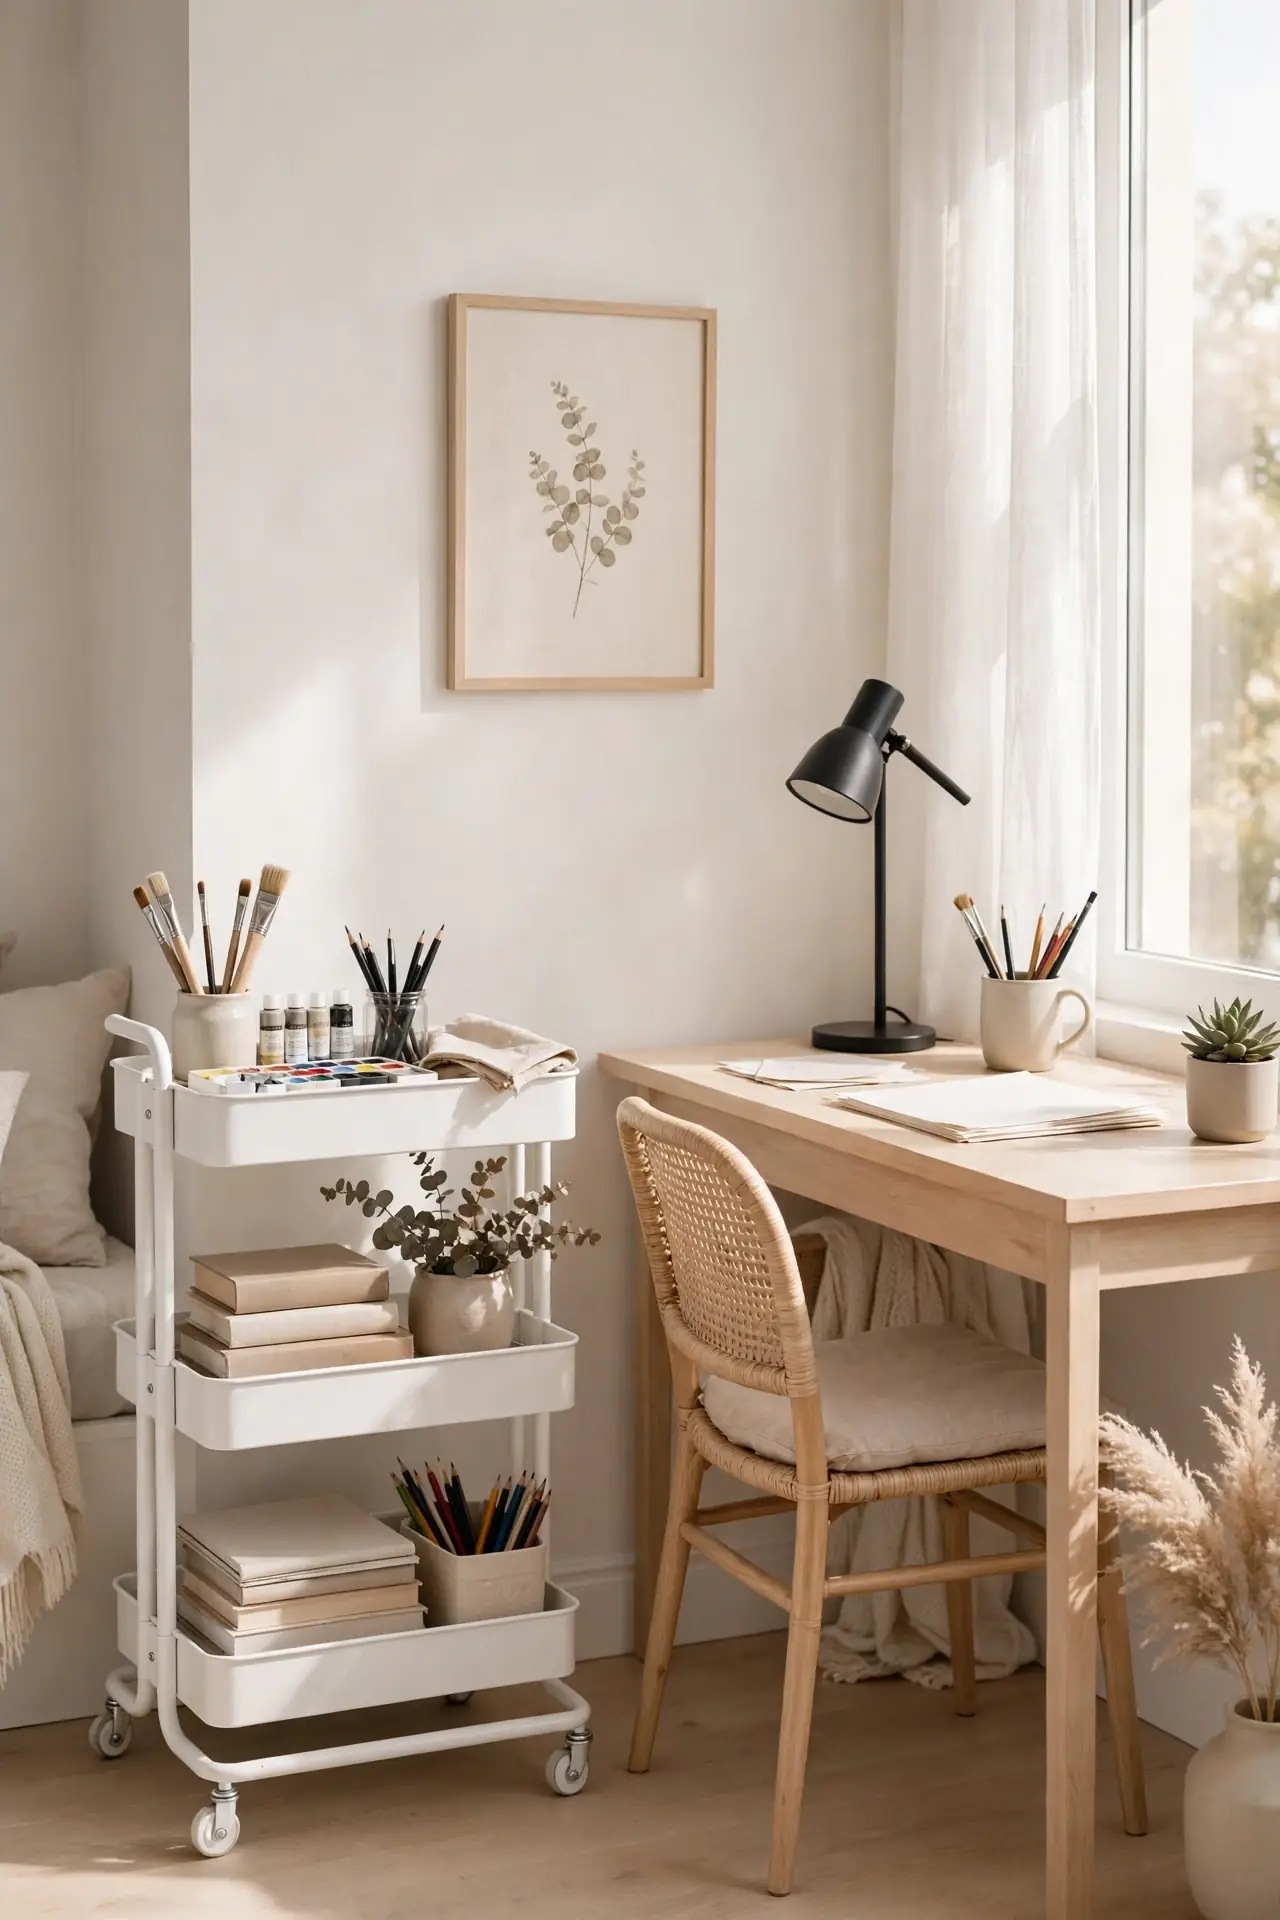
Quick Tip: Give crafts, nail supplies, or skincare a home on a rolling cart. Park it in the corner by day and roll it wherever it is needed. When the activity ends, everything wheels away in one trip instead of spreading across the room. Label each tier so supplies return to the right spot.
A mobile station keeps hobby clutter from colonizing the desk or bed. The cart’s tiers sort supplies by type, so setup takes seconds. Choose a cart that matches the room palette so it looks intentional parked in its corner. This is organization that actually survives teenage habits.
Headboard Focal Wall

BEFORE: The bed sat against a blank wall with no headboard, and the room had no clear focal point. The eye wandered, and nothing in the space felt finished or anchored.
AFTER: A tall upholstered headboard now anchors the wall with framed art above it. The bed became the room’s star, and every other piece fell naturally into place around it.
Every good layout needs one star, and the headboard wall earns the role. A tall headboard draws the eye up and gives the room a designed backbone. Center the bed on the wall with equal nightstands for classic balance. Hang art at eye level above to complete the vignette.
Layered Lighting Zones
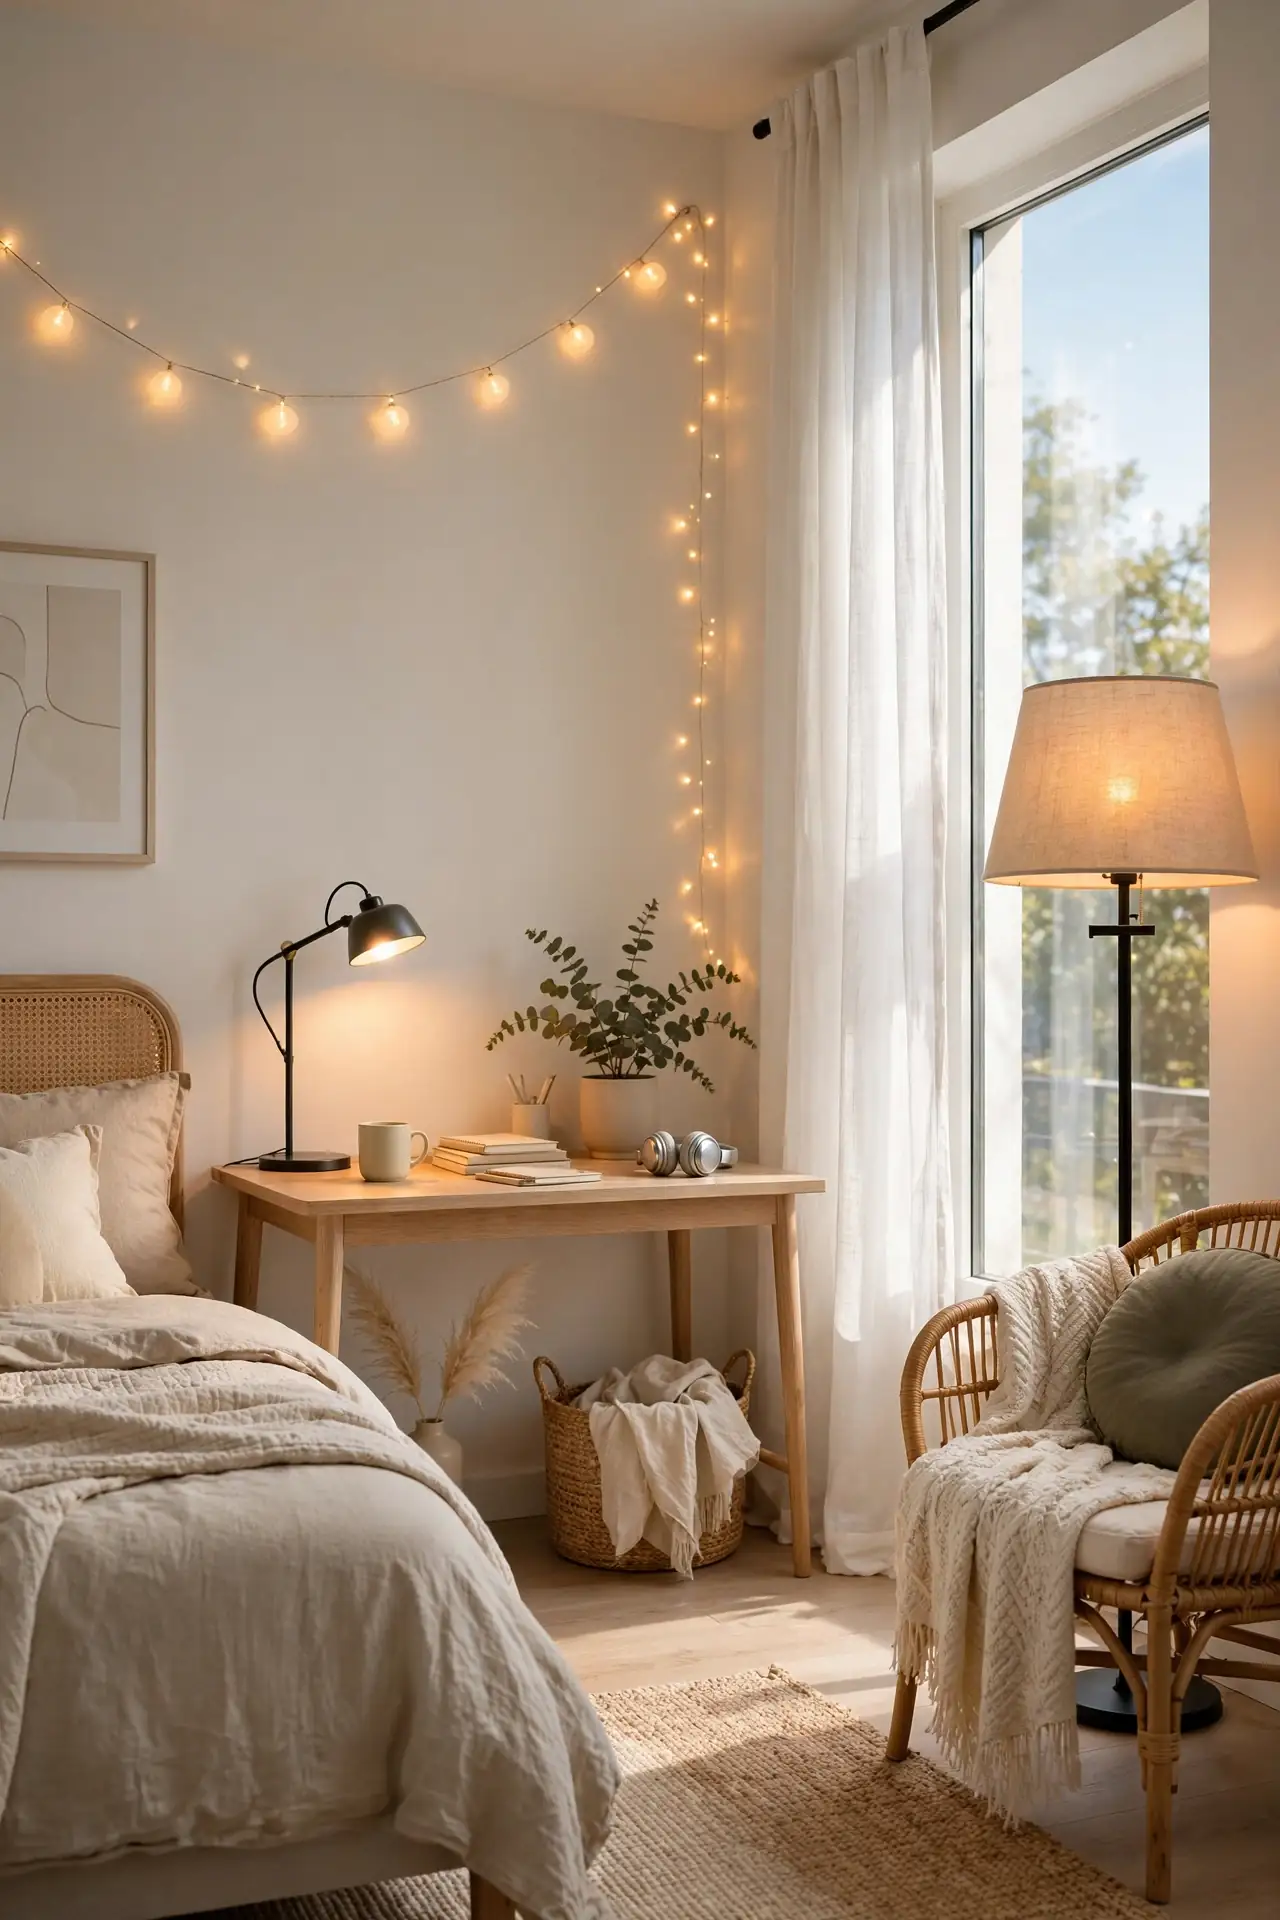
- Map each zone: bright task light for the desk, soft light for the bed.
- Add a floor lamp to the reading corner with a warm 2700K bulb.
- Drape fairy lights along the headboard for evening ambience.
- Put the overhead on a dimmer or swap it for a soft pendant.
Lighting zones make one room serve three moods: focus, relax, and sleep. Each area gets light suited to its job instead of one harsh overhead doing everything badly. Layer at least three sources at different heights for depth. Test the full combination at night before finalizing placement. The room will feel professionally designed with this single upgrade.
Door Clearance Plan
| Door Type | Needs | Fix |
| Standard swing door | Full arc must stay clear | Keep a clear 3-foot zone |
| Closet sliding doors | Full track access needed | Keep no furniture in front |
| Bifold closet doors | Generous fold-out space | Allow at least two feet |
Every layout fails if the door cannot open fully. Map each door’s swing on paper before placing a single piece of furniture. Keep the entry path at least thirty inches wide from door to bed. This unglamorous step prevents the daily annoyance of squeezing past furniture. Tape the swing arcs on the floor with painter’s tape to visualize. Revisit the plan yearly as furniture and needs change.
Conclusion
Brilliant flow is a choice, and now you have 22 ways to make it. These teen girl bedroom layouts prove that rearranging beats redecorating almost every time. I have seen how small changes like these can completely shift the way a space feels, from chaotic to calm in one afternoon. Save this post to your bedroom board on Pinterest so the plans wait for moving day. Sketch her two favorites, measure twice, and start shifting furniture this weekend. Her dream flow is one rearrange away. Take a before photo today so the transformation feels even sweeter.
One Comment