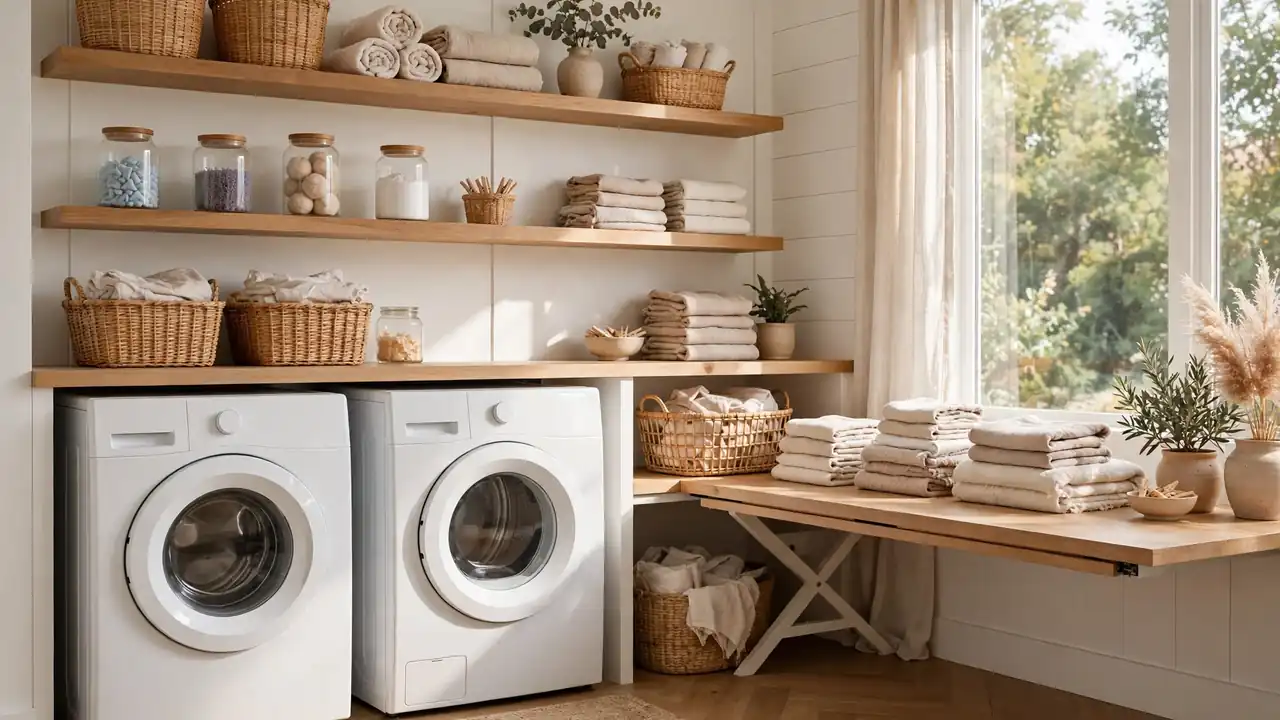
24 Laundry Room Shelving Ideas for Smart, Stylish Storage
Most laundry rooms waste their best storage real estate. Smart laundry room shelving turns empty walls into organized zones for detergent, linens, and cleaning supplies. These 24 ideas show how to maximize every inch with shelves that look as good as they function.
If your entryway could use the same organized energy, our front porch seating ideas bring order to another hardworking zone. Back in the laundry room, the right shelves cut clutter and make wash day genuinely pleasant. I have noticed that rooms with visible, tidy storage get used more willingly, so let us find the setup that truly fits your space.
Floating Shelf Rows
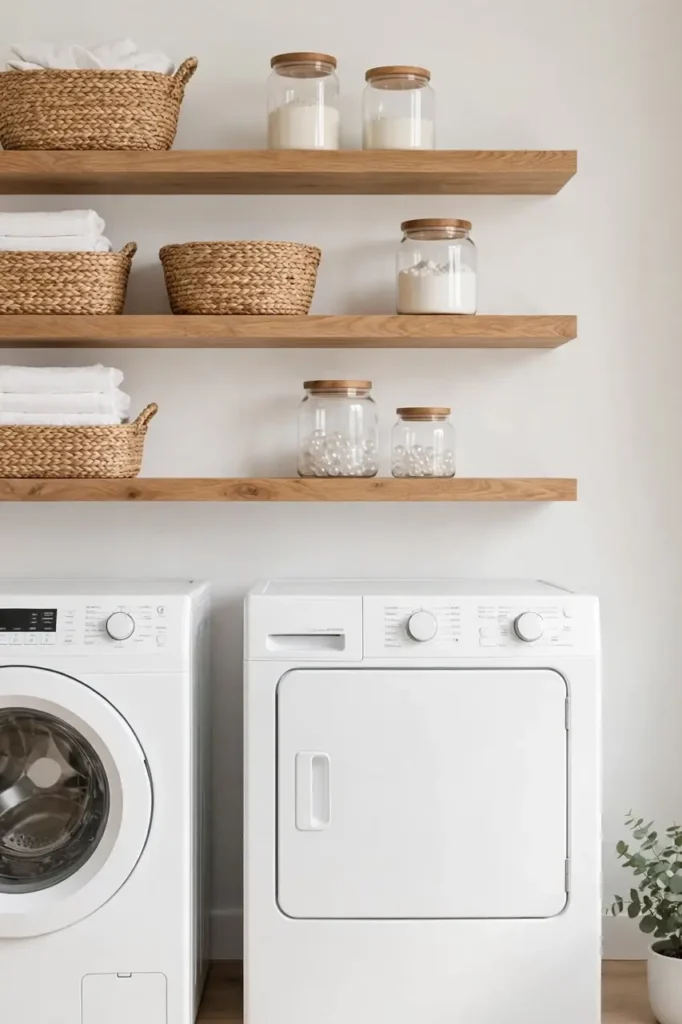
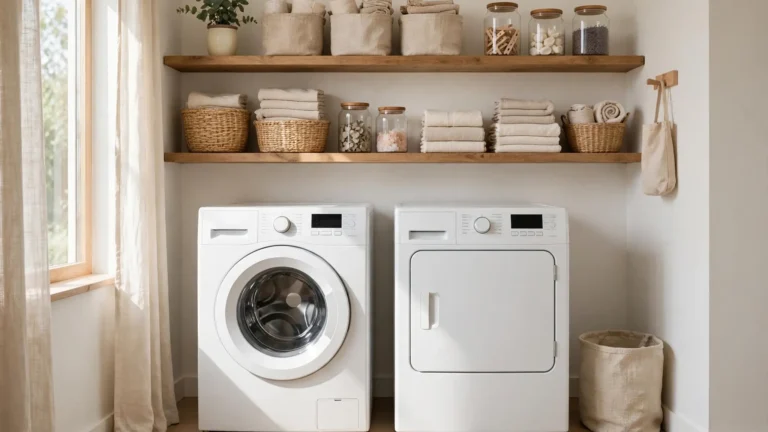
Those bare walls above the washer are doing nothing for you. A row of floating shelves turns that dead vertical space into a command center for detergent, baskets, and folded towels. Paint the brackets the same shade as the wall so the boards seem to hover with no visible support.
I installed three oak shelves on a Saturday morning, and the difference was instant. Keep the bottom shelf at arm’s reach for daily products, the middle for baskets, and the top for extras like stain removers and dryer sheets. In my experience, floating shelves make small laundry rooms feel wider because they draw the eye upward without any visual bulk.
Over Washer Cabinets
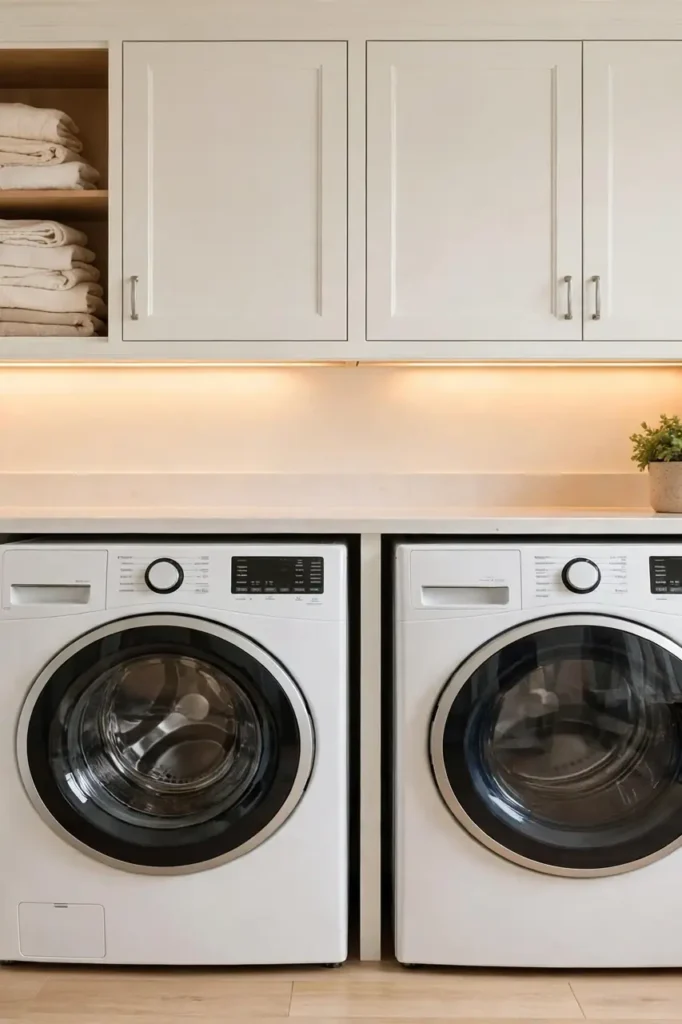
- Mount cabinets 18 inches above the washer lid so the door swings clear.
- Choose shallow 12-inch depth cabinets to avoid bumping your head.
- Add under-cabinet lighting for a bright, cheerful workspace.
- Use the top of the cabinets for rarely used bulk supplies.
- Pick moisture-resistant finishes to handle laundry room humidity.
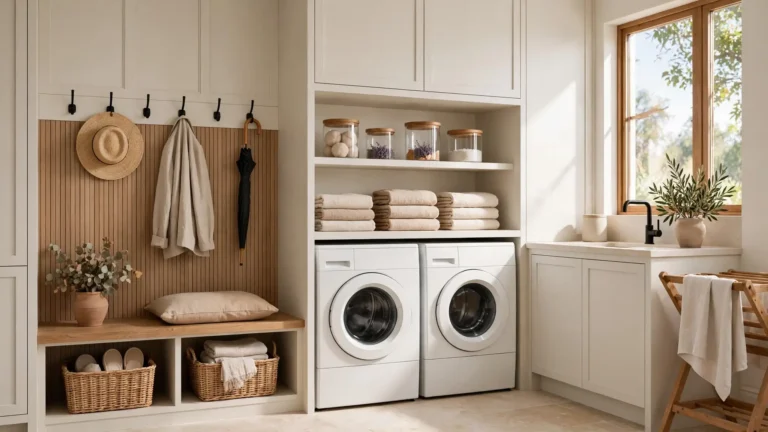
Closed cabinets hide the visual noise of bottles and boxes. I switched from open shelves to cabinets in my own laundry corner, and the room instantly looked calmer. Keep everyday items on the lowest shelf and seasonal extras up high where they stay out of the way. Measure your machine height before buying so the doors clear the lid by a comfortable margin.
Woven Basket Tiers
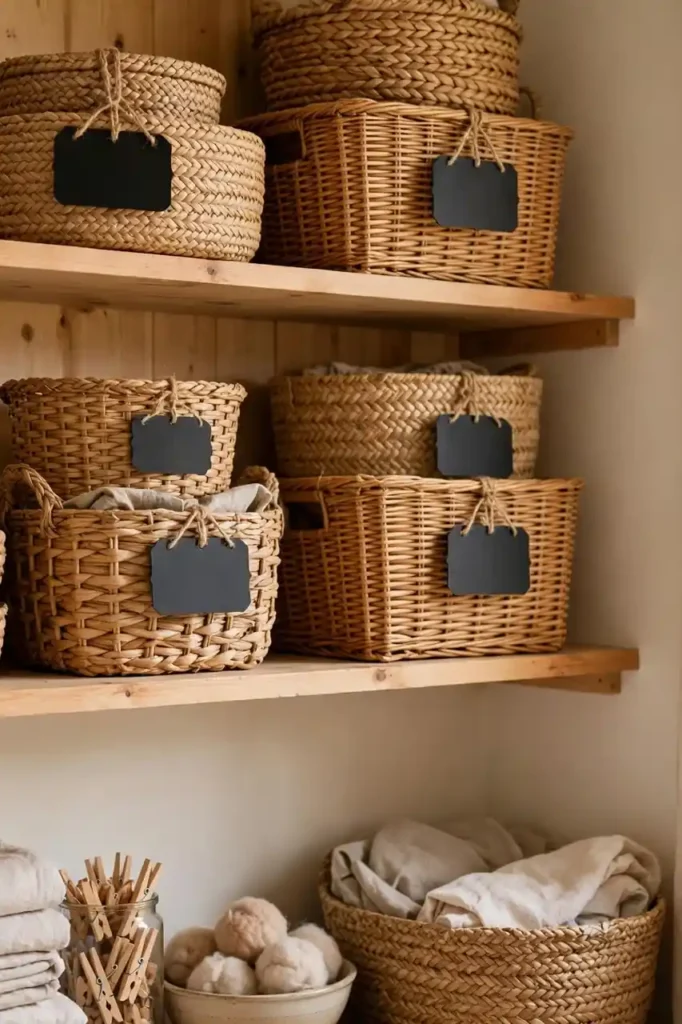
Quick Tip: Label each basket with chalk tags so everyone in the house knows where things live. Socks, delicates, and cleaning rags each get their own home. The labels wipe clean when you reorganize.
Woven baskets soften the hard edges of a utility room. Stack two or three on a shelf and they swallow clutter whole. I love how natural textures warm up a space that usually feels cold and clinical. Choose baskets with handles so you can pull them down, grab what you need, and slide them back in seconds. The texture contrast keeps the room from feeling like a laboratory. Rotate baskets seasonally to keep the system fresh and functional.
Pegboard Organizers
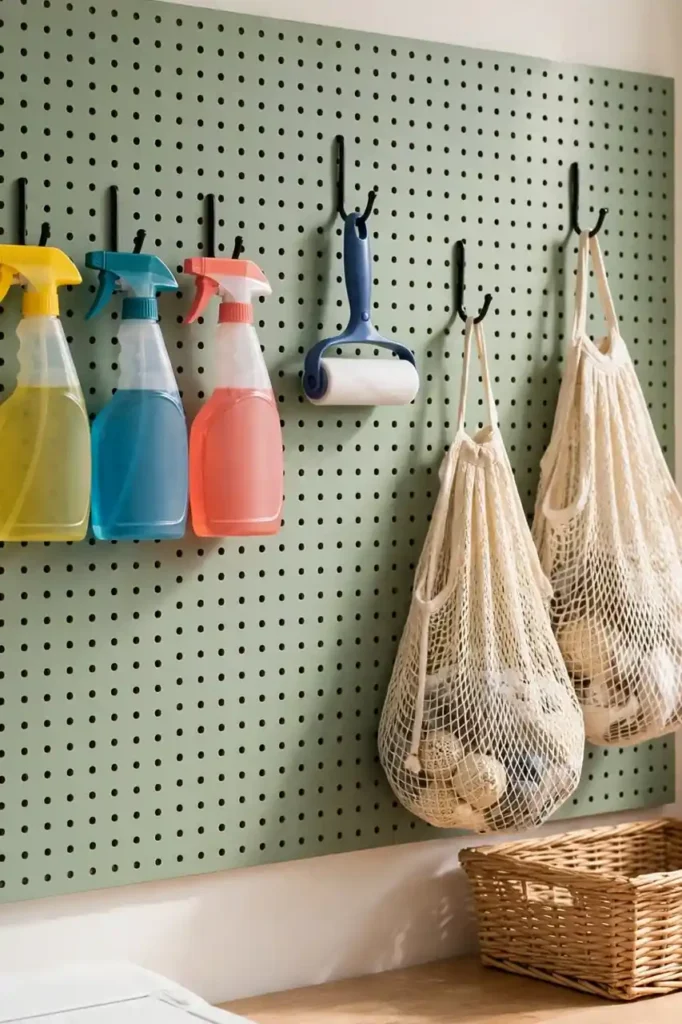
BEFORE: My ironing board leaned in a corner, the broom fell over weekly, and small tools vanished into drawers. The wall behind the door sat completely empty while clutter piled on every flat surface.
AFTER: A painted pegboard now holds the iron, spray bottles, and lint rollers on hooks. Everything has a visible spot, and the floor stays clear. Good laundry room shelving starts with using walls you already have.
Pegboards cost little and adapt as your needs change. Rearrange hooks in minutes when you add a new tool or gadget. That is why many experts recommend pegboard for utility spaces: it grows with you instead of locking you into one layout.
Open Cube Stacks
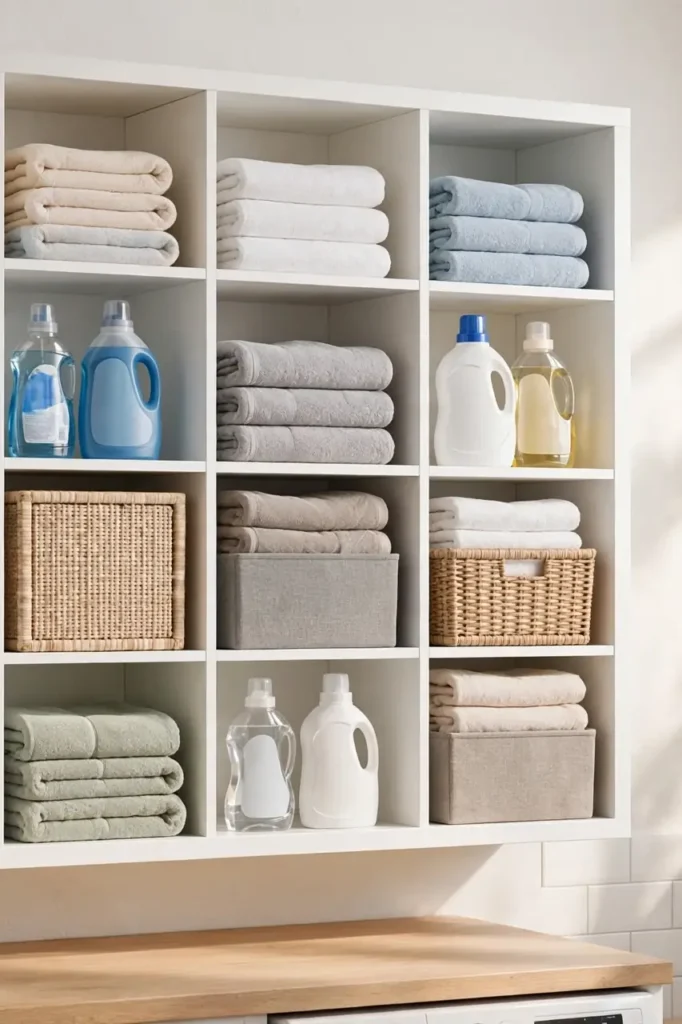
- Measure your wall and mark stud locations for secure mounting.
- Choose cube units in a finish that matches your washer and dryer.
- Anchor the unit to studs with heavy-duty brackets.
- Sort supplies by category before placing a single item.
- Leave one cube empty for items in transit.
Cube shelves bring order to chaos with their neat grid. Each square becomes a mini zone for one category of supplies. I have seen this work well in many cases, especially for families where everyone needs to find things fast. The uniform look keeps even a busy laundry room feeling calm. The grid pattern also makes it easy to spot when something is out of place.
Drying Rack Shelves
| Feature | Wood Drying Rack | Metal Drying Rack |
|---|---|---|
| Look | Warm, furniture-like | Sleek, modern |
| Weight Limit | Light garments | Heavier wet loads |
| Price | Higher | Budget-friendly |
| Best For | Delicates display | Daily heavy use |
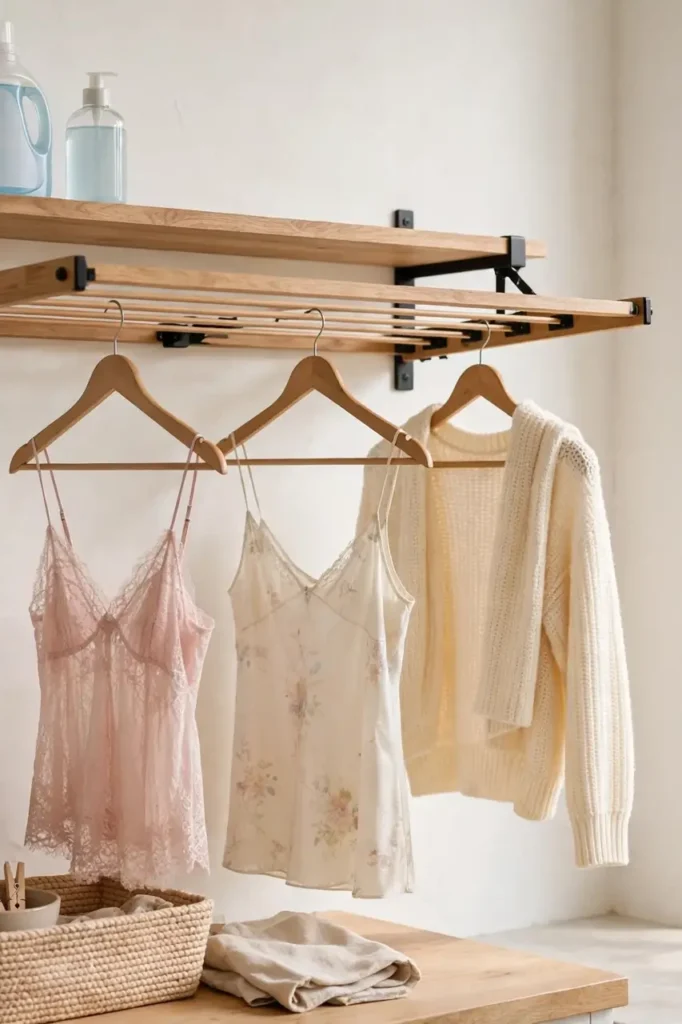
A shelf with a built-in drying rack does double duty. Fold the rack down when delicates need air drying, then tuck it away. I use mine for sweaters and bras that should never see the dryer. The shelf above holds detergent within easy reach while clothes drip dry below. Choose a rack size that matches your typical delicates load so nothing goes unused. Wall-mounted racks free up valuable floor space in tight laundry rooms.
Charming laundry room shelving
DO:
- Do measure twice so shelves fit between pipes and vents.
- Do use brackets rated for at least twice your expected load.
- Do leave breathing room around the dryer vent.
- Do style one shelf with a plant for a lived-in feel.
DON’T:
- Don’t mount shelves where the washer lid hits them.
- Don’t overload a single shelf with heavy detergent jugs.
- Don’t skip the level; crooked shelves drive you crazy.
- Don’t forget to seal wood shelves against moisture.
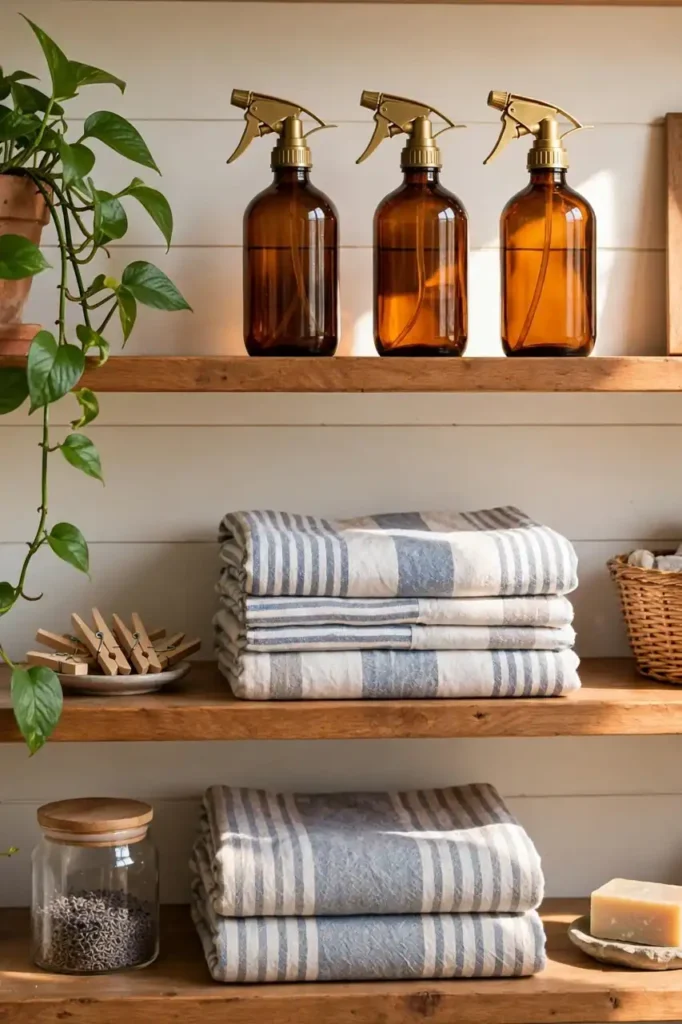
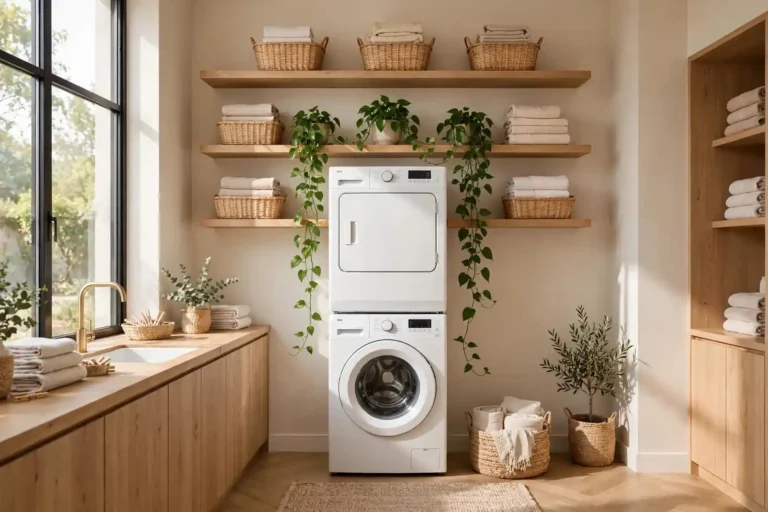
The sweet spot for laundry shelves balances pretty and practical. A trailing pothos next to the stain remover makes wash day less dreary. Keep the styling simple though: this is a workroom first. I keep one shelf purely functional and let the other carry a little personality.
Narrow Gap Fillers
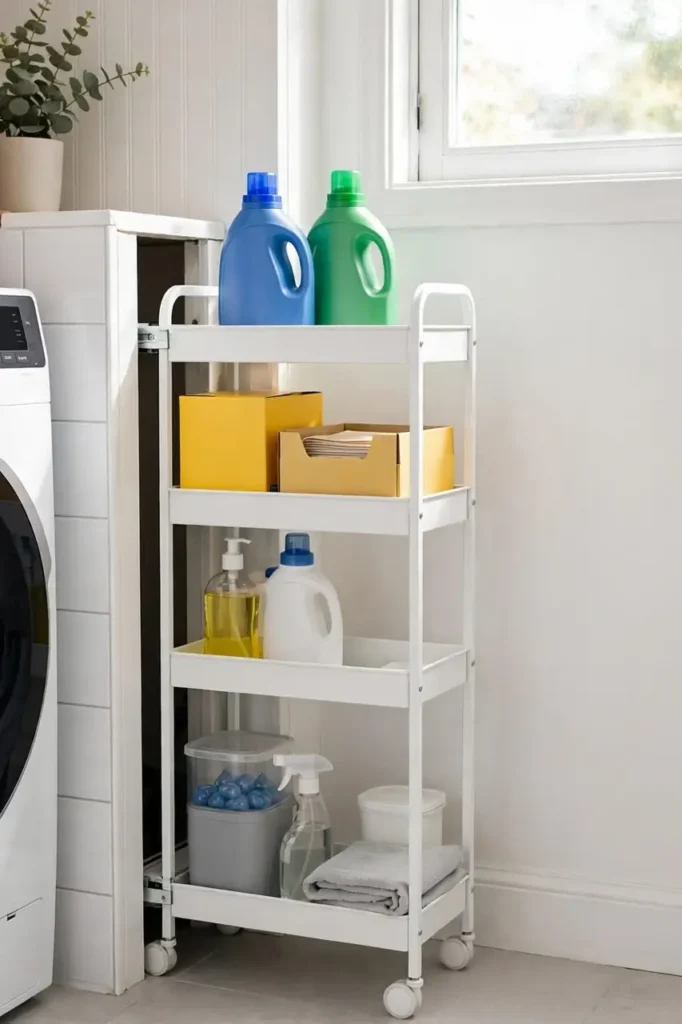
Cost: Under $40 | Time: One hour | Skill Level: Beginner | Best For: Tight side gaps
That awkward six-inch gap between the washer and wall is wasted space. A slim rolling shelf unit slides right in and holds bottles upright. I was shocked how much fit in mine: detergent, softener, stain sticks, and dryer sheets. Pull it out when you need something, push it back when you are done. Small gaps deserve smart solutions too. Measure the gap width carefully since these units come in very specific sizes. Look for models with side rails so bottles do not topple when you pull it out.
Countertop Work Ledge
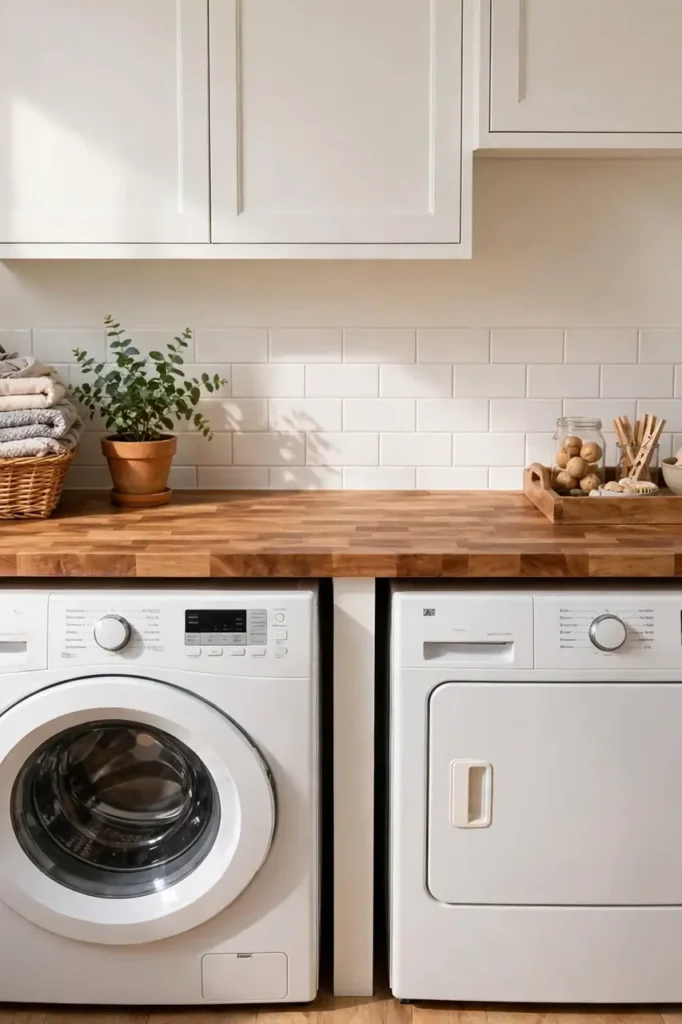
A countertop over front-loading machines creates instant folding space. One wide board, cut to fit, turns two appliances into a work surface. Sand the edges smooth and seal the top against spills and splashes.
I fold laundry directly on mine instead of hauling baskets to the bedroom. The ledge also holds a small basket for supplies and a plant. Keep the surface mostly clear so it stays useful. A cluttered counter defeats the purpose, so corral small items in a tray. The extra surface also gives you a spot to sort socks before they disappear. Choose a board thick enough to span the gap without sagging in the middle.
Ladder Shelf Lean
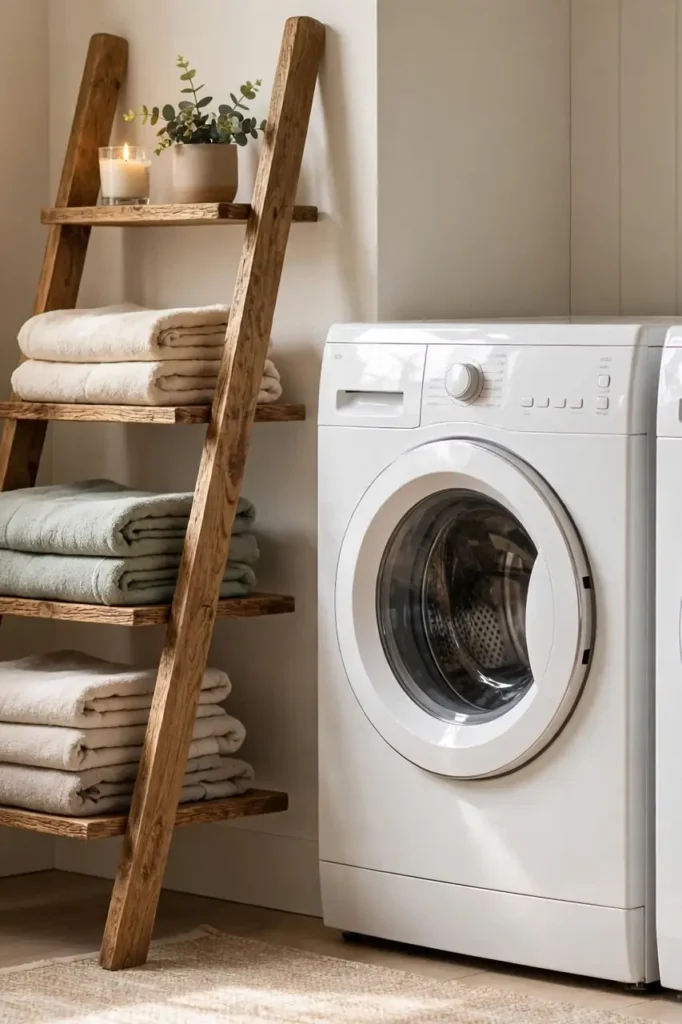
- Choose a ladder shelf narrow enough to fit beside the machines.
- Lean it at a slight angle and anchor the top to the wall.
- Use the deep bottom rungs for baskets and the top for decor.
- Pick a wood tone that warms up white appliances.
Ladder shelves bring furniture style to a utility space. If you love the look of open storage, our floating shelves guide has more wall-mounted ideas. The angled design feels casual and inviting. I lean one in the corner with towels on the lower rungs and a candle on top. The freestanding design means no drilling into tile or tricky wall surfaces.
Glass Jar Rows
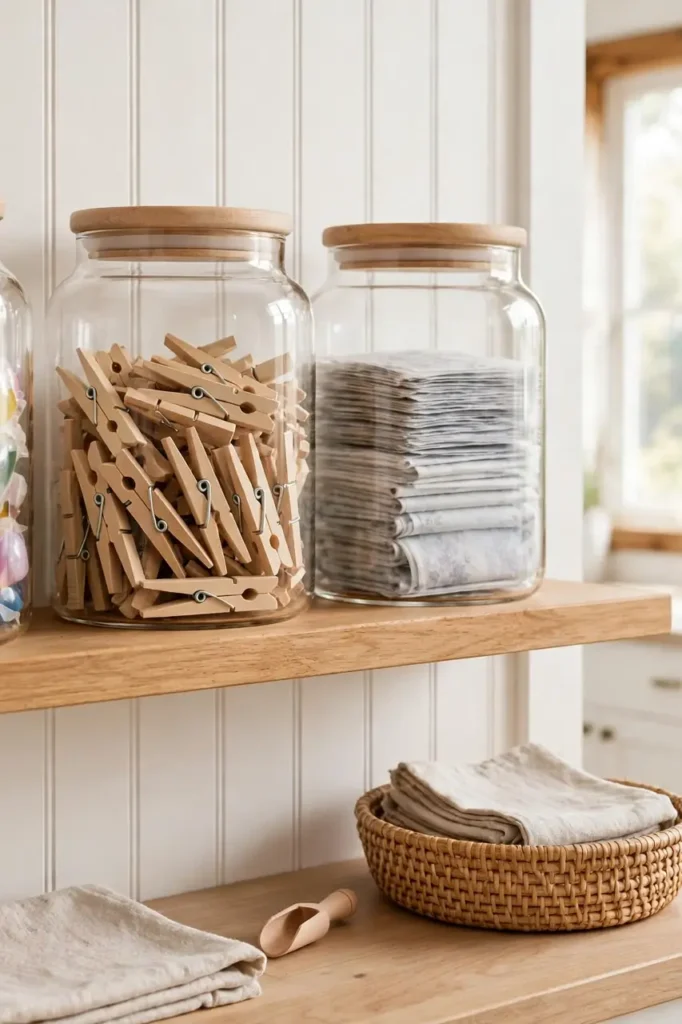
Quick Tip: Decant detergent pods and dryer sheets into matching glass jars. The uniform look turns supplies into decor, and you will always see when you are running low. Choose jars with airtight lids.
Glass jars on a shelf make even boring supplies look intentional. Line up three or four with wooden lids for a cohesive row. This is my favorite trick for pretty laundry room shelving on a budget. The jars cost little, but the visual impact is huge. Just keep them out of direct sun to protect the contents. Group jars by size for a tidy, intentional display that looks styled.
Corner Shelf Wraps
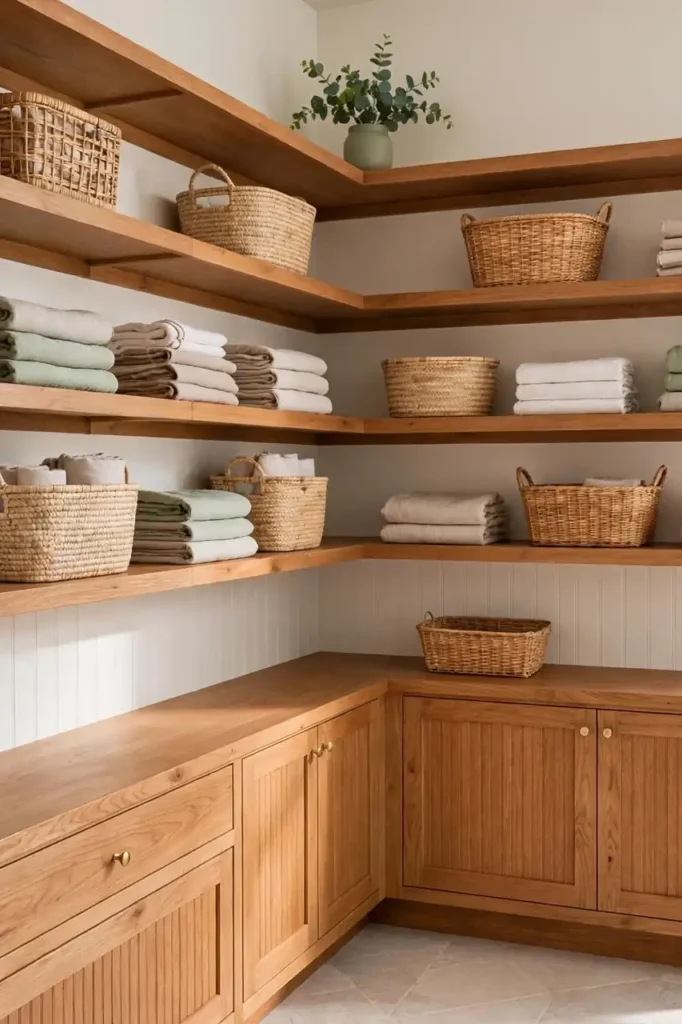
BEFORE: The corner where two walls met collected dust and nothing else. Supplies crowded the main shelf while this prime real estate sat empty. Every laundry room has a dead corner like this.
AFTER: L-shaped corner shelves now wrap around both walls. The extra surface holds overflow baskets and a small plant. Corners finally pull their weight in the storage game.
Corner shelves need sturdy brackets on both walls. Measure carefully so the boards meet at a clean right angle. I love how they make a small room feel custom-built. The wrap-around design squeezes storage from space you were ignoring.
Pull Out Drawers
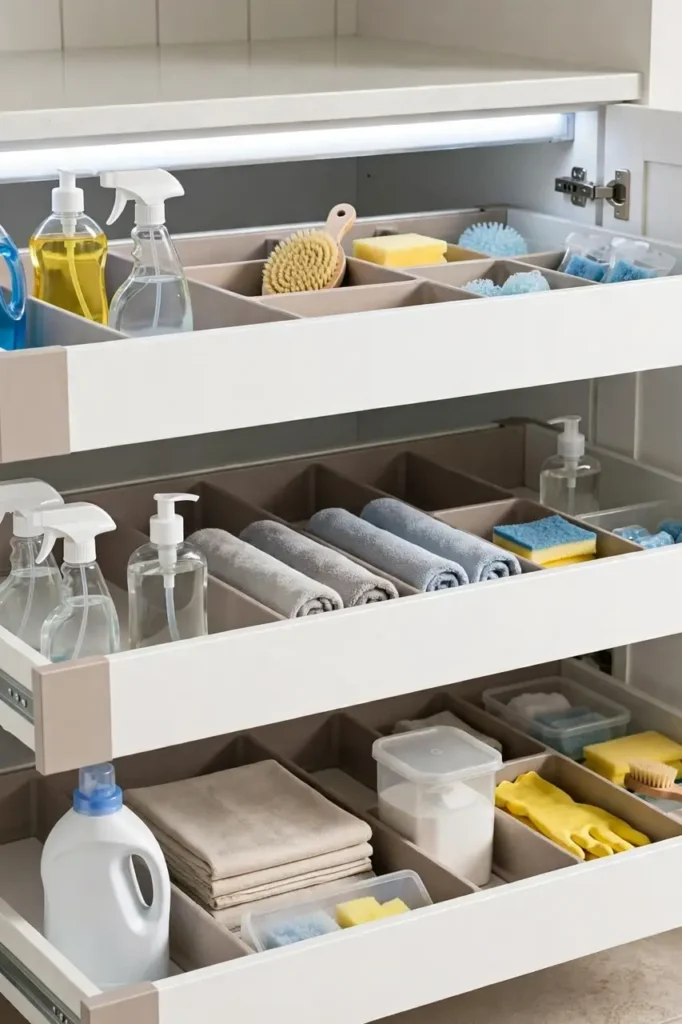
- Install full-extension drawer slides inside a base cabinet.
- Use deep drawers for bulky detergent bottles.
- Add dividers to keep small items from sliding around.
- Label the drawer fronts for quick identification.
Pull-out drawers bring deep cabinet contents to you. No more kneeling to reach the back of a dark cabinet. I converted one base cabinet and now grab supplies without bending. The smooth glide feels luxurious in such a humble room. Every item stays visible and reachable. Soft-close slides prevent slamming and keep the whole unit feeling premium. The hidden storage keeps counters clear while everything stays within easy reach.
High Ceiling Shelves
| Feature | High Shelves | Low Shelves |
|---|---|---|
| Access | Step stool needed | Easy reach |
| Best For | Bulk stock, seasonal | Daily supplies |
| Dust | Collects more | Stays cleaner |
| Safety | Anchor well | Kid-friendly |
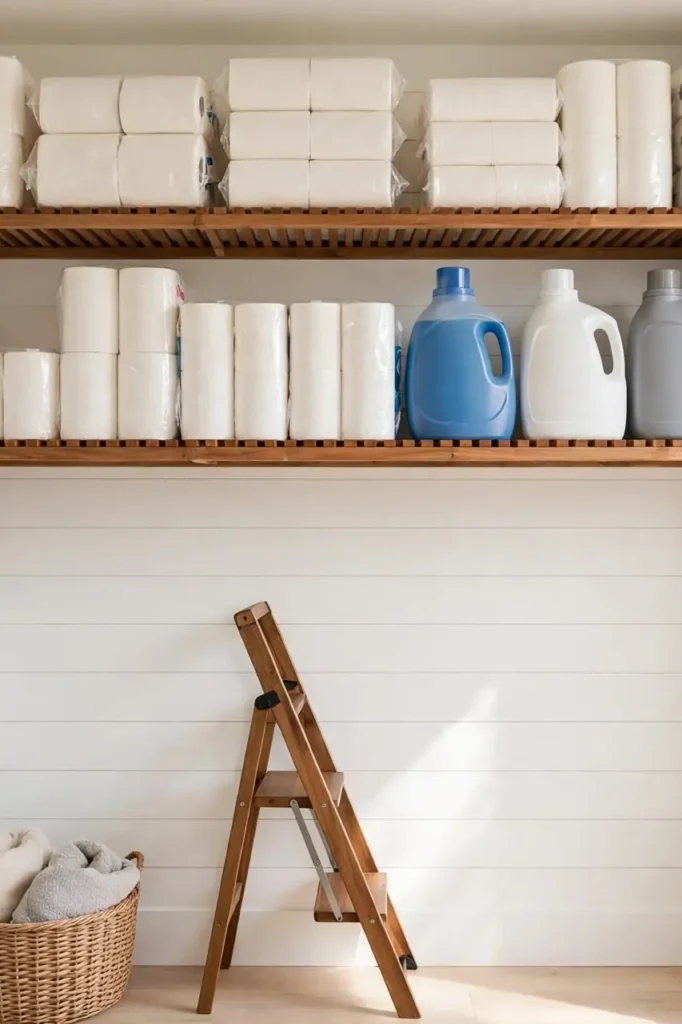
Shelves near the ceiling store bulk buys and seasonal items. Keep a folding step stool nearby for safe access. I stash extra paper towels and bulk detergent up high. The key is reserving these shelves for things you grab monthly, not daily. Out of sight, but never out of mind. Use clear bins up high so you can identify contents from the ground. A lightweight folding stool stores flat against the wall when not needed.
Folding Station Base
DO:
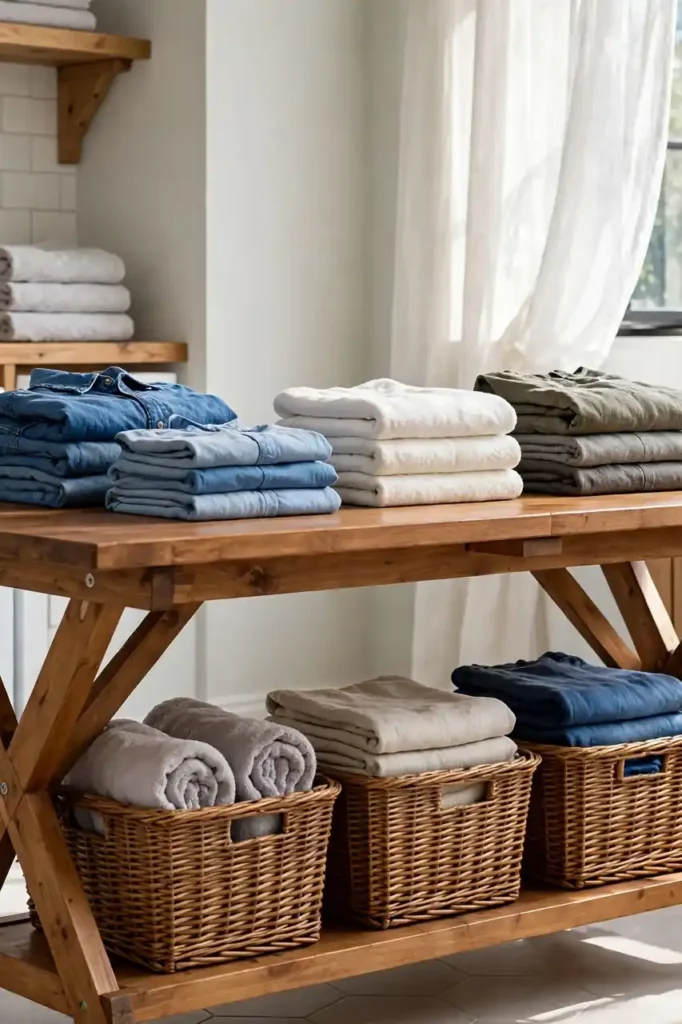
- Do choose a sturdy base that will not wobble under baskets.
- Do add a shelf underneath for basket storage.
- Do keep the top clear for active folding.
- Do pick a height that saves your back.
DON’T:
- Don’t use a flimsy table that shakes.
- Don’t pile decor on your work surface.
- Don’t block access to the machines.
- Don’t forget to measure door swing clearance.
A dedicated folding station changes the whole laundry routine. No more draping warm clothes over the dryer. I fold straight from the machine onto the station, then carry neat stacks away. The shelf below holds empty baskets ready for the next load. Simple, sturdy, and always ready.
Divided Supply Zones
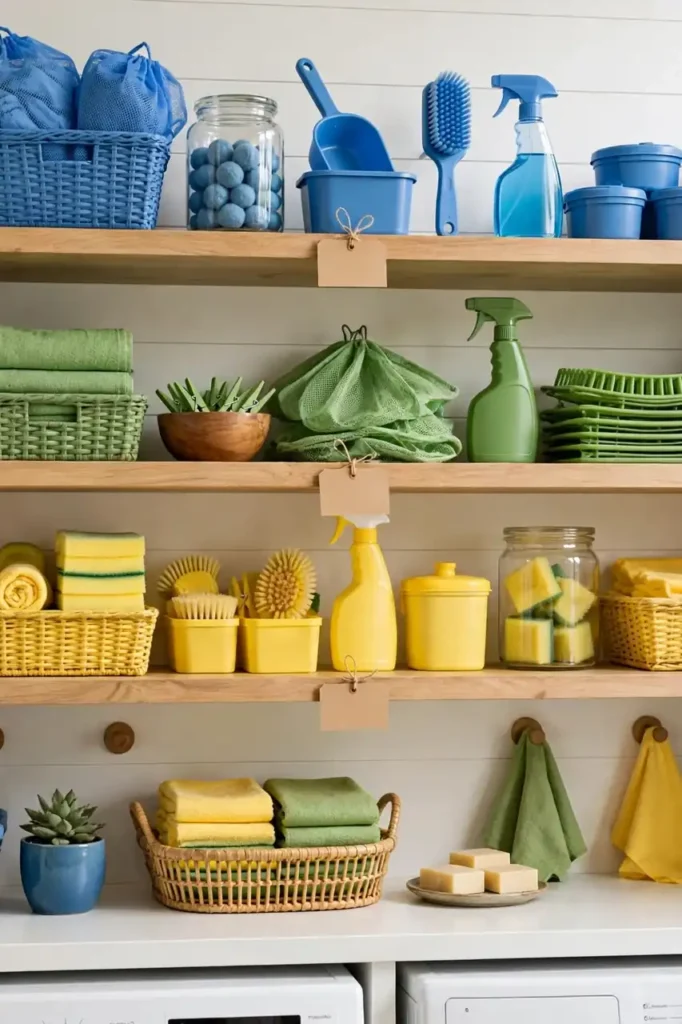
Cost: $20-60 | Time: One afternoon | Skill Level: Beginner | Best For: Shared laundry rooms
Divide shelves into zones: washing, drying, and cleaning. Each zone holds only its own supplies, so nothing migrates. When every bottle has a zone, the whole family can help without making a mess. Smart laundry room shelving works best when the system is obvious to everyone. I use small labels to mark each zone clearly. Color-code the labels so each zone is recognizable at a glance. Review the zones every few months and adjust as your product lineup changes. The visual boundaries prevent one category from slowly taking over the shelf.
Slatted Ventilated Shelves
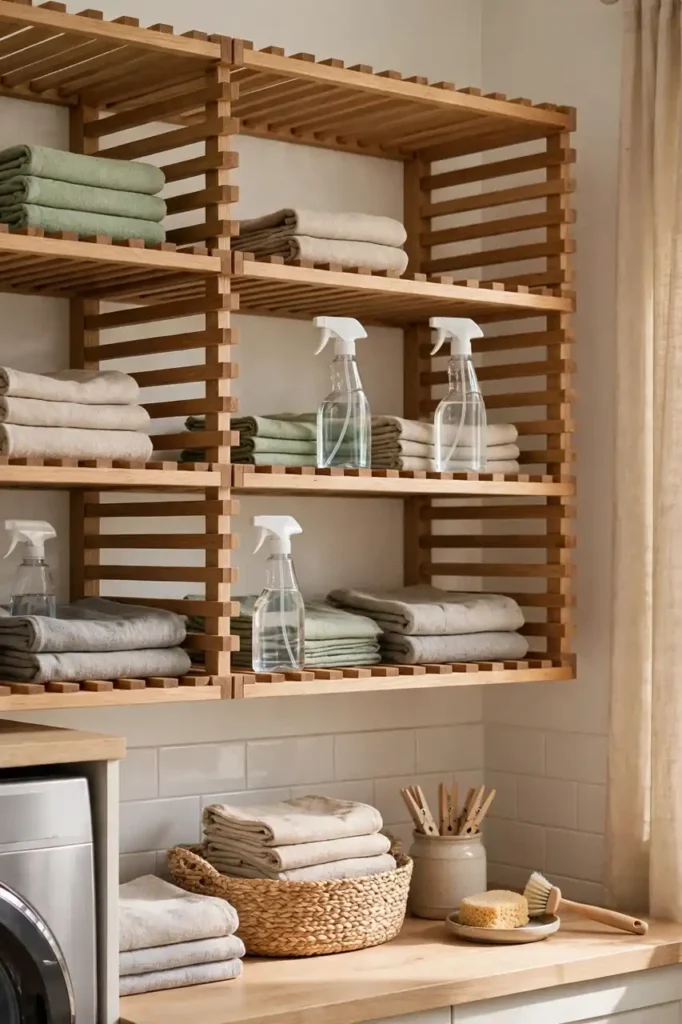
Solid shelves trap moisture in a humid laundry room. Slatted shelves let air circulate around stored items and dry out damp spots. The gaps also keep dust from settling on the surface.
I swapped one solid shelf for slats near the dryer and noticed less mustiness. Use them for items that stay slightly damp, like cleaning rags. The airy look also feels lighter in a small room. Just space the slats close enough that small bottles do not tip through. The slatted design also works well above a utility sink where splashes happen. Choose a rot-resistant wood like cedar for the longest life in humidity.
Rolling Cart Pairs
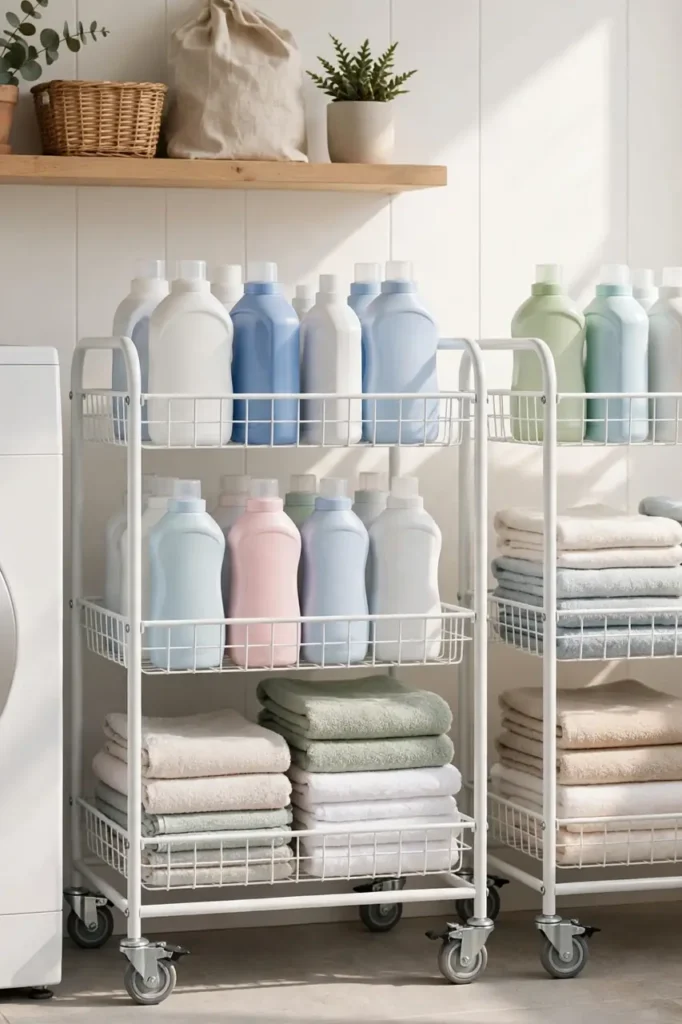
- Pick carts with locking wheels for stability.
- Use the top tier for active project supplies.
- Store refills and backups on lower tiers.
- Roll the cart to the machine when doing laundry.
Rolling carts bring supplies to wherever you work. I keep one by the washer for sorting and one by the folding area. The mobility means no fixed installation and no wall damage. Renters love this option. When guests come, just roll the carts into a closet. The narrow profile fits in gaps that fixed shelving cannot reach. Use the side hooks for spray bottles to free up valuable tier space.
Hanging Rod Combos
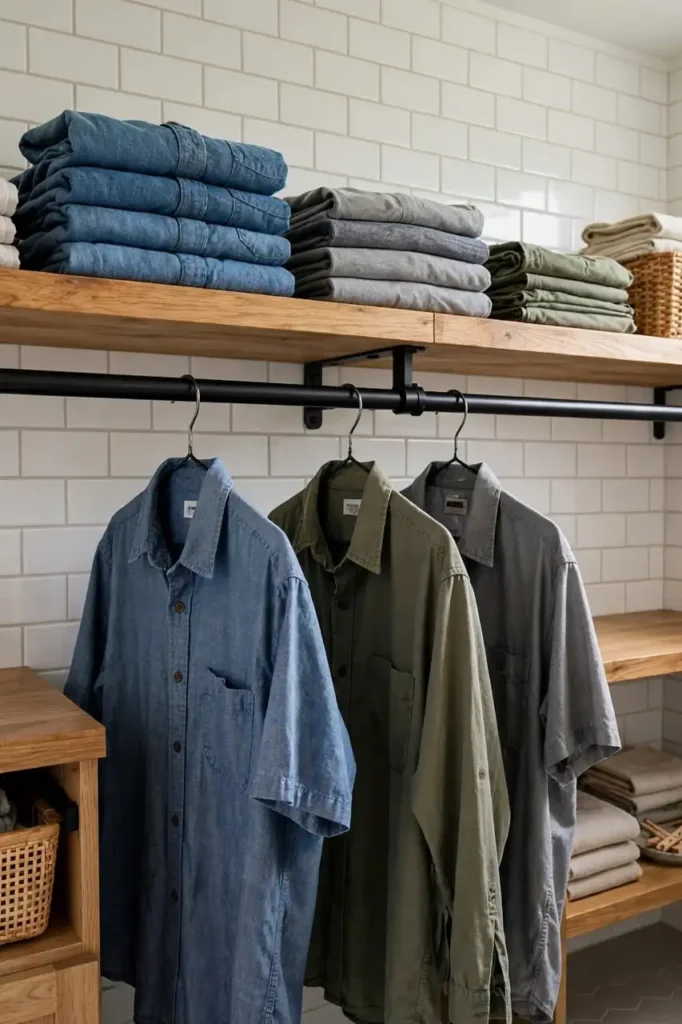
Quick Tip: Mount the rod at a height where hangers clear the shelf below by at least two inches. Test with your longest garment before drilling any holes.
A shelf with a hanging rod underneath doubles your storage. Folded items go up top while delicates hang below to air dry. I hang work shirts straight from the dryer to cut ironing time. The combo keeps everything in one compact footprint. It is the hardest-working shelf in my laundry room. The vertical arrangement keeps your most-used items at eye level and reachable. Add S-hooks for mesh bags holding delicates that need gentle handling.
Recessed Wall Niches
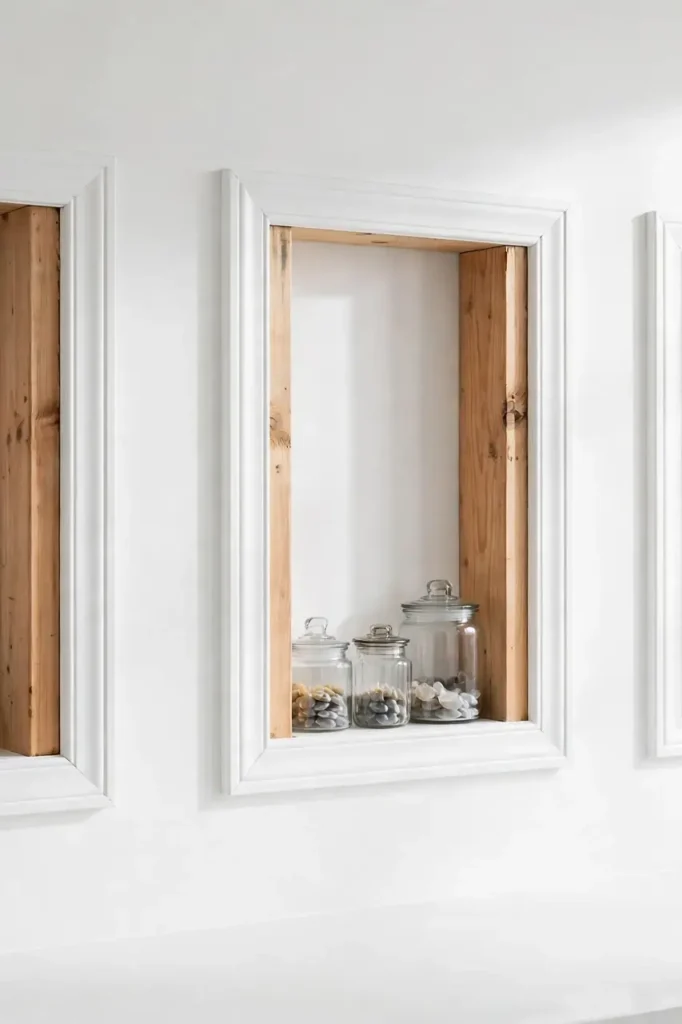
BEFORE: The wall between the studs was just drywall and wasted potential. I wanted storage without anything protruding into the narrow room. Every inch of floor space mattered.
AFTER: Recessed niches now sit flush with the wall, holding small bottles and jars. Nothing sticks out, yet storage capacity grew. Built-in laundry room shelving like this feels custom and intentional.
Building niches takes more effort but the payoff is huge. Cut between studs, frame the opening, and finish with trim. I hired a handyman for mine and it took one afternoon. The flush design keeps narrow walkways clear. Small rooms benefit most from this trick.
Mix Material Shelves
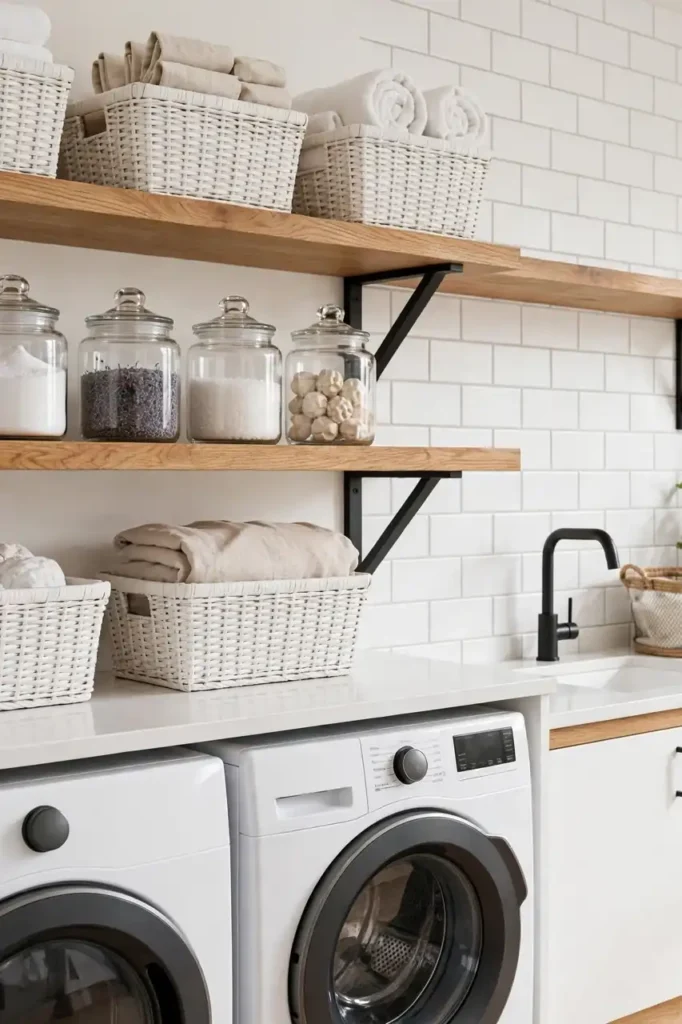
- Choose two complementary materials like wood and metal.
- Use metal brackets with warm wood boards.
- Repeat the combo on every shelf for cohesion.
- Echo the materials in small accessories.
Mixing materials keeps shelves from looking flat. Wood brings warmth while metal adds structure. I paired oak boards with black brackets and the contrast looks sharp. The combination feels designed rather than purely utilitarian. Repeat the pairing throughout the room for a pulled-together look. The contrast draws the eye and makes the shelves a design feature. Black metal and warm wood suit almost any laundry room color scheme. Repeat the pairing on brackets and accessories for a cohesive look.
Labeled Bin System
| Feature | Labeled Bins | Unlabeled Bins |
|---|---|---|
| Finding Items | Instant | Digging required |
| Family Use | Everyone helps | Only you know |
| Look | Uniform, tidy | Mixed, chaotic |
| Upkeep | Easy to maintain | Drifts into mess |
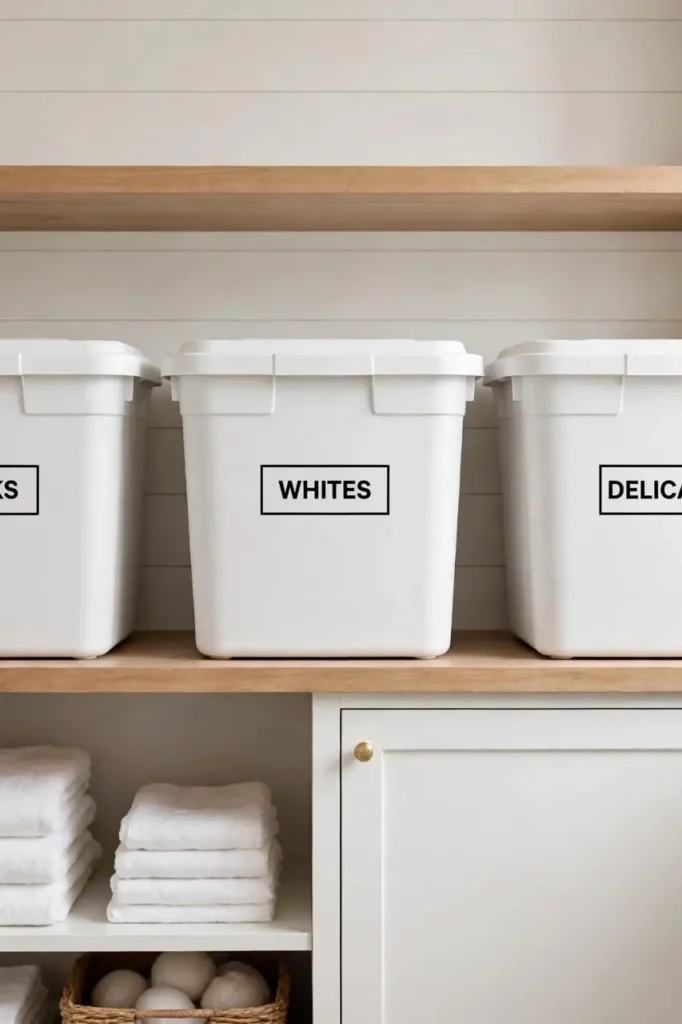
Labels turn anonymous bins into an organized system. Use a label maker or chalk tags for a uniform look. I label everything: darks, whites, delicates, cleaning. The family finally puts things back correctly. A labeled system maintains itself because the right spot is obvious. Waterproof labels survive the humidity that ruins paper tags quickly. Standardize bin sizes so the shelf looks uniform and tidy. The upfront labeling effort pays off every single laundry day.
Fold Down Ironing Board
DO:
- Do mount it near an outlet for the iron.
- Do choose a board rated for your iron’s heat.
- Do fold it away after every use.
- Do store the iron on a nearby shelf.
DON’T:
- Don’t mount it where the door swings.
- Don’t leave it down as a clutter magnet.
- Don’t skip the wall anchor check.
- Don’t forget heat-resistant padding.
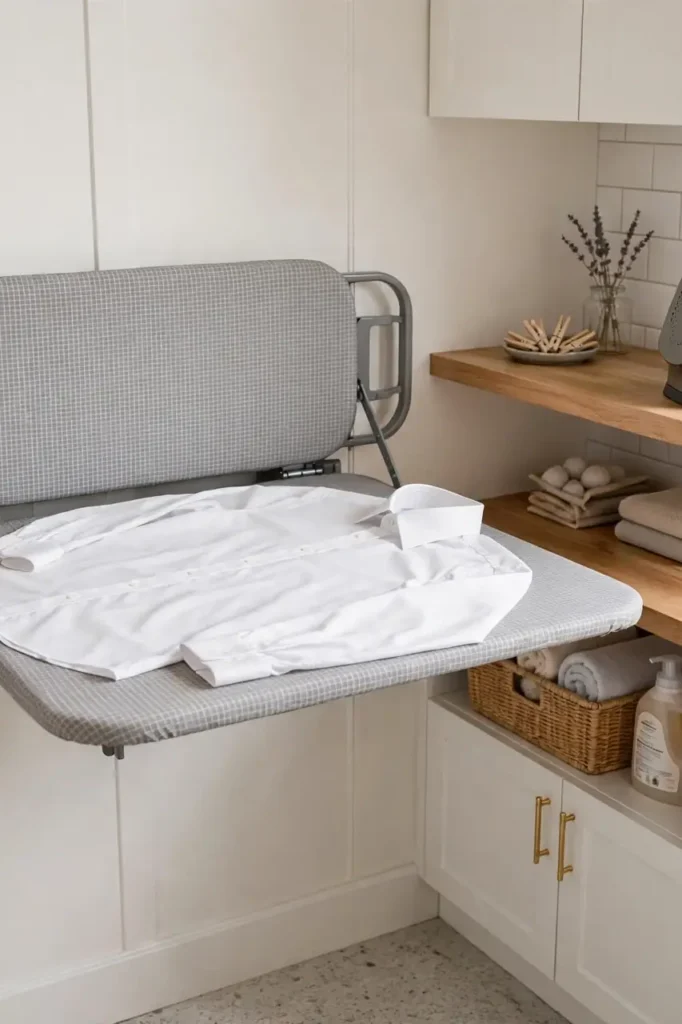
A wall-mounted ironing board folds away when not needed. Small laundry rooms cannot spare floor space for a full-size board. I press shirts right in the laundry room now instead of dragging everything out. The fold-down design keeps the room flexible. Iron, fold, and put it all away in minutes.
Vintage Crate Shelves
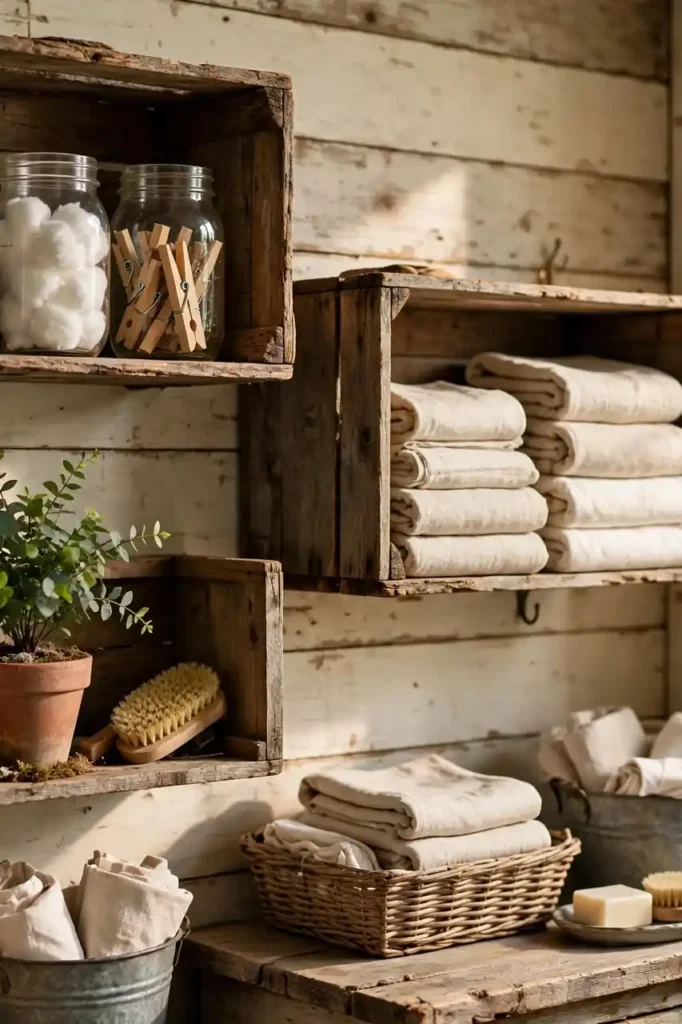
Cost: $15-50 | Time: One weekend | Skill Level: Beginner | Best For: Farmhouse style
Old wooden crates make charming wall shelves with history. Mount them securely and they hold baskets, jars, and folded linens. I found mine at a flea market and the patina adds character no new shelf can match. Sand any rough spots and seal the wood. The rustic look warms up an otherwise sterile room. Stack two crates for a taller unit or mount them separately. The worn wood tells a story that flat-pack furniture never can. Check flea markets and salvage shops for the best authentic finds.
Conclusion
Good shelving turns laundry day from a chore into a calm routine. Pick the idea that matches your wall space and start with one shelf this weekend. Your laundry room shelving upgrade does not need to be perfect, just practical and personal. Begin with the simplest option, then add more storage as you see what you actually use. Pin your favorite ideas, try one this week, and share what worked with a friend. I have seen how small changes like these can completely shift the way a space feels, and your laundry room deserves that same care. Start today and enjoy the difference.
One Comment