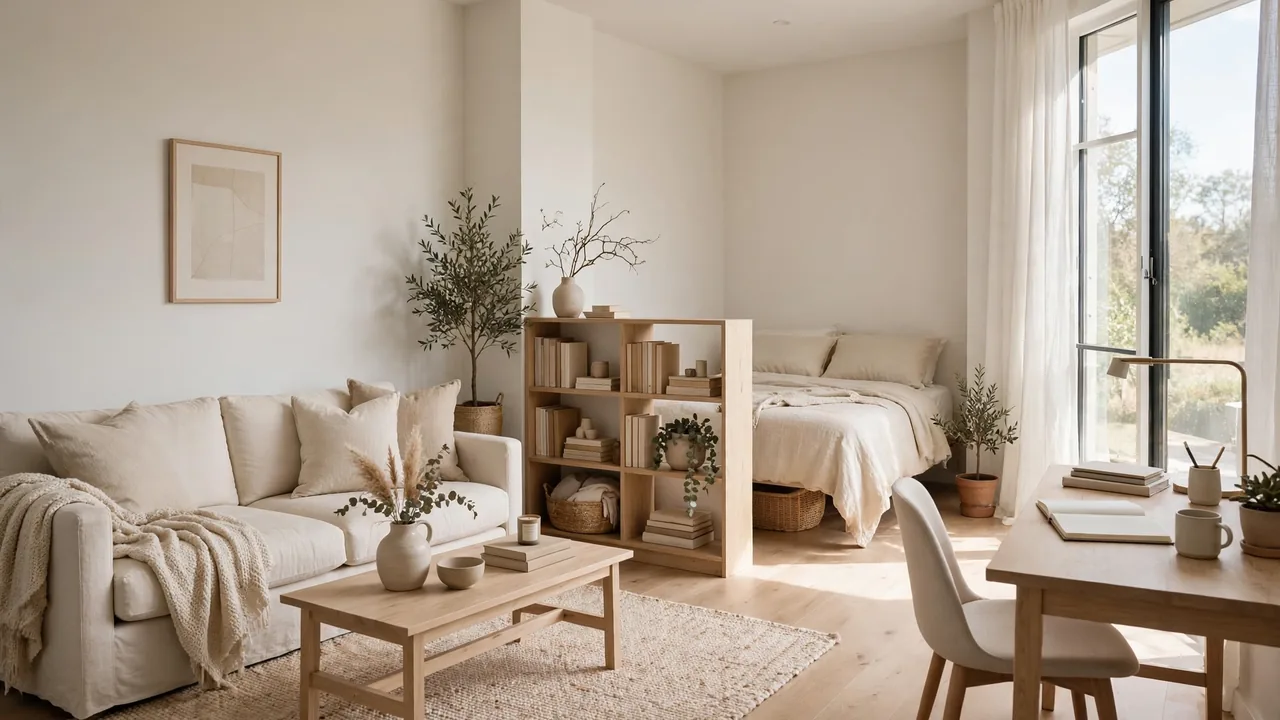
How to Arrange Furniture in Studio Apartments
One room has to be your bedroom, living room, office, and dining area, yet somehow still feel like home. If you have been wondering how to arrange furniture in studio apartments without it looking like a furniture store exploded, you are not alone. In my experience, most studio renters own the right pieces but have them in the wrong places.
This guide walks you through a simple zoning method that turns one open room into distinct living areas. You will learn where to place each piece so the space feels bigger, works harder, and finally makes sense. If your shelves feel chaotic too, see how to hide clutter in open shelving for a calmer home.
Why Studio Layouts Feel Impossible

Studios hand you one box and ask it to do the work of five rooms. Without walls to guide you, every piece of furniture drifts to the edges, the middle becomes a dead zone, and the whole place feels smaller than it is. That cramped feeling is not your fault; it is what happens when zones are missing.
Once you understand that furniture arrangement is really about creating invisible rooms, everything changes. A rug says living room. A bookshelf says bedroom boundary. Small visual cues like these give each corner a job, and the apartment instantly feels twice as intentional.
Map Your Studio’s Zones
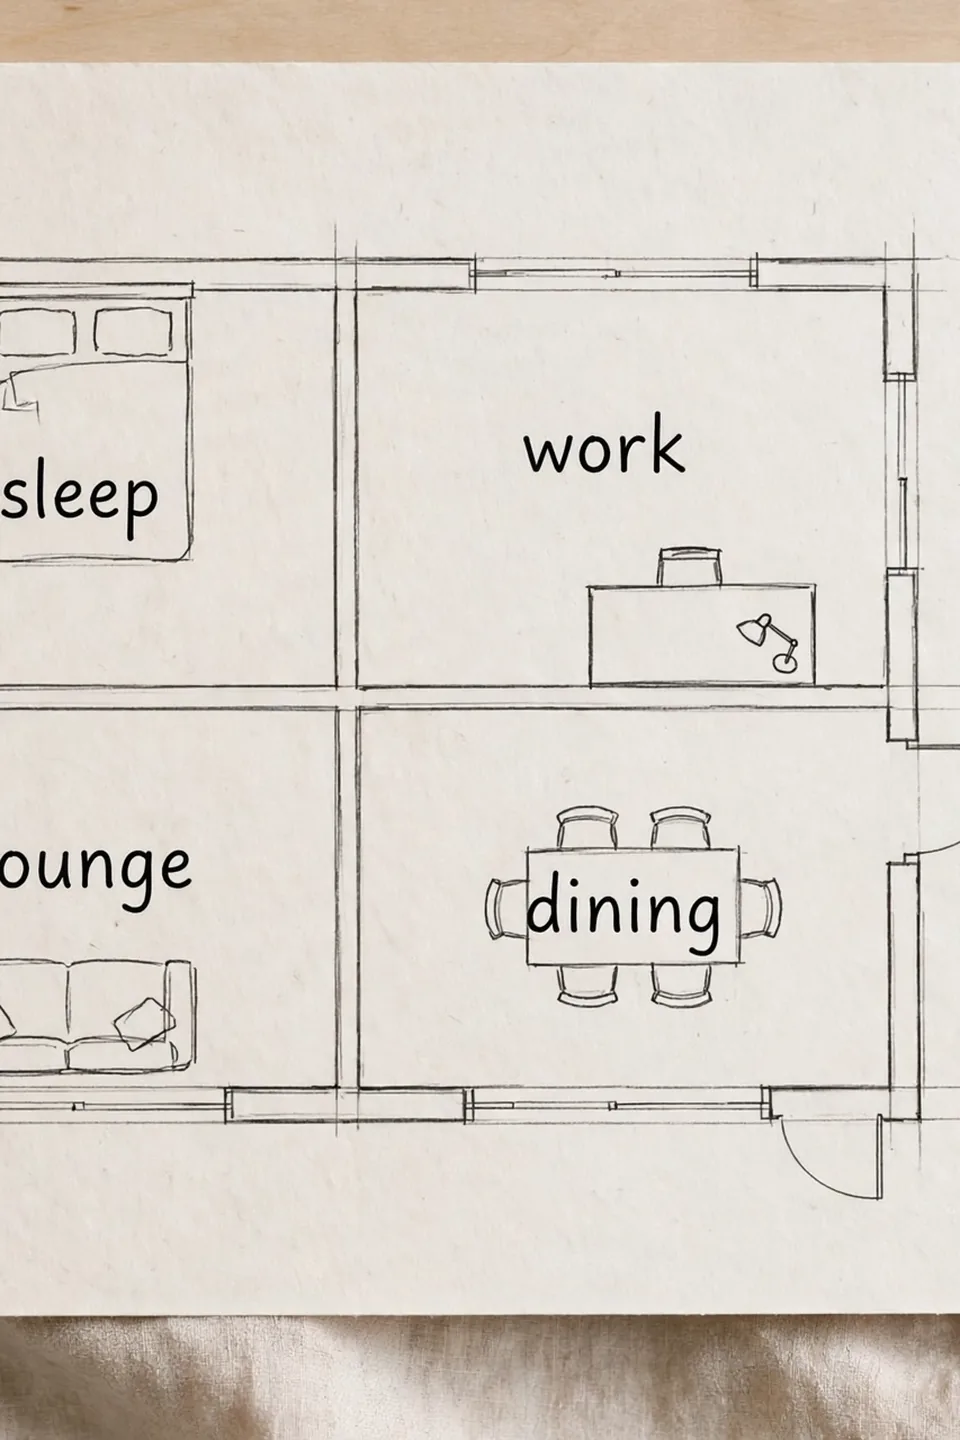
Before moving a single chair, sketch where each part of your life should happen. This quick mapping step prevents the classic mistake of placing furniture first and regretting it for months. Ten minutes with paper saves you hours of heavy lifting later.
- Stand in your doorway and note where natural light falls; sleeping and work zones do best near windows.
- Mark the kitchen and bathroom as fixed anchors, then plan living zones in the remaining open space.
- Draw simple rectangles for sleep, lounge, work, and dining areas, leaving clear paths between them.
- Check that no zone blocks the front door swing or the route to the bathroom.
Anchor With a Rug
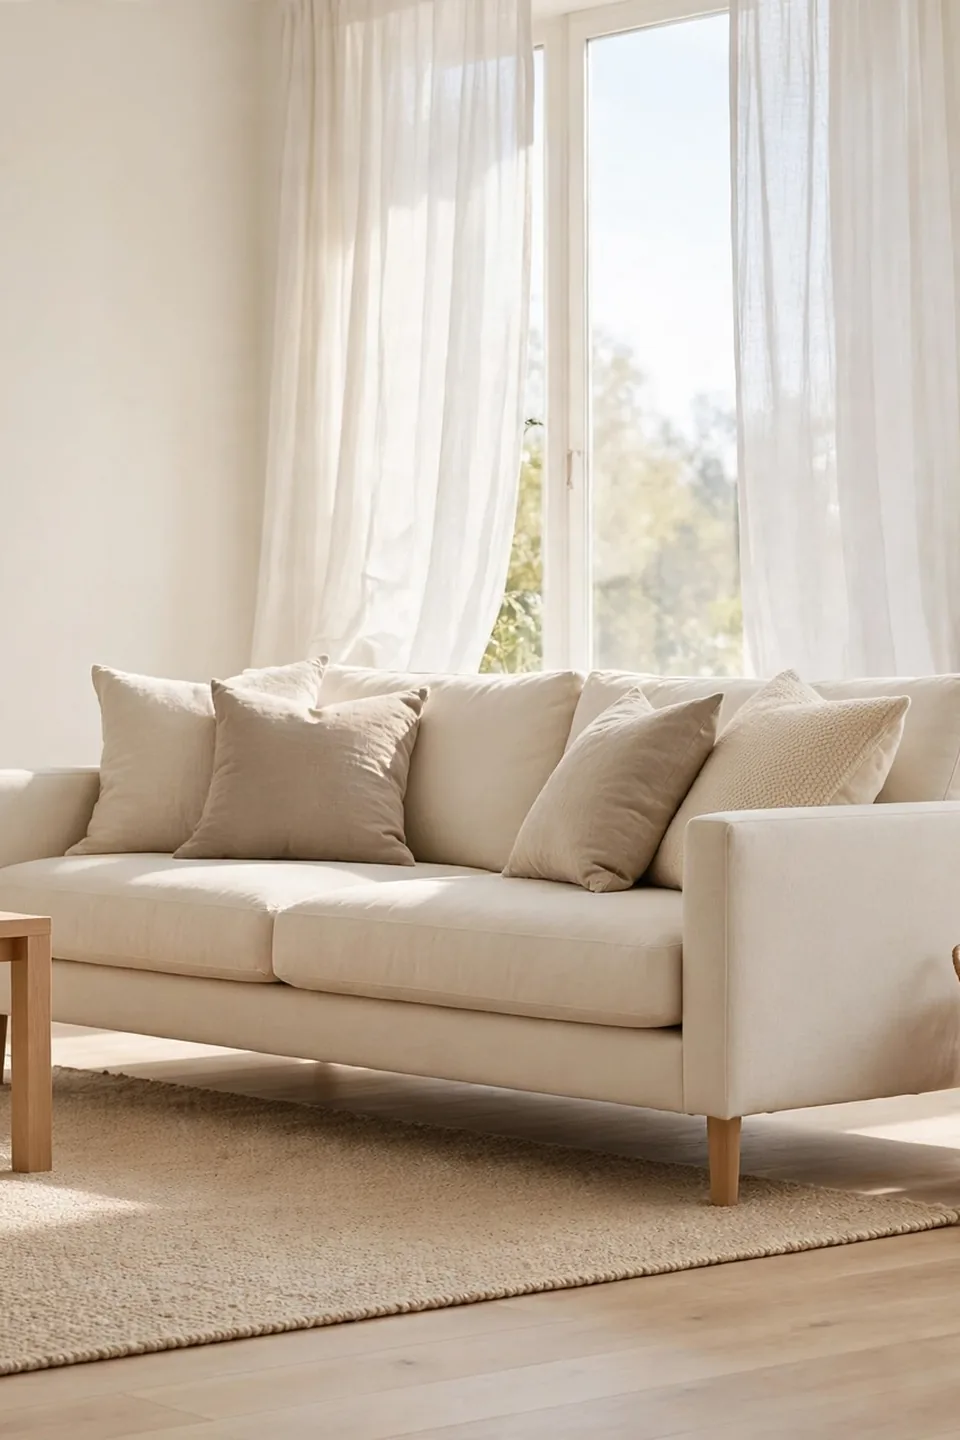
Quick Tip: A rug is the fastest way to declare a living zone. Choose one large enough that the front legs of your sofa and chairs sit on it. Too small, and the zone dissolves; too big, and it swallows the room.
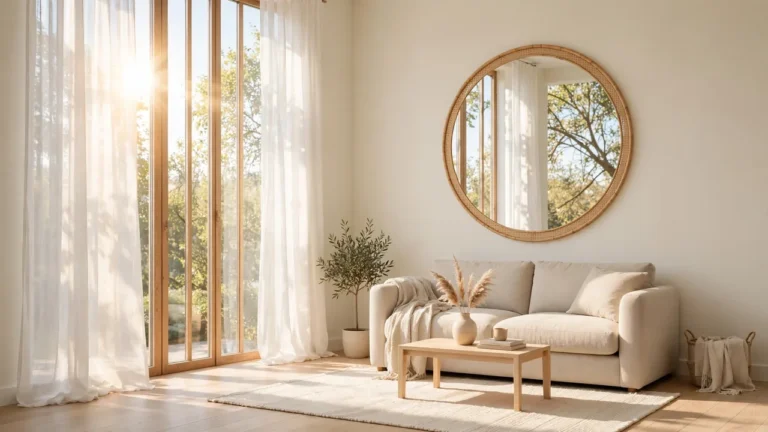
Rugs work because they create a visual floor plan your brain reads instantly. In a studio, that matters more than anywhere else. Pick a low-pile style in a light neutral tone so the zone feels defined but not heavy, and let the rug edges stop at least a foot from walkways.
Use Furniture as Dividers
Common Mistake: Most people push every piece against the walls, thinking it opens up the middle. Instead, the room reads as one big empty hallway with furniture lined up like spectators. Nothing feels cozy because nothing defines a space.
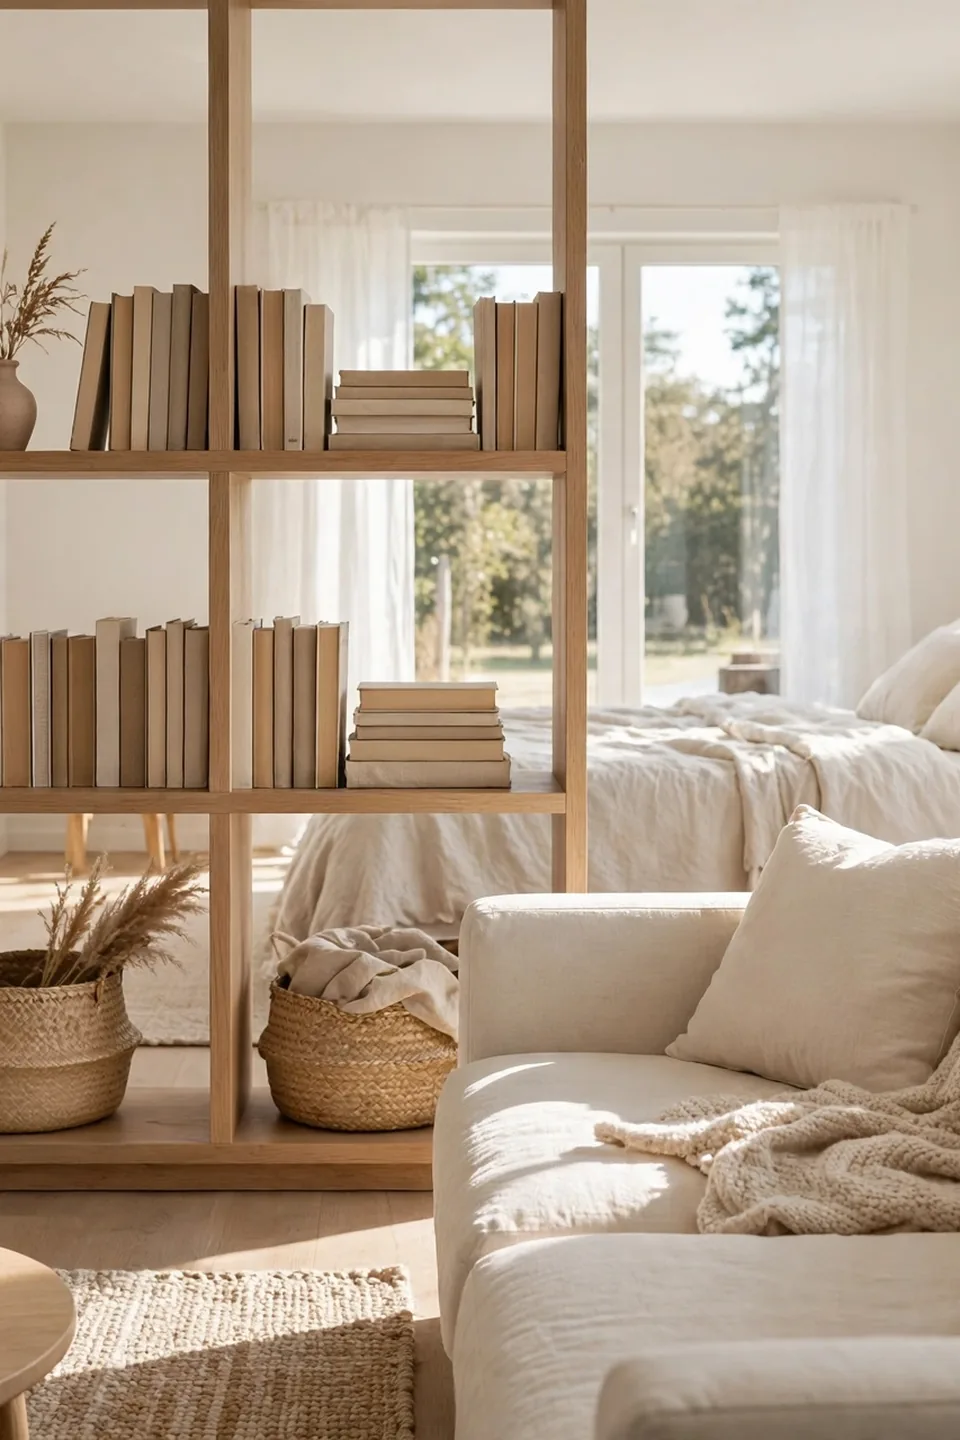
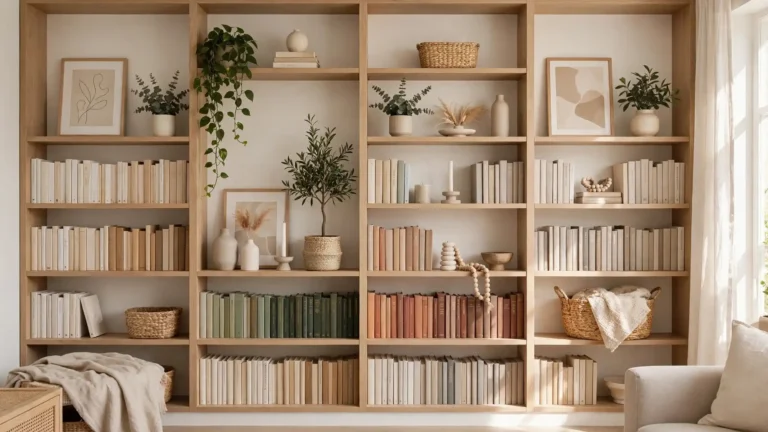
The Fix: Pull your sofa or a low bookshelf a few feet off the wall to split the room into zones. The back of the sofa becomes a natural boundary between lounge and bedroom. Keep dividers low so light flows over them and the studio still breathes.
Low open shelving works best for this because it divides without darkening. You keep sight lines across the apartment while each side gains a clear purpose. I’ve noticed this one move alone makes studios feel like they have real rooms, and guests always ask where the bedroom wall went.
Create a Sleep Zone
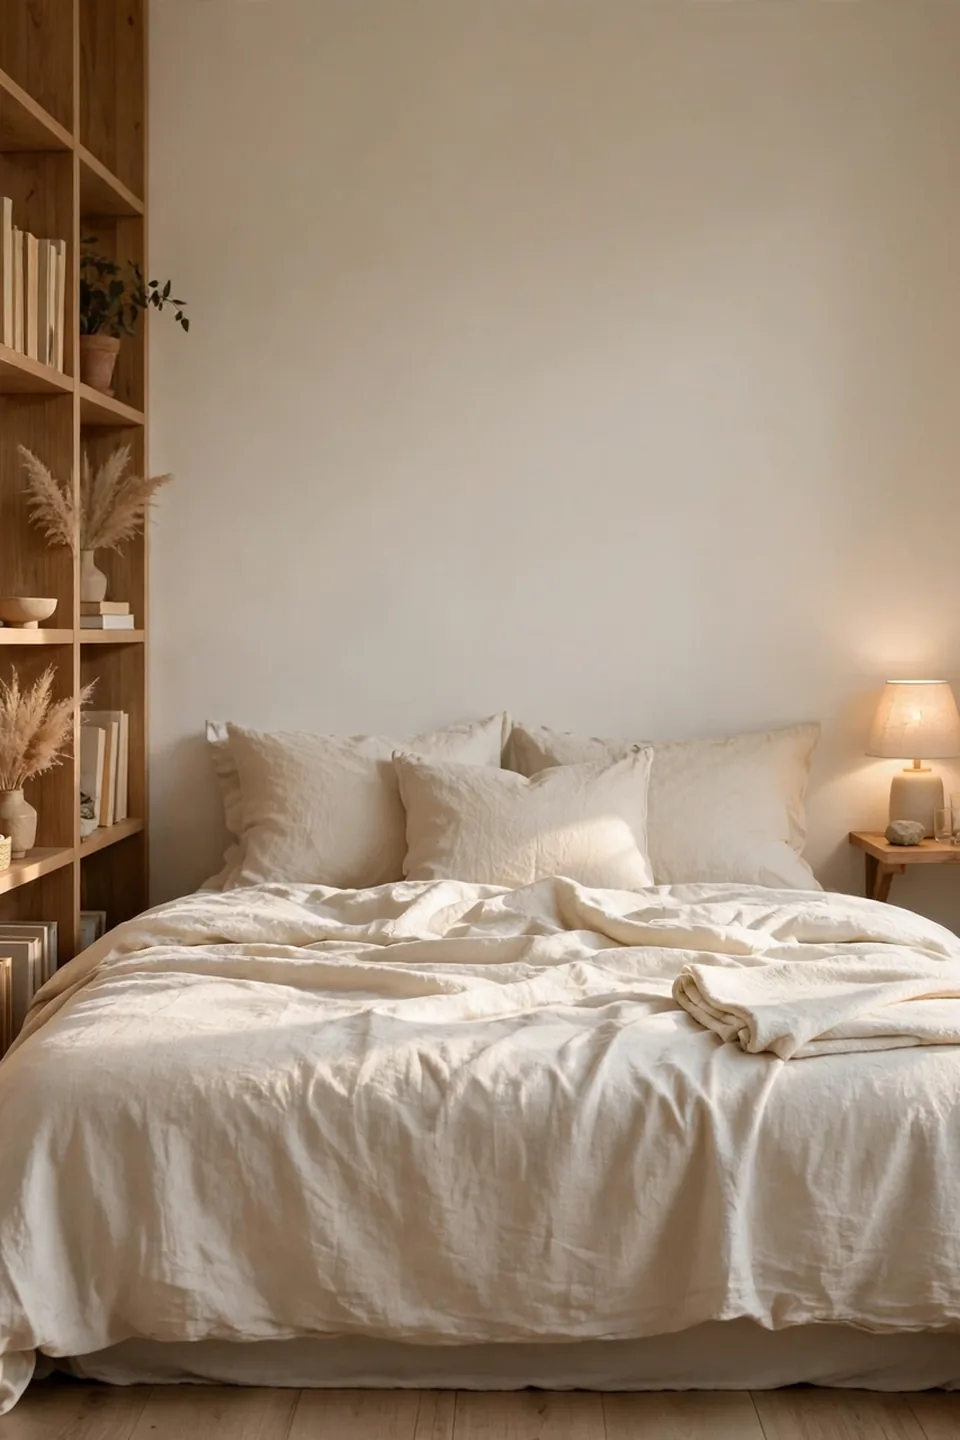
What You Need:
- A bed or daybed that fits with at least two feet of clearance on one side for making it daily.
- A room divider, curtain panel, or tall bookshelf to visually separate sleep from living areas.
- A small bedside surface, even a wall-mounted shelf, for a lamp and phone.
- Soft layered bedding in light tones so the sleep corner feels calm, not cramped.
- A rug or mat under the bed to mark the zone and soften morning footsteps.
Your sleep zone deserves the quietest corner, ideally farthest from the front door. Once the bed has its own defined spot, learning how to arrange furniture in studio apartments gets easier because every other zone falls into place around it. Keep this corner simple; restful beats decorated here.
Carve Out a Work Corner
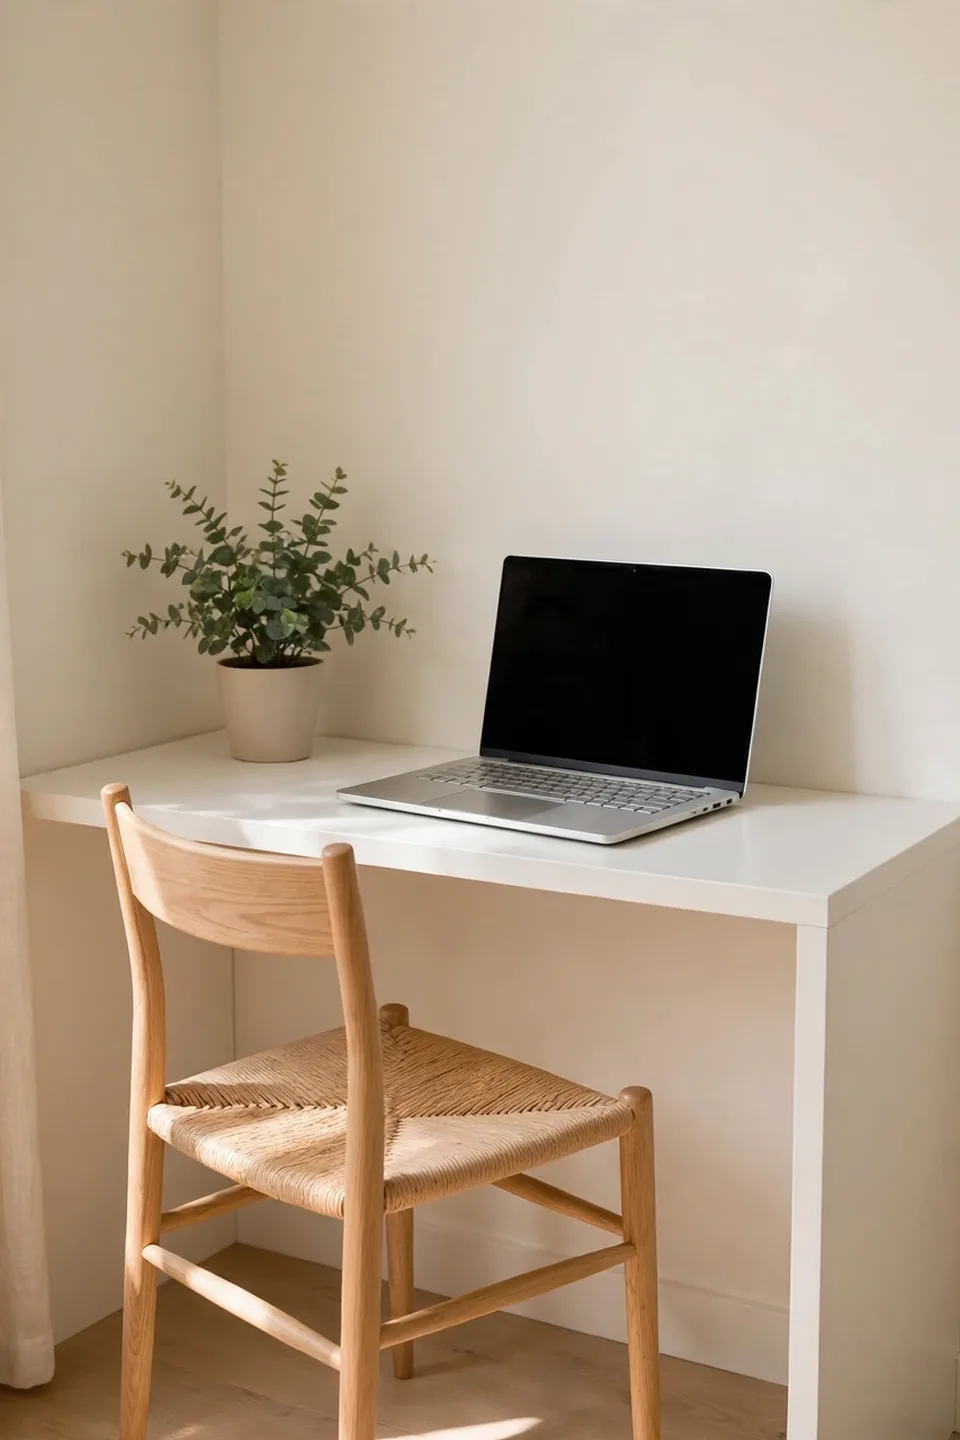
Before: Your laptop lives on the dining table, then the coffee table, then the bed. Work spreads everywhere, and by evening you cannot tell where the office ends and home begins. The whole studio feels like a desk you sleep in.
After: A slim desk tucked against one wall gives work a permanent address. When the laptop closes, the corner goes quiet and the apartment belongs to you again. Even a two-foot-wide setup changes how the entire studio feels.
Face the desk toward the room rather than the wall so you are not staring at blank paint all day. A small lamp and one plant make the corner feel intentional, and a chair that tucks fully under keeps the path clear when work ends.
Keep Traffic Paths Clear
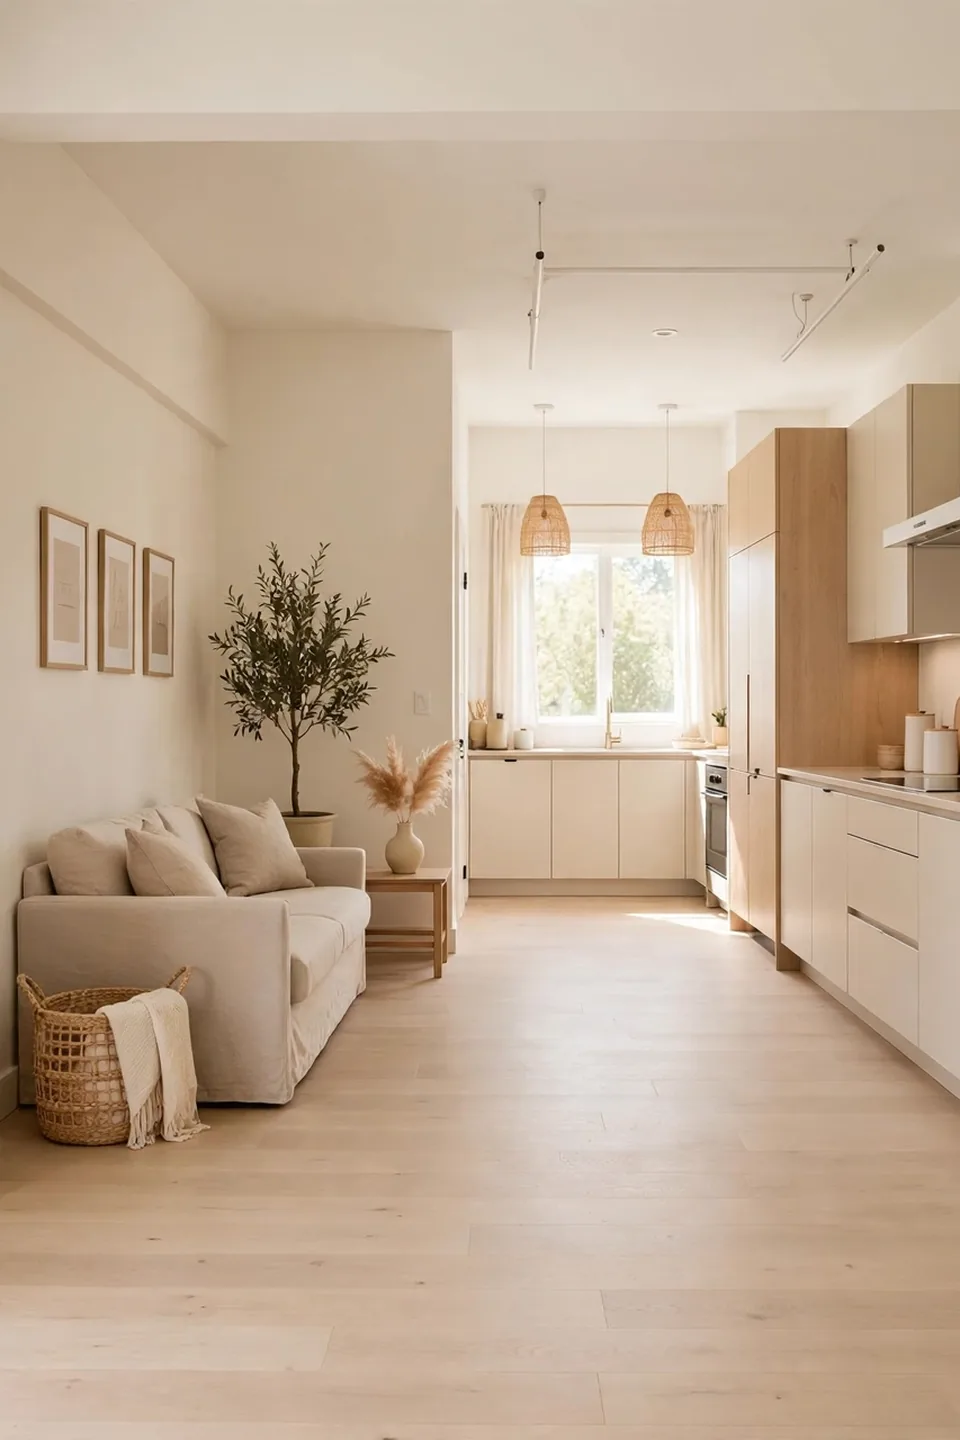
Do This:
- Leave at least 30 inches for main walkways between the door, kitchen, and bathroom.
- Push the coffee table close enough to reach but far enough to walk around.
- Choose armless or slim-profile chairs that slide fully under tables.
- Test every path by walking it with a laundry basket in your hands.
Avoid This:
- Don’t let chair backs or open drawers jut into the main walking lane.
- Don’t place the bed where you must squeeze past it to reach the bathroom at night.
- Don’t block windows with tall pieces; light should travel the full length of the room.
- Don’t ignore the door swing; furniture behind it turns every entrance into an obstacle course.
Clear paths are what make a studio feel generous instead of tight. When you can move freely, the apartment reads as larger than its square footage. Walk your routes once a week and shift anything that has crept into the lane, because small drifts add up fast.
Choose Multi-Use Pieces
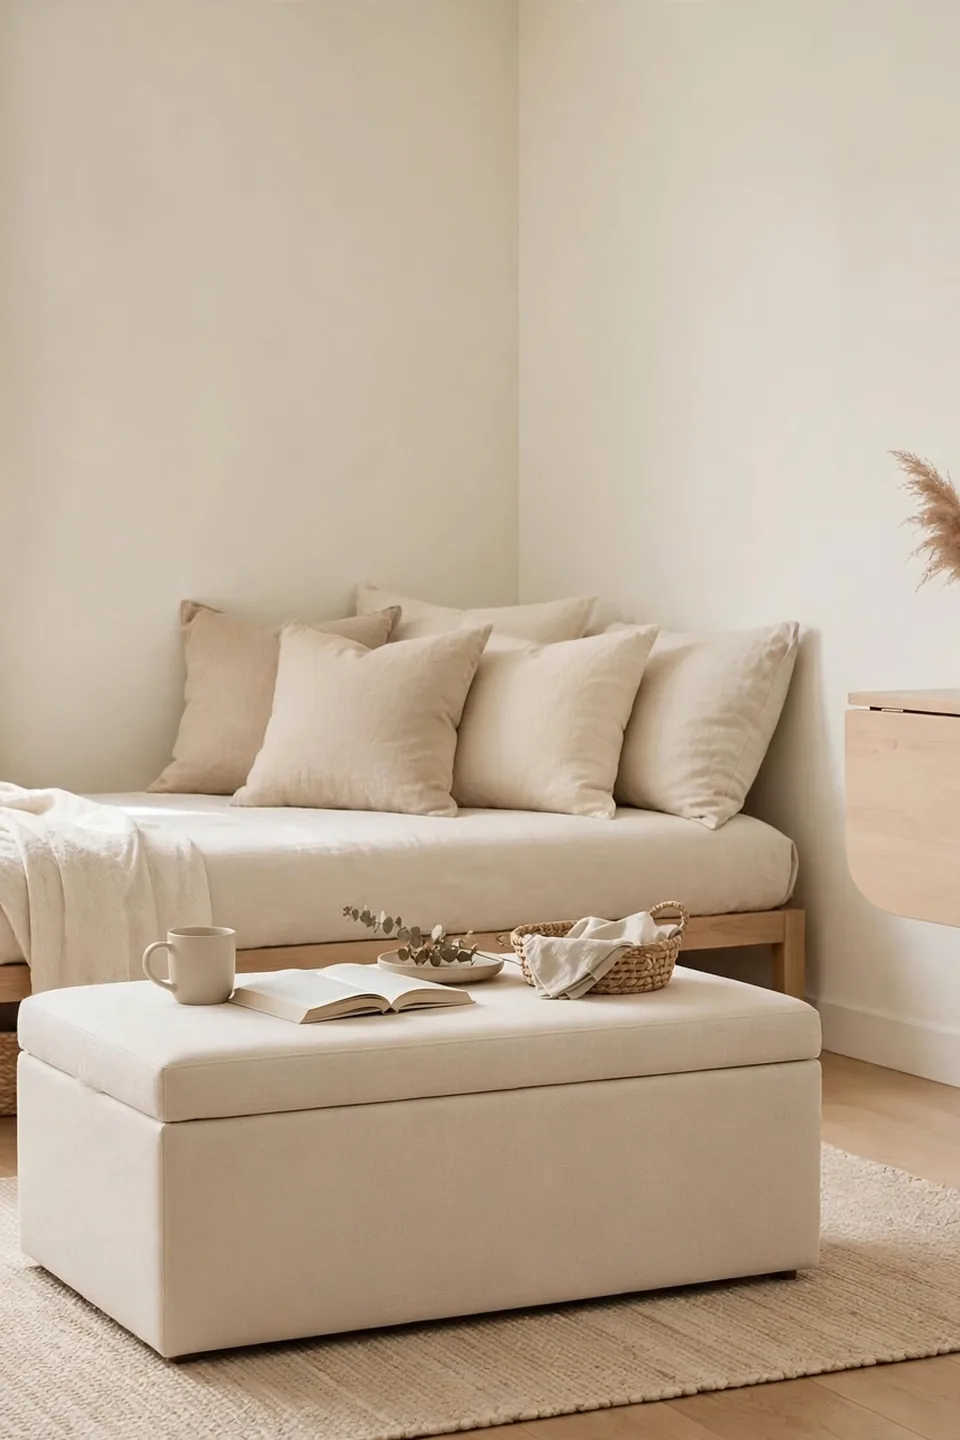
Time Needed: One afternoon | Difficulty: Easy | Cost: Low to Medium | Best For: sleepers, workers, and hosts sharing one room
Every piece in a studio should earn its footprint twice. A storage ottoman holds blankets and seats guests. A drop-leaf table serves dinner for four, then folds to console size. When each item multitasks, one room truly does the work of three without feeling crowded.
For more ideas on squeezing function from tight kitchens, see how to create more counter space.
Common Studio Layout Mistakes

The biggest mistake is buying furniture before planning zones. People fall in love with a sectional that eats half the studio, then wonder why nothing else fits. That oversized sofa becomes the room’s boss, and every other decision bends around it. Measure first, fall in love second.
Another trap is using too many small pieces instead of fewer right-sized ones. Ten tiny items create visual noise, while three well-chosen pieces calm the room. Beginners often think small rooms need small furniture, but consistent scale matters more. Edit ruthlessly and let breathing space do the decorating.
Pro Tips for Cohesive Studios
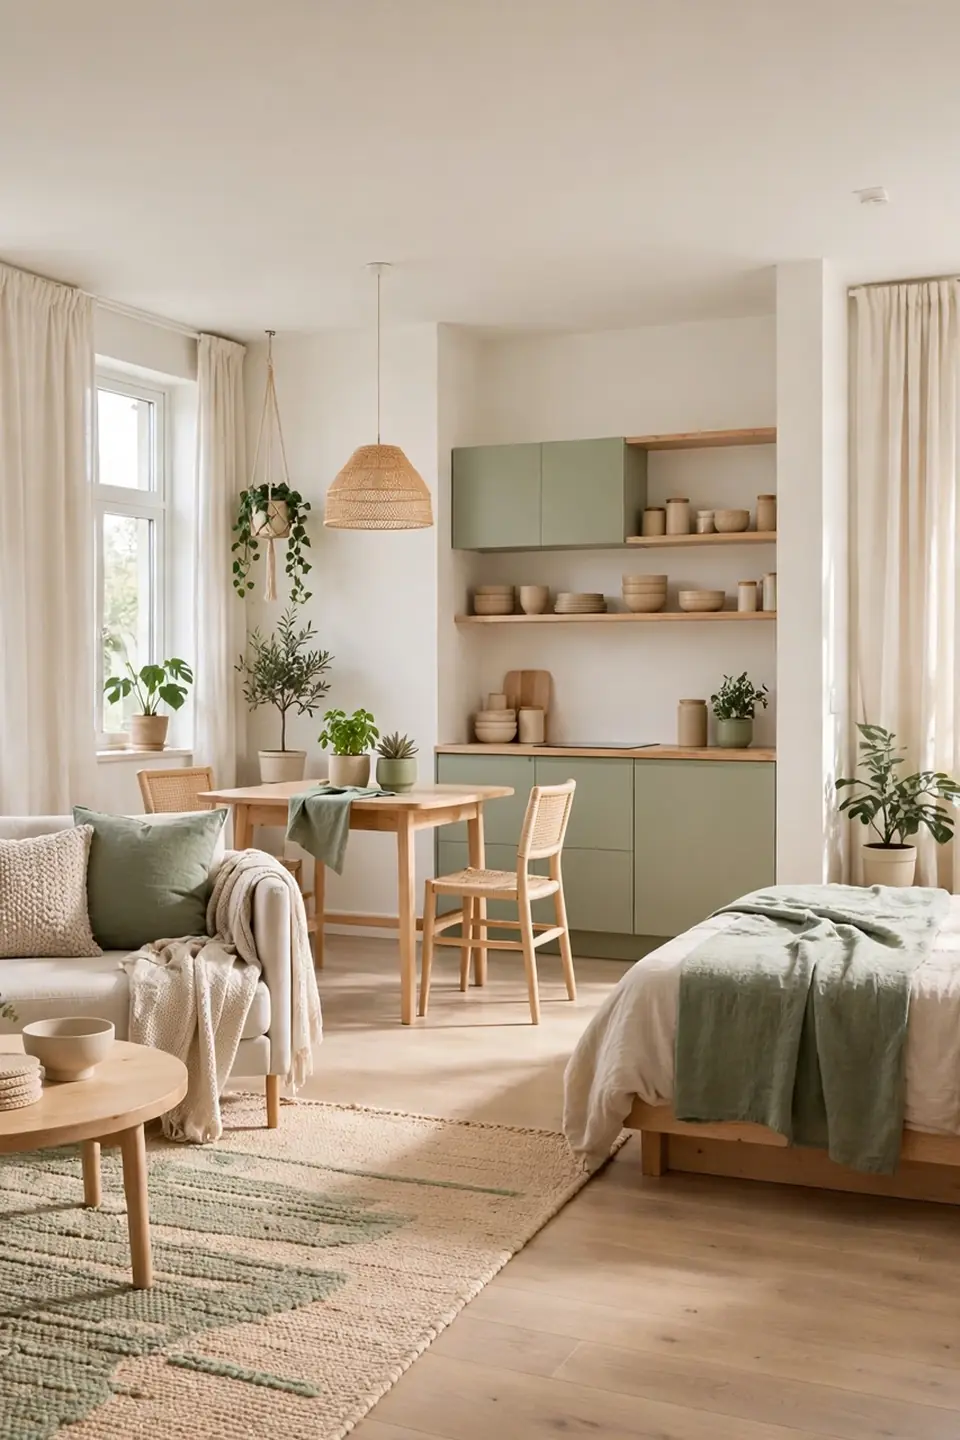
Cohesion is what separates a studio that feels designed from one that feels accidental. These finishing moves tie your zones together so the whole apartment reads as one calm, intentional home. Repeat two or three colors across every zone to stitch the room together visually.
- Repeat two or three colors in every zone so the eye travels smoothly across the studio.
- Keep window treatments identical throughout; matching curtains unify faster than any furniture.
- Add one plant per zone for life and softness without adding visual clutter.
- Hide cords and small clutter daily, because in one room every mess is always visible.
Conclusion
A studio apartment stops feeling small the moment every corner has a clear job. Start with your zones, anchor them with rugs and low dividers, and let each piece earn its place twice. Remember, learning how to arrange furniture in studio apartments is a skill that pays off every single day you live there. Save this guide to Pinterest so you can revisit each step while you rearrange. I’ve seen how making this one change can completely shift the result, and your studio is closer to feeling like home than you think.
One Comment