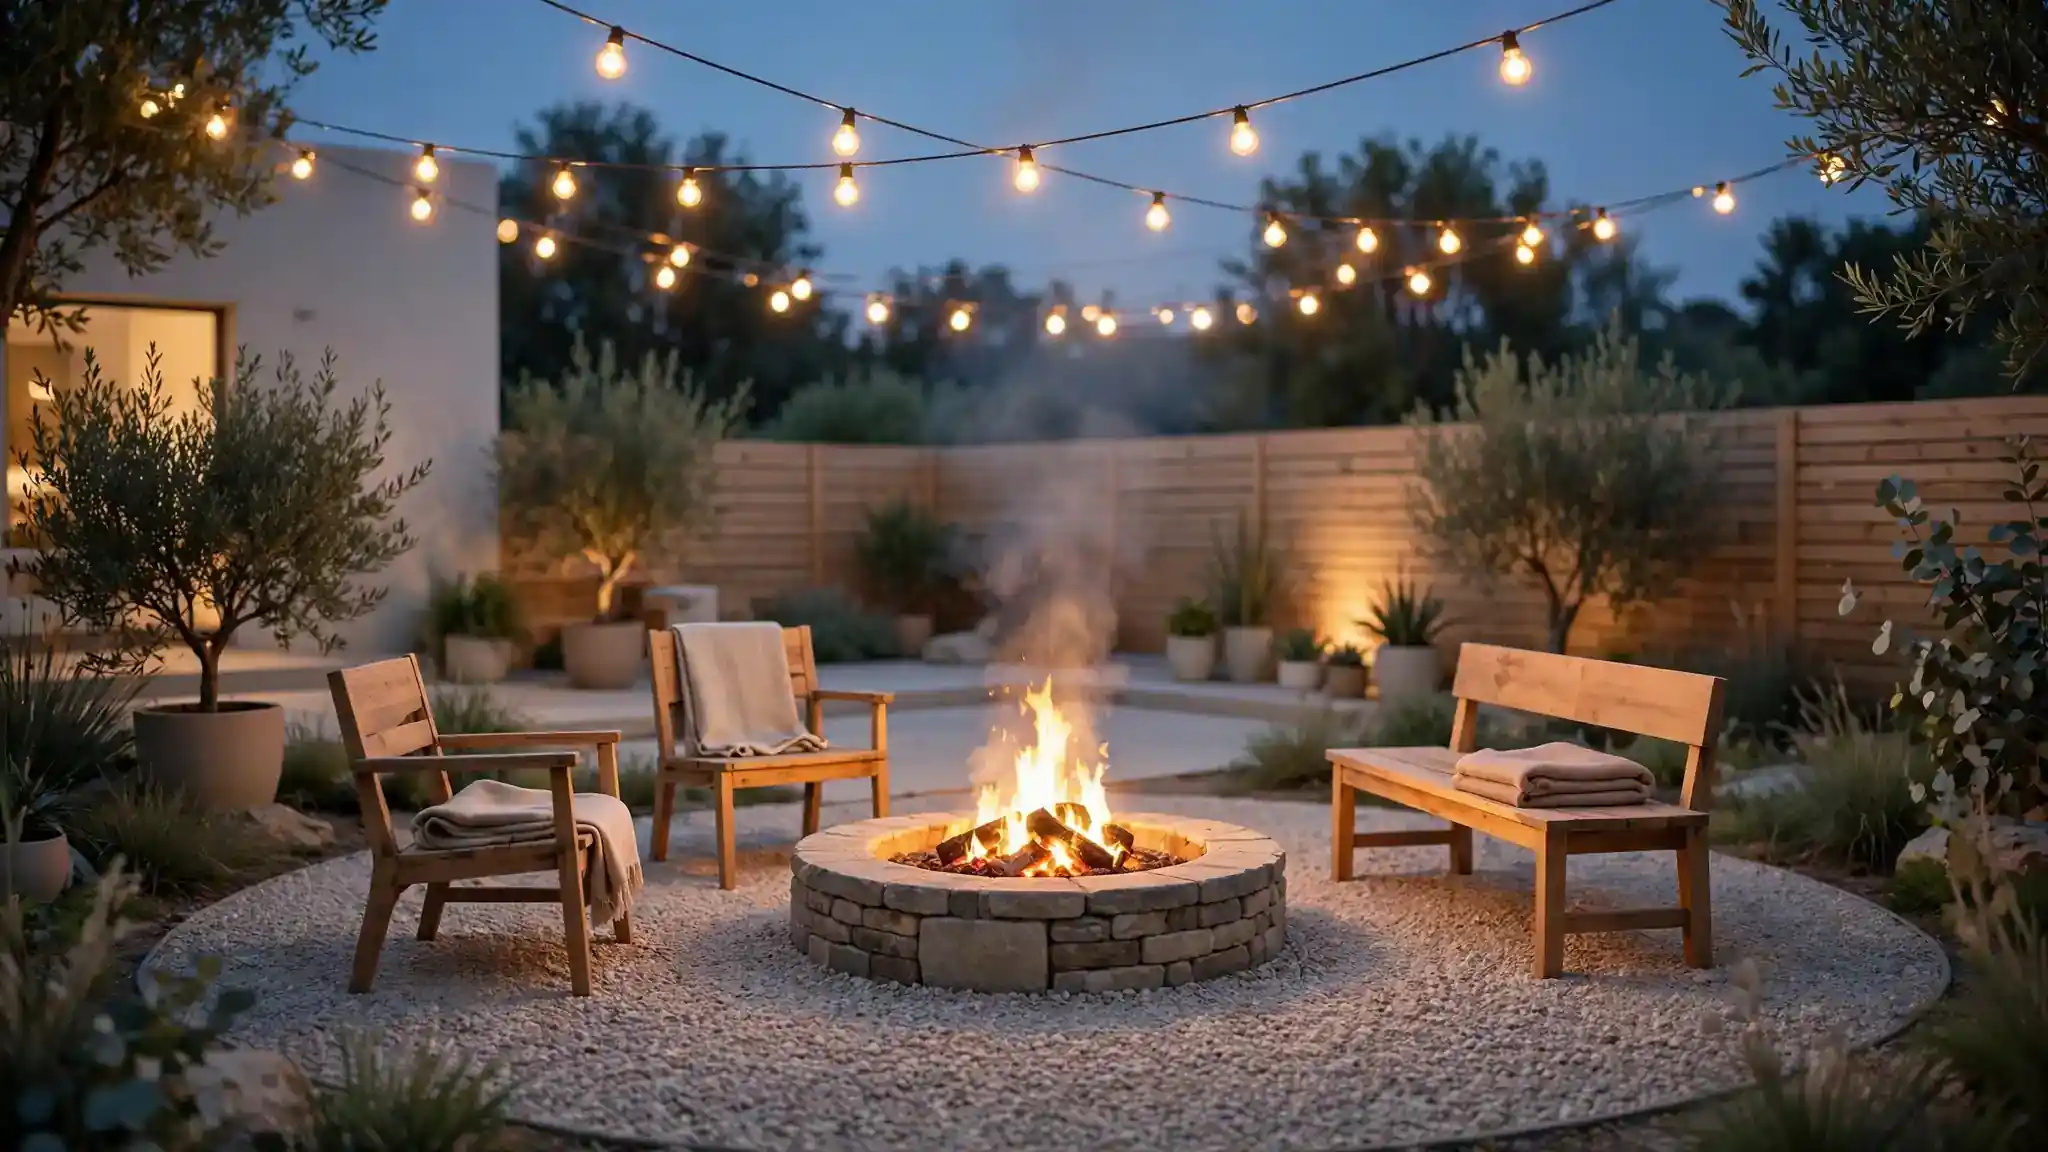
24 DIY Small Backyard Fire Pit Ideas on a Budget
A warm fire changes everything about a small yard, and these diy small backyard fire pit ideas prove you do not need a big budget or a big lot. With a free weekend, basic tools, and smart material choices, you can build a gathering spot that feels straight out of a magazine. In my experience, small yards actually suit fire pits best, because the flames make every seat feel close and cozy.
Below you will find 24 budget builds, seating tricks, and glow upgrades that work in tight spaces. If you want even more backyard fire inspiration first, browse these outdoor fire pit ideas for extra layouts and styling tips. Then pick one build, gather your materials, and spend this weekend by the flames.
Stacked Fieldstone Circle
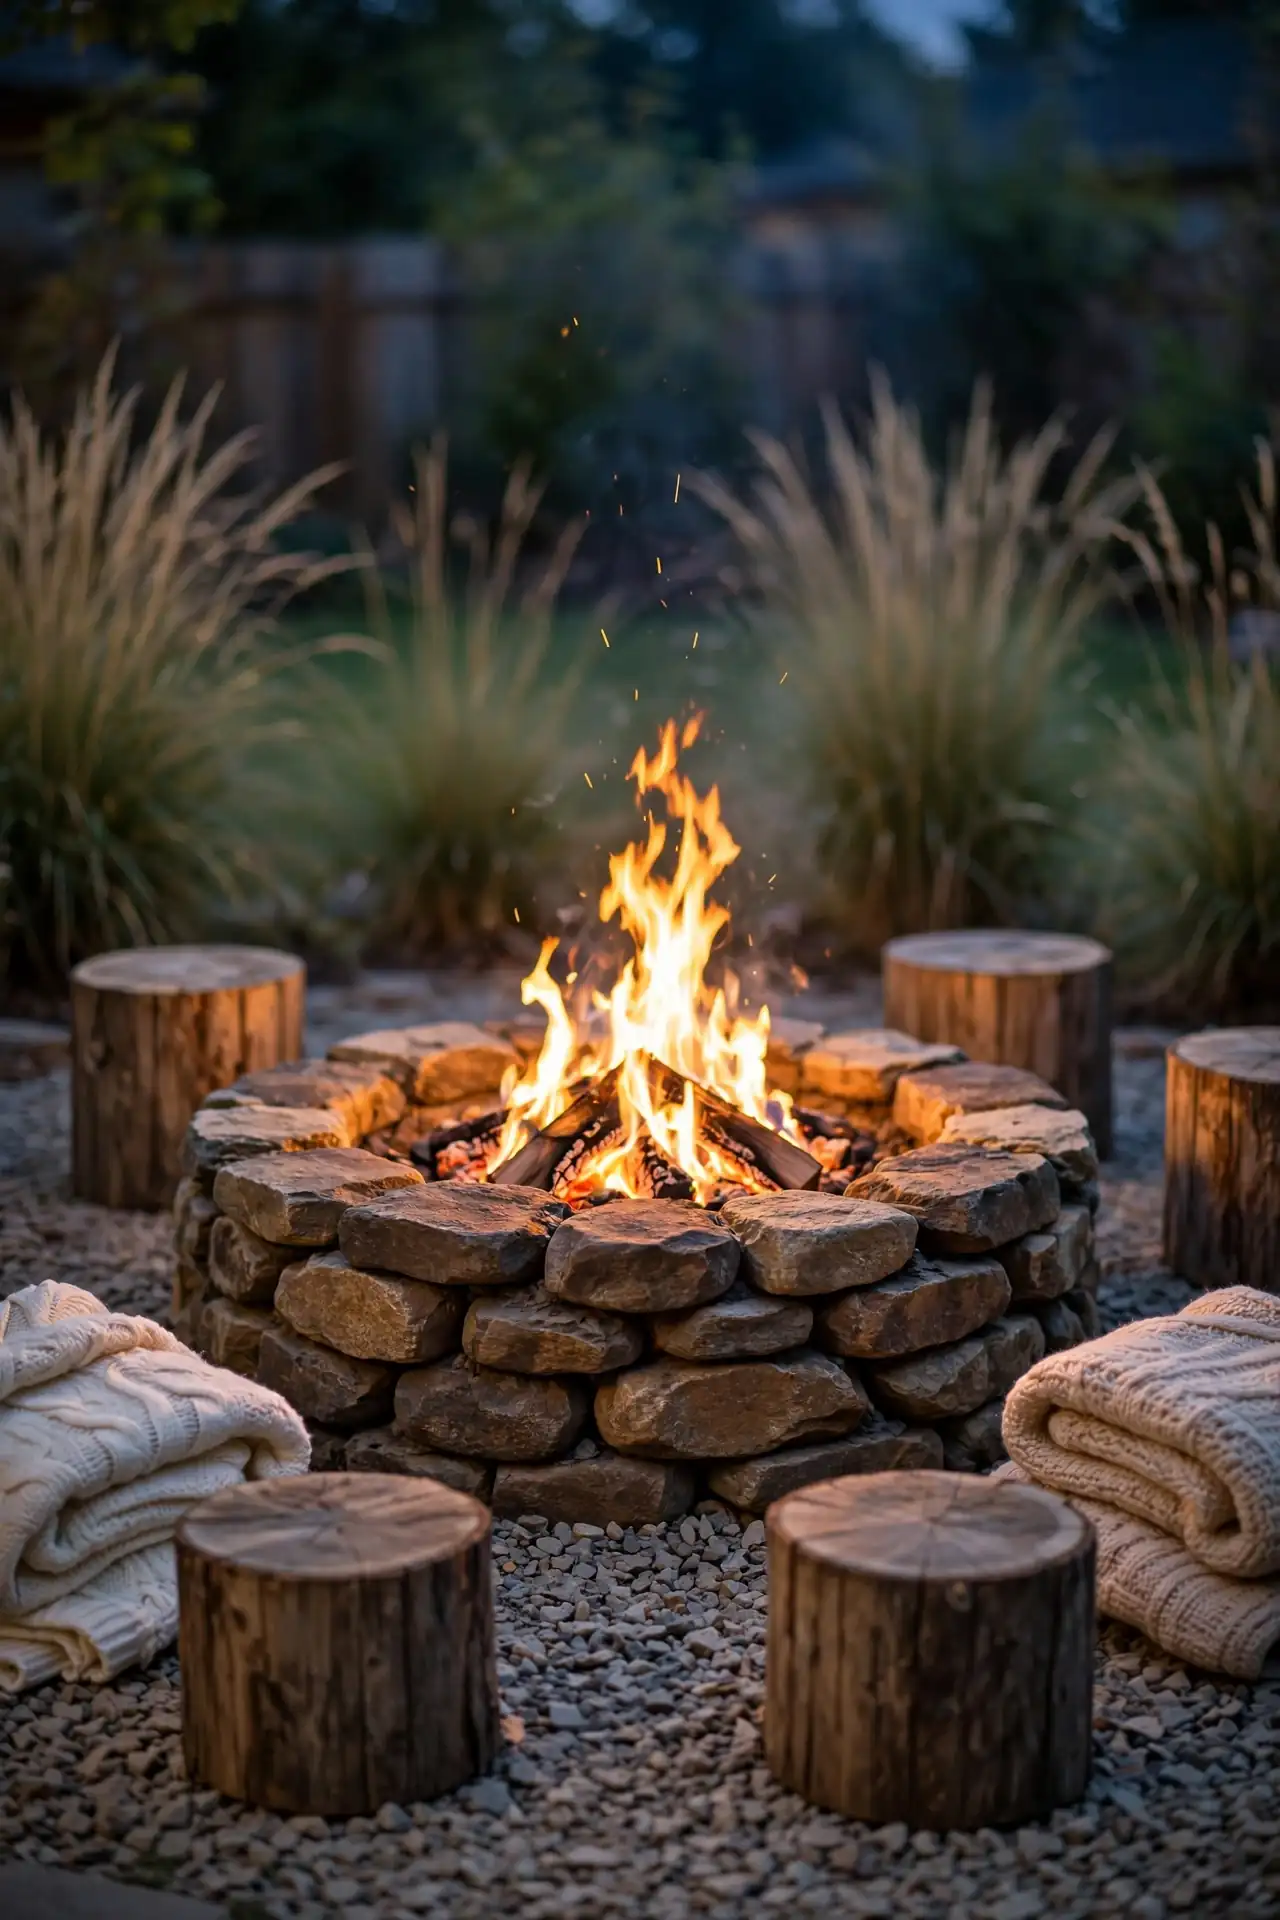
A circle of stacked fieldstone looks like it cost a fortune, yet the stones themselves are often free for the hauling. Check local classifieds, farm edges, or landscape yards for seconds and offcuts. Dry stack them two layers high on a level patch of dirt, leaving small gaps for airflow. A metal fire ring insert inside protects the stone and keeps the fire tidy.
Around the pit, sweep the ground clear and lay a flat ring of crushed stone for chairs. In my experience, guests naturally pull their seats to the fire’s edge, so leave about three feet of clear ground on every side. Top it off with a few weathered log stools and the whole setup feels ancient and welcoming.
Pea Gravel Pad Base
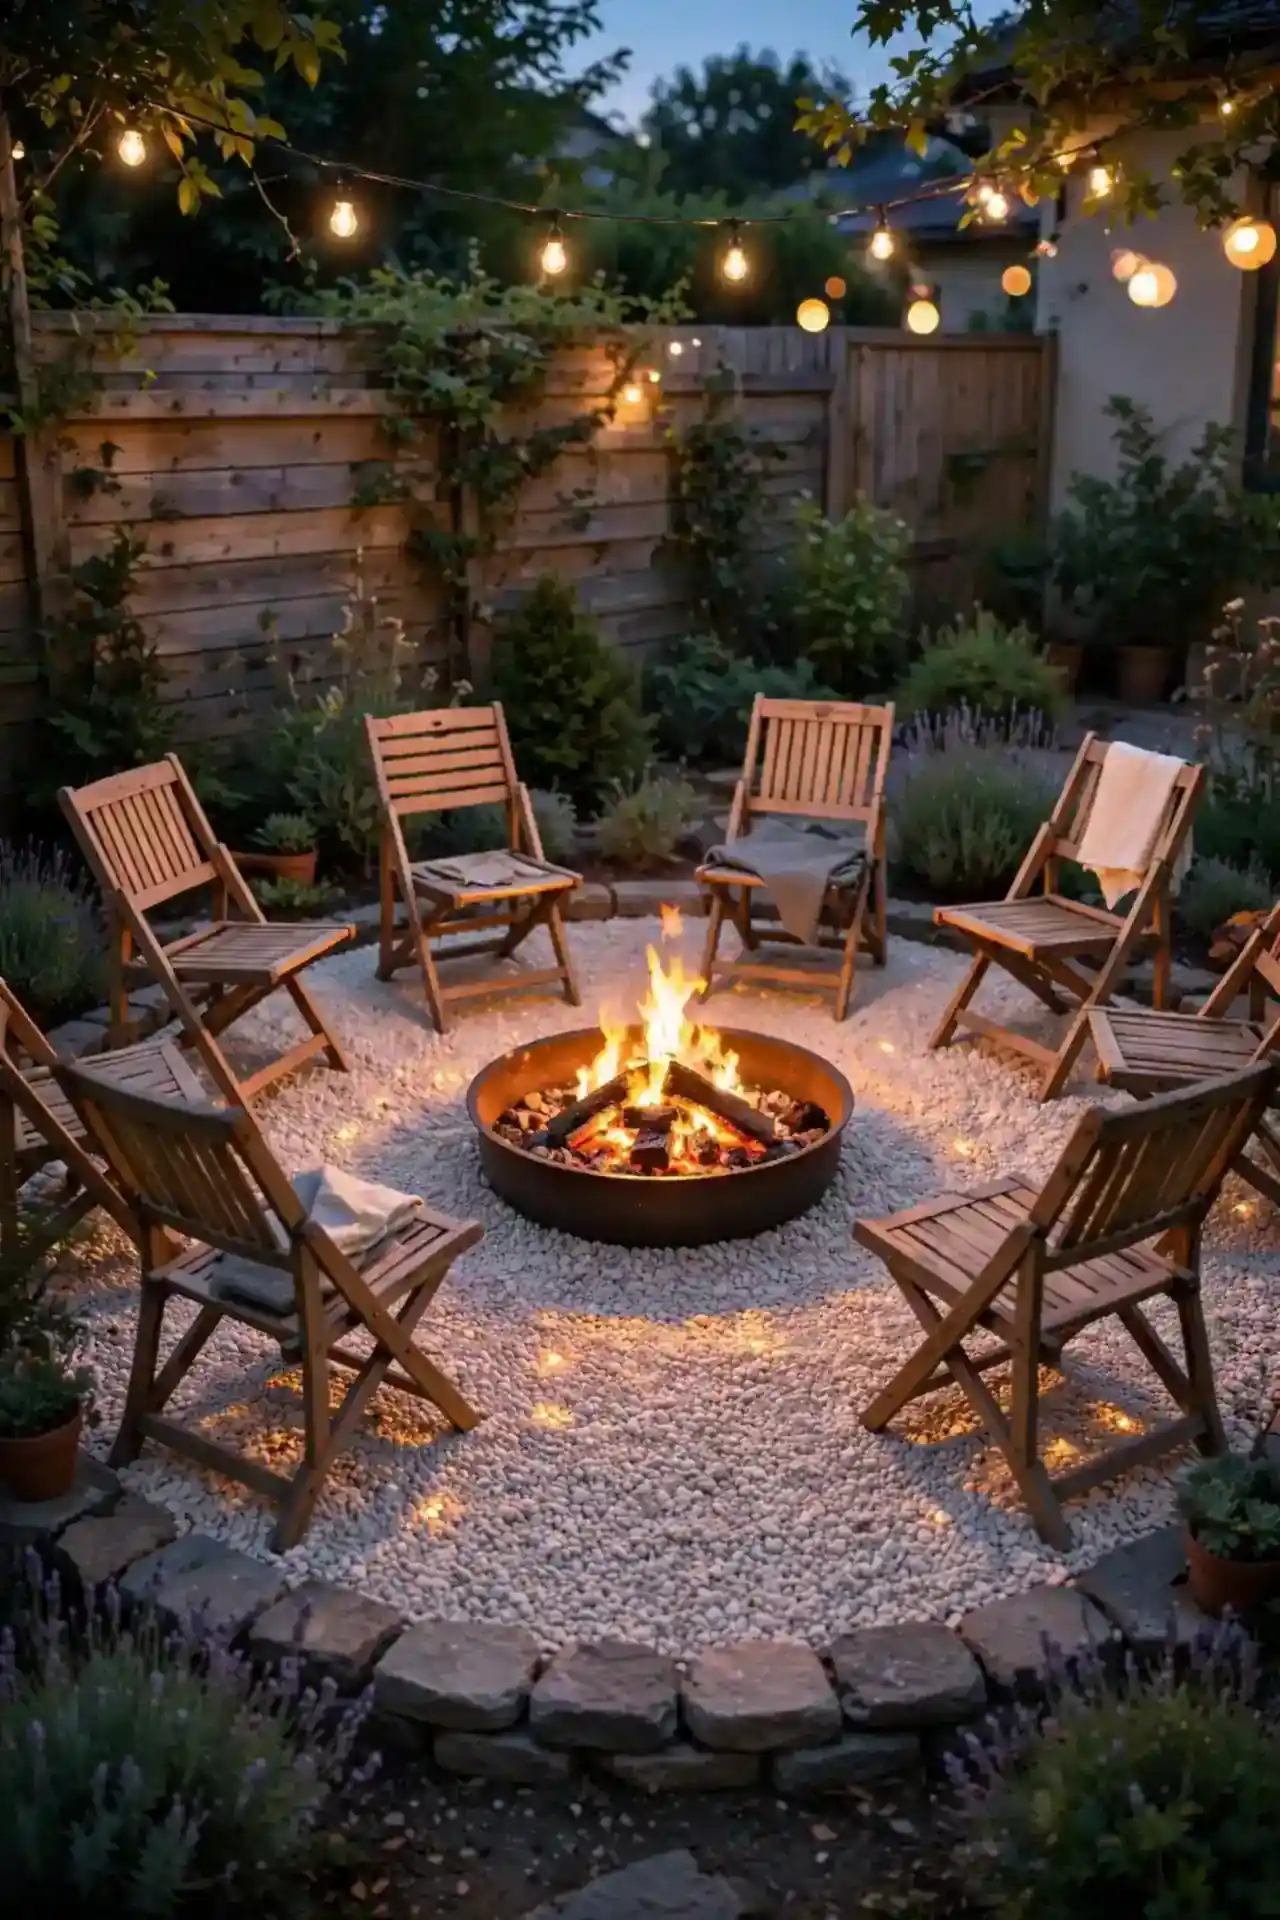
- Scoop out two inches of grass inside a painted circle outline, then tamp the soil flat with a hand tamper.
- Lay landscape fabric over the bare dirt to block weeds before a single stone goes down.
- Spread pea gravel two inches deep and rake it level, misting lightly with water to help it settle.
- Edge the pad with flexible steel or stone edging so gravel stays put underfoot.
This pad costs less than a dinner out and saves your lawn from scorch marks. The gravel drains fast after rain, feels great underfoot, and gives chairs a stable, level surface. I have noticed gravel pads also make the fire area read as its own little room, which makes small yards feel more finished.
Cinder Block Square
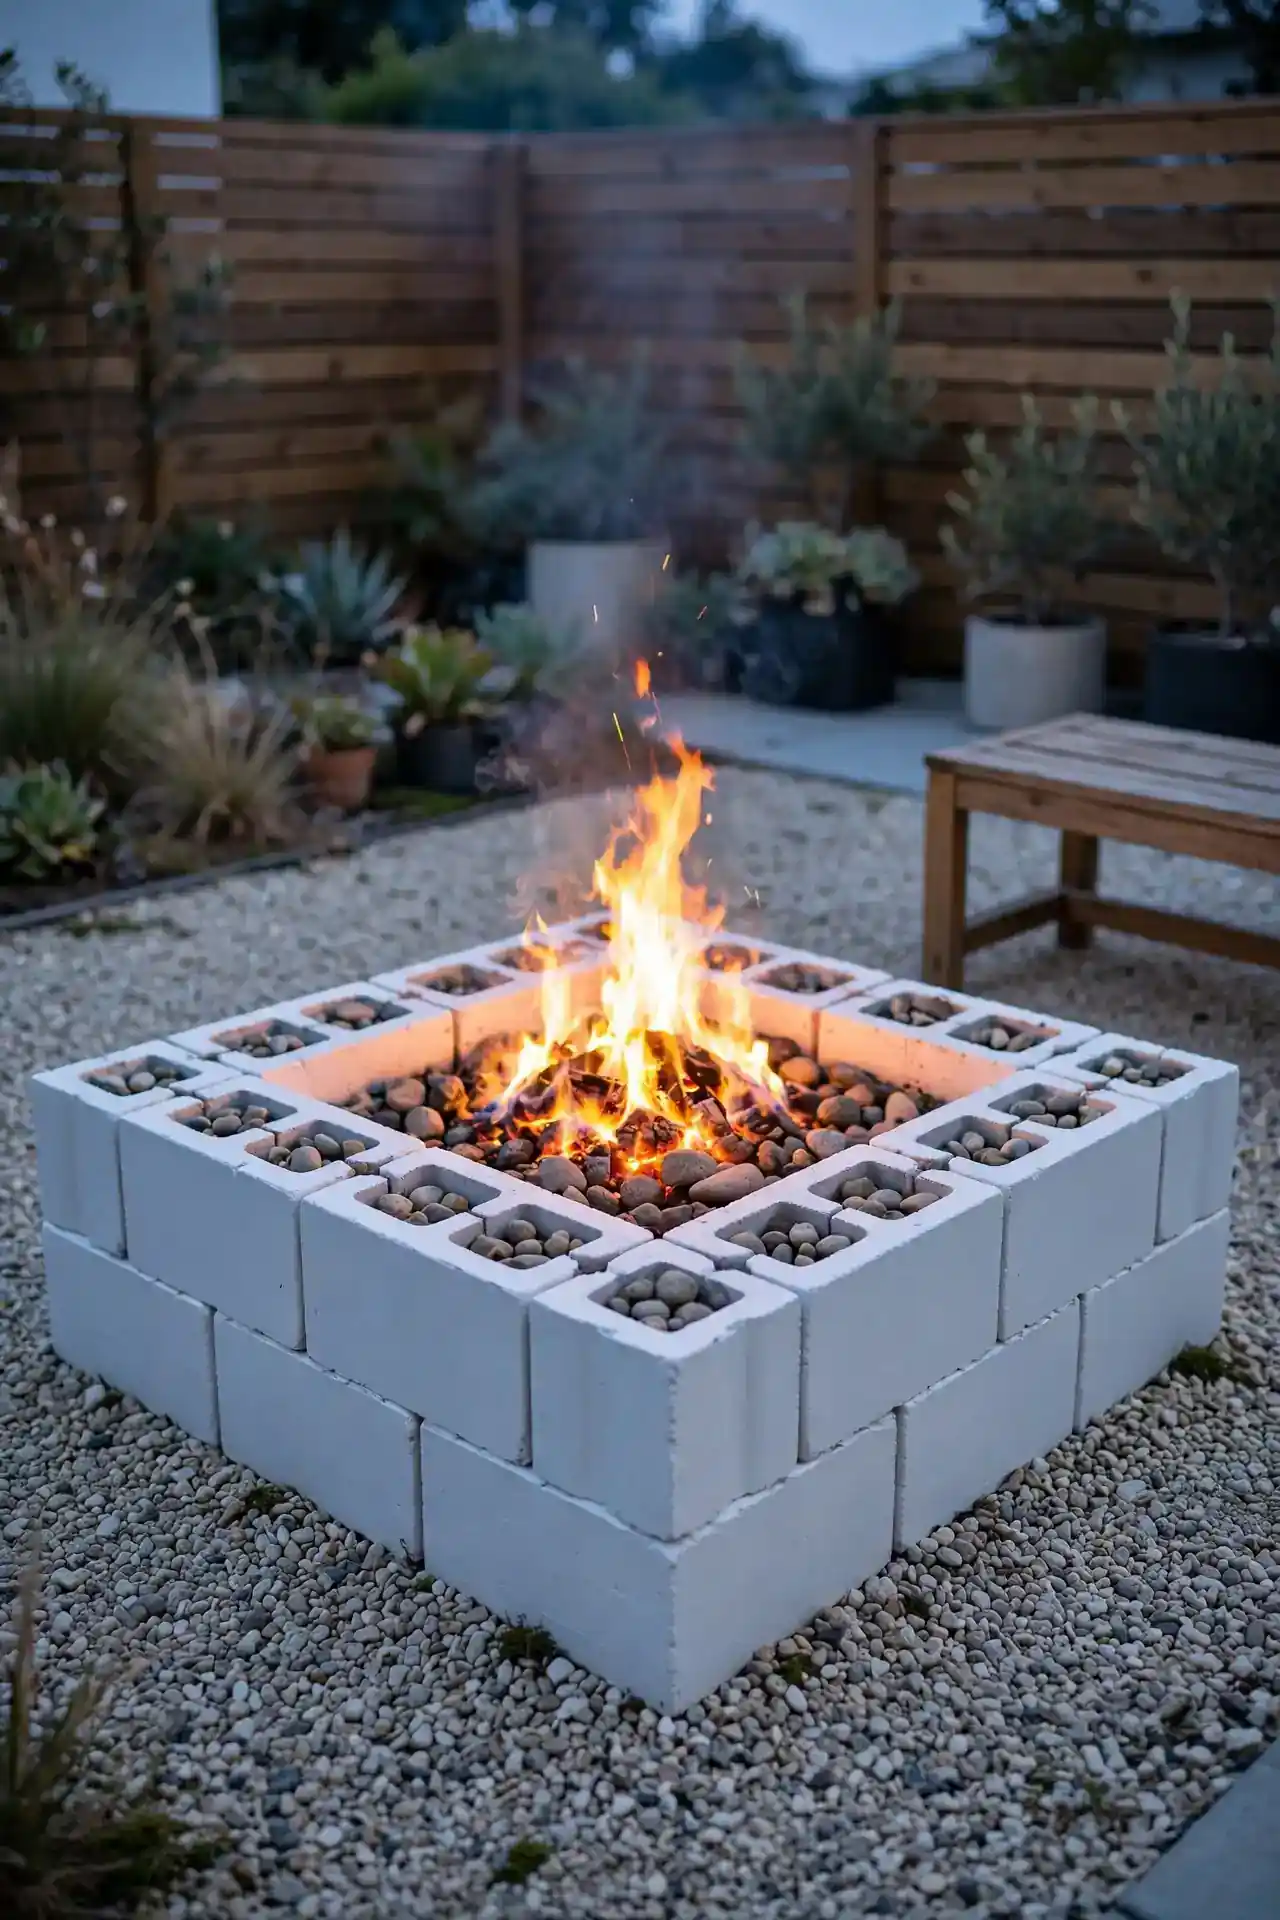
Quick Tip: Stack standard cinder blocks in a square, two high, with the hollow cores facing up for airflow. Set them directly on level ground with no mortar, so you can rearrange the shape later. A 36 inch square leaves plenty of room for logs and heat. Anchor everything well, since square pits can catch surprise gusts on windy nights.
Paint the blocks with heat resistant paint in soft white or warm gray for a clean, modern look. The whole structure costs under forty dollars and takes one afternoon. Fill the hollow cores with small stones for stability, and the square doubles as extra footrests on cool nights. I’ve seen this work well in many cases, especially rentals, since the blocks lift apart with zero damage.
Salvaged Brick Ring
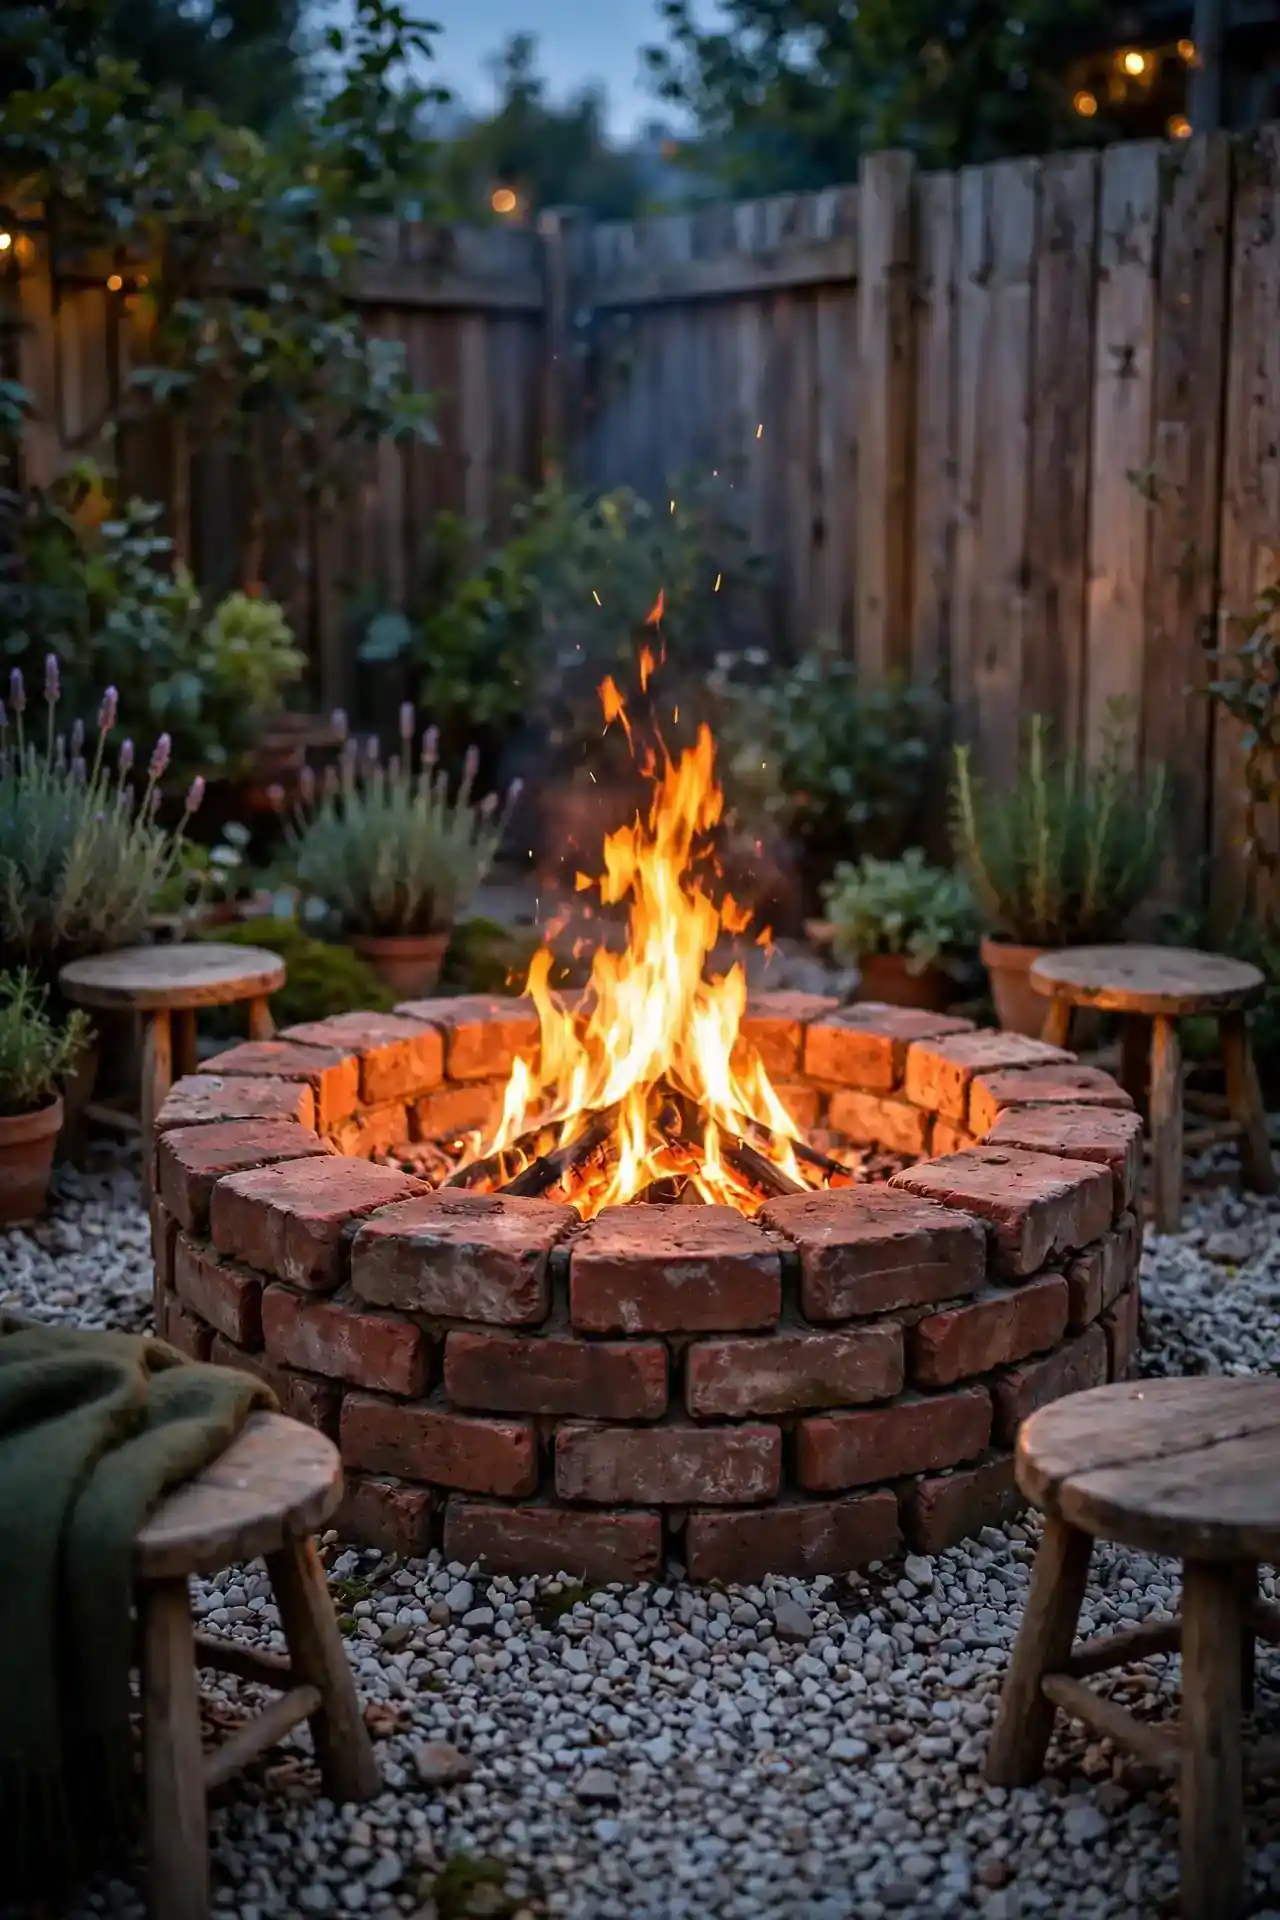
BEFORE: An unused corner of the yard sat bare and muddy, collecting weeds and stray toys. It felt like dead space nobody wanted to use. The fence line behind it only made it feel more forgotten.
AFTER: A ring of salvaged brick now anchors the corner, with the fire glowing at its center. Low wooden stools circle the brick on fresh gravel. The same corner suddenly hosts every weekend gathering.
Ask demolition sites or renovation crews for leftover brick; they often give it away free. Lay the bricks in two staggered courses without mortar for a classic look. A quick scrub with a stiff brush removes old mortar dust and brings out the warm red tones.
Steel Bowl Insert
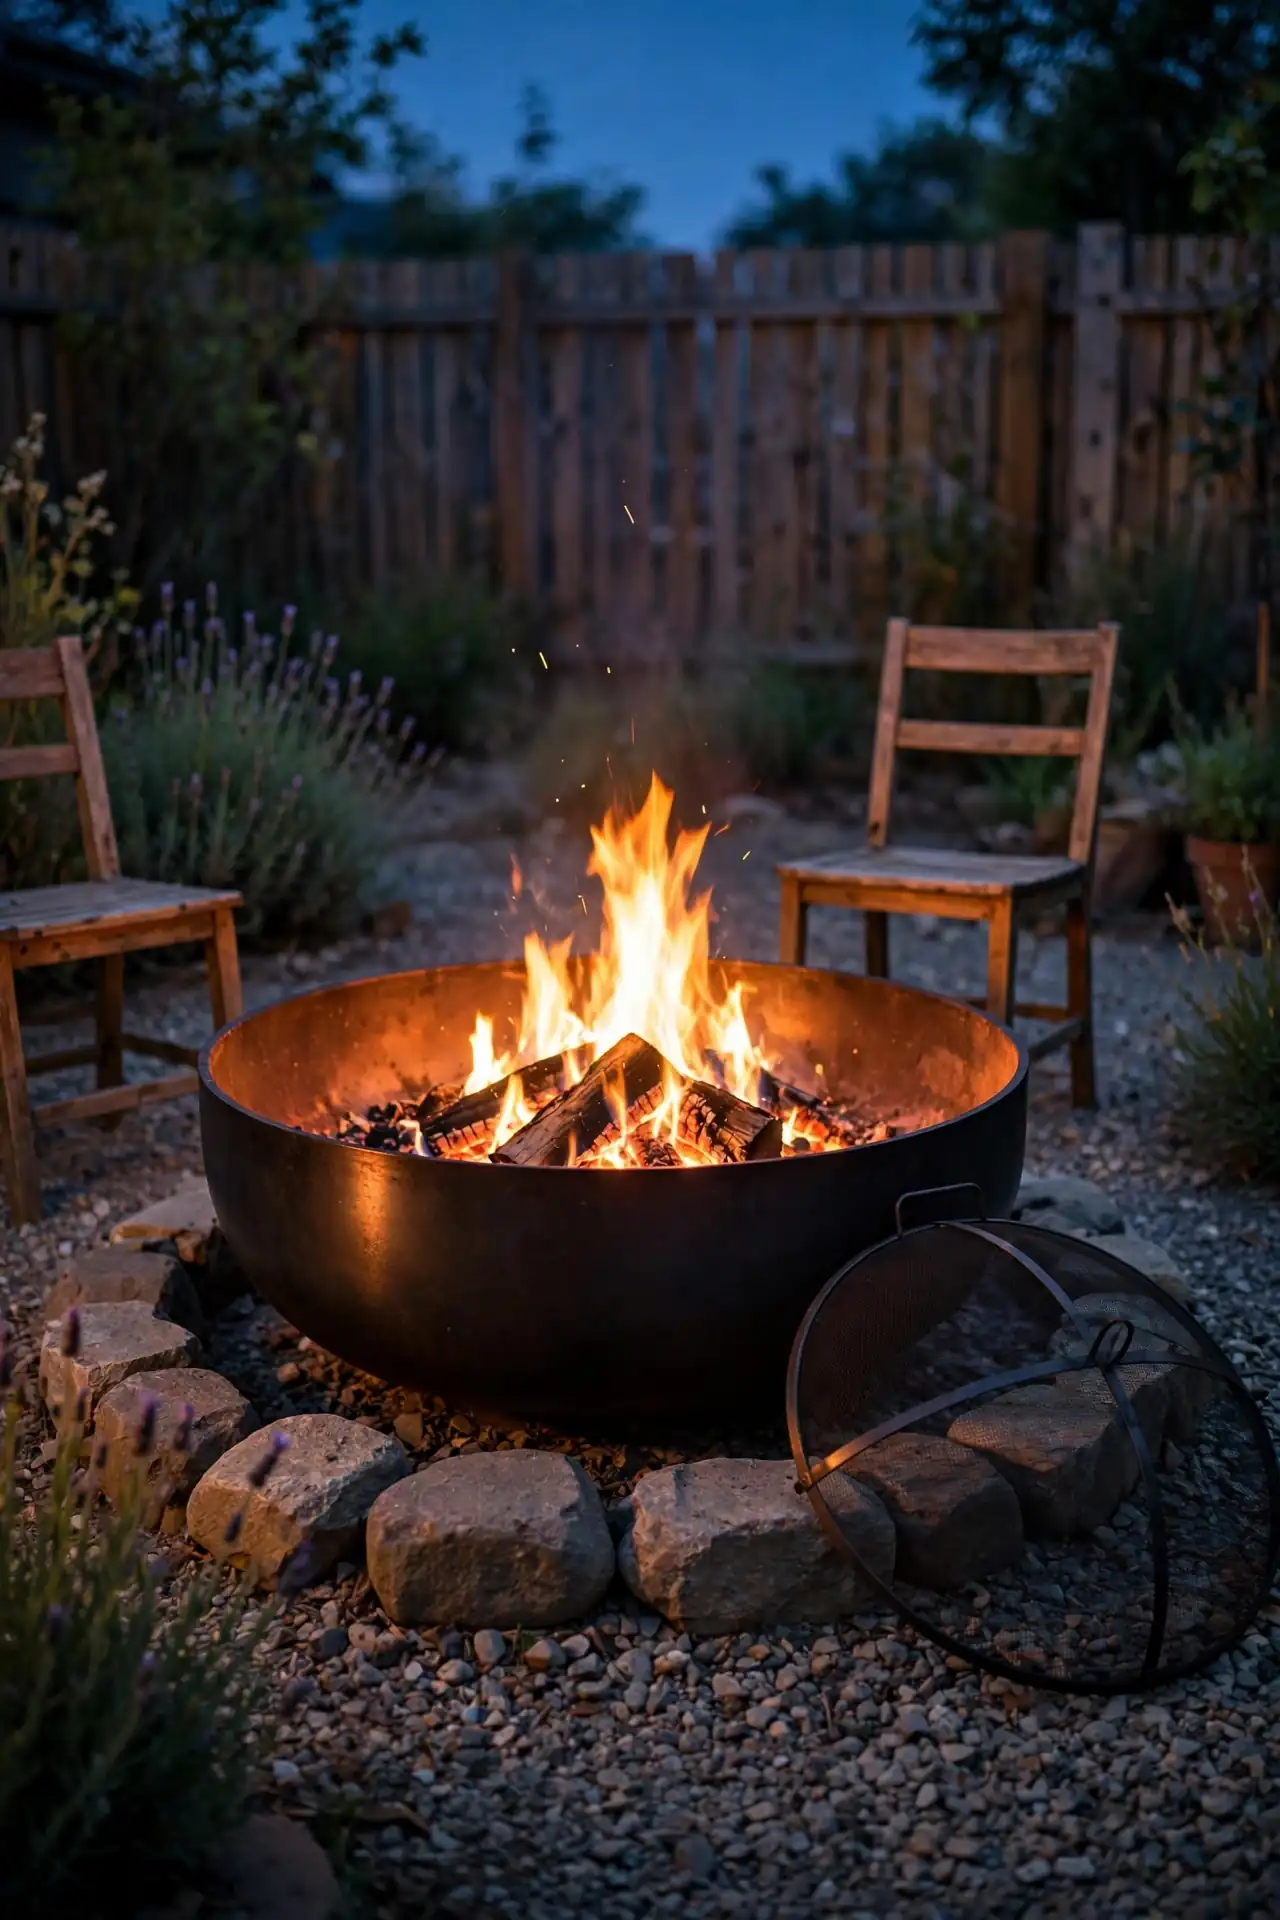
- Choose a steel fire bowl with legs, sized to leave six inches of clearance inside your stone or block ring.
- Set the bowl on a level bed of sand or gravel so it sits rock solid and drains well.
- Add a spark screen over the top and keep a metal lid nearby for snuffing the fire fast.
A steel bowl insert turns any rough pit into a proper fireplace and protects surrounding stone from heat cracks. Bowls cost far less than full kits and last for years with a yearly coat of heat resistant spray. Store it upside down in winter to keep rain out.
Log Slice Seats
| Feature | Cut Log Slices | Store Bought Stools |
| Cost | Nearly free from tree trimmings | Twenty to forty dollars each |
| Comfort | Firm, needs a cushion | Contoured and ready to sit |
| Lifespan | Two to three seasons | Five plus years outdoors |
| Look | Rustic woodland charm | Clean matching set |
| Setup | Place directly on gravel | Arrange in neat pairs |
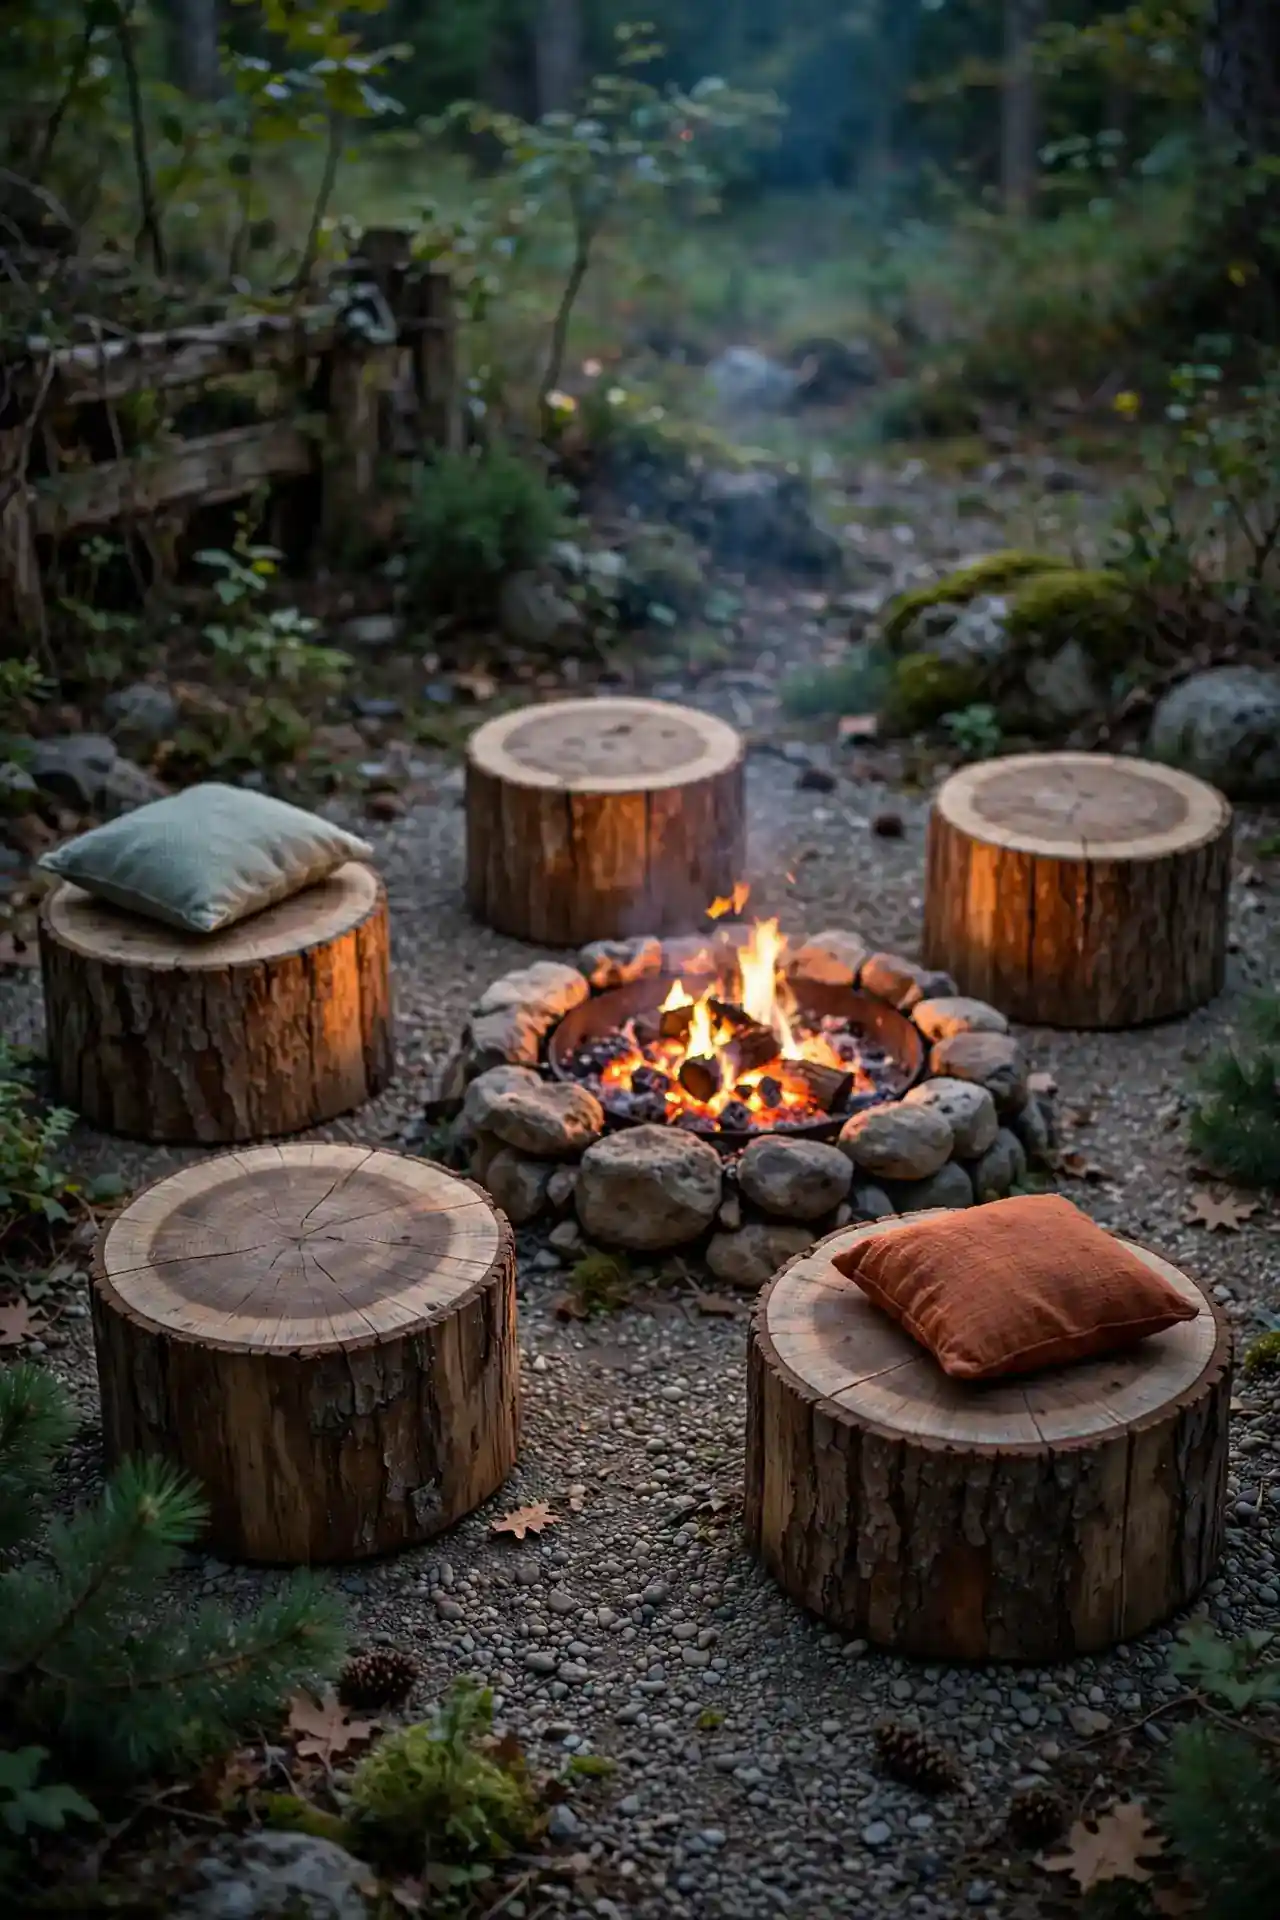
Log slices bring instant woodland character and cost almost nothing if you know someone with a chainsaw. Seal the cut tops with outdoor polyurethane so they survive rain and morning dew. Stack two slices for taller guests, scatter cushions on top, and keep one extra slice nearby as a drink table.
Pallet Bench Ring
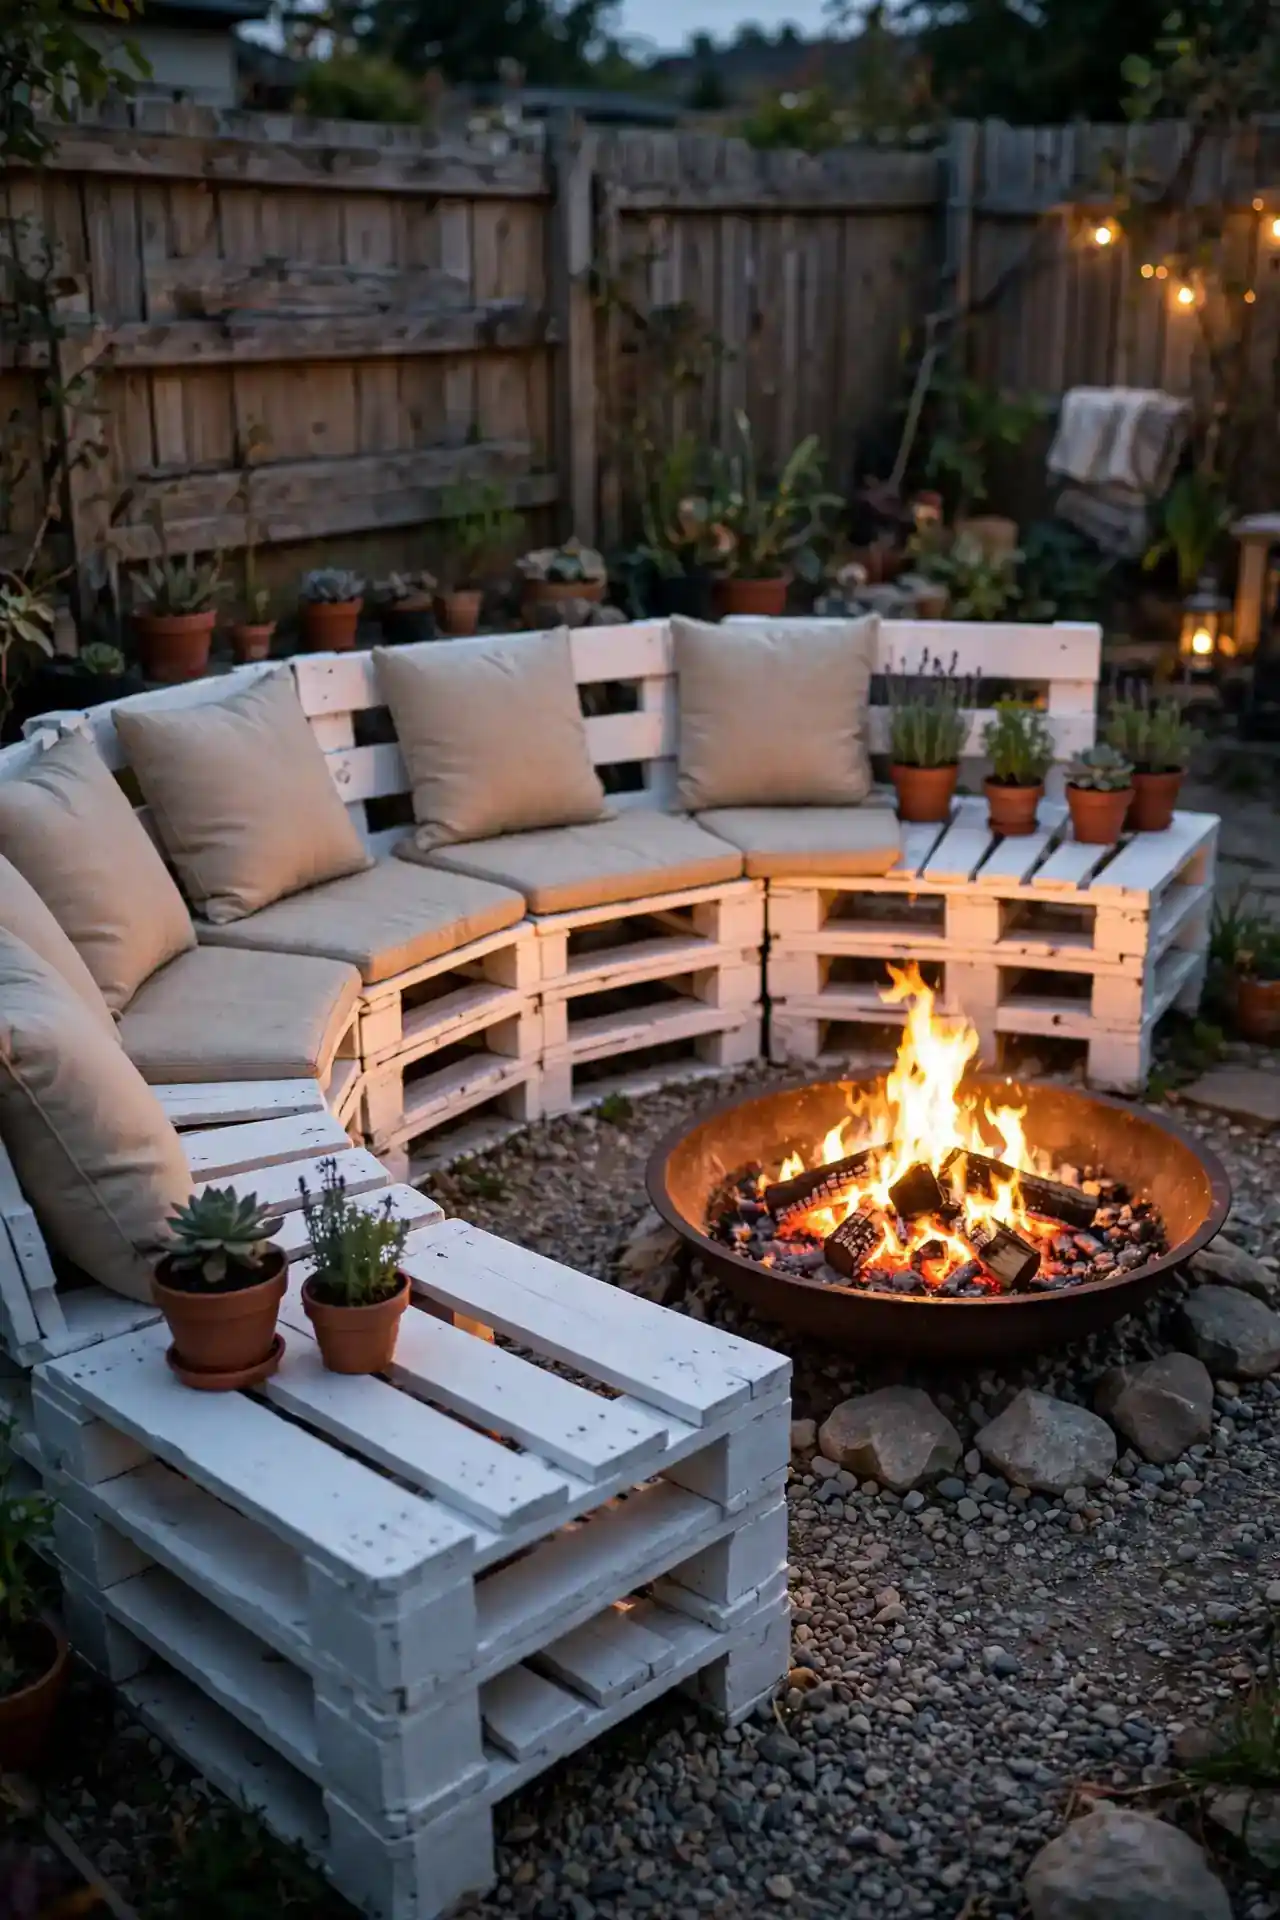
- DO: Sand all slats smooth so bare arms never catch splinters.
- DO: Stack two pallets high and screw them tight so the seat never wobbles.
- DO: Top with plywood and outdoor cushions for a polished finish.
- DON’T: Use chemically treated pallets where kids will sit and play.
- DON’T: Leave nail heads exposed; hammer them flat or pull them out.
- DON’T: Place benches within three feet of open flames.
Pallets are often free behind hardware stores and warehouses, which keeps this build nearly costless. One weekend of sanding and painting turns rough wood into a wraparound bench everyone fights over. Choose a warm white or soft sage paint so the seating disappears into the garden.
Sand Pit Foundation
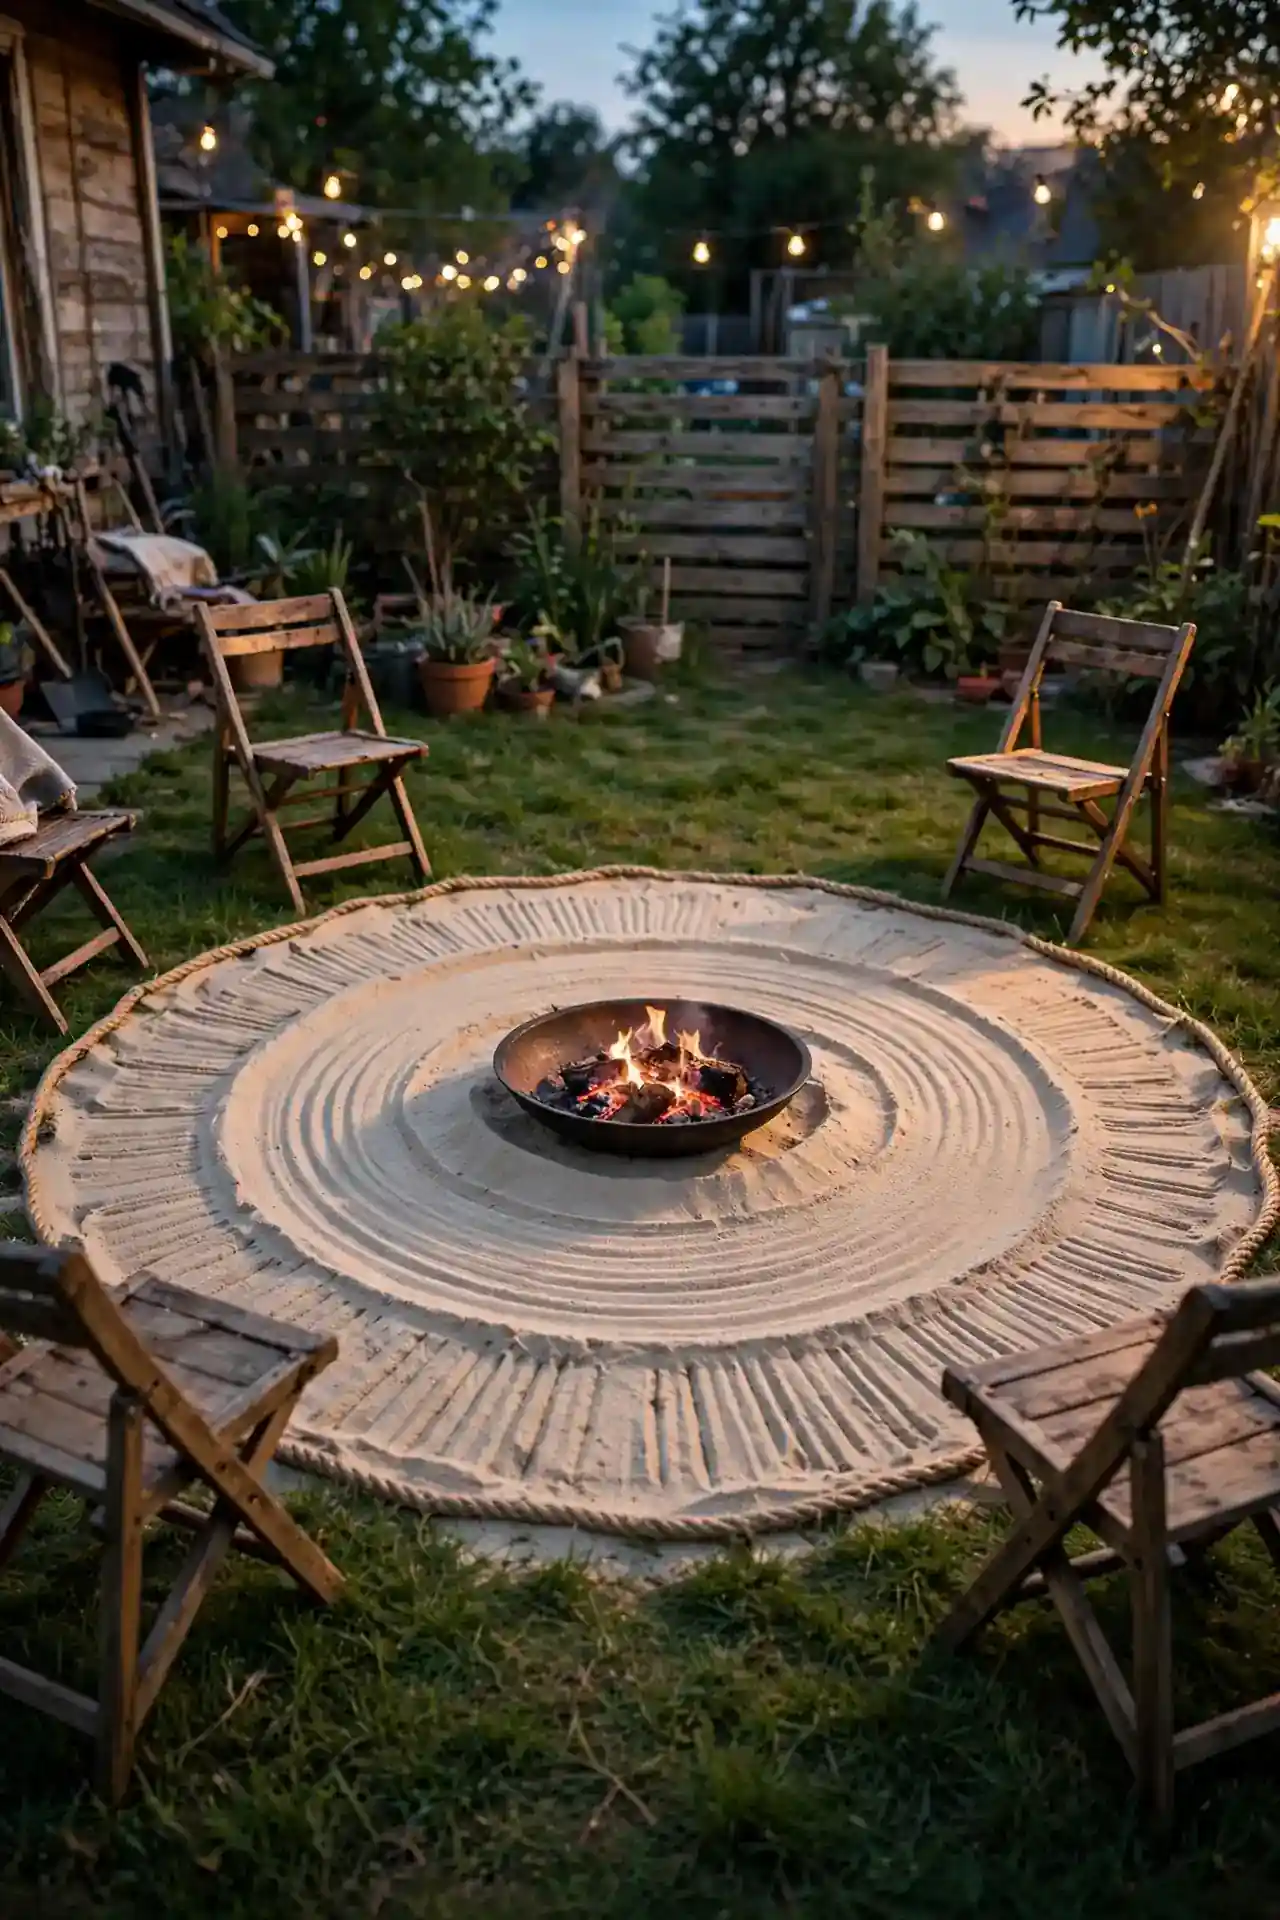
Cost: Under twenty dollars for coarse sand and simple edging | Time: One relaxed afternoon from first shovel to first fire | Skill Level: True beginner, no tools beyond a shovel and rake | Best For: Renters and first timers who cannot dig deep or pour concrete
A sand base is the simplest foundation of all: dig a shallow dish, fill it with coarse sand, and set your fire bowl or ring on top. Sand drains beautifully, levels with a rake, and lifts out cleanly when you move. In my experience, grass underneath also recovers faster if you ever relocate the pit someday.
Edison Bulb Canopy
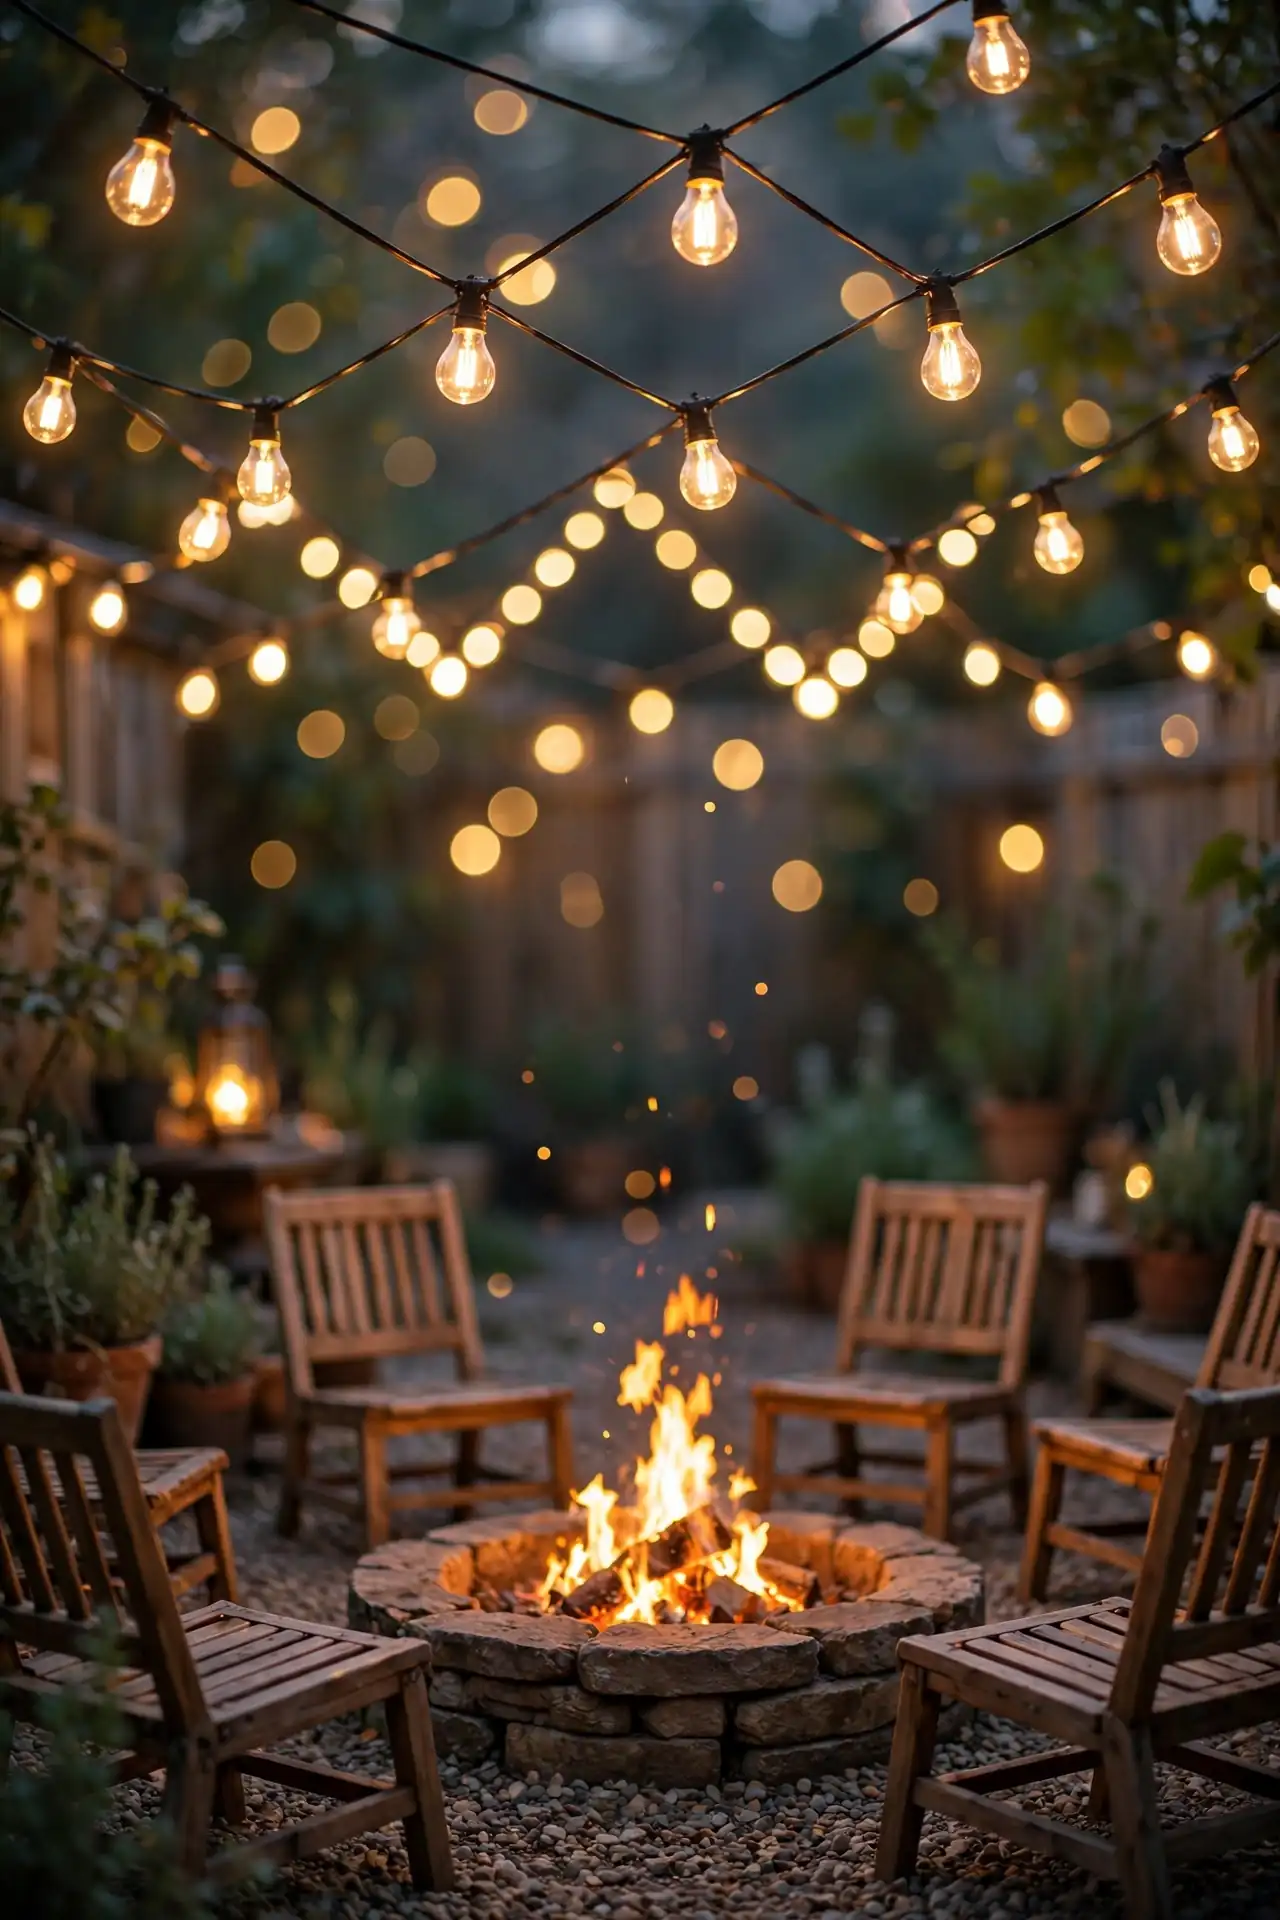
Overhead light changes the whole mood after the flames die down, and a string of Edison bulbs is the cheapest way to get it. Drape two or three strands in a loose zigzag between the house and a tall shepherd’s hook. Warm white bulbs with visible filaments throw the prettiest glow. Space hooks about ten feet apart so the strands sag in gentle swags instead of pulling tight.
Plug them into an outdoor timer so the canopy lights itself every evening. I have noticed guests stay an hour longer when the yard glows above them. Keep strands at least seven feet high so tall friends never duck under glass.
Folding Chair Circle
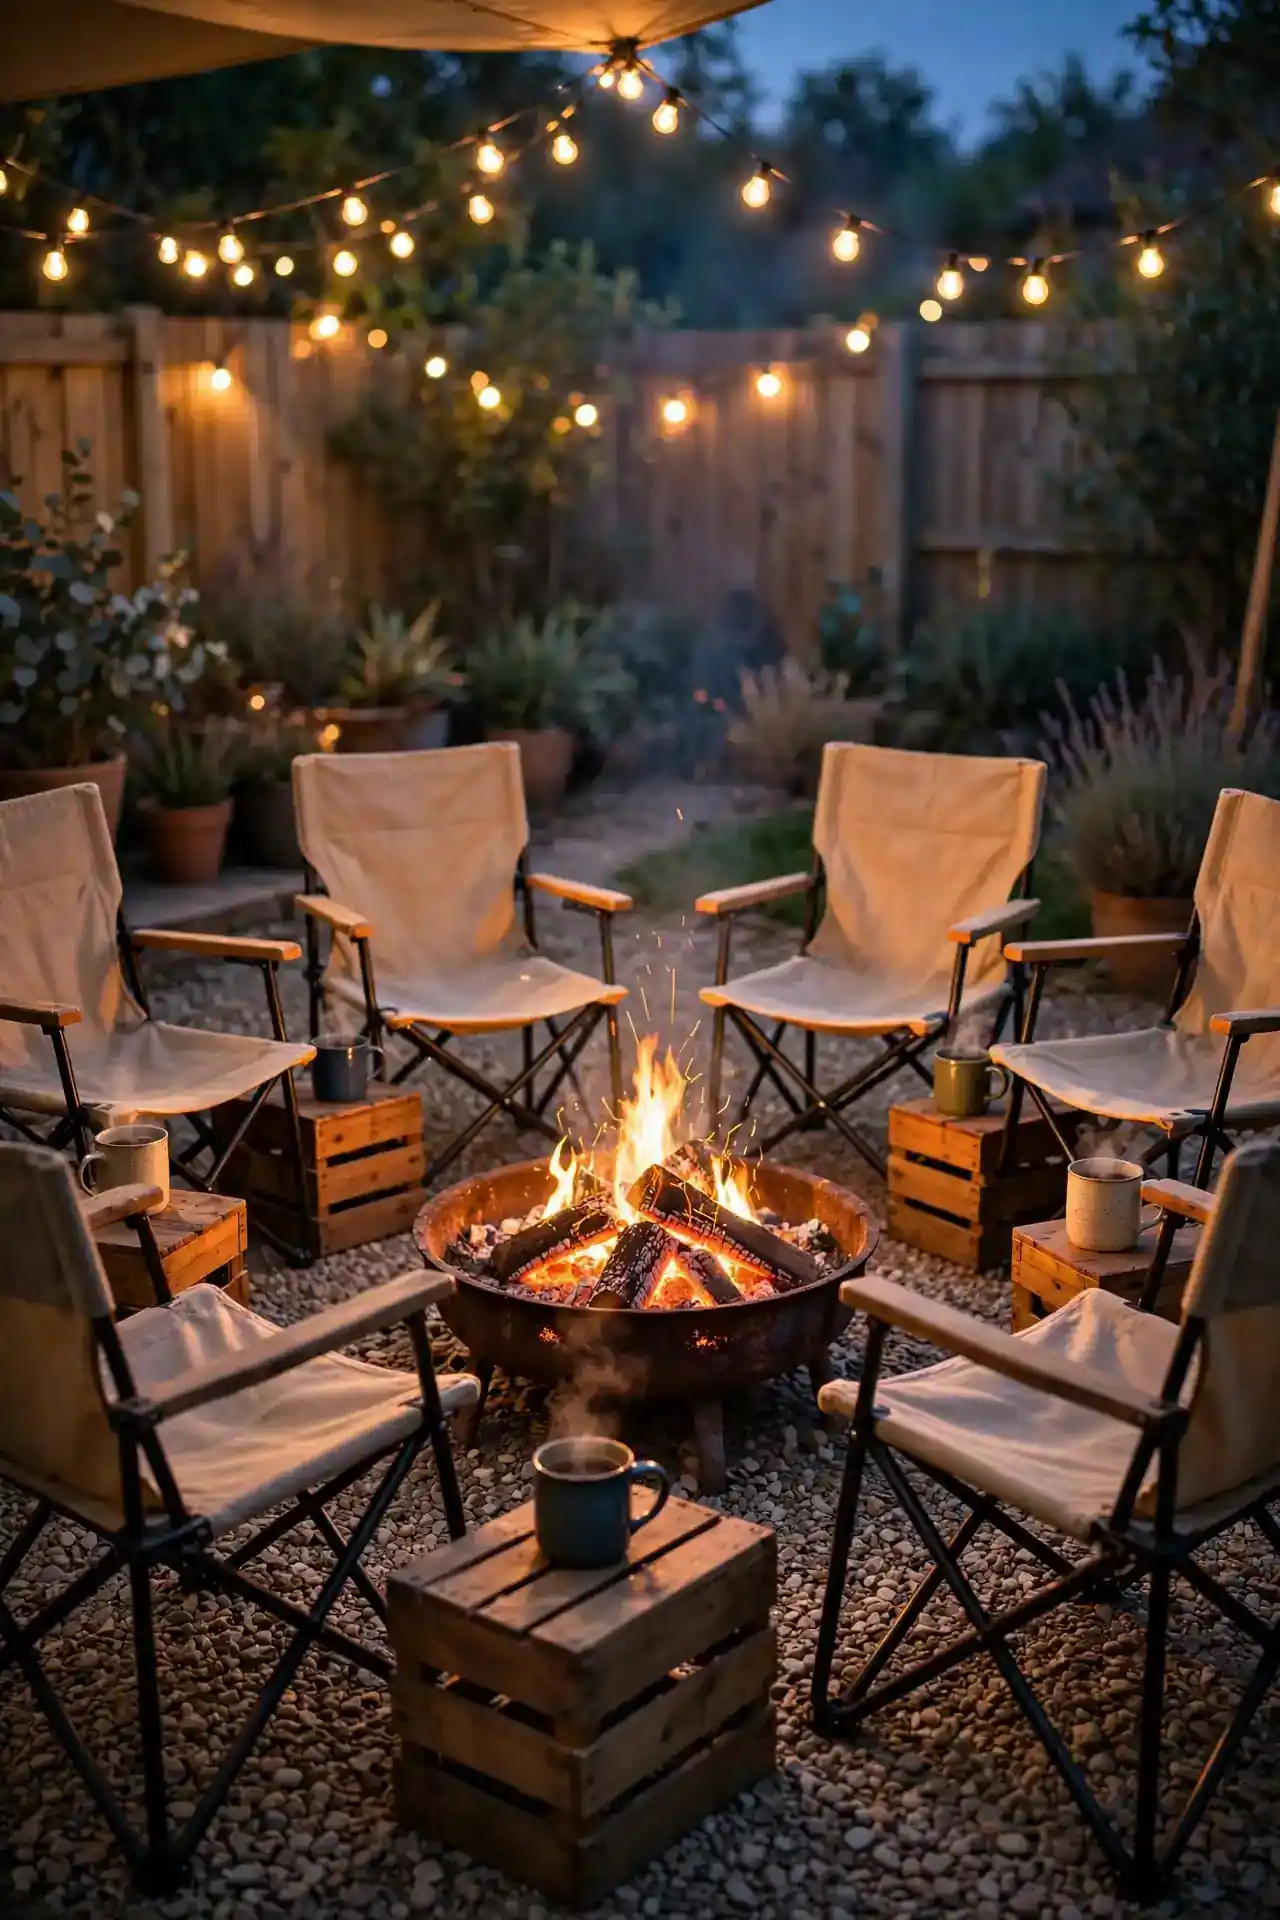
- Buy four to six matching folding camp chairs in one color so the circle looks intentional, not random.
- Angle each chair slightly toward the fire and leave two feet between seats for elbow room.
- Add a small side table or crate between every other chair for drinks and snacks.
- Store chairs folded in a deck box when storms roll in to keep fabric fresh.
Folding chairs are the budget hero of fire pit seating: cheap, comfortable, and easy to move for mowing. Choose low slung camp chairs that tilt back slightly for maximum stargazing comfort. A quick hose down each spring keeps them looking brand new.
Cozy Corner Nook
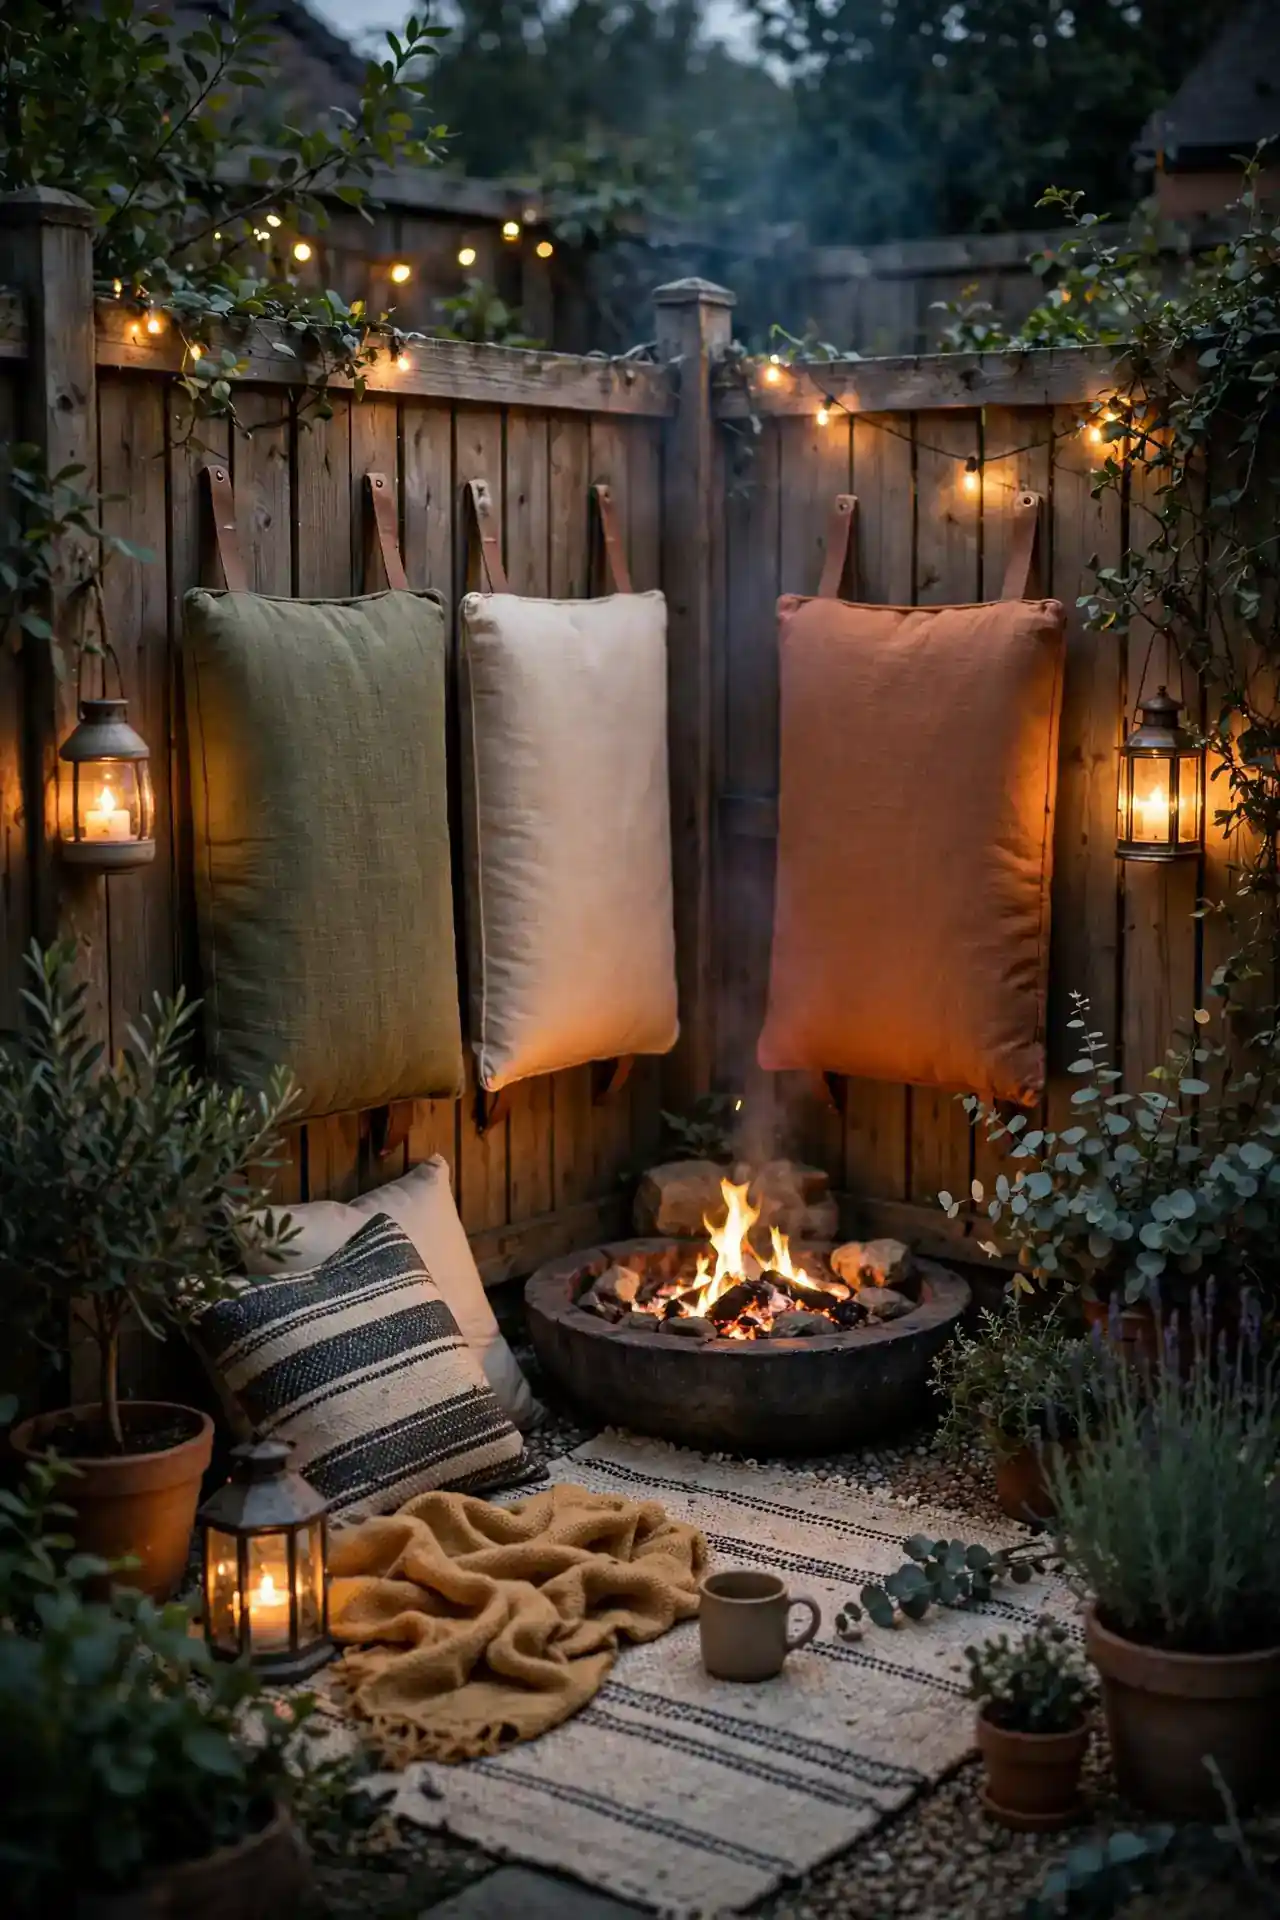
Quick Tip: Tuck the fire pit into an L shaped corner of the yard and let two fence lines do the seating work. Hang outdoor cushions on the fence as backrests and line the ground with a flat weave rug. Two walls block wind, so the fire burns steadier and warmer. Anchor everything well, since corners can funnel surprise gusts on windy nights.
Corner nooks feel private even in overlooked yards, which makes them perfect for small lots. Drape a waterproof throw over the fence rail for extra softness. I have seen this work well in many cases where a full circle of chairs simply would not fit.
Solar Lantern Path
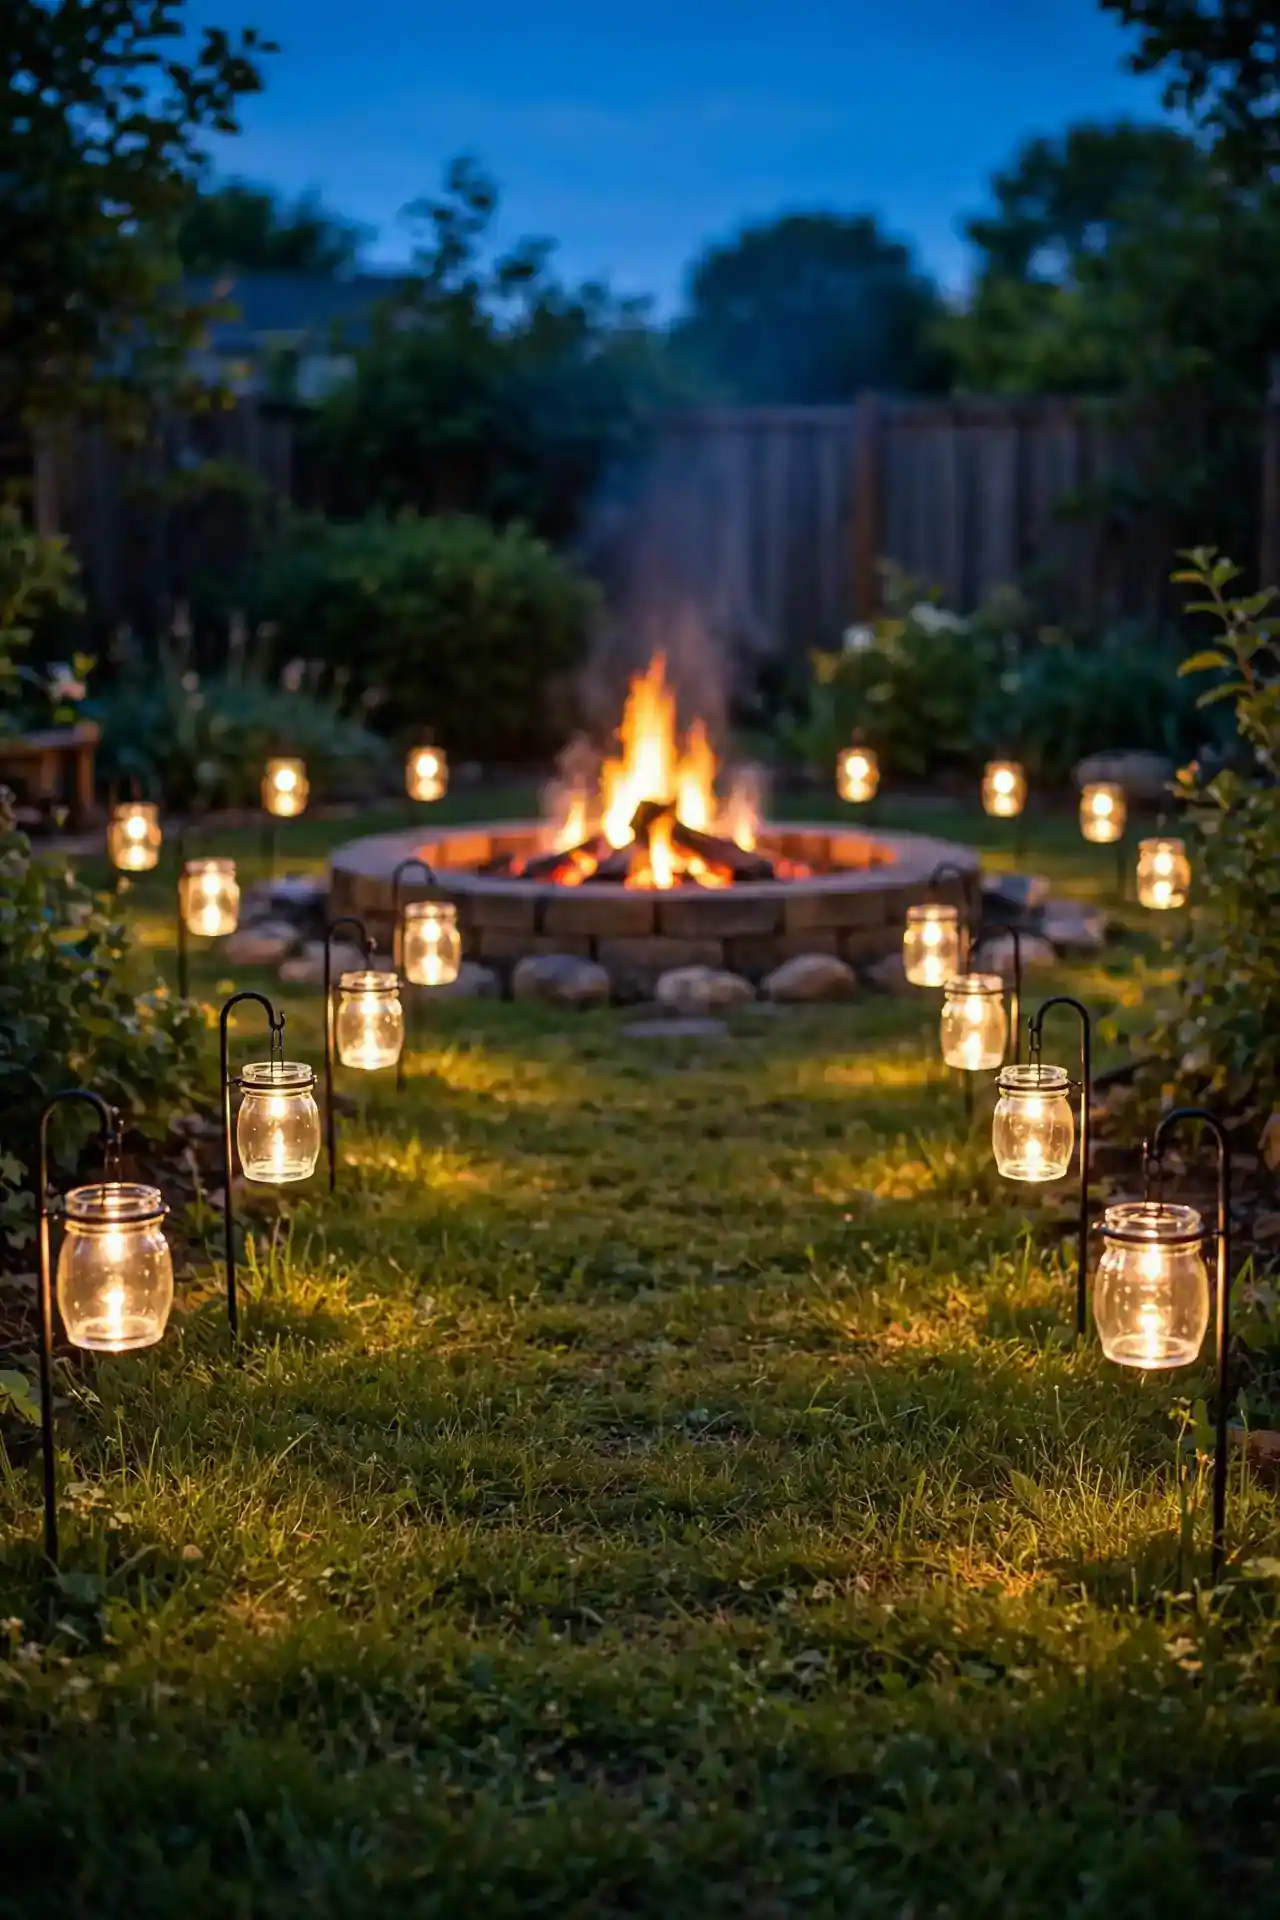
BEFORE: The walk from the back door to the fire pit crossed dark, uneven grass. Guests stumbled with drinks in hand and the fire felt far away. Nobody used the pit after sunset because the path felt unsafe.
AFTER: A line of solar lanterns now guides every step to the flames. The path glows softly from dusk without any wiring or electric bills. Evening arrivals feel like walking into a private resort.
Stake the lanterns a foot off the path edge so mowing stays easy. This is one of those diy small backyard fire pit ideas that cost almost nothing yet transform the whole evening experience. Charge the panels in full sun for the brightest glow.
Tabletop Fire Bowl
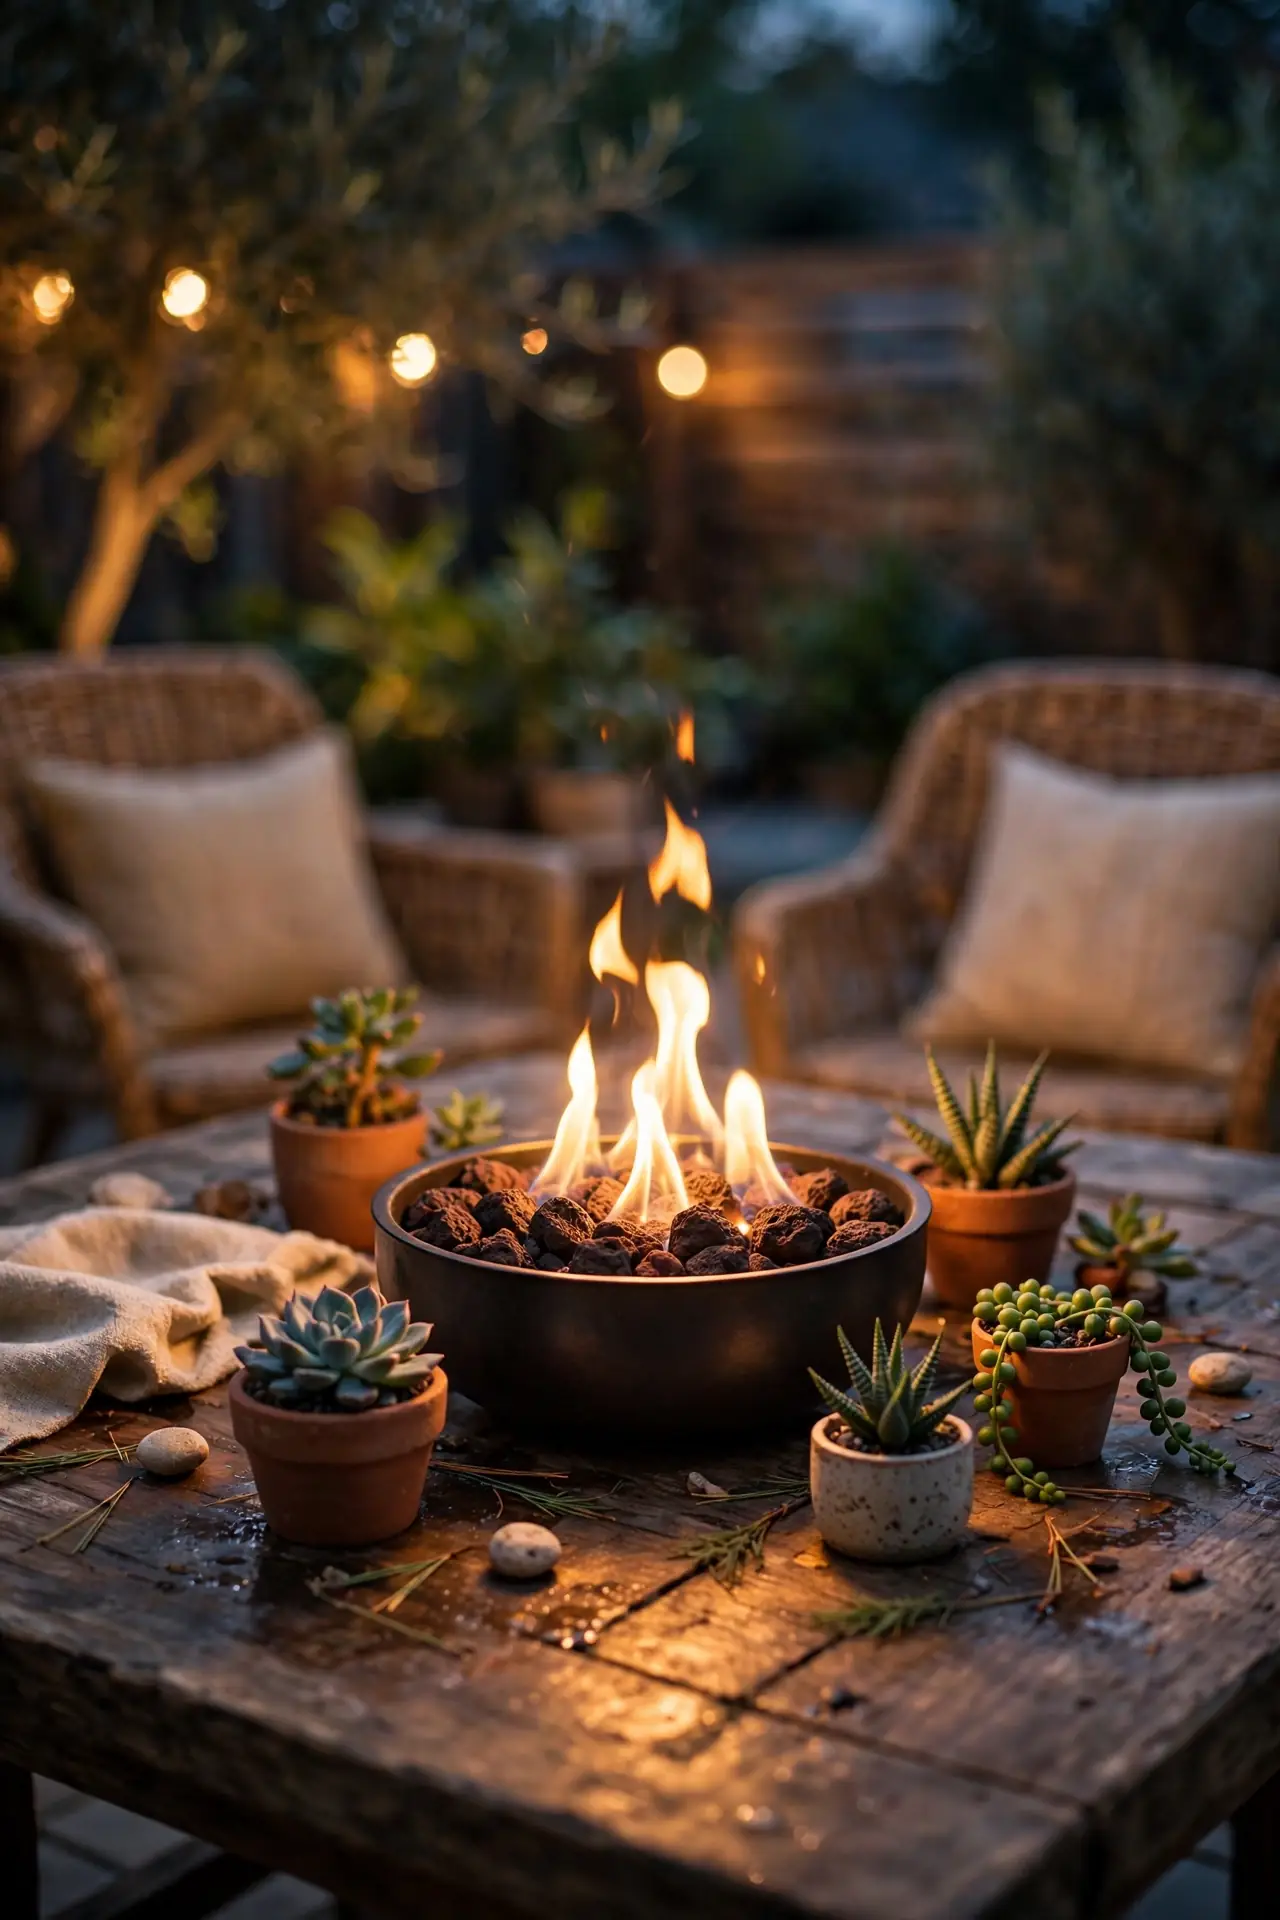
- Pick a small tabletop fire bowl rated for outdoor use and set it on a heatproof stone slab.
- Fill the burner with clean burning gel fuel or bioethanol, never regular lighter fluid.
- Light with a long reach lighter and keep a metal snuffer lid within arm’s reach.
- Center it on your patio table surrounded by small succulents for a styled look.
Tabletop bowls bring real flame to the tiniest patios and balconies where a full pit cannot go. The flame is small but mighty for mood, and gel fuel burns nearly smokeless. This is the easiest possible entry into fireside evenings.
Planter Edge Ring
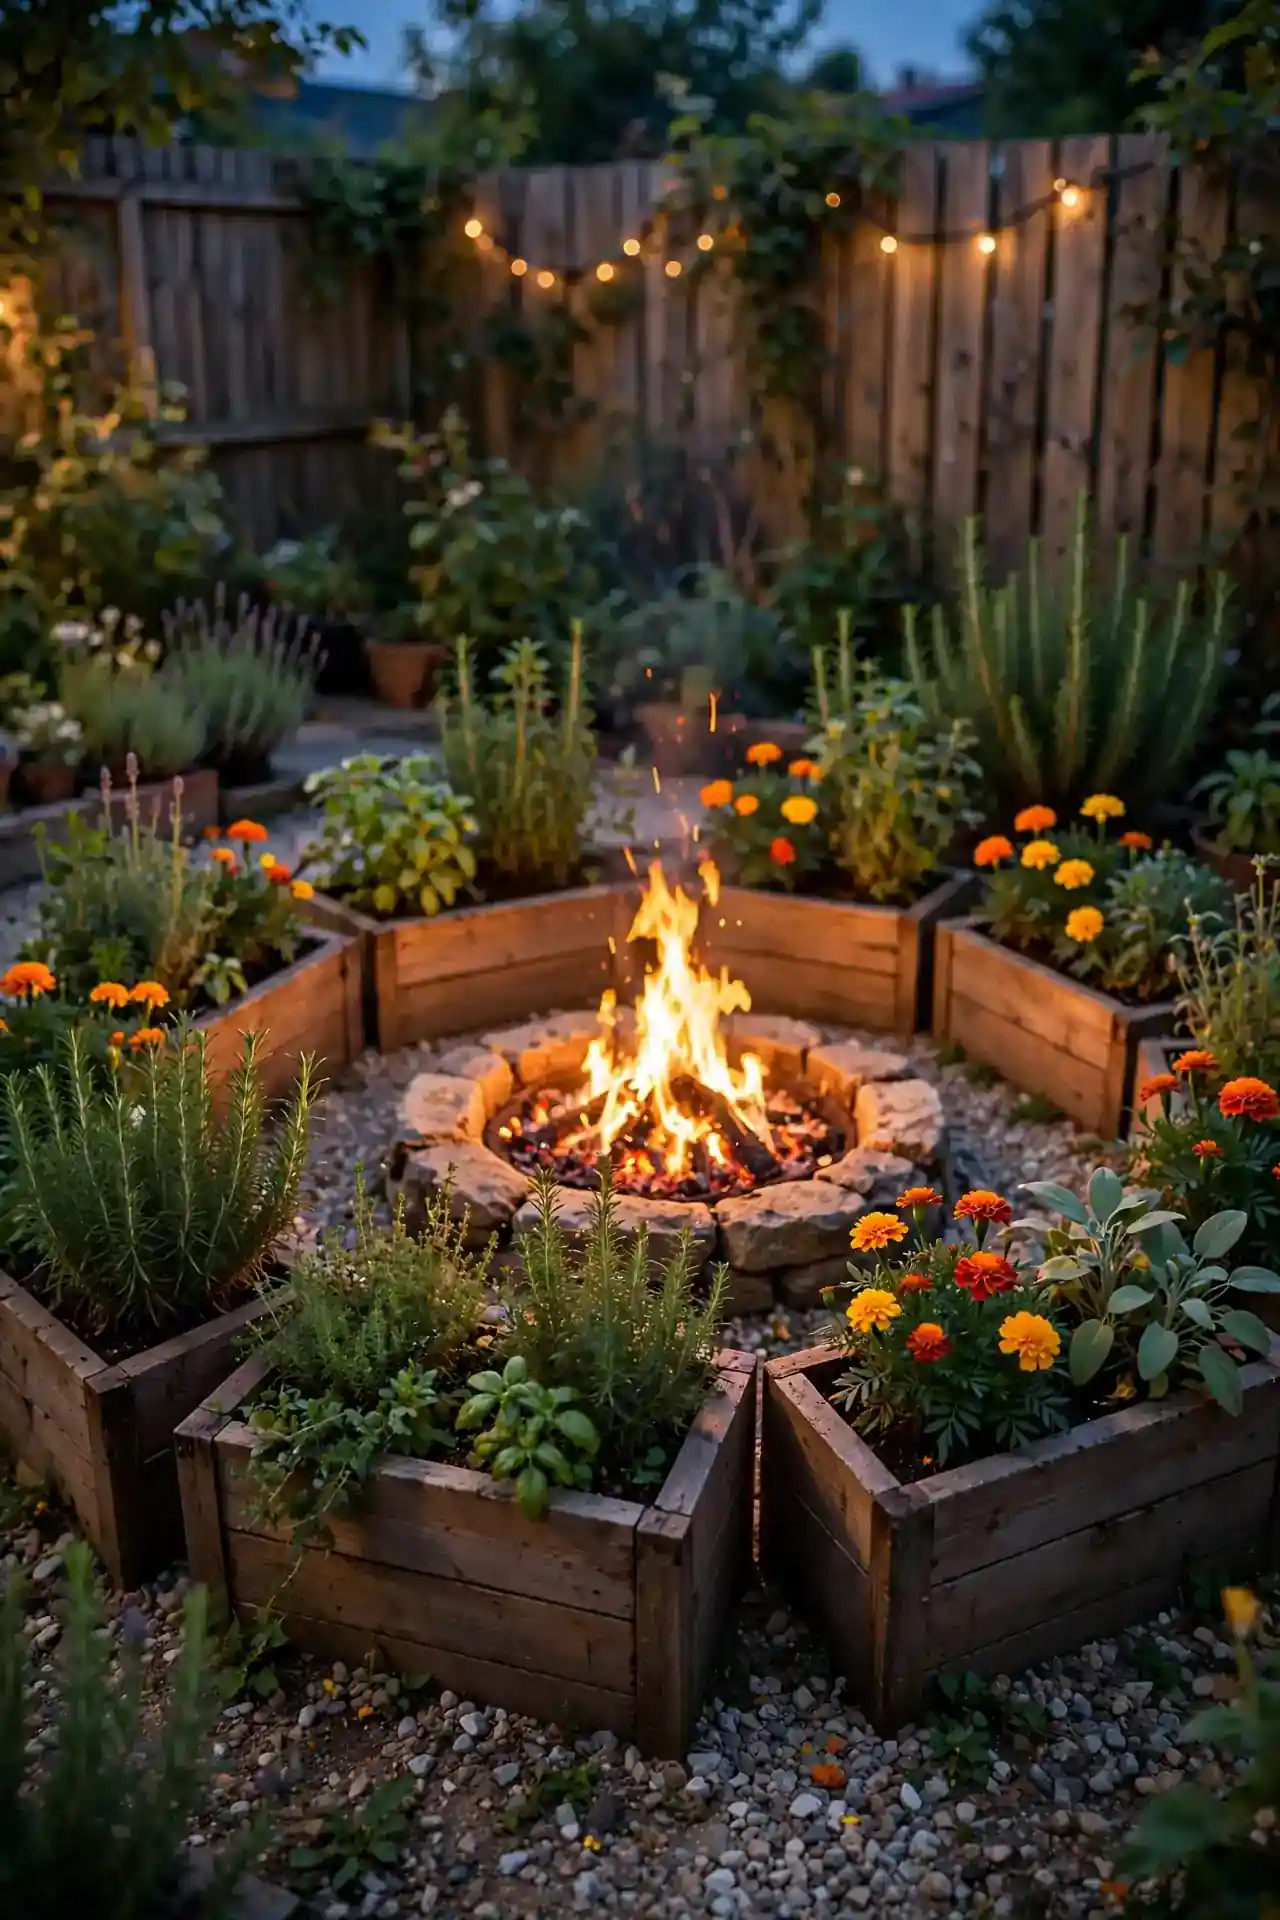
| Feature | Herb Planter Edge | Flower Planter Edge |
| Plants | Rosemary, thyme, mint | Marigolds, lavender, zinnias |
| Bonus | Snip fresh herbs for grilling | Natural mosquito repelling scent |
| Water Needs | Drought tolerant, less fuss | Weekly deep watering |
| Style | Rustic kitchen garden | Cottage color burst |
| Height | Keep boxes under twelve inches | Keep boxes under twelve inches |
| Fire Safety | Two feet from open flames | Two feet from open flames |
Ring the fire pit with low planters and the whole area smells amazing on warm nights. Herbs like rosemary release scent when brushed, while marigolds quietly discourage mosquitoes. Keep planters at least two feet from open flames and water them well.
Throw Blanket Basket
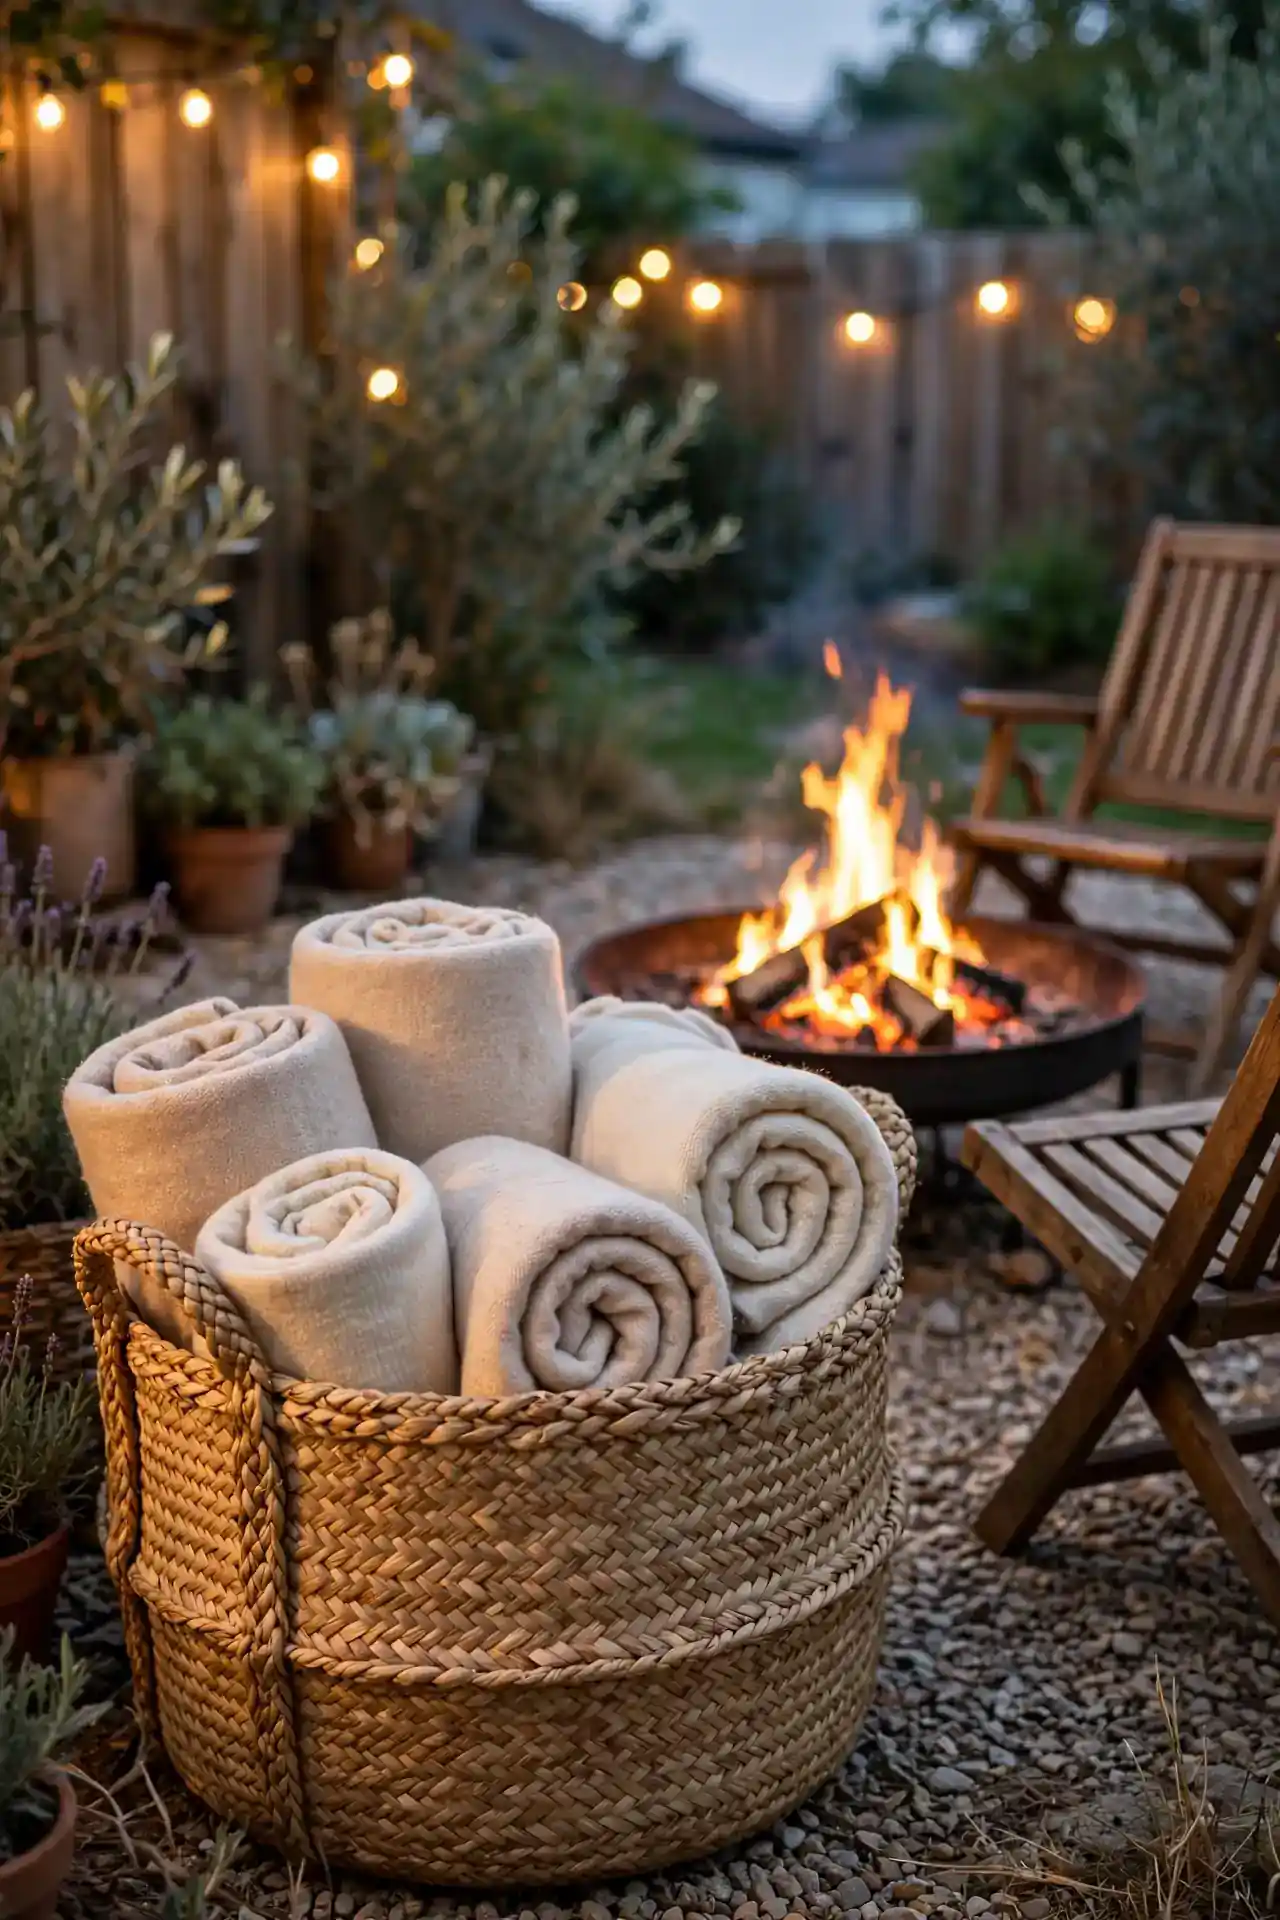
- DO: Choose washable acrylic or fleece throws that survive smoke and sparks.
- DO: Roll throws tightly so six or more fit in one large basket.
- DO: Keep the basket on the far side of the seating circle, away from embers.
- DON’T: Drape blankets over chair backs near the fire where sparks land.
- DON’T: Store damp throws in a closed basket, since mildew follows fast.
- DON’T: Buy dry clean only fabrics for outdoor fire use.
A basket of throws invites guests to stay long after the temperature drops. Pick one large seagrass or rope basket that doubles as decor by day. Toss in a few patterned throws for color and the basket becomes a styling moment.
Compact Wood Rack
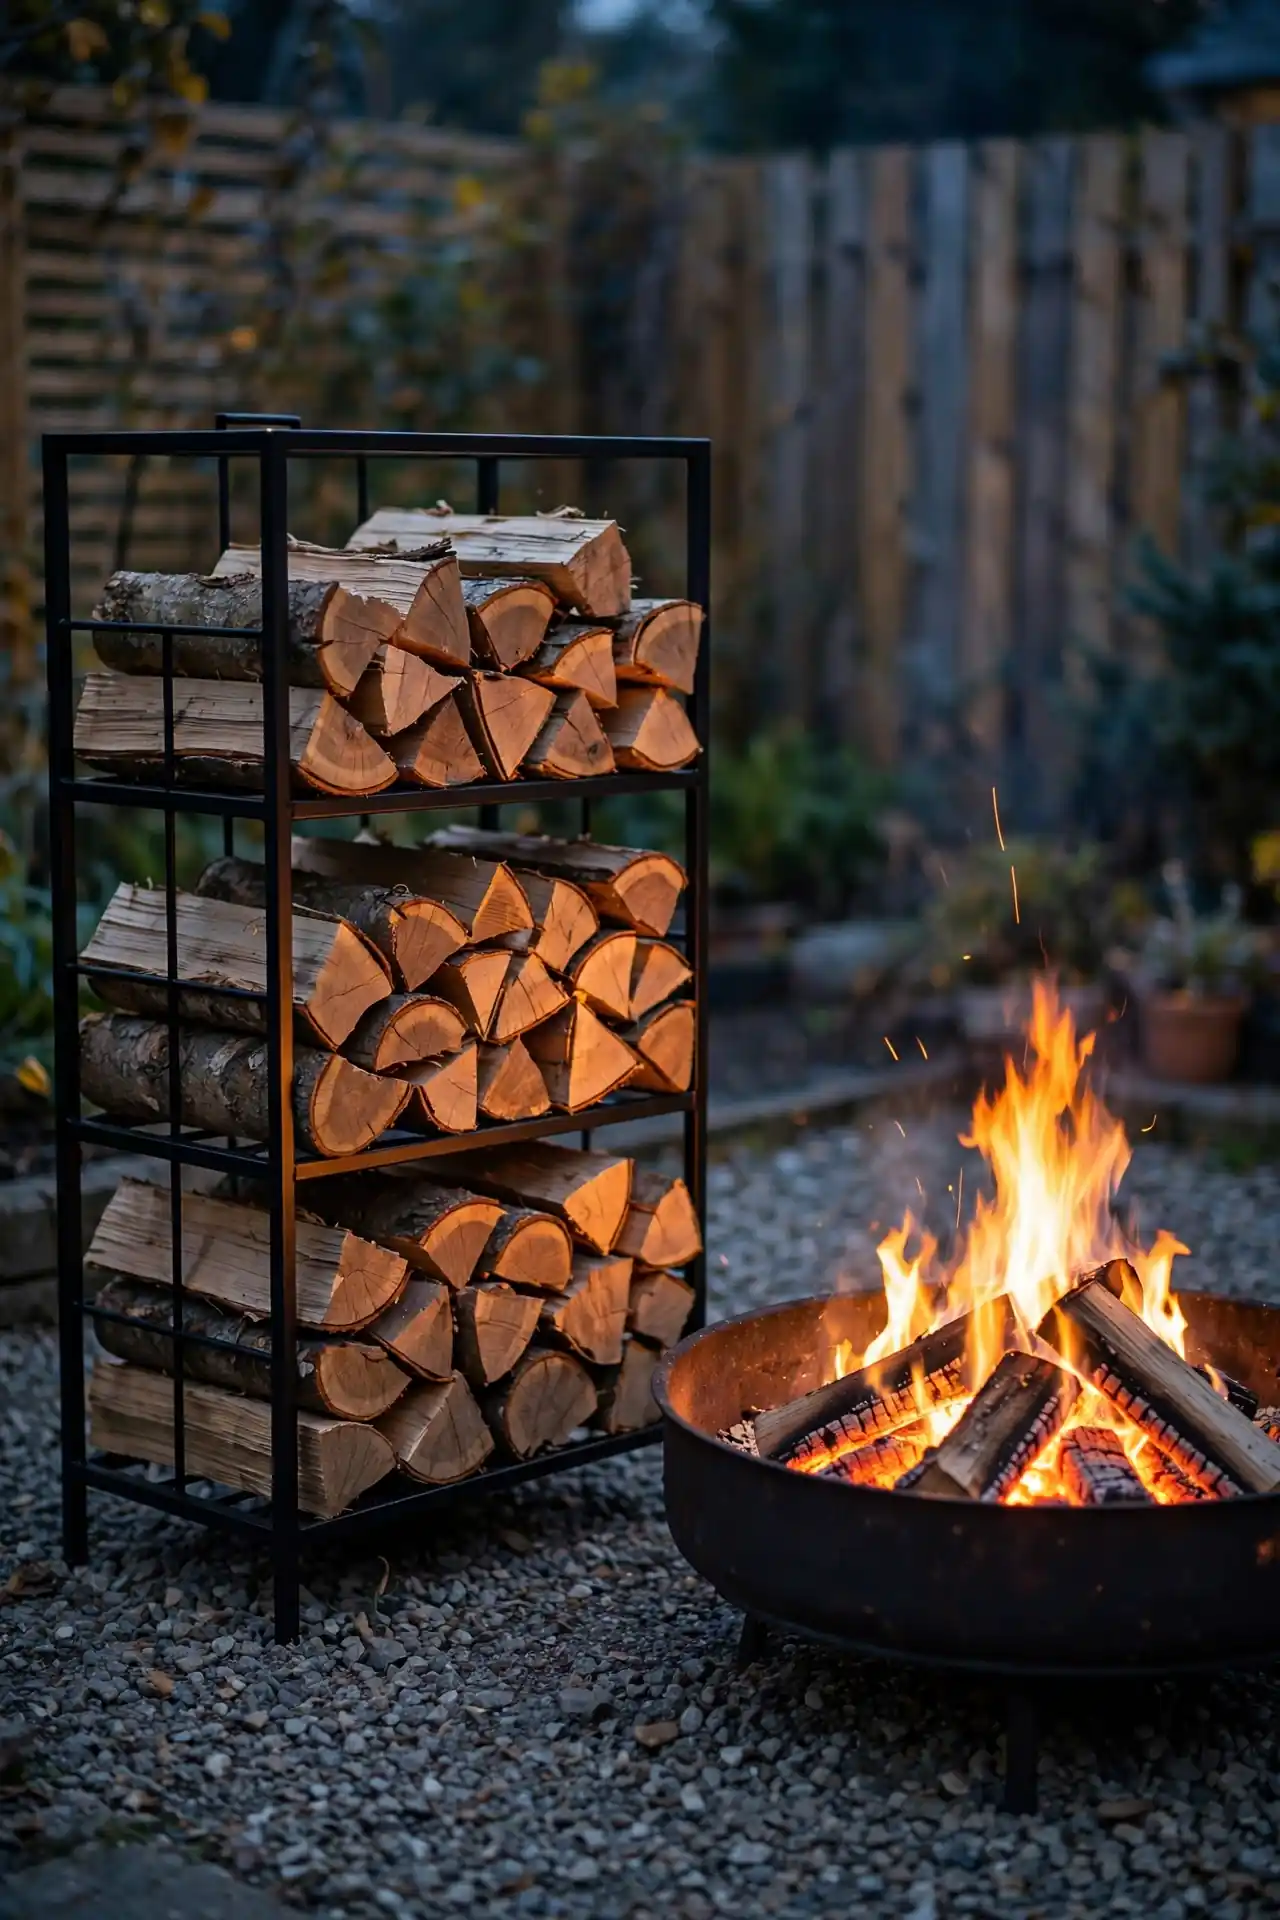
Cost: Ten to thirty dollars for brackets or a small metal rack | Time: Under one hour to assemble and stack | Skill Level: Beginner, just a drill and level | Best For: Small yards where firewood piles look messy
A tidy wood rack keeps fuel dry, off the ground, and within arm’s reach of the fire. Place it against a fence or wall where it stays out of the walkway. Cover the top row with a small tarp in rainy weeks and your wood lights fast every time. Stack bark side down for airflow and leave small gaps between rows so air circulates.
S’mores Cart Setup
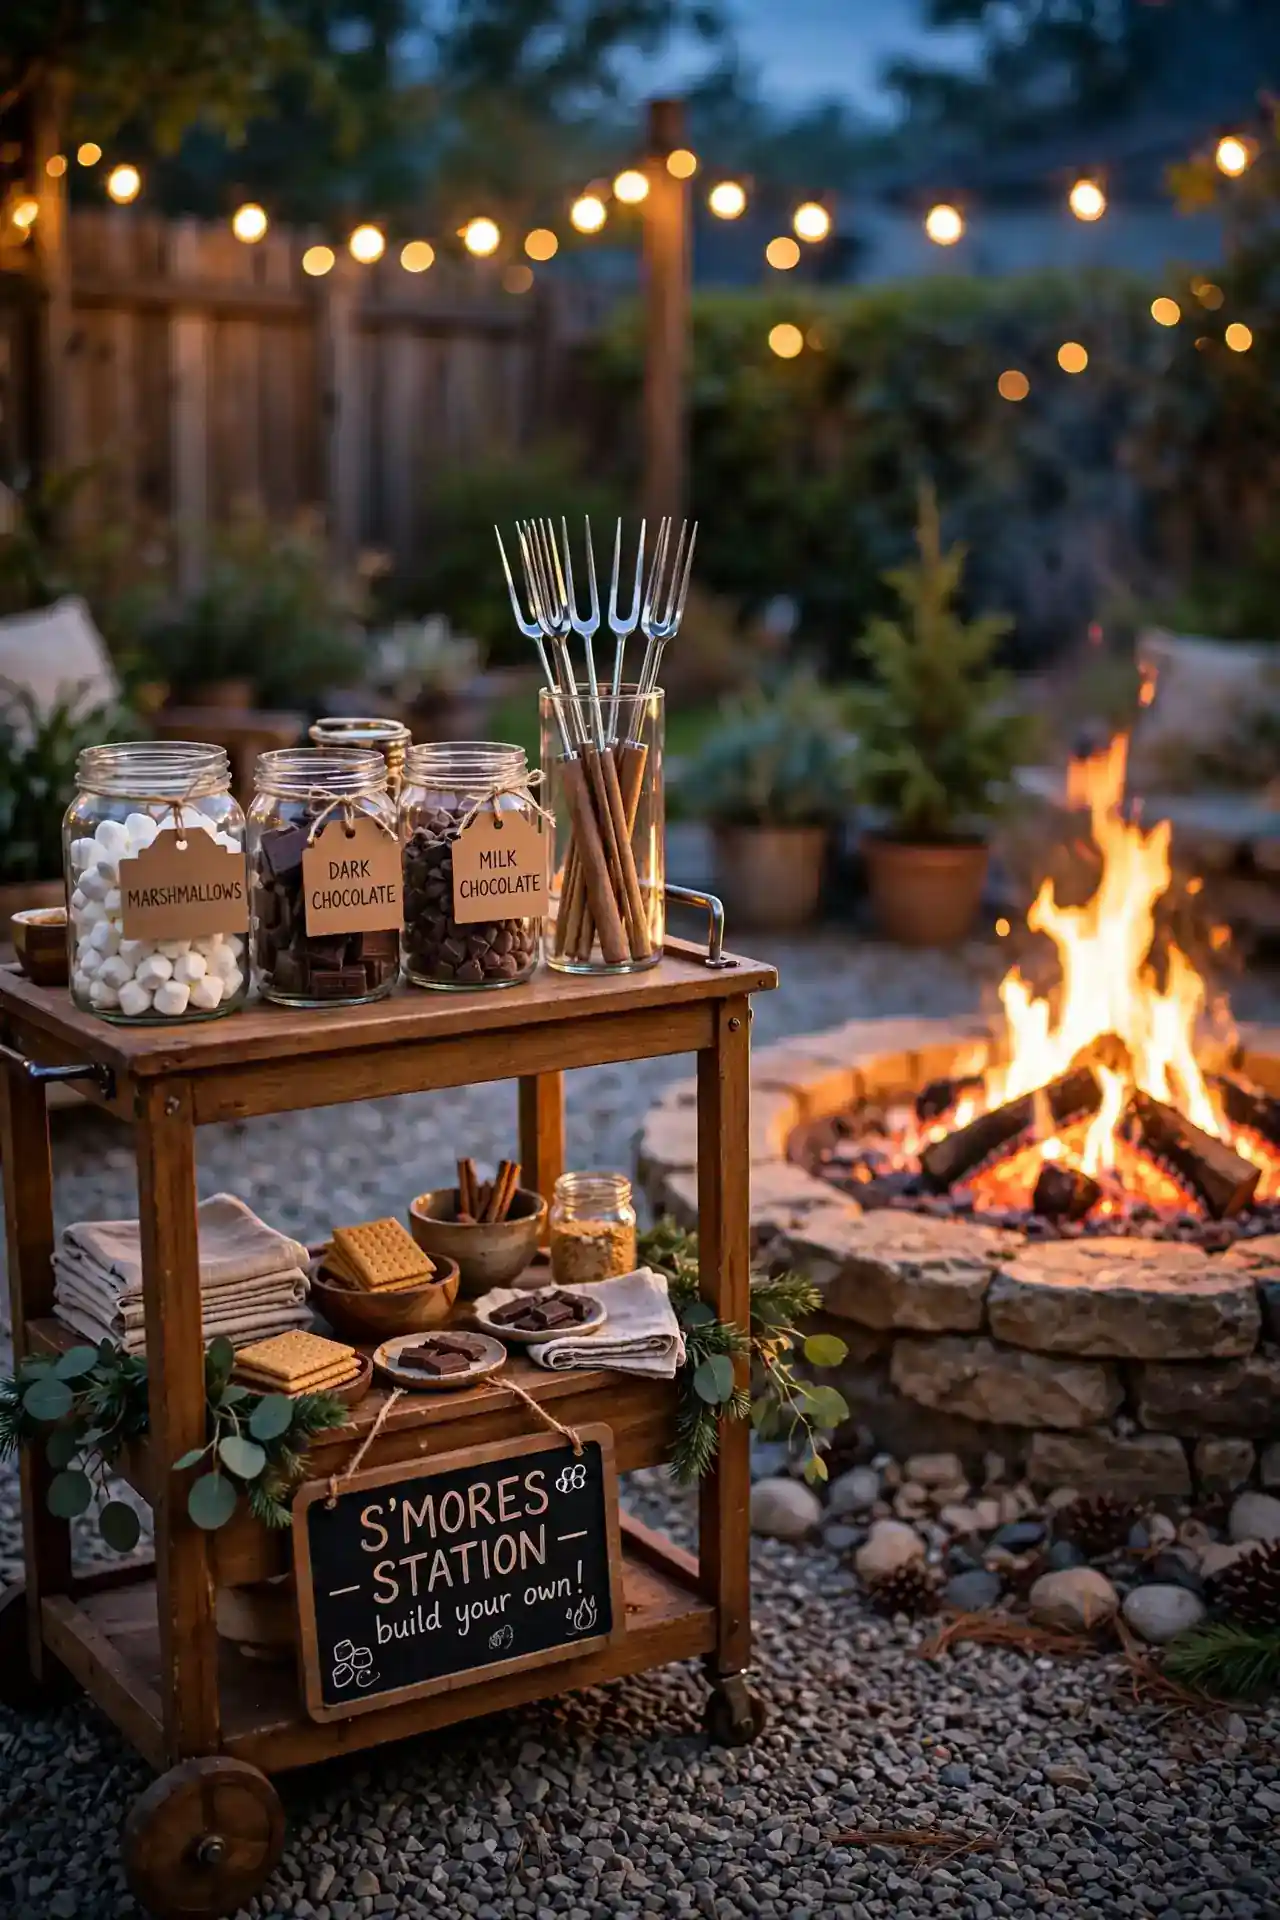
Nothing keeps kids and adults at the fire longer than a dedicated s’mores station. Roll a small bar cart or wooden crate beside the seating circle and load it with graham crackers, chocolate, and marshmallows. Add long roasting sticks in a tall jar and a small trash bin for wrappers.
A little chalkboard sign with tonight’s menu makes it feel like an event. I have noticed s’mores carts turn ordinary weeknights into something kids remember for years. Refill the cart before every gathering and wipe sticky surfaces with a damp cloth. Keep a damp towel draped over the cart handle for sticky fingers.
Citronella Candle Cluster
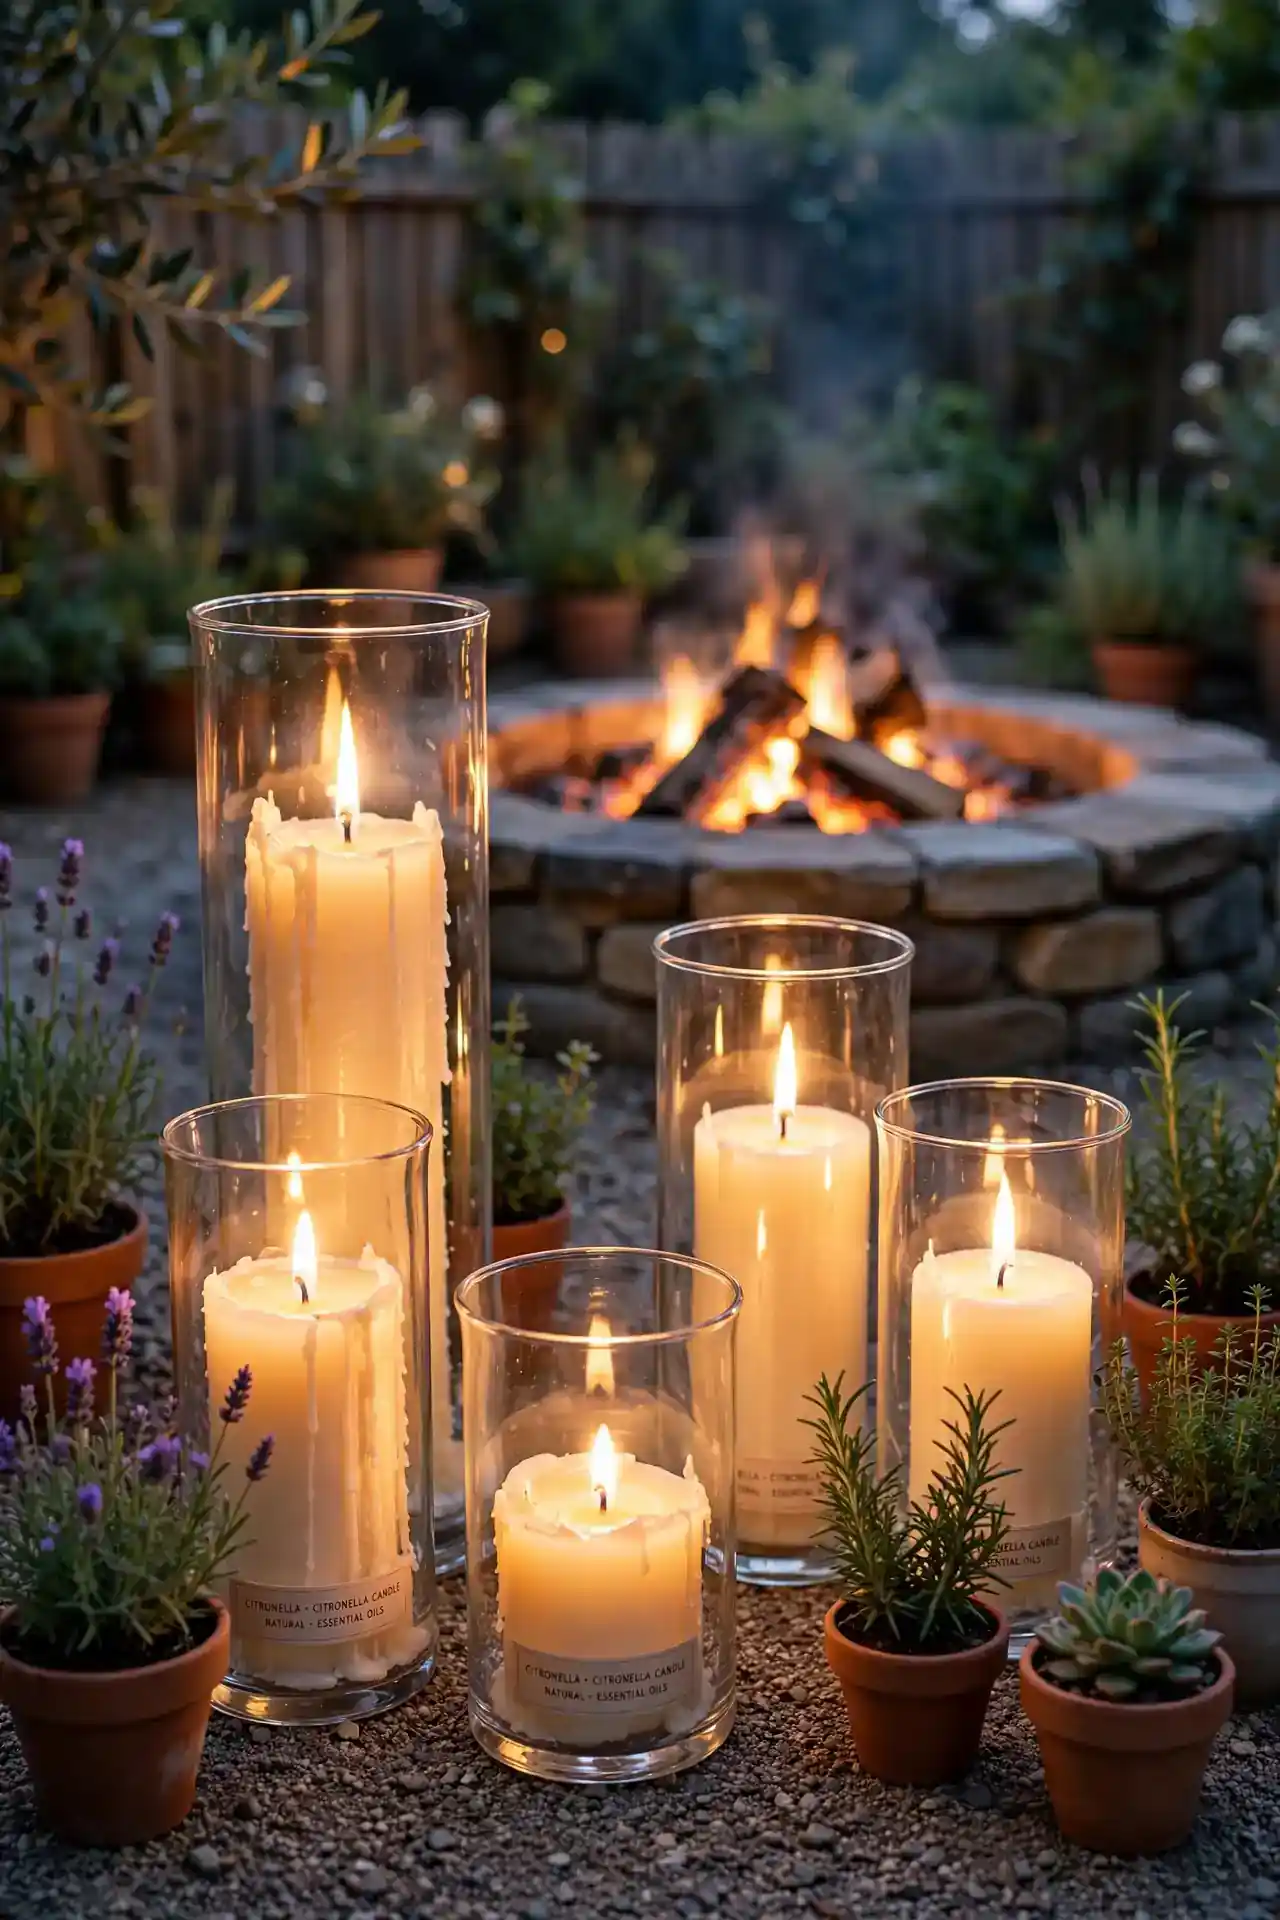
- Group three to five citronella candles at different heights on the pit’s outer edge.
- Choose soy based candles in glass hurricanes so wind cannot snuff them out.
- Light them thirty minutes before guests arrive so the scent zone builds up.
- Pair with a small fan behind the seating to push scent gently across the circle.
Mosquitoes love firelight as much as we do, so citronella is non negotiable for summer nights. Clusters look intentional and pretty, unlike a single lonely candle. Refresh the candles each season, since old wax loses its repelling power fast. Set one cluster near the food and one near the seating for full coverage.
Seagrass Pouf Seating
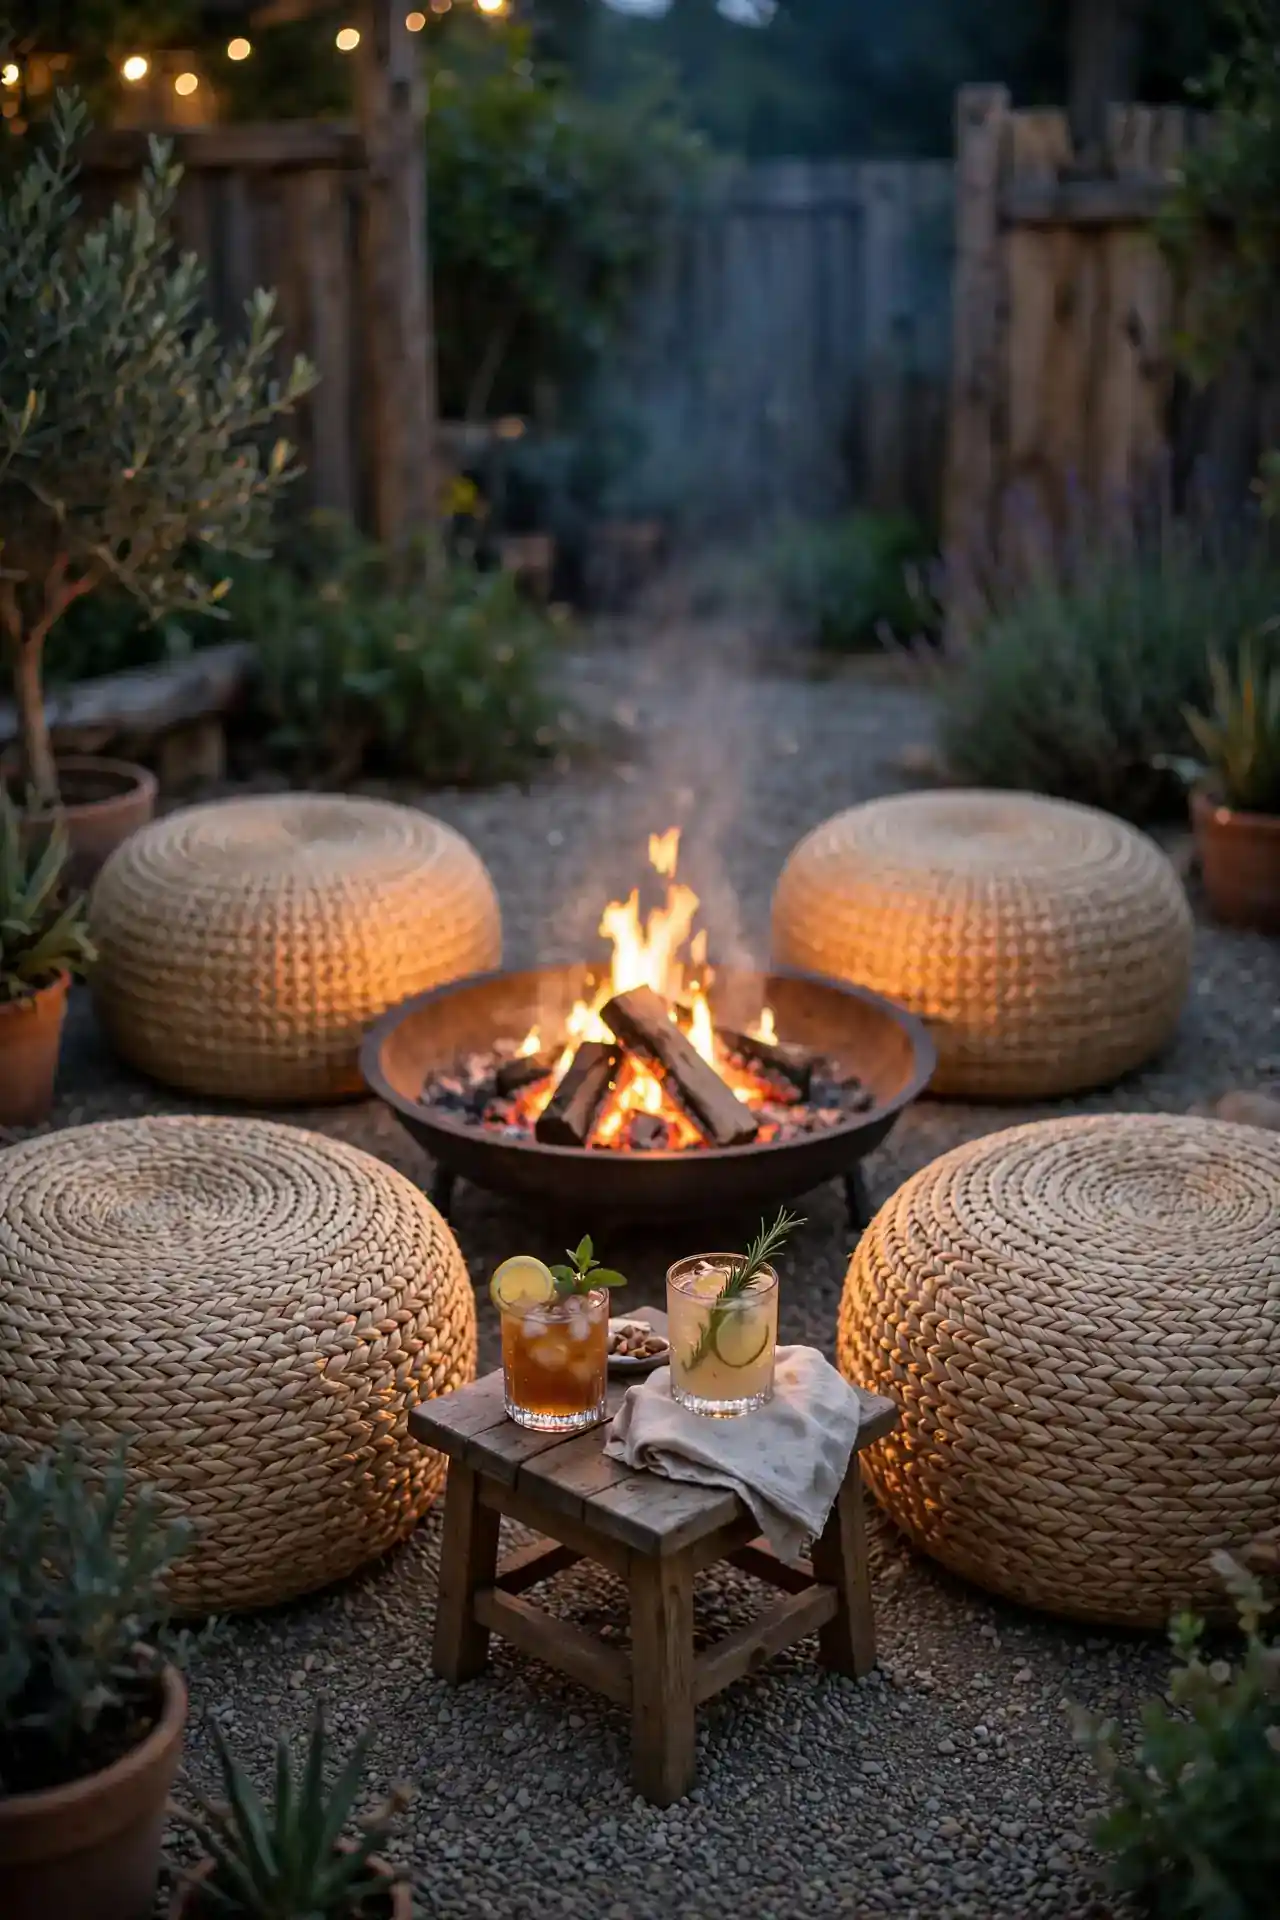
Quick Tip: Scatter two or three seagrass poufs around the fire for flexible extra seating. They weigh almost nothing, stack in a corner when not needed, and add lovely natural texture. Choose poufs with removable, washable covers for easy care. Tuck a small side table between poufs so drinks stay off the ground.
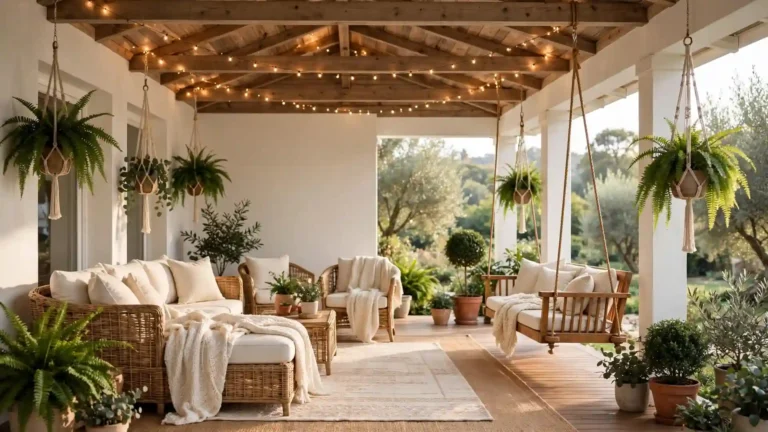
Poufs work brilliantly for kids and for guests who prefer sitting low near the flames. They also double as footrests once the fire burns low. To carry the relaxed look up to the house, style your entry with these covered porch ideas so the whole backyard feels connected.
Fire Glass Upgrade
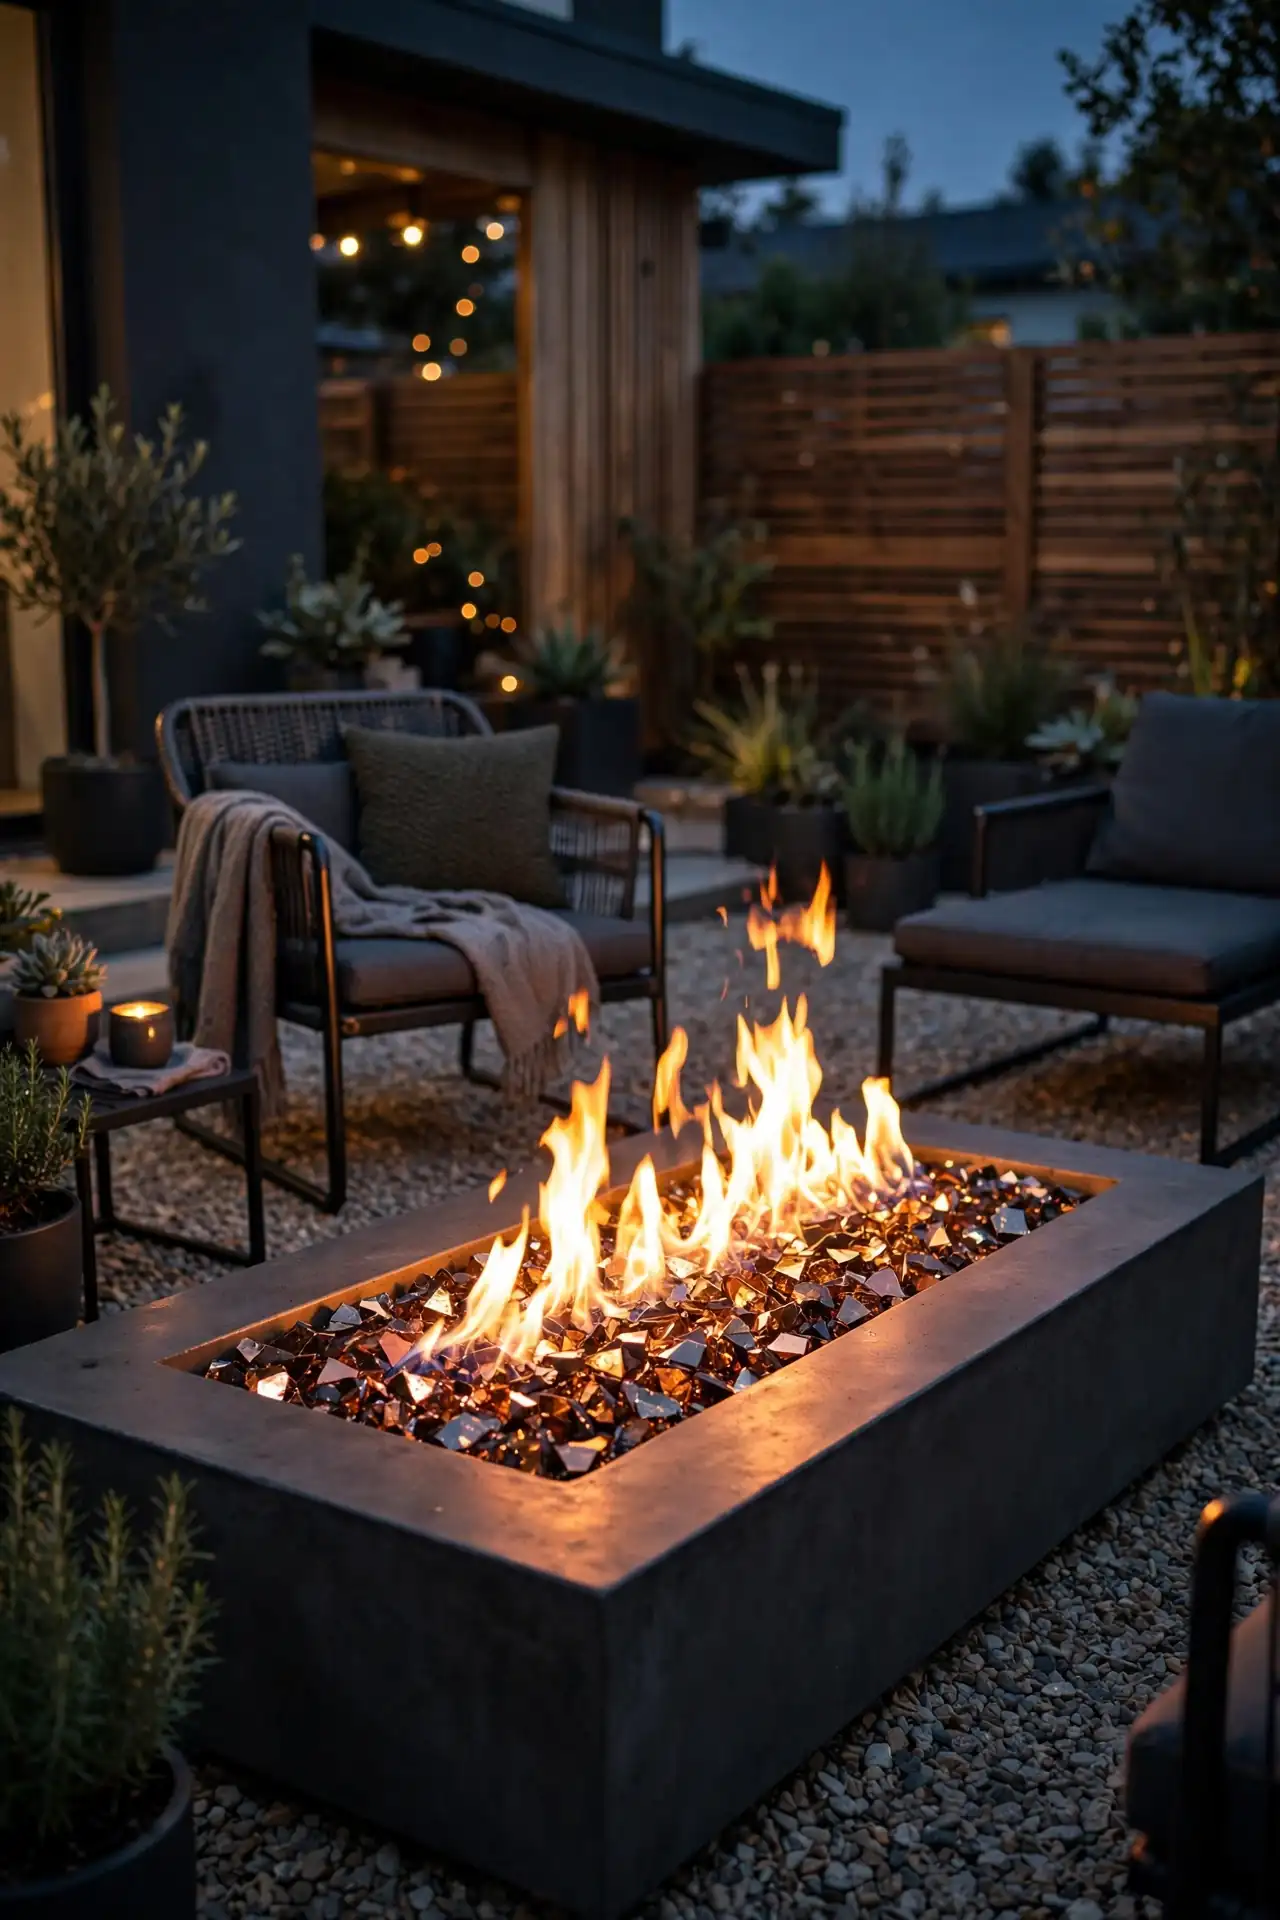
BEFORE: The old lava rocks in the gas fire pit looked dusty and dull, barely catching the light. The flame seemed flat and uninviting. Guests rarely commented on the pit at all.
AFTER: A layer of reflective fire glass now shimmers under every flame. Copper and bronze tones catch the light and throw tiny reflections across the seating. The same pit suddenly looks like a designer showpiece.
Fire glass costs more than lava rock but a little goes a long way in a small pit. Pour it just deep enough to hide the burner, about two inches. Never use glass in a wood burning pit, since ash and heat will crack it fast.
Glass Wind Guard
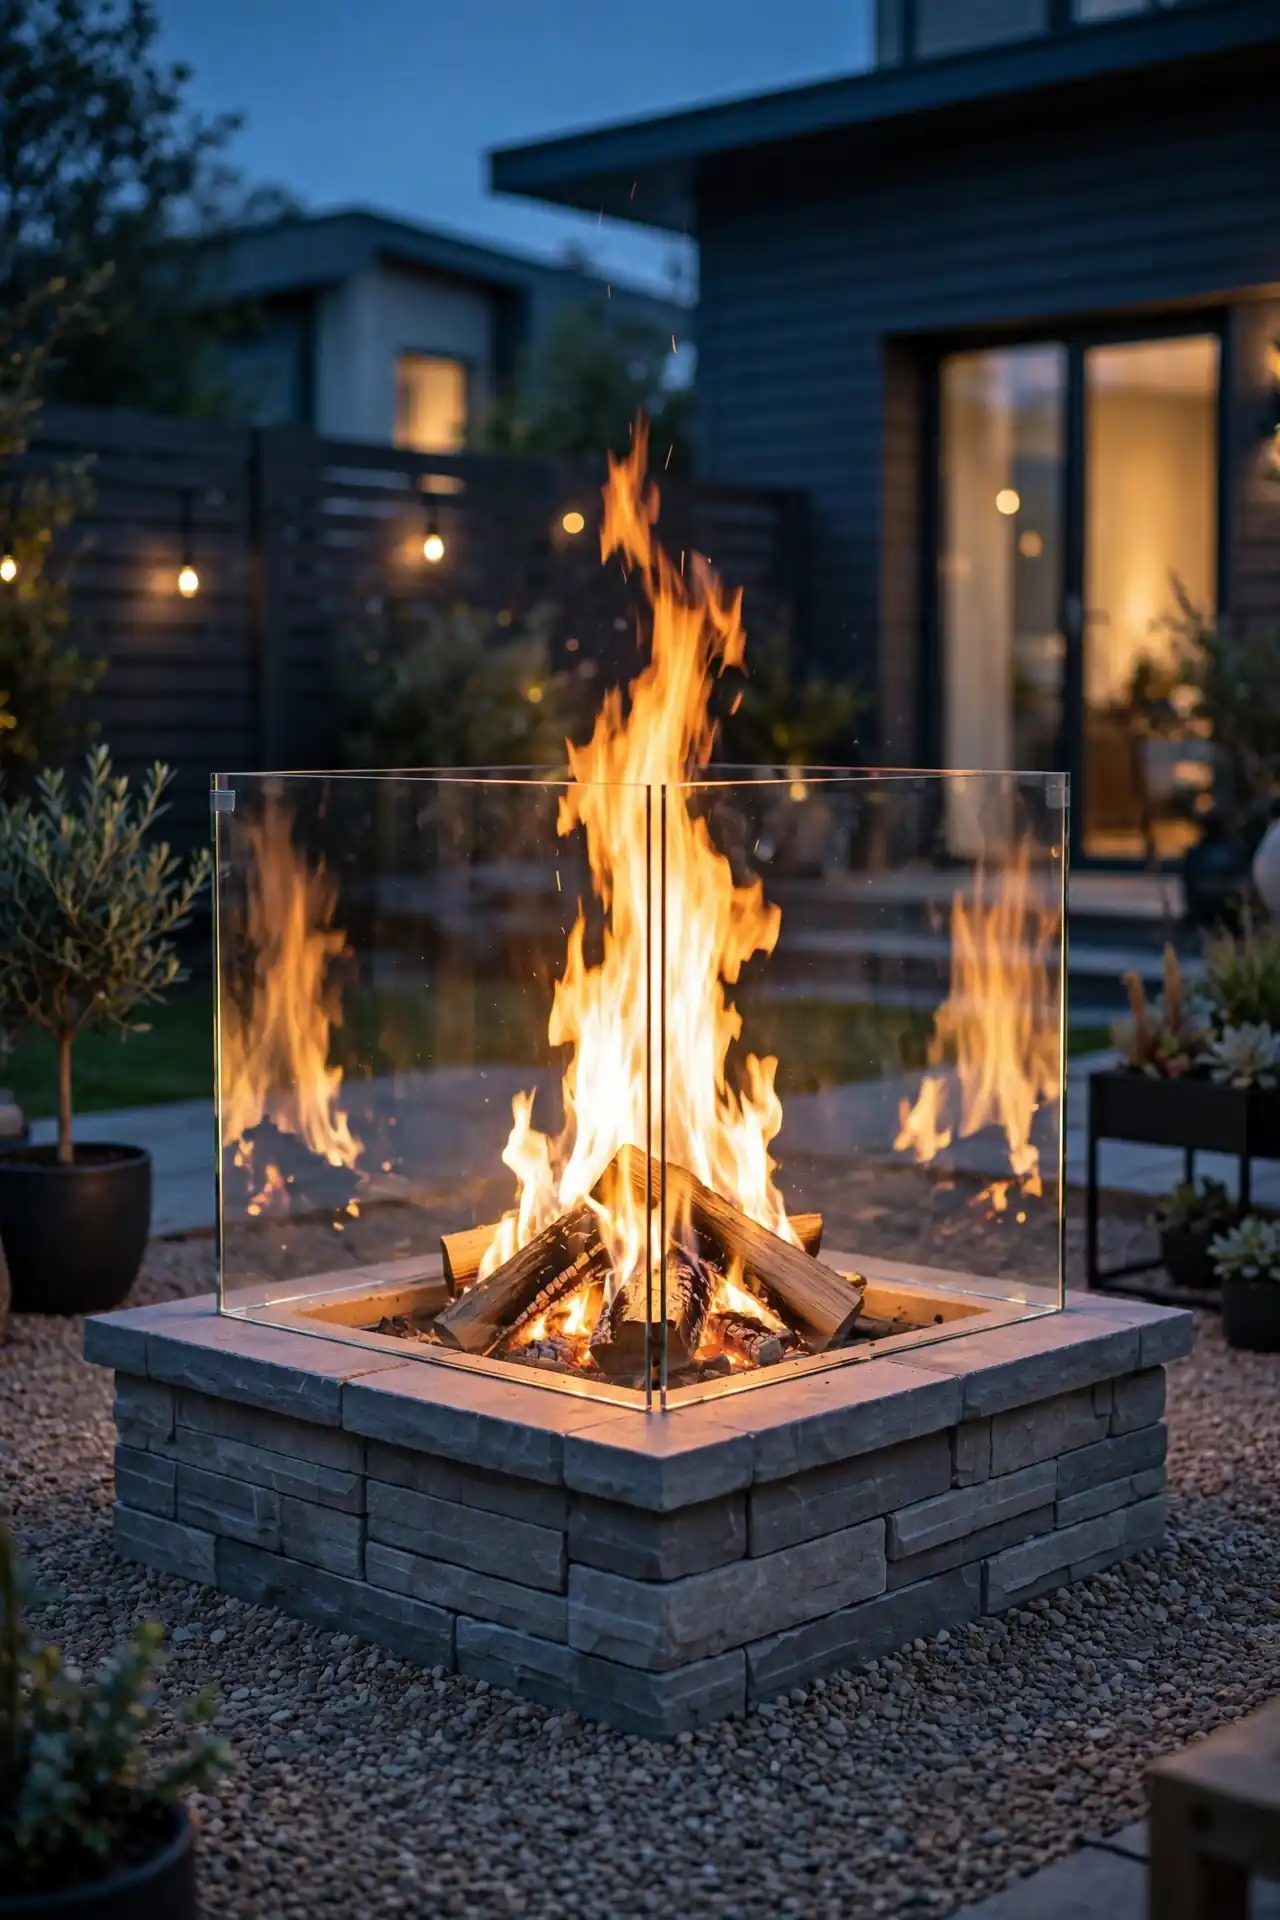
- Measure your fire bowl’s rim and order a tempered glass wind guard to match.
- Set the guard’s feet on the rim so glass panels stand straight and stable.
- Light the fire and watch the flames stand taller with less smoke drift.
- Remove the glass in calm weather if you prefer an open flame feel.
- Wipe panels with glass cleaner monthly to keep them crystal clear.
Wind guards are the secret weapon for breezy yards where flames keep blowing sideways. The glass shields the flame while staying nearly invisible, so the view stays clean. They also block stray sparks, which makes seating closer feel safer. That’s why many experts recommend them for small yards, where every seat sits close to the flames.
Portable Fire Stand

| Feature | Folding Fire Stand | Fixed Steel Ring |
| Price | Fifteen to thirty dollars | Forty to eighty dollars |
| Portability | Folds flat for storage | Stays put all season |
| Setup Time | Five minutes, no tools | One afternoon with base work |
| Best For | Renters and campers | Permanent backyard spots |
| Weight | Under ten pounds | Twenty plus pounds |
| Lifespan | Three to five seasons | Ten plus years |
Portable stands are perfect if you rent or like rearranging the yard often. They hold a surprising amount of wood and fold flat against the garage wall. Just make sure the legs sit level on gravel or pavers before lighting. Store it dry in winter and it will light strong for years.
Budget Mulch Border
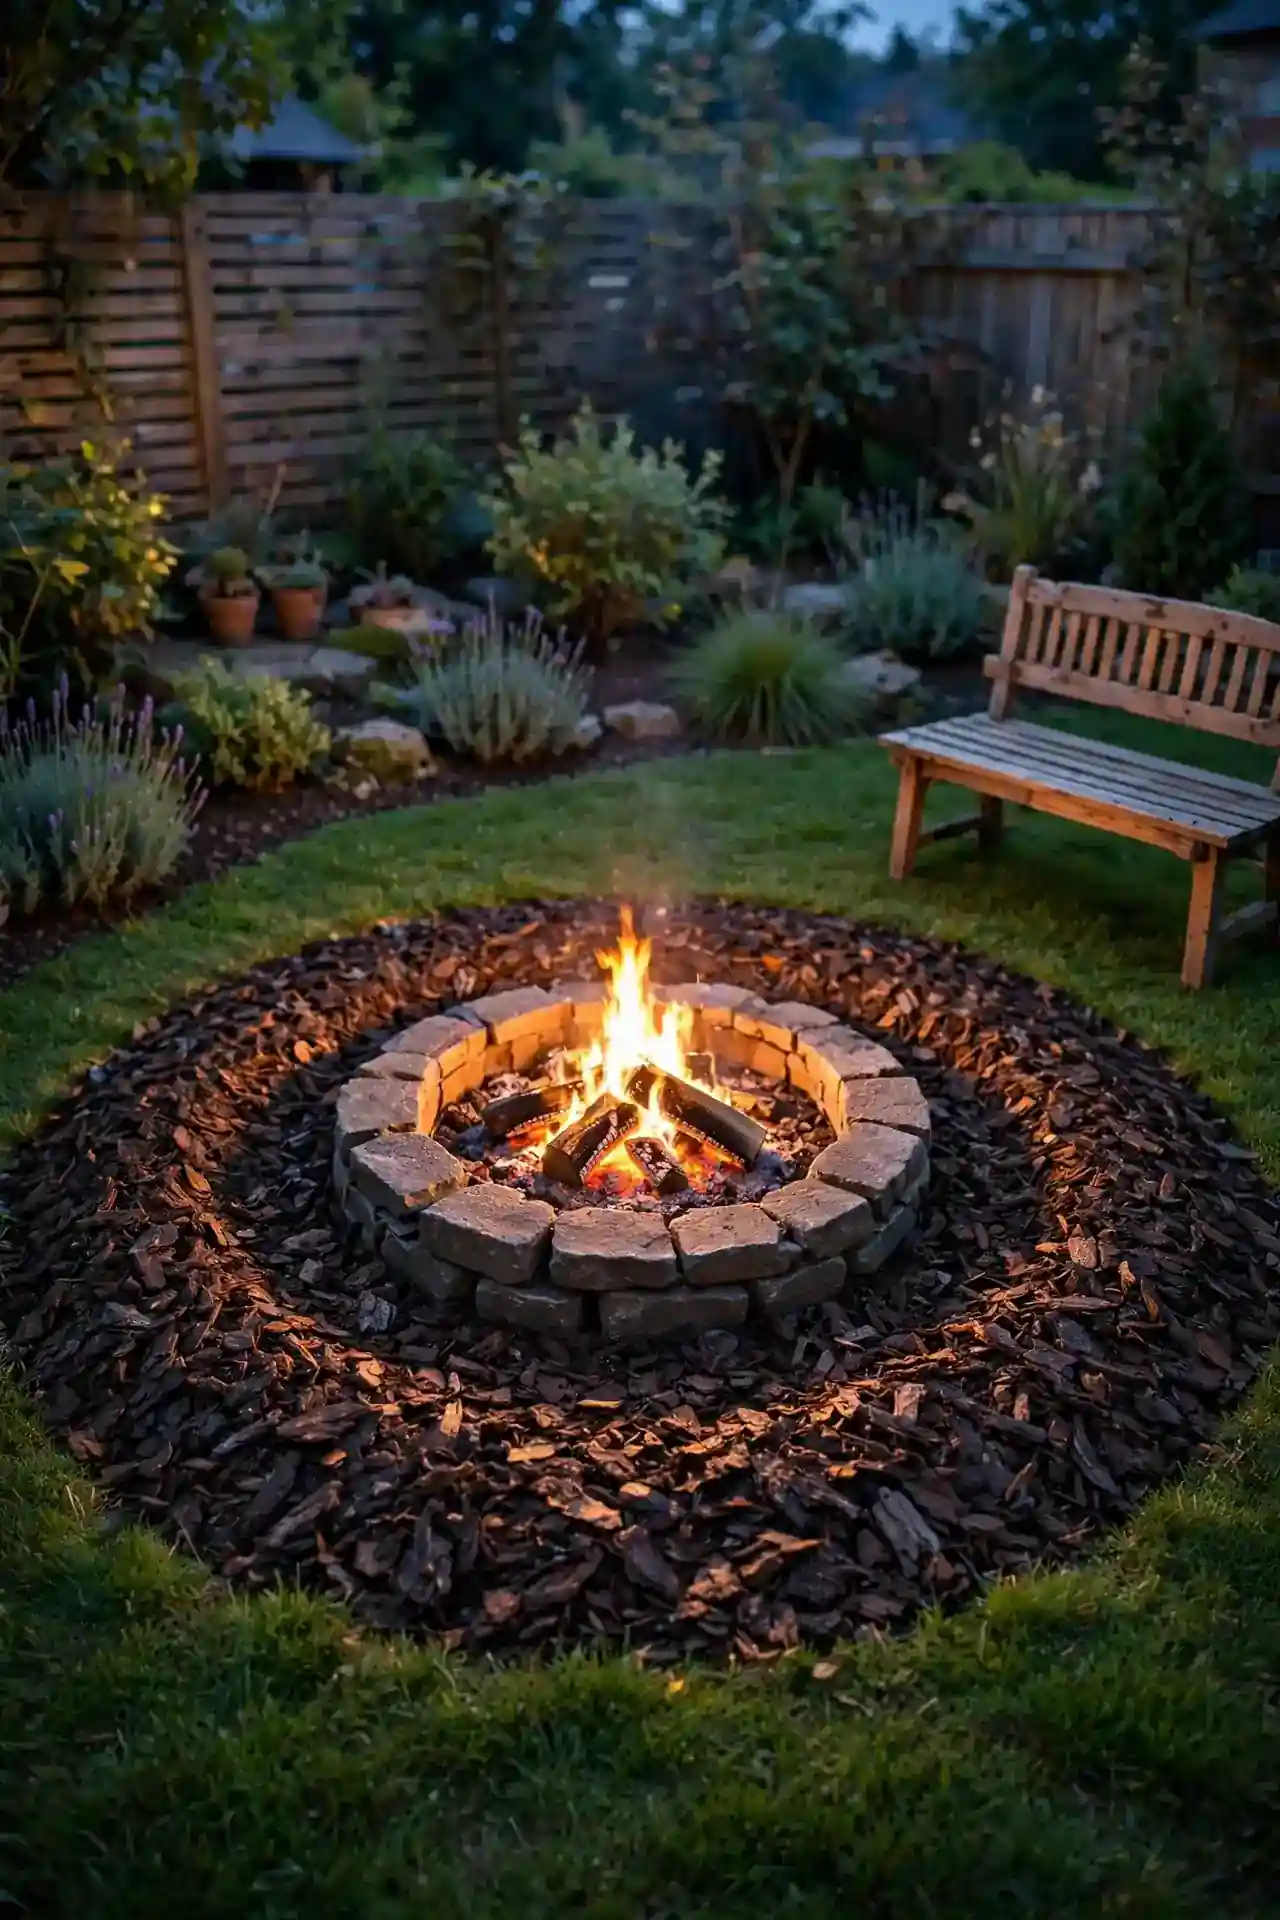
- DO: Spread mulch three inches deep in a wide ring around the fire area.
- DO: Choose dark bark mulch that makes flames and stone pop visually.
- DO: Refresh the ring each spring to keep edges crisp and tidy.
- DON’T: Pile mulch against the fire ring where embers can smolder unseen.
- DON’T: Use dyed red mulch near flames, since the color fades to pink fast.
- DON’T: Let mulch drift onto the gravel pad where it looks messy.
Mulch is the cheapest edging trick in the book and it smells wonderful after rain. A wide dark ring frames the fire area like a picture frame. Keep a clear two foot gap of gravel or stone between mulch and flames for safety.
Twinkle Light Mason Jars

Cost: Under fifteen dollars for jars and fairy lights | Time: Thirty minutes of happy crafting | Skill Level: Easy enough for kids to help | Best For: Adding magic without any wiring
Fill mason jars with battery fairy lights and hang them from shepherd’s hooks or low branches around the fire. The tiny lights twinkle like fireflies and cost almost nothing to run. Twist the lids on loosely so you can swap batteries easily. Scatter five or six jars around the seating circle and the whole yard glows. I have noticed guests always ask about them, so keep a spare set of batteries in the s’mores cart.
Conclusion
A small backyard and a small budget are no reason to skip the fire pit life. These diy small backyard fire pit ideas show that stone, gravel, pallets, and string lights can build something genuinely special in a single weekend. I’ve seen how small changes like these can completely shift the way a space feels, and a fire pit might be the biggest shift of all. Pick the build that fits your space, invite your favorite people, and pin this list so your dream setup is saved for later. Start this weekend and you will be roasting marshmallows by Sunday night.

One Comment