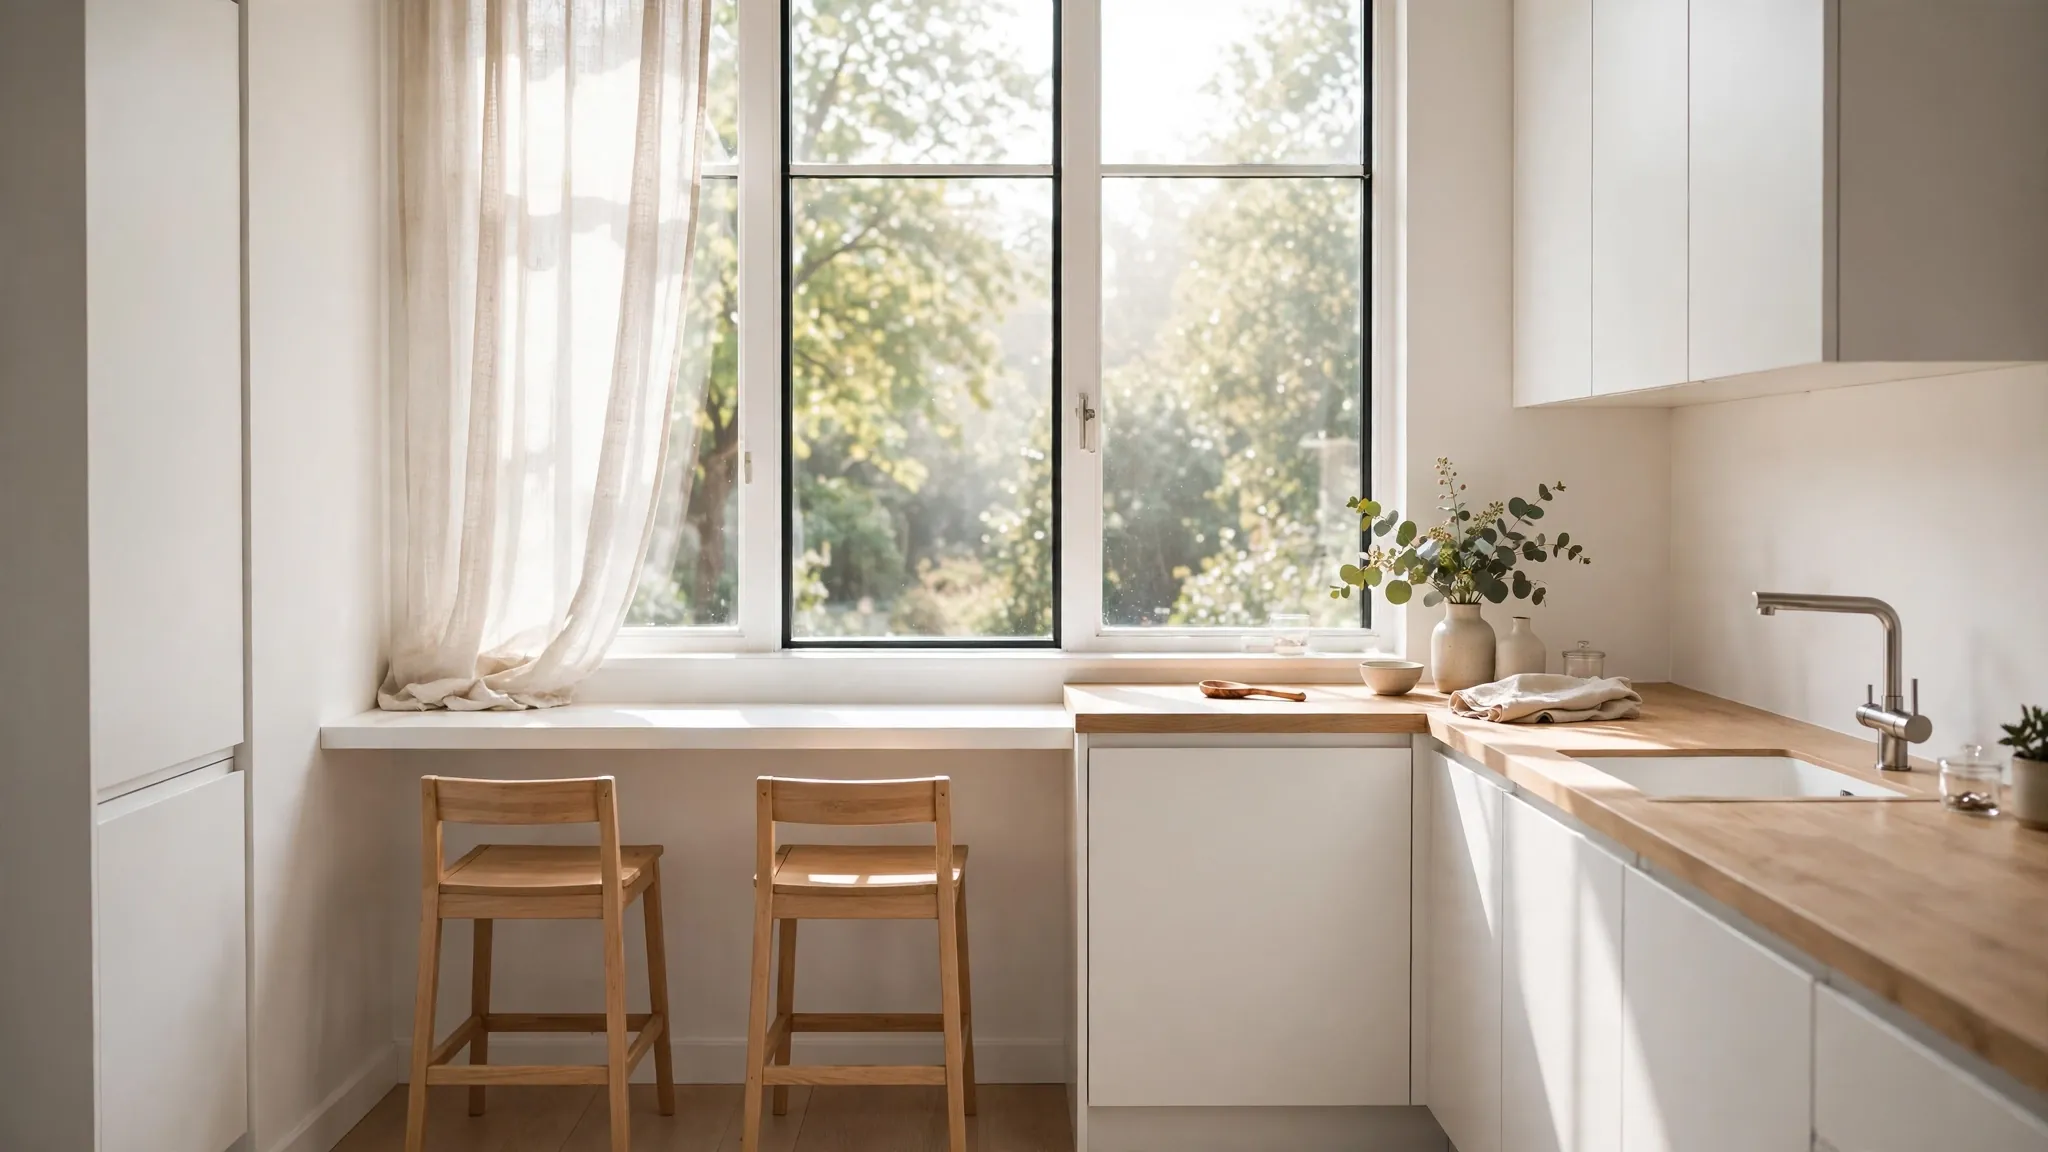
21 Breakfast Bar Ideas for Small Kitchens That Save Space
A cramped kitchen should never mean skipping your morning coffee spot. These breakfast bar ideas for small kitchens prove that even the tiniest galley or studio corner can hold a stylish perch for two. I have worked with plenty of compact kitchens, and the trick is always the same: think vertical, foldable, and multi-purpose. You will be surprised how much function a simple 24-inch ledge can add to your daily routine.
Below you will find 21 ideas that range from wall-mounted fold-downs to rolling carts, each one tested for real small-space life. If you love seasonal styling, these bars pair beautifully with cozy halloween centerpieces when October rolls around. Pick one idea, measure your wall or floor space, and start with the simplest build first.
Wall-Mounted Fold-Down Bar
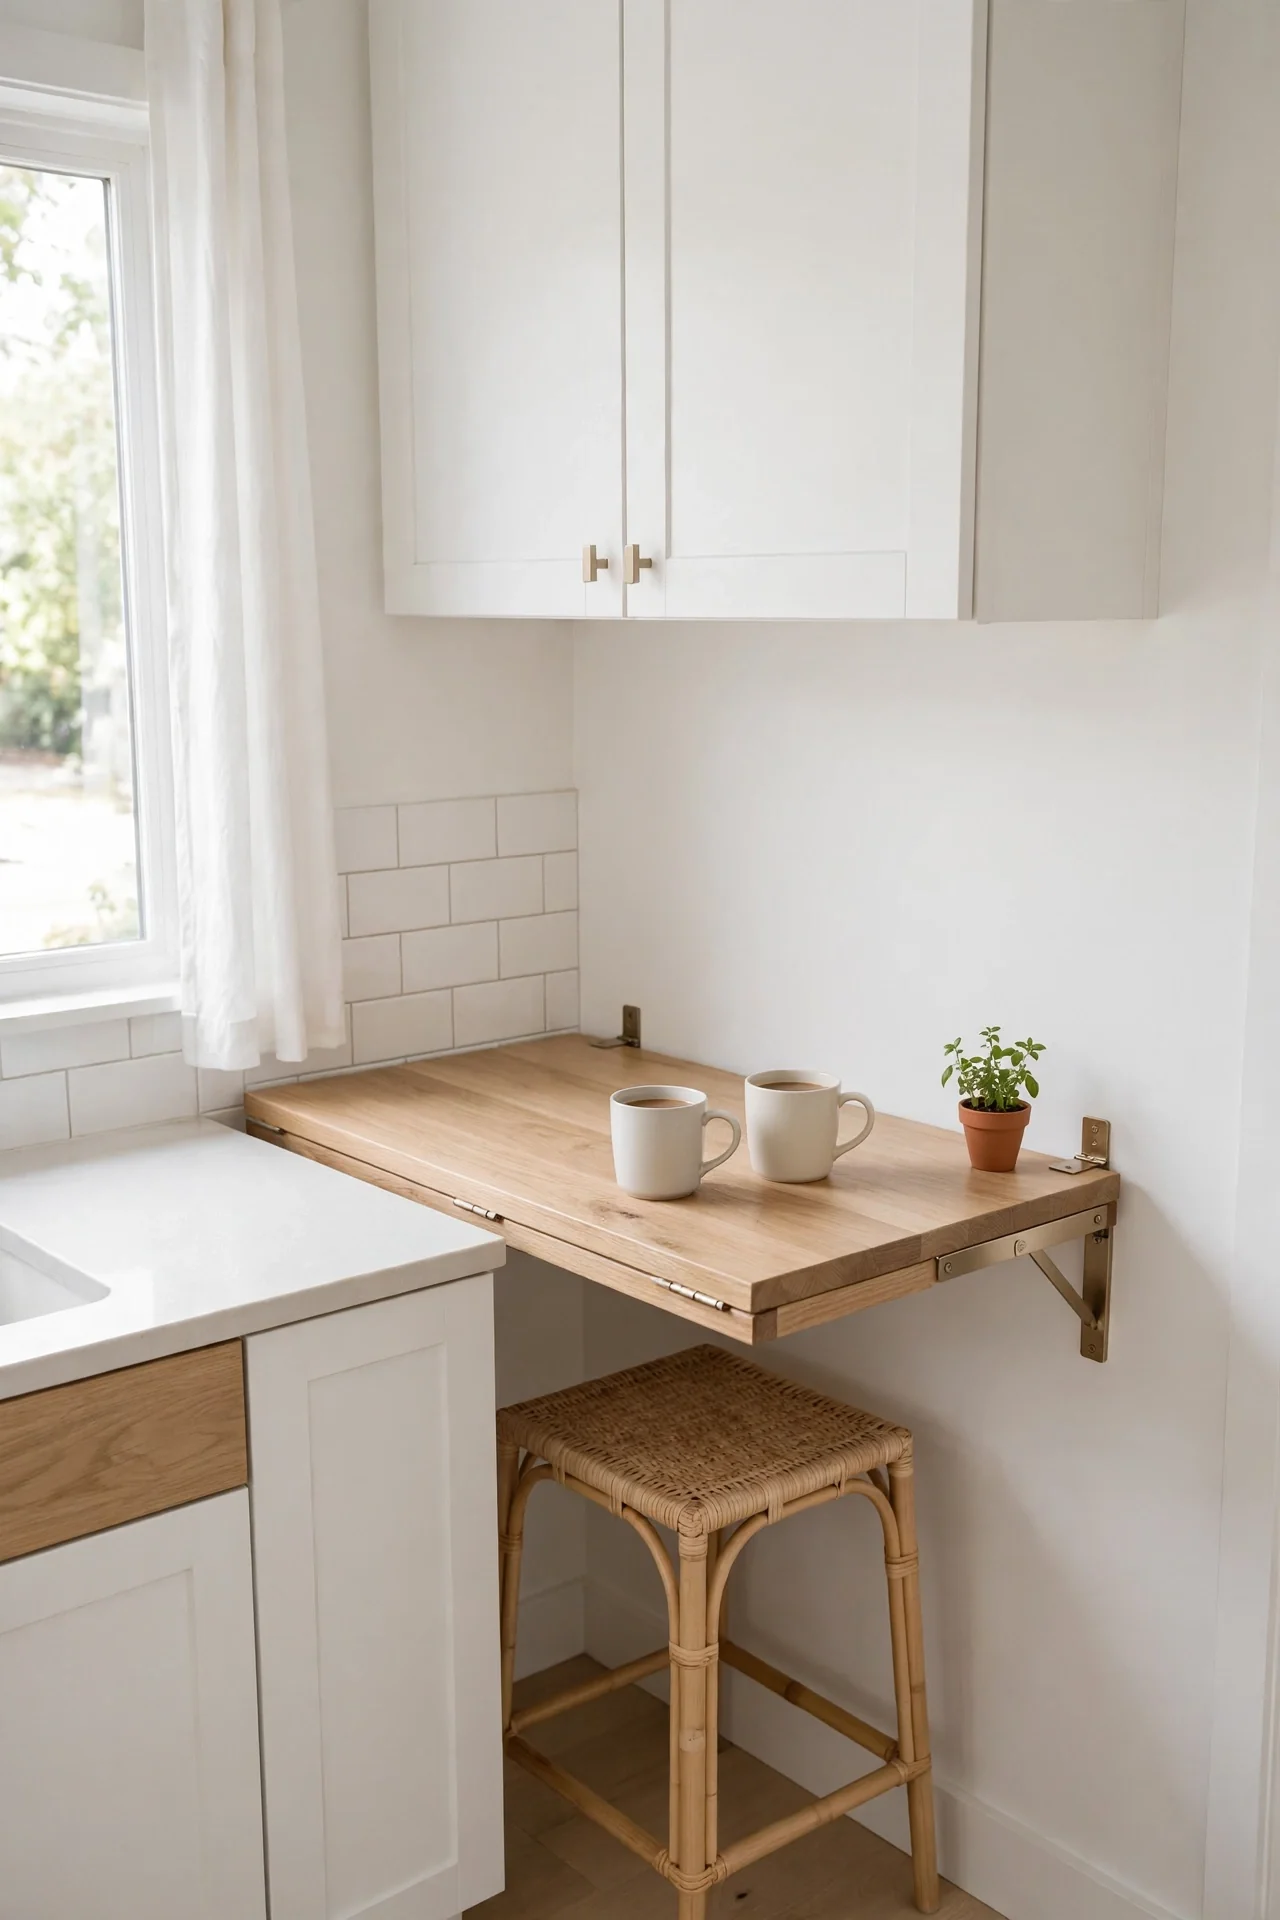
Mornings in my first apartment started with coffee balanced on a radiator, so I understand the small-kitchen struggle firsthand. A wall-mounted fold-down bar fixed everything for me. It hinged flat against the wall while I cooked and dropped down in seconds for breakfast. Choose a sturdy bracket rated for at least 50 pounds and a top no deeper than 16 inches.
Mount it at standard counter height, 36 inches from the floor, so it lines up with your existing counters. I have seen this work well in many cases where renters needed a zero-damage solution, just toggle bolts and touch-up paint at move-out. Fold it up after toast and the whole kitchen breathes again.
Narrow Kitchen Island Bar
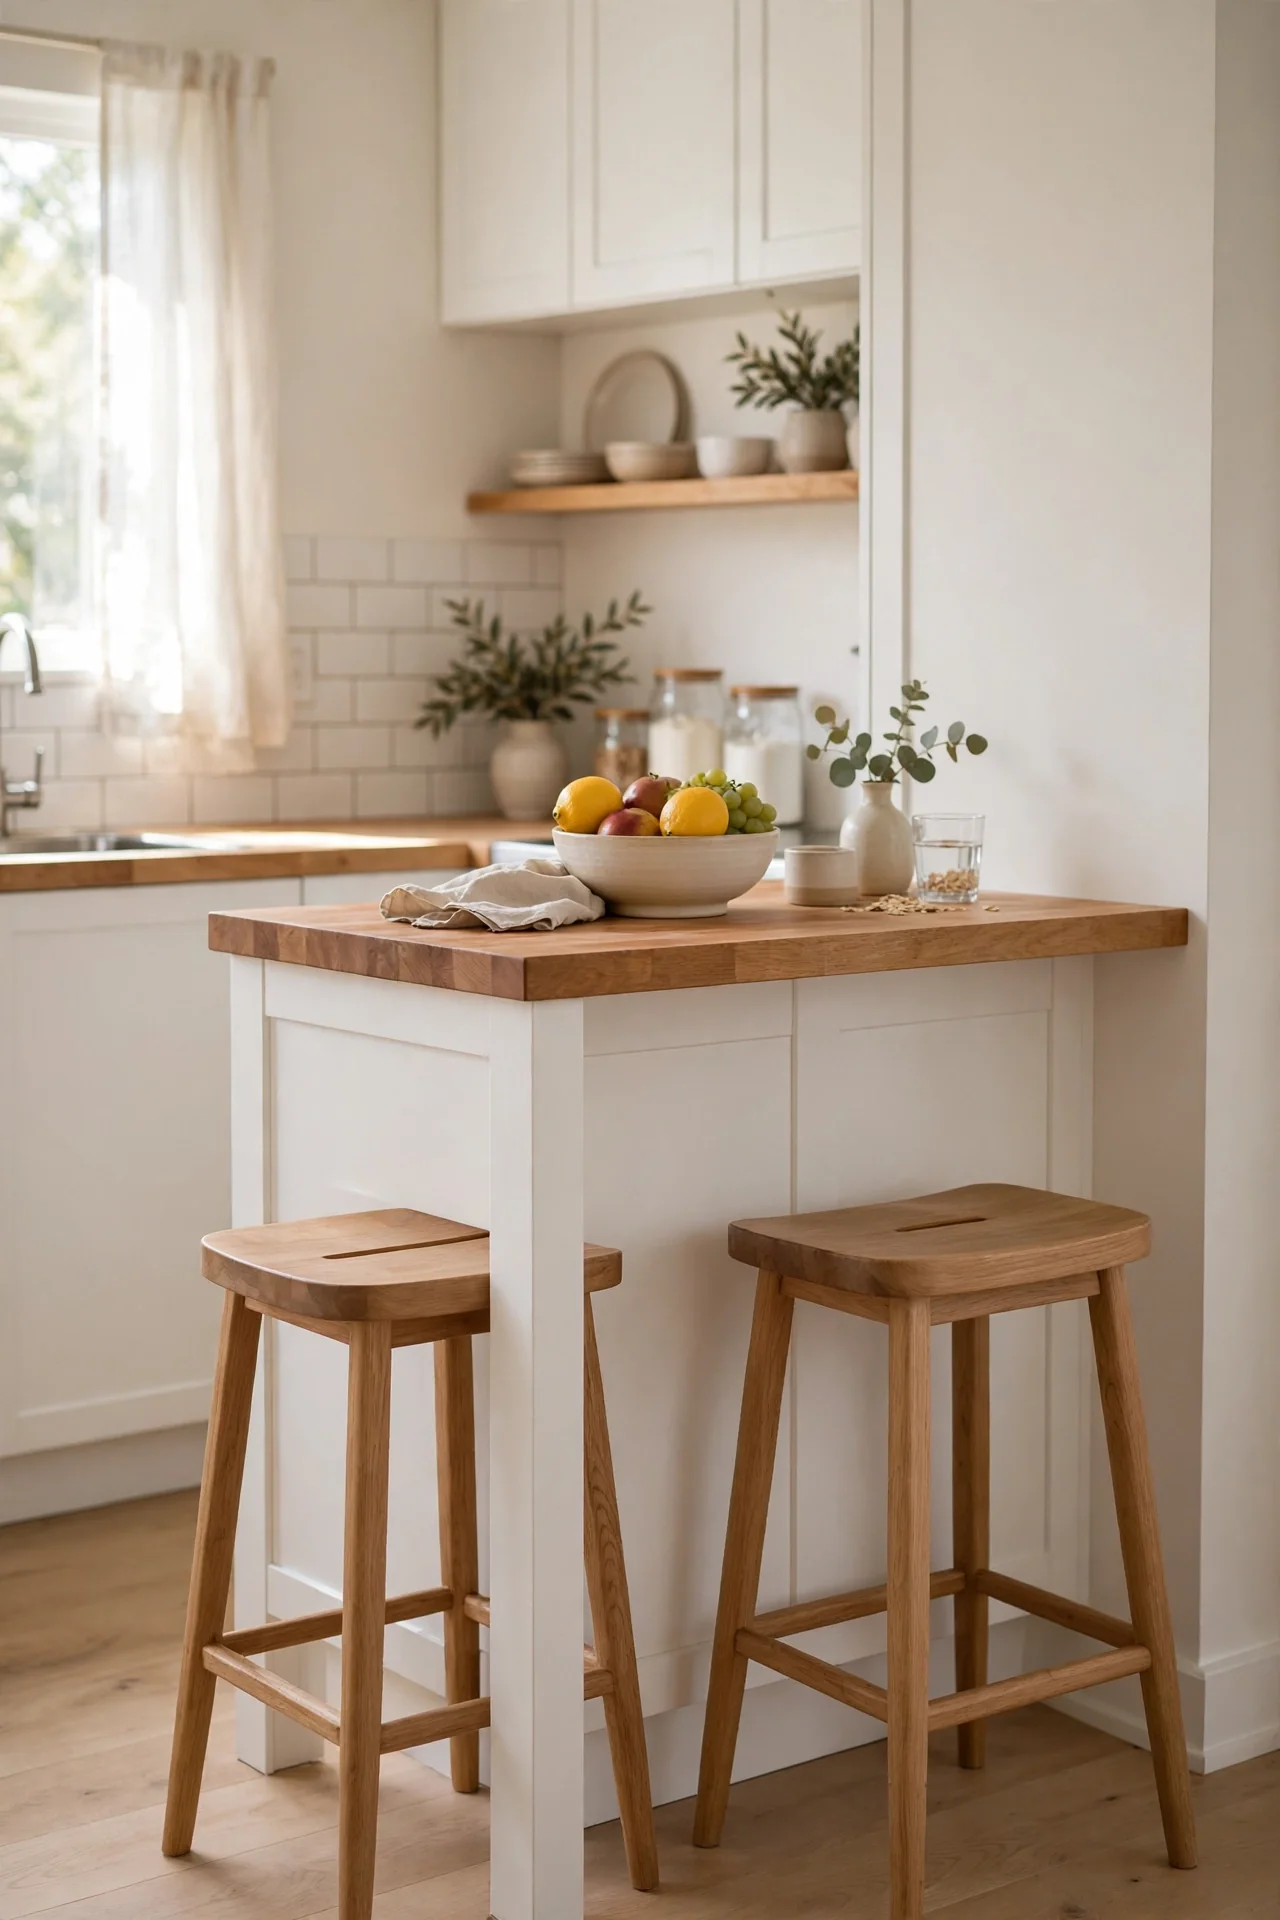
- Pick an island no wider than 24 inches so walkways stay clear on both sides.
- Add locking casters if your kitchen doubles as a hallway or laundry route.
- Top it with butcher block for a warm surface that handles hot mugs daily.
- Tuck two backless stools underneath to keep the whole silhouette slim.
- Use the lower shelf for cookbooks, a fruit bowl, or a small bin.
A narrow island gives you prep space and a breakfast perch in one footprint. I have noticed families use it more than their dining table within a single week. Keep the top clutter-free with one tray and watch the whole room feel twice as planned.
Floating Shelf Bar Top
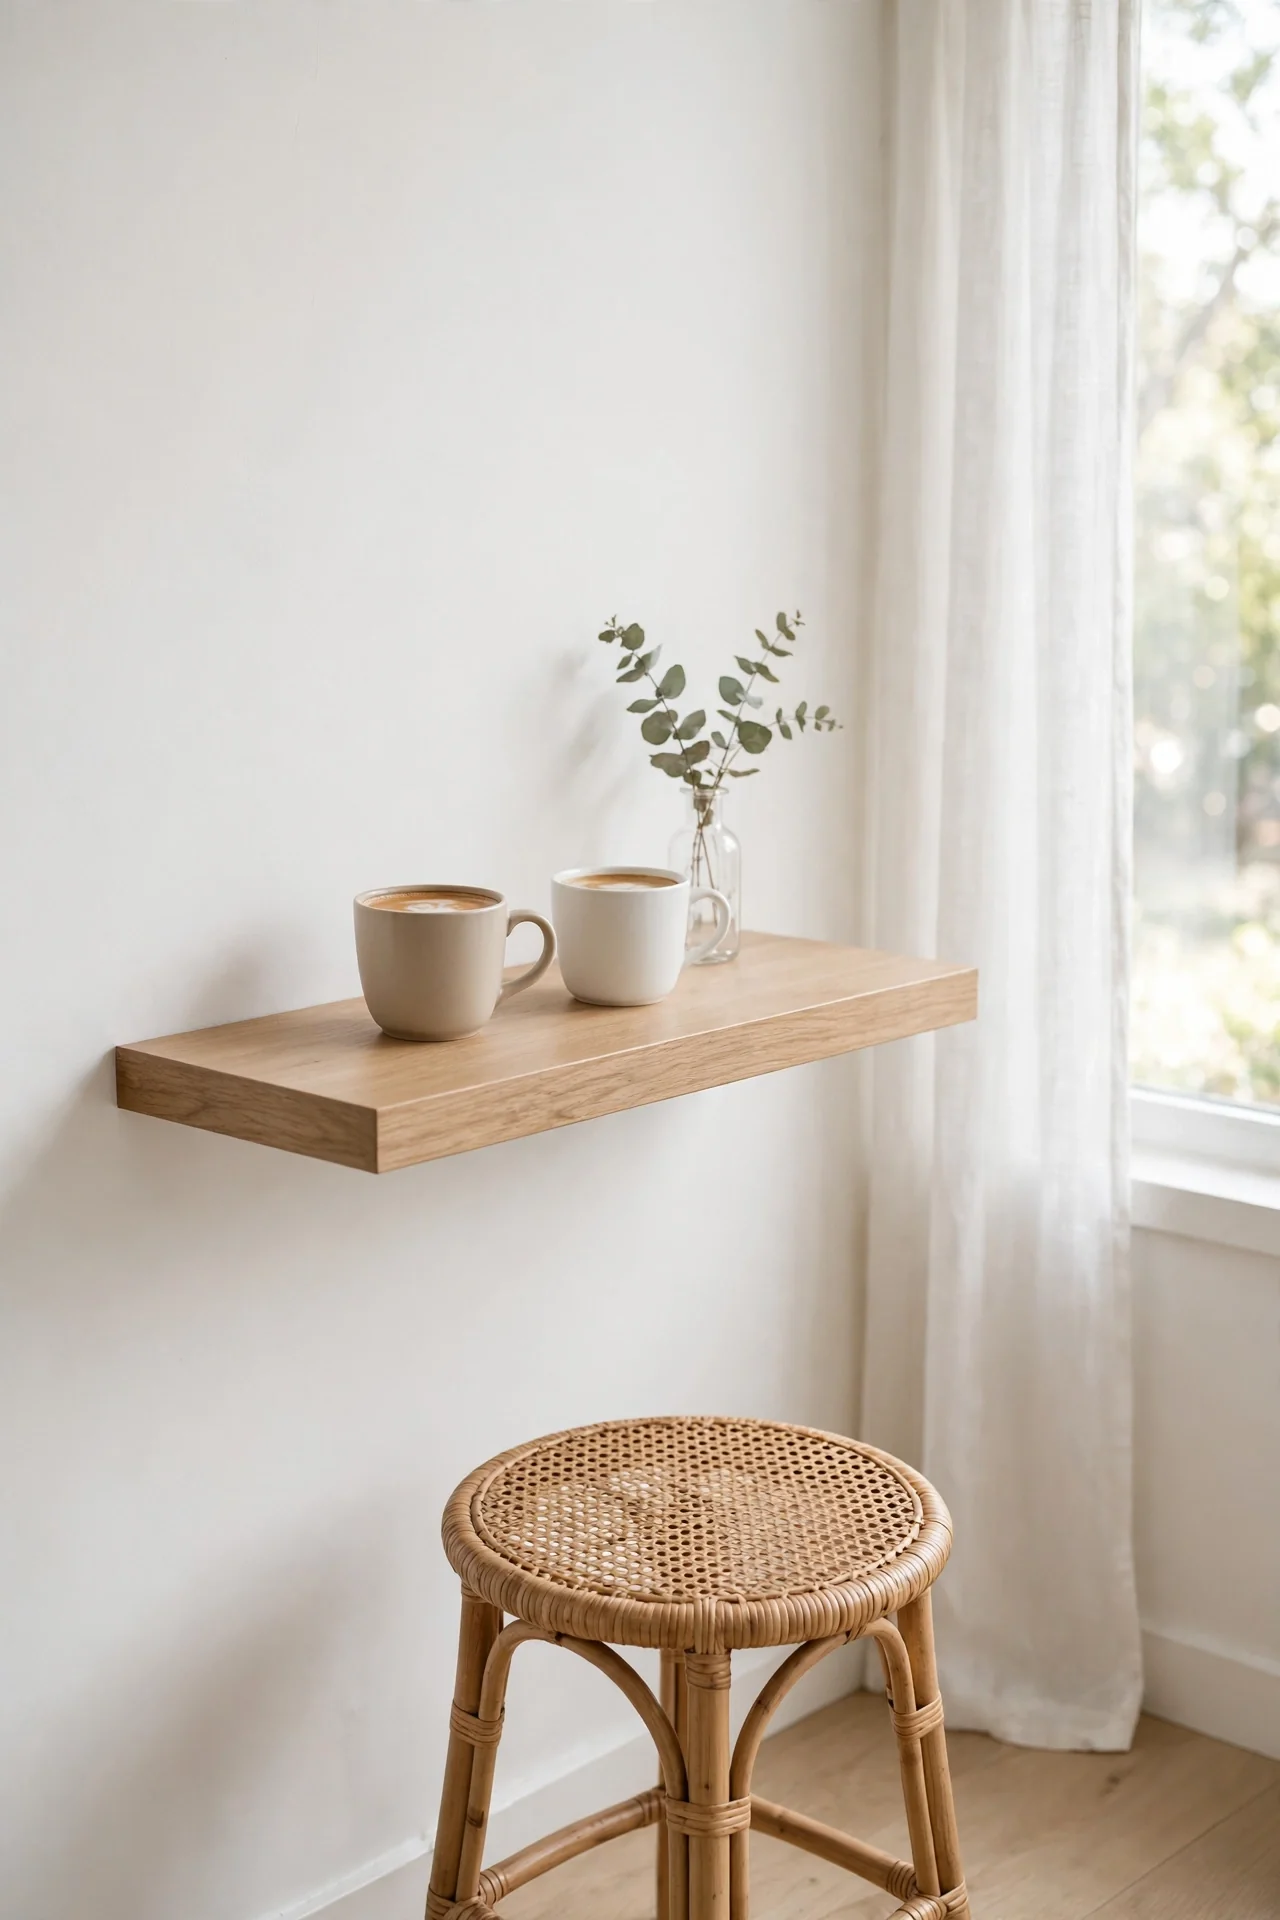
Quick Tip: Mount two heavy-duty floating brackets into wall studs, never drywall alone, and keep the shelf depth at 12 to 14 inches. Sand the front edge round so hips brushing past do not catch sharp corners. Seal the wood with food-safe oil before the very first breakfast, then reapply it yearly.
A floating shelf bar costs less than a night out and installs in a single afternoon. Stain it to match your cabinets for a built-in look, or paint it white to bounce light around. I have tried this in rentals with landlord approval, and the patch-up at move-out took about twenty minutes.
Window Sill Counter Bar
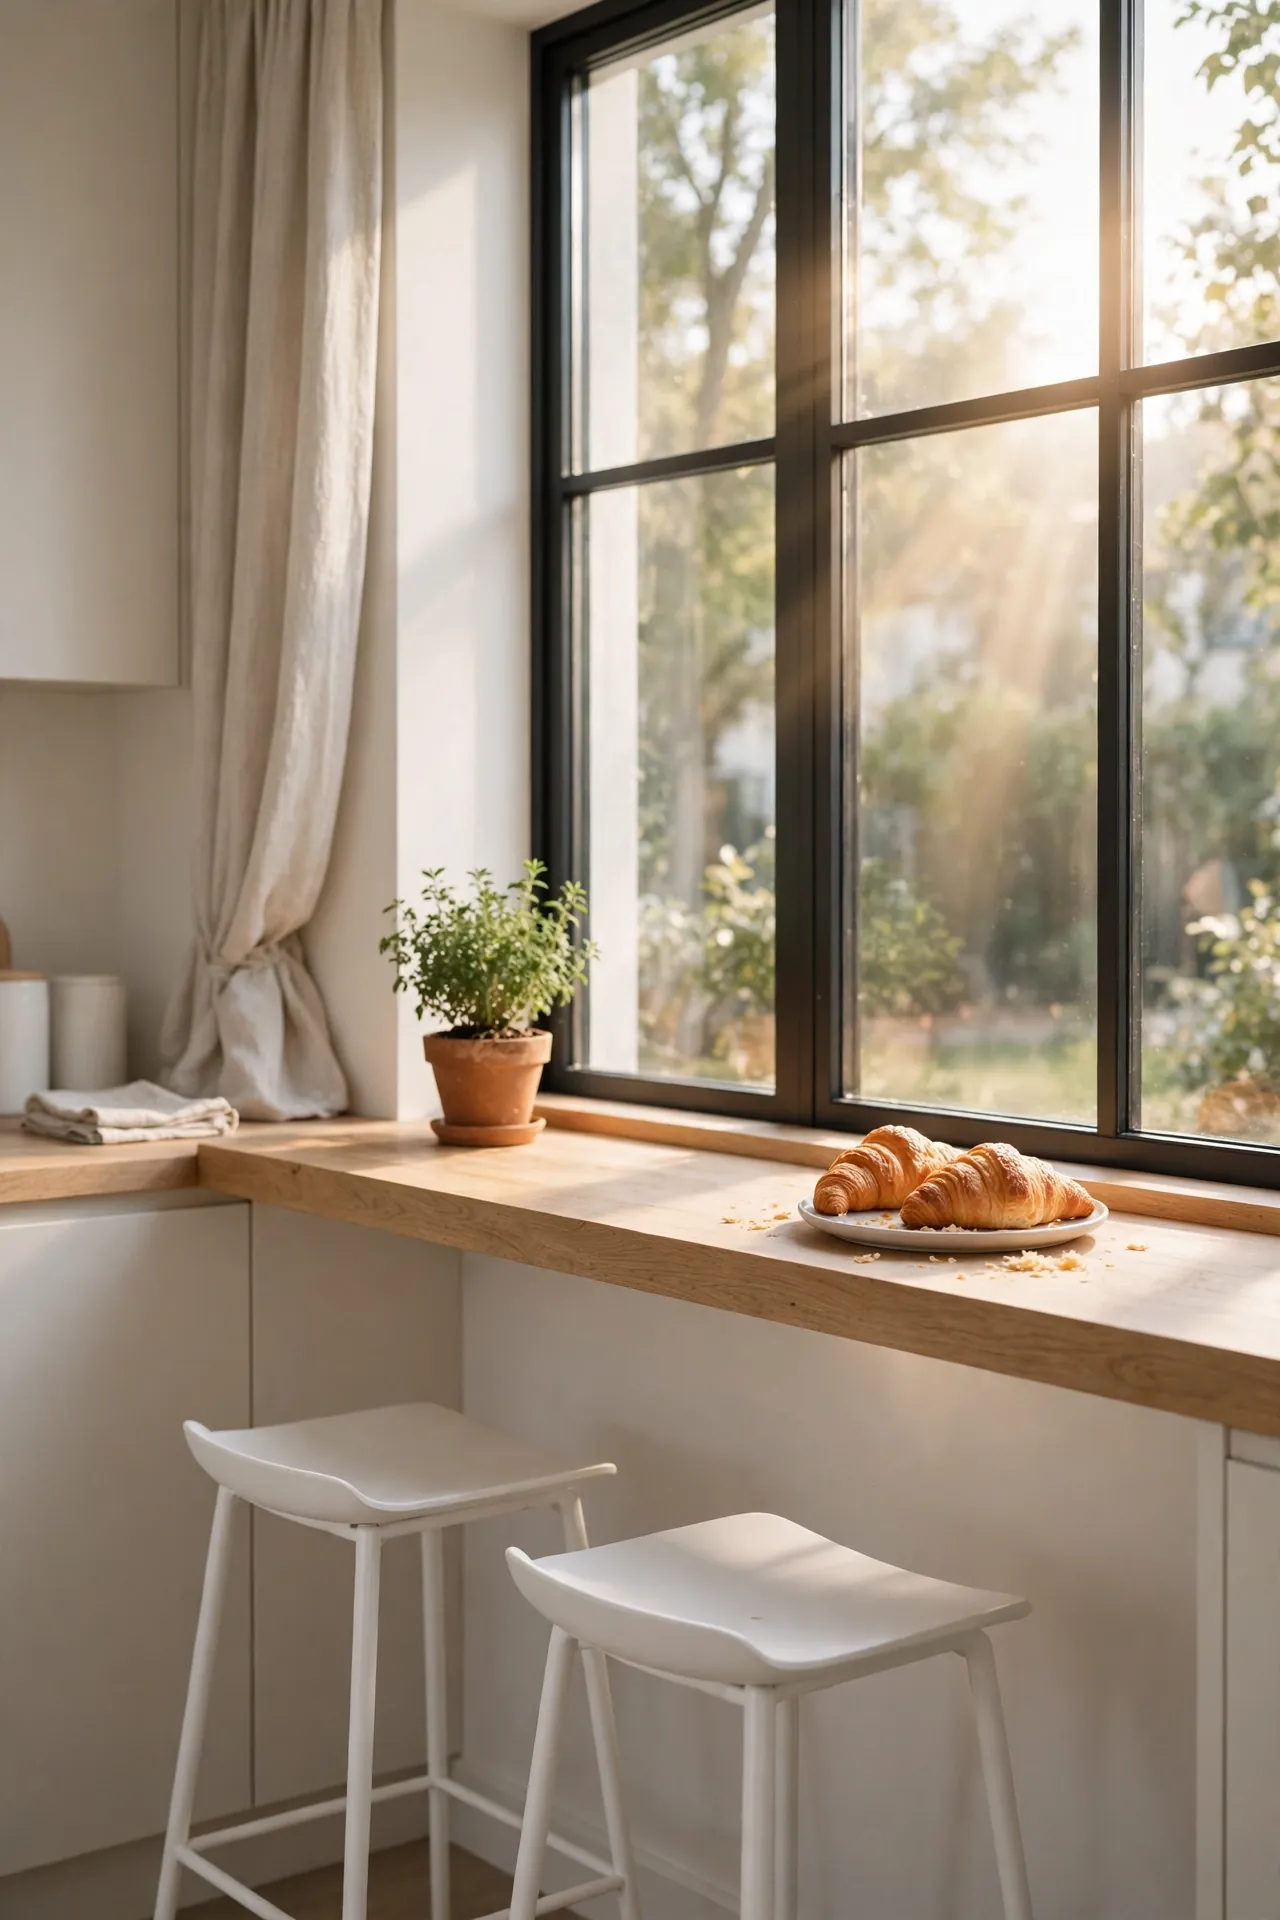
BEFORE: The window ledge collected mail, dead plants, and a thick layer of dust. It was a dead zone with the best light in the kitchen going to waste every single morning of the week.
AFTER: A 14-inch oak plank now sits on the sill with two slim stools tucked beneath it. I eat toast watching the street wake up, and the old dead zone has become the favorite seat in the entire house.
Windowsills are wasted real estate in most small kitchens. Check your sill depth first; you need at least 10 inches for a mug and a plate. In my experience, this spot also gets the best natural light, which makes a small kitchen feel larger the moment you sit down.
Peninsula Bar Extension
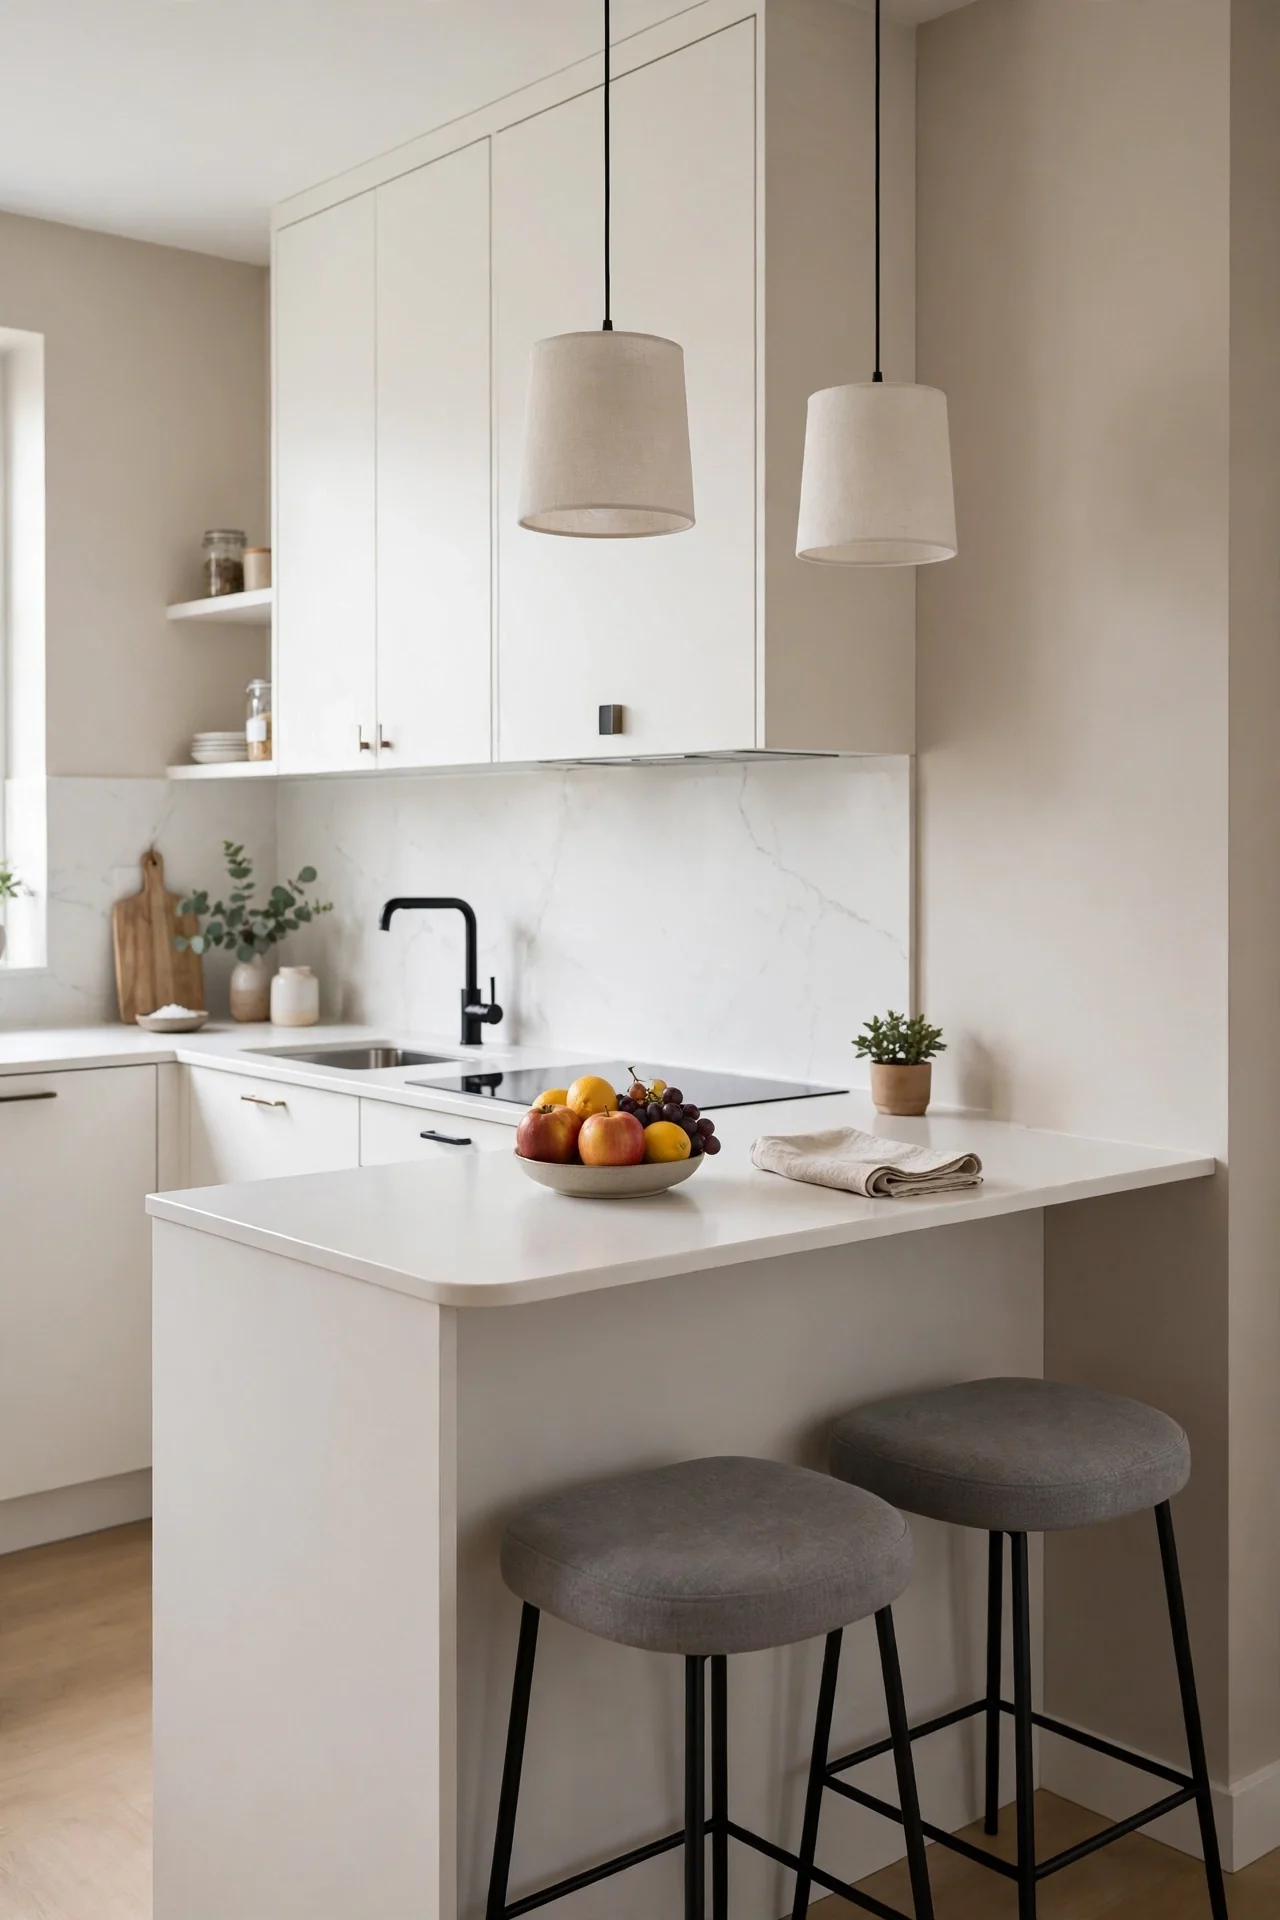
- Measure the open end of your counter run and mark a 24 to 30 inch extension.
- Bolt a matching countertop slab to the base cabinet with steel brackets.
- Add a single support leg at the far end so the overhang stays rock solid.
- Slide two stools under the overhang and test the knee clearance twice.
A peninsula turns a U-shaped kitchen into a social space without stealing floor area. It builds on the counter you already own, so costs stay low. I have seen renters pull this off with a freestanding board clamped in place, no drilling required at all.
Butcher Block Bar Cart
| Feature | Foldable Top Cart | Fixed Top Cart |
|---|---|---|
| Cost | Higher, yet seats three comfortably | Lower and simpler to build |
| Footprint | Shrinks flat against the wall | Stays the same size always |
| Storage | Less room for shelves below | Full shelving for dishes and jars |
| Best for | Studios under 400 square feet | Kitchens with a free corner |
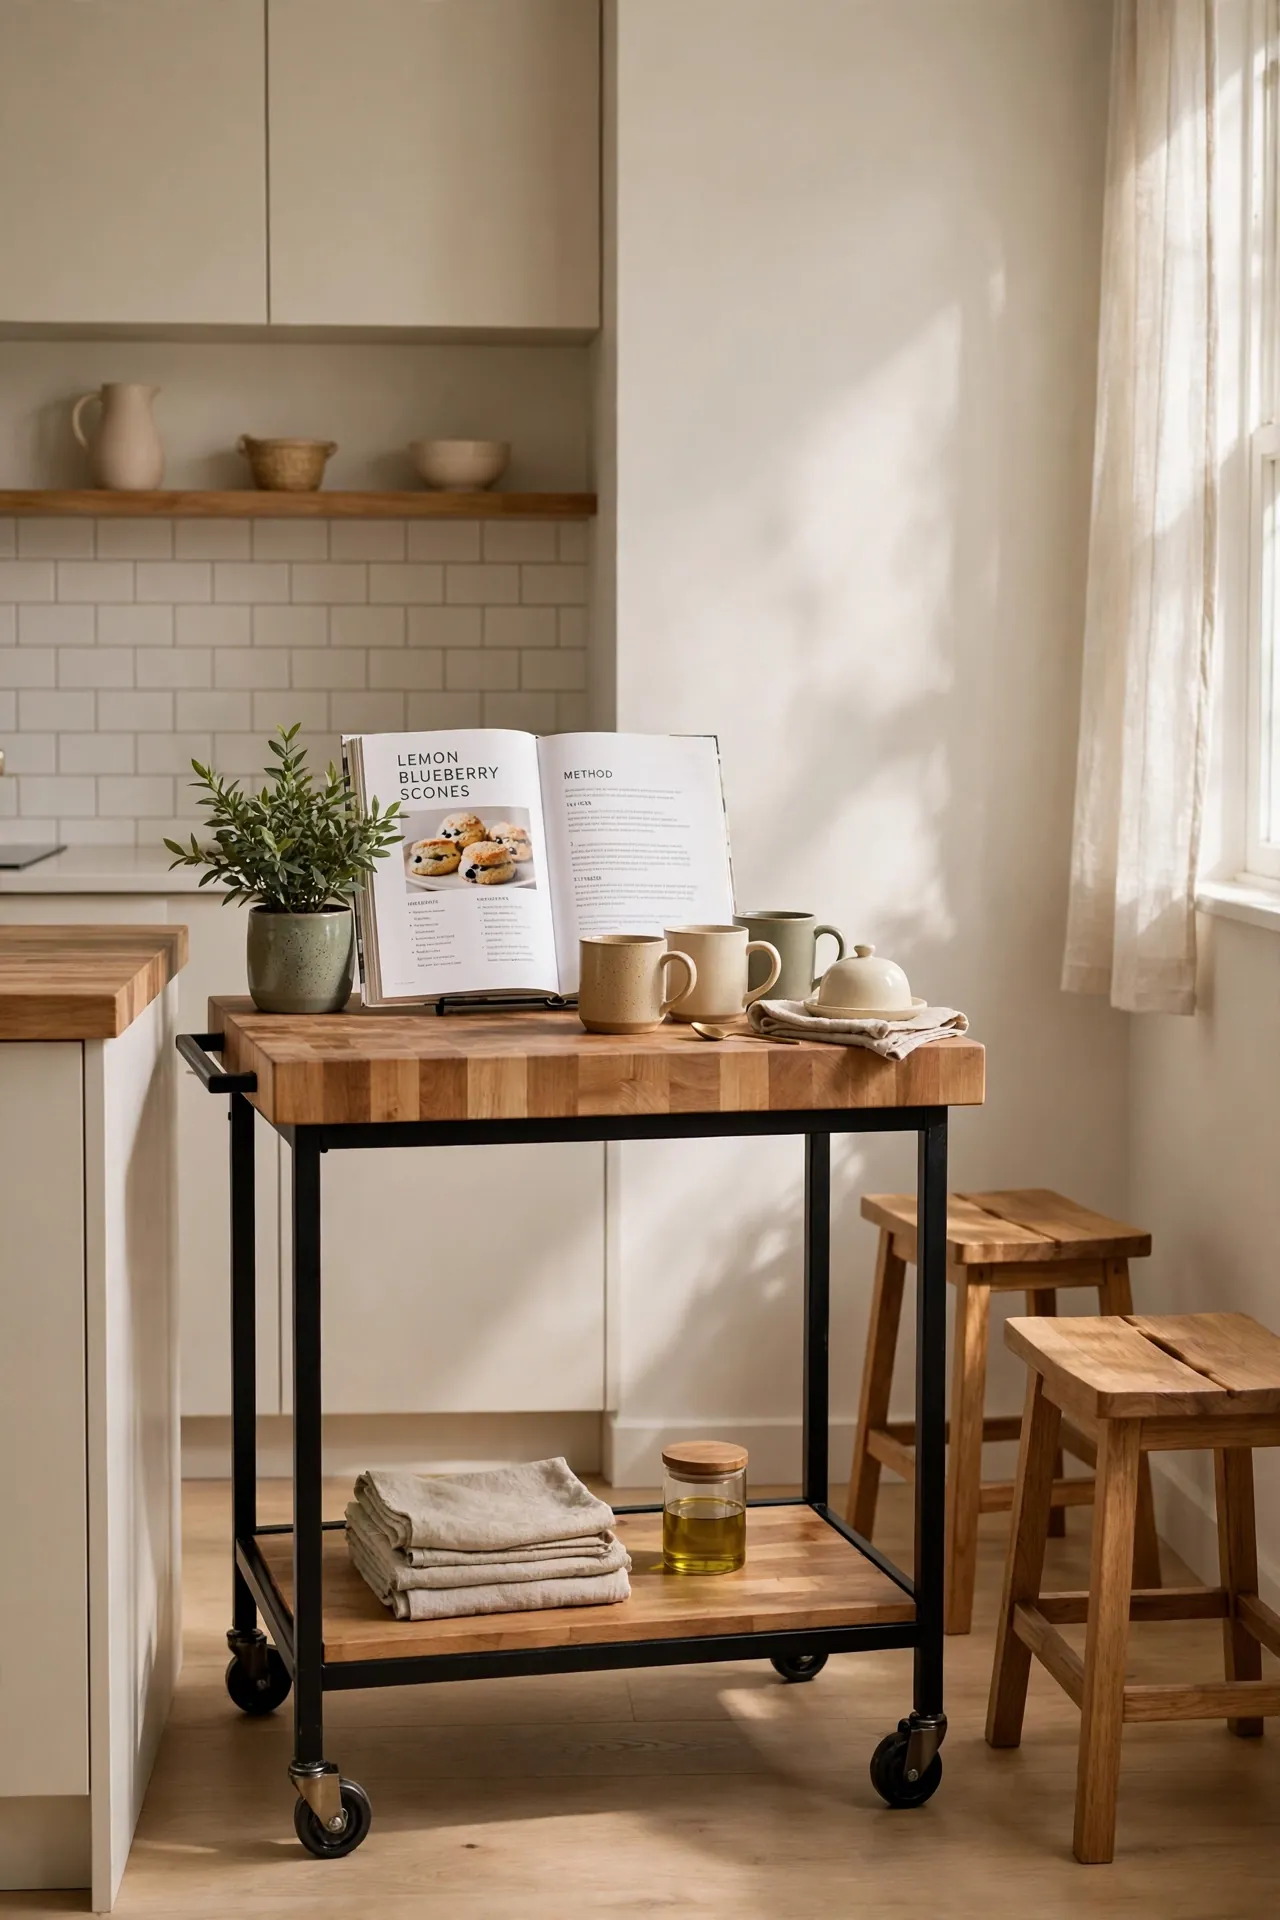
Butcher block brings a warmth that stainless steel never will. Oil it monthly and it shrugs off coffee rings and knife marks for years. I roll mine against the wall during dinner prep and pull it out again for morning cereal. Small kitchens always reward furniture that moves.
Corner Breakfast Nook
DO:
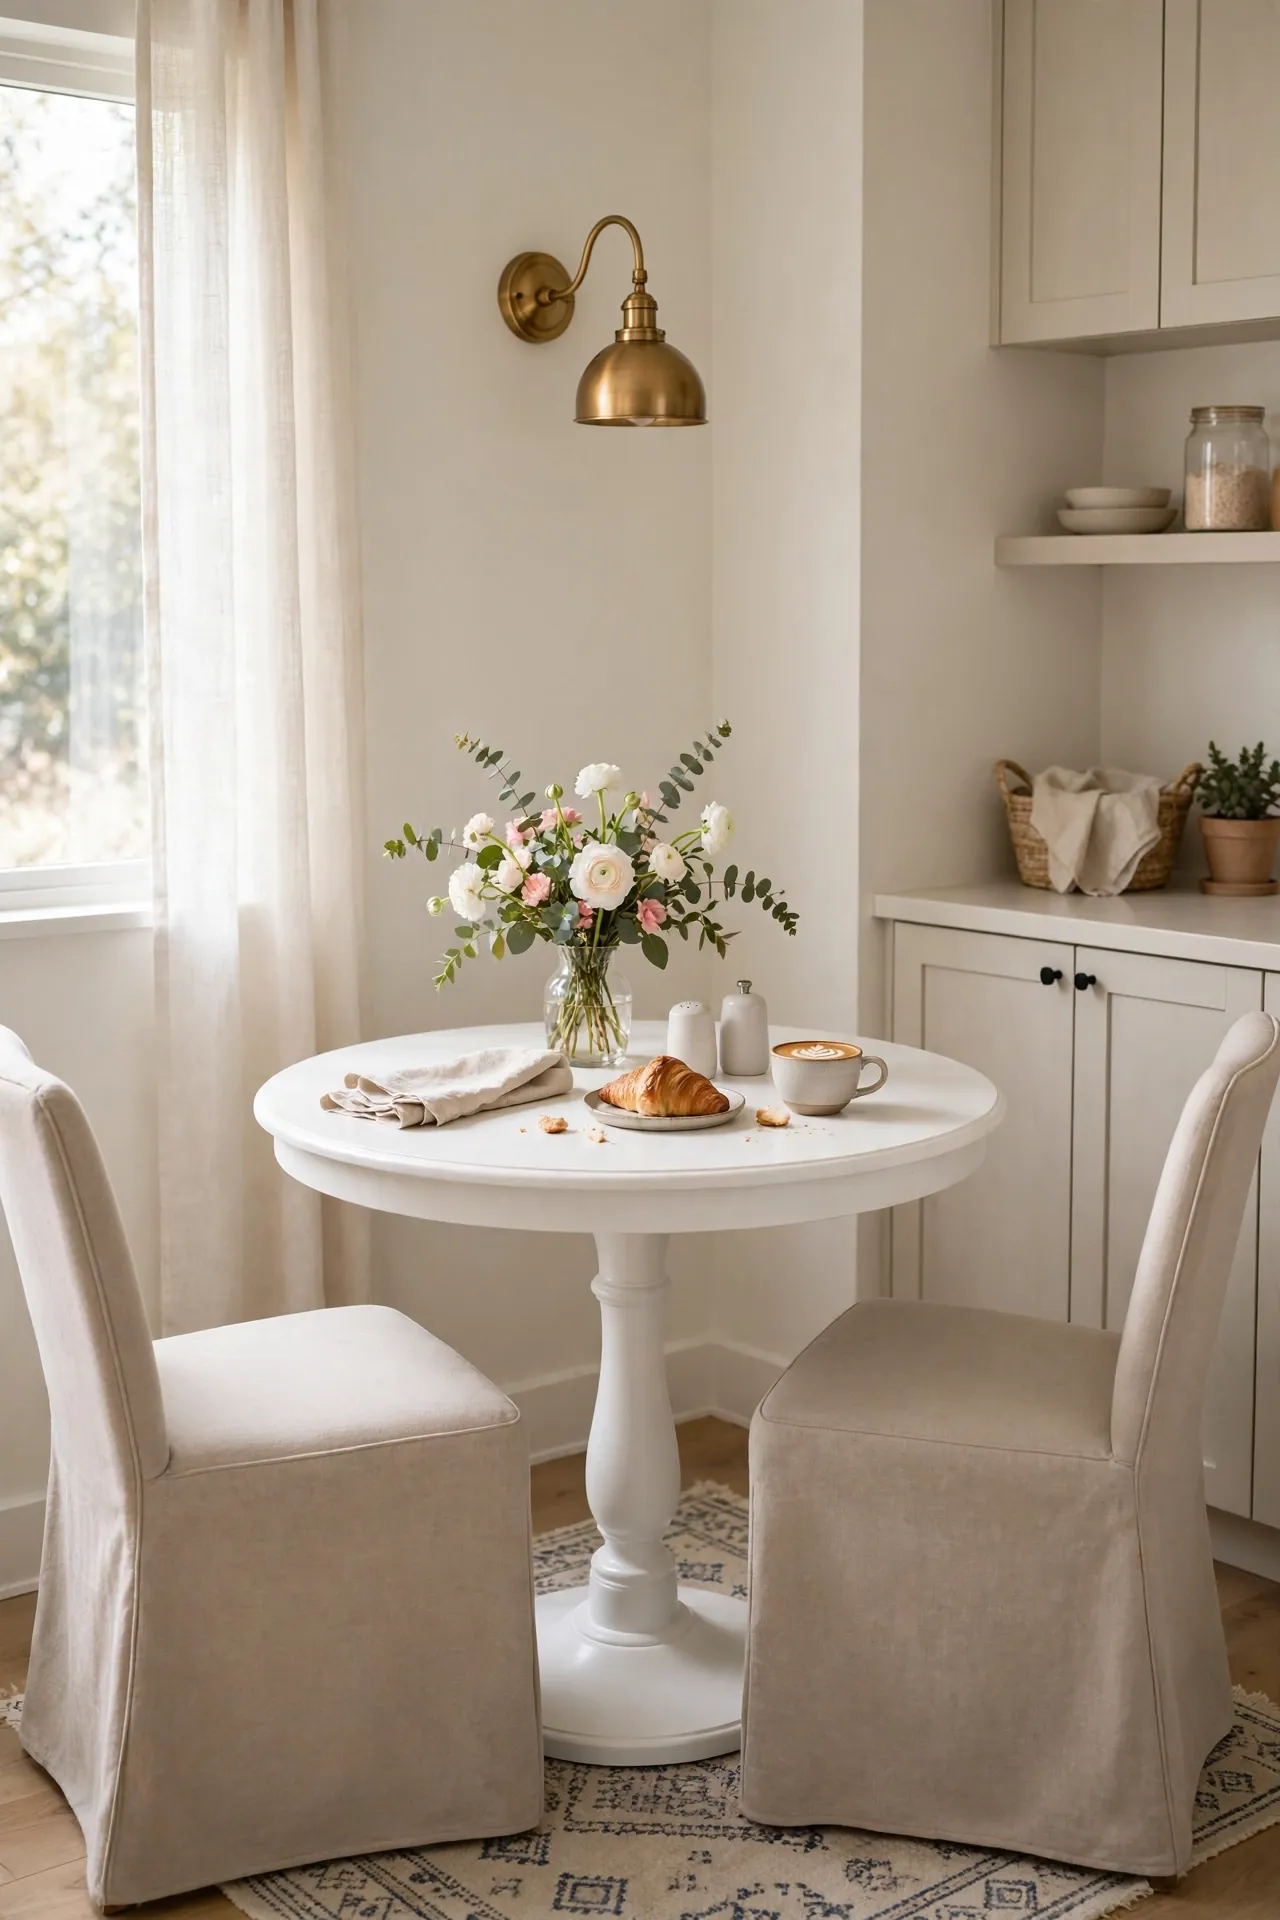
- Measure the corner twice before buying any table or bench.
- Choose a round pedestal table so no legs trap feet underneath.
- Add a wall-mounted light above to keep the table surface clear.
DON’T:
- Do not block the fridge door swing with your seating.
- Do not pick bulky armchairs for a tight kitchen corner.
- Do not skip a rug; it visually defines the eating zone.
Corners hold the most underused inches in any kitchen. A small round table with a bench seats three people where separate chairs would seat one. I have noticed kids do homework at nooks like this while dinner cooks, which keeps everyone together.
Drop-Leaf Bar Table
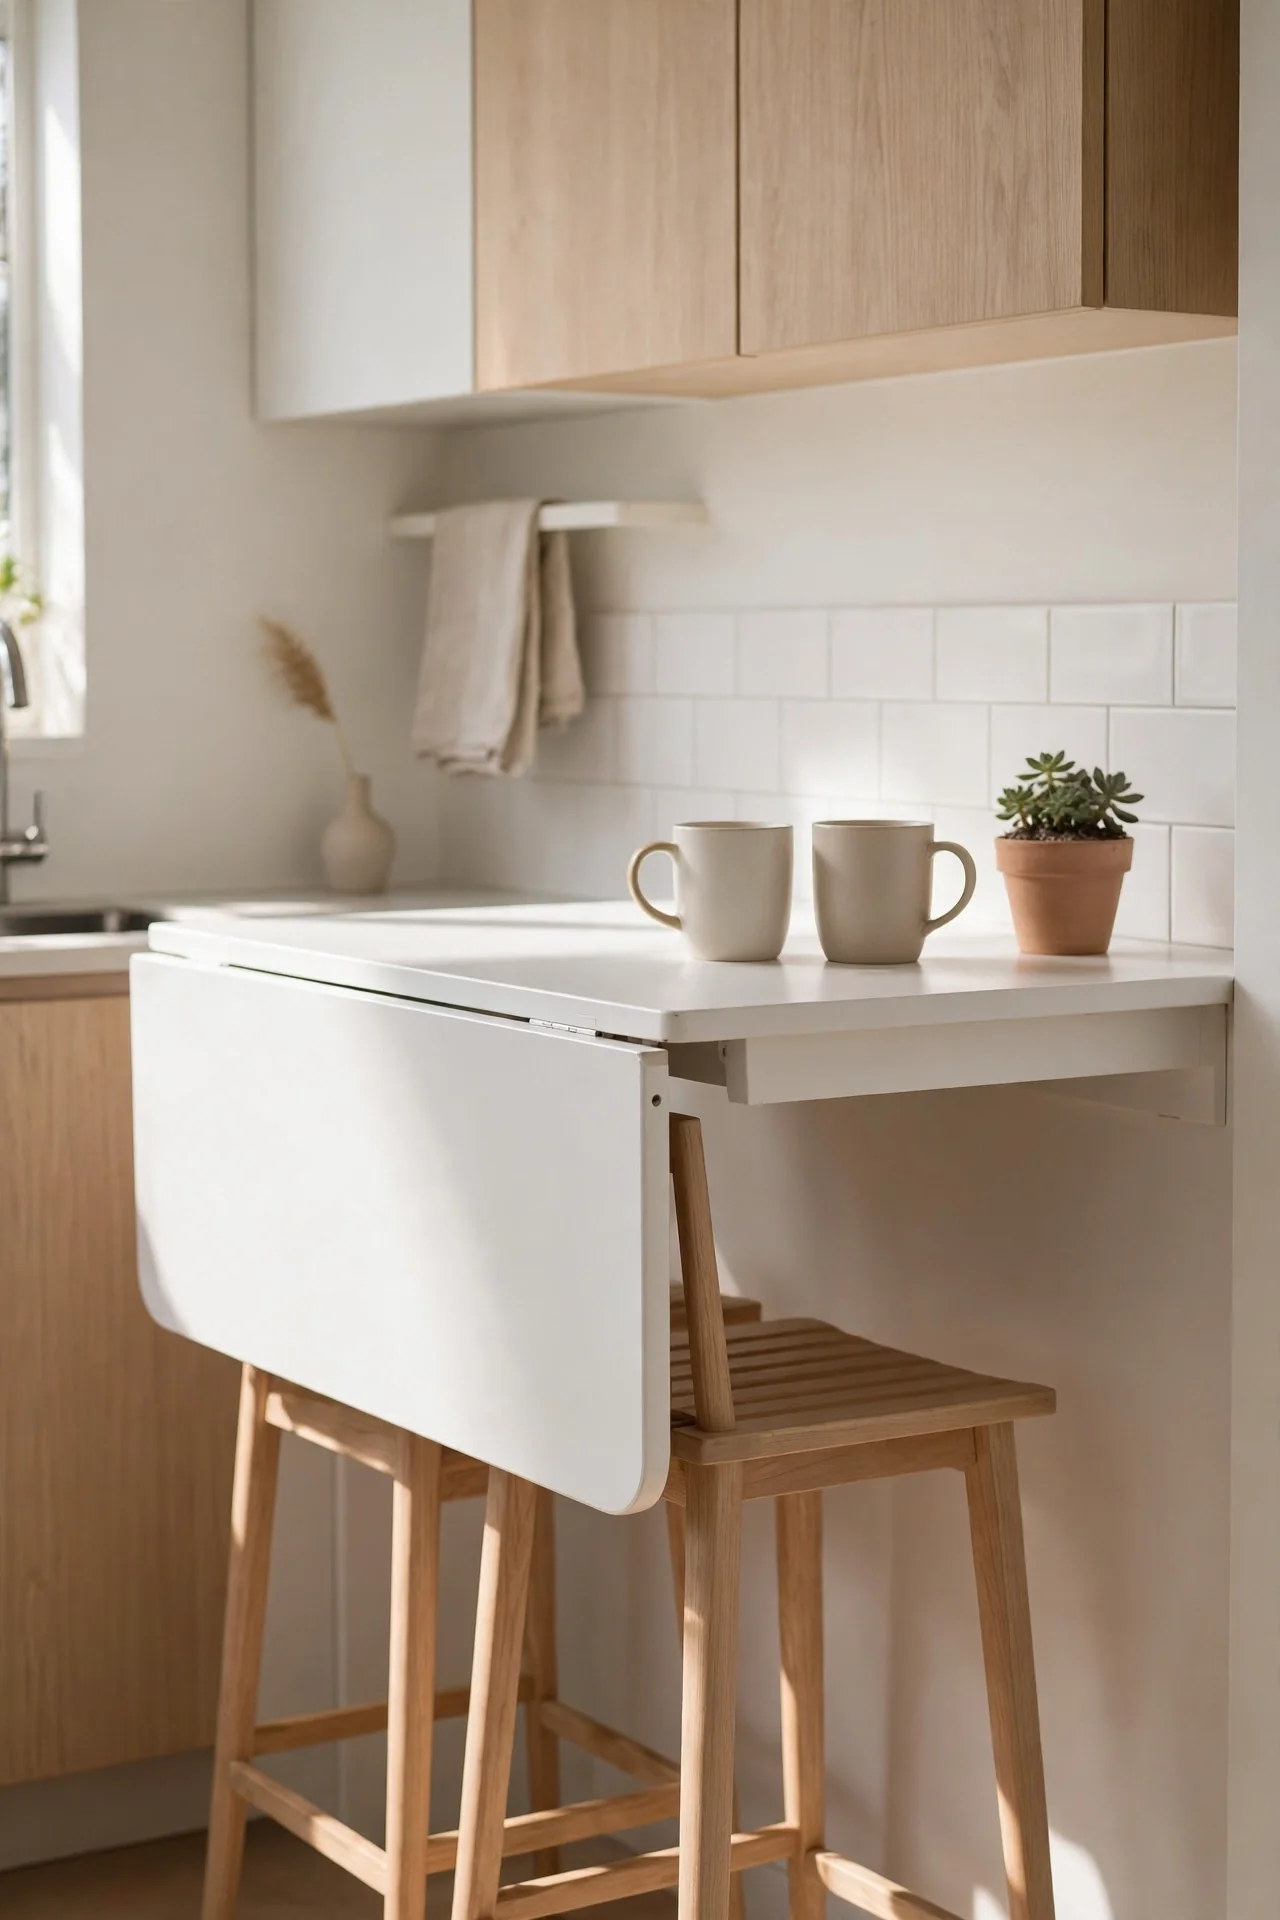
Cost: Under 120 dollars if you build it yourself | Time: One relaxed weekend | Skill Level: Beginner friendly | Best For: Renters and tiny galley kitchens | Result: A bar that folds to console depth | Bonus: Doubles as a hallway console
Drop-leaf tables are the original space saver. Both leaves down and it reads as a slim console; one leaf up and two people eat in comfort. I have tried vintage ones from thrift stores, and a fresh coat of paint makes them look brand new. Keep the hinges waxed so the leaves drop smoothly for years of daily use.
Pull-Out Counter Bar
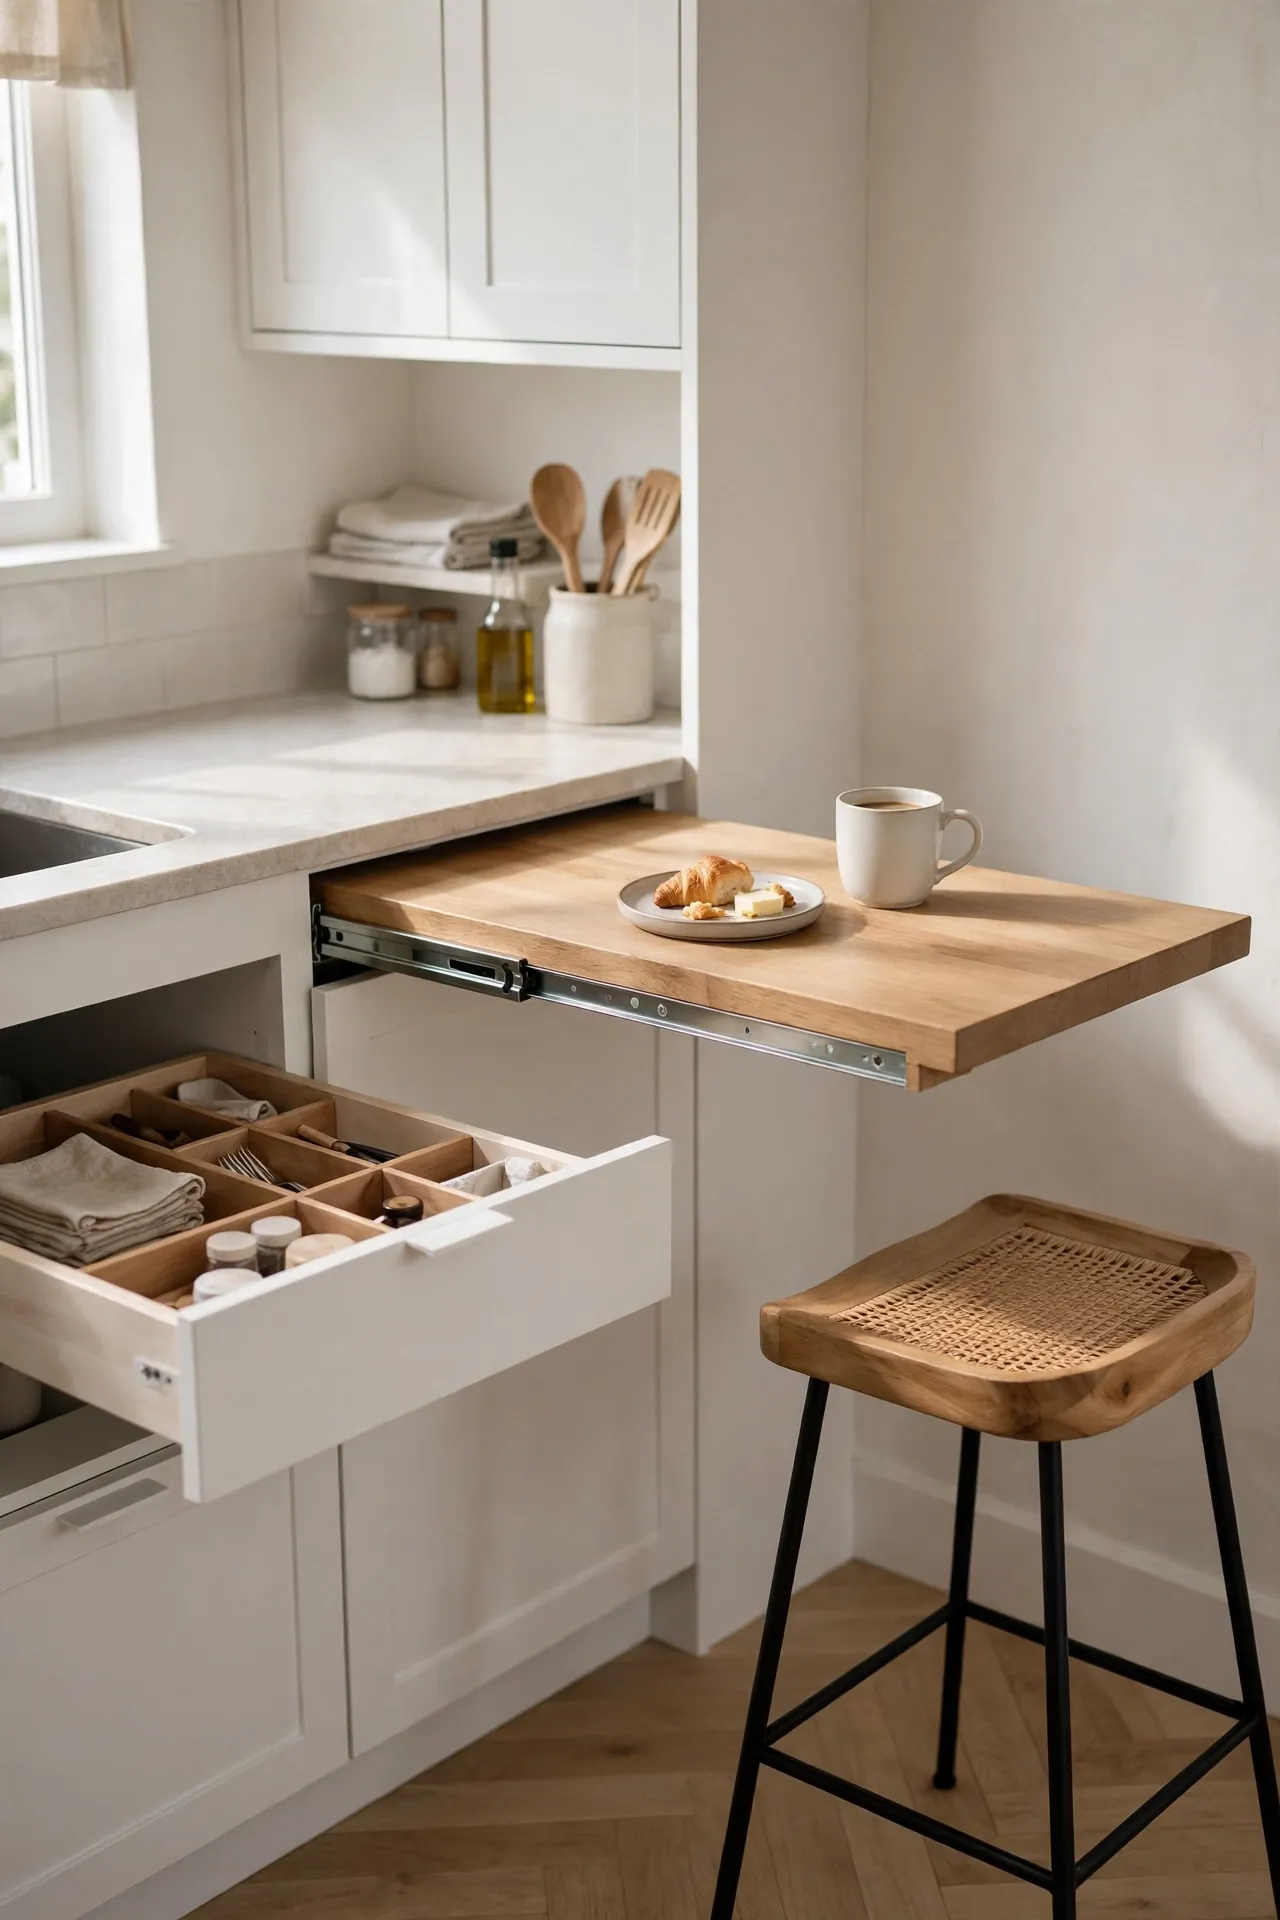
A pull-out bar hides inside a base cabinet and slides out like a drawer when hunger strikes. It is my favorite trick for kitchens under 80 square feet. Install full-extension slides rated for 100 pounds and pair them with a 12-inch deep top, and the whole thing vanishes after breakfast.
You will need a cabinet at least 18 inches wide to house the mechanism. In my experience, the pull-out gets used daily because there is no setup or folding involved at all. Add a small stop block so it cannot slide too far, and wipe crumbs away before pushing it completely home.
Bar Stools Under Counter
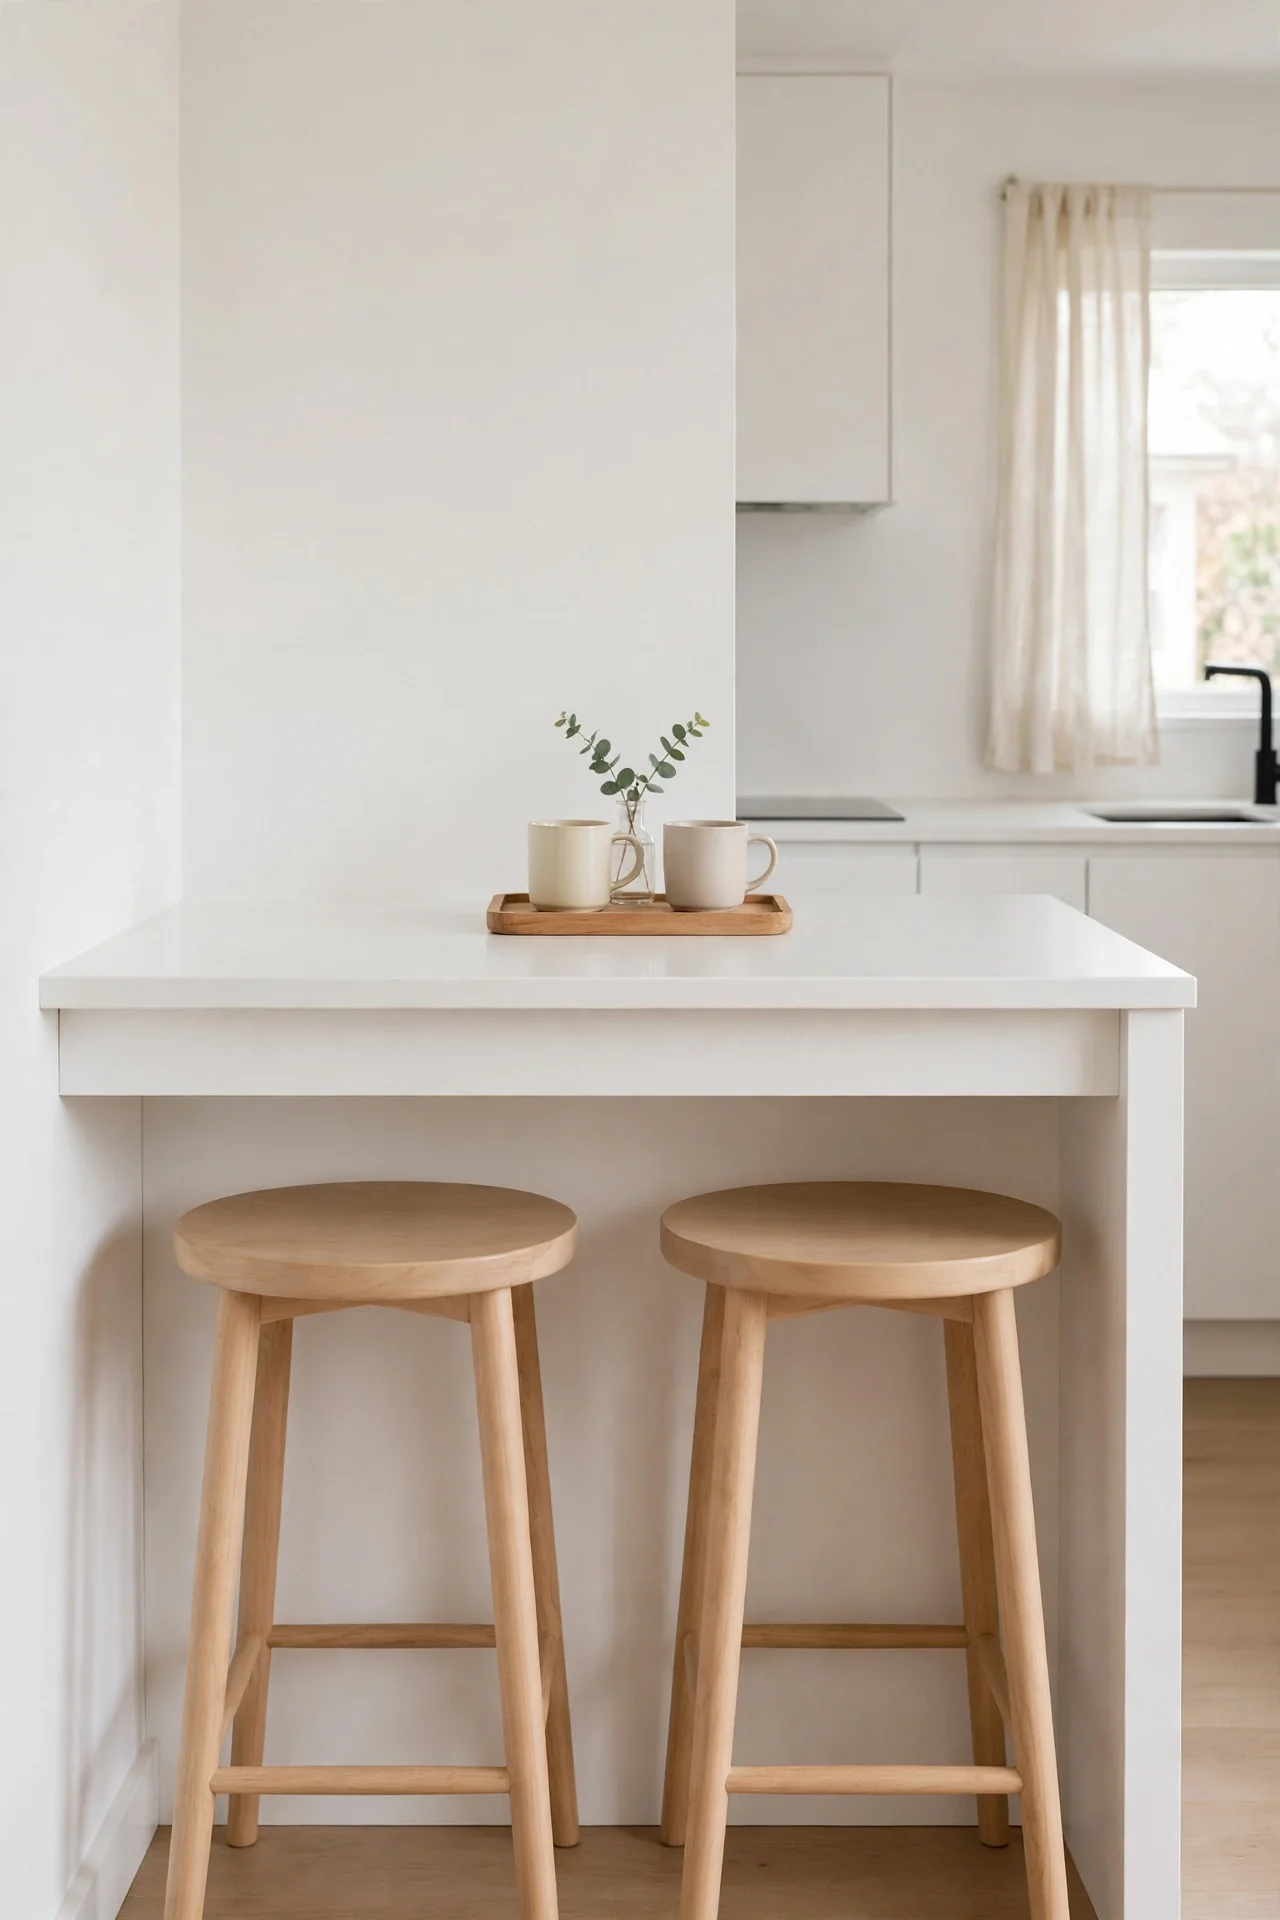
- Measure your counter overhang; you need 12 inches of knee space minimum.
- Choose backless stools that slide fully underneath the countertop.
- Pick wipeable seats like molded wood or vinyl for easy cleanup.
- Keep stool height 10 to 12 inches below the counter surface.
- Limit it to two stools so the walkway stays fully usable.
Stools that disappear under the counter change how a kitchen feels. Without chair backs breaking the sightline, the room reads bigger in an instant. I have seen this work well in many cases where families gained a dining spot without losing a single square foot of floor.
Open Shelf Back Bar
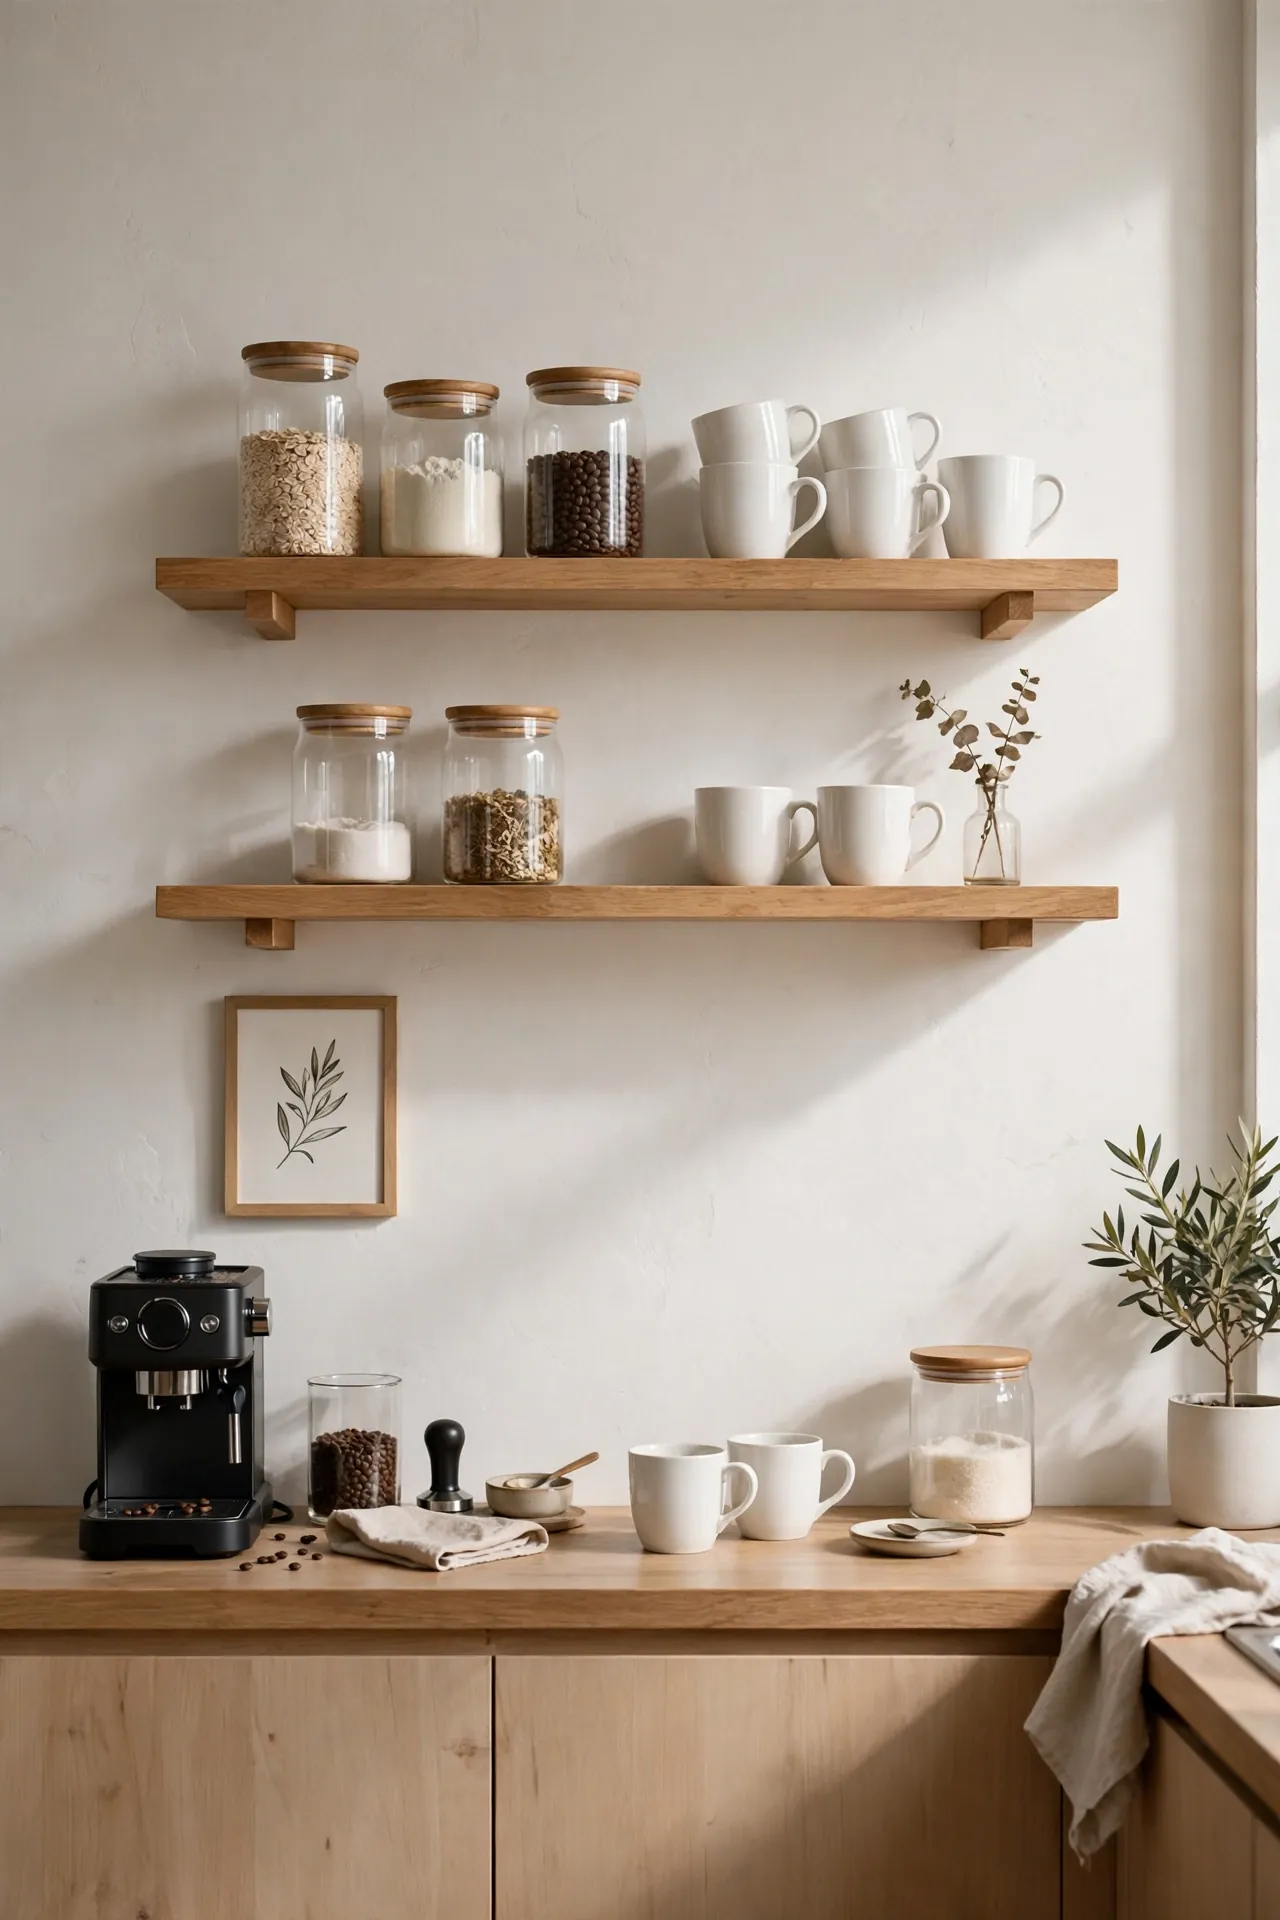
Quick Tip: Anchor open shelves with a French cleat for rock-solid hold, and keep the lowest shelf 18 inches above the bar top. Style the shelves with mugs and jars you actually use daily so the display stays practical and welcoming instead of gathering dust.
An open shelf back bar turns a blank wall into a coffee station and breakfast ledge in one move. The shelves hold everything within arm’s reach, which matters when counter space is measured in inches. I have tried this with thrifted brackets and reclaimed wood, and guests always ask where the whole setup came from.
Curved Corner Bar
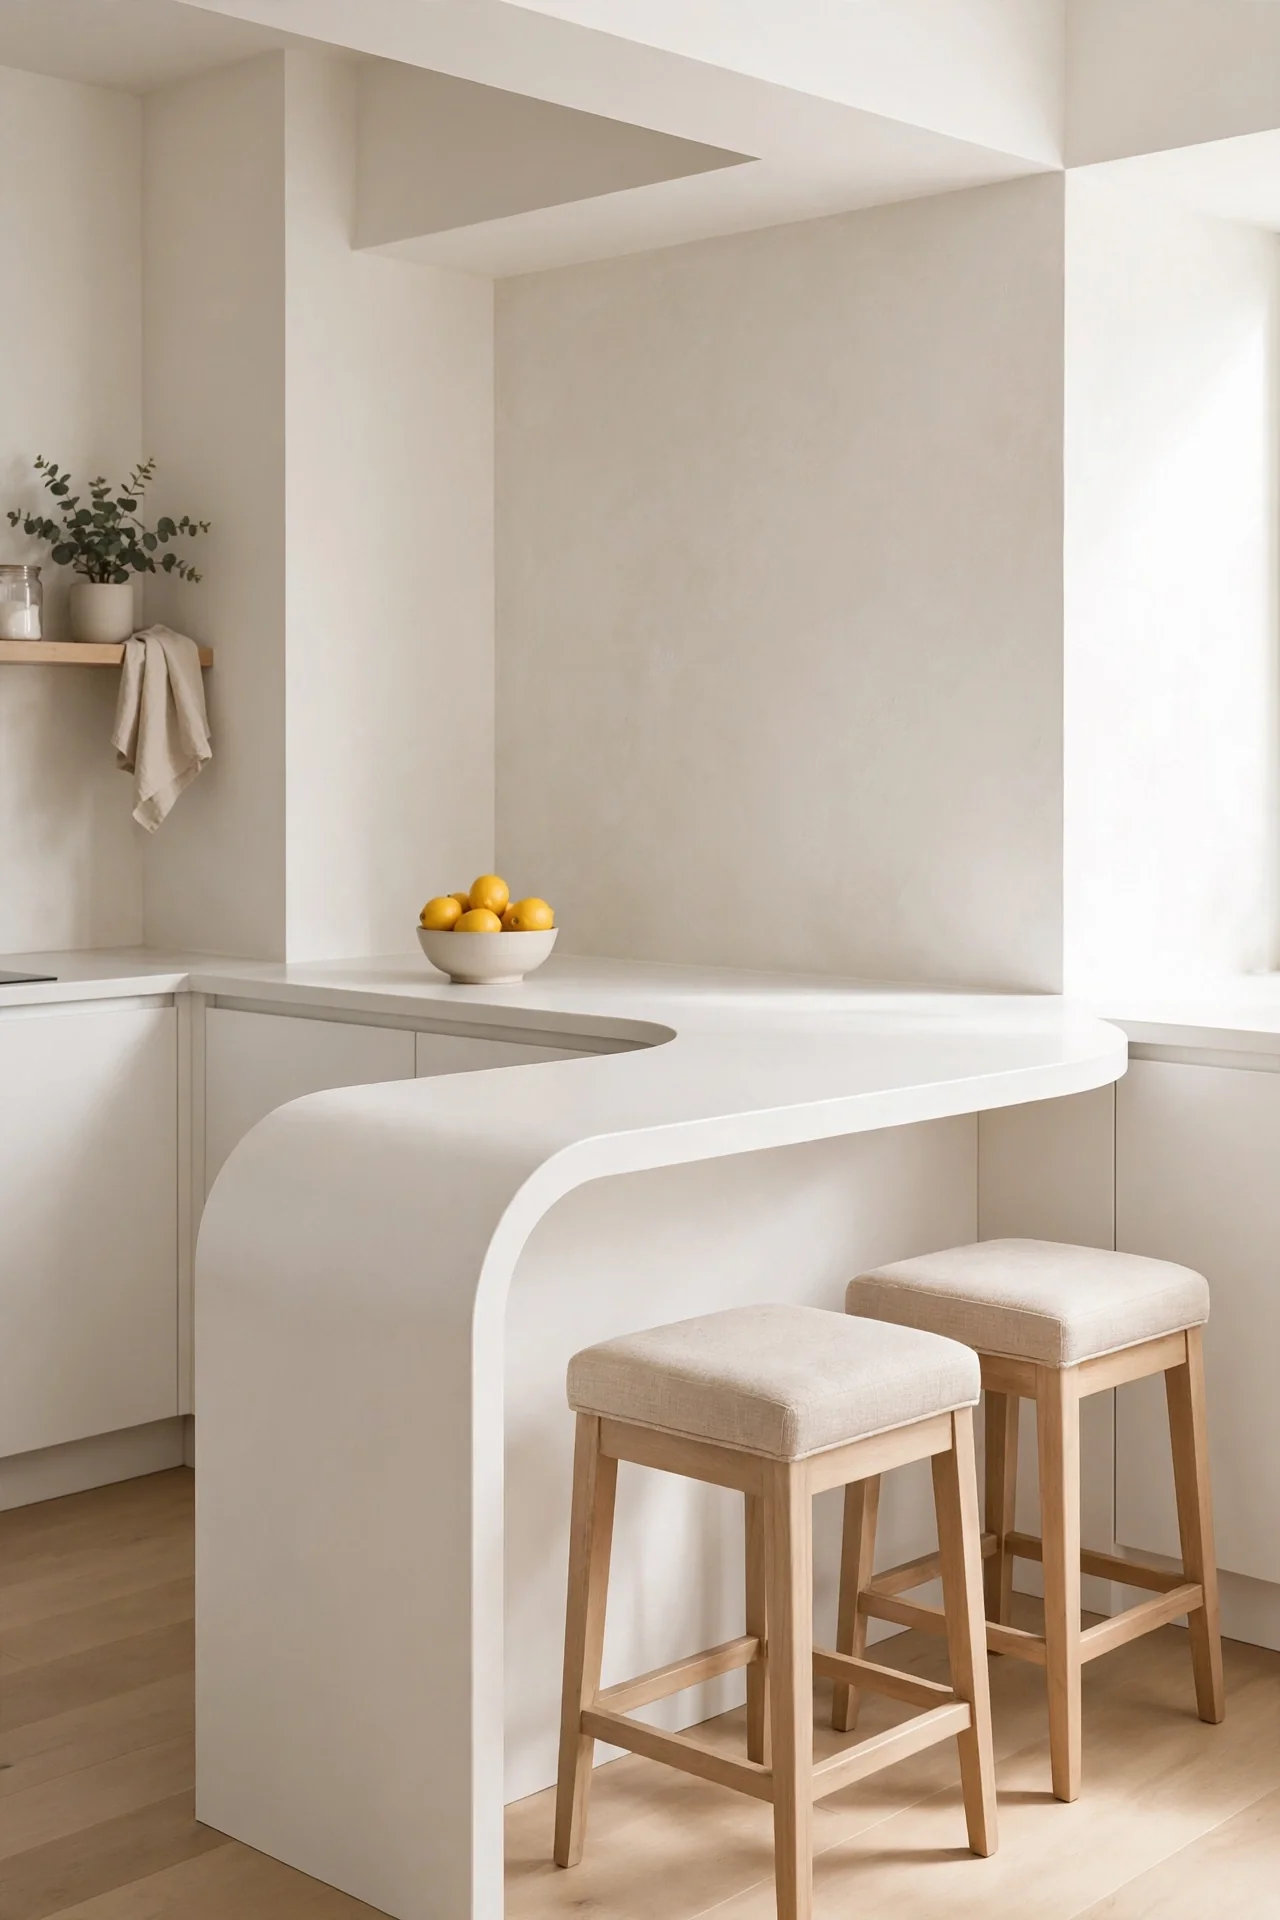
BEFORE: The sharp corner where two counters met was a bruise factory and a dead triangle of laminate. Nobody could sit there comfortably, and the space behind the corner stayed empty for years.
AFTER: A curved waterfall edge now wraps the corner into a smooth perch for two. The curve guides traffic gently around the kitchen, and the once-dead triangle holds breakfast every single day.
Curves soften tight kitchens and remove the pinch points that straight corners create. A local carpenter can shape a laminate curve for less than most people expect. That is why many experts recommend rounded edges in high-traffic galley kitchens.
Slim Console Bar
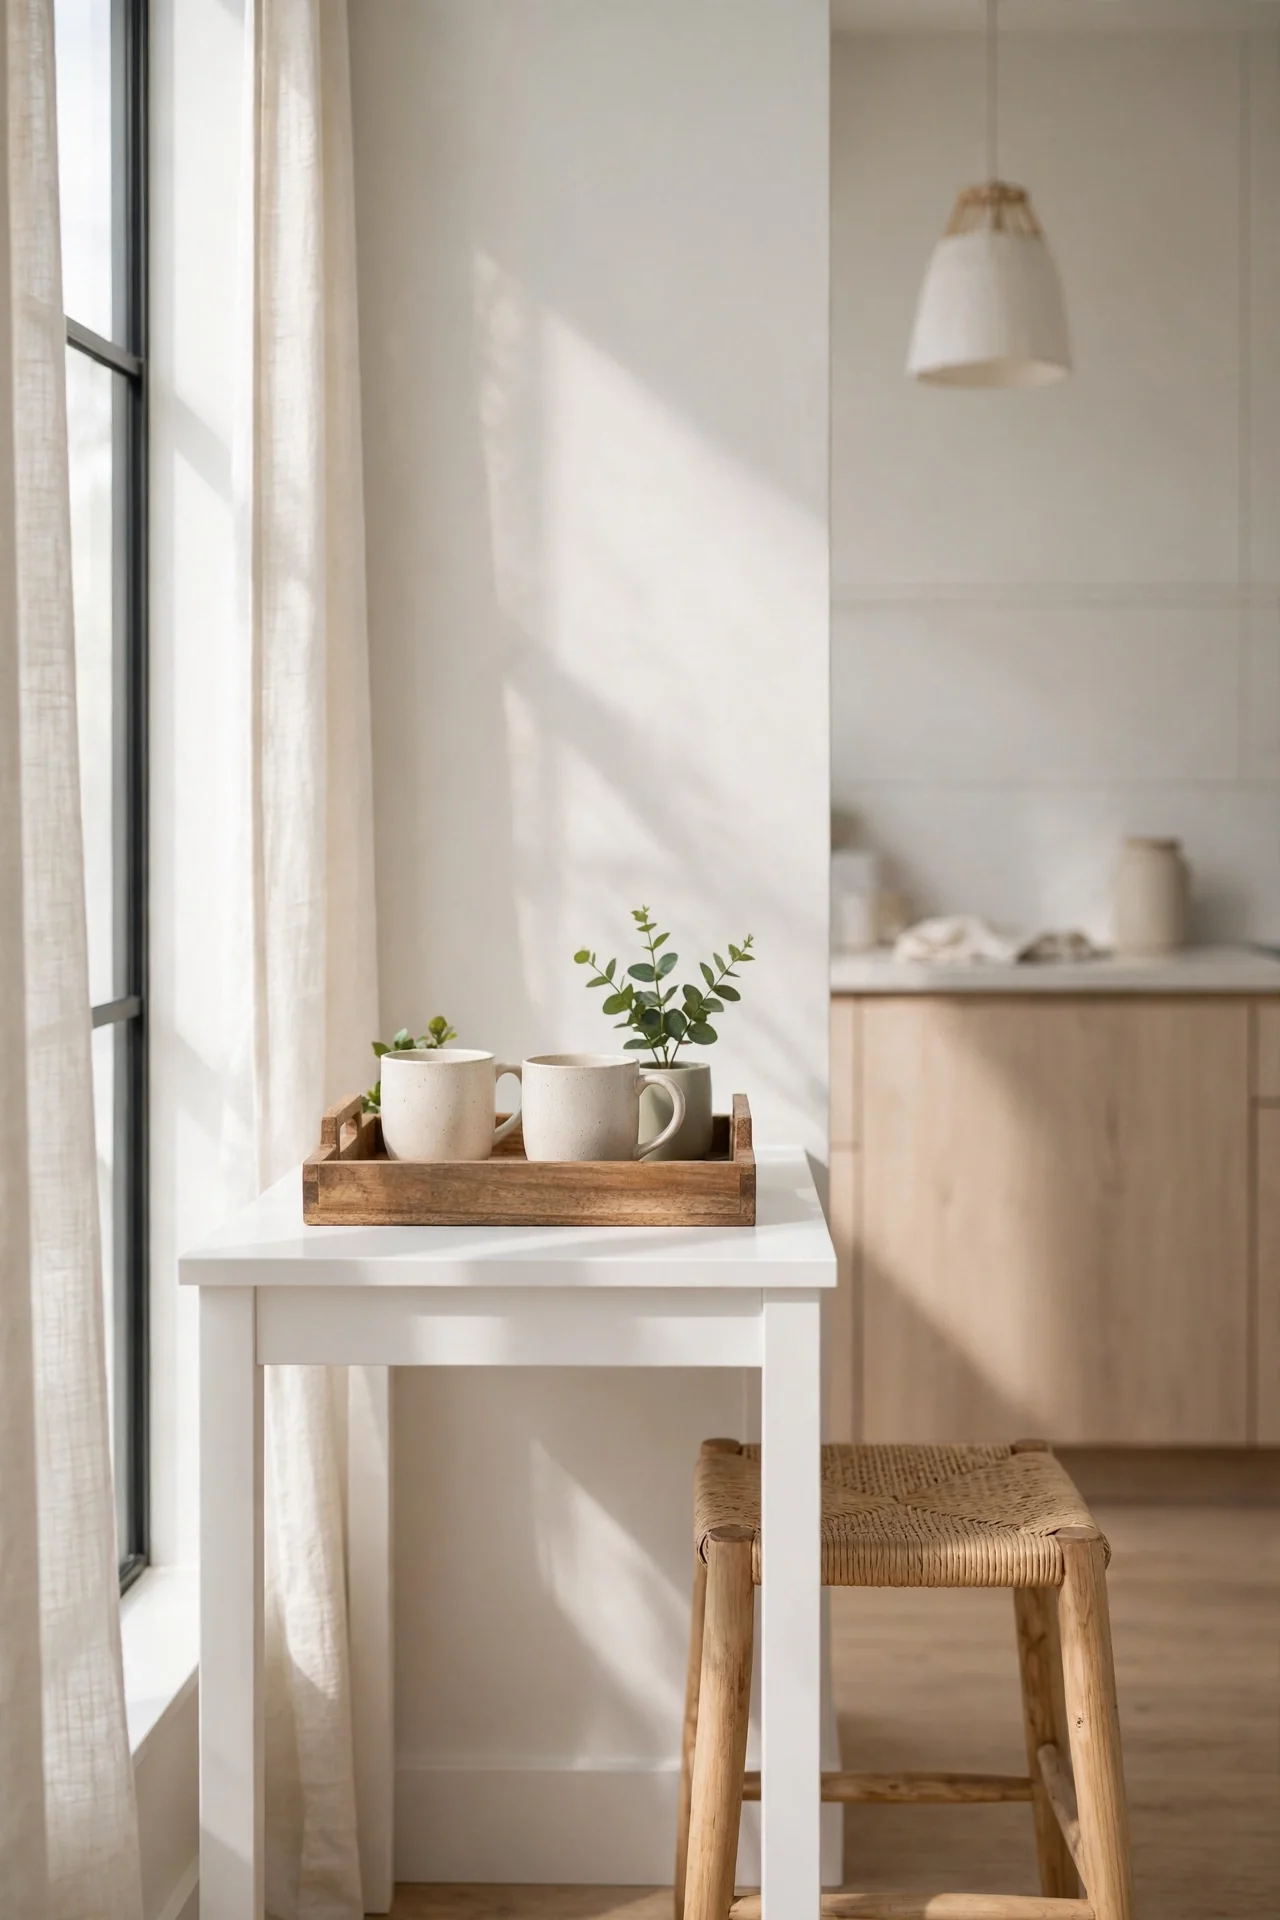
- Find a console table 10 to 12 inches deep at counter height.
- Anchor it firmly to the wall with anti-tip straps for total safety.
- Style the top with a tray, two mugs, and a small plant.
- Pull it away from the wall when guests need extra seating.
A console bar works along any empty wall, even a short four-foot stretch. It reads as furniture rather than cabinetry, so the kitchen feels styled instead of cramped. I have noticed this is the fastest upgrade on the whole list, easily done in under an hour with a thrifted table and basic tools.
Rolling Island Bar
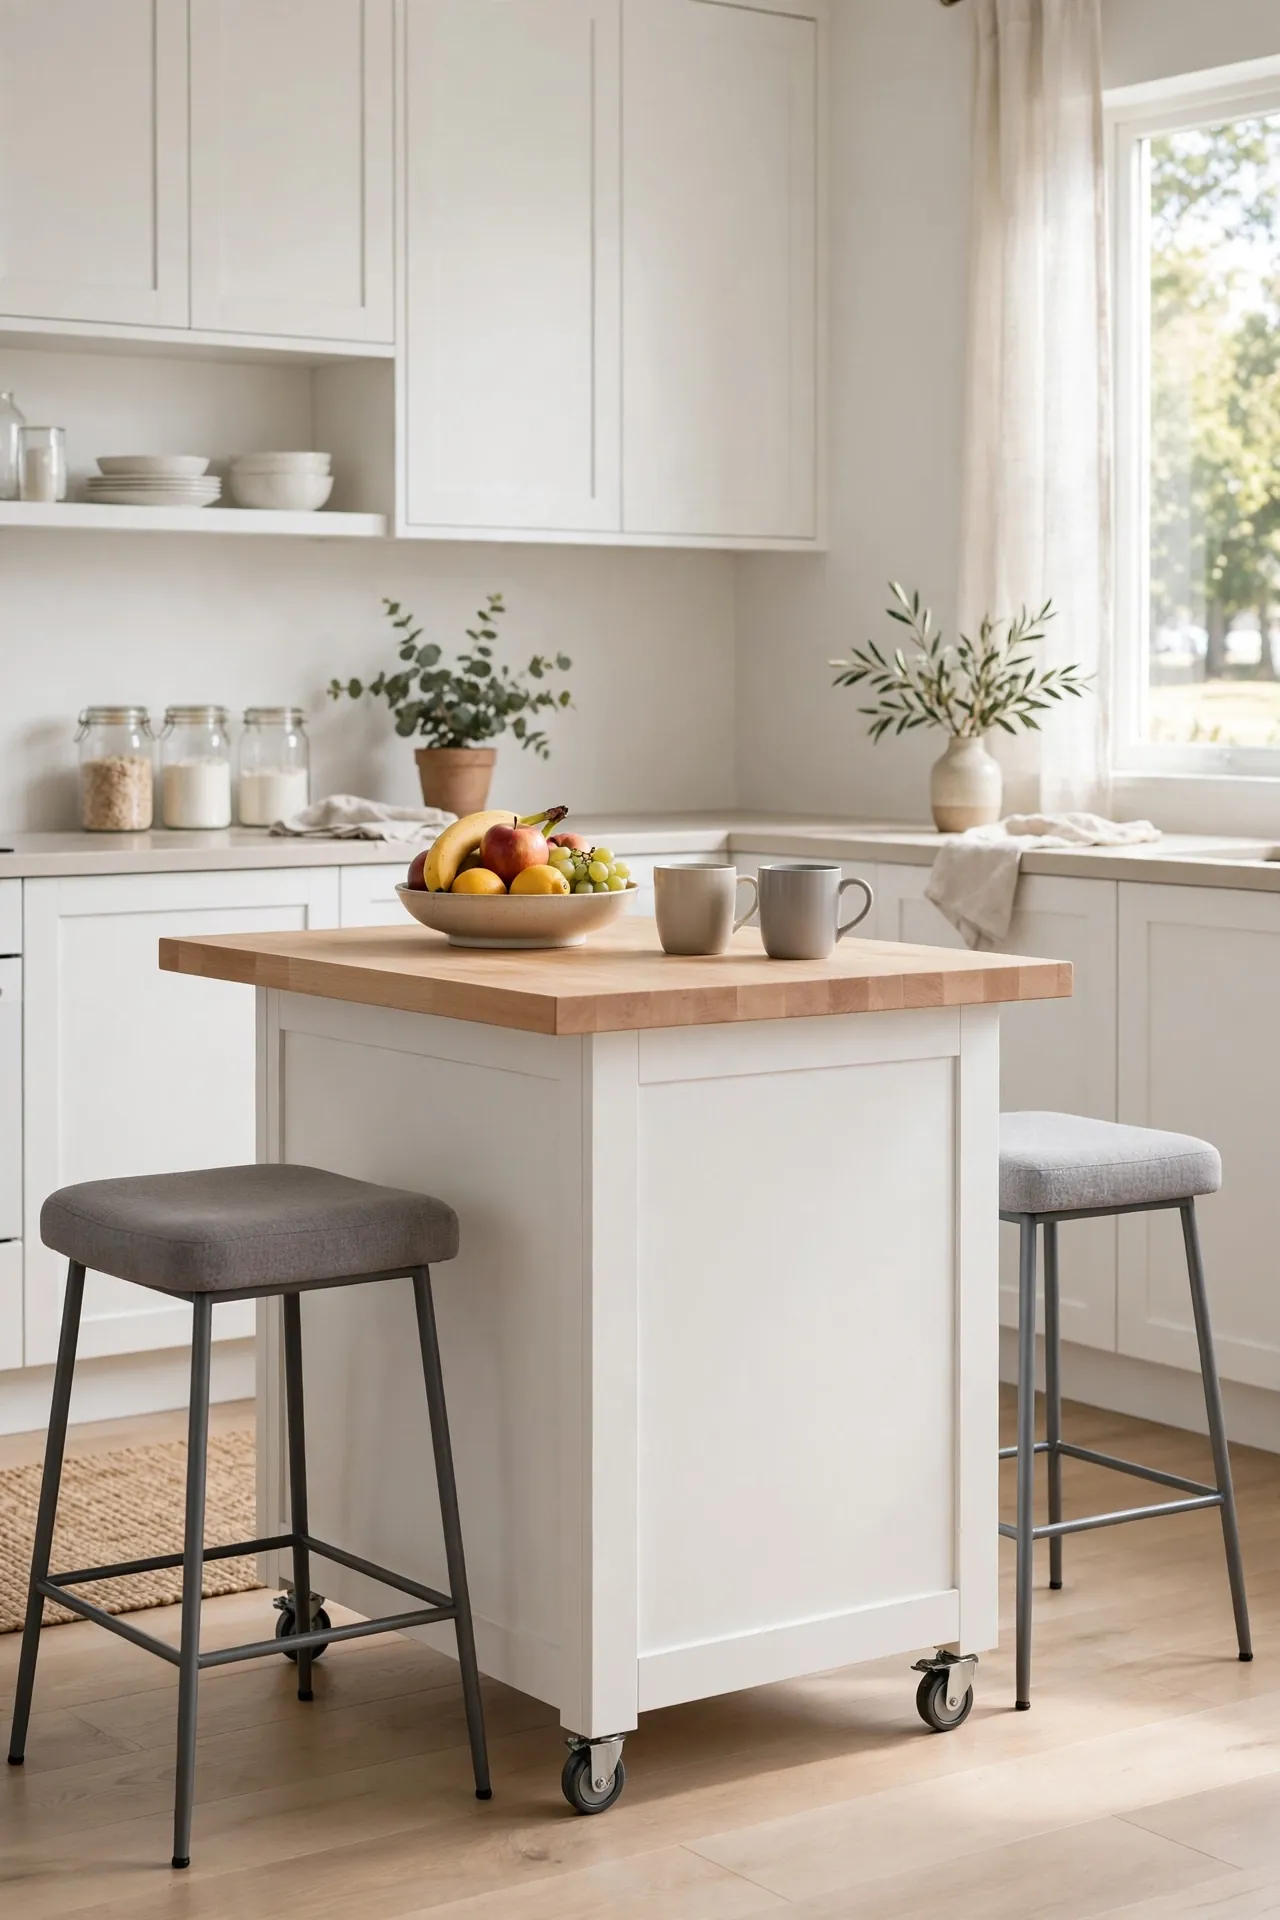
| Feature | Locking Casters | Fixed Base |
|---|---|---|
| Cost | Slightly higher for good wheels | Lower, nothing extra to buy |
| Mobility | Rolls anywhere in the room in seconds | Stays put permanently |
| Stability | Solid once the locks engage | Maximum stability with zero wobble ever |
| Best for | Multitasking open-plan spaces | Dedicated breakfast corners |
Wheels are a small kitchen’s best friend. Roll the island out for Sunday pancakes, then tuck it against the wall for weeknight cooking. I oil the casters twice a year so they glide silently across the floor without a sound. Just lock them firmly in place before anyone sits down with a full hot plate.
L-Shaped Counter Bar
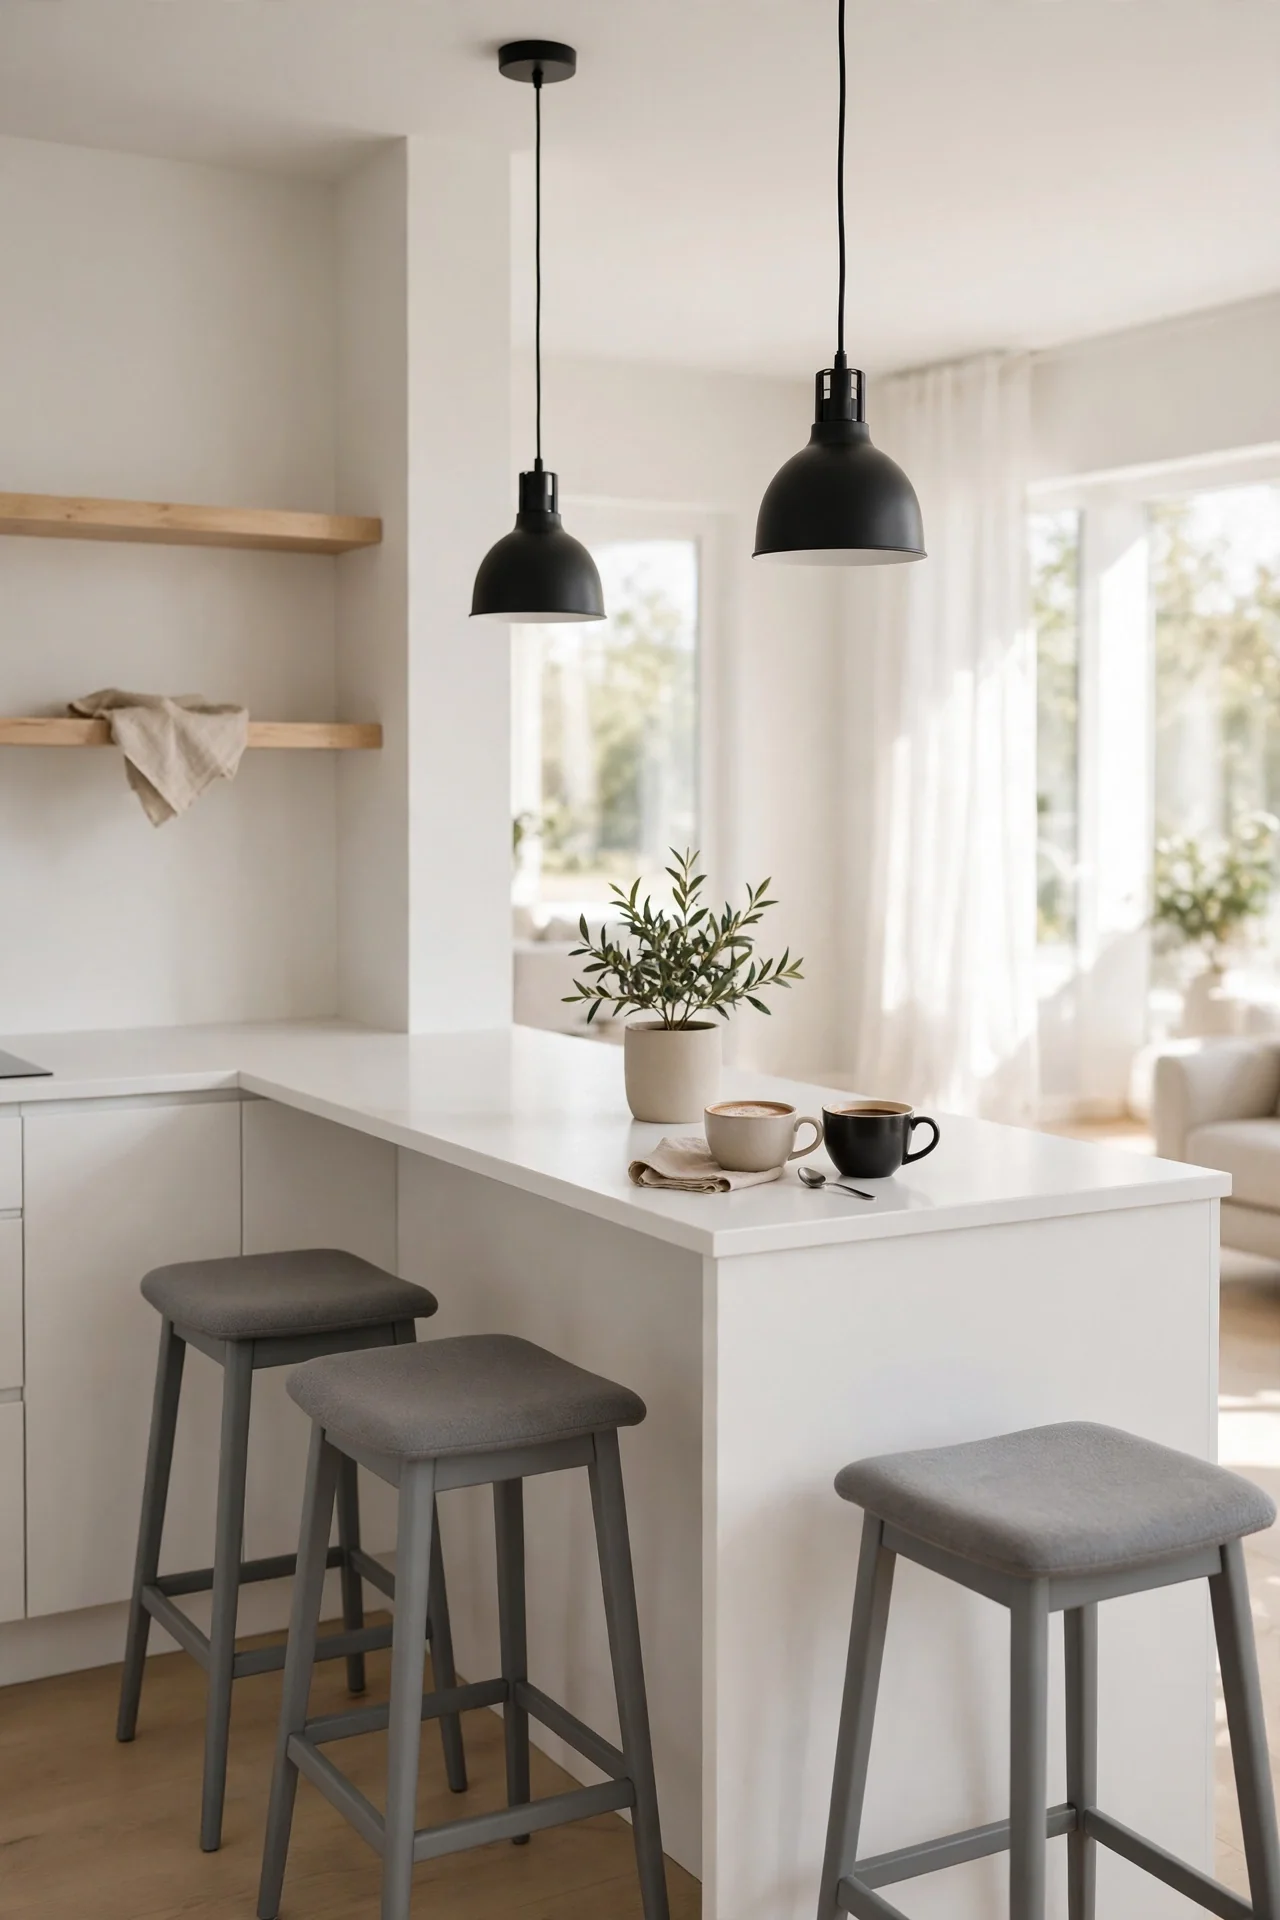
DO:
- Keep the inside corner clear for easy sliding between seats.
- Use the short leg of the L for drinks and the long leg for plates.
- Add pendant lights over each leg to define the two zones.
DON’T:
- Do not let the L shape block the main walkway through the kitchen.
- Do not overhang the short leg more than 10 inches for safety.
- Do not mix stool heights; keep every seat identical.
An L-shaped bar wraps seating around two sides, which doubles conversation without doubling the footprint. It works best in open-plan studios where the kitchen meets the living area. I have seen this work well in many cases with just three stools and two pendants.
Mirrored Bar Backsplash
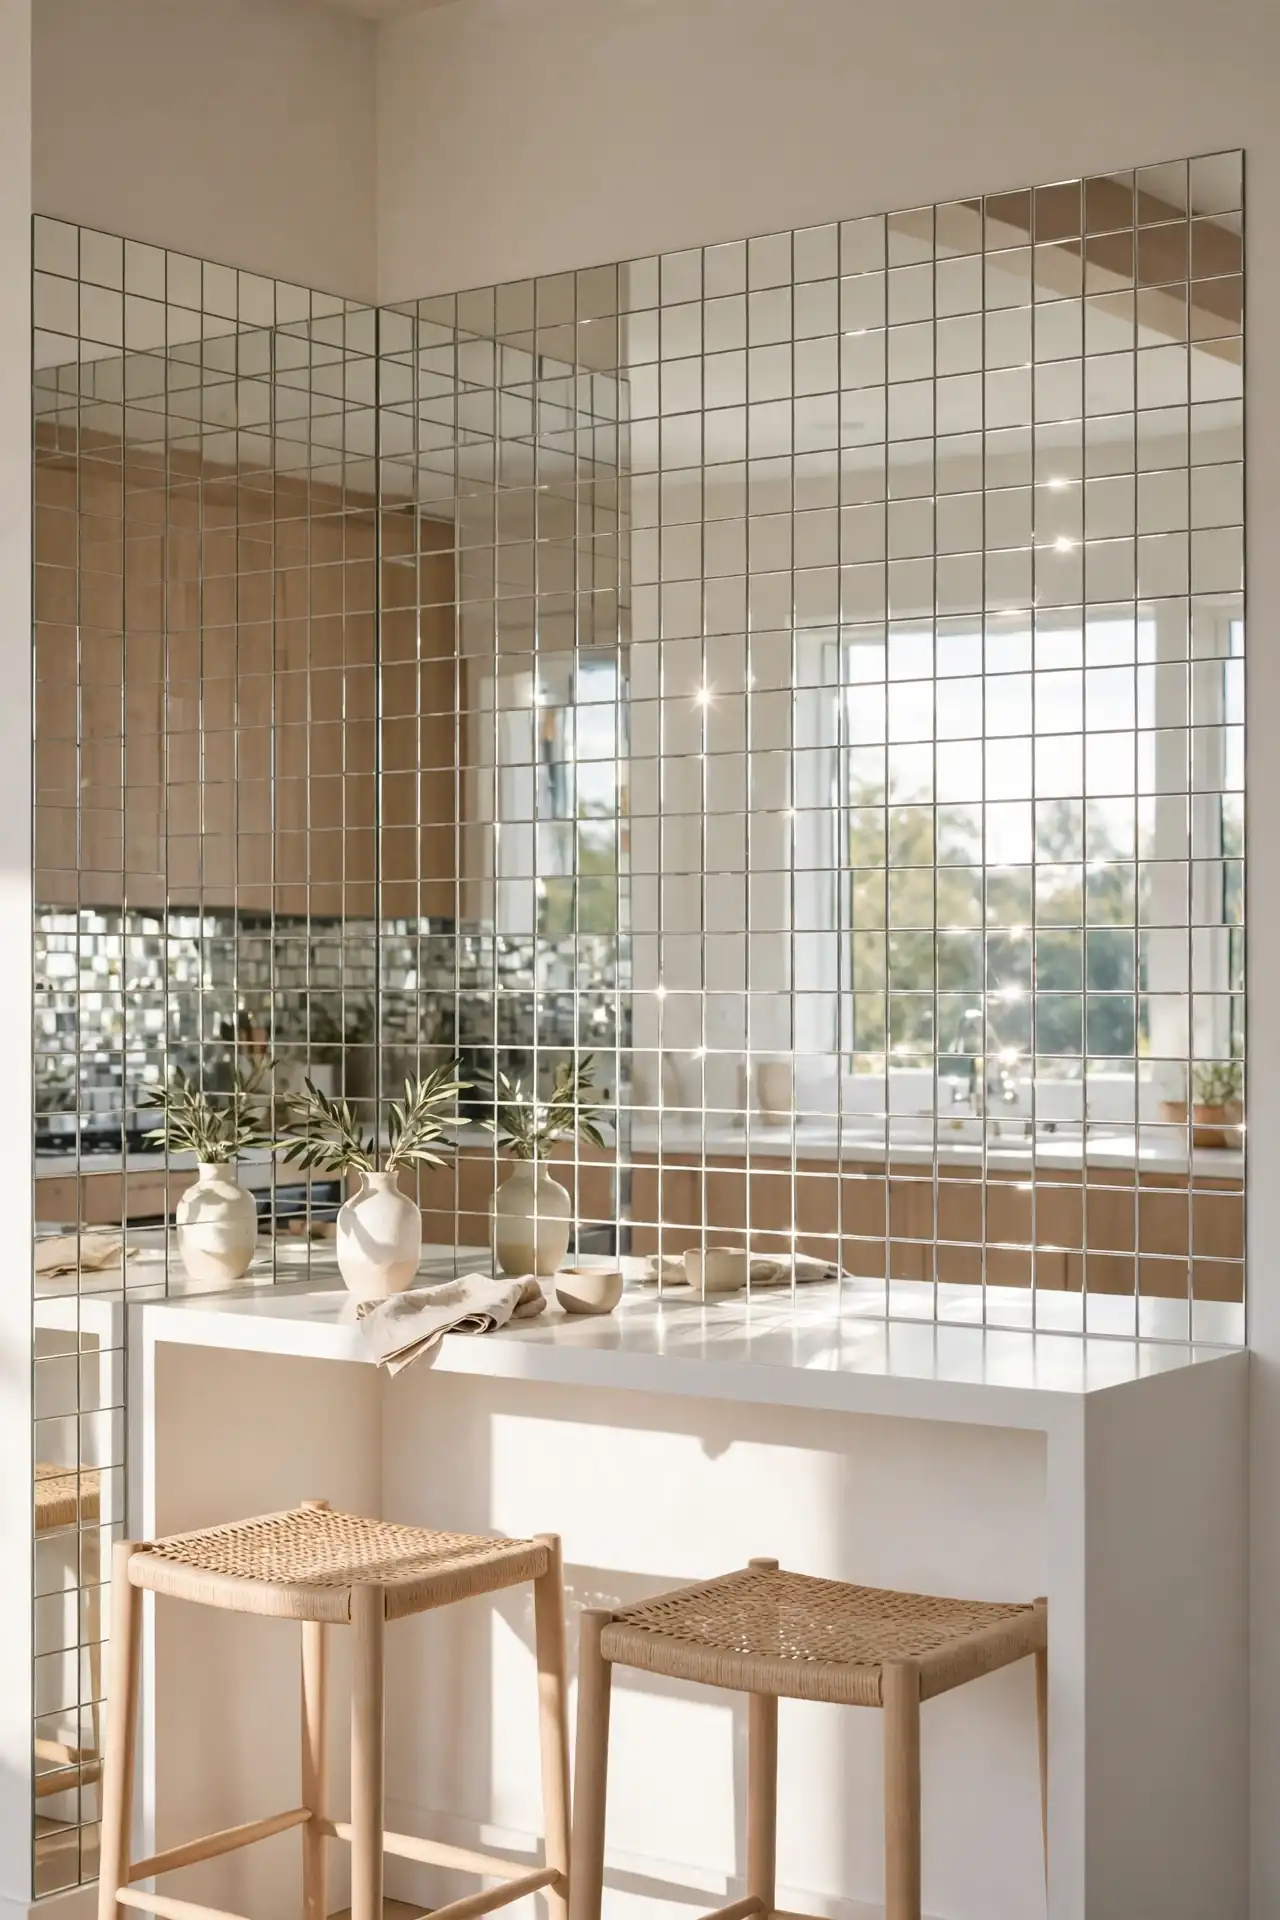
Cost: Medium, around 80 to 150 dollars | Time: One afternoon | Skill Level: Beginner friendly | Best For: Dark kitchens with little natural light | Style: Works with any cabinet color | Upkeep: Wipe weekly with a simple glass cleaner
A mirrored backsplash behind a breakfast bar bounces light into every dark corner and visually doubles the available space. I have tried peel-and-stick mirror tiles in a rental apartment, and the change felt completely instant. When December comes, this reflective surface also makes christmas kitchen decor ideas sparkle twice as bright, from twinkling fairy lights to fresh green garlands.
Tiered Shelf Bar
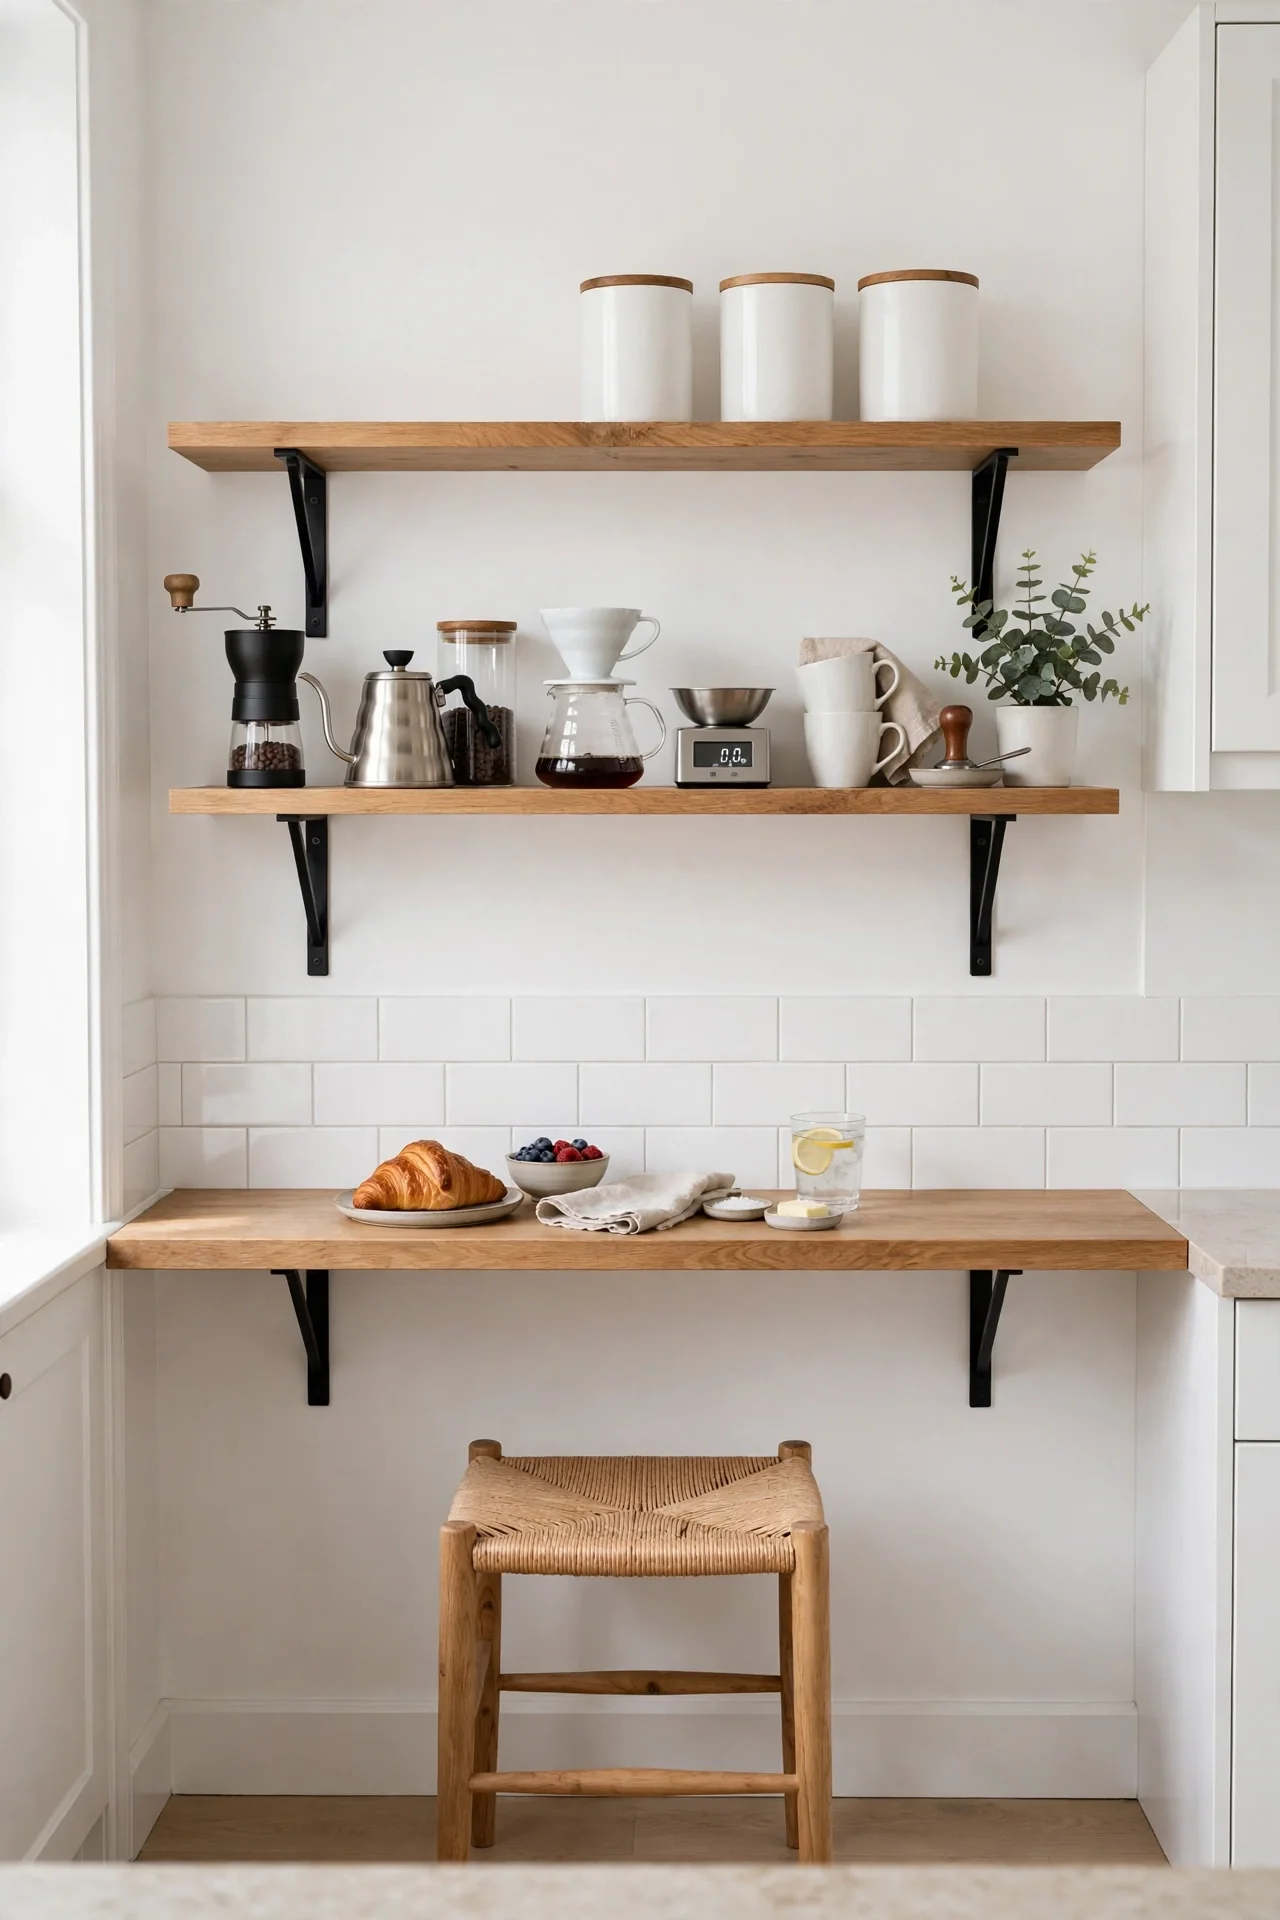
A tiered shelf bar stacks two narrow ledges on sturdy wall brackets, giving you a breakfast perch below and display space above. It fits walls as narrow as 36 inches. I built one from two pine boards and black brackets in a single afternoon, and it holds coffee gear up top with elbow room below.
Space the tiers 16 inches apart so mugs clear comfortably underneath. In my experience, the upper tier becomes the prettiest part of the kitchen when you style it with matching canisters. Keep daily items low and pretty things high, and the whole wall earns its keep.
Under-Window Bar Ledge
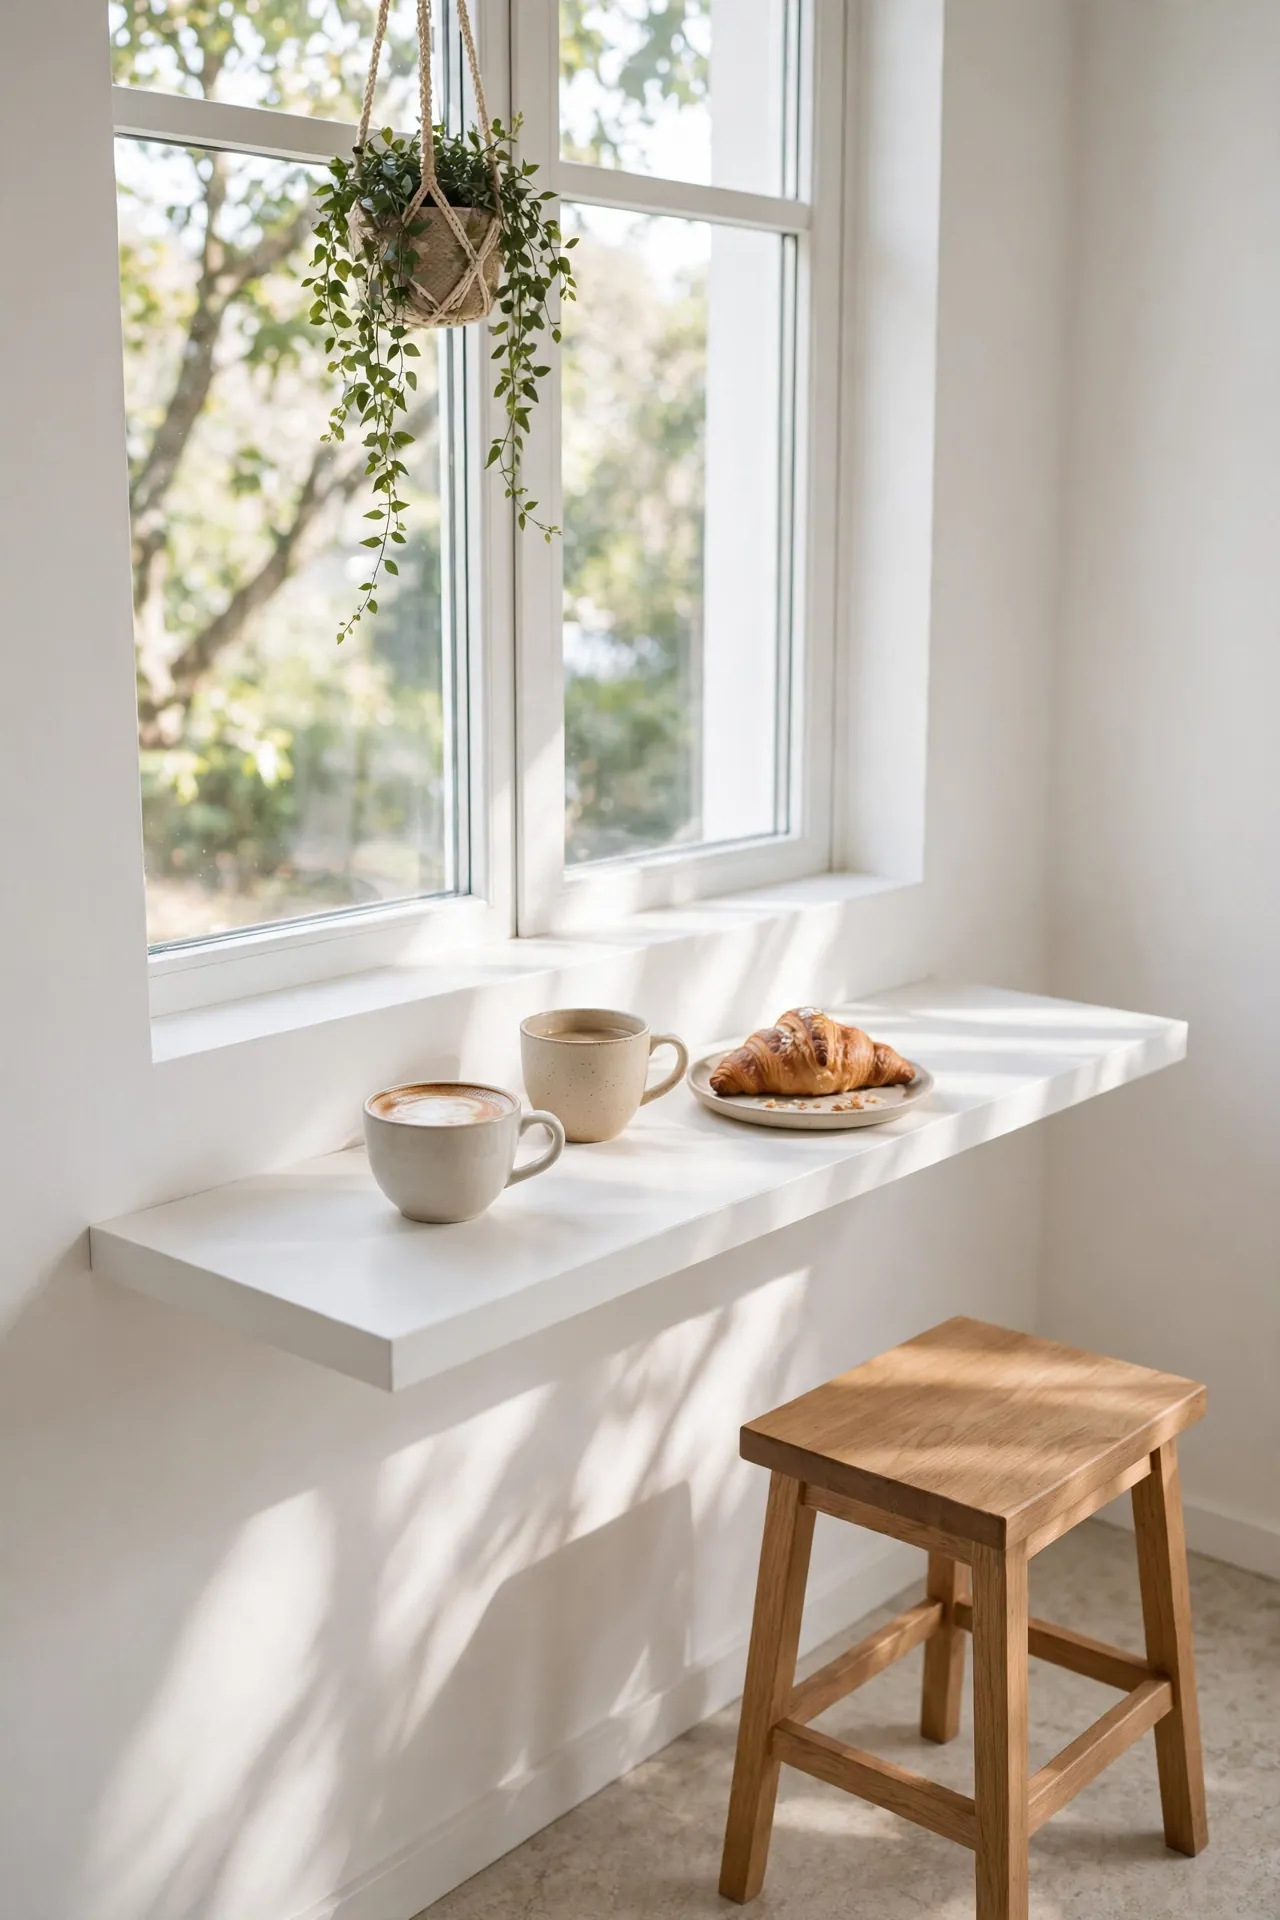
- Check that the window opens fully before fixing a permanent ledge.
- Keep the ledge depth at 10 to 12 inches for plates, bowls, and coffee.
- Choose a light wood or white finish to maximize the daylight.
- Add a slim cushion on the sill edge for comfortable leaning.
- Use suction-cup hooks on the glass for hanging small plants.
Eating breakfast in natural light changes the whole morning. An under-window ledge costs almost nothing and uses space that was purely decorative before this upgrade. I have noticed even reluctant cooks start making breakfast daily once the view becomes part of their morning routine.
Glass Top Bar
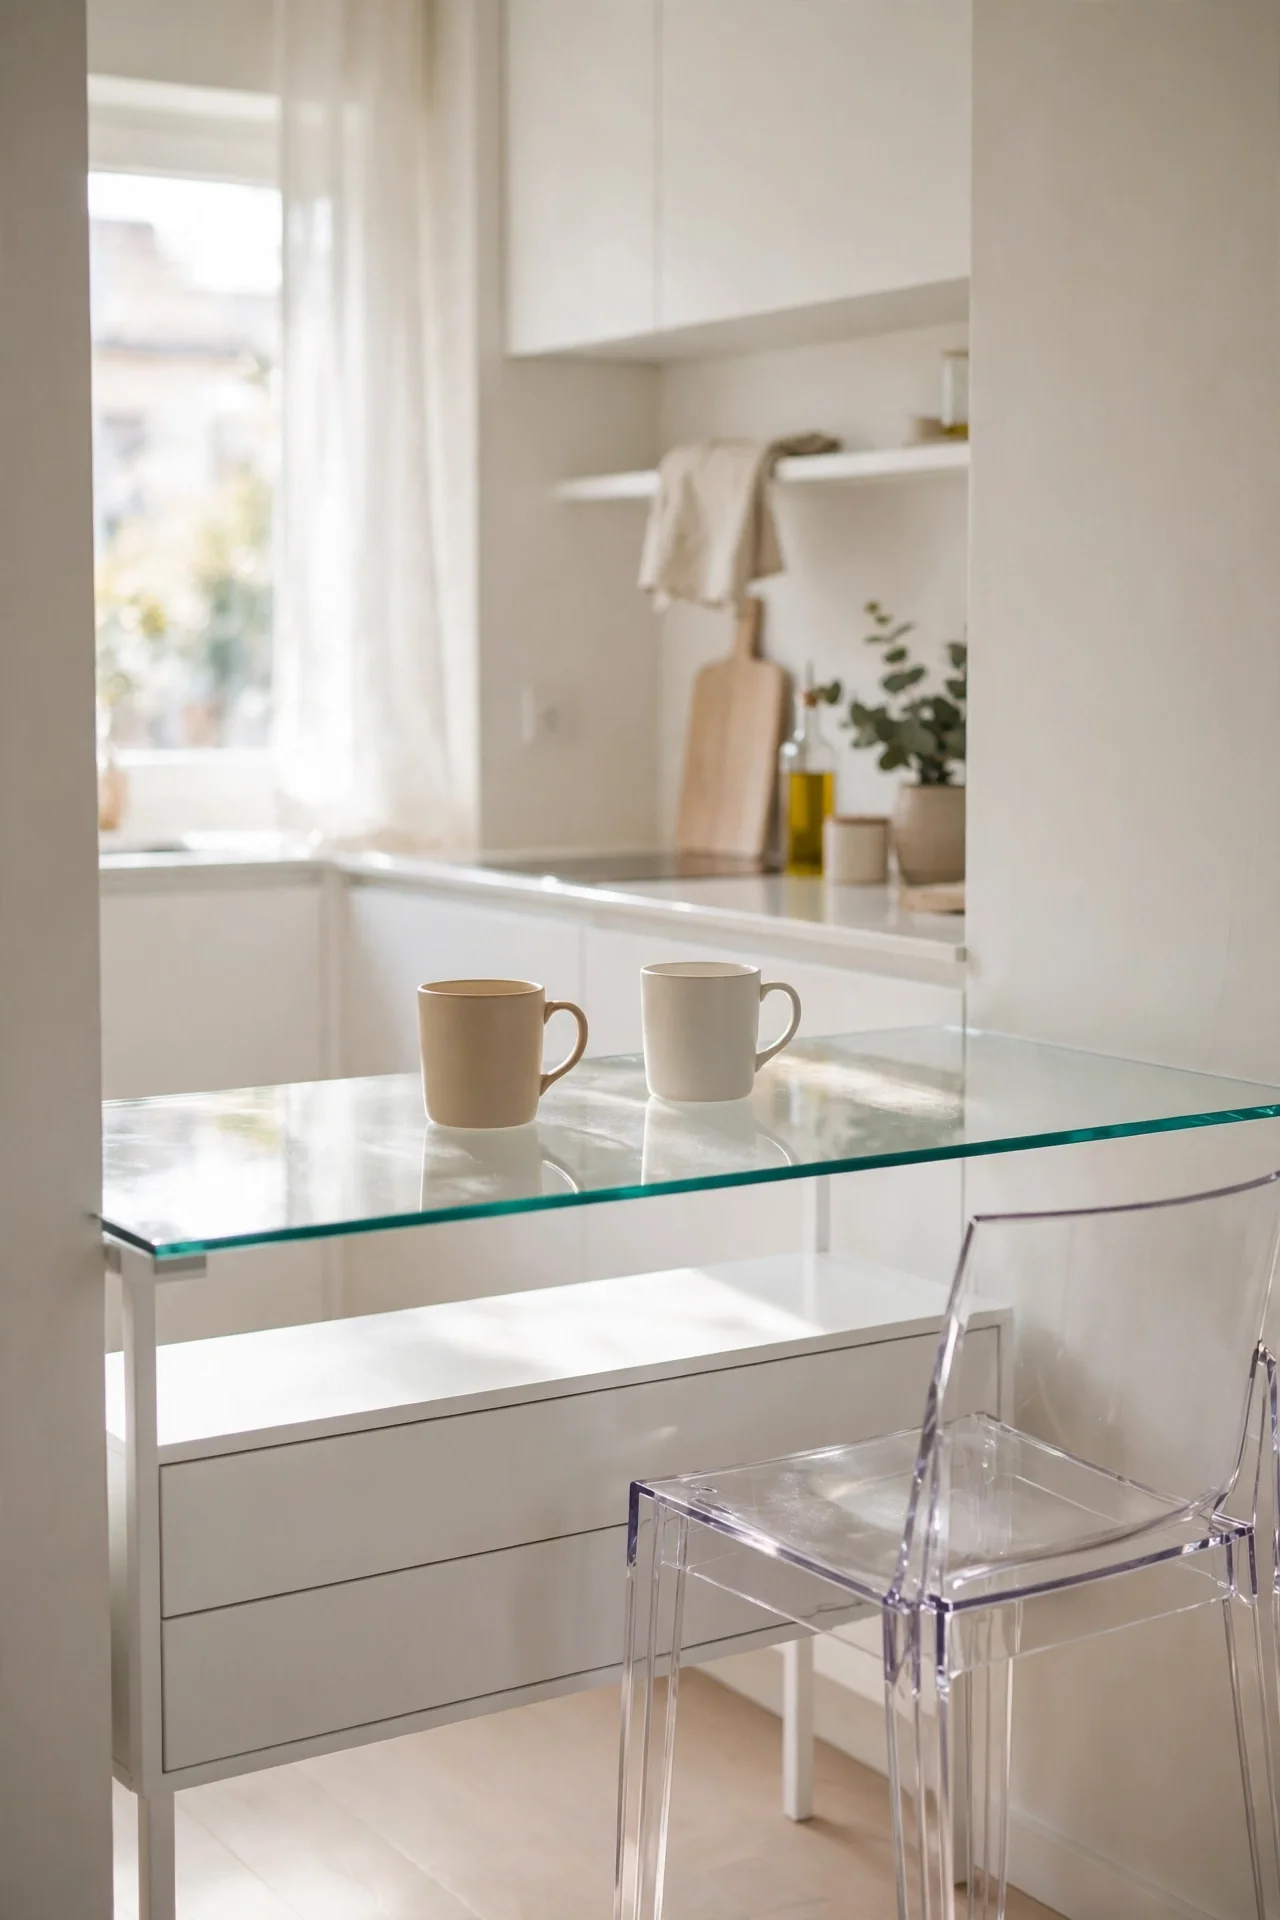
Quick Tip: Order tempered glass at least half an inch thick with polished smooth edges, and rest it on clear rubber bumpers over a slim sturdy base. Wipe the surface with a soft microfiber cloth every day, since every single fingerprint and smudge shows clearly on glass.
Glass disappears visually, which is exactly what a tiny crowded kitchen needs. A glass-top bar over a slim console gives you a full eating surface that your eyes read as open empty space. I have tried this in a tiny studio apartment, and visitors never once believed the kitchen measured under 60 square feet.
Rustic Wood Beam Bar
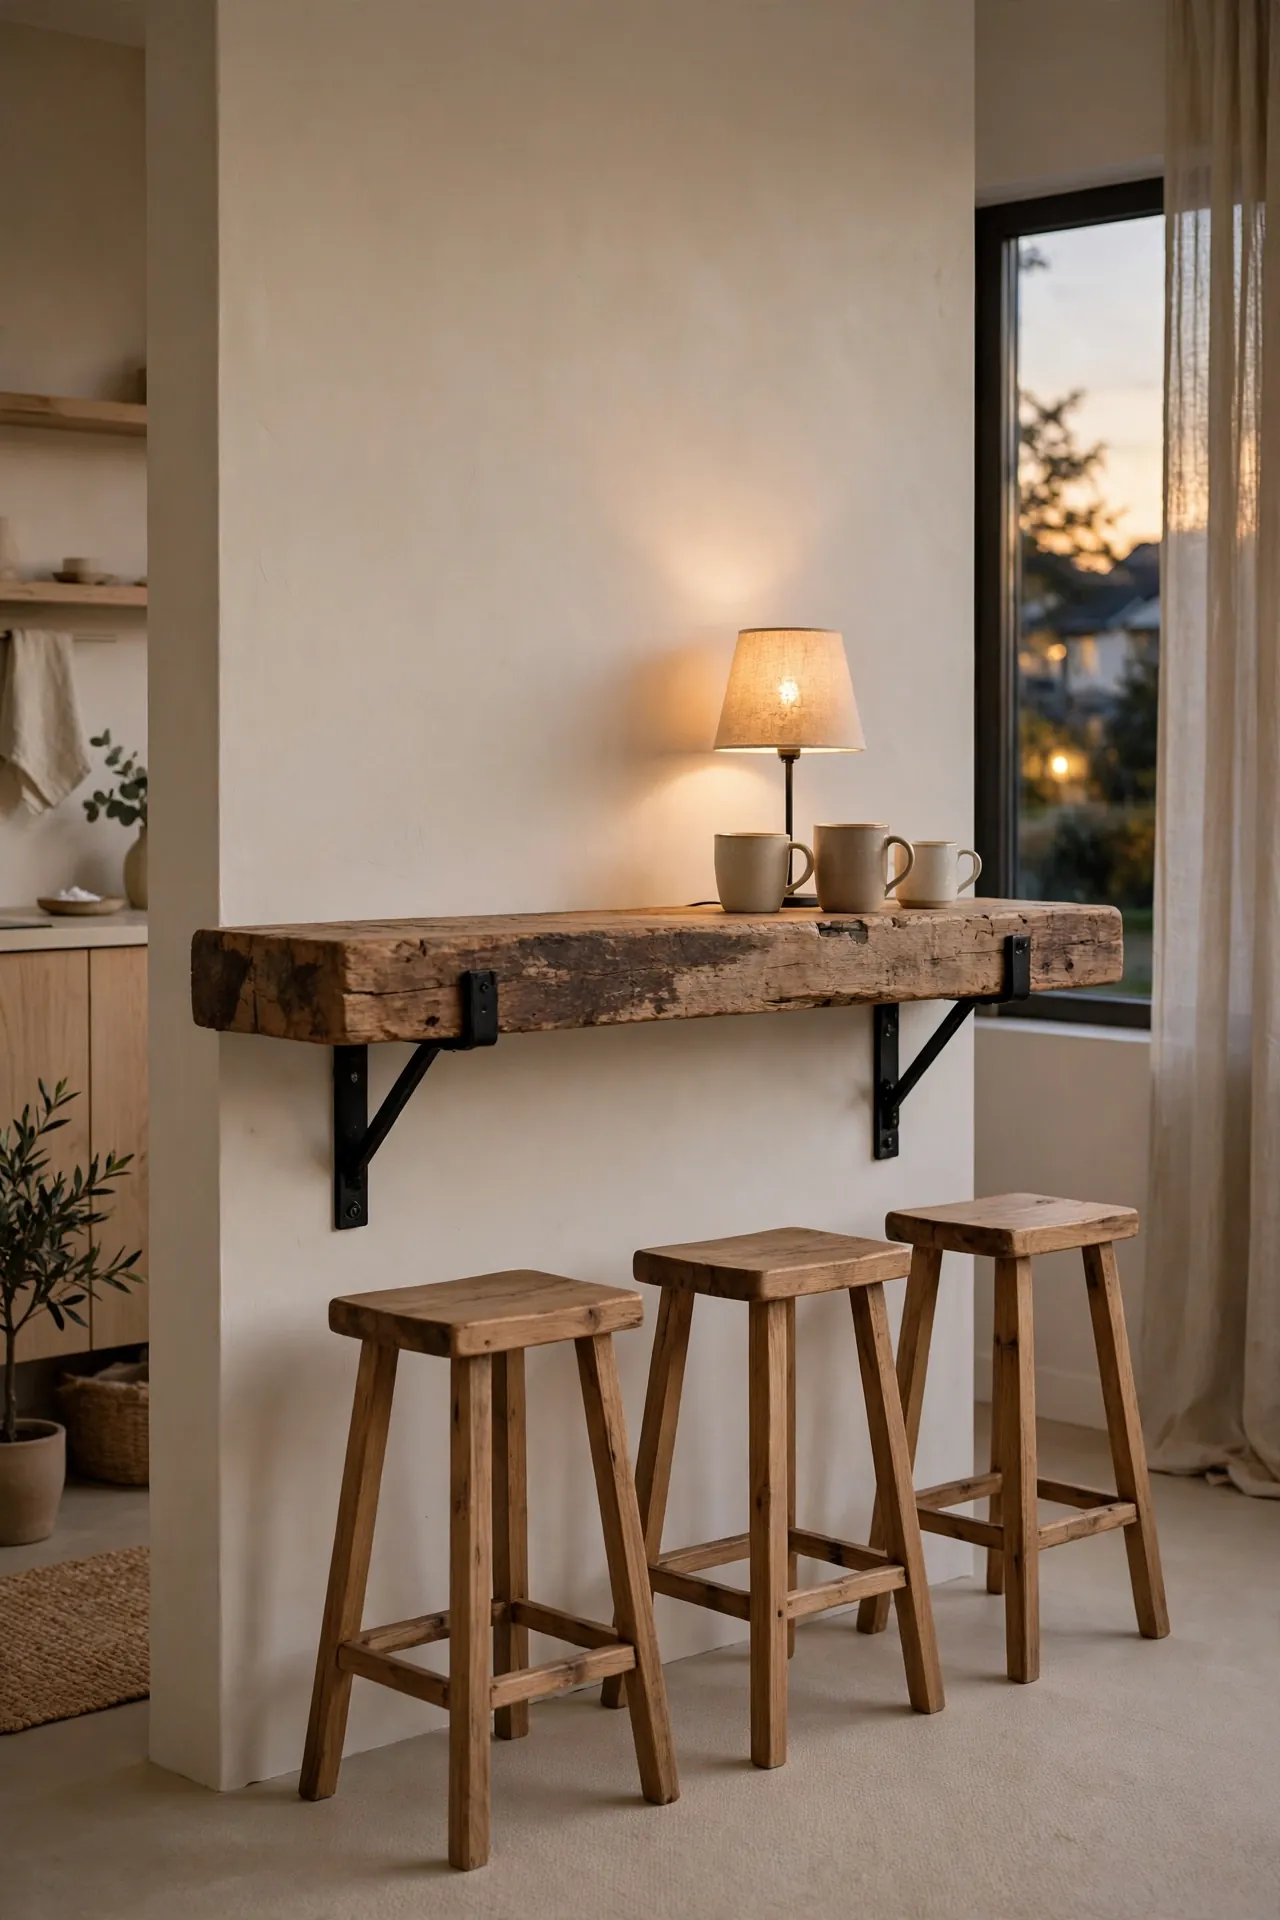
BEFORE: The wall between the kitchen and living room was blank drywall with a lonely outlet. It separated the cook from the conversation and wasted six full feet of potential gathering space every day.
AFTER: A reclaimed wood beam now spans the wall at counter height on iron brackets. It seats three people, hides the outlet behind a small lamp, and turned the divider wall into the most popular seat in the apartment.
Reclaimed beams bring a character that new lumber cannot fake. Sand it smooth, seal it with food-safe oil, and check for old nails before mounting. That is why many experts recommend reclaimed wood for statement pieces that can move with you.
Folding Wall Bar Set
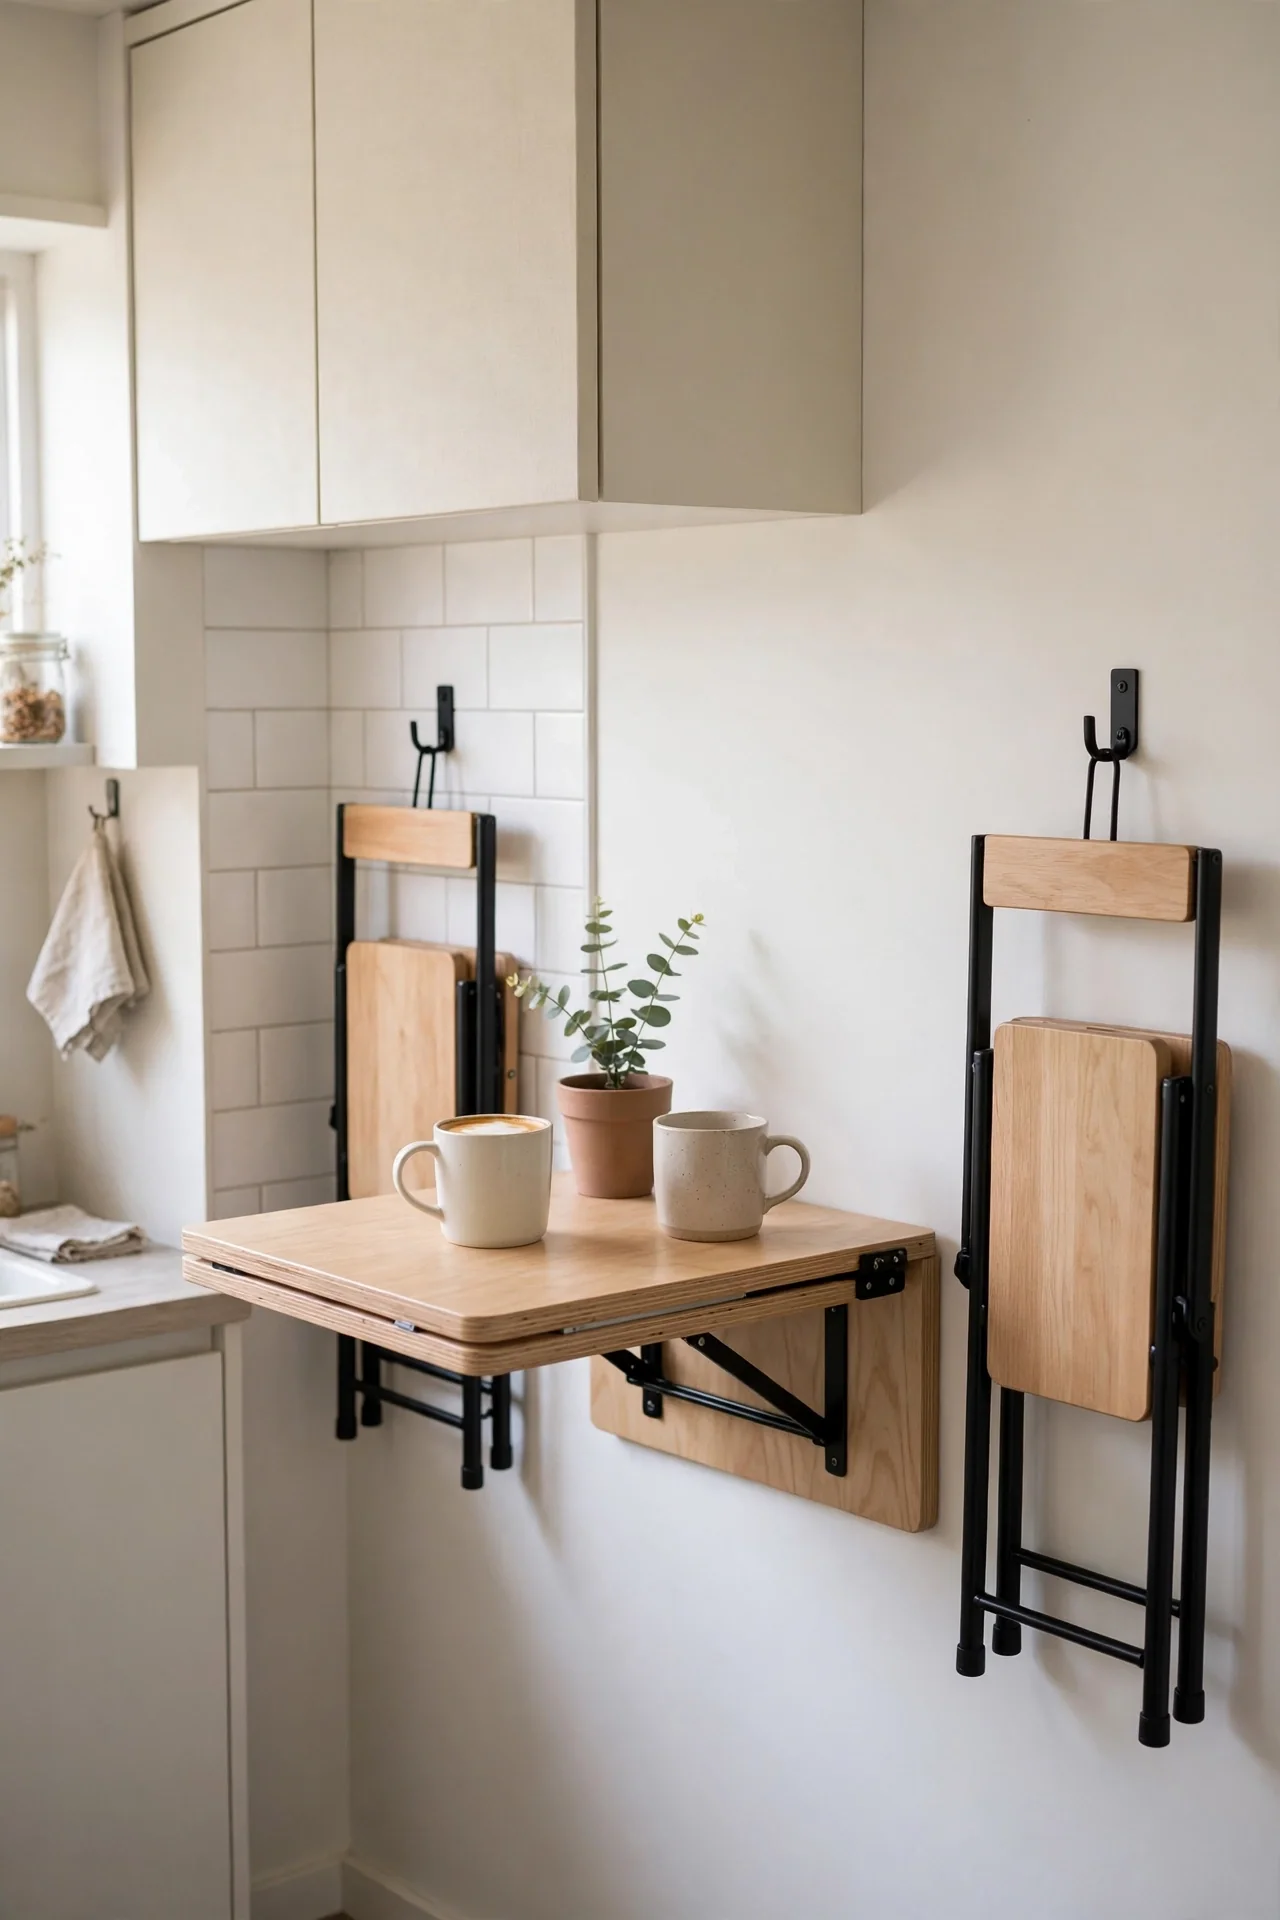
- Mount a fold-down table bracket pair 24 inches apart on wall studs.
- Attach a sturdy 30 by 16 inch top and test the fold mechanism twice.
- Hang two folding stools on sturdy wall hooks beside the bar.
- Fold everything flat after meals to reclaim the floor space.
A folding set is the ultimate small-kitchen solution because the entire dining area vanishes on demand. Table up, stools down, and the whole wall returns to blank in seconds. I have seen this work well in many cases from dorms to tiny homes. It proves square footage is a mindset, not a limit.
Conclusion
Small kitchens reward clever thinking more than big budgets. These breakfast bar ideas for small kitchens show that a morning perch needs creativity, not square footage. Pick the one that fits your wall, your budget, and your daily routine, then build it this coming weekend without delay. I have seen how small changes like these can completely shift the way an entire space feels. Save your favorites on Pinterest so you can find them easily when the drill comes out, share this list with a friend stuck in a tiny kitchen, then enjoy every unhurried coffee at your brand-new breakfast bar.
2 Comments