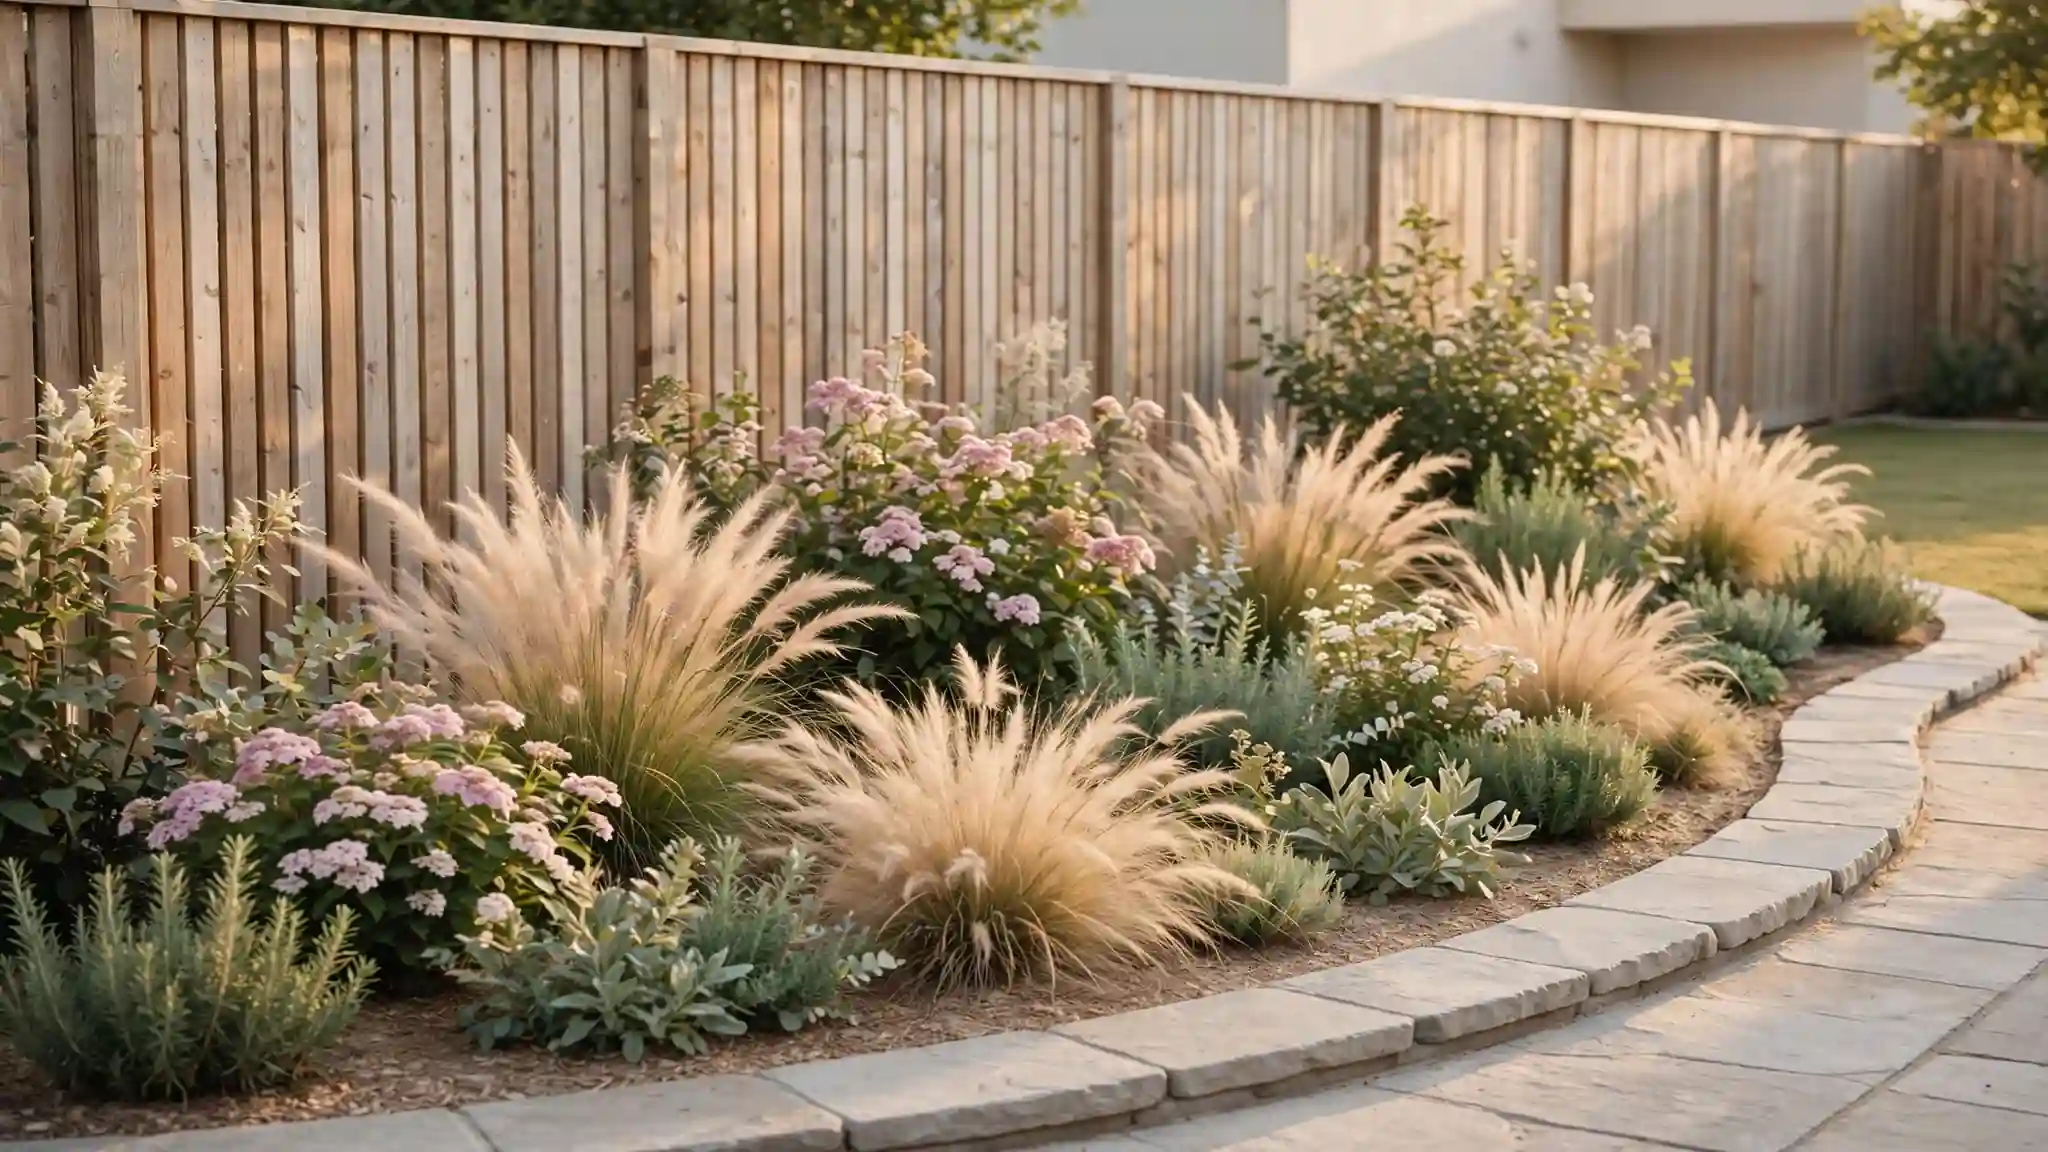
22 Landscaping Along Fence Ideas for Stunning Curb Appeal
If your fence feels like a blank wall, landscaping along fence ideas can change that fast. A plain fence line is one of the easiest places in the yard to add color, texture, and life. I’ve noticed that even a simple bed of shrubs or grasses makes the whole property feel cared for. The trick is choosing plants that suit your light, soil, and the time you actually have.
Below you will find 22 ideas that work along wood, vinyl, and metal fences, from low-cost gravel strips to layered shrub borders. Each one includes the details you need to start this weekend. And if you enjoy seasonal styling indoors too, these christmas tiered tray ideas bring the same layered look to your table. Let’s walk the fence line and find the plan that fits your yard.
Flowering Hedge Border
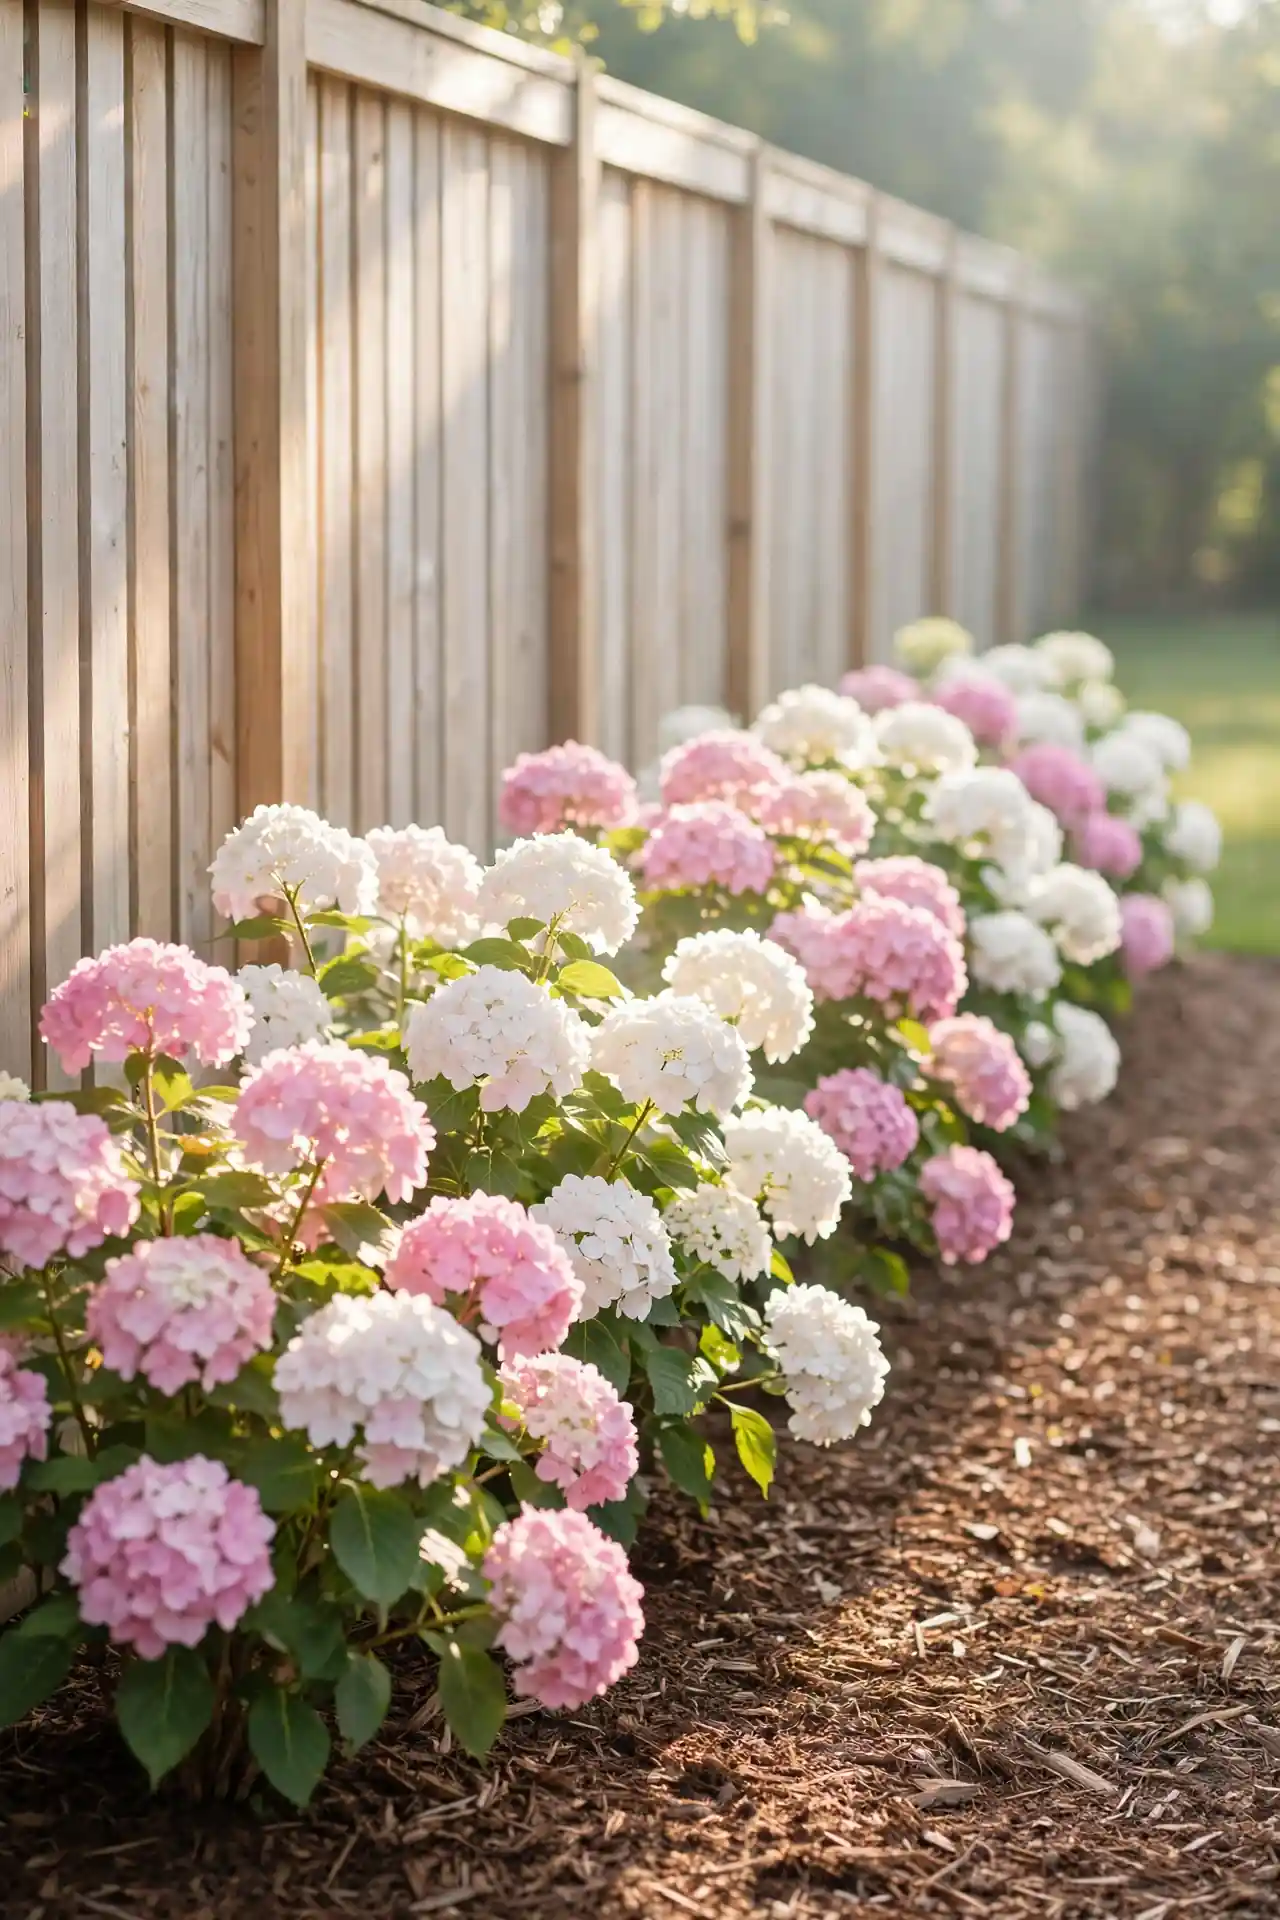
A low flowering hedge turns a plain fence into a living frame that shifts with the seasons. Roses, lavender, or dwarf hydrangeas planted in a neat row soften hard lines and bring color from spring to fall. Give each shrub about two feet of room so air circulates freely between them. In my experience, the repeated rhythm of blooms looks wonderful from the street and the patio alike.
Keep the hedge trimmed just below fence height so the fence reads as a clean backdrop. Feed shrubs in early spring and mulch the bed to hold summer moisture. This approach suits wood, vinyl, or metal fences equally well. Neighbors often stop to ask what you planted, which tells you the border is doing its job.
Climbing Rose Wall
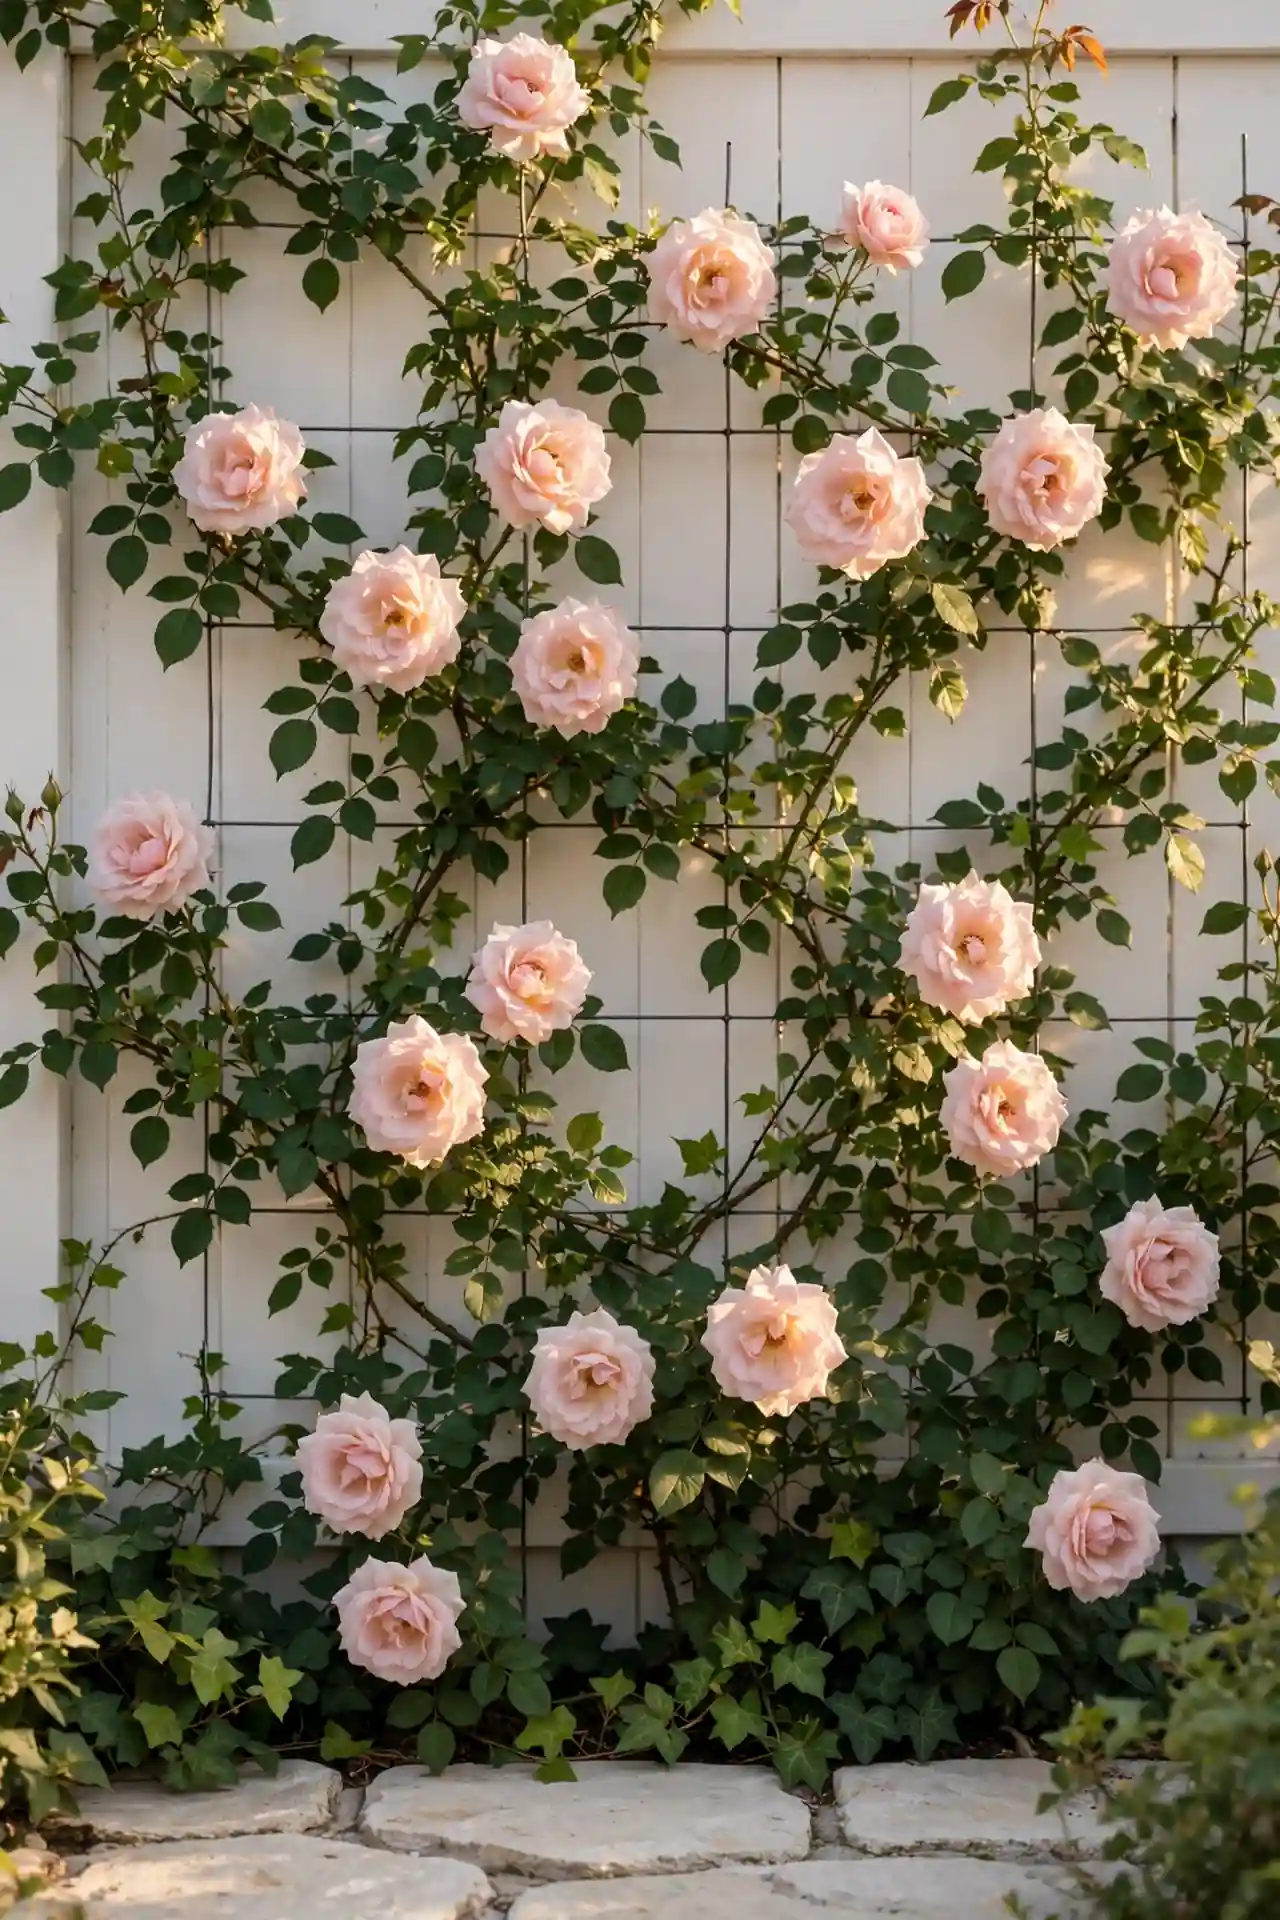
- Attach a sturdy trellis or wire grid to the fence before planting, since mature roses get heavy.
- Choose repeat-blooming varieties like New Dawn or Eden so color returns all season.
- Plant canes about 18 inches from the fence and angle them gently toward the support.
- Tie new growth horizontally to encourage more side shoots and heavier blooms.
- Prune in late winter, removing dead wood and shaping the framework.
A rose-covered fence smells as good as it looks, and the vertical habit saves bed space for smaller plants below. Water deeply at the base rather than overhead to keep the leaves dry. In my experience, the second year is when the display really takes off, so give young climbers time to settle in.
Gravel Bed Strip
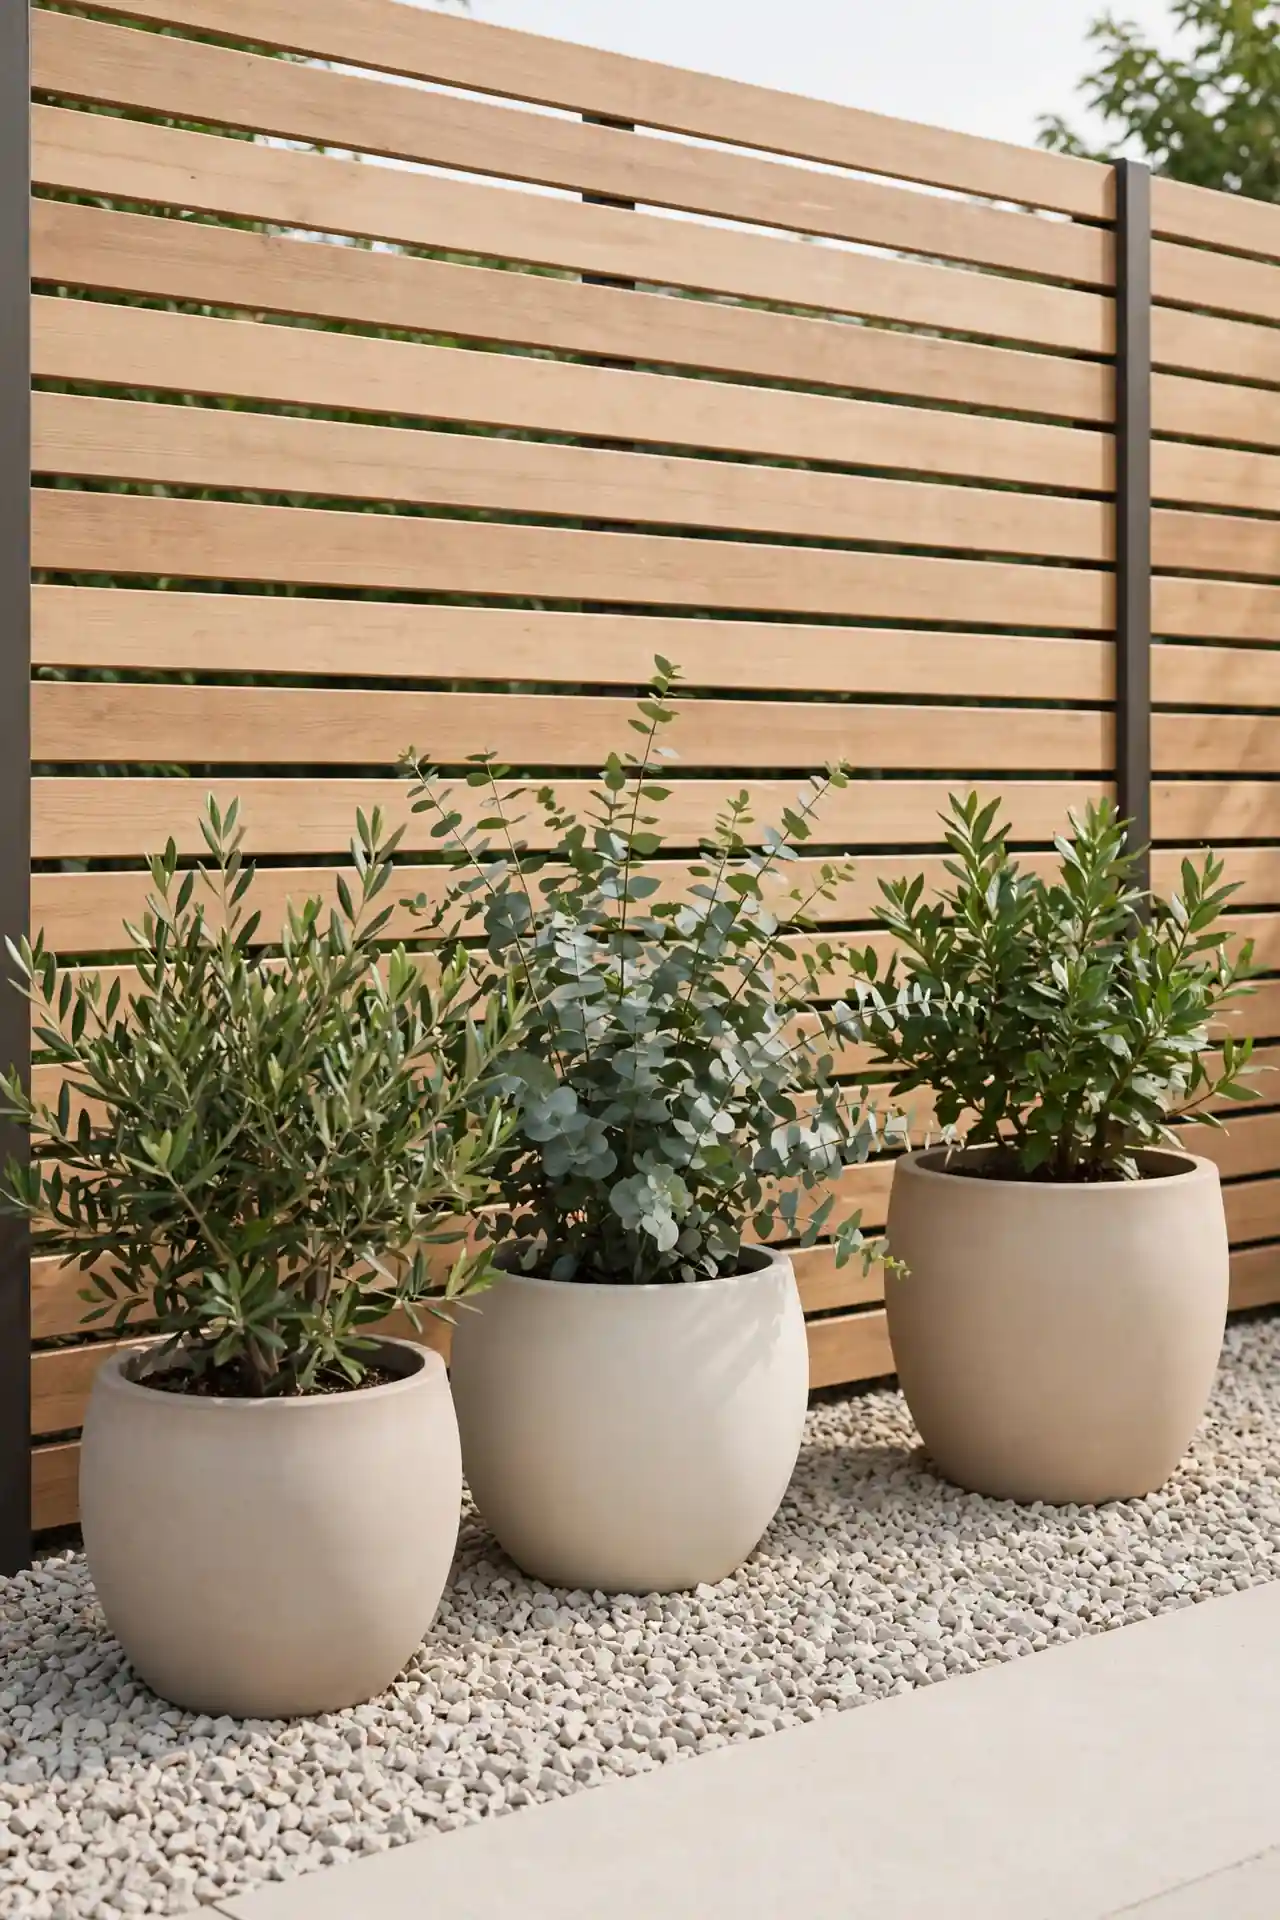
Quick Tip: Lay landscape fabric under the gravel to block weeds, then spread 2 to 3 inches of pea gravel over the top. Edge the strip with steel or stone so heavy rain never washes the gravel away. This low-cost bed looks sharp against wood, vinyl, or metal fences.
A gravel strip is the fastest way to clean up a weedy fence line. Set a few large pots or sculptural boulders on top for interest without planting a thing. The pale stone brightens shady runs and keeps mud off the fence boards. Refresh the gravel every few years and the bed looks new again.
Evergreen Screen Row
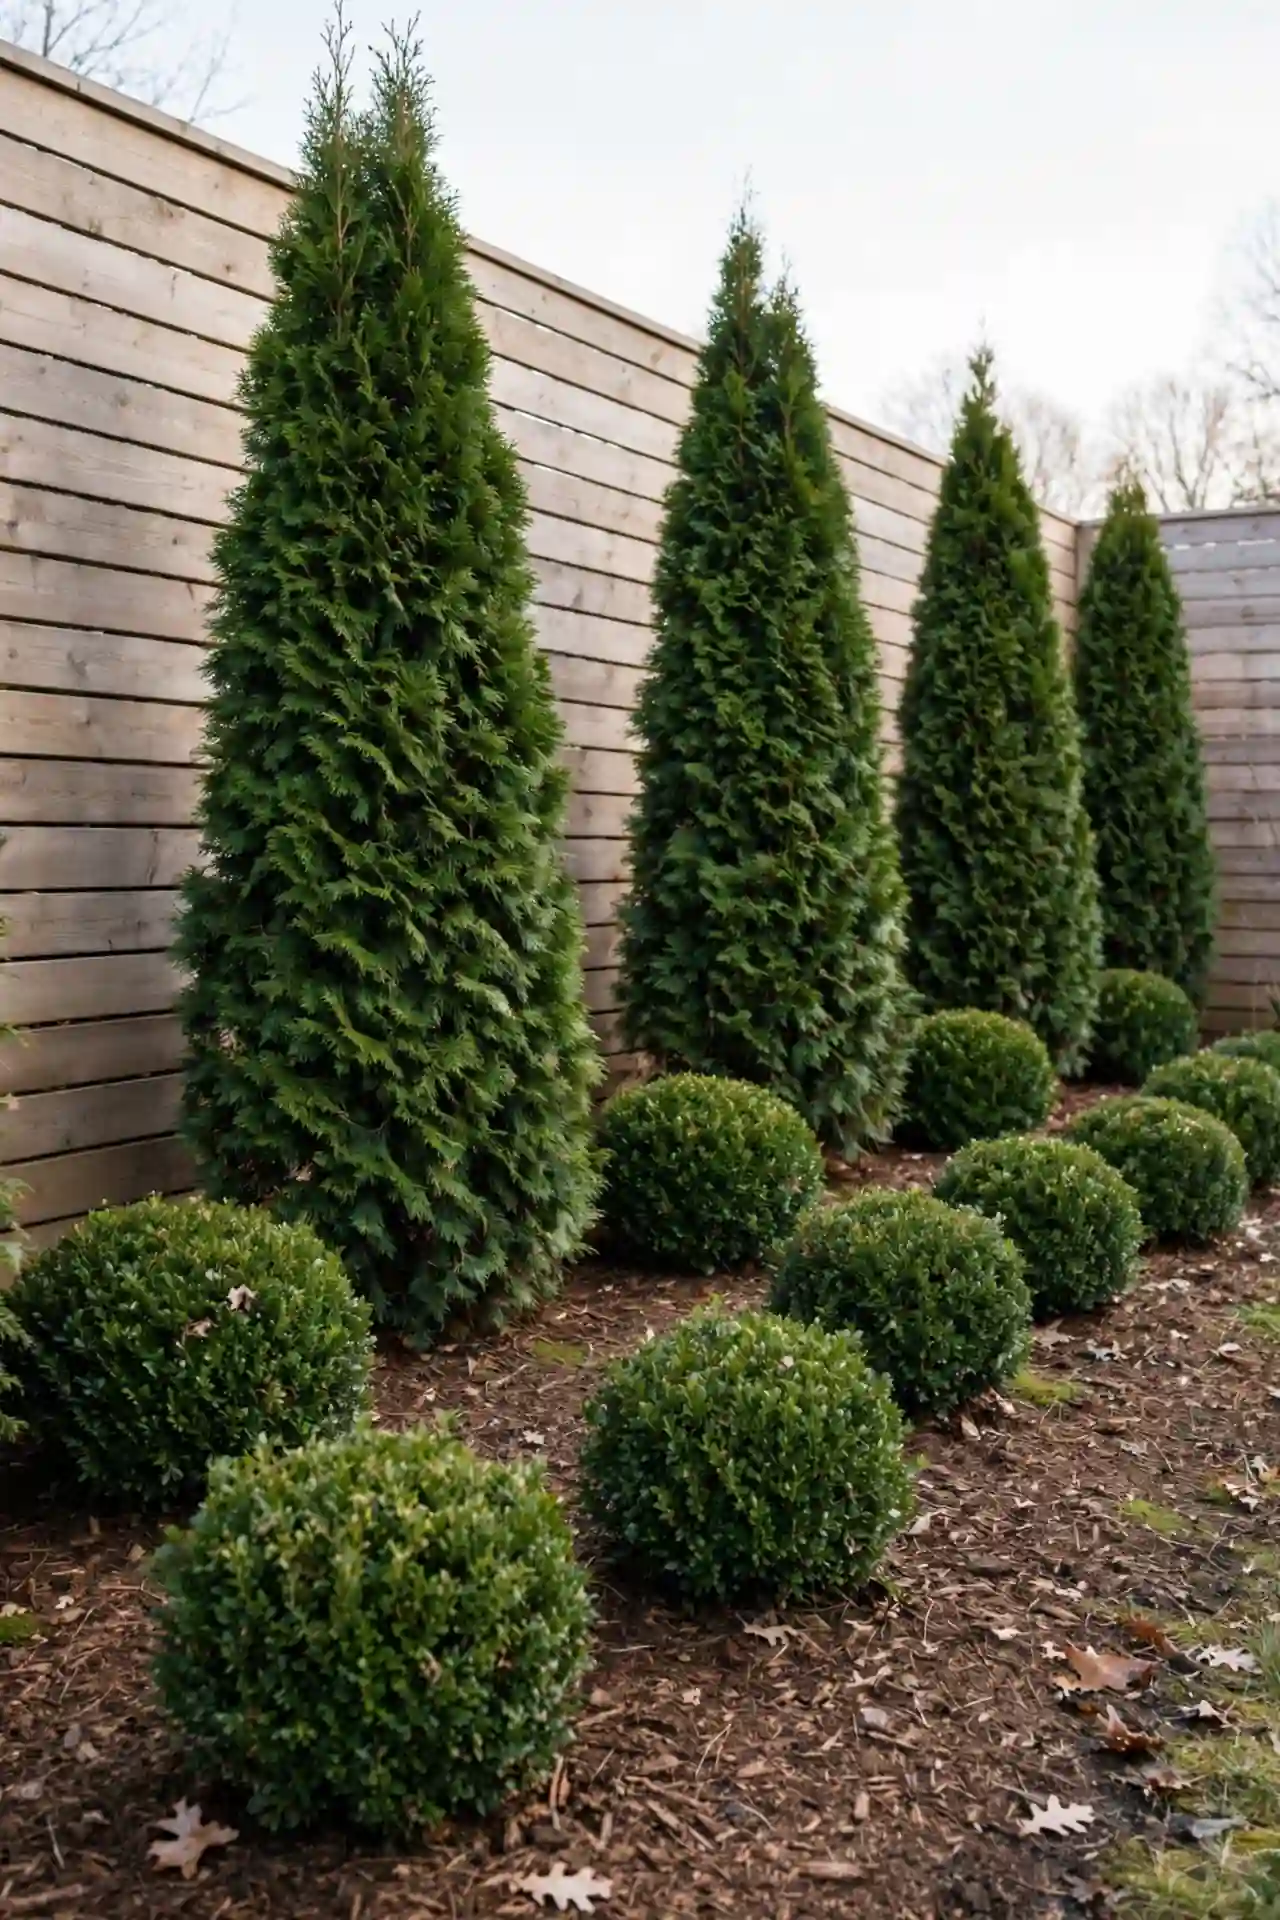
BEFORE: The back fence stood bare all winter, a flat gray line that made the yard feel exposed. Wind cut straight through, and there was nothing green to look at for months.
AFTER: A staggered row of arborvitae and boxwood now runs the full length. The yard feels sheltered, the wind drops, and there is structure even in January.
Evergreens are the workhorses of fence landscaping, giving privacy and color when everything else sleeps. Stagger two rows about three feet apart for a fuller screen. Water well the first year; after that, most need little care. Pick varieties suited to your zone and mature width.
Mulch Path Edge
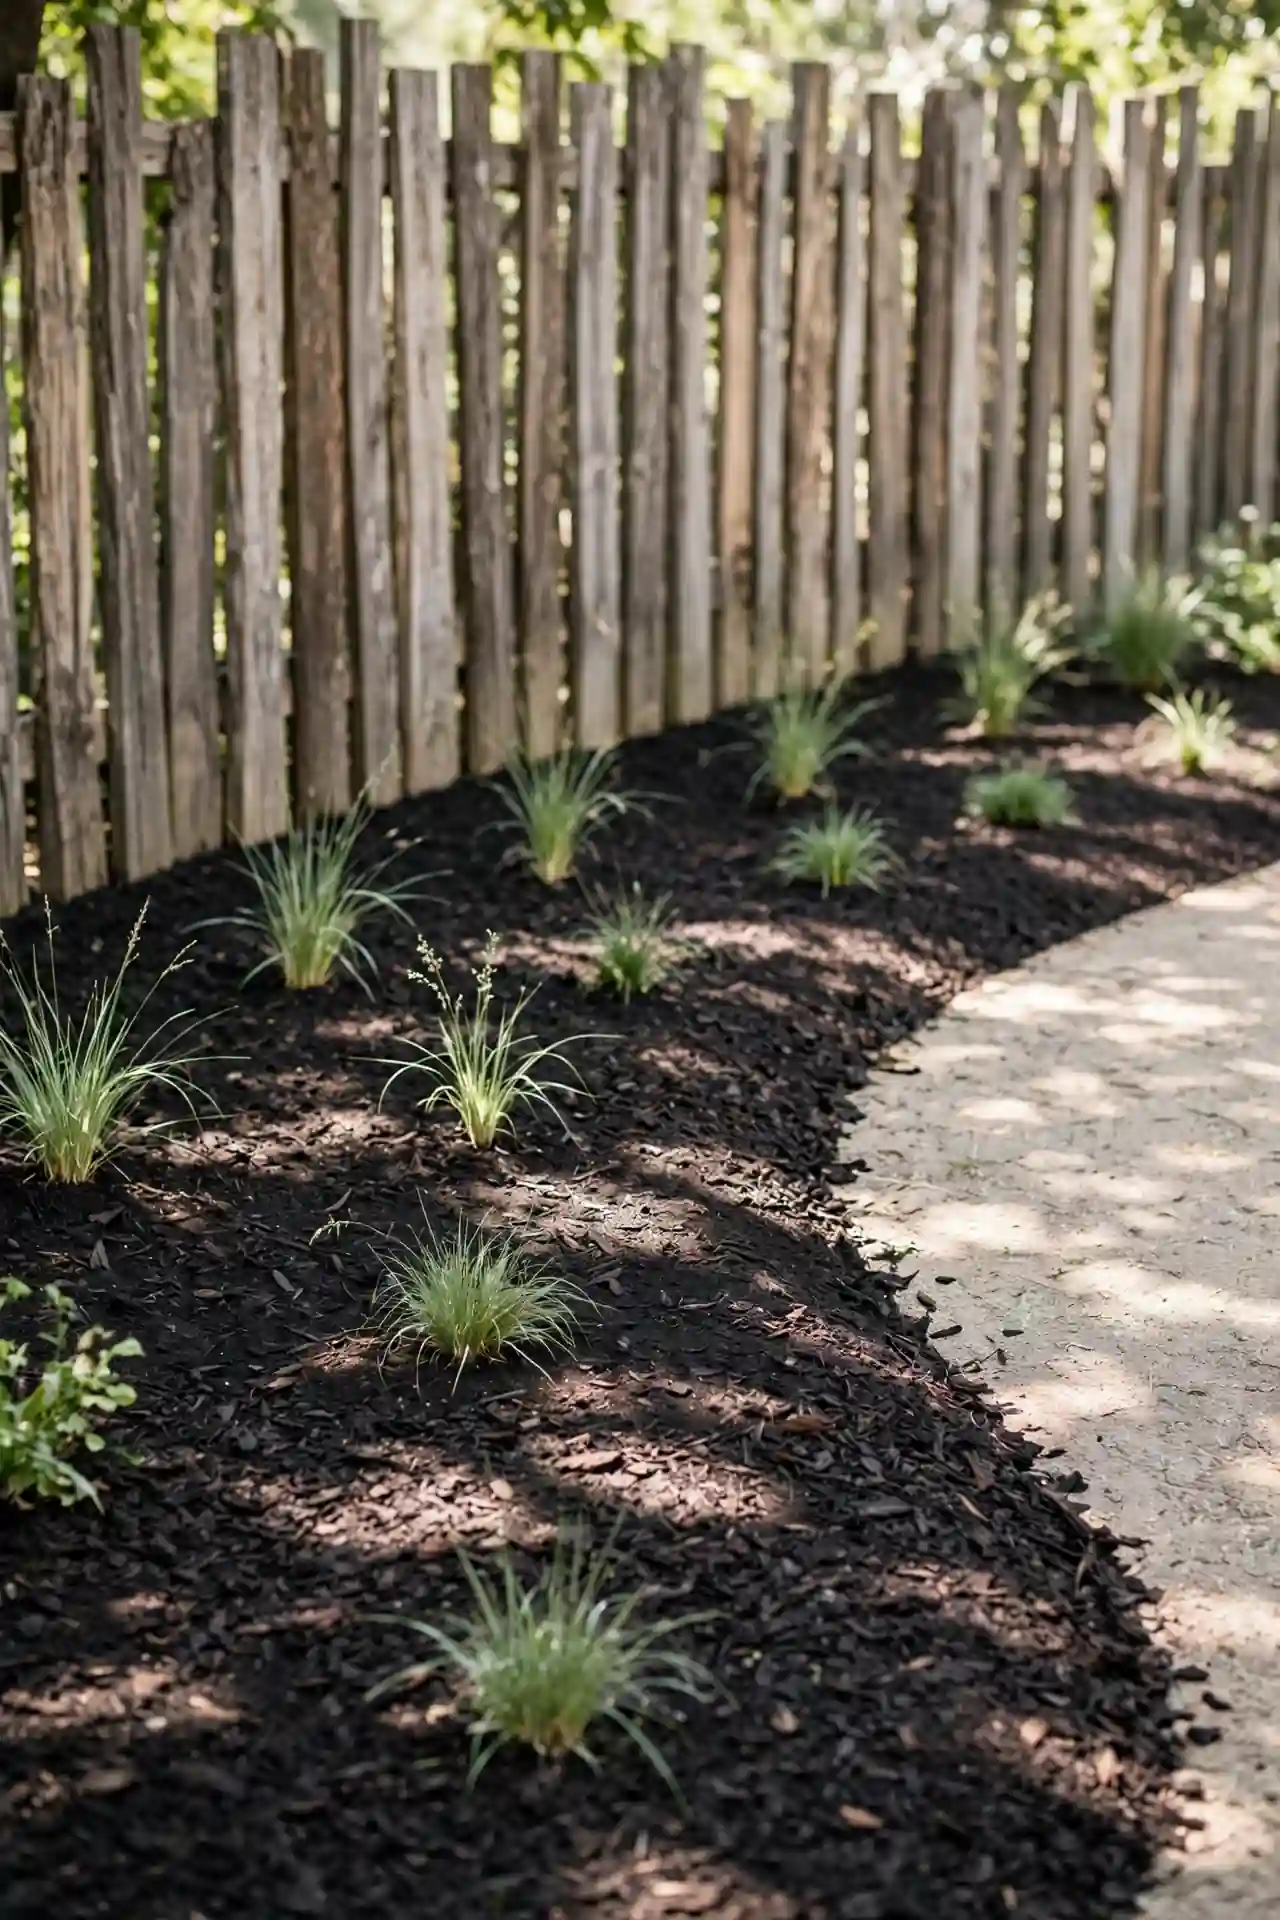
- Mark a 2-foot-wide bed along the fence with a garden hose or spray paint.
- Strip the grass inside the line with a flat spade, roots and all.
- Spread 3 inches of shredded bark mulch, keeping it a few inches from fence boards.
- Tuck in a few tough perennials or ornamental grasses for texture.
A mulched edge instantly tidies a ragged fence line and gives every later planting a clean home. The dark bark makes green foliage pop and keeps mower wheels away from the boards. Top up the mulch each spring to keep it three inches deep. It is simple, cheap, and hard to get wrong.
Raised Planter Ledge
| Feature | Wood Planter Boxes | Galvanized Troughs |
|---|---|---|
| Cost | Moderate | Higher upfront |
| Lifespan | 5 to 8 years | 15 plus years |
| Style | Warm cottage feel | Sleek modern edge |
| Drainage | Drill holes yourself | Often pre-drilled |
| Best For | Flowers and trailing plants | Herbs and vegetables |
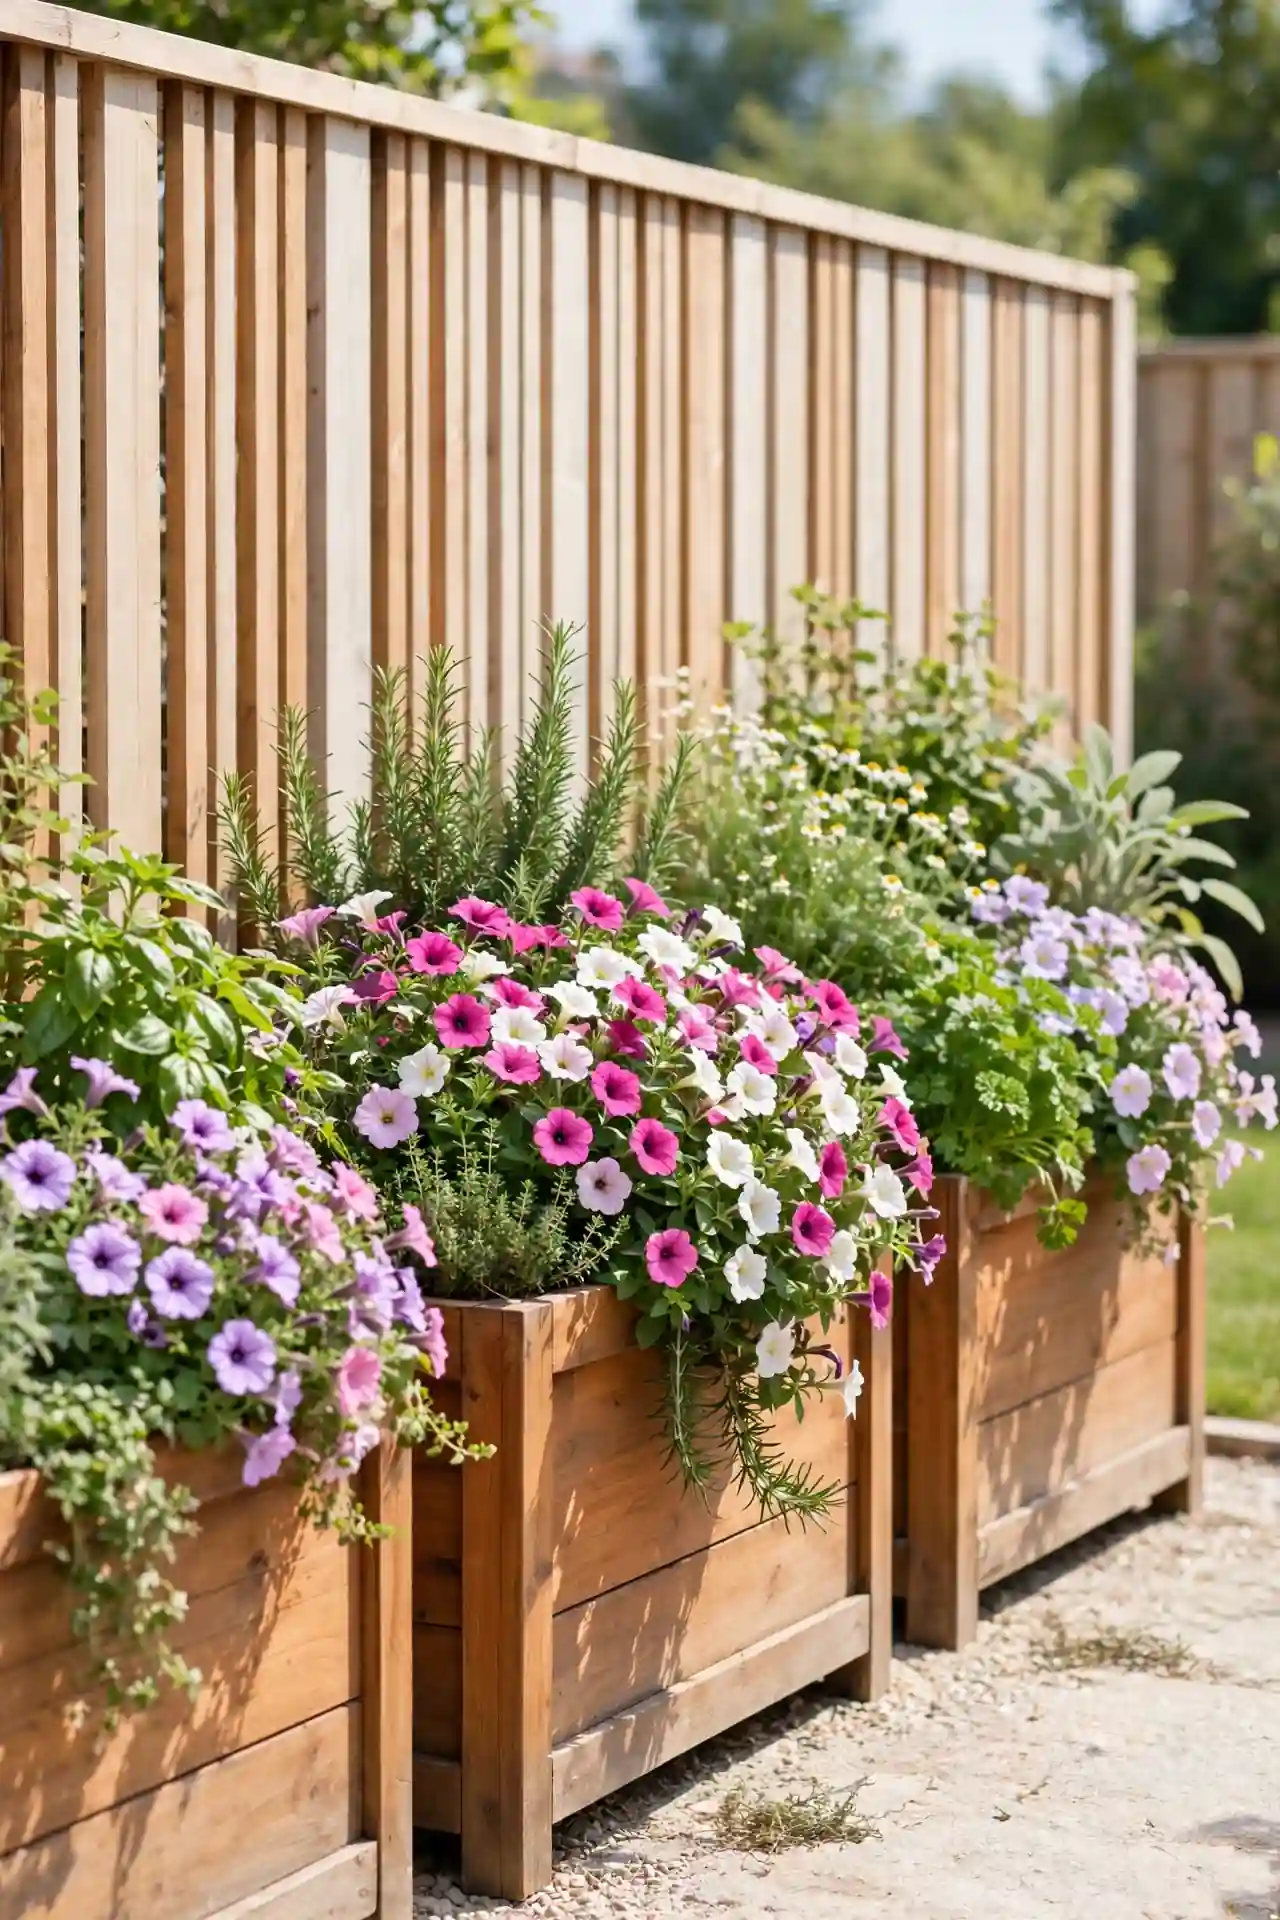
Raised planters along the fence lift flowers and herbs to eye level and rescue you from poor native soil. Line wood boxes to slow rot, and always fill containers with quality potting mix rather than garden soil. Trailing petunias, compact peppers, and fresh herbs all thrive at this height. Water containers more often than beds, since they dry out much faster in summer heat.
Perennial Color Band
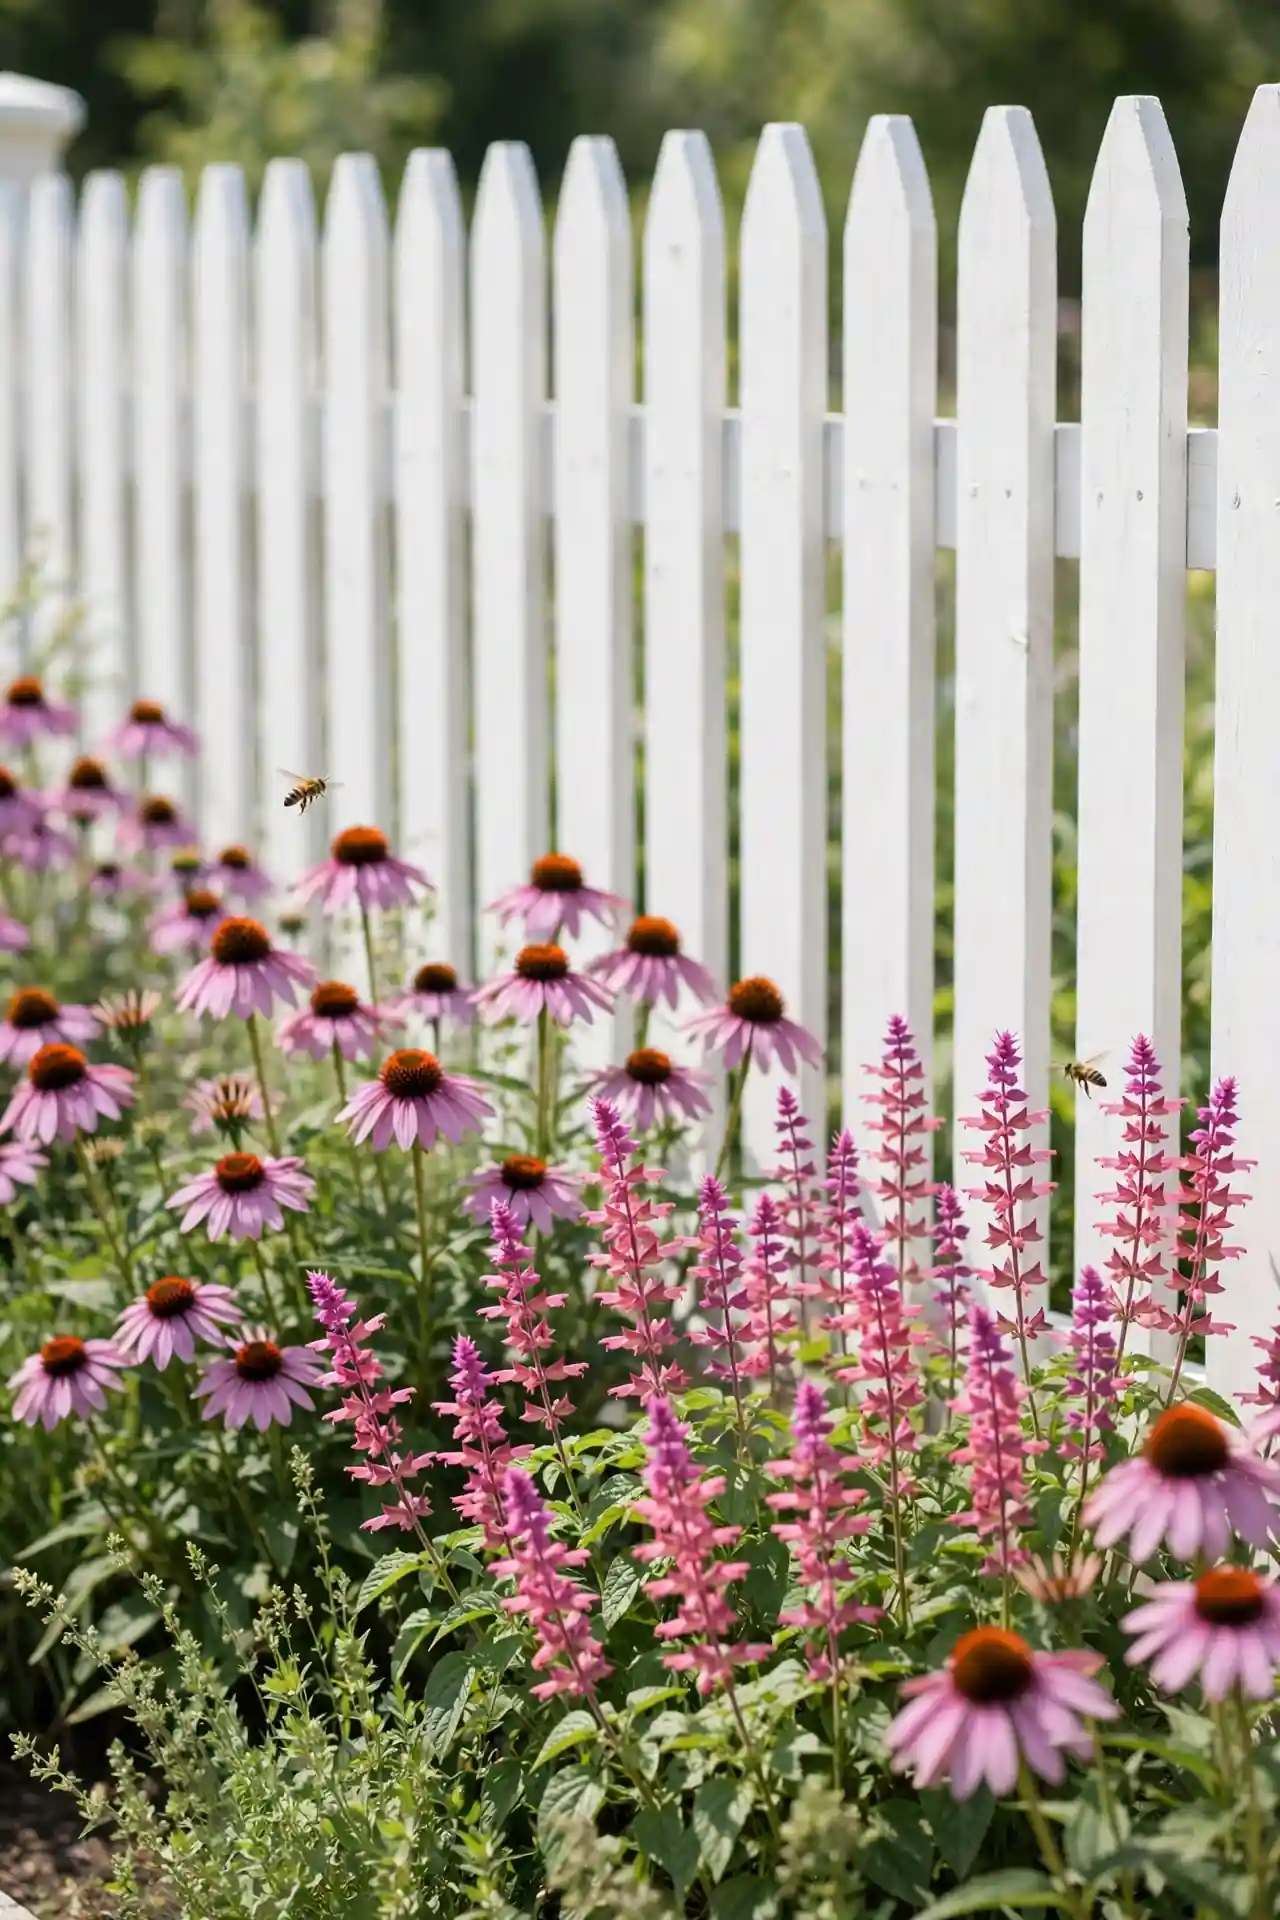
DO: Plant in drifts and repeat one color down the band.
- Group plants in odd numbers like 5 or 7.
- Layer tall at the fence, short at the front.
- Repeat purple blooms every few feet for unity.
DON’T: Scatter singles of many kinds or skip deadheading.
- Don’t dot one of everything; it reads as clutter.
- Don’t let spent blooms stand past their prime.
- Don’t mix thirsty and drought-tough plants together.
A perennial band along the fence returns bigger every year with almost no replanting. Divide crowded clumps each fall to keep the drift full and free. The plants multiply on their own, so this is high impact for little money. Start with easy growers like coneflower, salvia, and daylily.
Corner Focal Tree
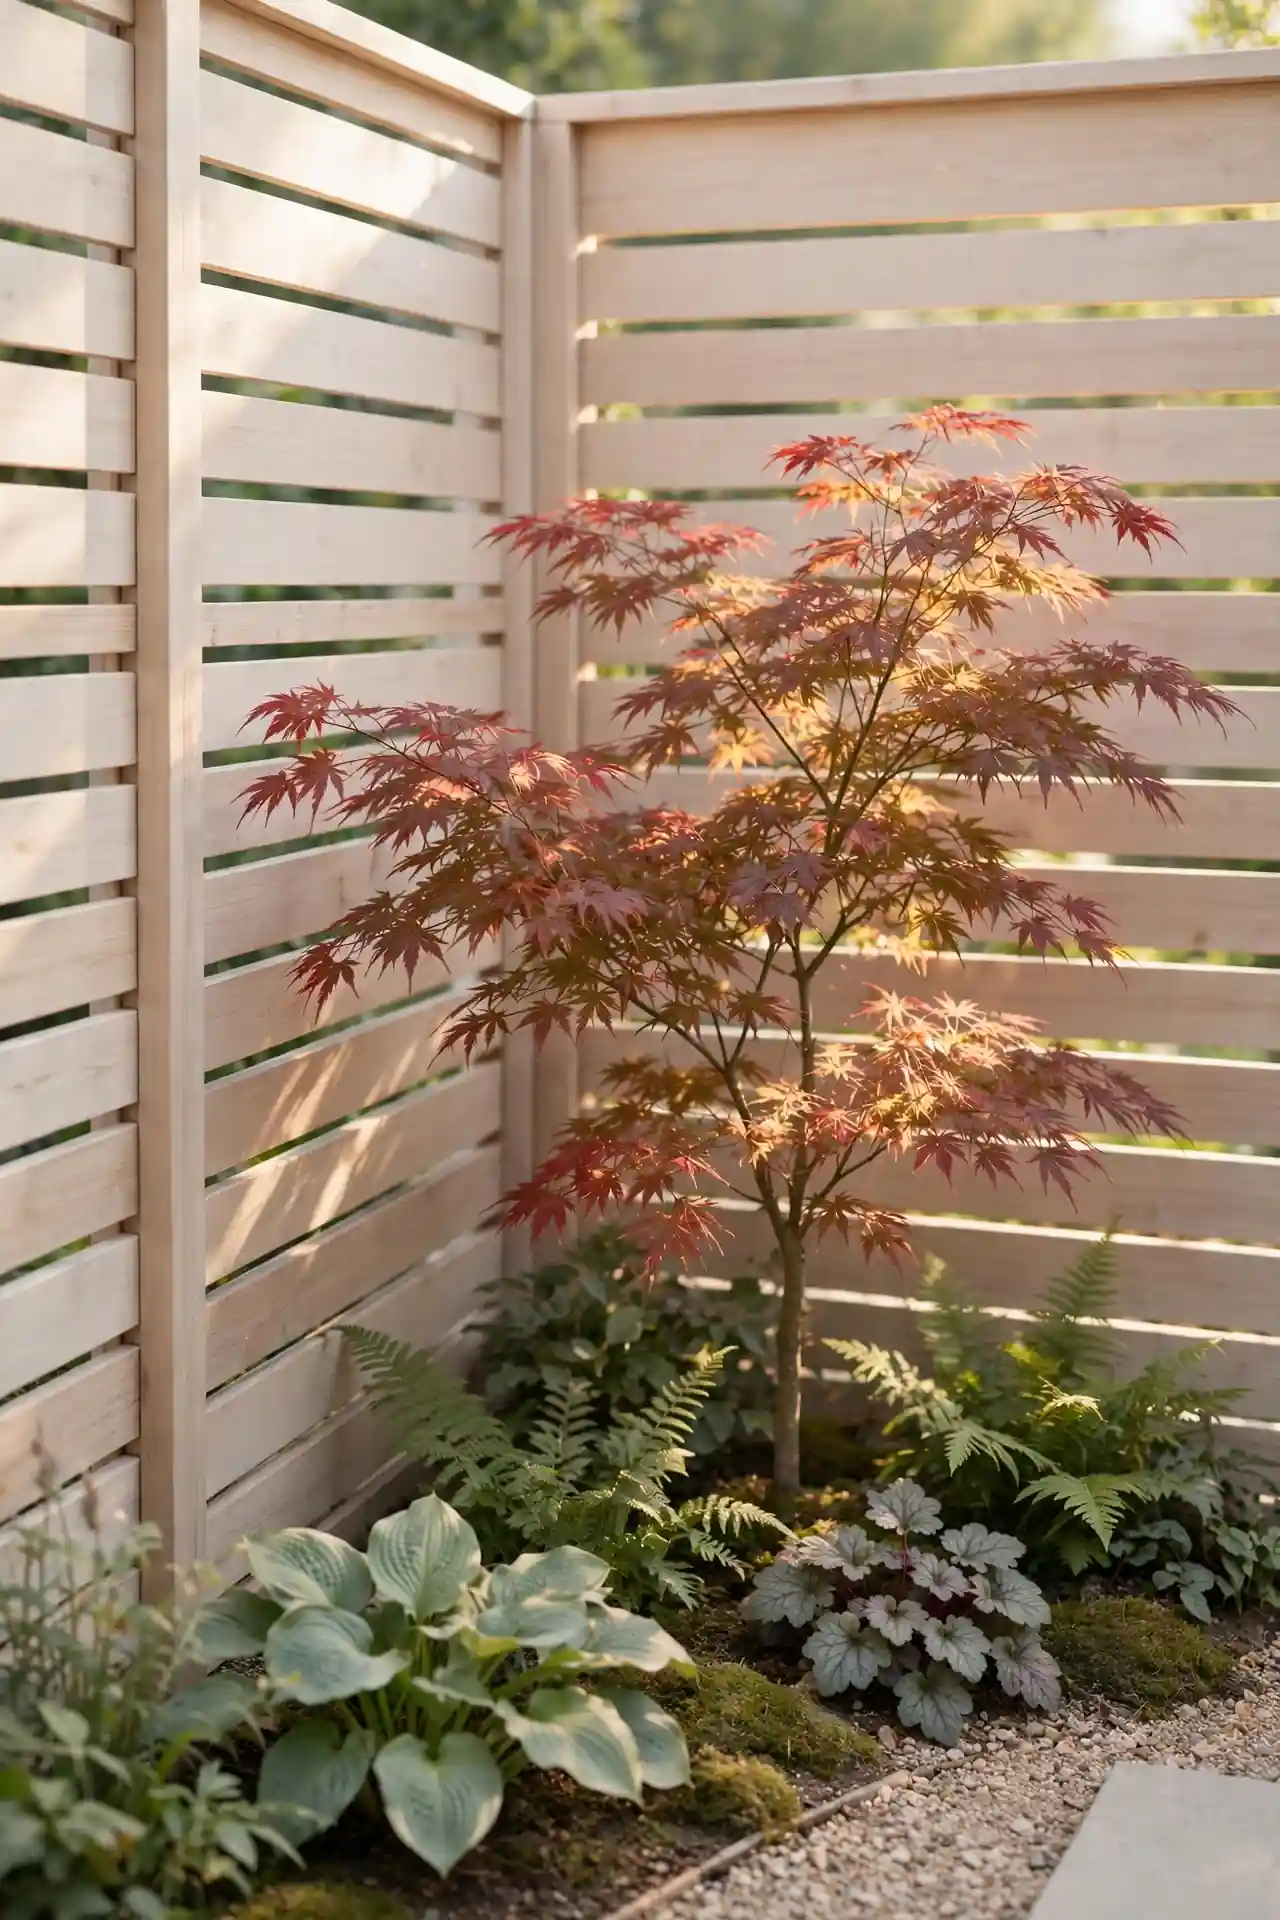
Cost: Medium, one nursery tree and a bag of compost. Time: One weekend to plant and mulch. Skill Level: Beginner friendly with basic digging. Best For: Softening sharp fence corners with year-round structure.
A small ornamental tree like a Japanese maple or crape myrtle turns a forgotten corner into the yard’s best feature. Plant it four feet from the fence so branches clear the boards. For the rest of the property, these front yard landscaping ideas keep the look consistent. One strong focal point beats a dozen plants.
Mulch wide around the trunk but never pile it against the bark. A young tree doubles in presence within two seasons.
Ornamental Grass Drift
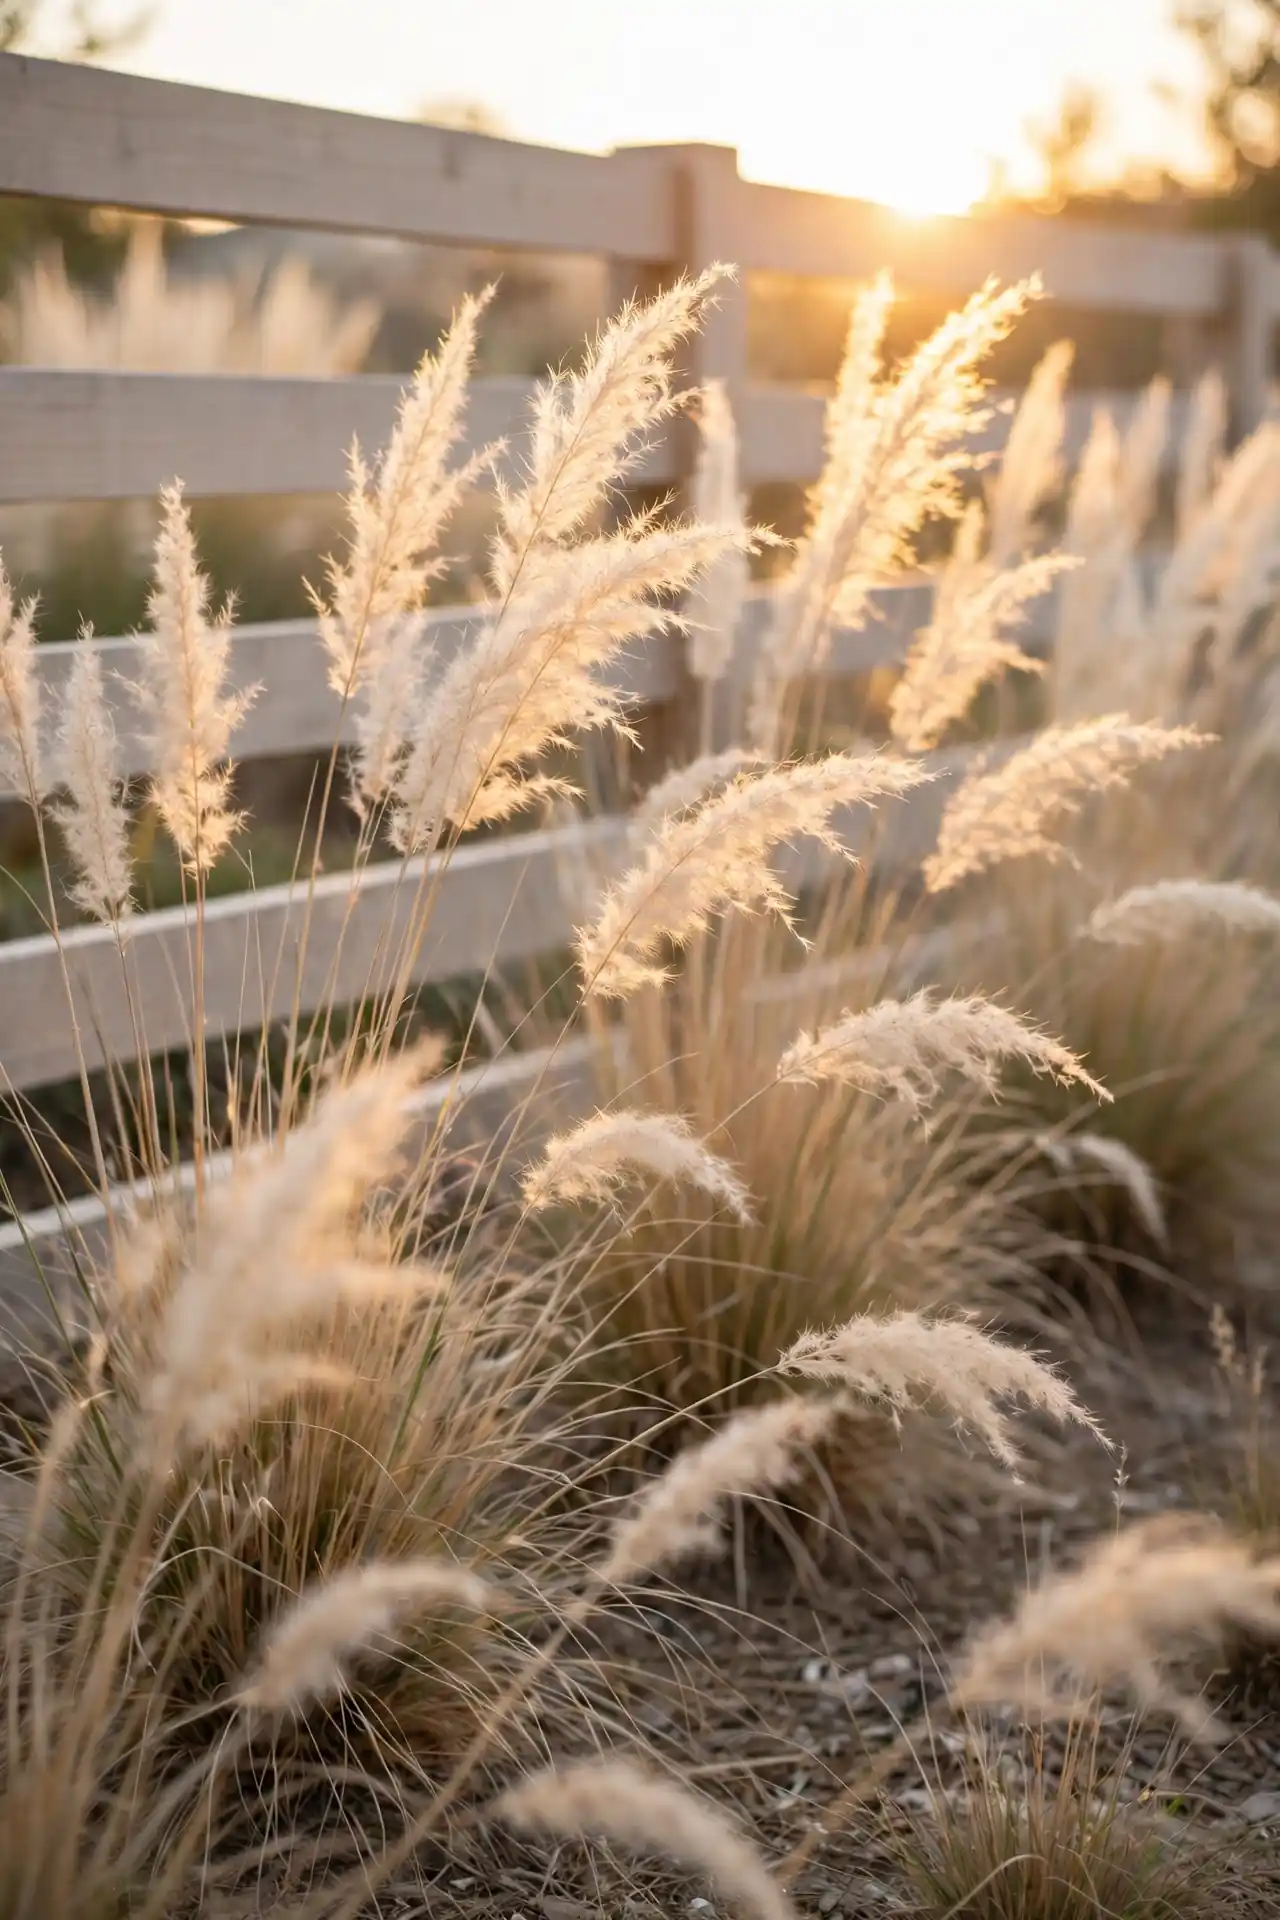
Grasses bring movement to a fence line that shrubs alone cannot match. Miscanthus, fountain grass, and blue fescue catch the wind and glow in low evening light. Plant them in loose drifts of three to seven for the most natural effect. Their seed heads carry the garden through fall and deep into winter.
Cut grasses back in late winter before new growth starts, never in fall when the plumes look their best. Most need full sun and tolerate poor soil, which makes them easy along fences. Combine tall and short varieties for real layers. A grass drift needs almost no watering once established.
Vine-Covered Lattice
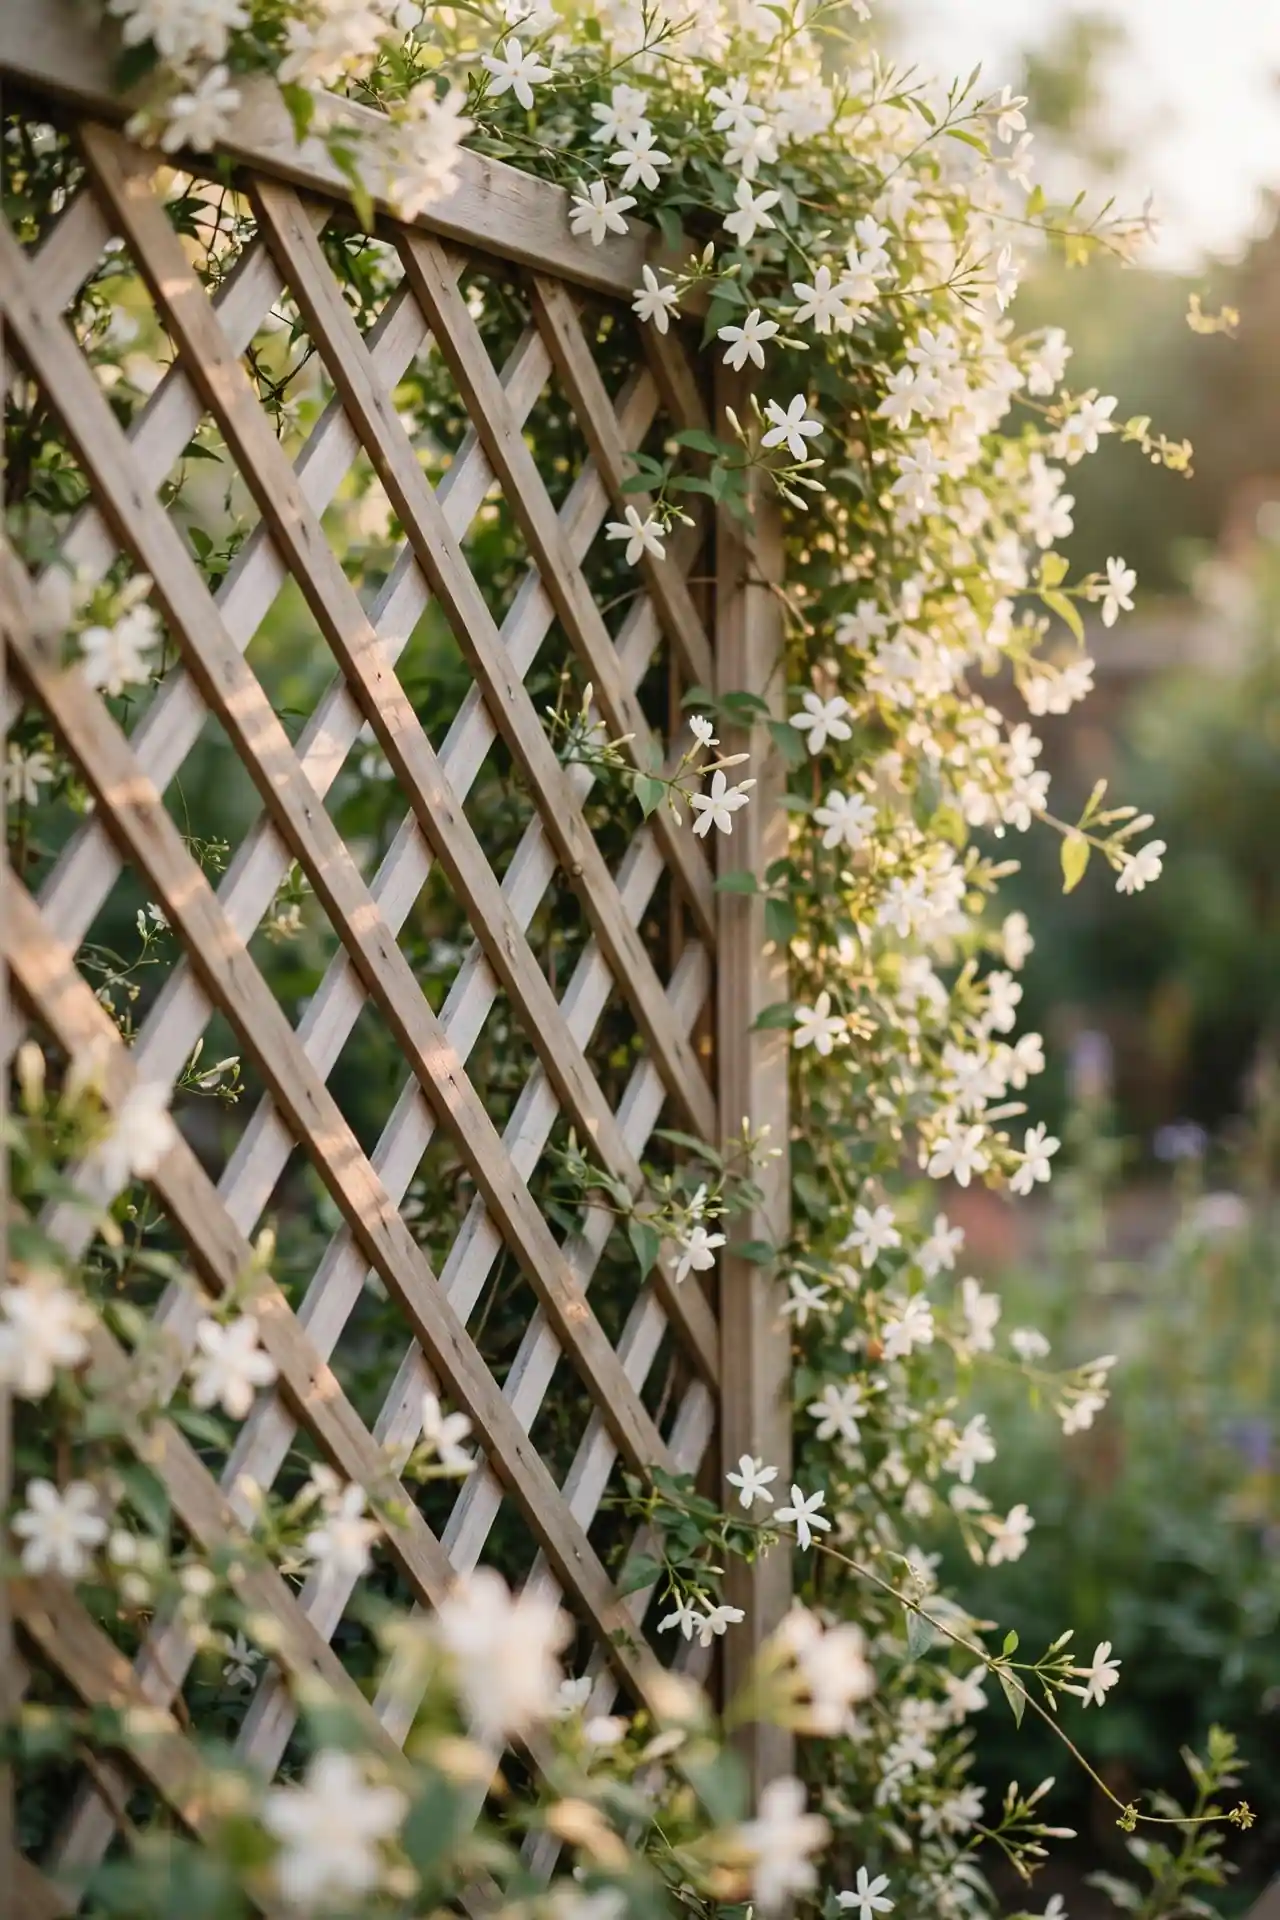
- Mount lattice panels a few inches off the fence so air flows behind the vines.
- Clematis, jasmine, and honeysuckle all climb fast and flower very hard.
- Weave young stems through the openings instead of tying every one.
- Feed vines in spring and cut back tangles each winter.
A vine-covered lattice softens a tall bare fence in a single season, which few plantings can match. The flowers draw bees and hummingbirds right to the boundary. Choose non-invasive varieties so the vine stays where you want it. In my experience, a fragrant jasmine by the patio gate gets noticed every single evening.
Stone Border Edging
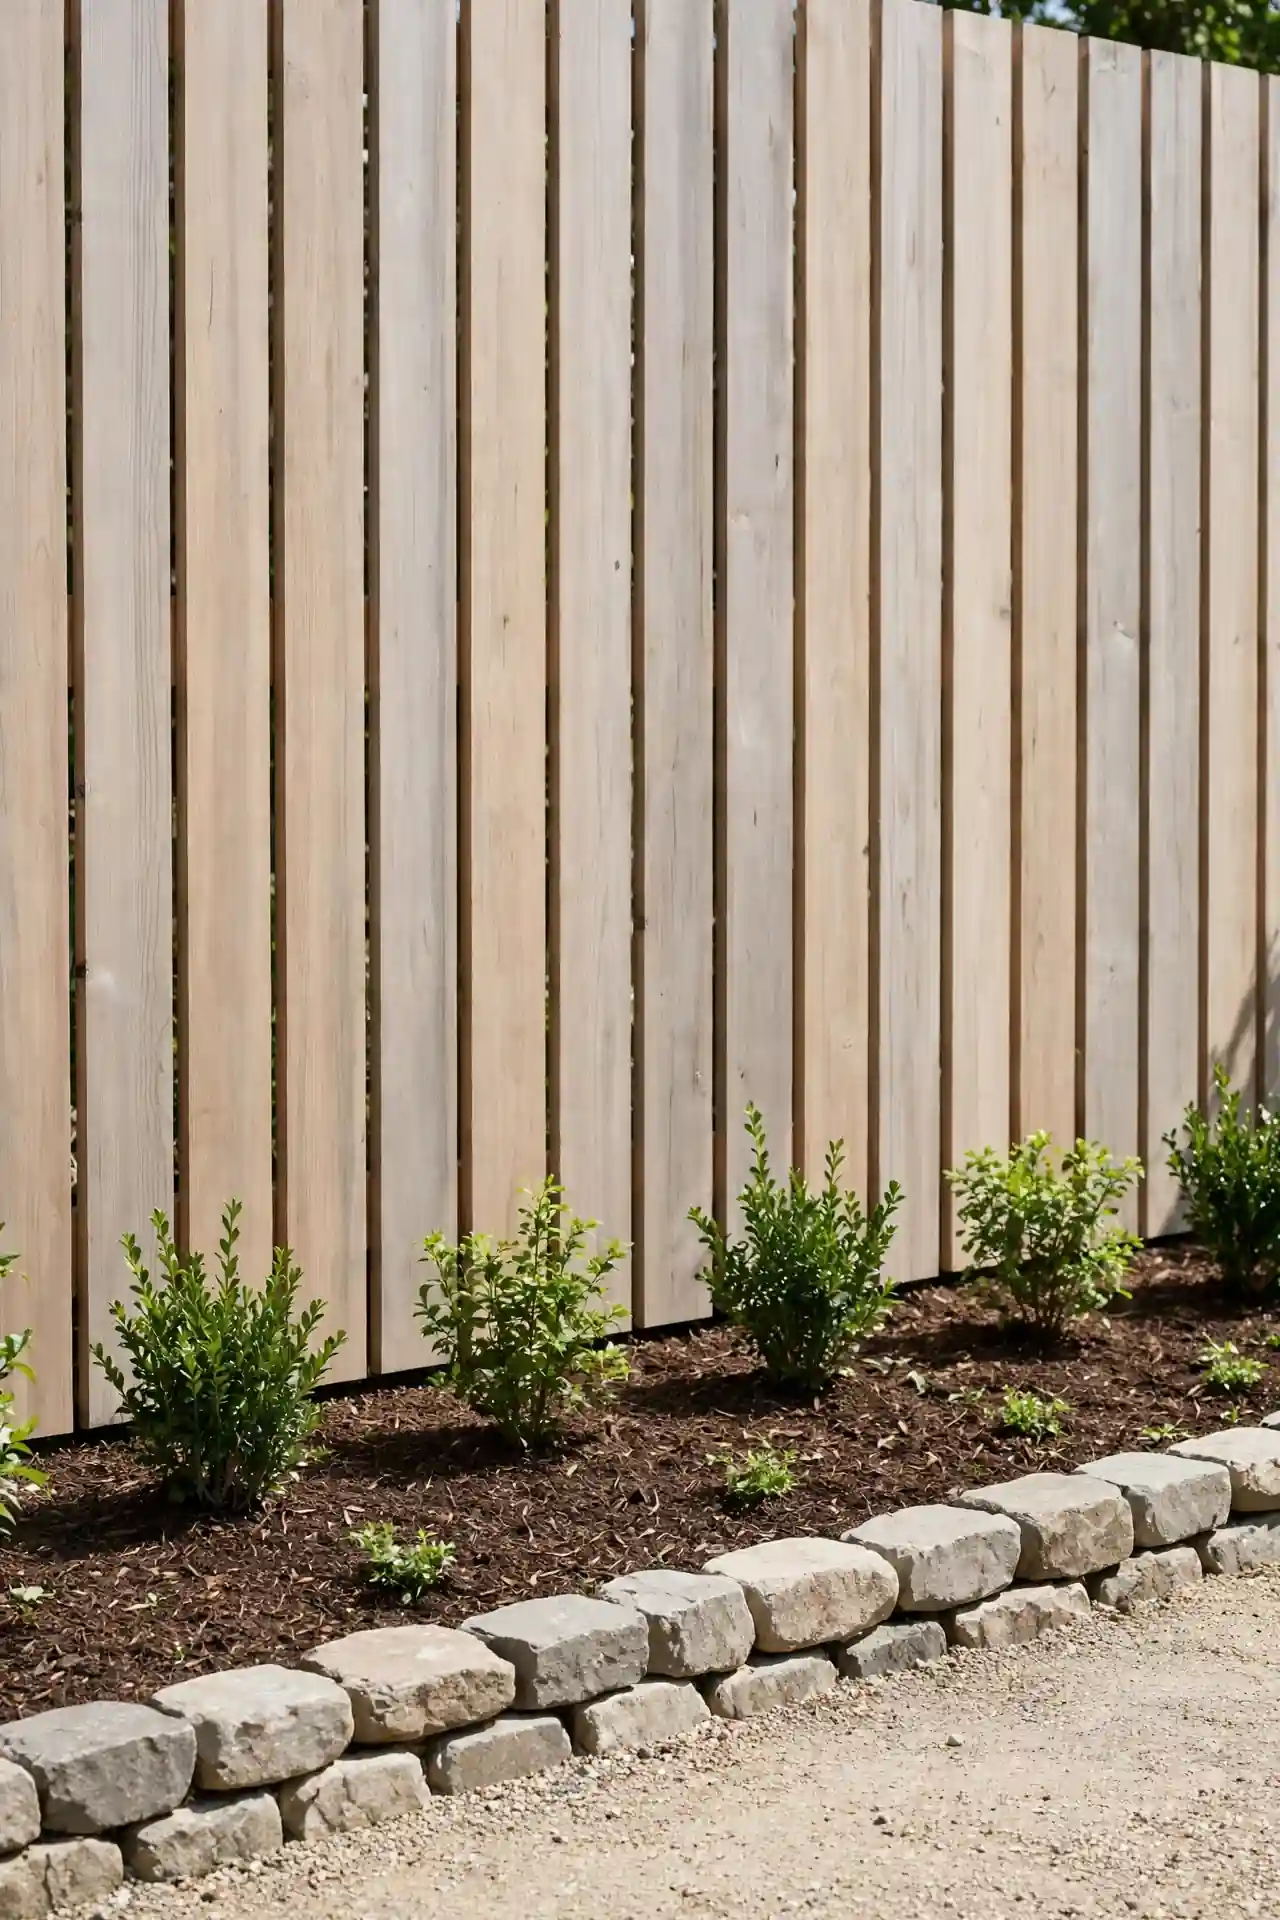
Quick Tip: Dig a shallow trench and set the stones half-buried so they lock together with no mortar needed. Check the top edge with a string line as you go to keep it level. A tight stone edge holds mulch in and keeps creeping grass out for years.
Stone edging gives a fence bed a finished, permanent look that plastic edging never quite matches. Natural fieldstone suits cottage gardens while cut bluestone reads more modern. The stones also shield fence boards from string trimmers. Collect stone gradually if money is tight; the border can grow one section at a time.
Shade Hostas Row
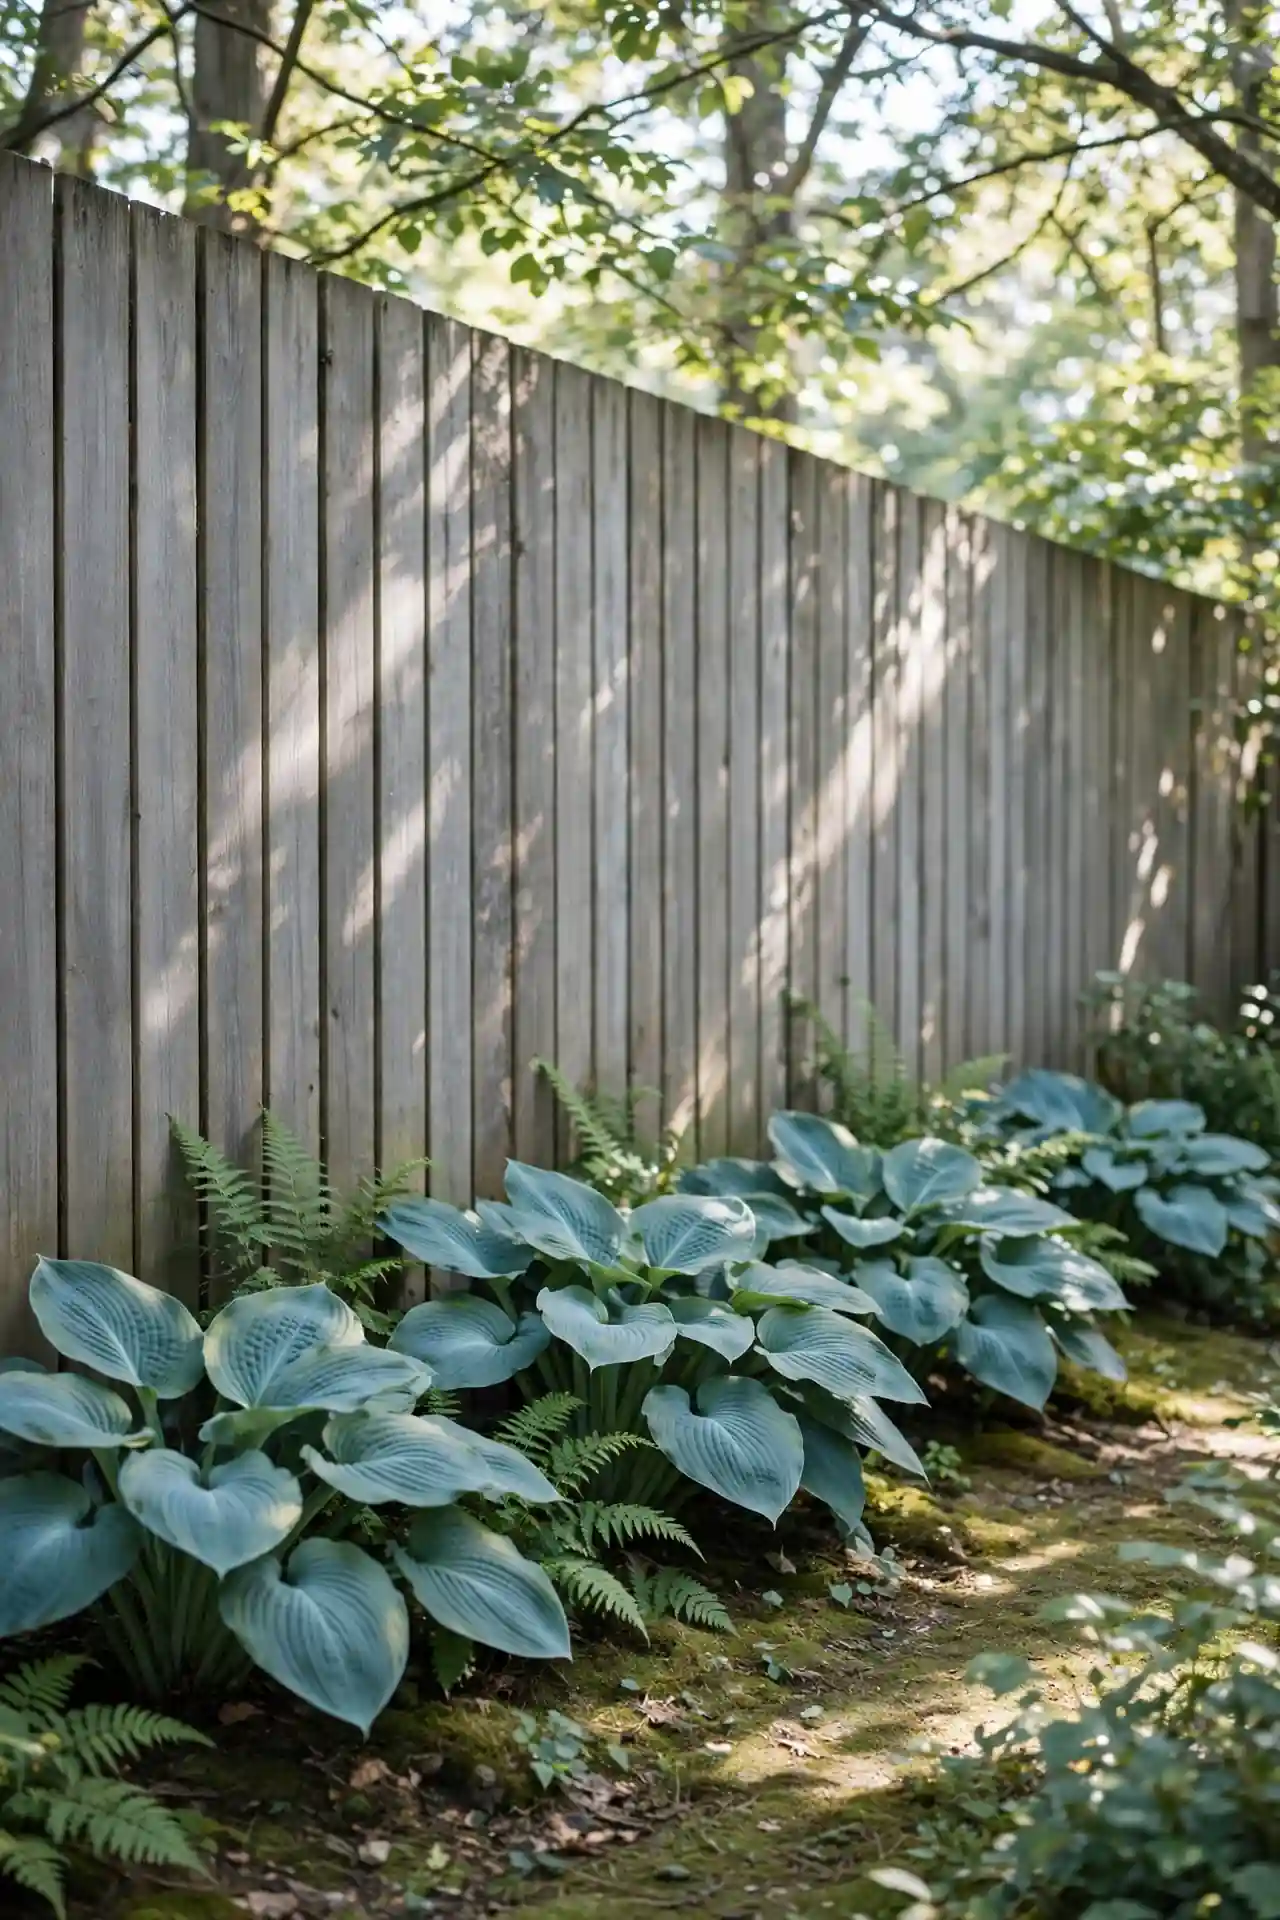
BEFORE: The north side of the fence sat bare and muddy, too dark for grass and too dull to enjoy. Every rain left a splash zone of bare soil.
AFTER: A row of blue-green hostas now fills the strip, their big leaves hiding the soil completely. Ferns and astilbe join them for texture, and the muddy strip is gone.
Hostas are made for shady fence lines where little else thrives. Mulch with leaf mold and water during dry spells for the biggest leaves. Watch for slugs and set traps early in spring. Mix leaf colors and sizes along the row so the planting reads as designed, not accidental.
Wildflower Meadow Strip
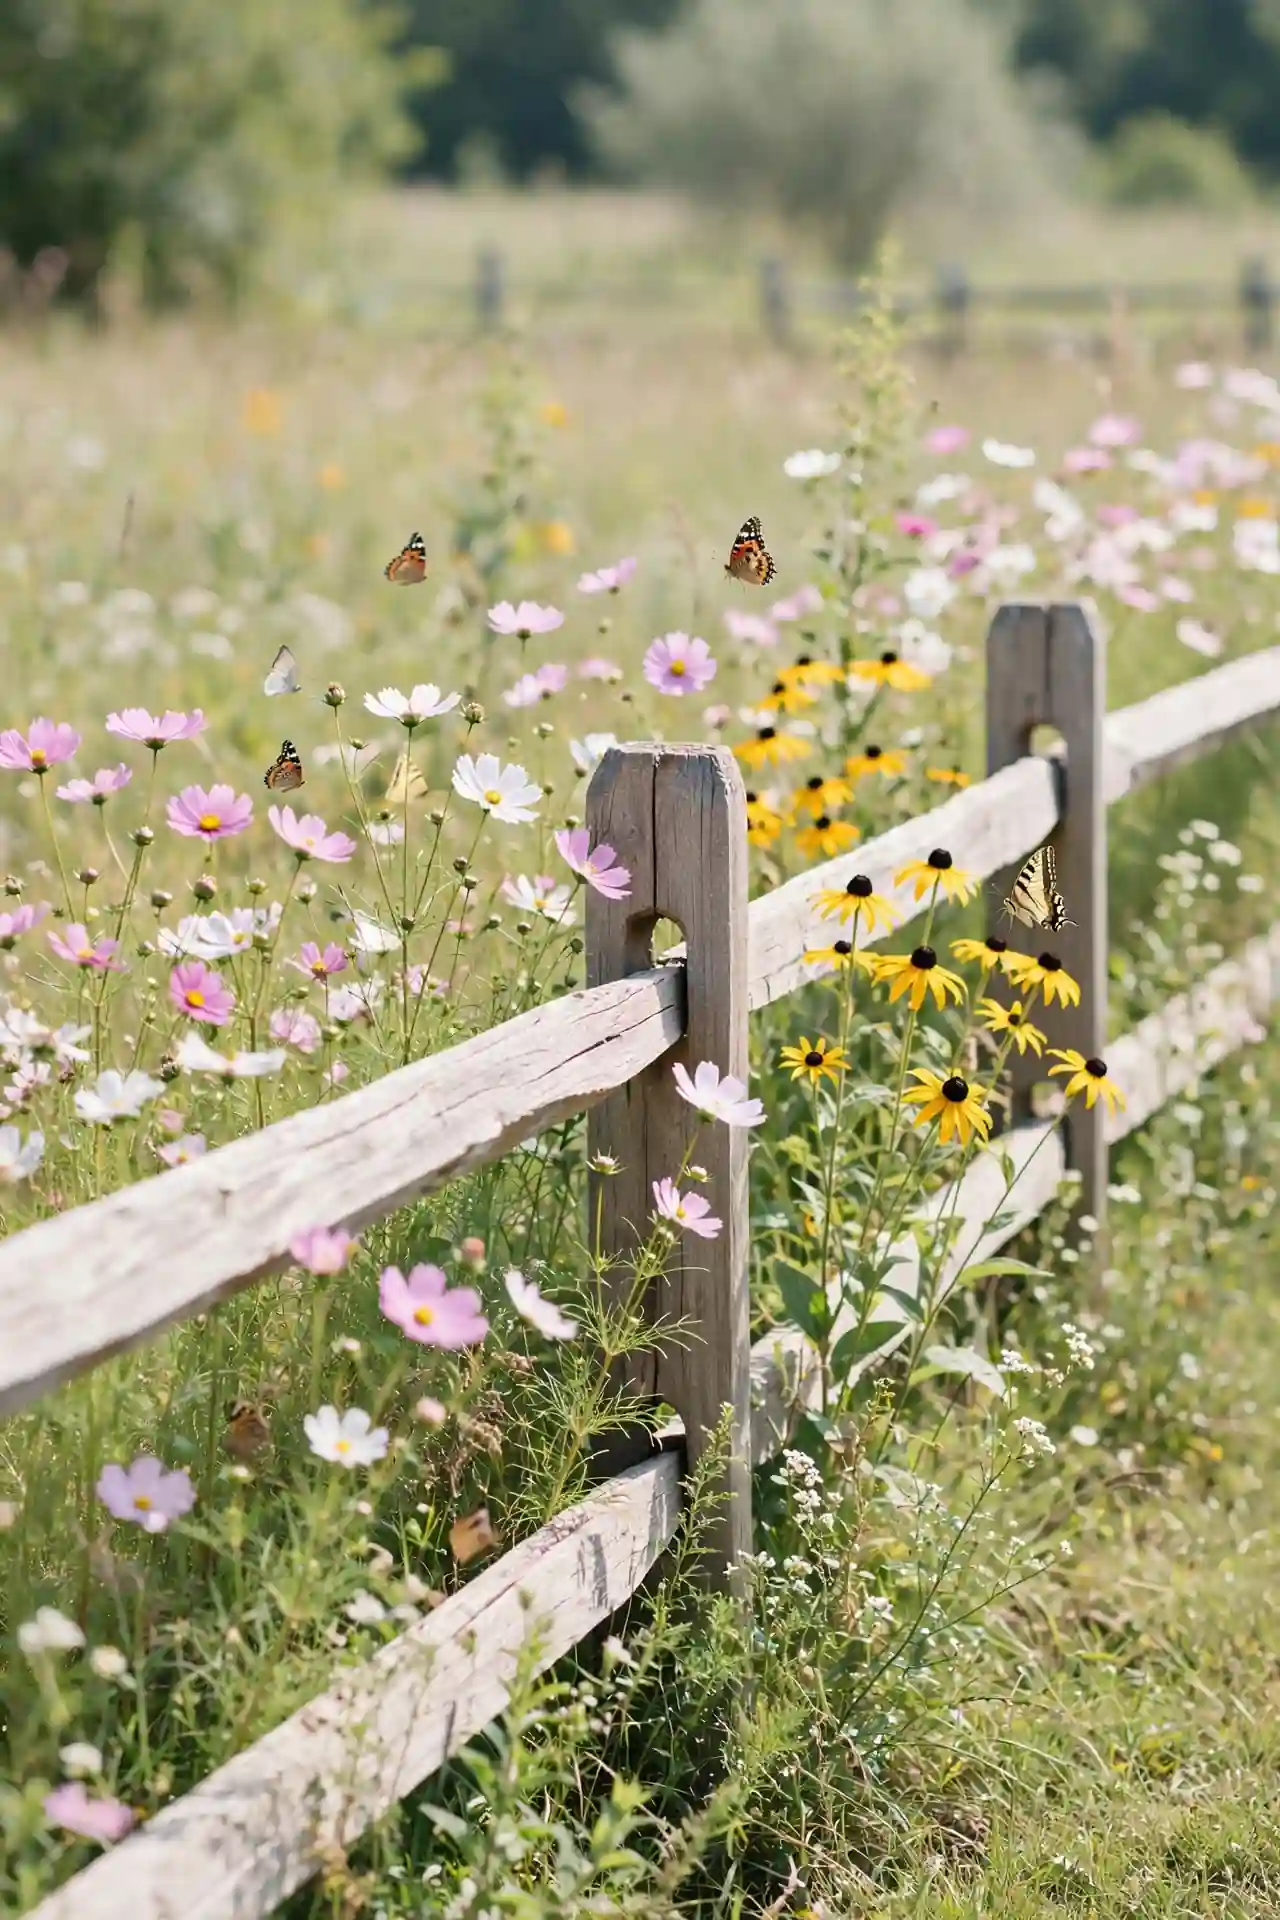
- Mow the fence strip short and rake the soil bare in early spring.
- Scatter a regional wildflower mix at the rate shown on the packet.
- Press seed into the soil with a roller or your feet, then water gently.
- Mow once in late fall after seeds drop to reset the meadow.
A wildflower strip turns a boring boundary into a buzzing, colorful habitat. Bees and butterflies arrive within weeks of the first blooms. The look is loose on purpose, so skip the urge to weed every volunteer. Sow a fresh patch each spring in any thin spots to keep color dense.
Herb Garden Run
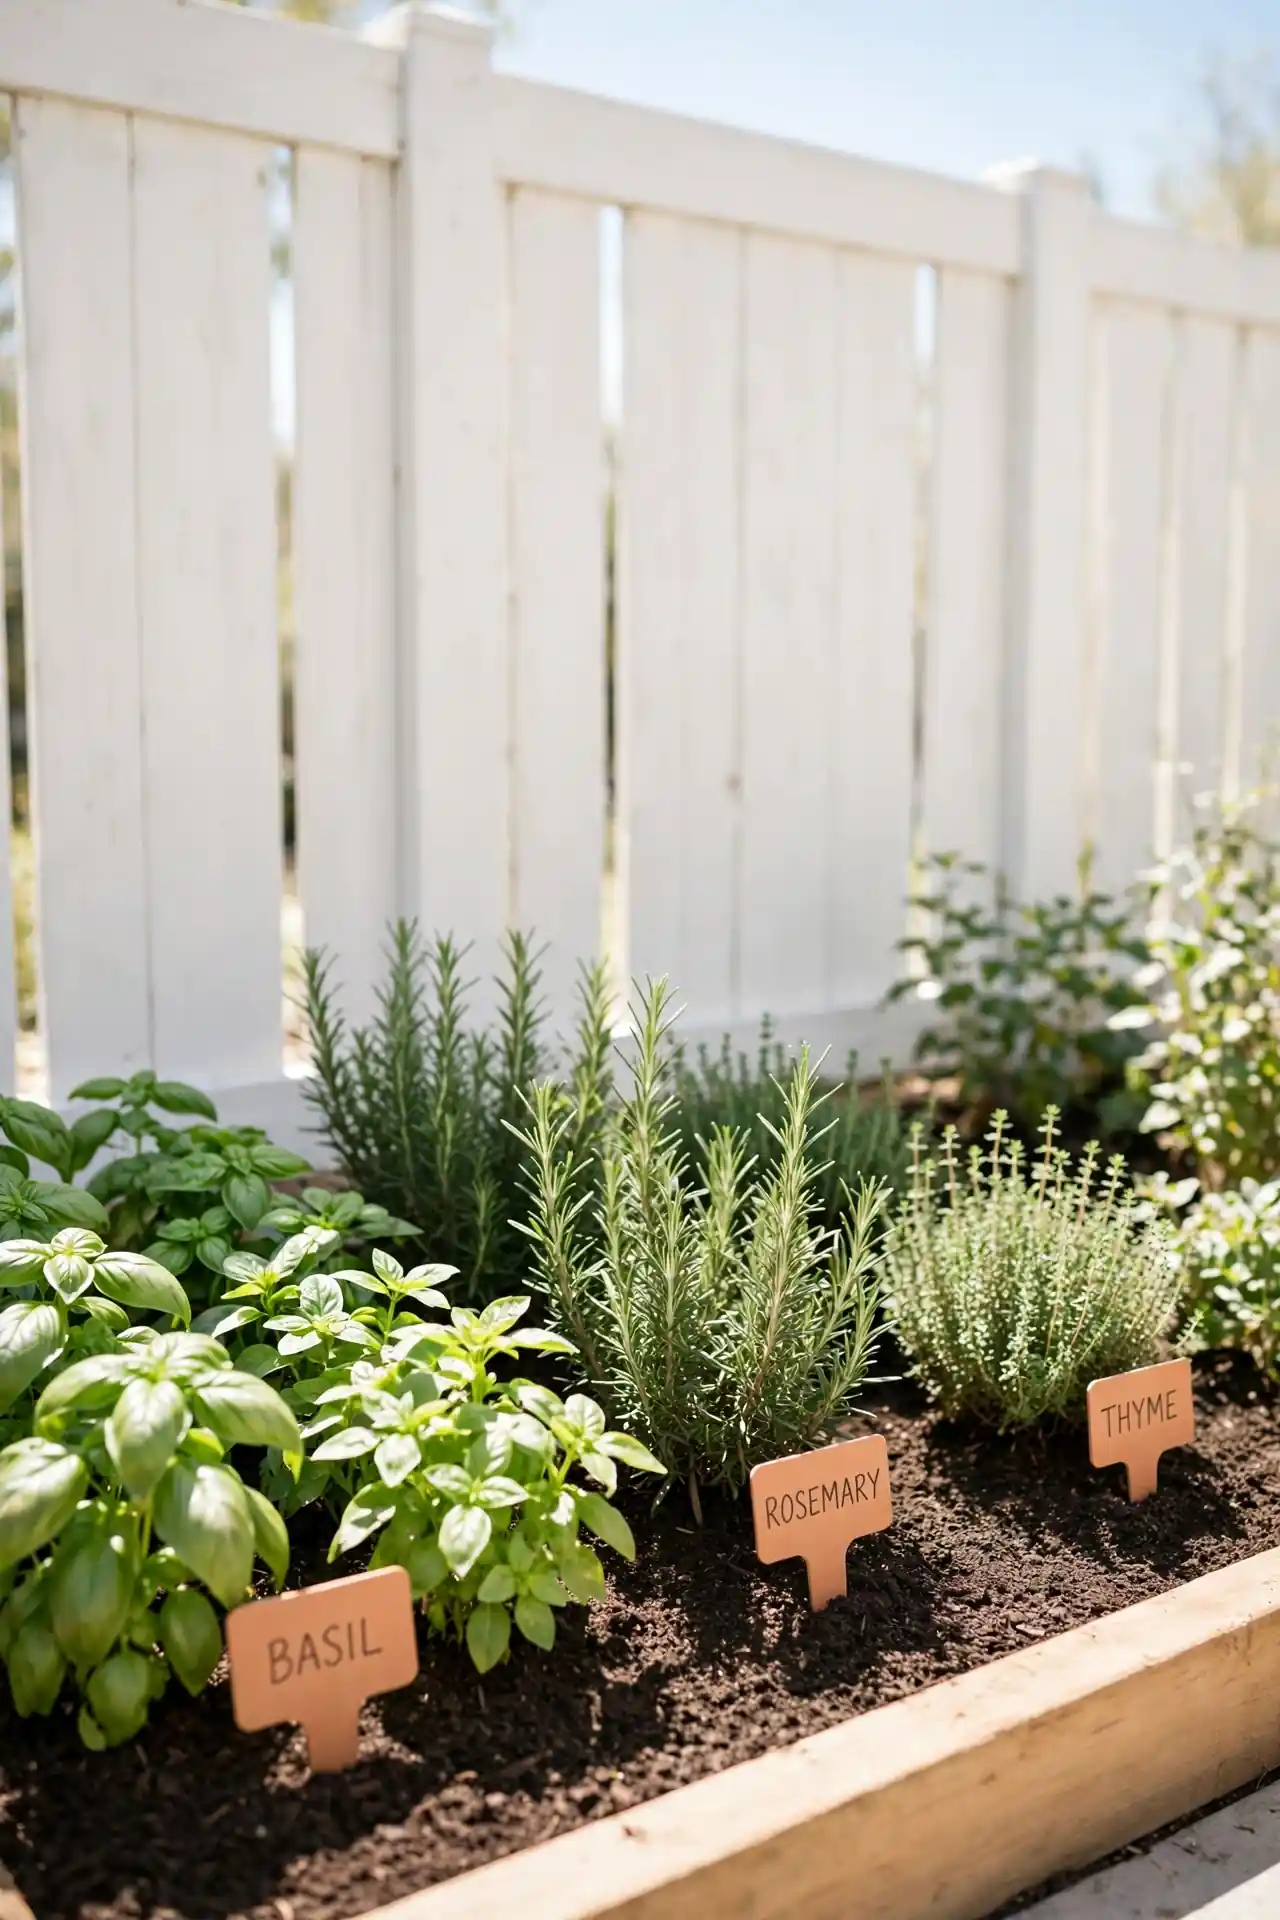
| Feature | Sunny Fence Run | Shady Fence Run |
|---|---|---|
| Best Herbs | Basil, rosemary, thyme | Mint, parsley, chives |
| Water Needs | Daily in summer heat | Every few days |
| Harvest Tip | Pinch tops often | Cut outer leaves first |
| Soil | Lean and fast draining | Rich with compost |
A herb run along the fence puts dinner ingredients just steps from the kitchen door. Most herbs want six hours of sun and sharp drainage, so a sunny fence line is ideal. Always plant mint in its own pot, since it bullies its neighbors fast. Snip stems often through the season; regular harvesting keeps every plant bushy, full, and productive.
Shrub Layering Trio
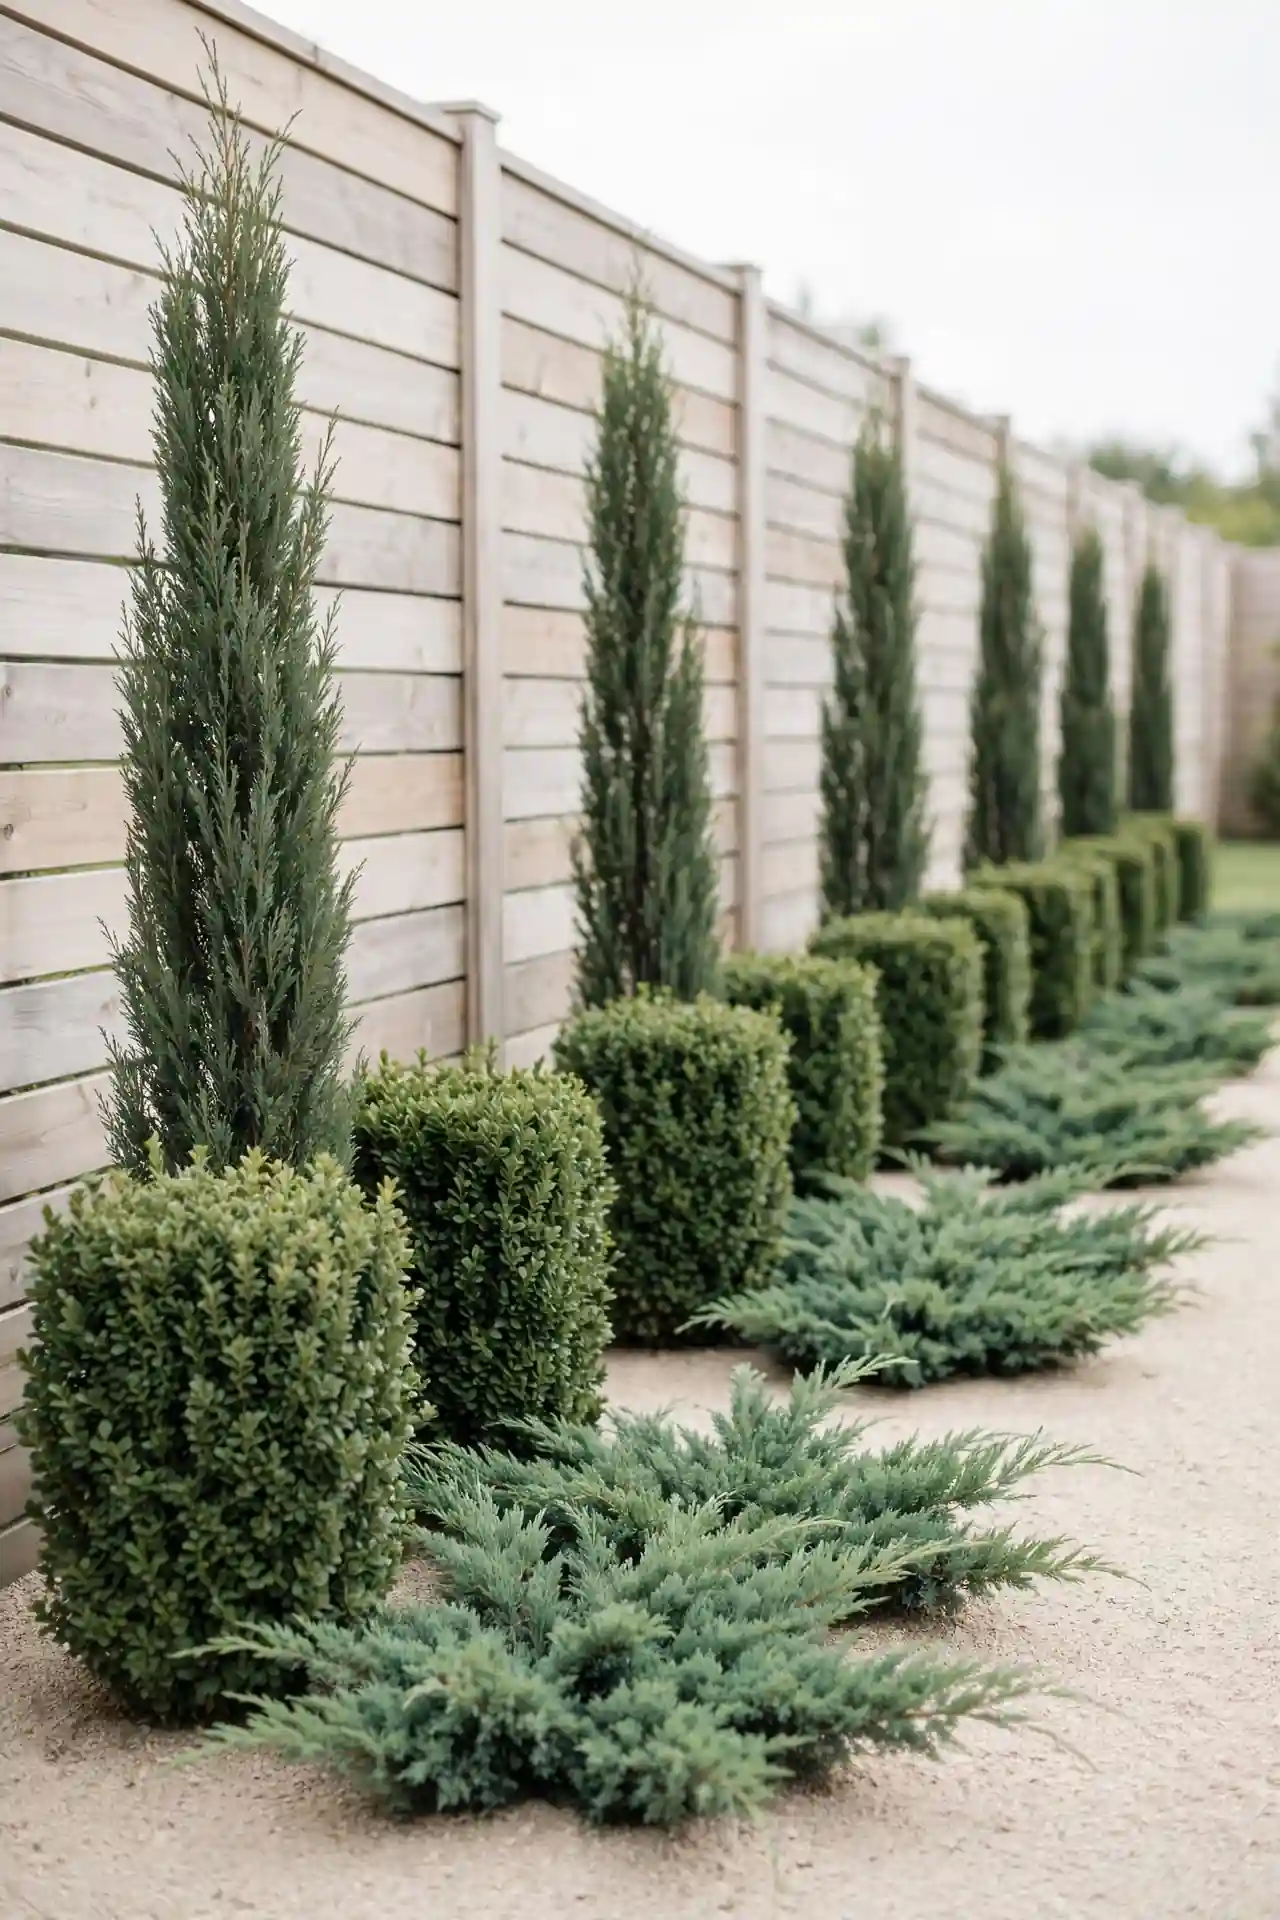
DO: Combine one tall, one medium, and one low shrub per group.
- Repeat the same trio every six to eight feet for rhythm.
- Mix glossy, fine, and bold leaf textures in each cluster.
- Stagger planting depths instead of lining shrubs up straight.
DON’T: Ignore mature width or mix too many types per group.
- Don’t crowd plants; check the mature width on every tag.
- Don’t use more than three shrub types in one group.
- Don’t skip fall planting when roots establish fastest.
Layered trios give a fence border a professional feel without a designer budget. The repetition pulls the eye along and makes short yards feel longer. Plant in fall for strong roots before summer heat. Water deeply but less often each week to push roots downward.
Potted Plant Lineup
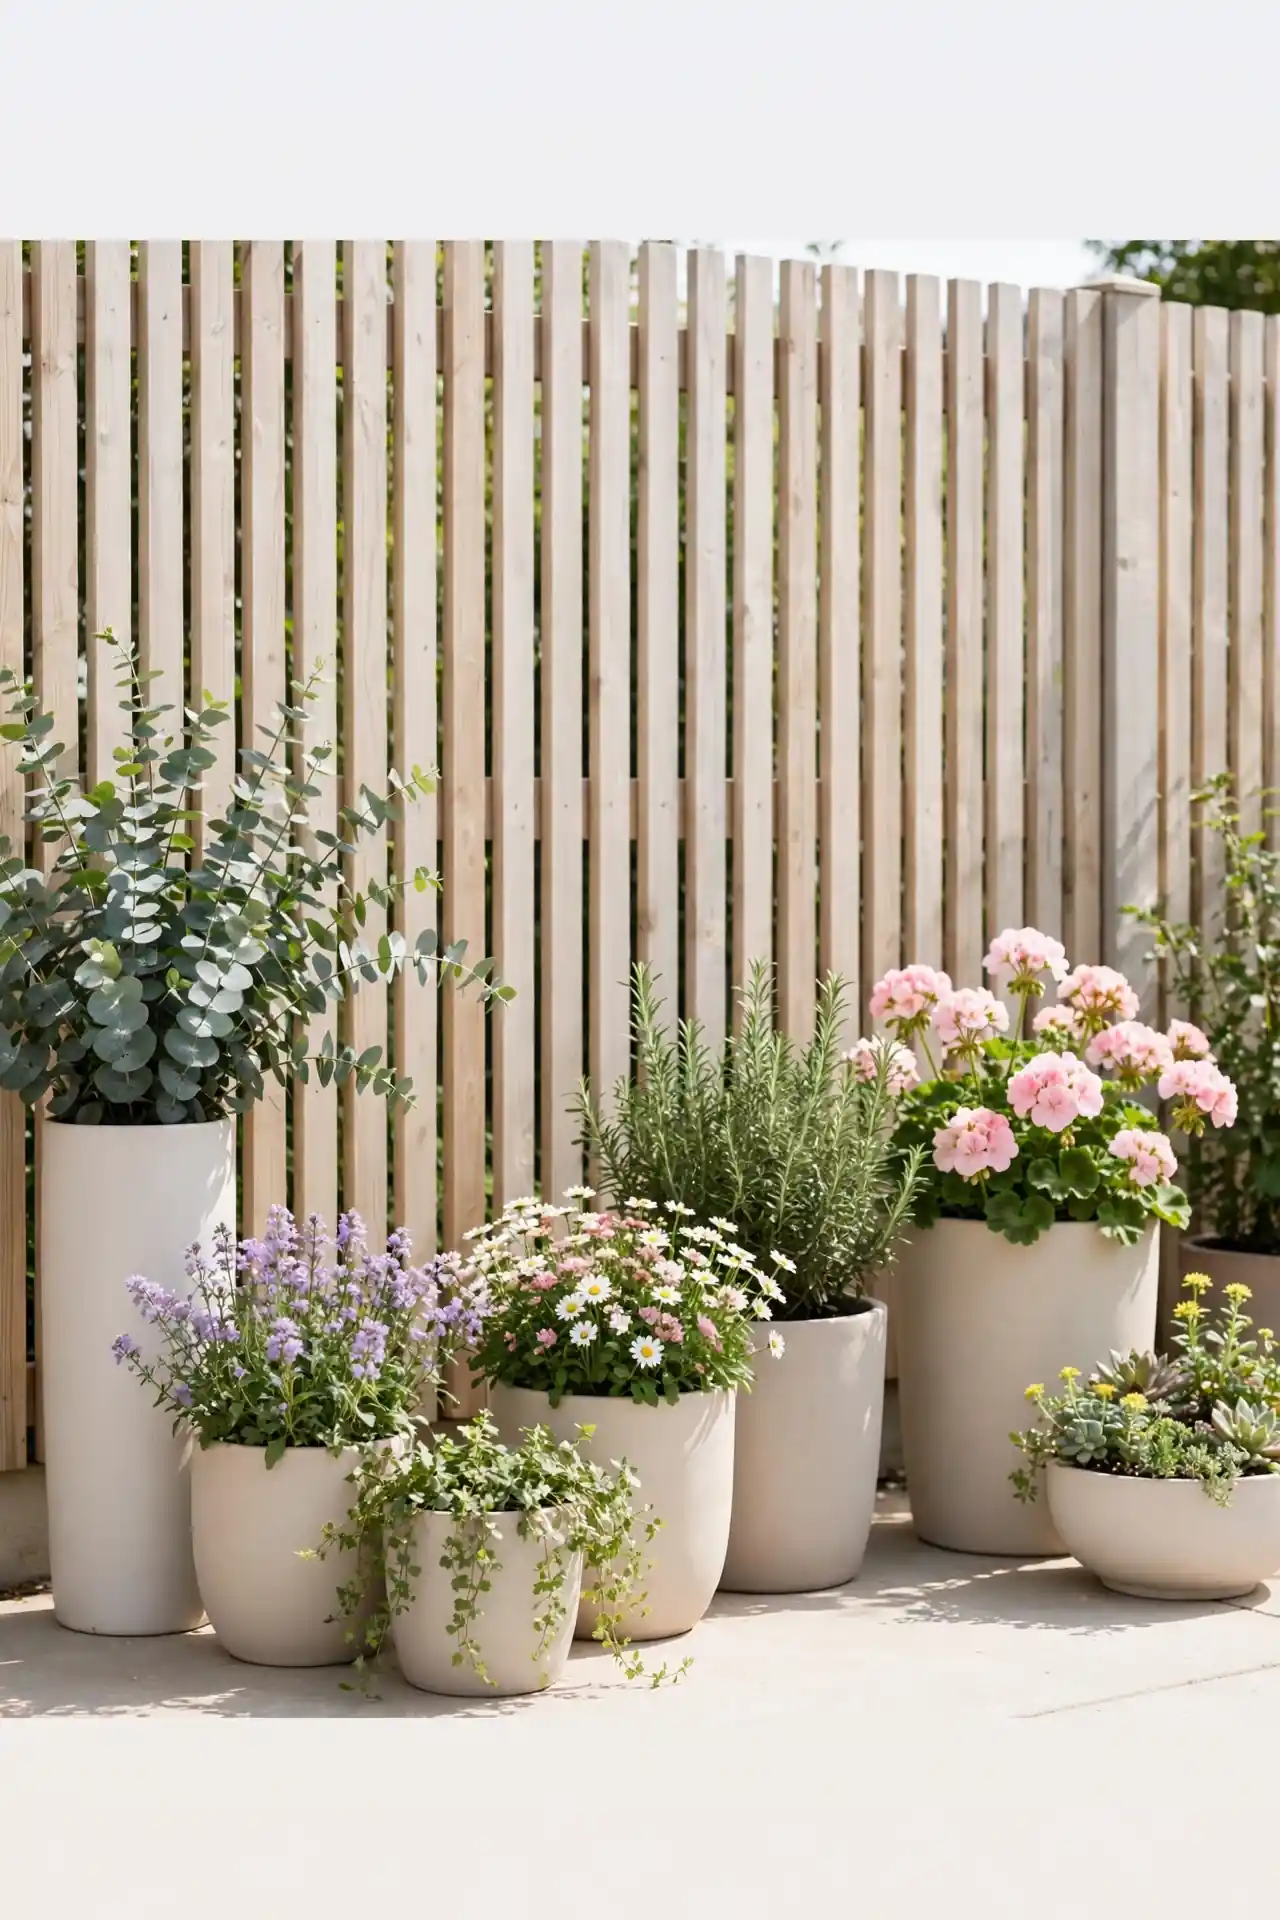
Cost: Low to medium, depending on pot sizes. Time: One afternoon to arrange and plant. Skill Level: Beginner, no digging required. Best For: Renters, patios, and poor soil spots.
Pots along the fence let you garden where digging is impossible, over concrete or tired soil. Group containers in threes at varied heights for a collected look. Choose frost-proof pots if they stay out all winter. Swap in seasonal color, mums in fall and pansies in spring, to keep the lineup fresh.
Cluster odd numbers together and vary the heights for the best look. Water pots daily in summer heat since they dry fast.
Flowering Shrub Mix
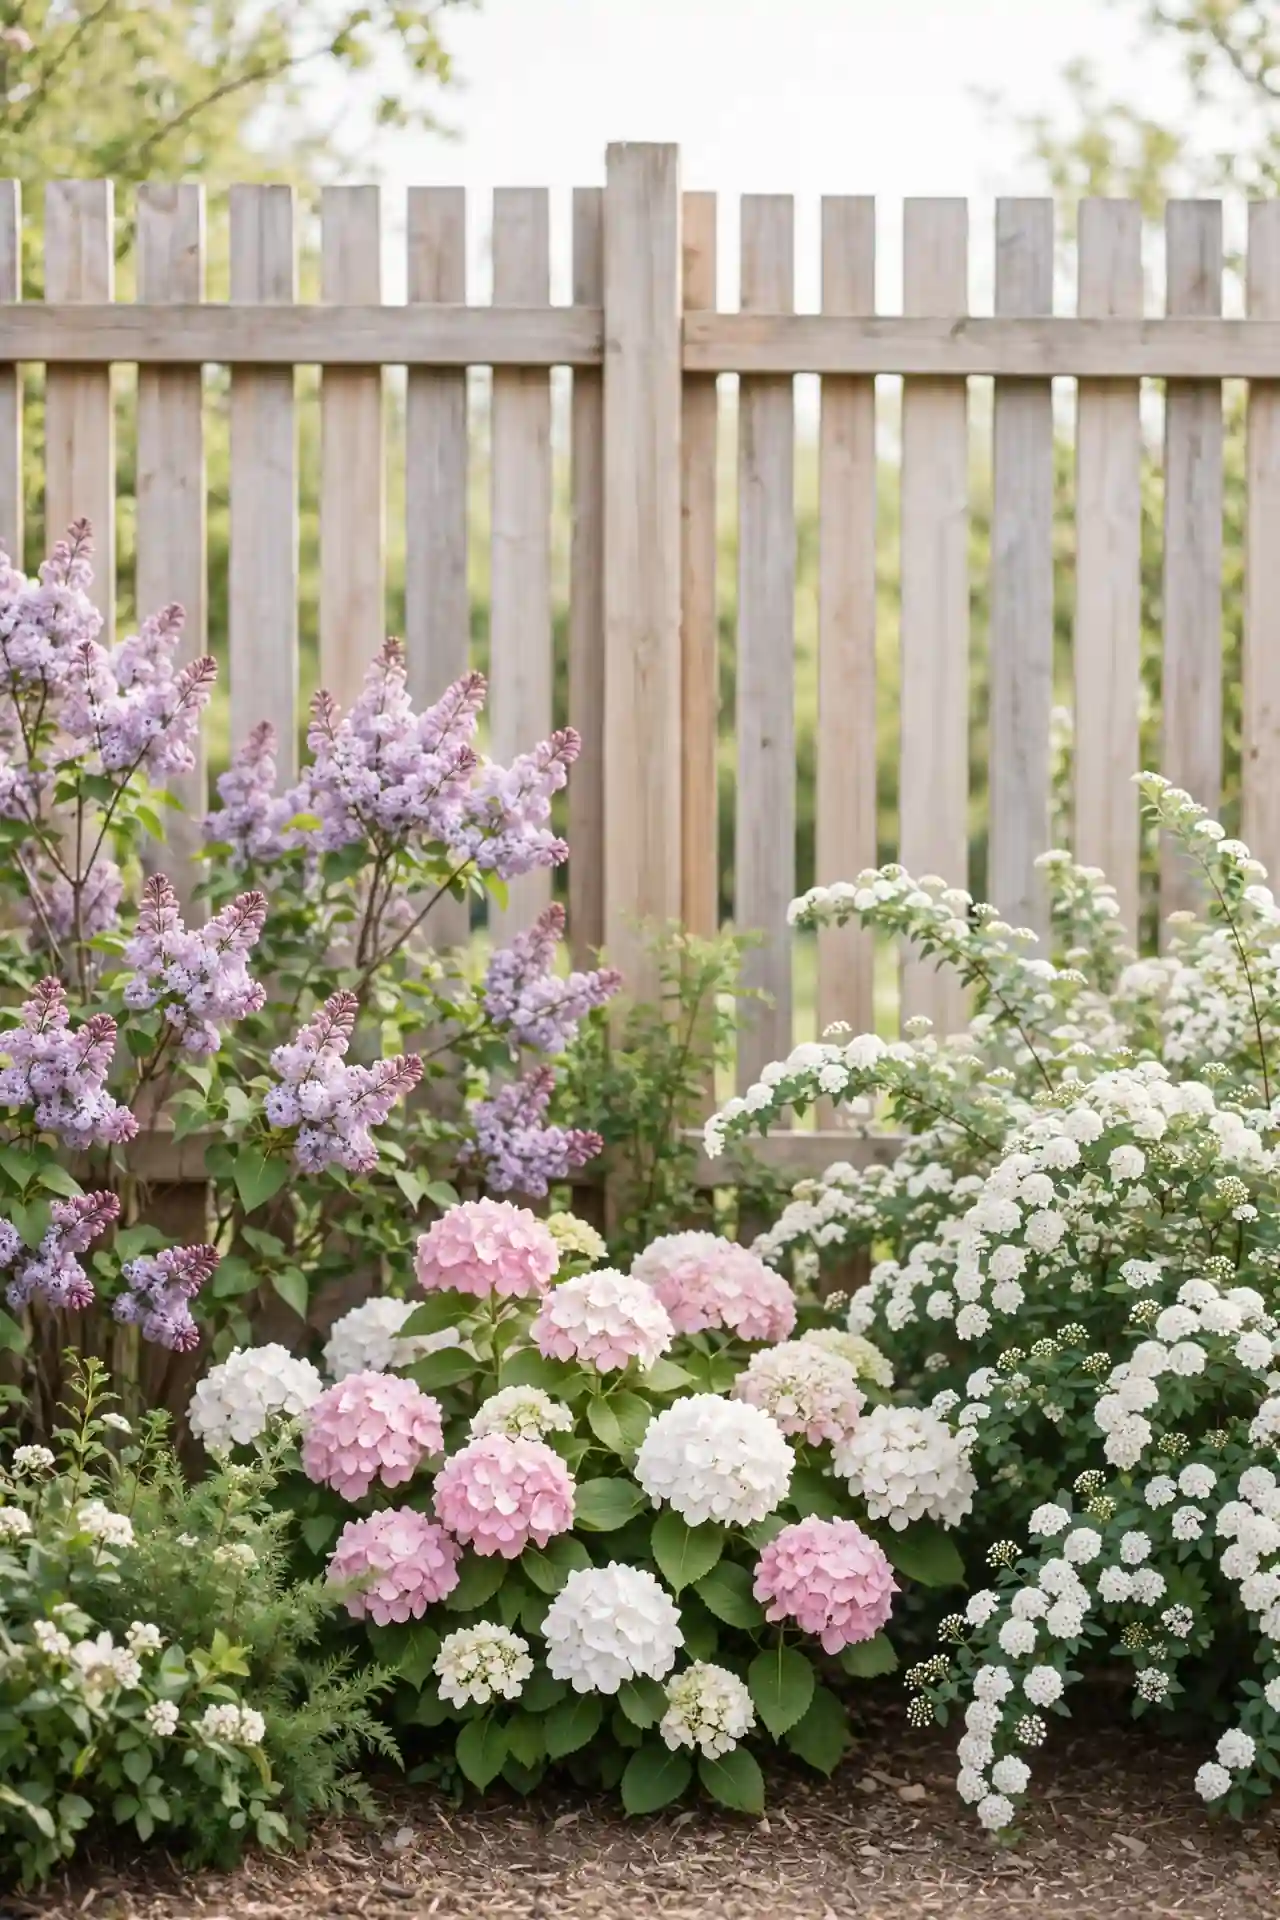
A mixed shrub border packs more interest into a fence line than any single species can manage. Combine spring bloomers like lilac with summer stars like hydrangea and fall color from burning bush. The blooming succession means something is always happening. Leave generous room between plants for their full mature size.
Prune each shrub right after it flowers so you never cut off next year’s buds. A thick mulch layer keeps roots cool and weeds down through summer. Mixed borders forgive mistakes, since one strong plant covers for a weaker neighbor. This is the planting I recommend most to all nervous beginners.
Night Lighting Glow
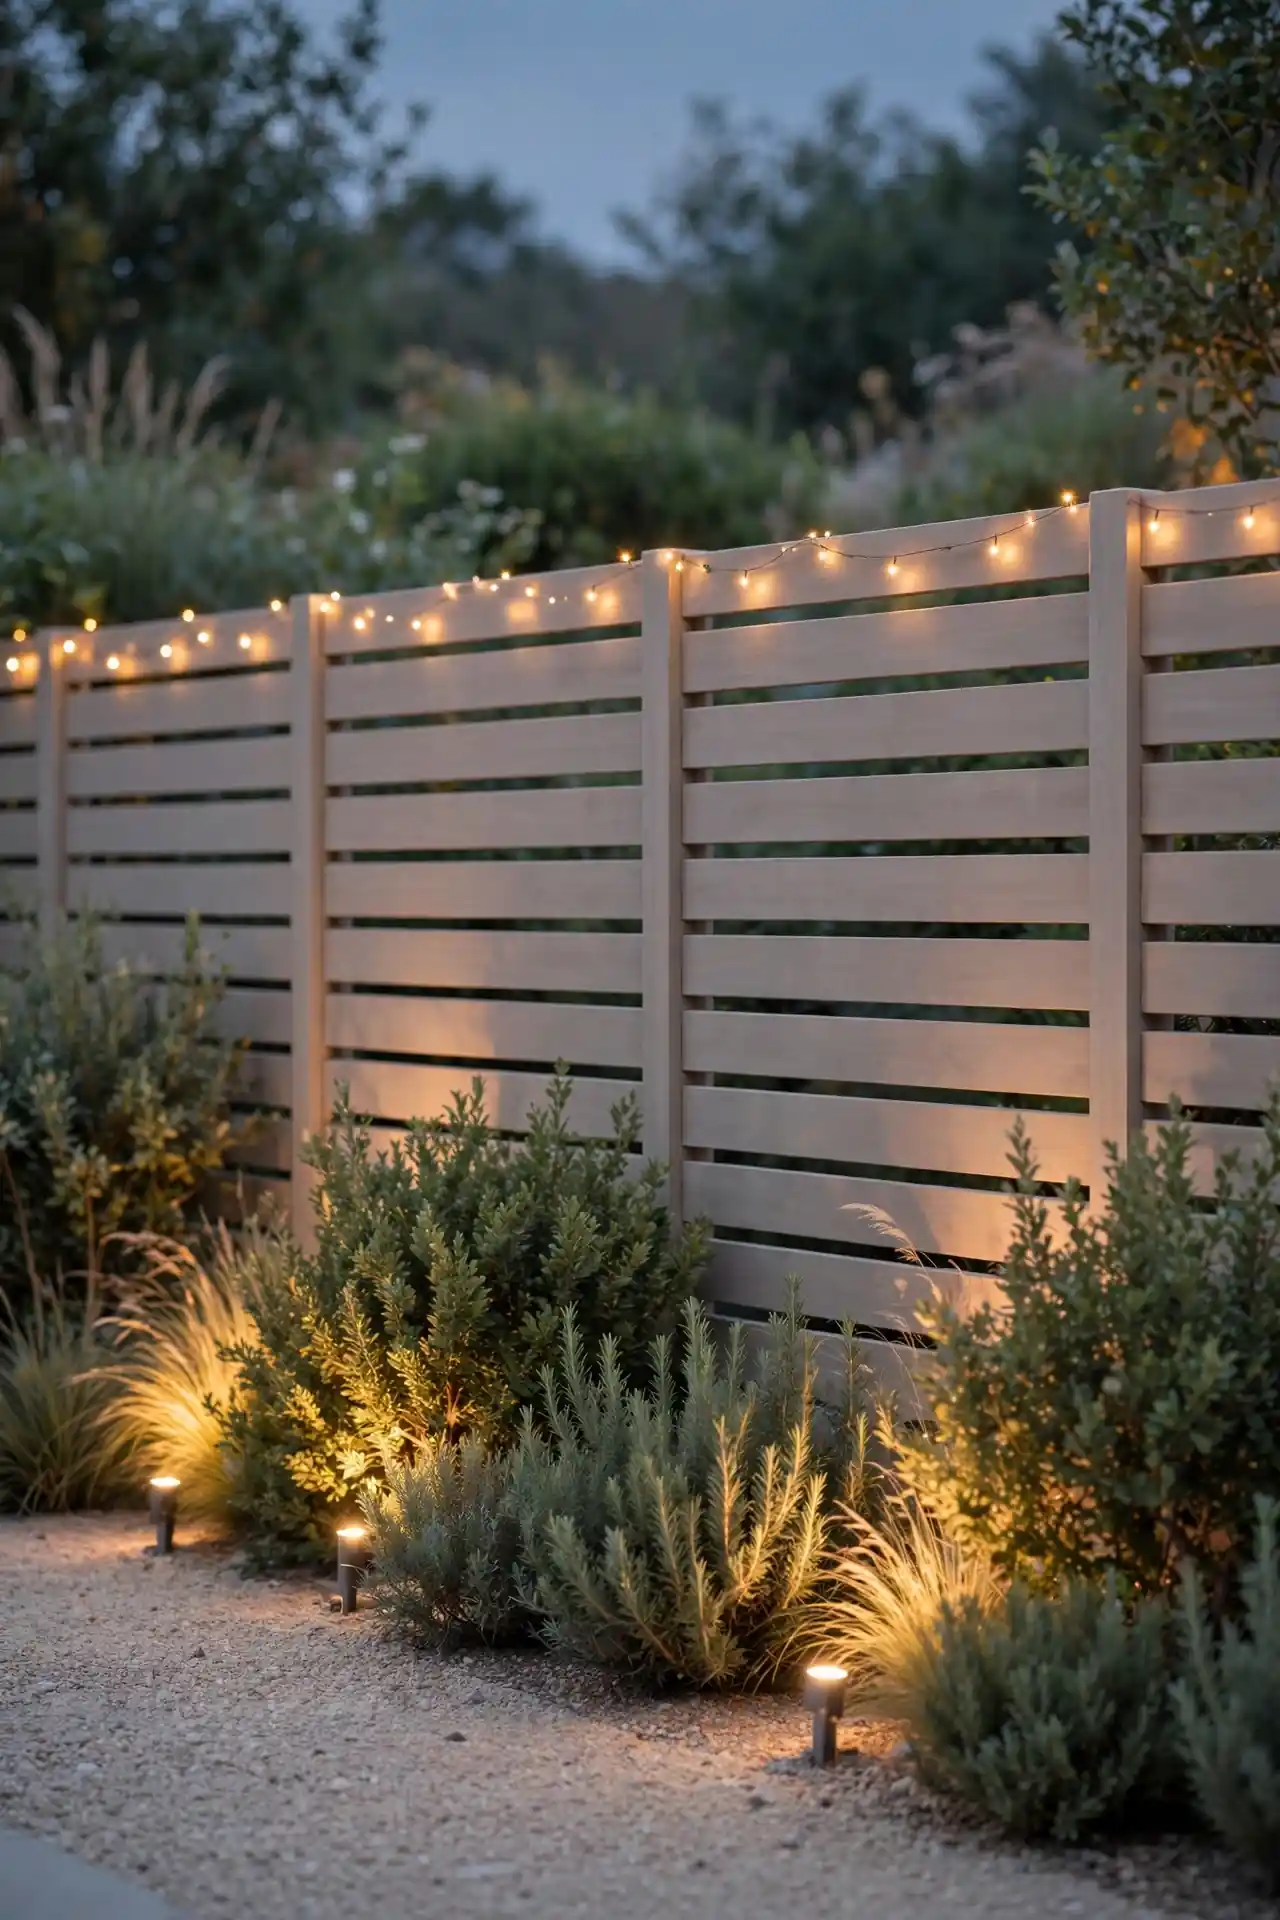
- Set low-voltage spotlights at the base of trees to wash light up the fence.
- String warm-white fairy lights along the top rail for instant charm.
- Use solar path lights to edge the bed, no wiring needed.
- Aim lights at plants, not into neighbors’ windows.
- Keep a spare set of bulbs so one outage never darkens the whole run.
Lighting stretches garden hours long past sunset and makes the fence line glow from indoors. Warm white beats cool white for a cozy feel every time. A simple timer handles dusk-to-bedtime automatically. Start with a few fixtures and add more once you see the effect.
Butterfly Bush Corner
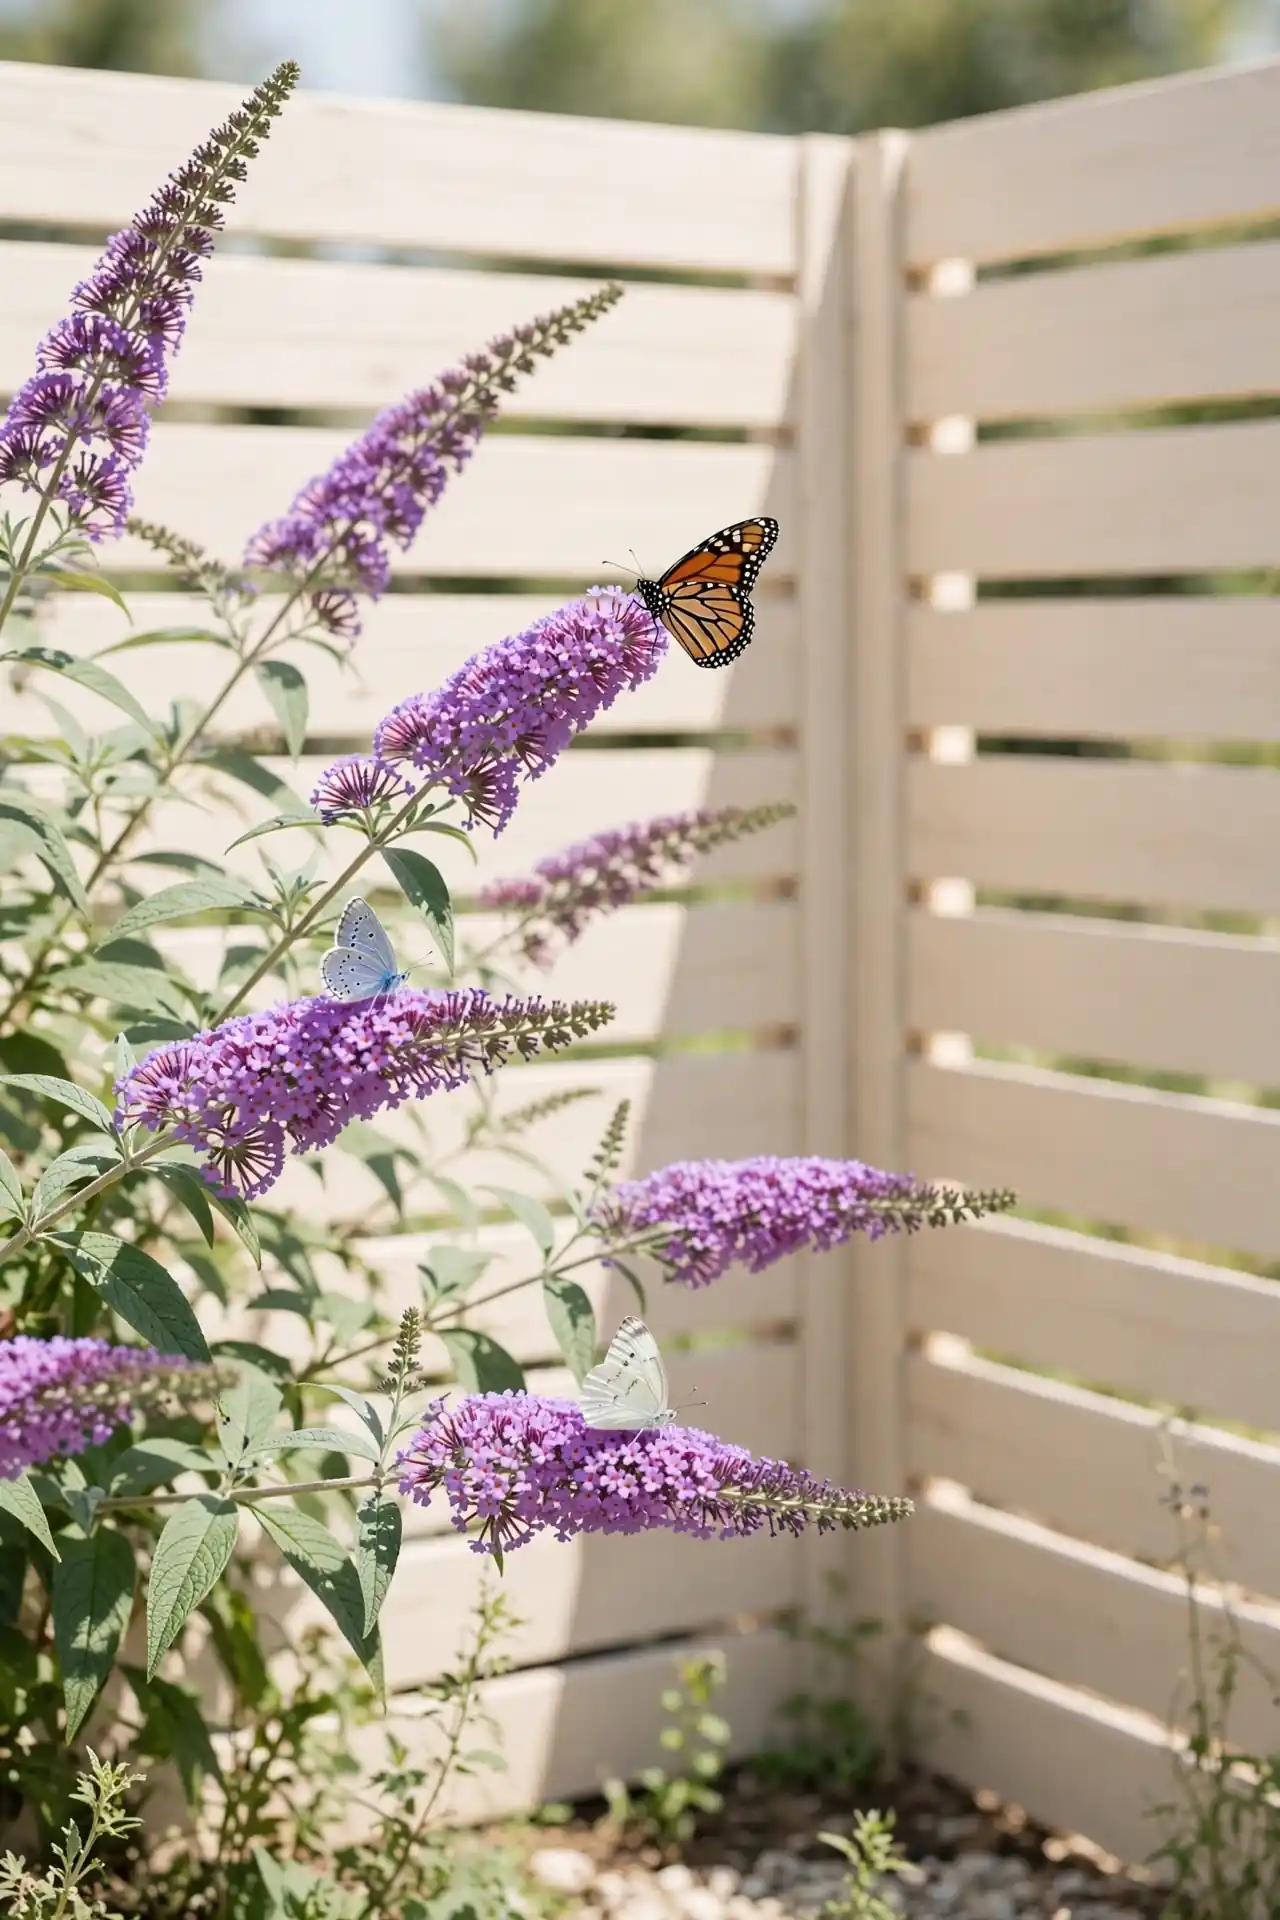
Quick Tip: Plant butterfly bush in the sunniest fence corner you have, since blooms multiply with strong light. Cut the whole plant back to low stubs in early spring for bushier growth and bigger flower spikes. Deadhead spent blooms to keep new ones coming until frost.
Few plants earn their keep like butterfly bush in a fence corner. The long flower spikes pull in butterflies, bees, and hummingbirds for months. Choose sterile varieties so seedlings never spread where they shouldn’t. One well-placed shrub can anchor the entire corner planting with color. Site it where you can watch the visitors from a window or patio chair.
Privacy Bamboo Screen
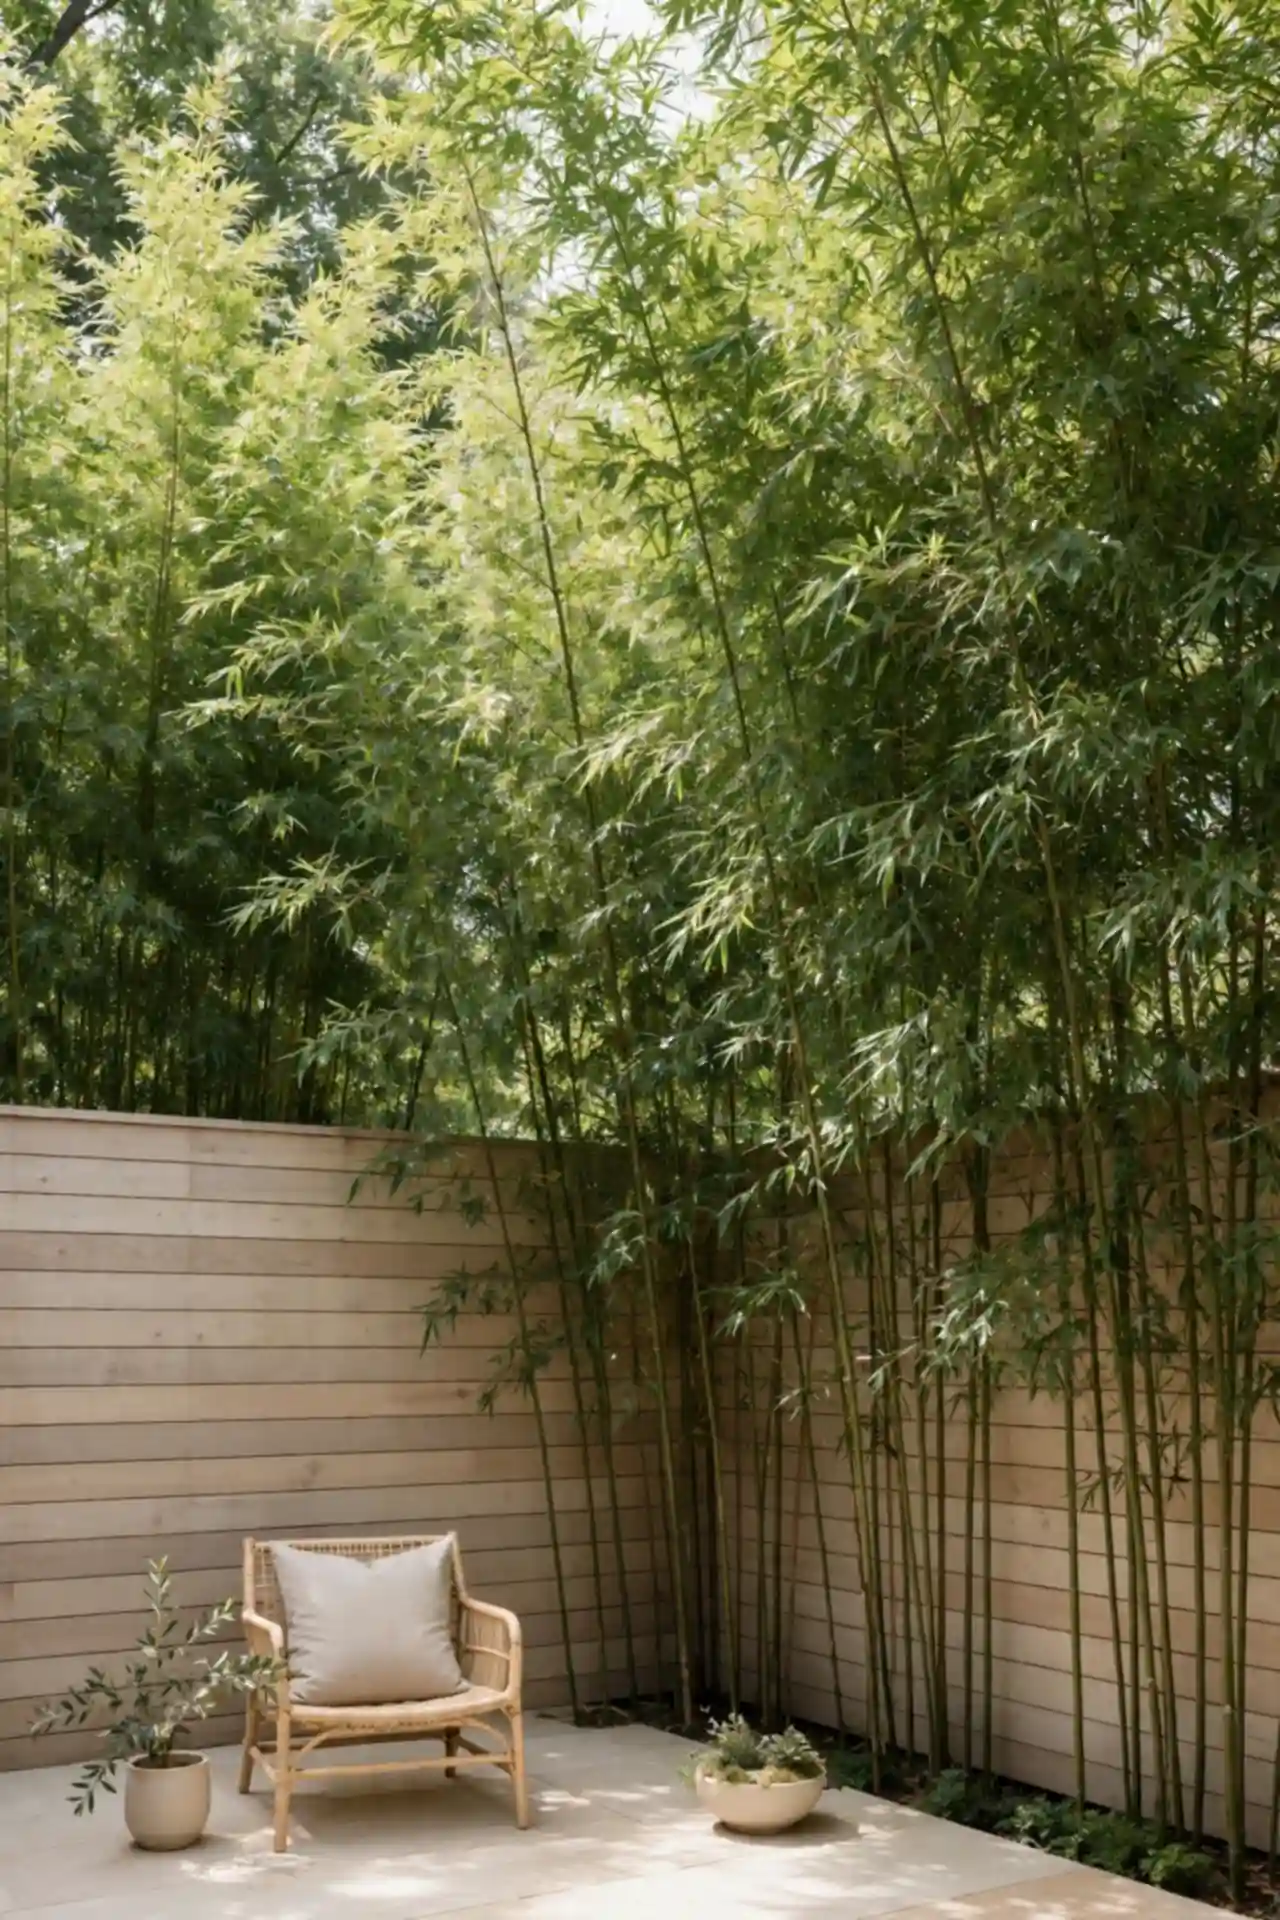
BEFORE: The neighbors’ second story looked straight into the patio, and the fence alone felt too short. Every meal outside felt a little public.
AFTER: Clumping bamboo planted along the fence added six feet of green height in two seasons. The patio feels private now, and the rustling leaves mask street noise.
Bamboo is the fastest natural privacy screen you can plant, but only clumping types belong near garden fences. Running bamboo spreads aggressively and causes real trouble. Give each clump four feet of width and rich, moist soil. Always check local rules first, since some areas restrict planting it.
Seasonal Bulb Ribbon
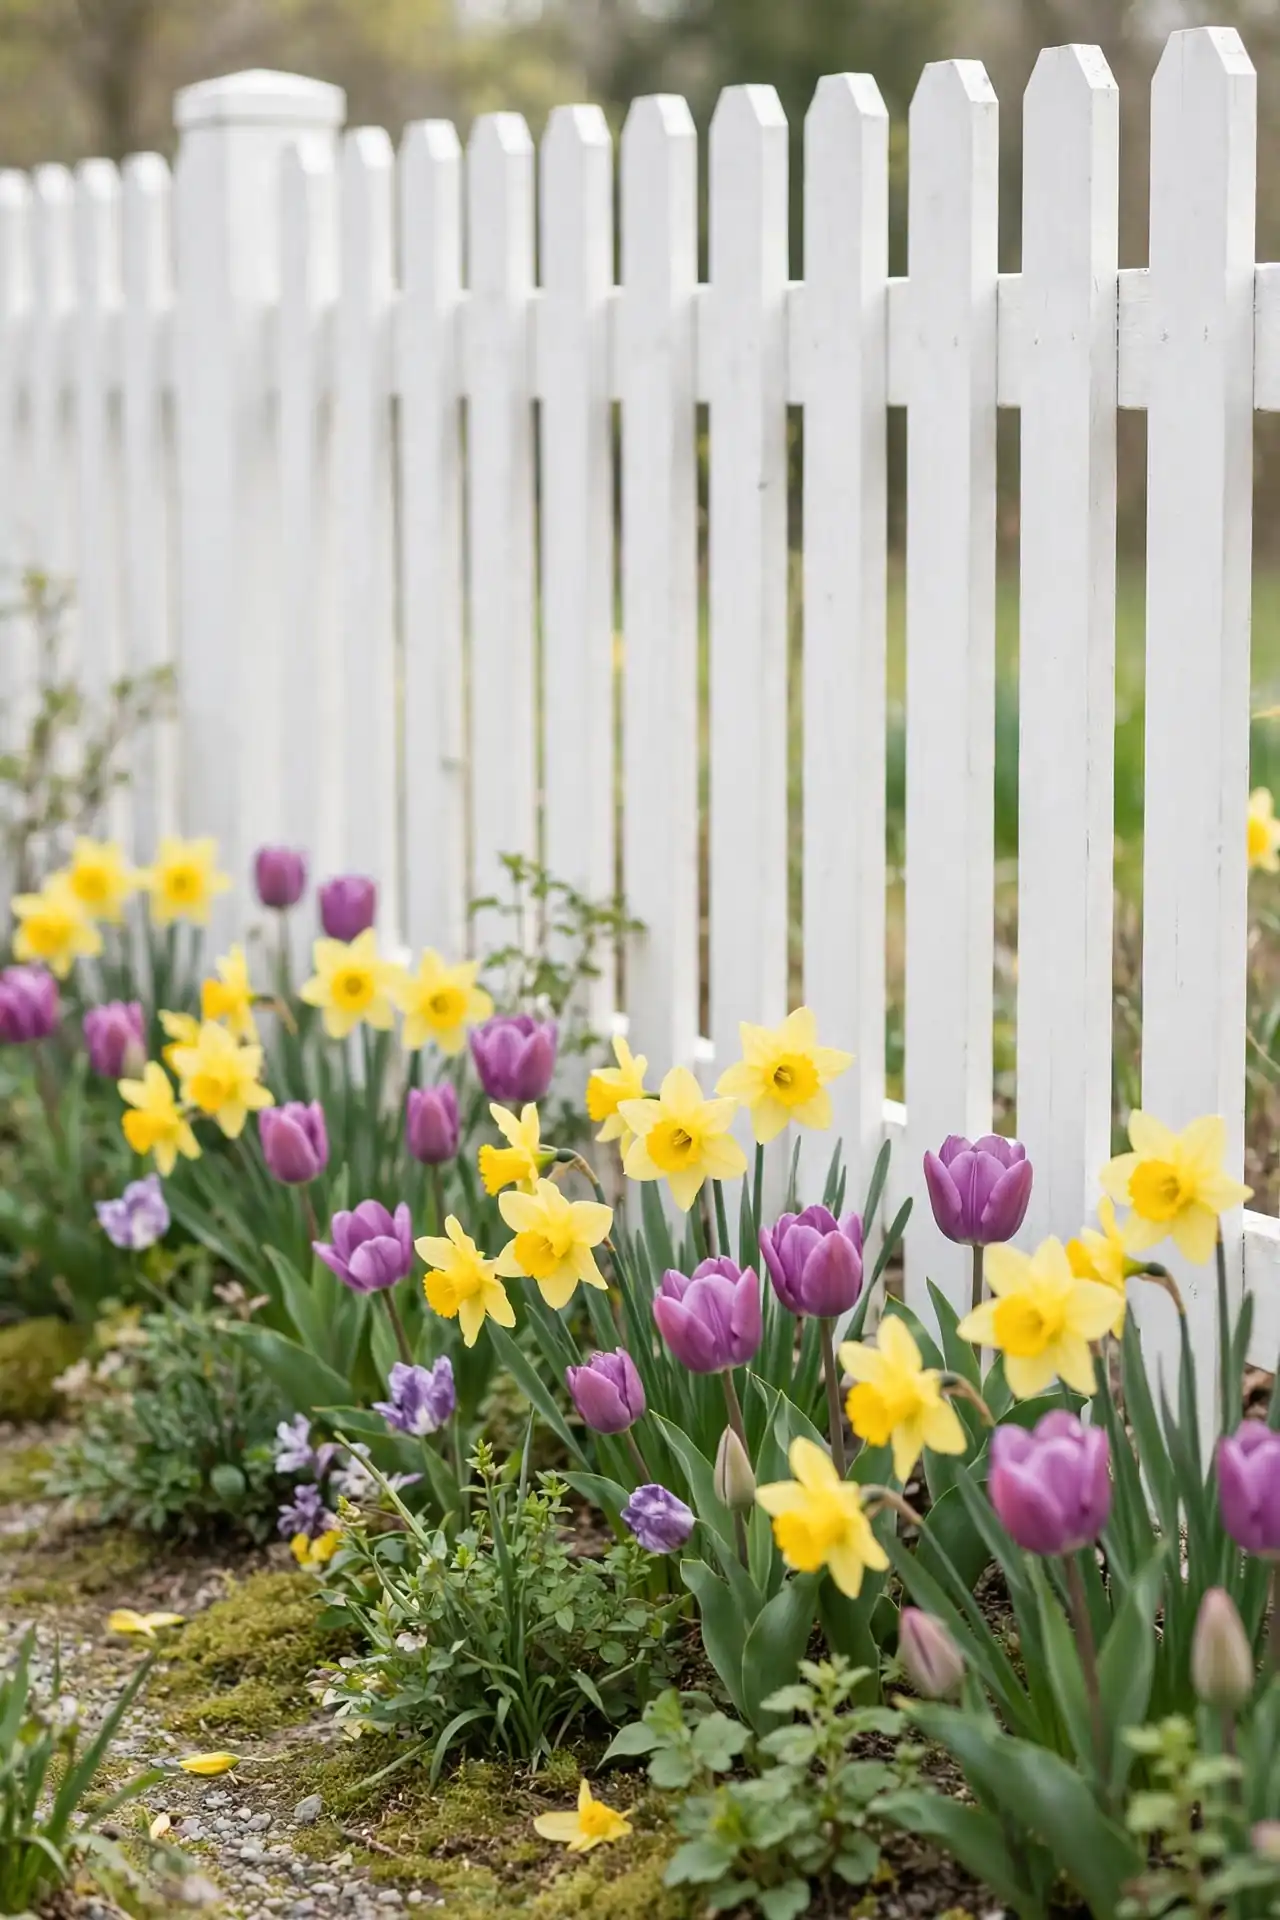
- In fall, dig a trench 6 inches deep along the fence line.
- Set bulbs pointy-end up, three bulb-widths apart, mixing early and late types.
- Backfill, water well, and mulch the trench against freeze-thaw cycles.
- Leave foliage to yellow in spring so bulbs recharge for next year.
- Top the bed with pansies in spring for color while you wait.
A bulb ribbon wakes the fence bed up weeks before anything else stirs in spring. Daffodils, tulips, and alliums in sequence give two full months of color. Plant in generous drifts, never lonely singles. Mark the trench clearly so spring digging for annuals never spears the sleeping bulbs.
Mixed Border Depth
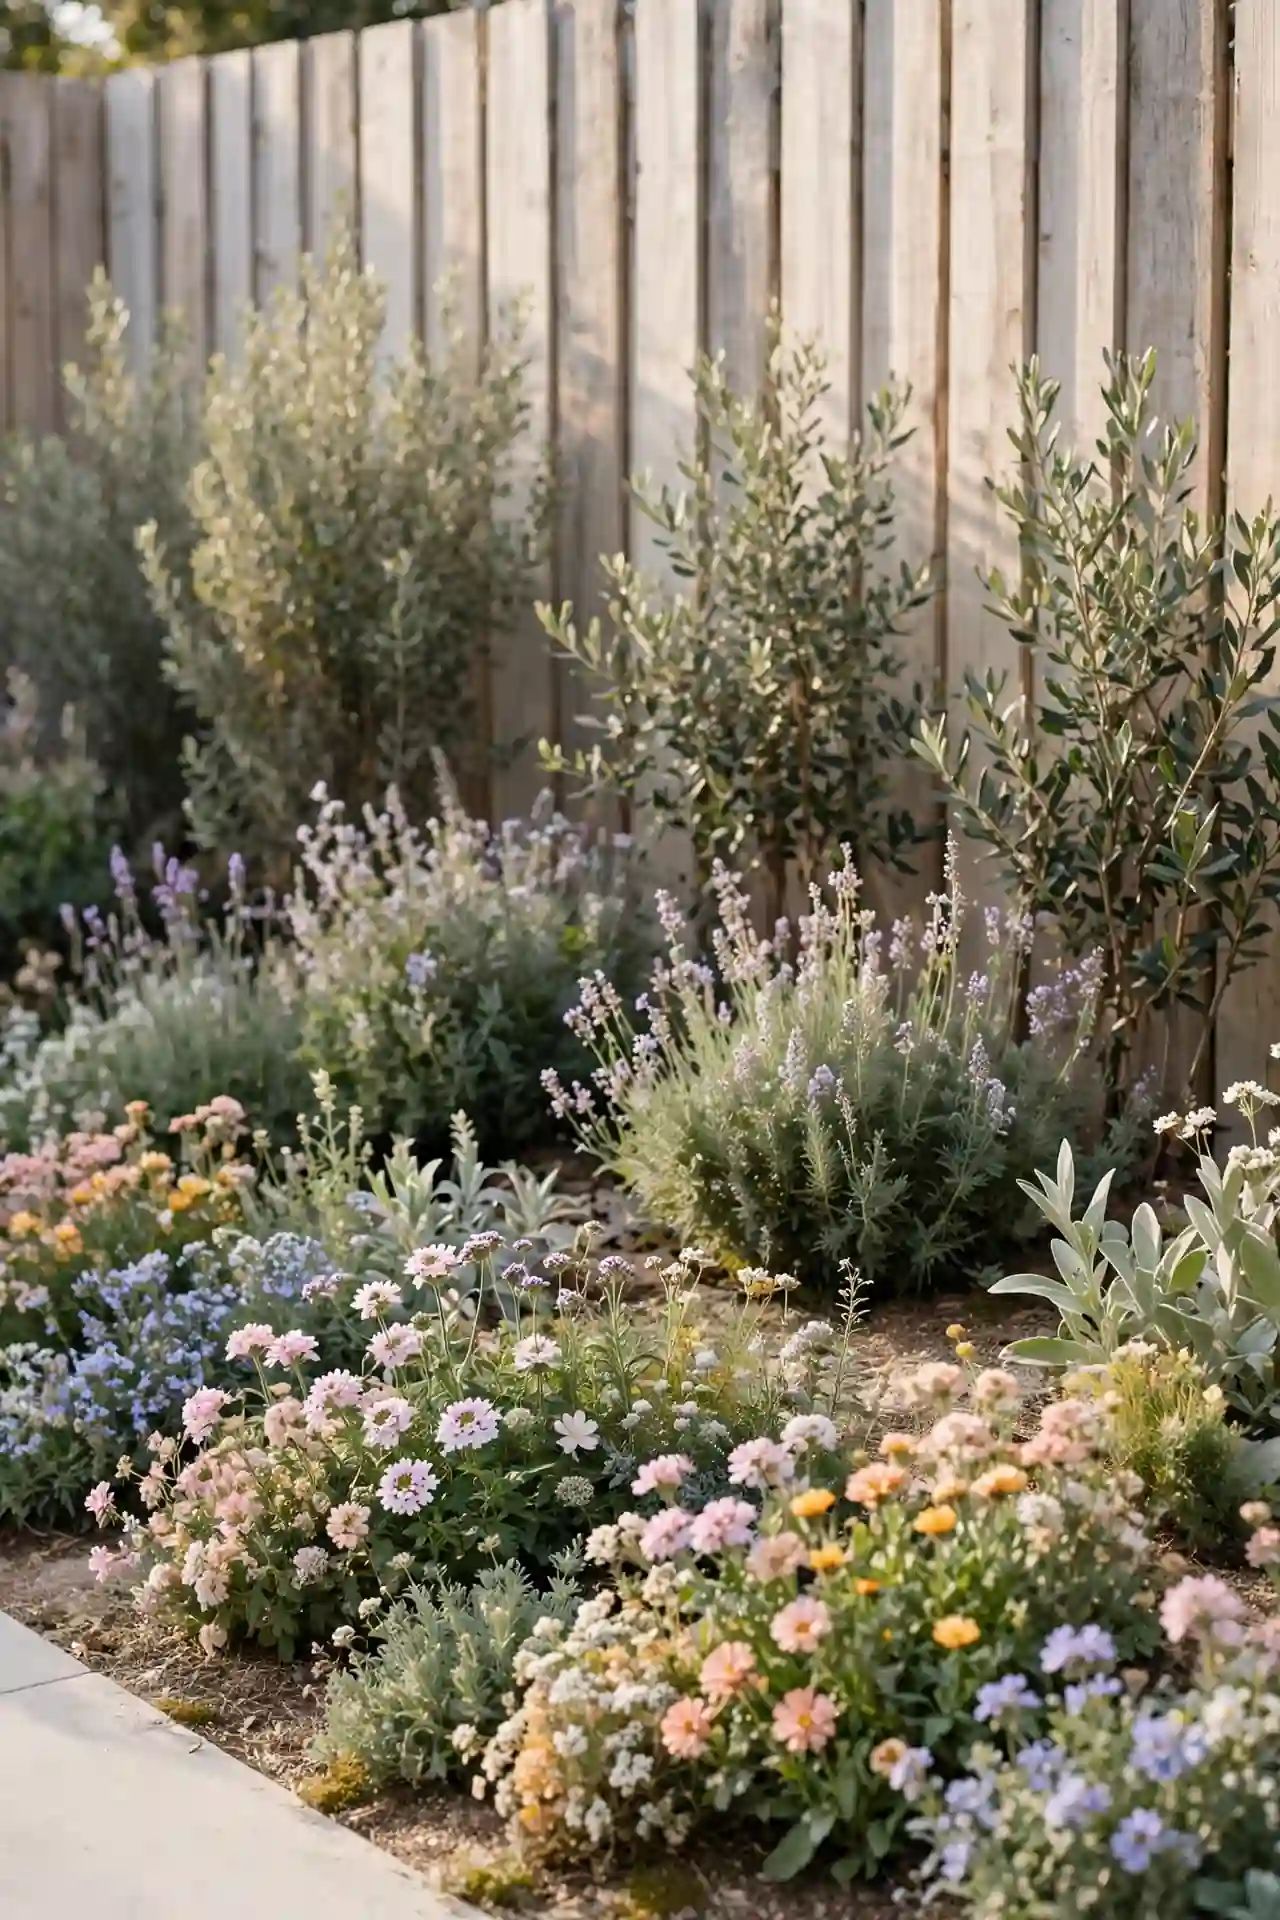
| Layer | Front Layer | Back Layer |
|---|---|---|
| Plant Height | Under 18 inches | 3 to 6 feet |
| Examples | Catmint, geranium, salvia | Viburnum, lilac, ninebark |
| Spacing | 12 inches apart | 4 feet apart |
| Role | Softens the front bed edge | Hides the bare fence base |
Depth is what separates a flat fence planting from a real garden border. Tall shrubs at the back hide the fence base while low perennials spill forward over the edge. The layers catch the light differently through the day, which keeps the bed interesting from every angle. Step back often while planting to check the overall pleasing shape before everything goes in.
Conclusion
These 22 landscaping along fence ideas prove that a boundary can be the best part of the yard. Start with one section that bothers you most, whether it is a bare corner or a weedy strip, and plant it well. Small, finished sections beat a half-done whole every time. I’ve seen how small changes like these can completely shift the way a space feels. Save your favorites to Pinterest before you forget them, then grab a spade this weekend and make the fence line yours. Share the results with a neighbor, because good fences really do make great gardens.
2 Comments