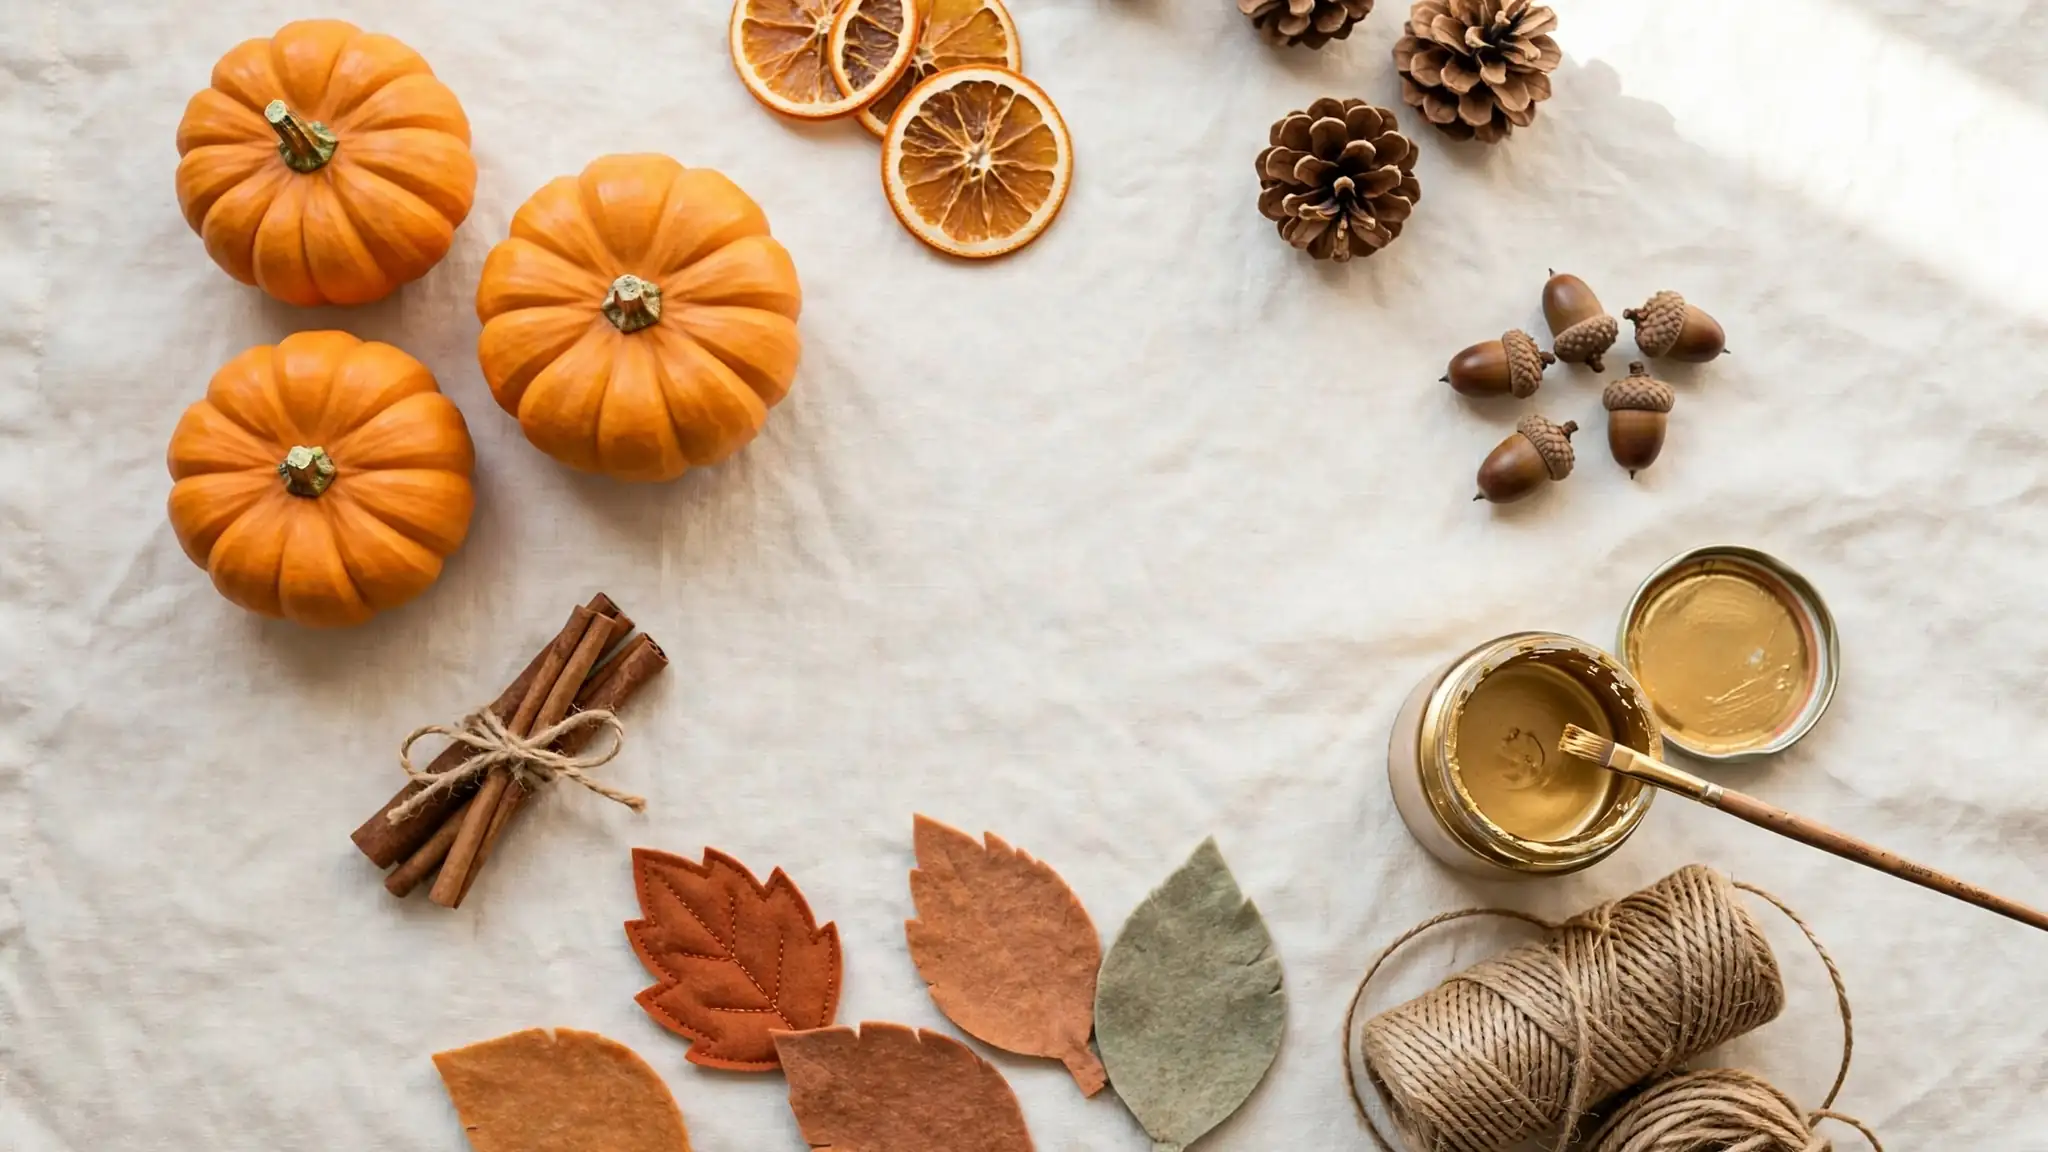
21 Fall Crafts for Adults to Create Charming Autumn Decor
Autumn brings the coziest excuse to gather around the craft table. If you love handmade seasonal decor, these fall crafts for adults bring that warm, creative energy into your home. From paper pumpkins to gilded acorns, each project below looks store-bought when styled well, yet costs far less. I have tested every technique myself, so expect honest tips, realistic timing, and finishes that actually last through the season.
Start by gathering a basic kit: hot glue gun, craft paint, twine, and good scissors. Those four tools carry you through nearly every idea on this list. I also keep a folding table near the window for natural light, which makes cutting and painting far easier on the eyes. Once your station is ready, work through the projects in order, and you will have a whole house of autumn charm by the weekend. Fans of seasonal projects may also enjoy these diy halloween decor outdoor ideas for the porch.
Paper Pumpkin Garland
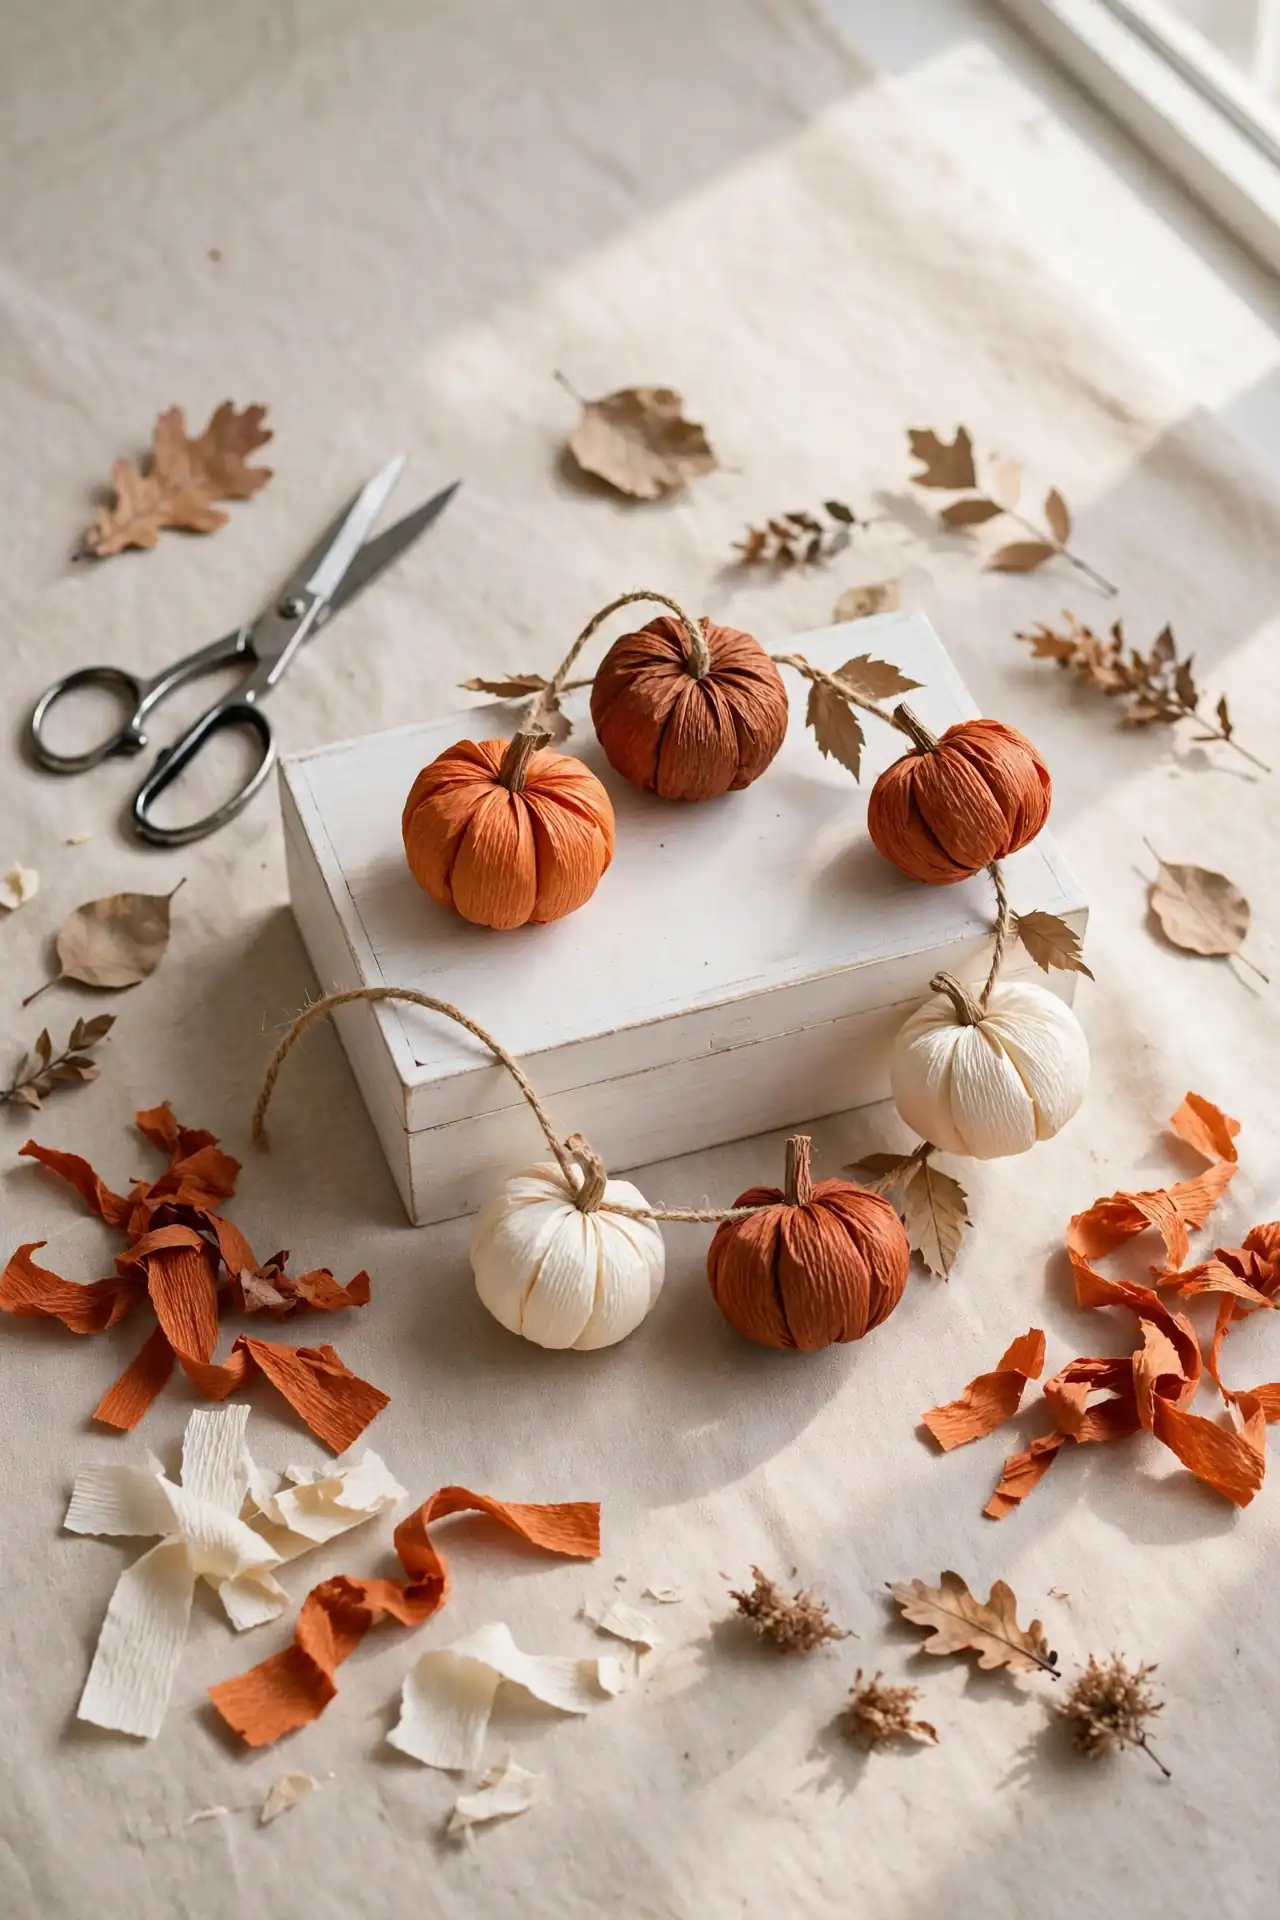
Crepe paper turns into the sweetest plump pumpkins with nothing more than scissors and glue. Cut scalloped strips in burnt orange, rust, and cream, then roll each strip into a tight coil and fan it open. The paper fibers stretch just enough to mimic a real pumpkin’s ribbed skin. I stack three coils of decreasing size for a rounded, three-dimensional shape that photographs beautifully.
Thread the finished pumpkins on jute twine with dried leaves tucked between them. Hang the garland across a mantel, doorway, or staircase railing for instant autumn warmth. In my experience, spacing the pumpkins unevenly looks more natural than perfect symmetry. Seal the paper with a light matte spray so the colors stay rich through October and into November.
Leaf Stamped Napkins
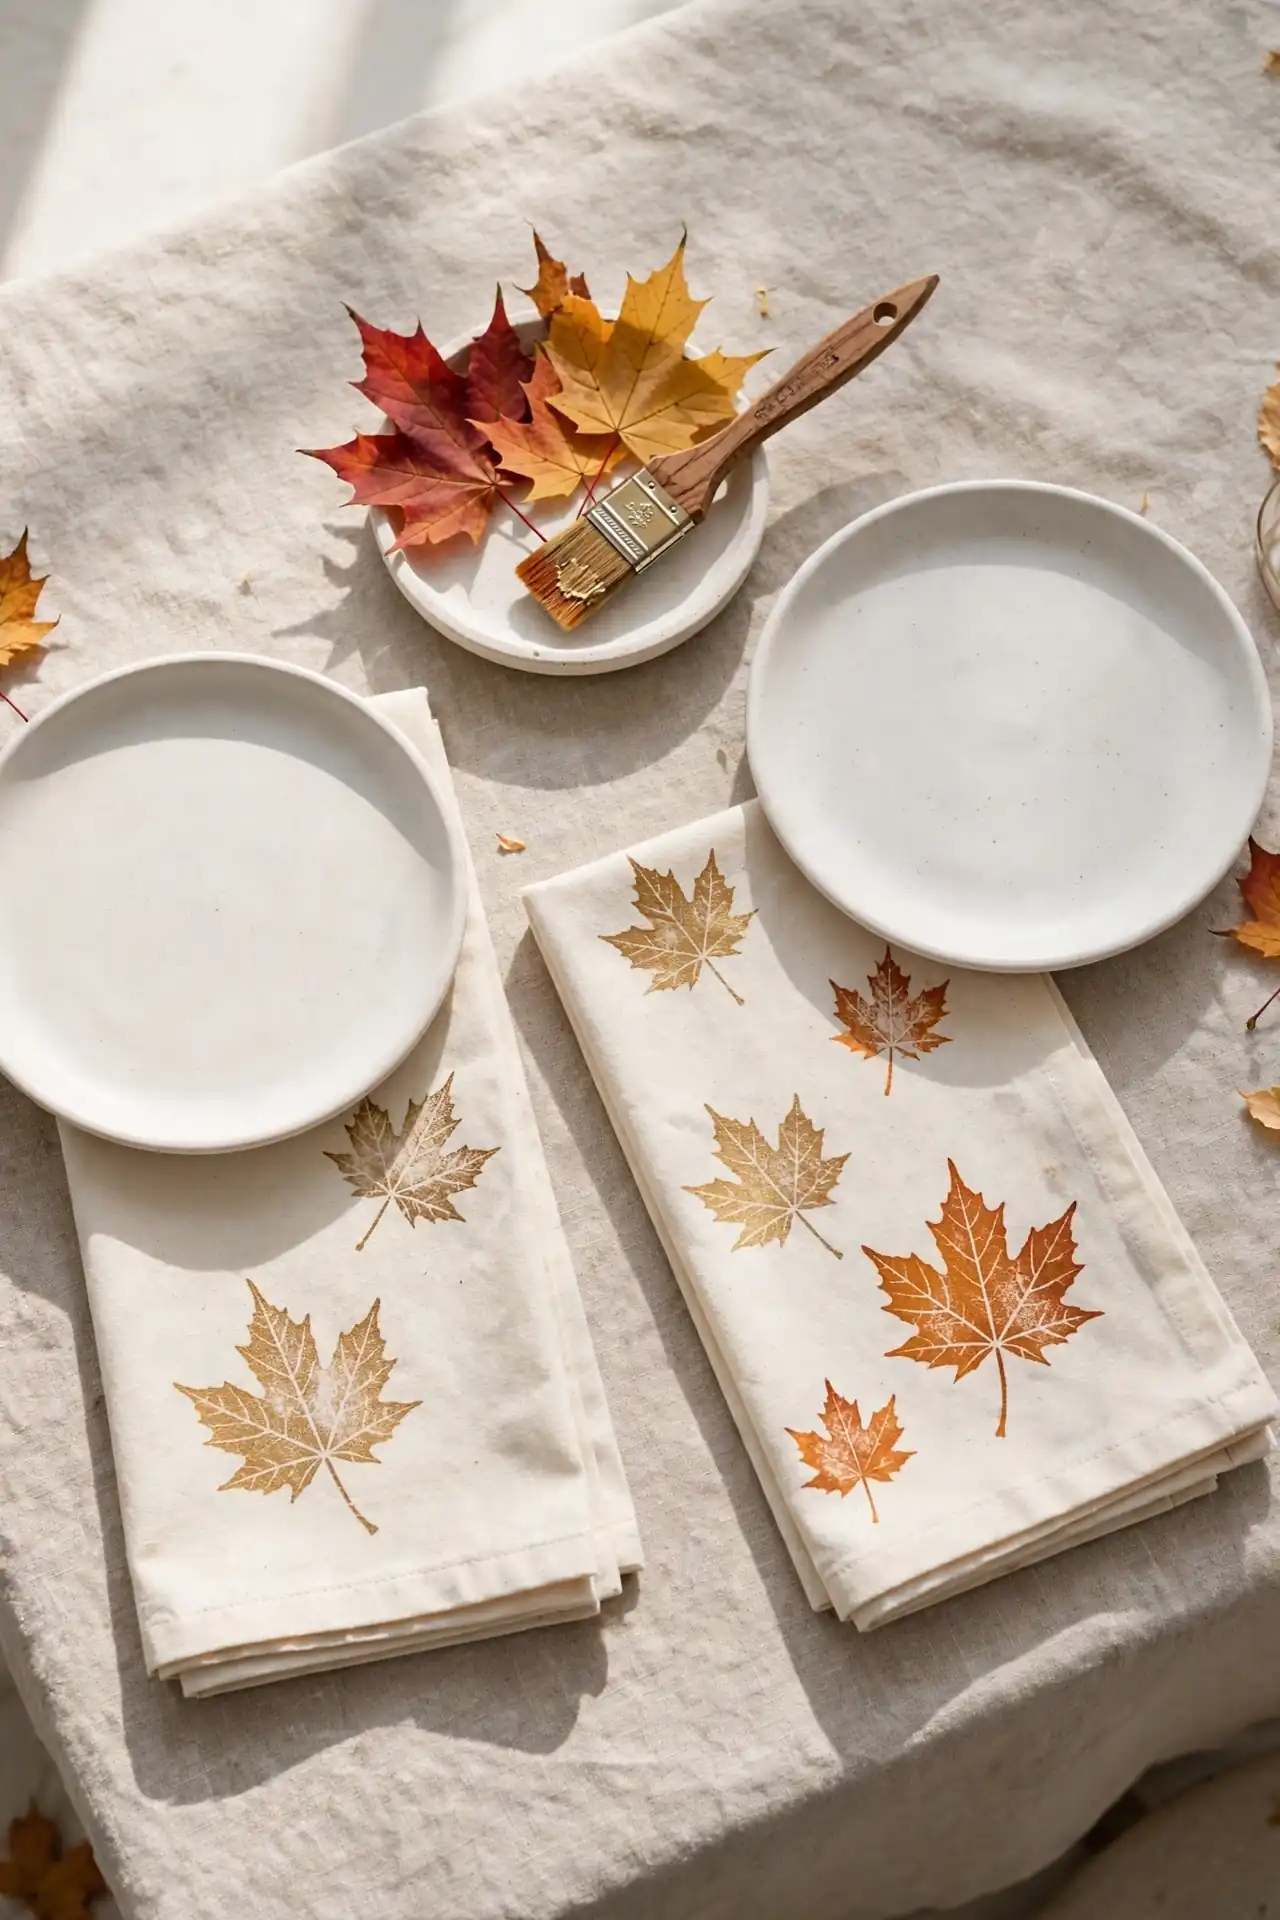
Why buy printed napkins when the yard supplies perfect stamps for free?
- Pick maple or oak leaves with bold veins, since strong veins print the clearest detail.
- Brush fabric paint on the veined side, then press firmly onto washed cotton napkins.
- Peel each leaf away slowly, and let the napkin dry flat for two full hours.
- Heat-set the design with an iron for three minutes so it survives machine washing.
These stamped napkins pair beautifully with plain stoneware and candlelight. I recommend testing one napkin first to dial in paint thickness before committing to the whole set. Once you find your rhythm, a stack of eight takes barely an afternoon. Guests always ask where they came from, and telling them you made them feels wonderful.
Cinnamon Stick Candles
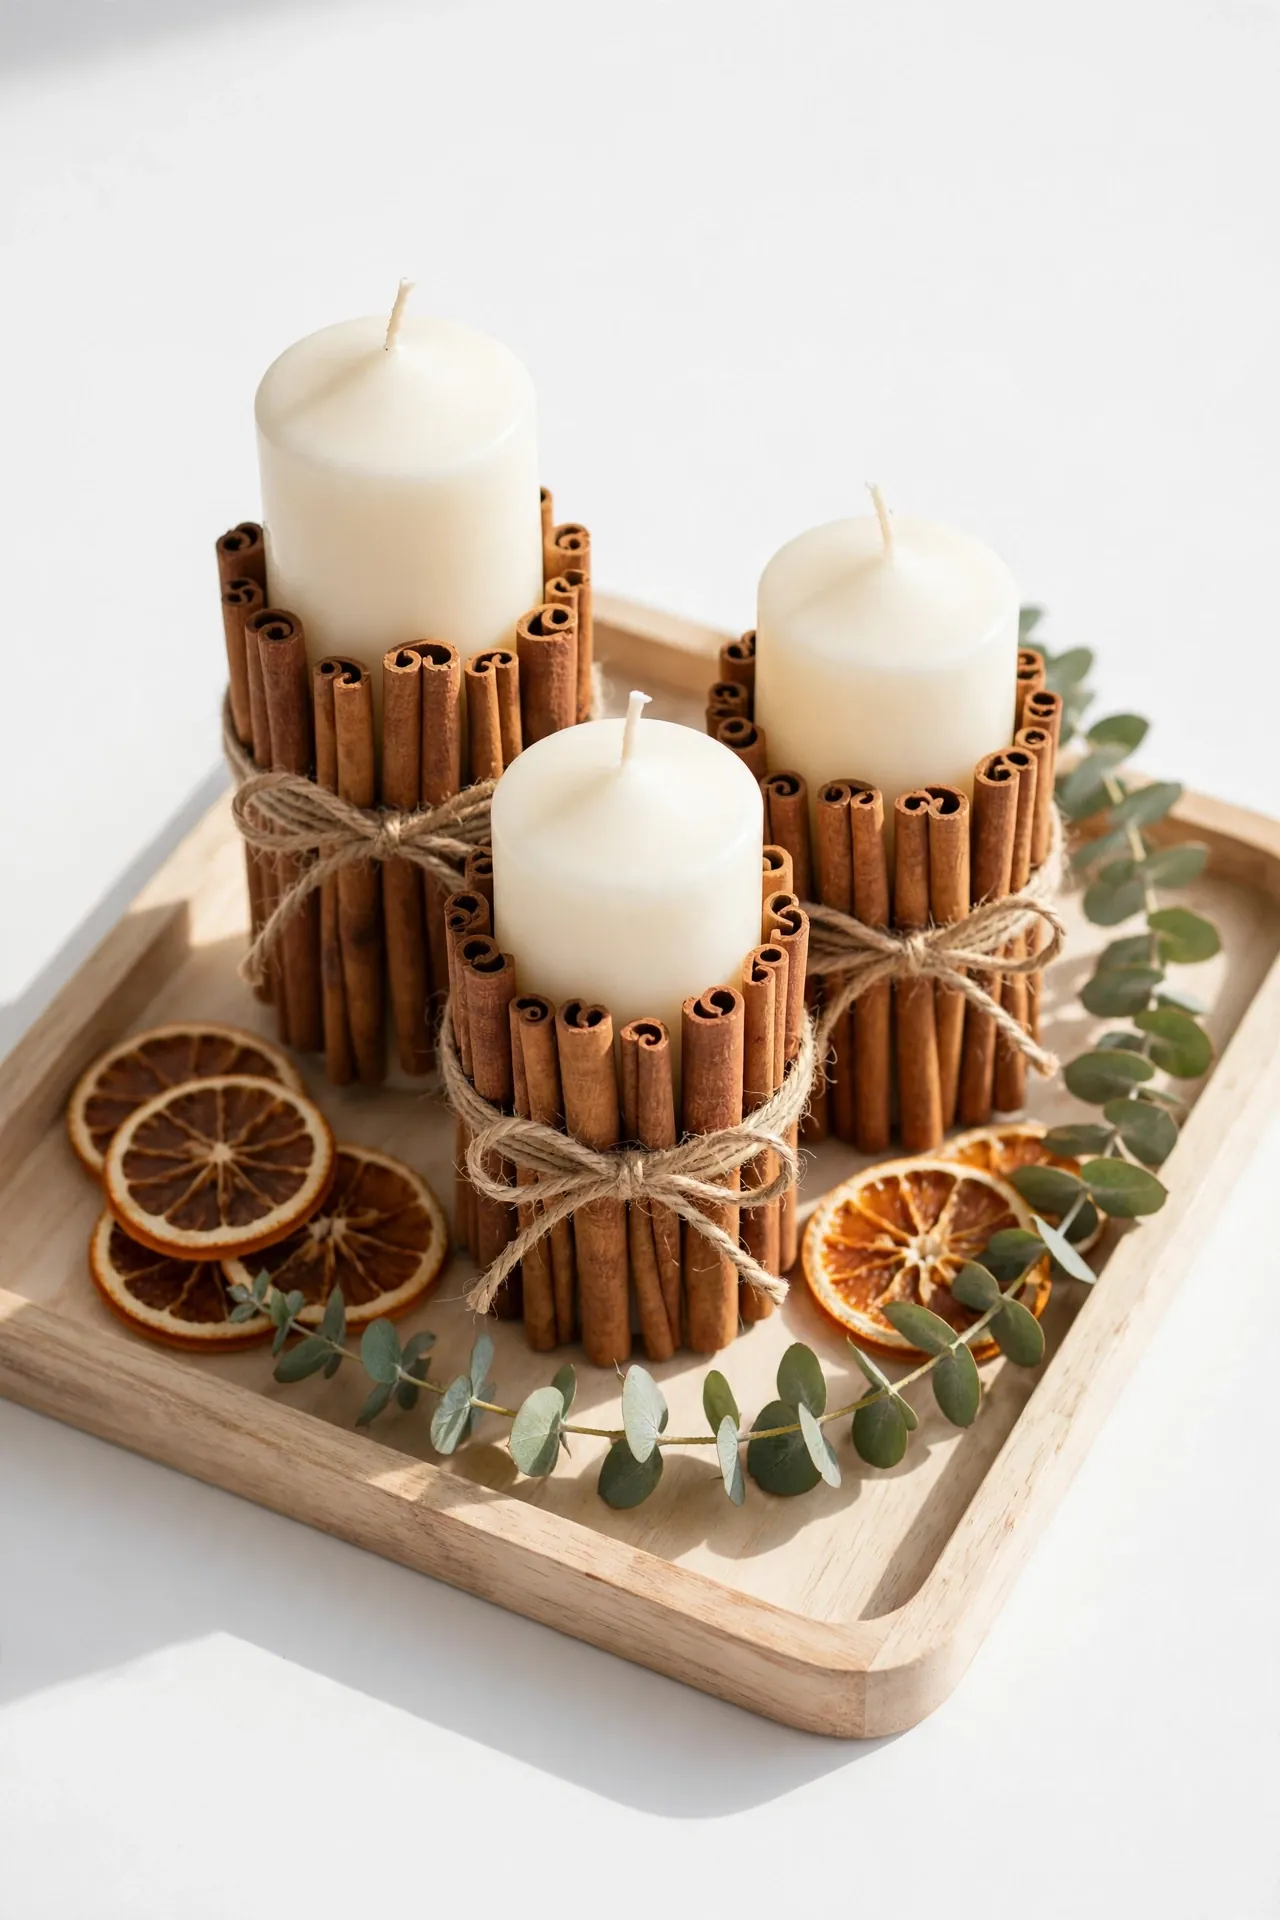
Quick Tip: Choose plain pillar candles in ivory or beeswax tones, then bundle cinnamon sticks around the outside with jute twine. The twine should wrap twice and knot at the back for a clean look. Never leave a burning candle unattended, and keep the sticks at least half an inch from the flame.
The finished candles smell faintly of spice and look like a boutique find. Group three heights together on a wooden tray with dried orange slices for a styled vignette. I have noticed the cinnamon bundles last two full seasons if stored dry. This project takes under twenty minutes, which makes it ideal for last-minute hostess gifts.
Gilded Acorn Wreath
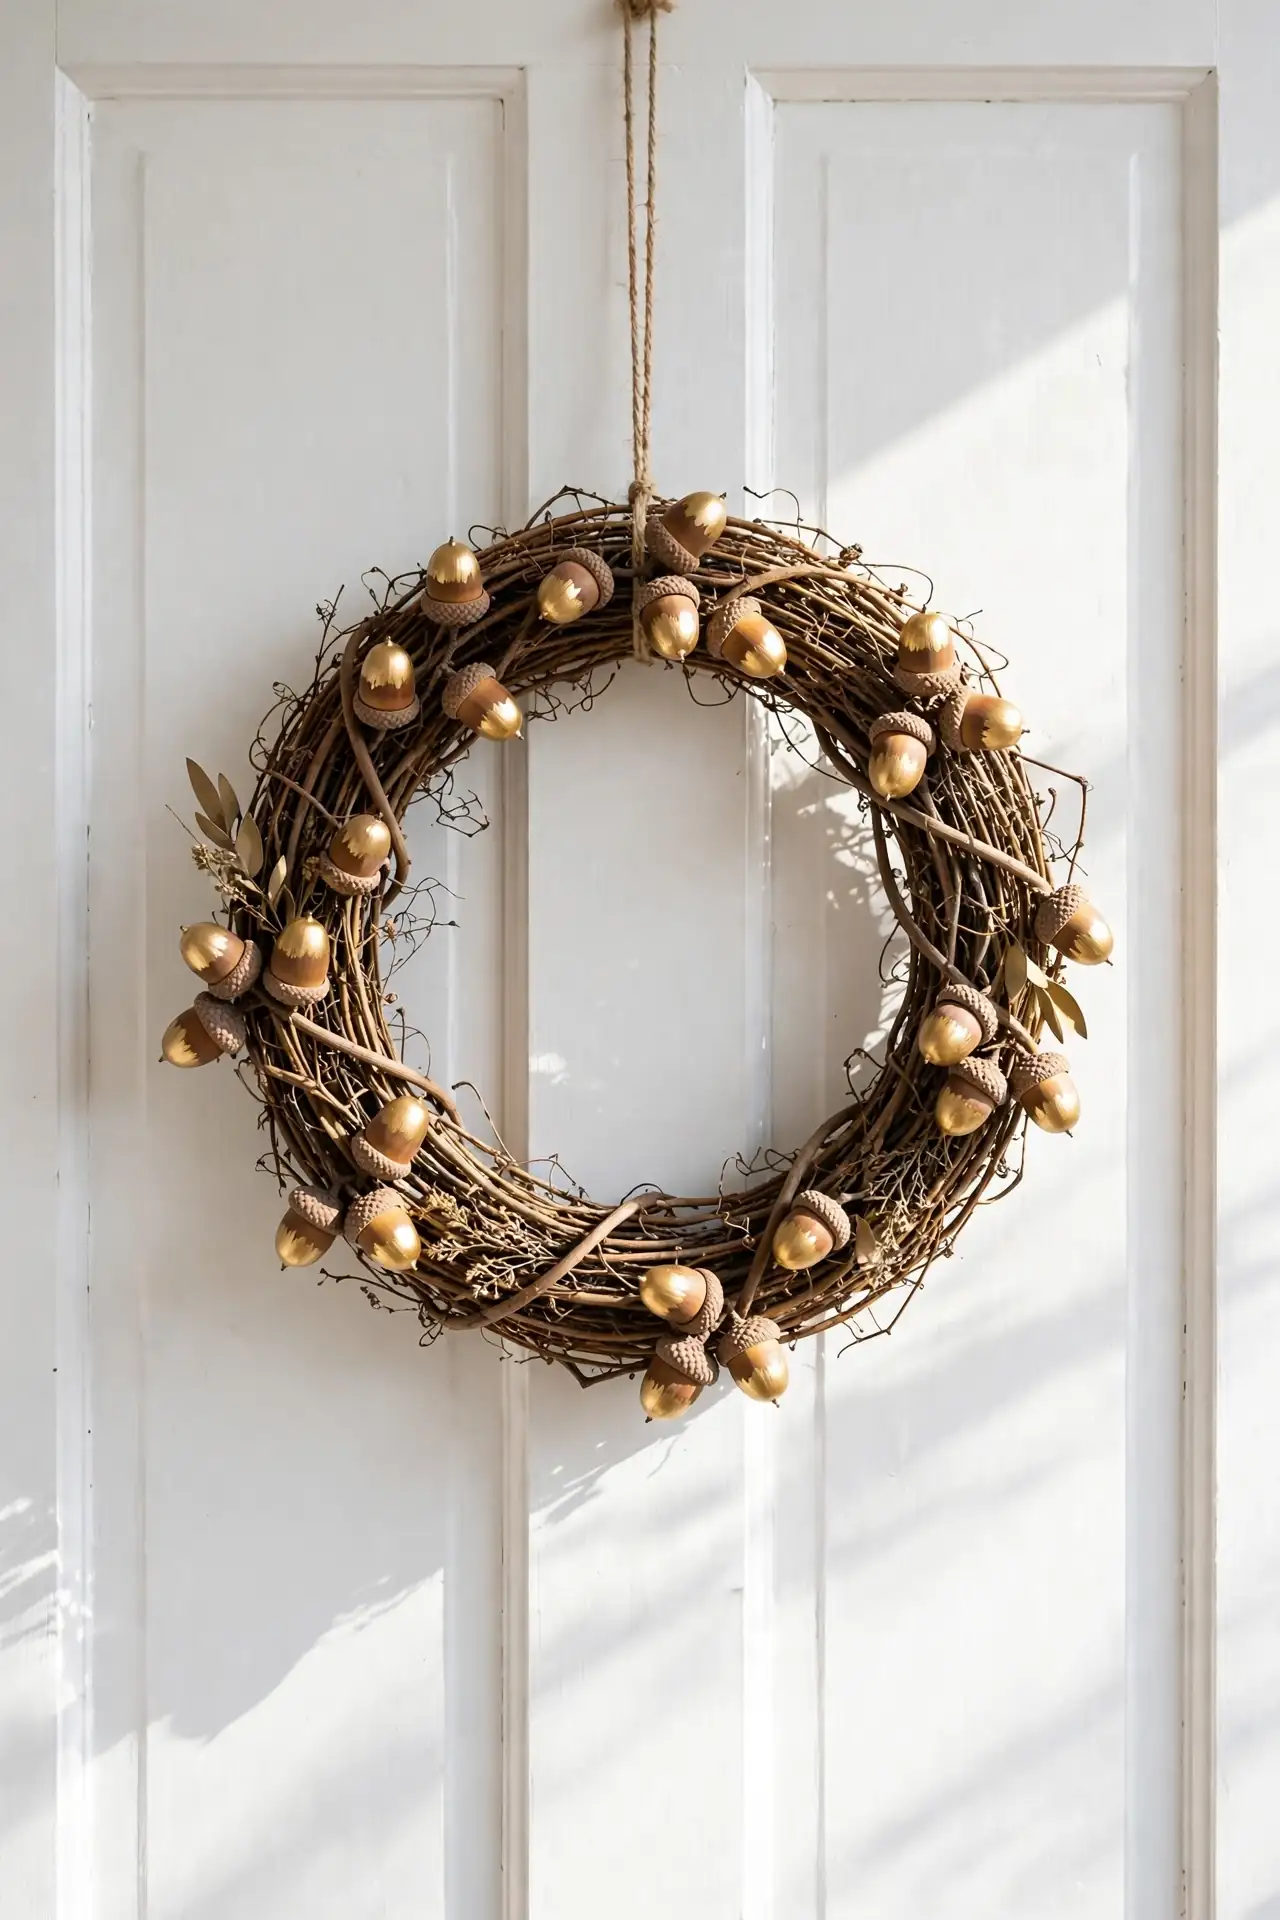
BEFORE: Plain gathered acorns look dusty and flat on a wreath form. Their brown caps blend into the twig base, and the whole ring reads as a muddy brown circle with no focal interest.
AFTER: A coat of metallic gold paint on the acorn tips changes everything. The gilded edges catch the light, the wreath gains texture and glow, and the finished ring looks like an expensive boutique piece.
Hot glue the painted acorns onto a grapevine wreath, packing them tightly for a full look. I like leaving small gaps so the vine peeks through for contrast. Hang the wreath on your front door or above the mantel. In my experience, this piece photographs so well that it becomes the most saved image from the whole project.
Pinecone Fire Starters
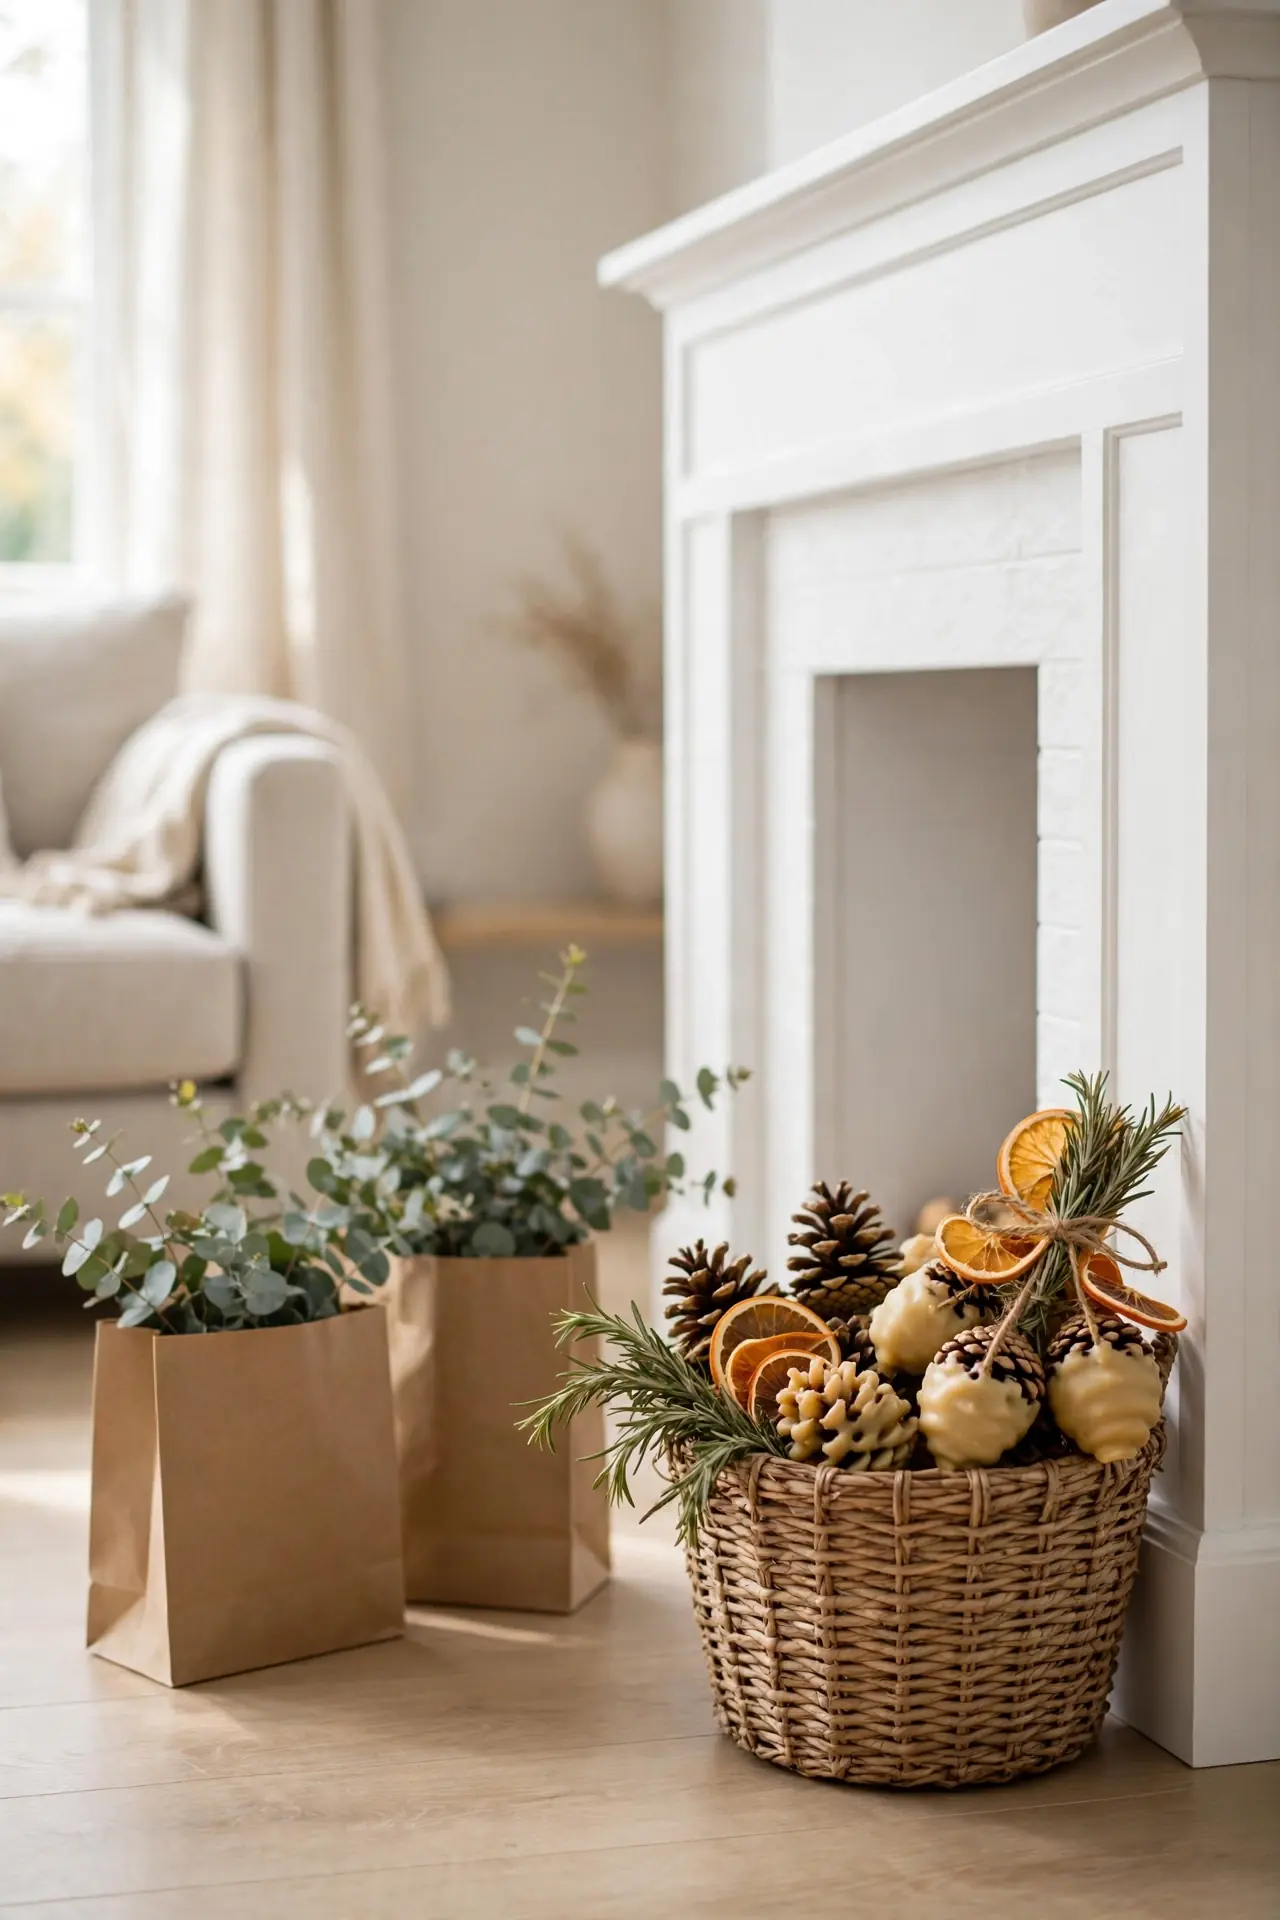
Homemade fire starters make fireside evenings feel extra special. A little wax and a few foraged pinecones are all it takes.
- Dip dry pinecones in melted soy wax, letting each coat set before adding the next.
- Roll the warm waxed cones in dried lavender or rosemary for a gentle scent.
- Tie a strip of dried orange peel around each cone with cotton string for color.
- Bundle four starters in a kraft bag with a sprig of eucalyptus for gifting.
Toss one starter under kindling and it lights reliably with a lovely fragrance. I keep a basket of these beside the fireplace all season long. They cost pennies when pinecones are foraged, yet look thoughtful when given as gifts. Make a big batch now, and chilly evenings will thank you.
Wool Felt Coasters
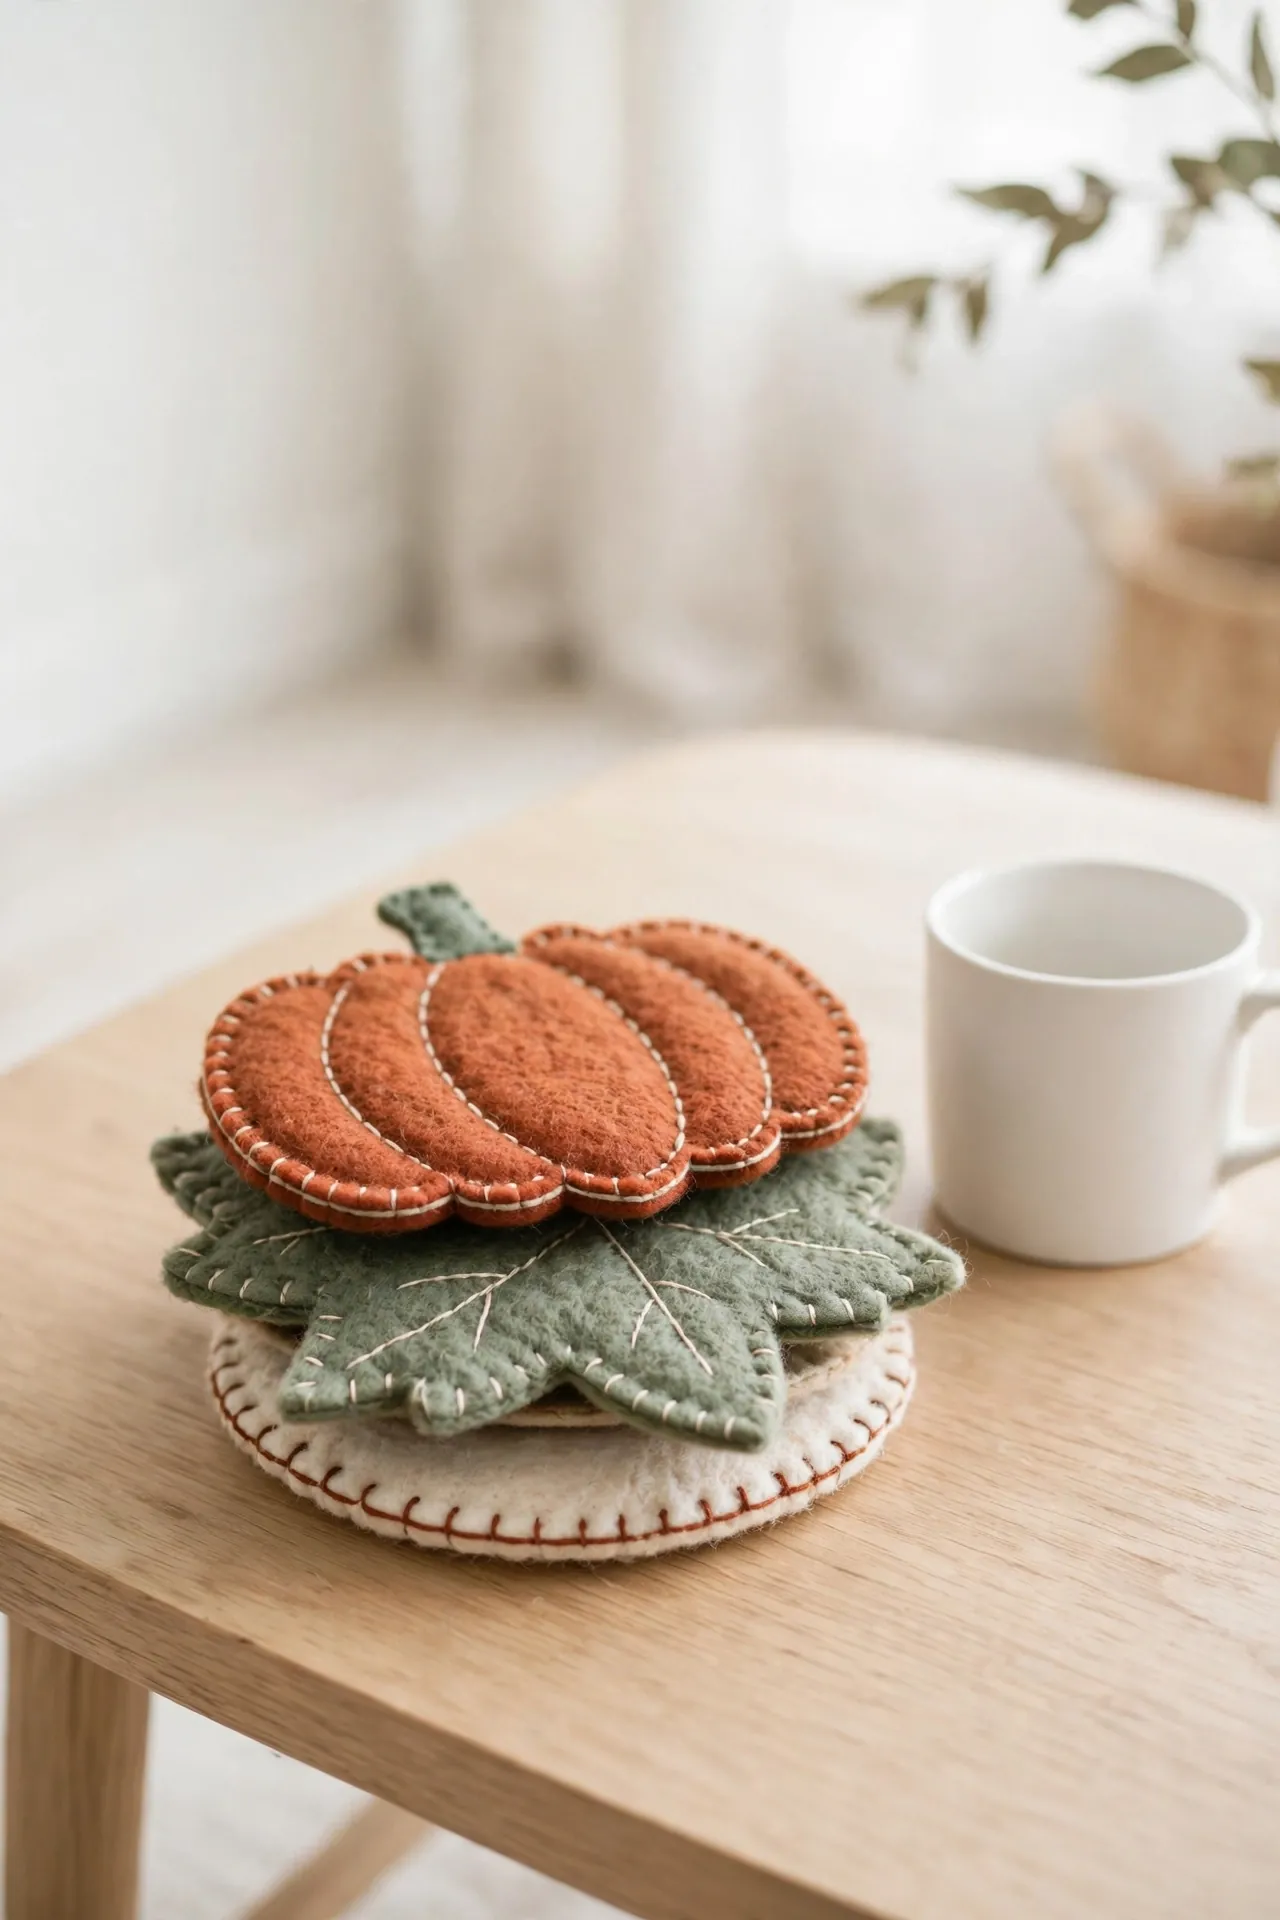
I switched to wool felt coasters last autumn and never looked back. They protect tables while adding soft, warm texture to the coffee table.
| Design | What You Do | Time |
|---|---|---|
| Pumpkin | Cut orange felt pumpkins, stitch a brown stem | 45 minutes |
| Leaf | Cut maple shapes, stitch a center vein | 40 minutes |
| Circle | Stack two felt circles, blanket stitch edges | 25 minutes |
Use 100 percent wool felt so the coasters absorb moisture instead of repelling it. I cut mine slightly larger than standard mugs for better coverage. A set of six takes one evening and stacks neatly in a linen pouch. They also make thoughtful hostess gifts paired with a bag of good coffee.
Pressed Leaf Lanterns
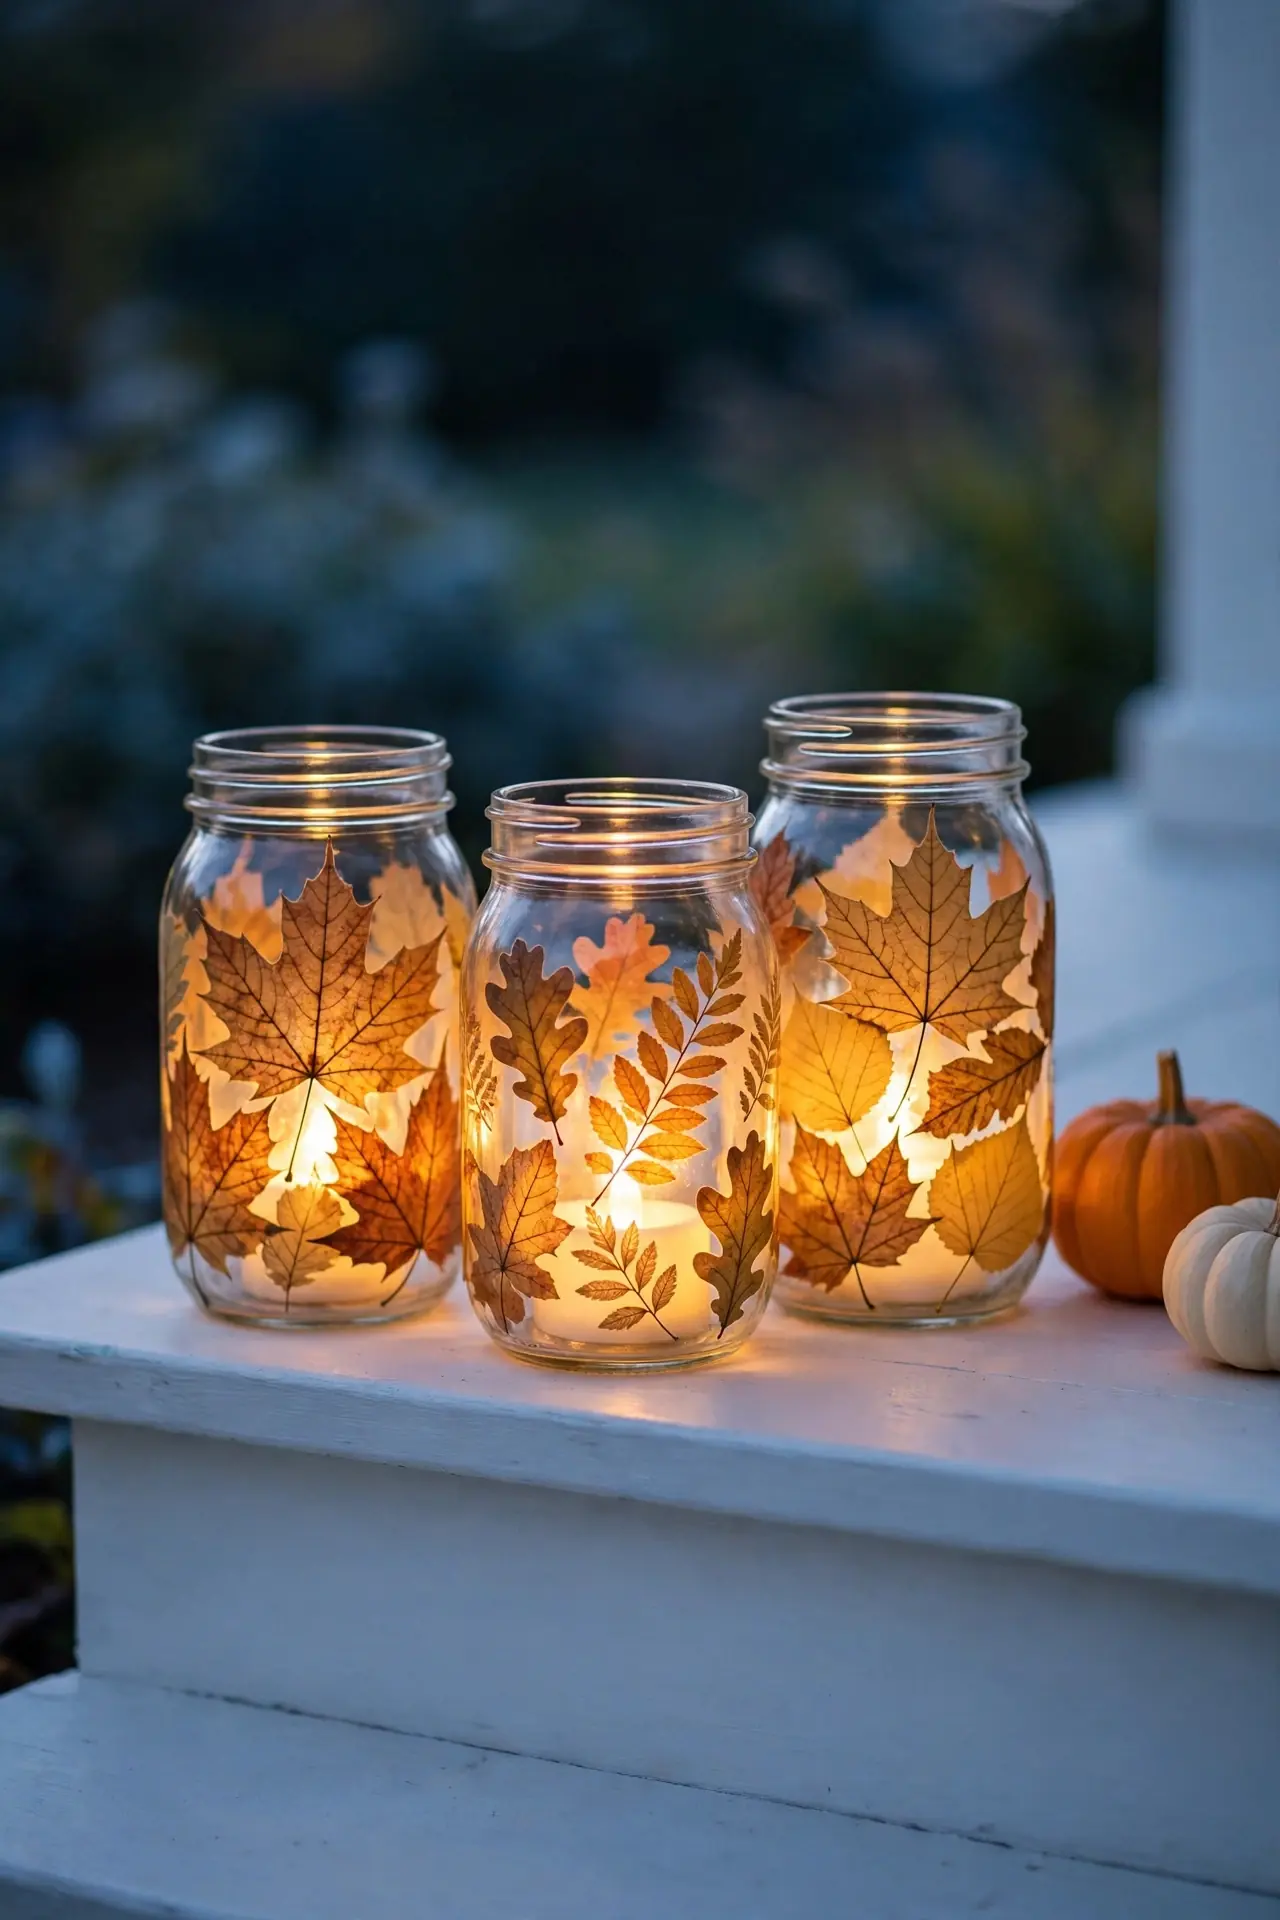
Pressed leaves turn glass jars into glowing autumn lanterns.
DO:
- Press leaves between book pages for a full week.
- Use matte decoupage glue for a streak-free finish.
- Use LED tea lights, never real flames.
- Overlap leaves slightly to hide pale gaps.
DON’T:
- Do not use fresh leaves, since they curl.
- Do not glob on glue, since it dries cloudy.
- Do not skip the second sealing coat.
- Do not hang lanterns where they swing.
Set a finished lantern on each step of the porch for a welcoming path. I love how the light filters through the leaf veins at dusk. Make matching sets of three for a cohesive display. These cost almost nothing, yet guests assume artisan prices.
Twig Photo Frames
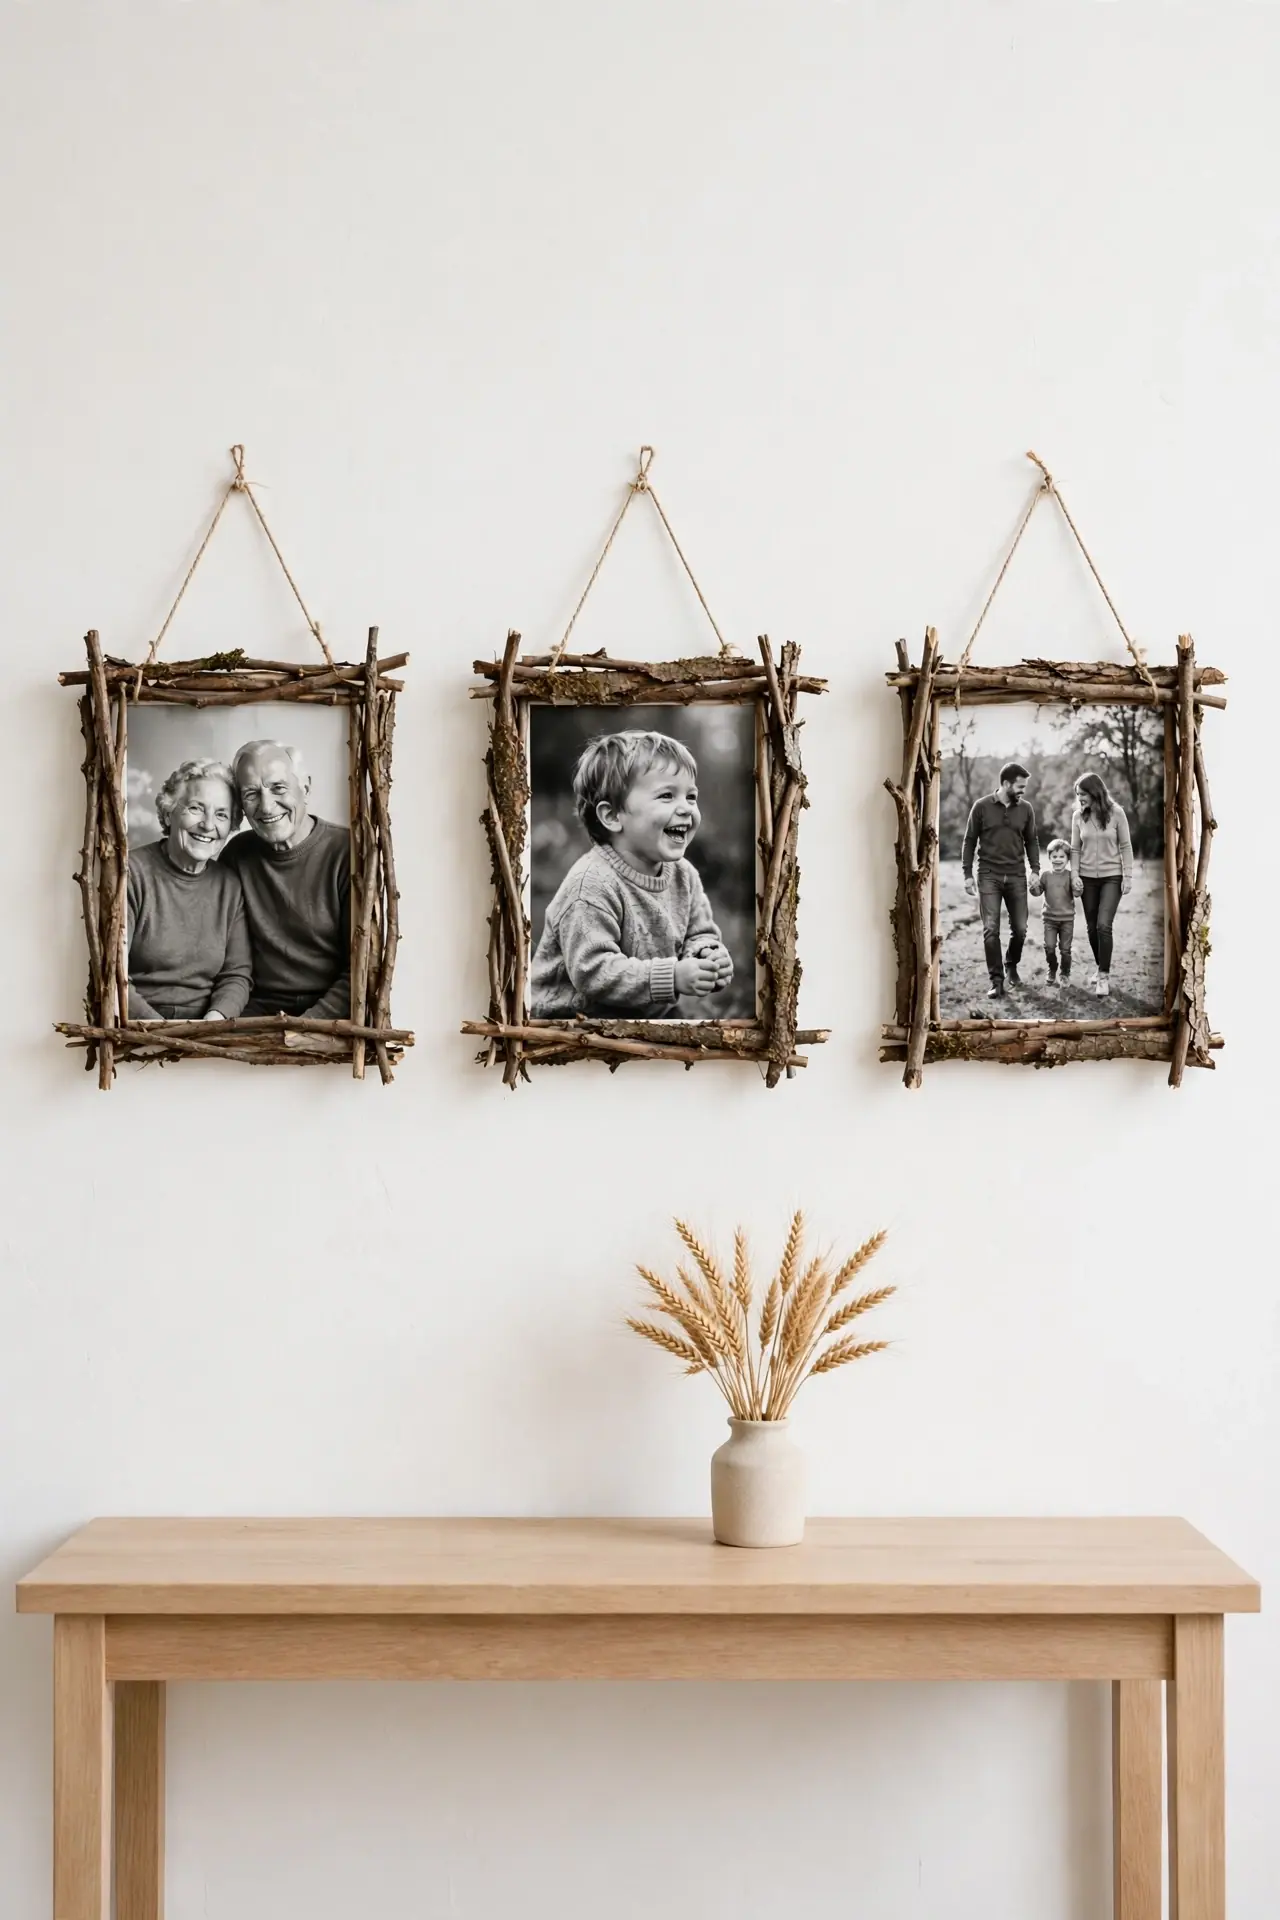
That box of family photos deserves better than a plain store frame. Straight twigs from the yard become rustic frames with real character.
Cost: Almost free, since twigs come from the yard. Time: About one hour per frame from start to finish. Skill Level: Beginner friendly with only basic gluing involved. Best For: Rustic gallery walls, cabin mantels, and autumn photo displays. Materials: Twigs, wood glue, a simple frame, and optional stain.
Break twigs to matching lengths and glue them around a plain wooden frame. I stain mine with a walnut wash for richer color before adding family photos. The texture reads beautifully against neutral walls. Hang a row of three above a console table for a warm, handmade gallery moment.
Burlap Table Runner
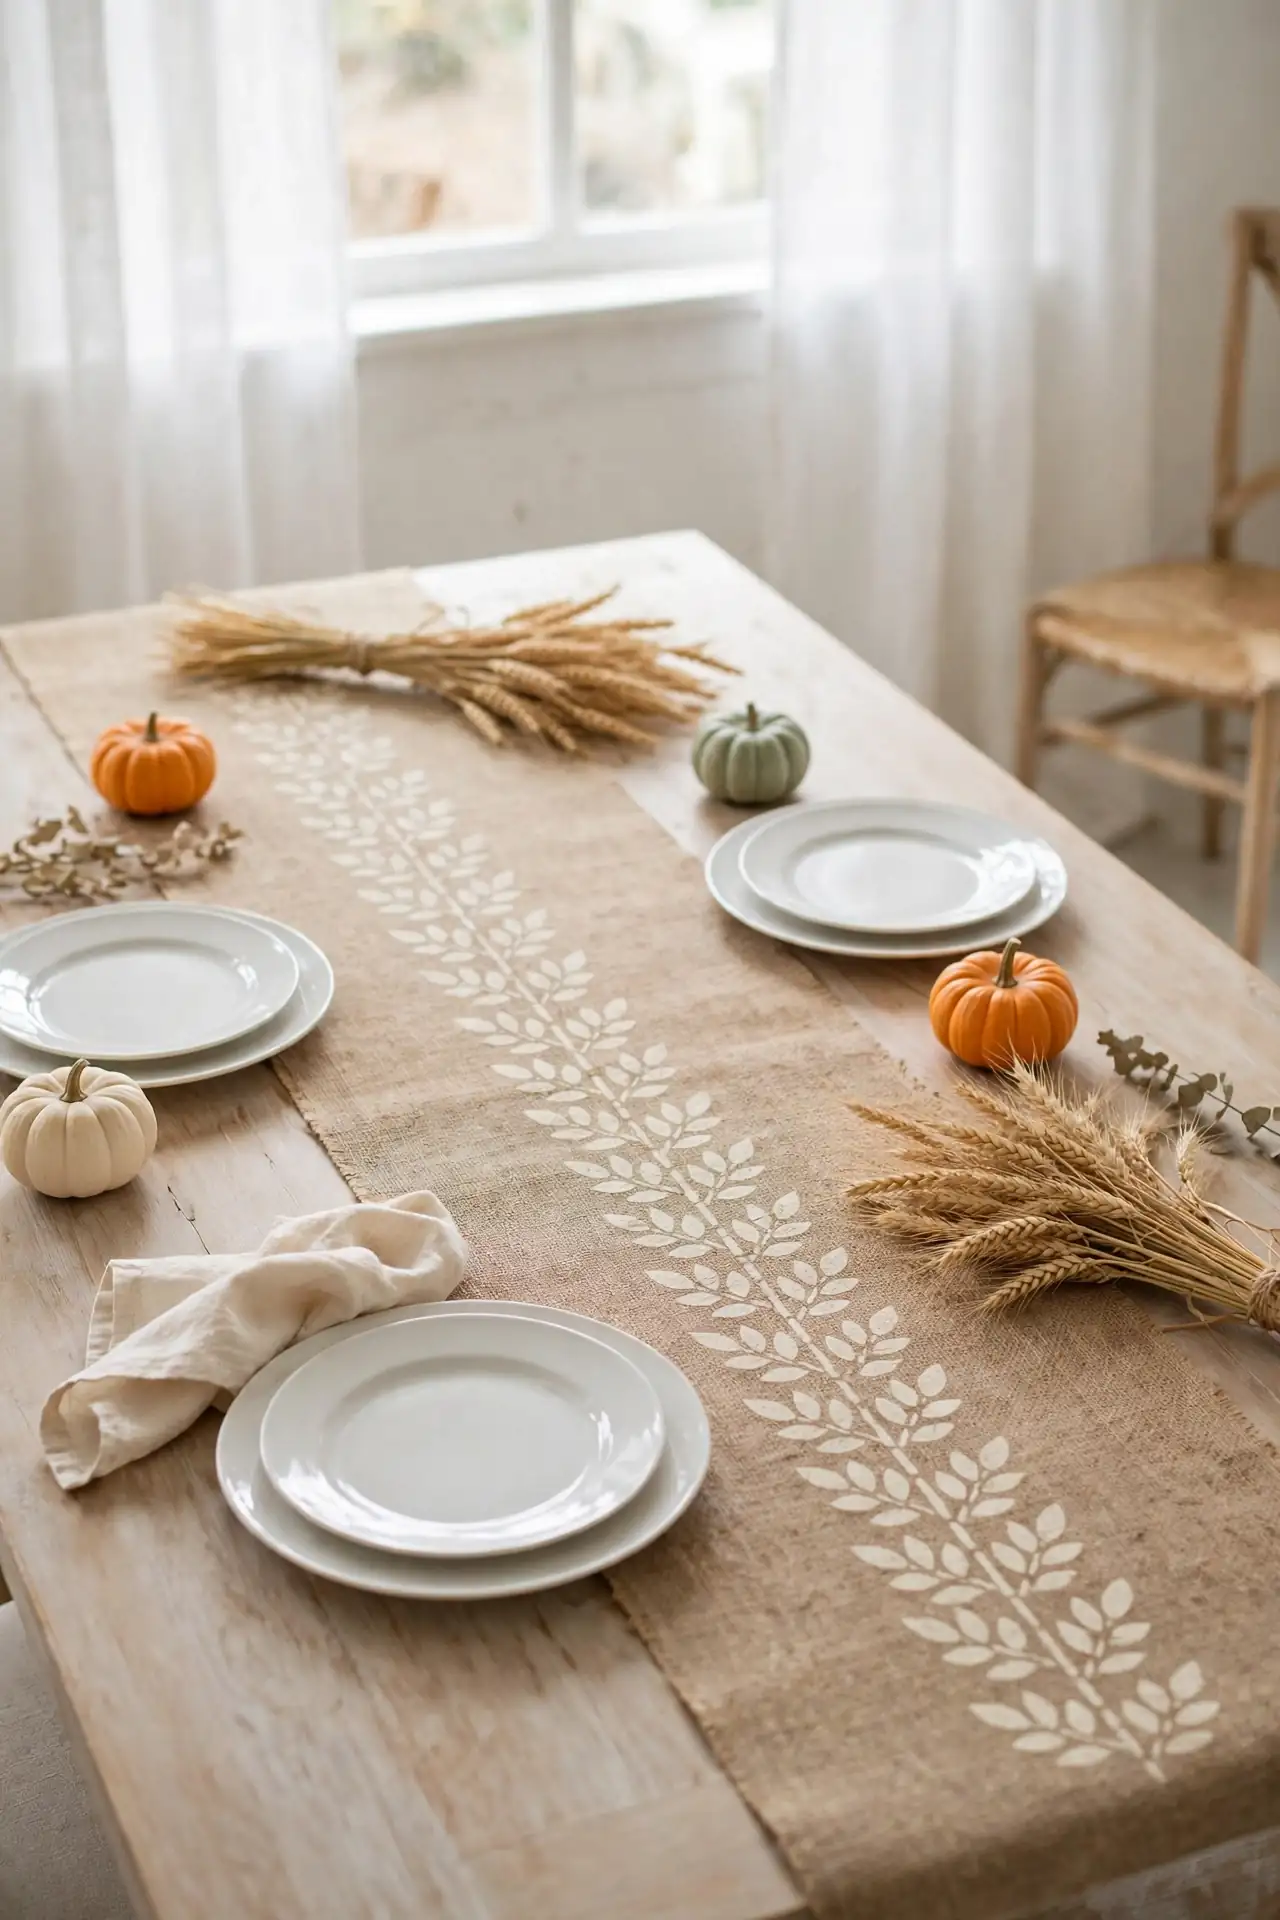
A burlap runner brings instant farmhouse warmth to any dining table. Cut the fabric three feet longer than your table, then pull loose threads along each edge for a soft fringe. The loose weave dyes beautifully if you want a deeper tone. I rub a damp tea bag along mine for an aged, vintage finish.
Stencil a simple leaf border down the center with cream craft paint. Keep the pattern spaced wide so the design feels airy rather than busy. I have seen this work well in many cases as a Thanksgiving table base. Layer the runner over linen for extra depth, and add pumpkins along the middle to finish the look.
Pumpkin Harvest Tray
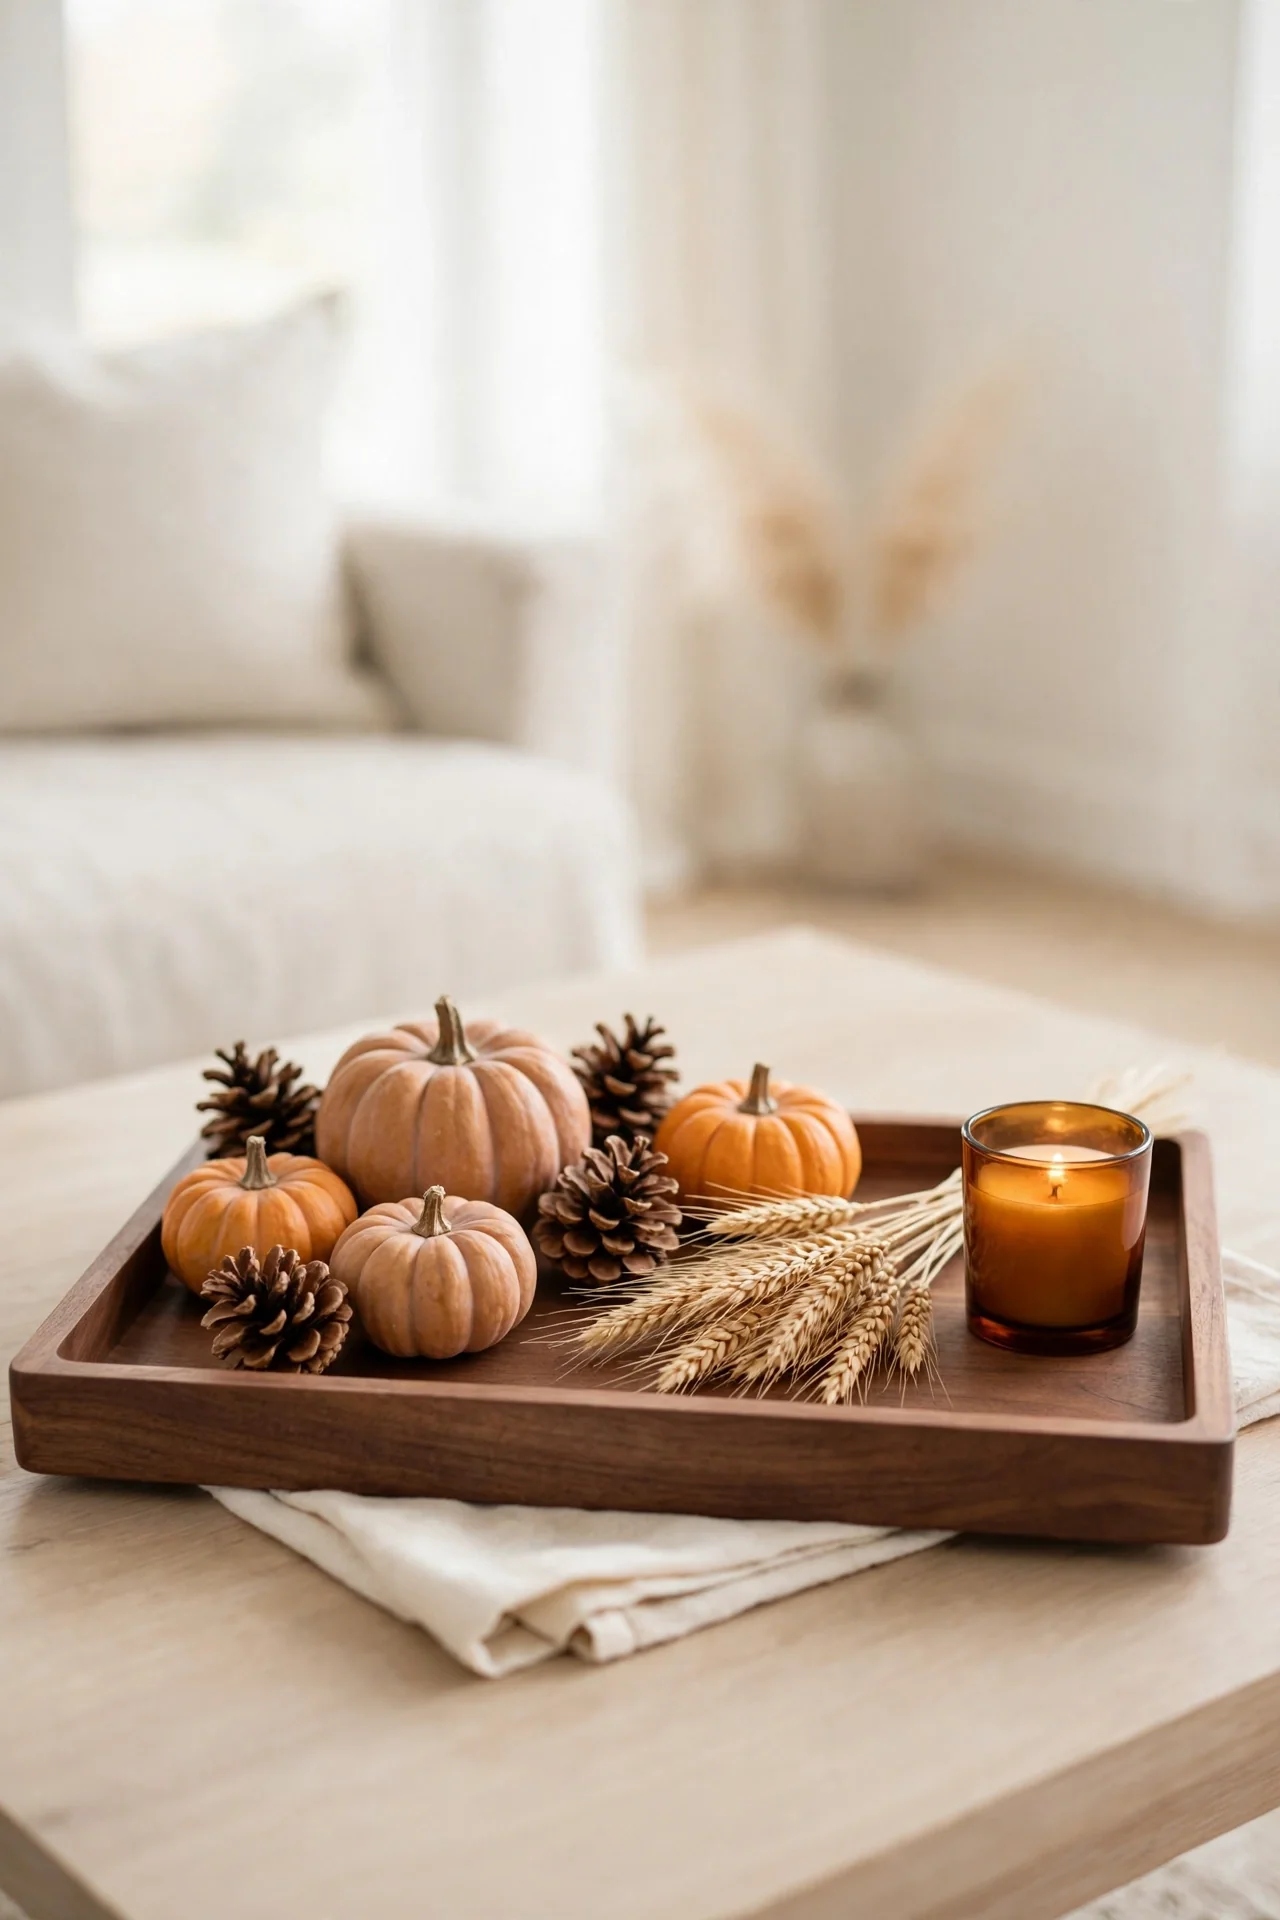
Coffee tables often collect clutter instead of compliments. One styled tray changes that in under an hour.
- Sand a thrifted wooden tray, then stain it in warm walnut.
- Arrange mini pumpkins, pinecones, and dried wheat in clusters of three.
- Tuck a small amber candle among the gourds for evening glow.
- Add a folded linen napkin underneath for softness and texture.
Move the tray from coffee table to dining table as the season shifts. I refresh mine weekly by swapping in new gourds and trimming dried stems. This single styling trick makes the whole room feel intentional. Keep extra minis in a basket nearby so the arrangement always looks abundant.
Mason Jar Globes
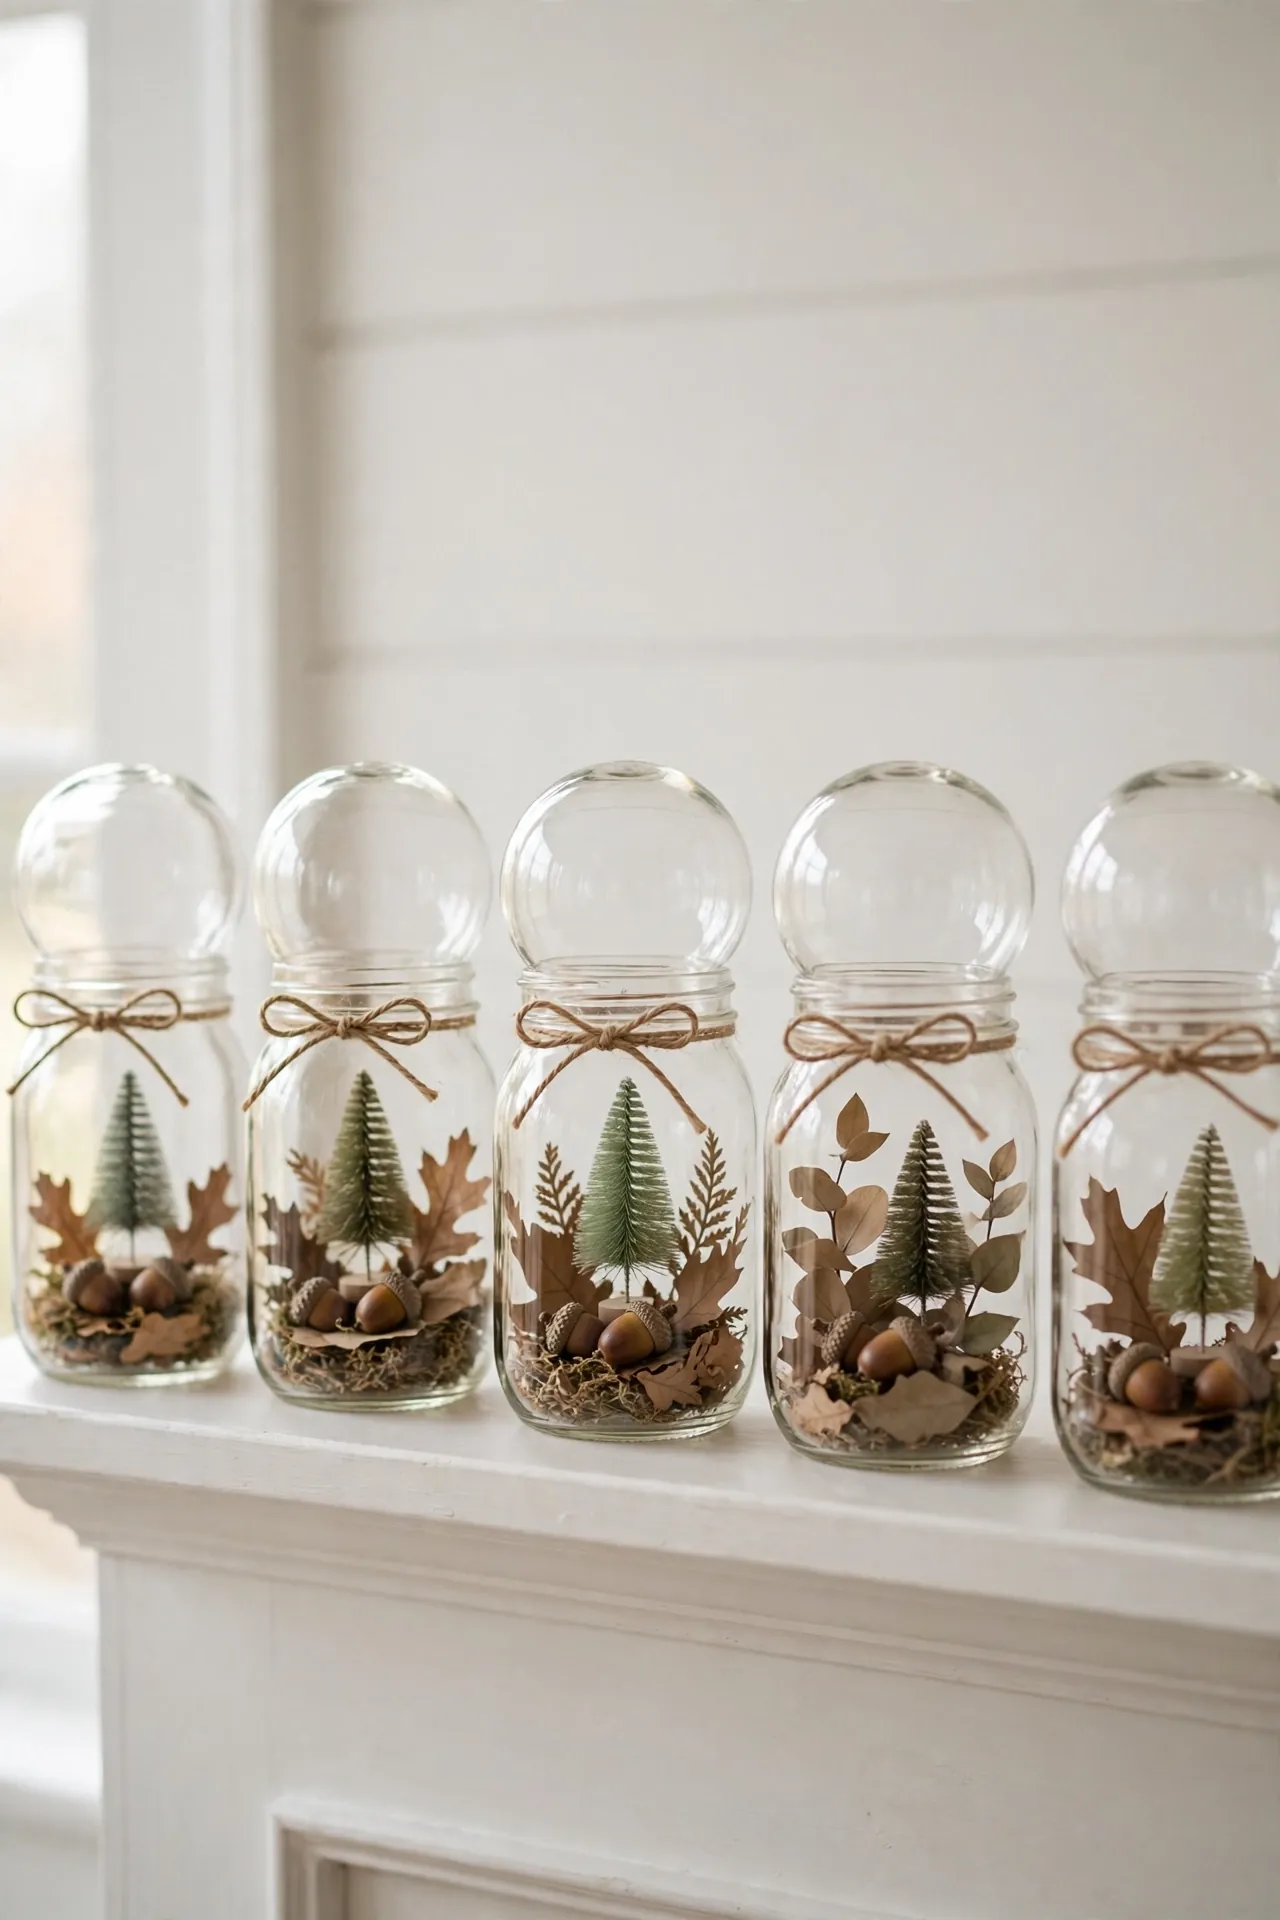
Quick Tip: Glue small bottlebrush trees inside wide-mouth mason jars, then add dried leaves and acorns for autumn. Tighten the lid and loop twine around the neck. Line several jars along the mantel at different heights for a collected look. Mix jar sizes for extra visual interest.
These little globes catch the light beautifully on sunny windowsills. I craft one new jar each October to mark the passing seasons. They stack neatly for storage, and the contents swap out easily next year. Quiet crafting time feels indulgent, and these jars reward the effort with lasting charm. Place one on each nightstand for a cozy bedroom glow.
Fabric Pumpkin Patch
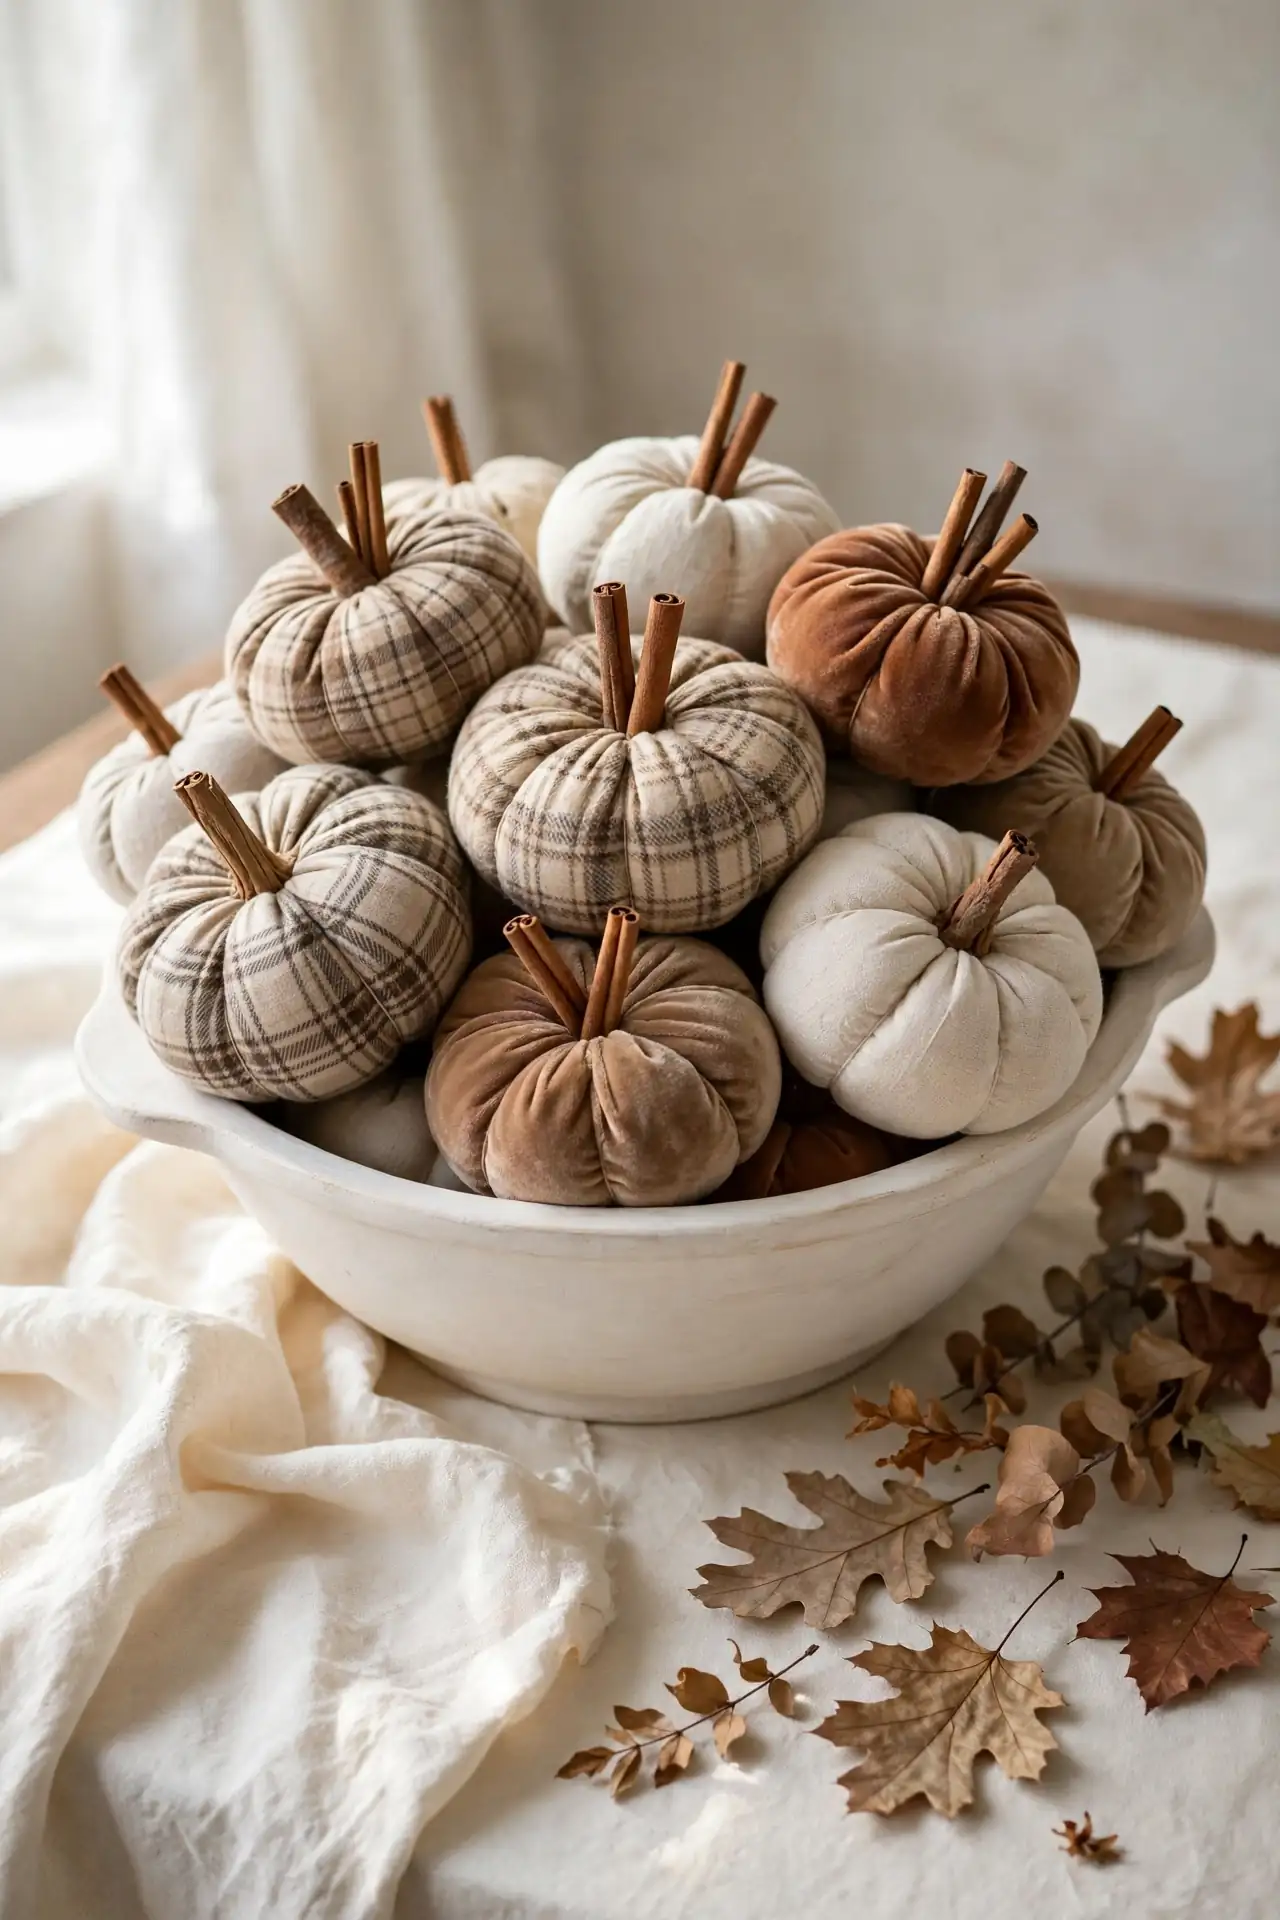
BEFORE: Scraps of orange fabric sit in a bin, too small for real sewing projects. They look like clutter, and most crafters toss them without a second thought. Yet those remnants hold enough material for dozens of tiny pumpkins.
AFTER: Stuffed fabric pumpkins in plaid, velvet, and linen fill a dough bowl. The mix of textures reads rich and collected, and the whole bowl becomes a mantel-worthy display for under five dollars.
Cut two fabric circles, stitch them together, stuff with filling, and cinch the center with twine. I add a cinnamon stick stem to each pumpkin for a natural touch. Make them in odd numbers, since groups of three or five look best. This project uses up scraps beautifully and fills a home with handmade warmth.
Dried Orange Garland
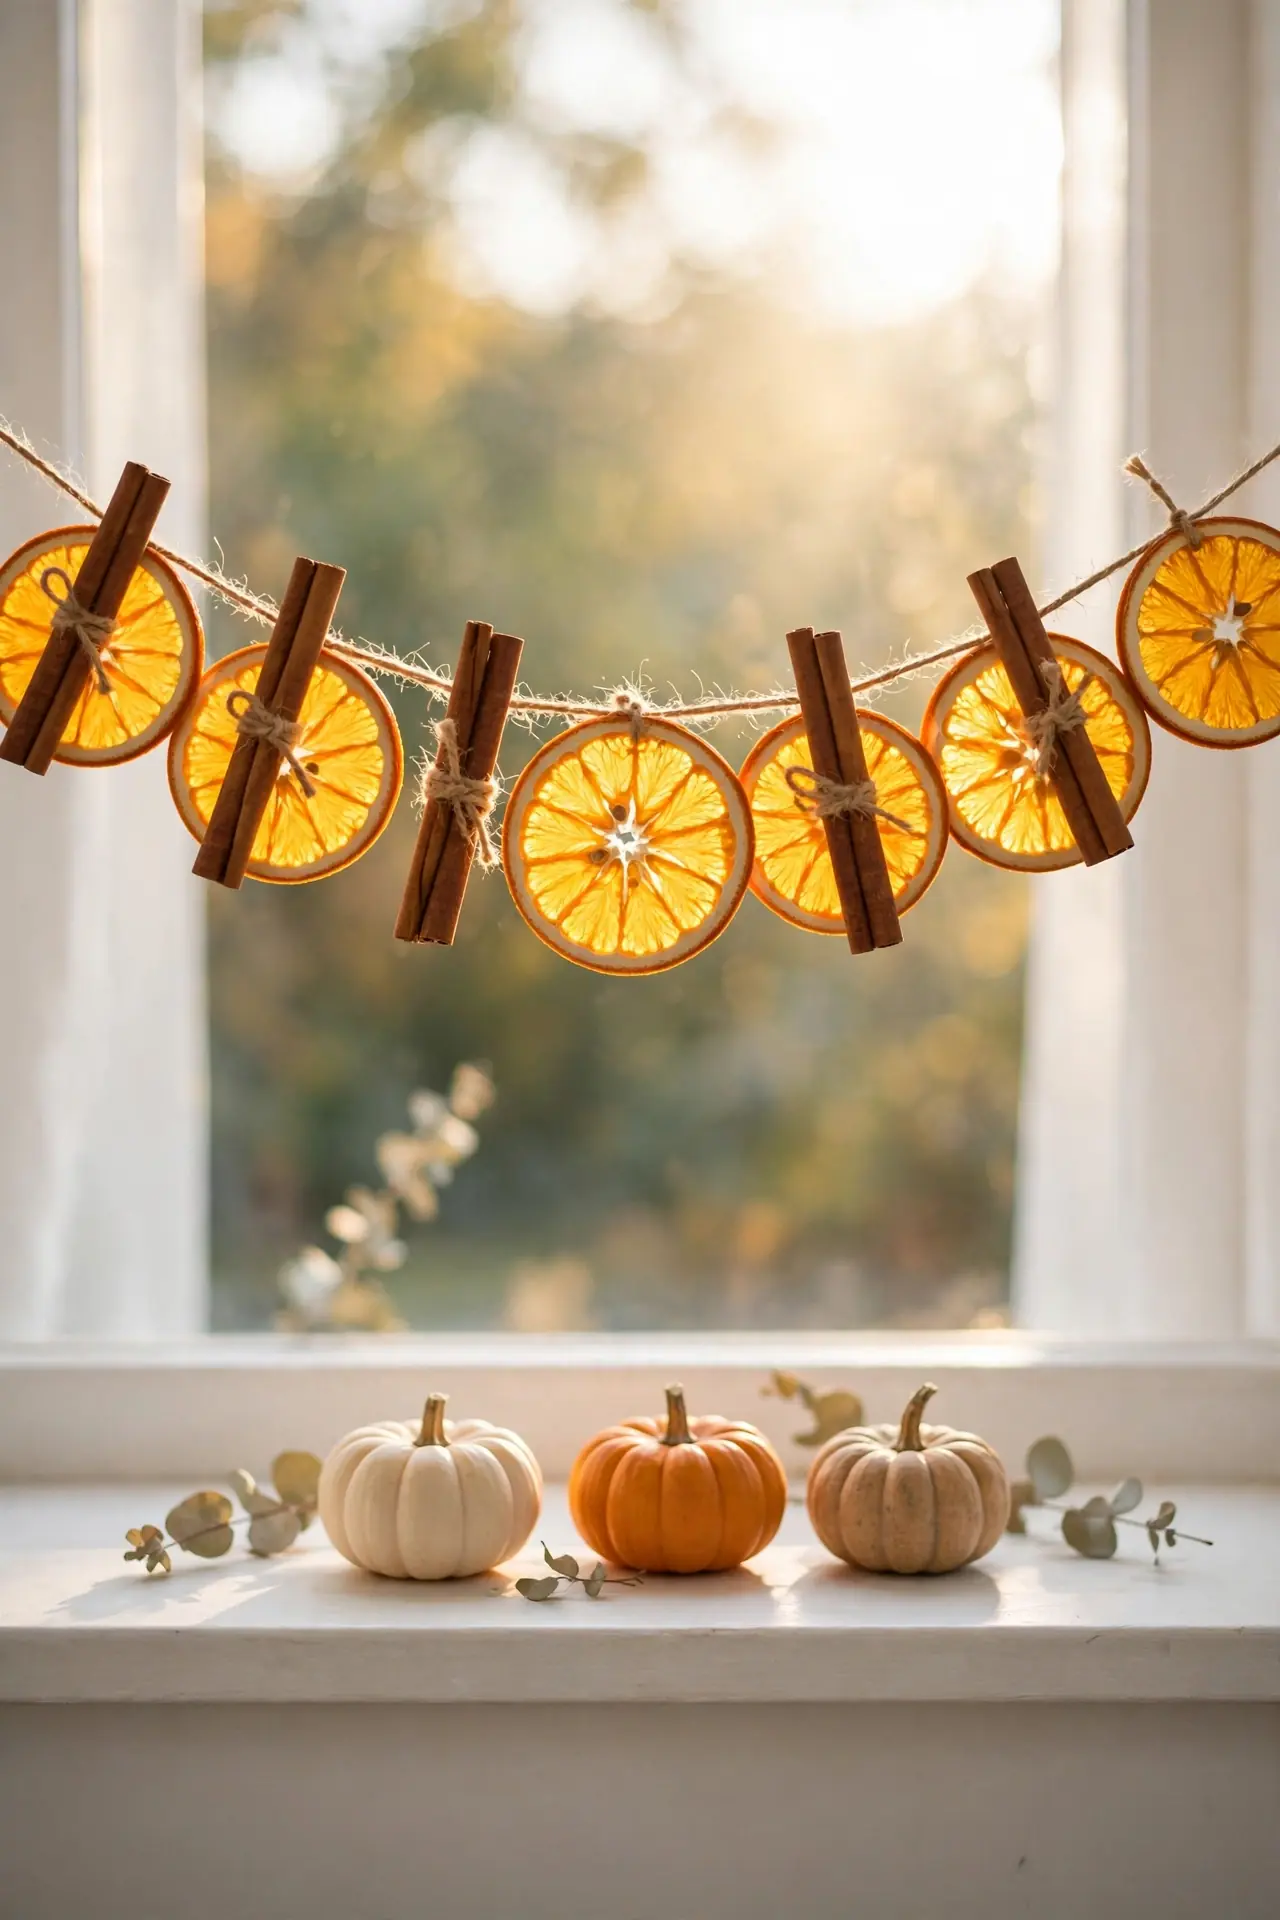
Dried citrus brings color and scent to autumn decorating. The oven does most of the work for you.
- Slice oranges a quarter inch thick and pat each slice completely dry.
- Bake at 200 degrees for three hours, flipping the slices halfway through.
- Thread the cooled slices on twine with cinnamon sticks between them.
- Hang the garland on a mantel or across a sunny window.
The translucent slices glow when backlit by afternoon sun. I store my garland flat in tissue paper so it lasts three seasons. Orange and cinnamon smell like pure autumn, which makes this craft a sensory favorite. Friends always ask for the recipe, and it takes only one line to explain.
Corn Husk Figures
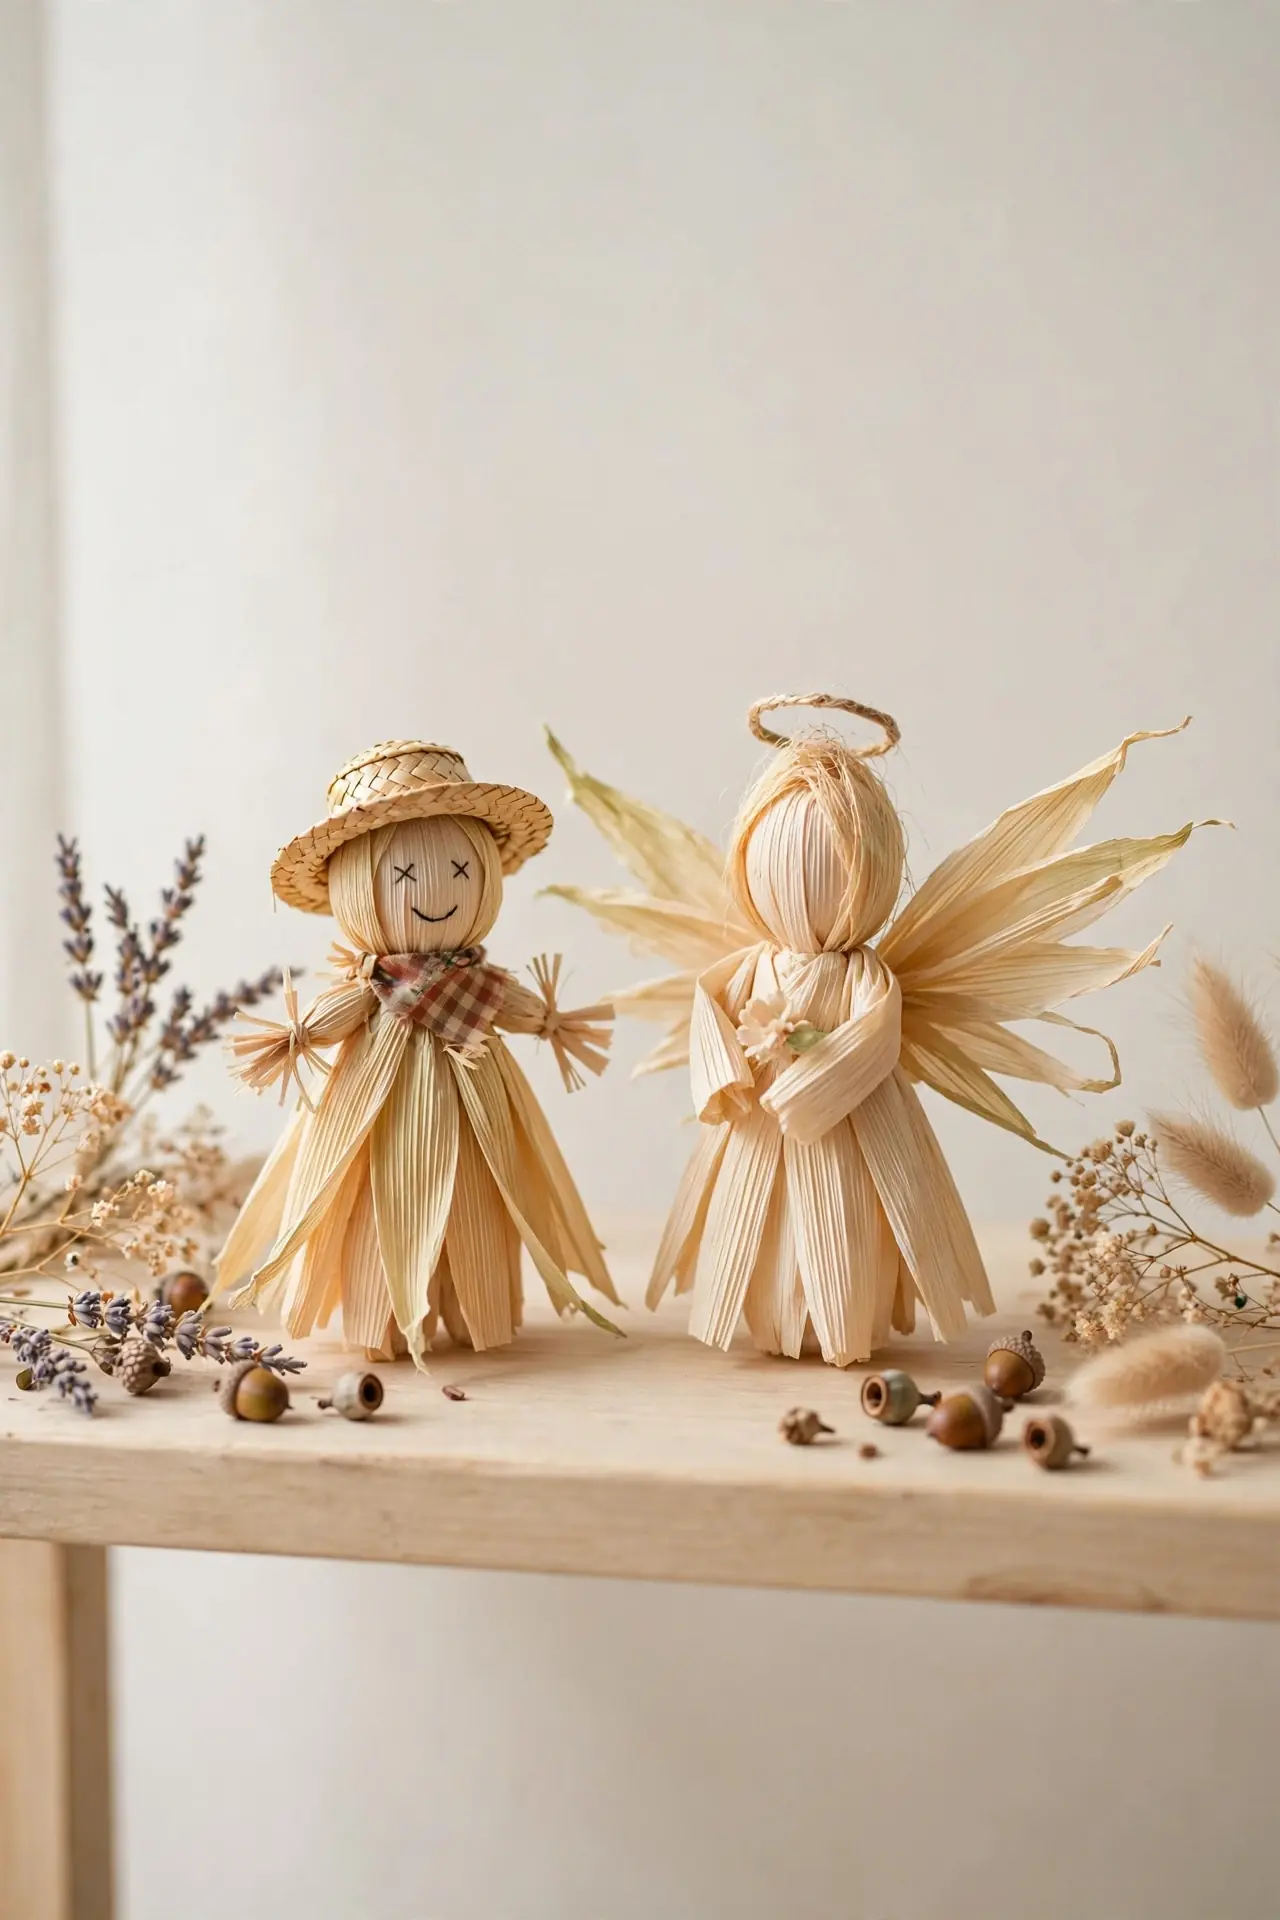
The craft store sells expensive fall figures, but corn husks do the job for pennies. Soaked husks twist into the sweetest little characters.
| Figure | What You Need | Time |
|---|---|---|
| Mini Scarecrow | Soaked husks, jute twine, tiny straw hat | 50 minutes |
| Harvest Angel | Soaked husks, thin wire, dried flower crown | 60 minutes |
| Simple Doll | Soaked husks, raffia ties, acorn cap head | 35 minutes |
| Wreath Accent | Torn husk strips, glue, dried berry sprigs | 20 minutes |
Soak the husks in warm water for twenty minutes before shaping so they bend without cracking. I shape the bodies over a small wooden bead for stability. These figures look adorable tucked into wreaths or perched on bookshelves. Make a whole family in different sizes for a sweet autumn village scene.
Painted Gourd Vases
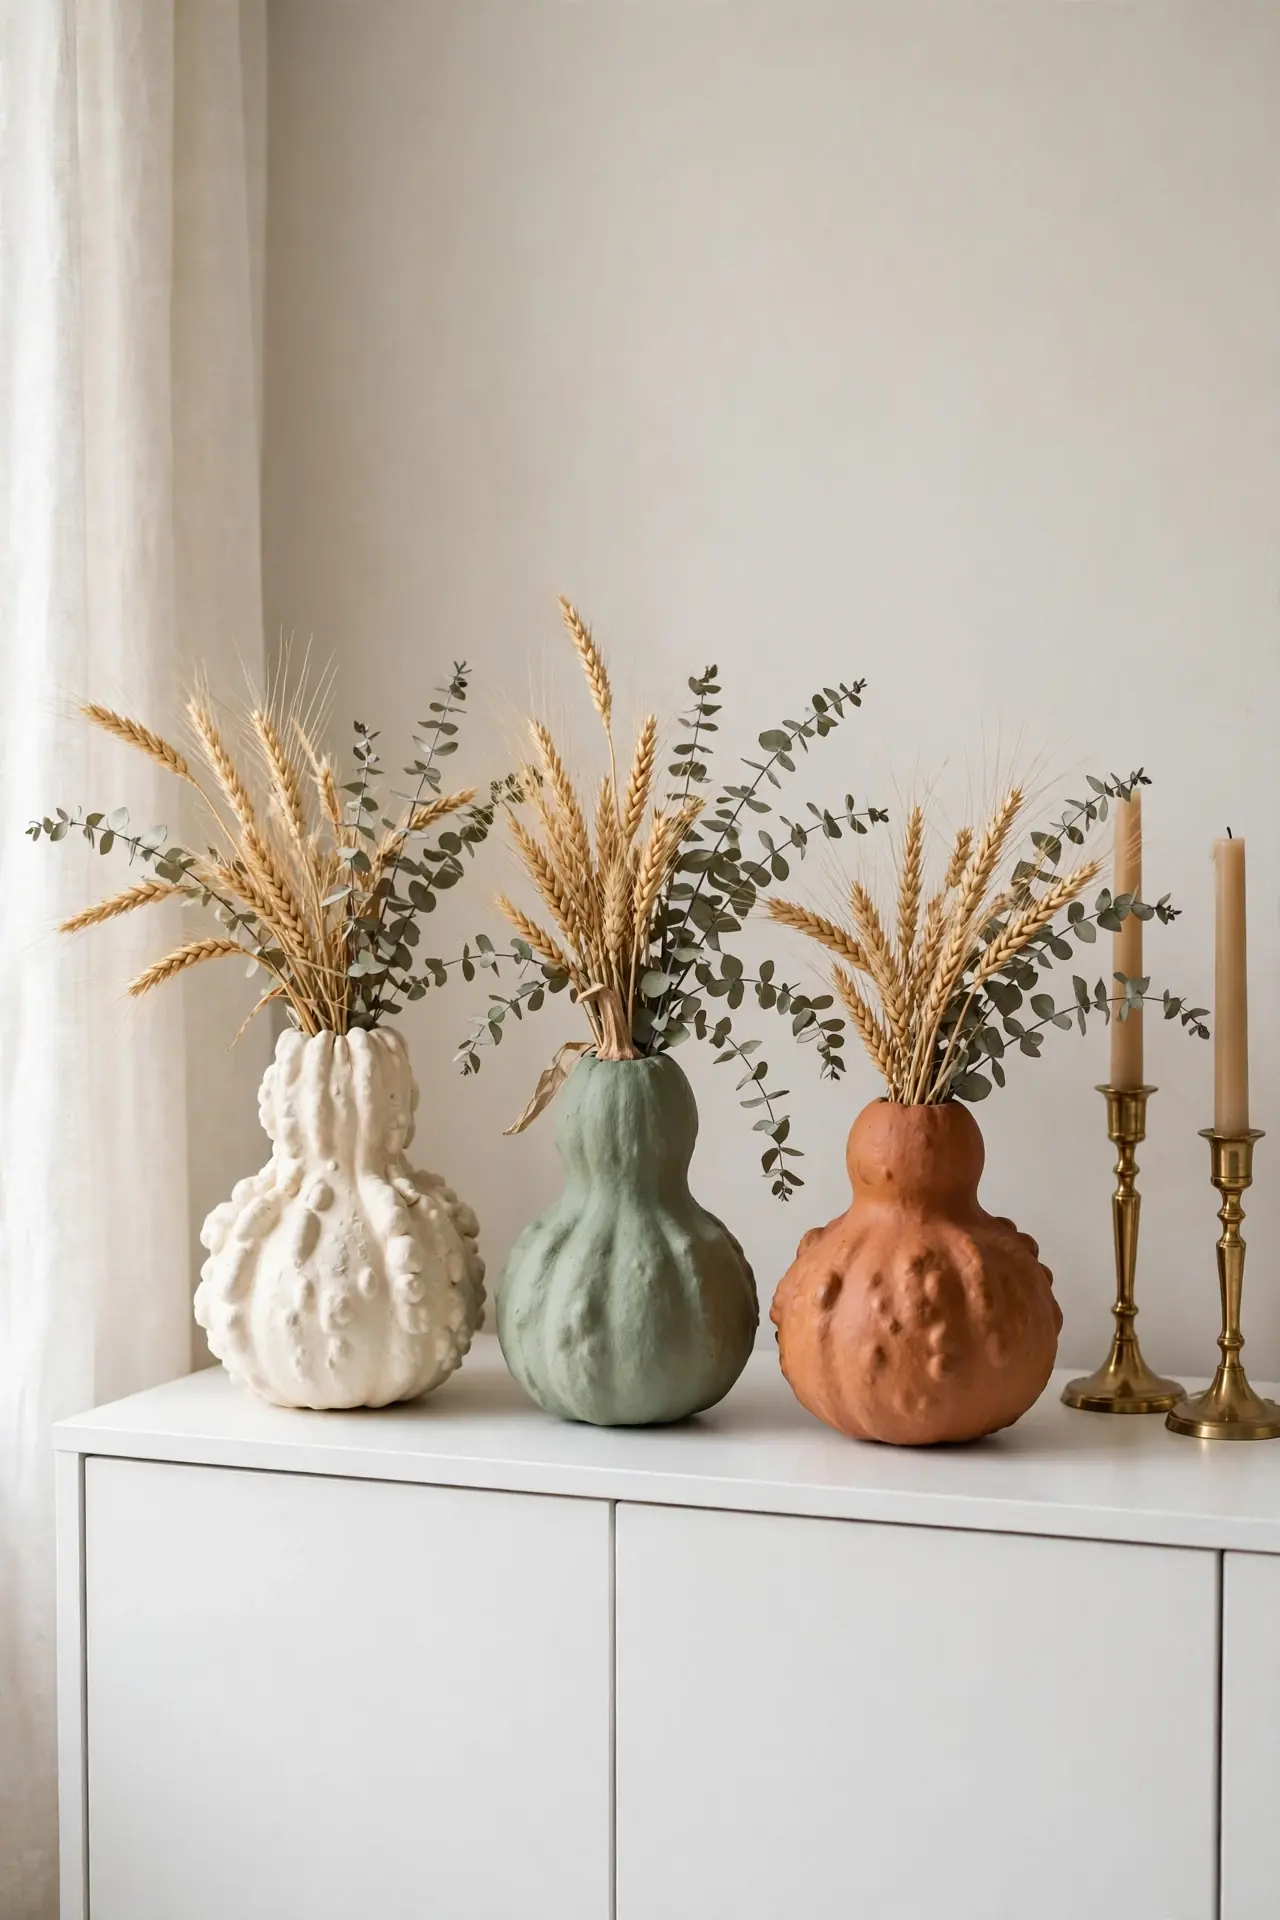
Dried gourds become elegant vases with a little chalk paint.
DO:
- Sand each gourd lightly so the paint grips the skin.
- Apply two thin coats of chalk paint for even coverage.
- Seal with matte spray to protect the finish.
- Use a glass tube insert for fresh flowers.
DON’T:
- Do not paint over damp gourds, since moisture lifts paint.
- Do not pour water directly inside unsealed gourds.
- Do not skip primer on dark-skinned gourds.
- Do not stack wet gourds.
The matte finish looks expensive next to brass and wood tones. I paint mine in cream, sage, and terracotta for a collected palette. Fill them with dried wheat for zero maintenance. These vases anchor a fall tablescape, and these fall table centerpiece ideas show how to style them with seasonal blooms.
Walnut Shell Candles
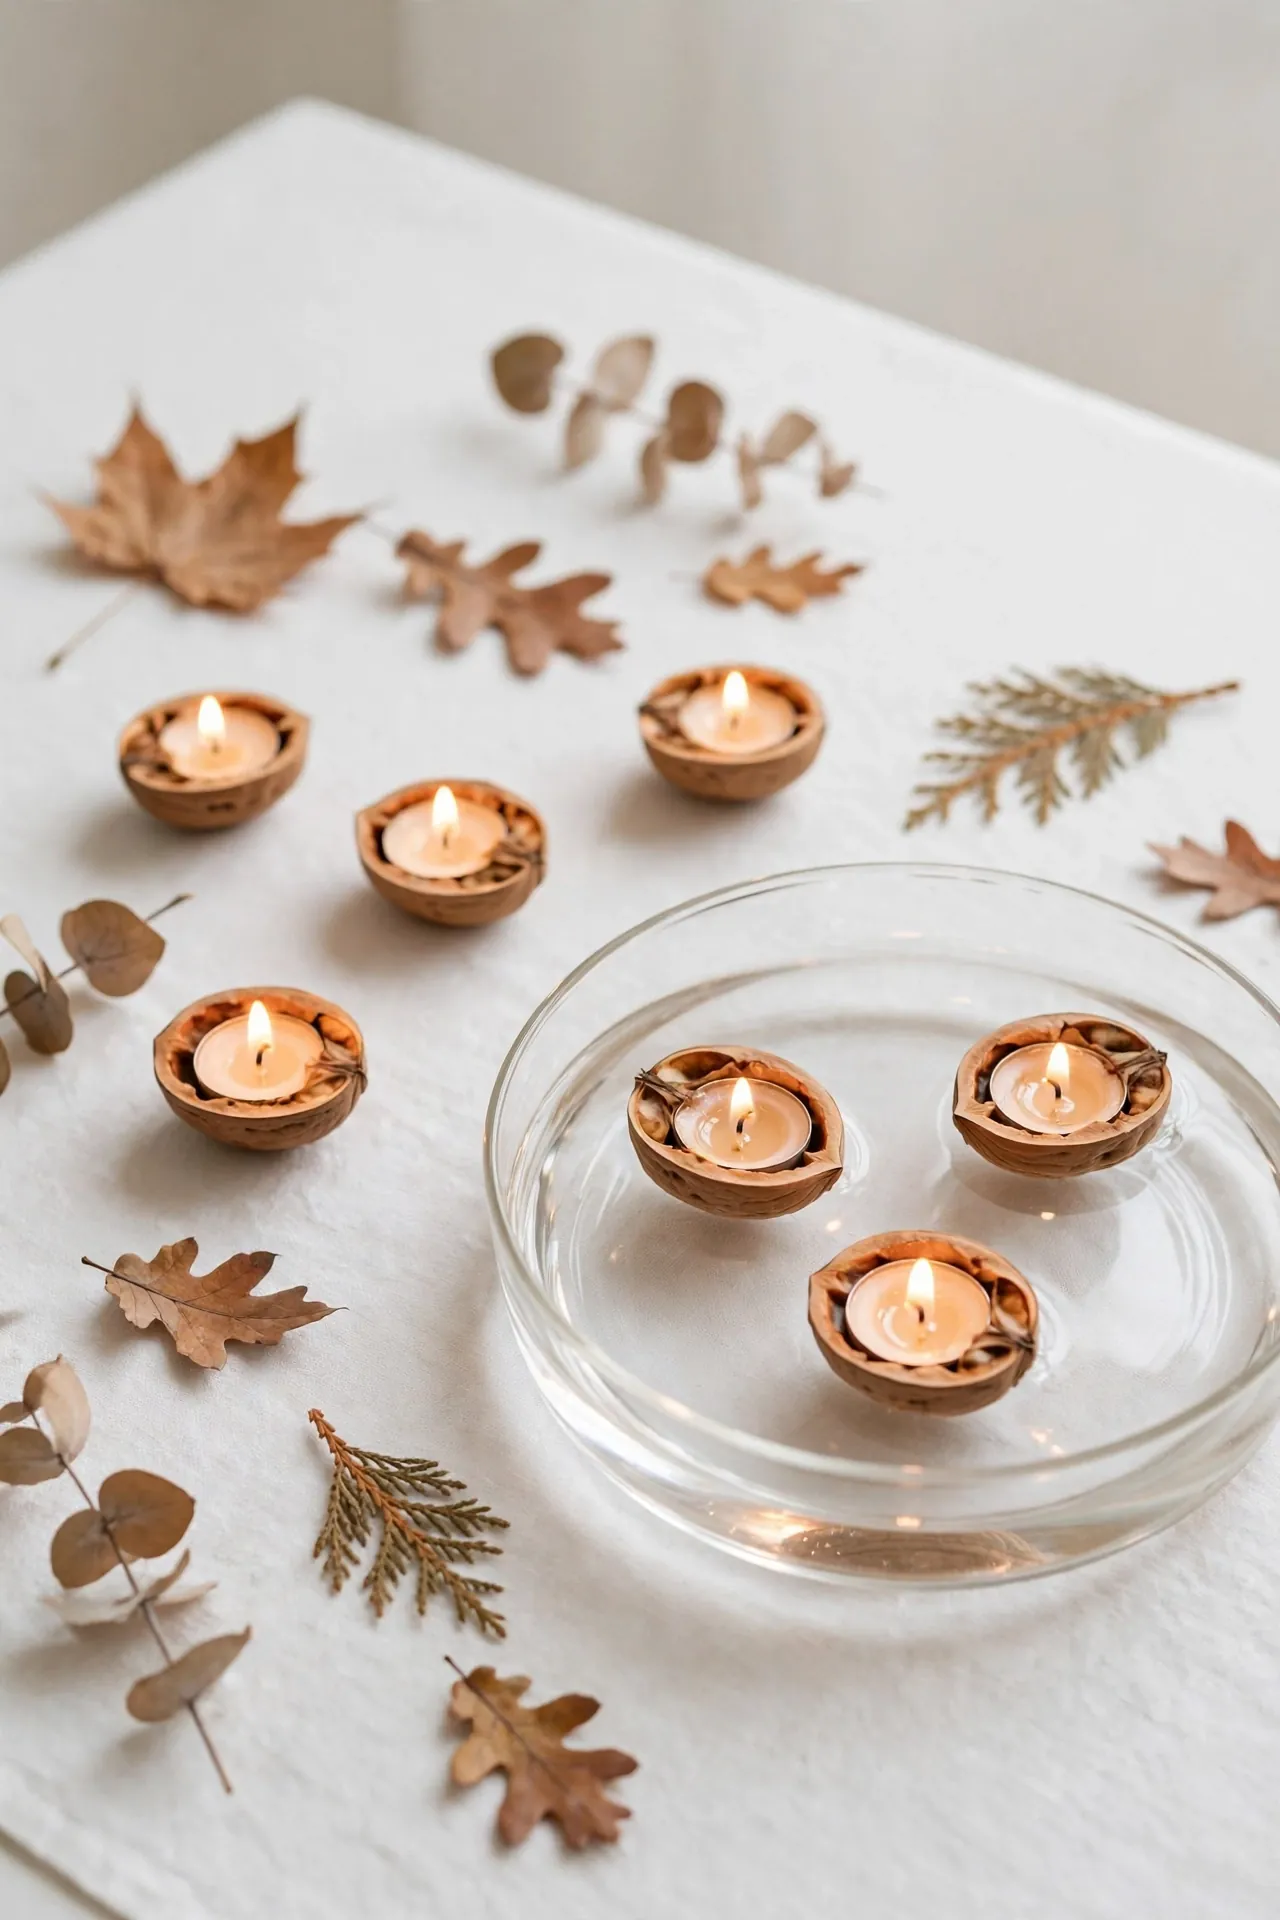
The smallest candles often steal the whole show. Halved walnut shells hold just enough wax for a dinner-party glow.
Cost: Under five dollars for a full dozen candles. Time: One relaxed afternoon, including wax drying time. Skill Level: Easy, though the small pouring takes a steady hand. Best For: Place settings, mantel rows, and thoughtful handmade gifts.
Melt soy wax, anchor a cotton wick in each shell, and pour slowly to the rim. I scent mine with cedarwood for a cozy autumn aroma. Float a few in a shallow bowl of water for a magical centerpiece. They burn for about two hours, which is perfect for a dinner party. Guests love taking one home as a party favor.
Plaid Pillow Covers
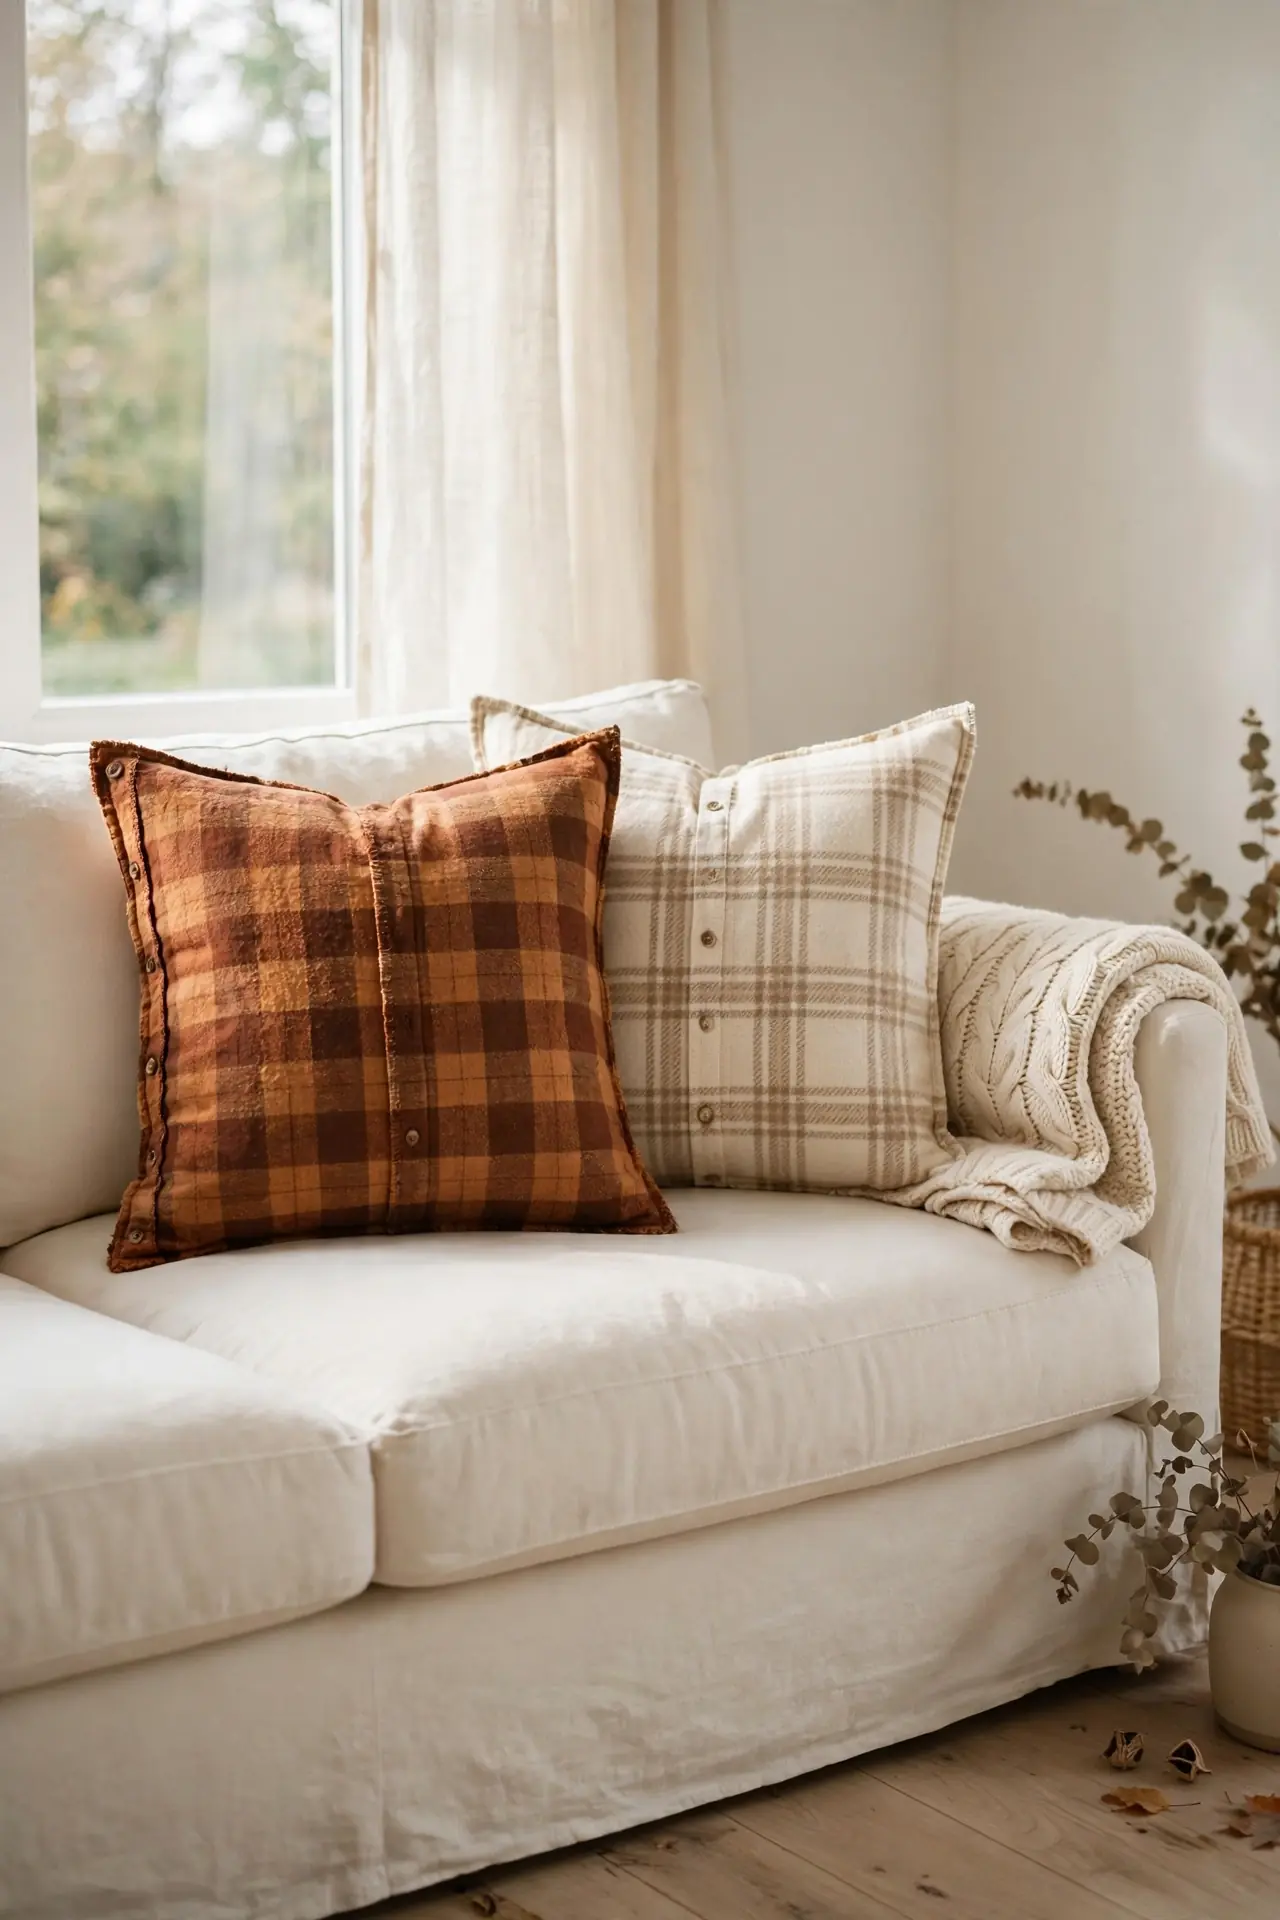
Old flannel shirts transform into the coziest autumn pillow covers. Cut two squares from the shirt body, keeping a favorite pocket as a design detail. Sew three sides, flip right side out, and slip in a pillow form. The worn flannel feels soft and looks perfectly broken in. This project takes less than an hour per pillow.
Mix plaids in the same color family for a collected, layered look. I pair rust checks with cream tartans on my sofa every October. Envelope-style backs make the covers washable and easy to swap. When the season ends, these covers fold flat and store in almost no space.
Acorn Napkin Rings
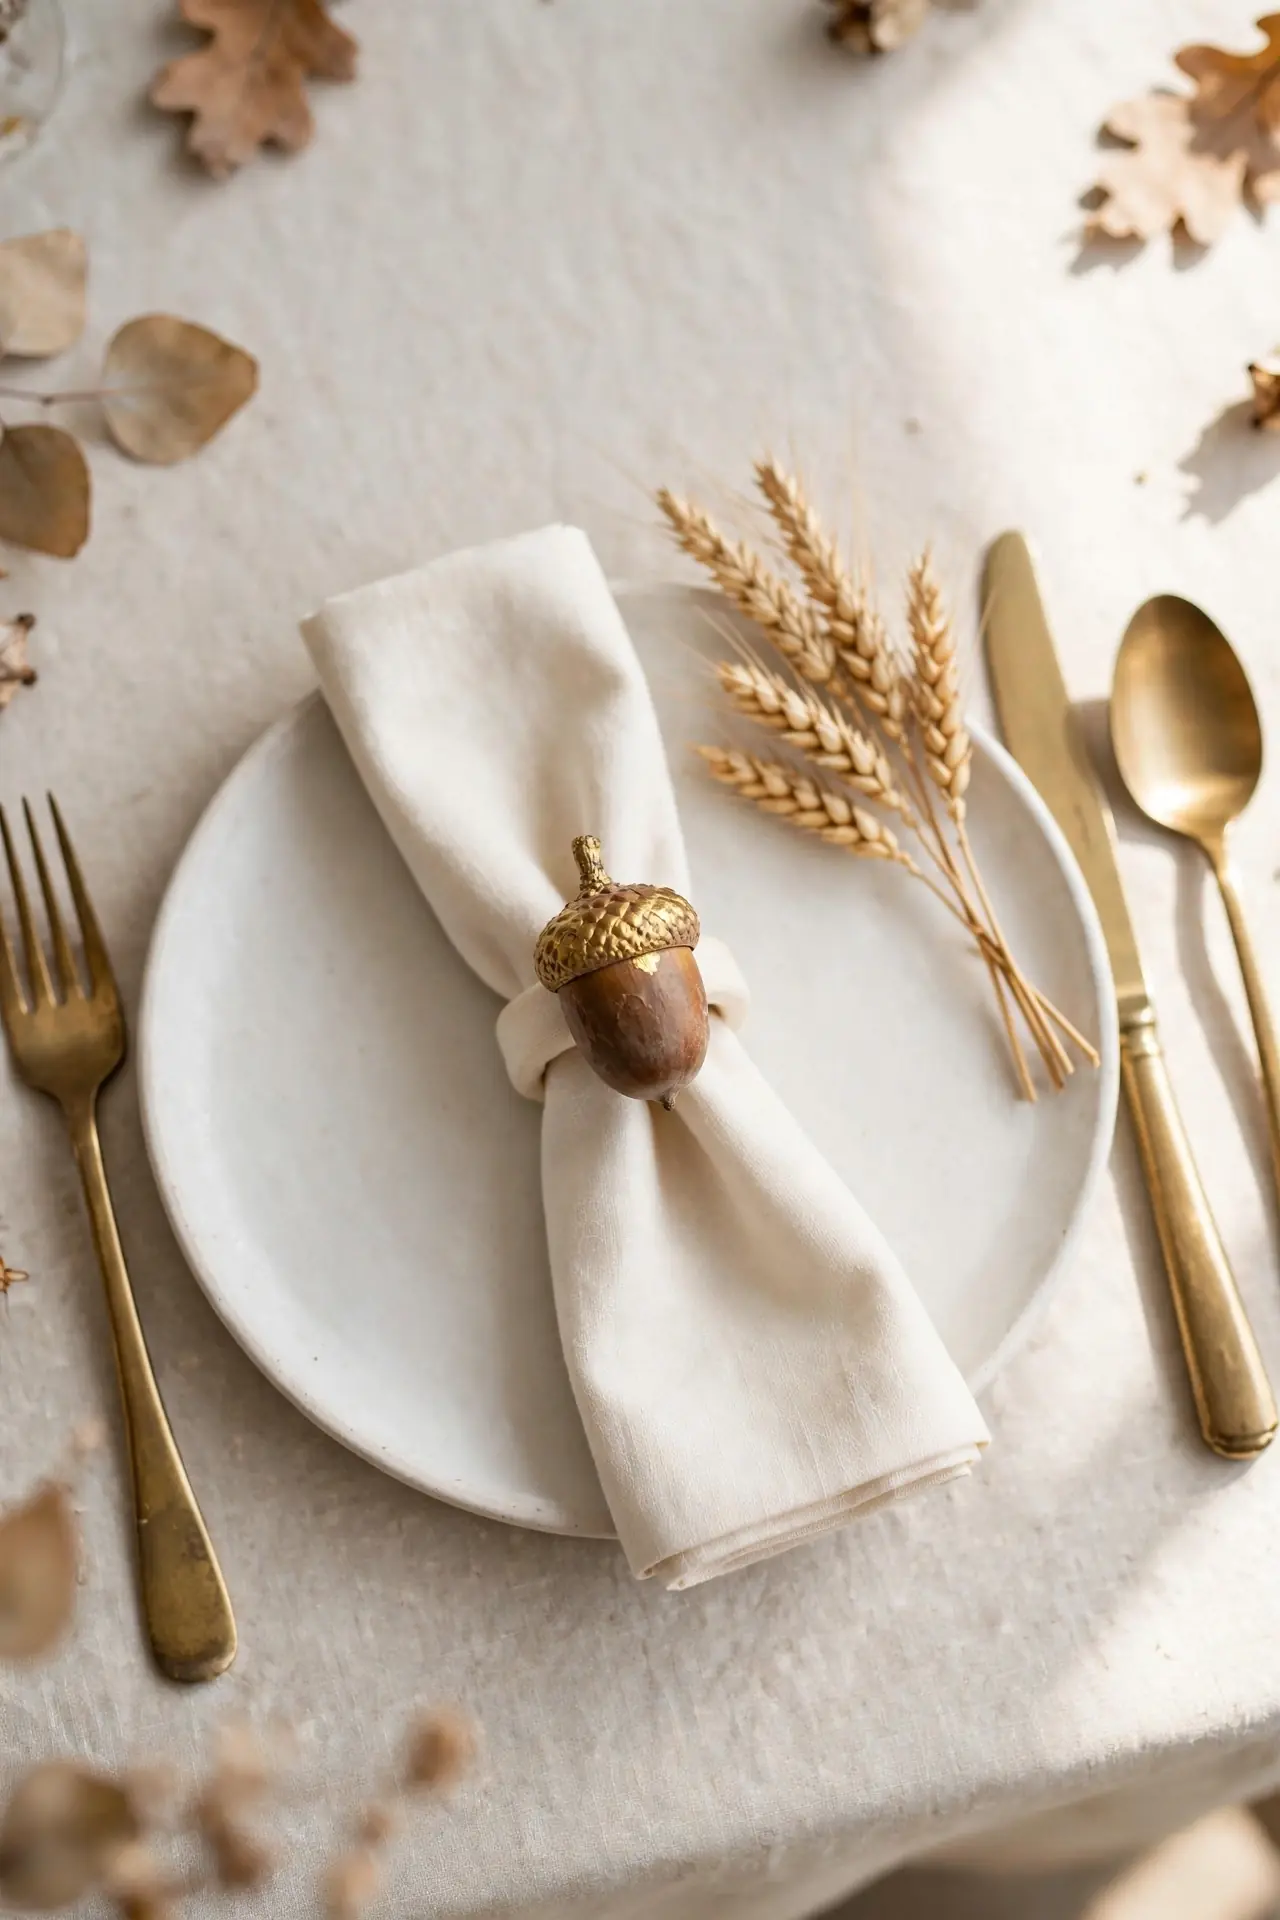
Table settings feel unfinished without a small handmade detail. Acorns and gold paint deliver that finishing touch.
- Collect acorns with intact caps, then bake them at 200 degrees for an hour.
- Paint the caps in gold or copper for a refined metallic touch.
- Glue each acorn to a plain wooden ring with strong craft adhesive.
- Tie a sprig of dried wheat to the ring with thin twine.
These rings turn an ordinary weeknight dinner into something special. I set them out from September through Thanksgiving without tiring of them. They cost nothing but an afternoon walk to gather. Store them in a small box, and they will greet your table for years.
Sweater Pumpkin Sewing
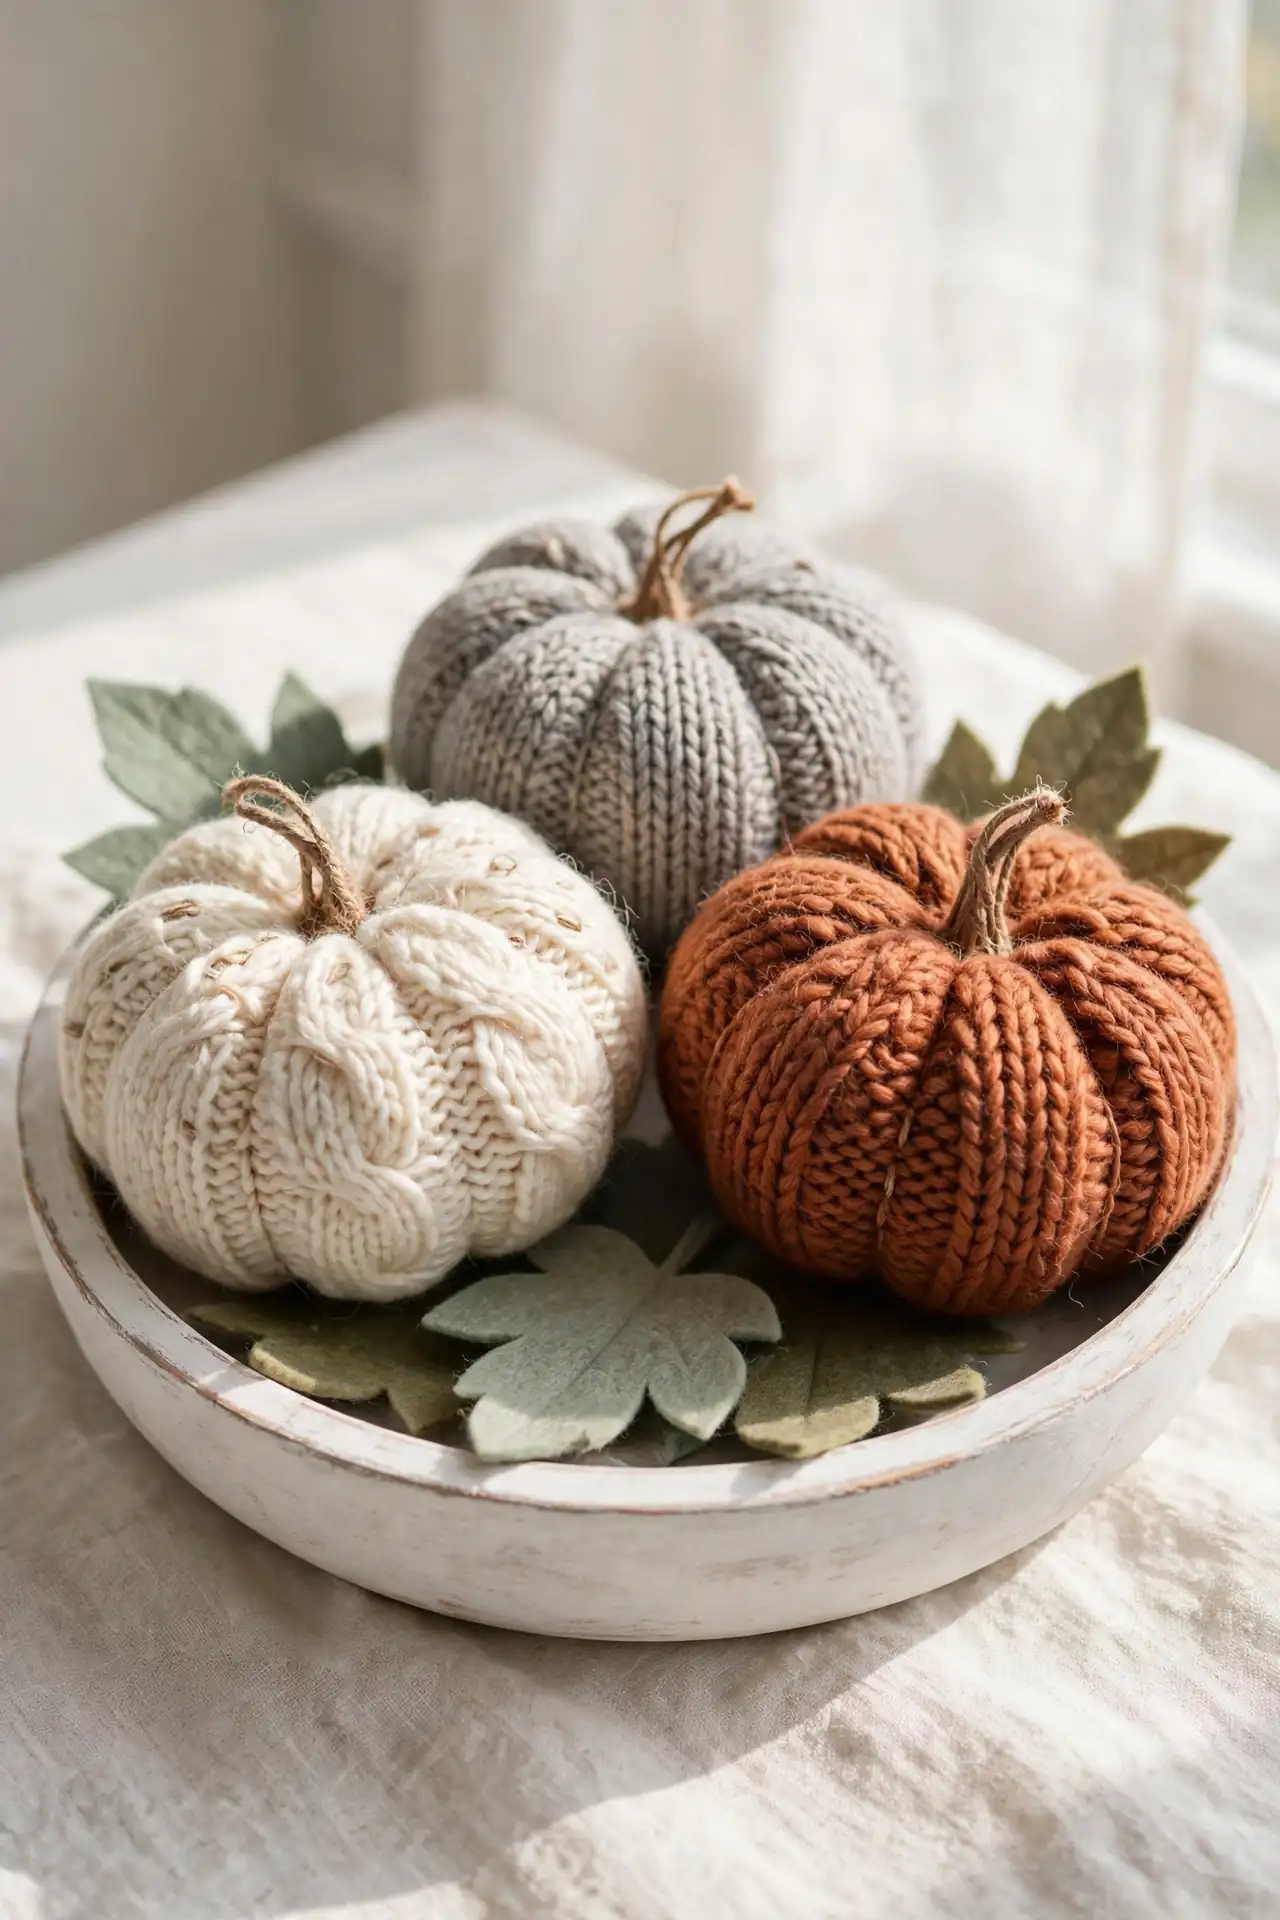
Quick Tip: Cut pumpkins from old wool sweaters, using the cuffs and hems for extra texture. Stitch a running seam around a fabric circle, pull the thread to gather, and stuff firmly with filling. Knot the thread tightly so the stuffing stays put. A cinnamon stick makes the perfect stem, and a felt leaf finishes the look.
The knit texture gives these pumpkins a cozy, heirloom quality. I make them in cream, gray, and rust for a neutral palette. They sit beautifully in a wooden bowl or along a windowsill. This project rescues worn sweaters from the donation pile and turns them into seasonal treasures.
Leaf Printed Tote
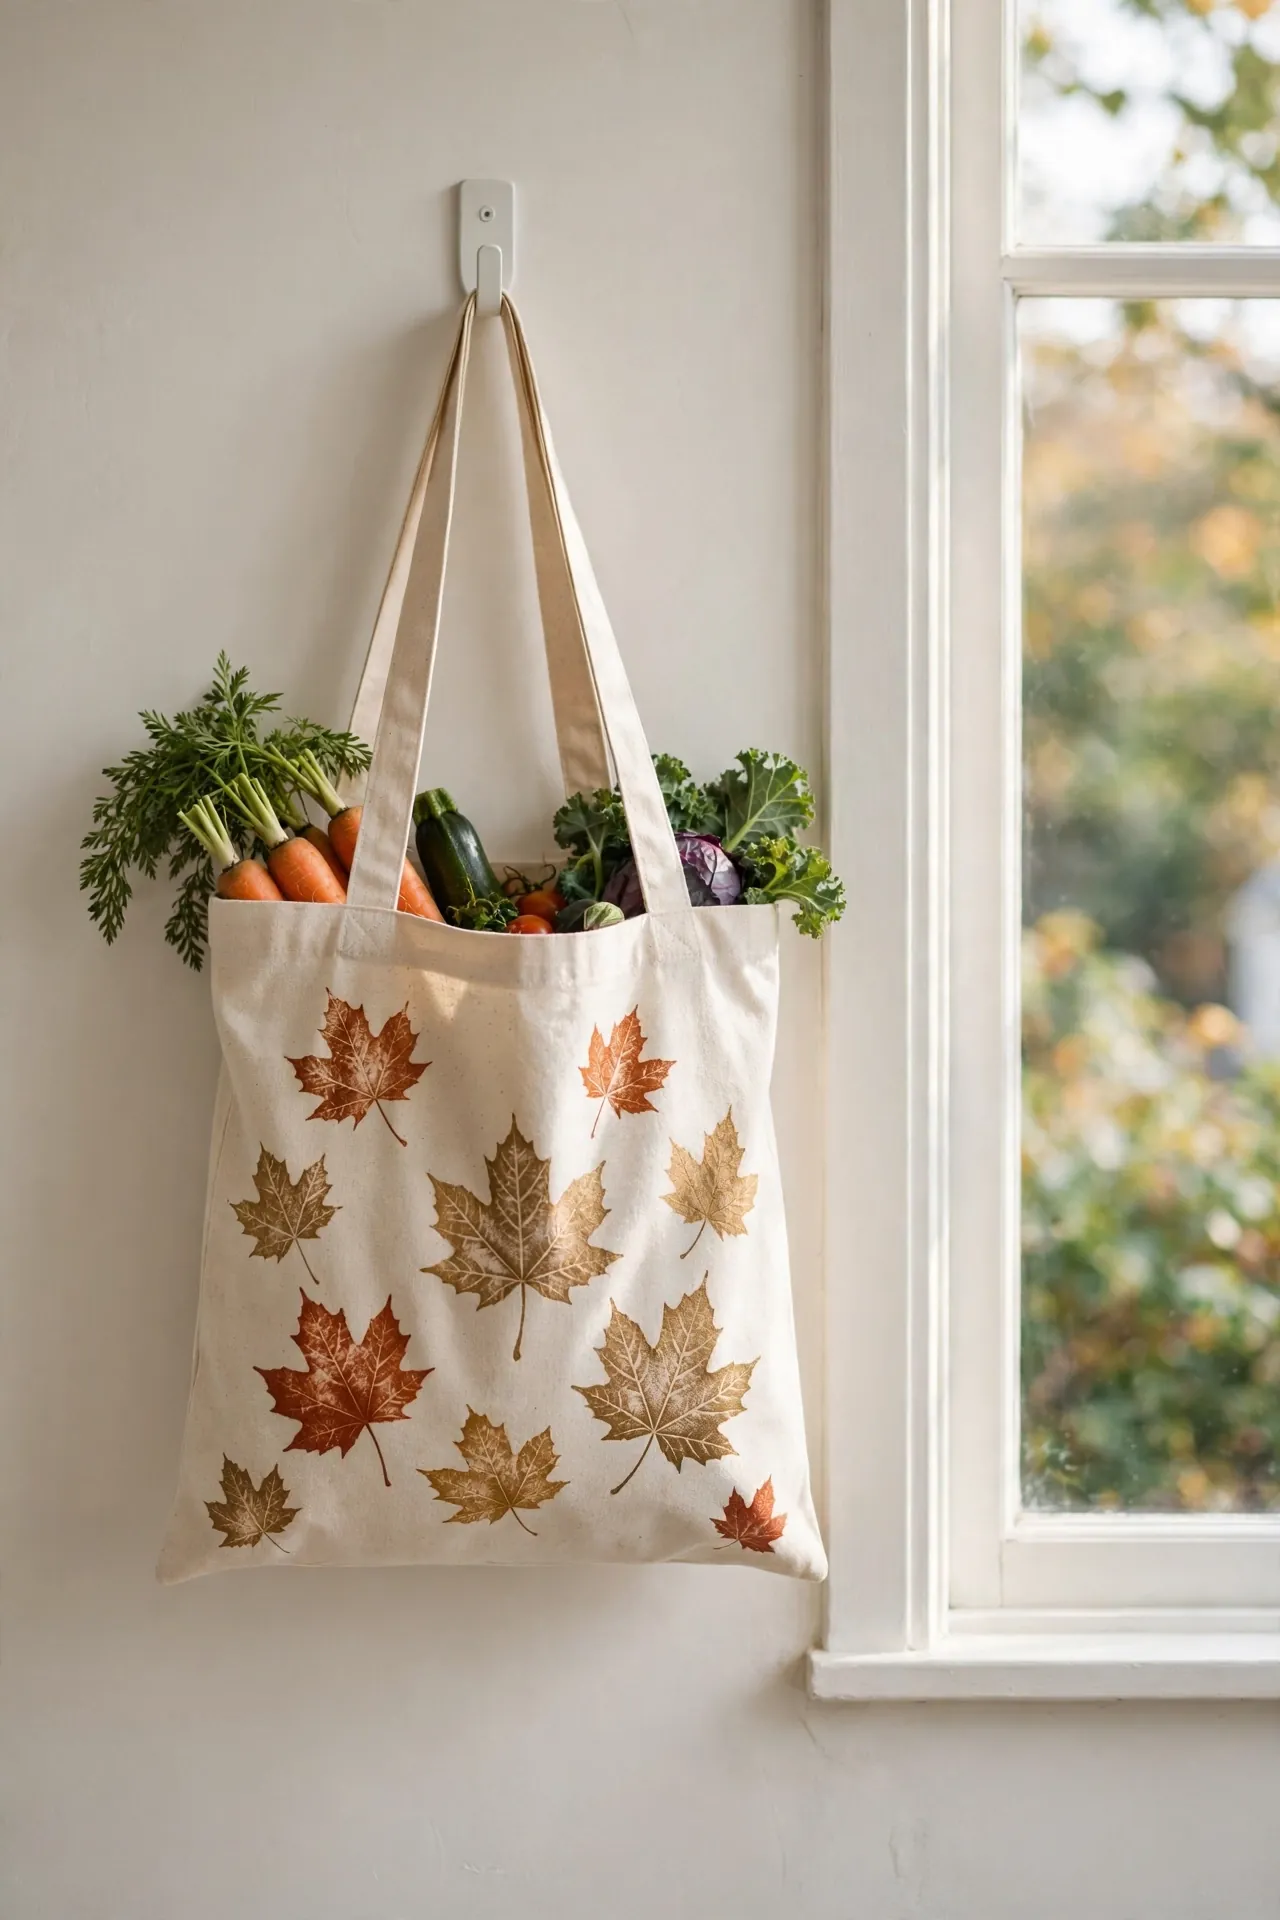
BEFORE: A plain canvas tote works hard but looks boring. It carries groceries fine, yet the blank fabric adds nothing to an autumn outfit. Most totes end up stuffed in a drawer, forgotten between errands.
AFTER: Stamped maple leaves in rust and gold turn the tote into a seasonal statement. The print looks intentional and artsy, and the bag becomes the one you reach for every market morning.
Use the same leaf stamping technique from the napkin project for a matching set. I heat-set my tote twice for extra durability through washes. Fill it with farmers market finds for the perfect autumn photo. This tote also makes a lovely gift bag for homemade treats.
Harvest Wall Hanging
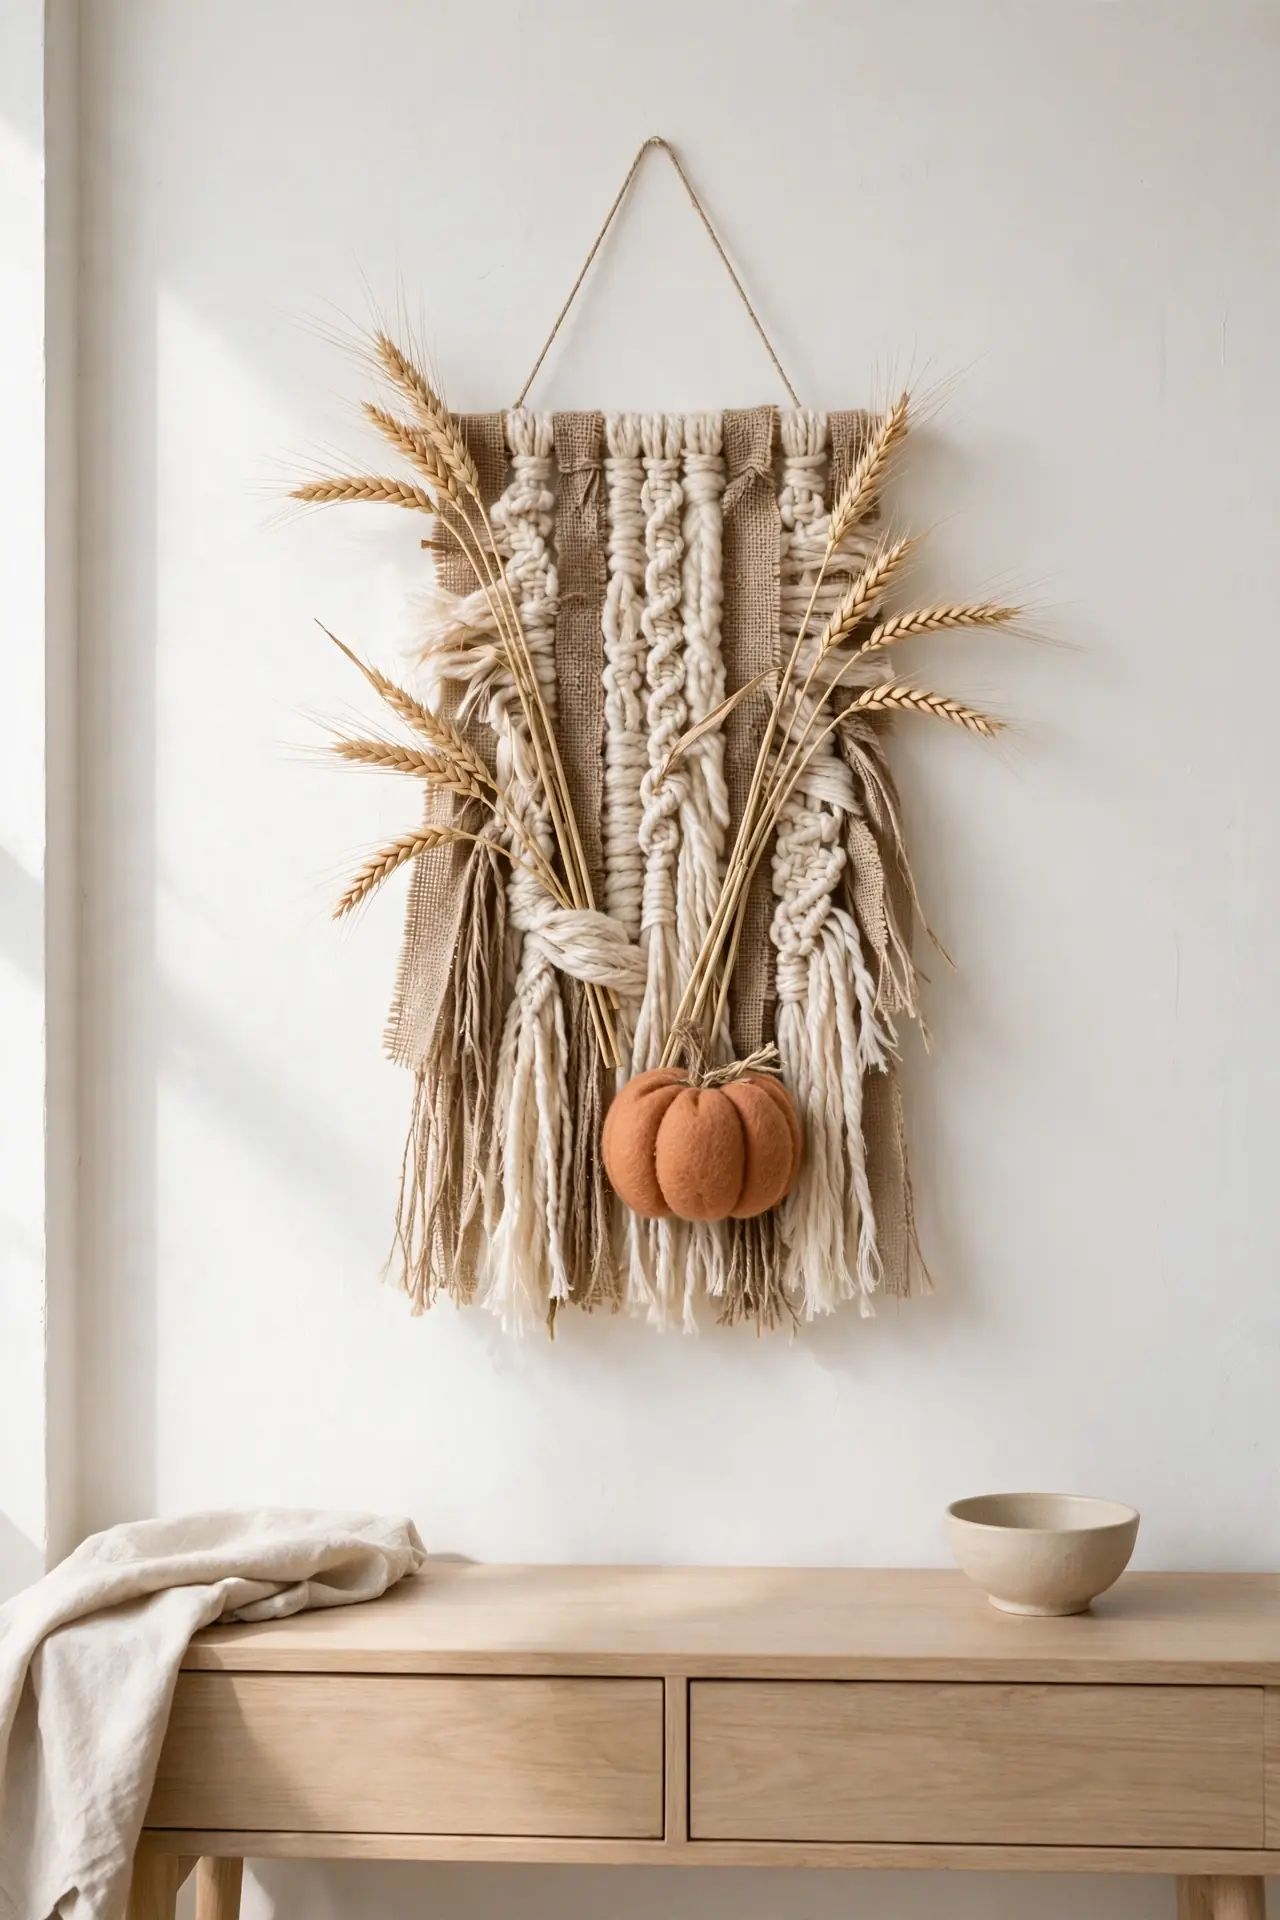
A woven wall hanging brings warmth to bare autumn walls. Basic weaving needs no special loom or training.
- Tie warp threads on a small wooden dowel, spacing them one inch apart.
- Weave in strips of burlap, yarn, and dried wheat stems row by row.
- Add a felt pumpkin or wooden leaf as a focal point near the top.
- Trim the bottom into a V shape and hang with braided twine.
The mix of textures catches the eye from across the room. I hang mine above the entryway console where guests see it first. This project teaches basic weaving without any special loom. Finish one in a weekend, and you will have handmade art worth framing.
Conclusion
These 21 projects prove that autumn decorating feels best when it comes from your own two hands. Pick the craft that speaks to you, gather a few simple supplies, and give yourself a quiet afternoon to create. In my experience, handmade pieces spark more compliments than anything store-bought. Save your favorite ideas on Pinterest, share the finished photos with friends, and try a new project each weekend. These fall crafts for adults turn ordinary October days into a season of creativity. Start with one small project today, and watch how quickly your home fills with warm, personal, beautiful charm.
One Comment