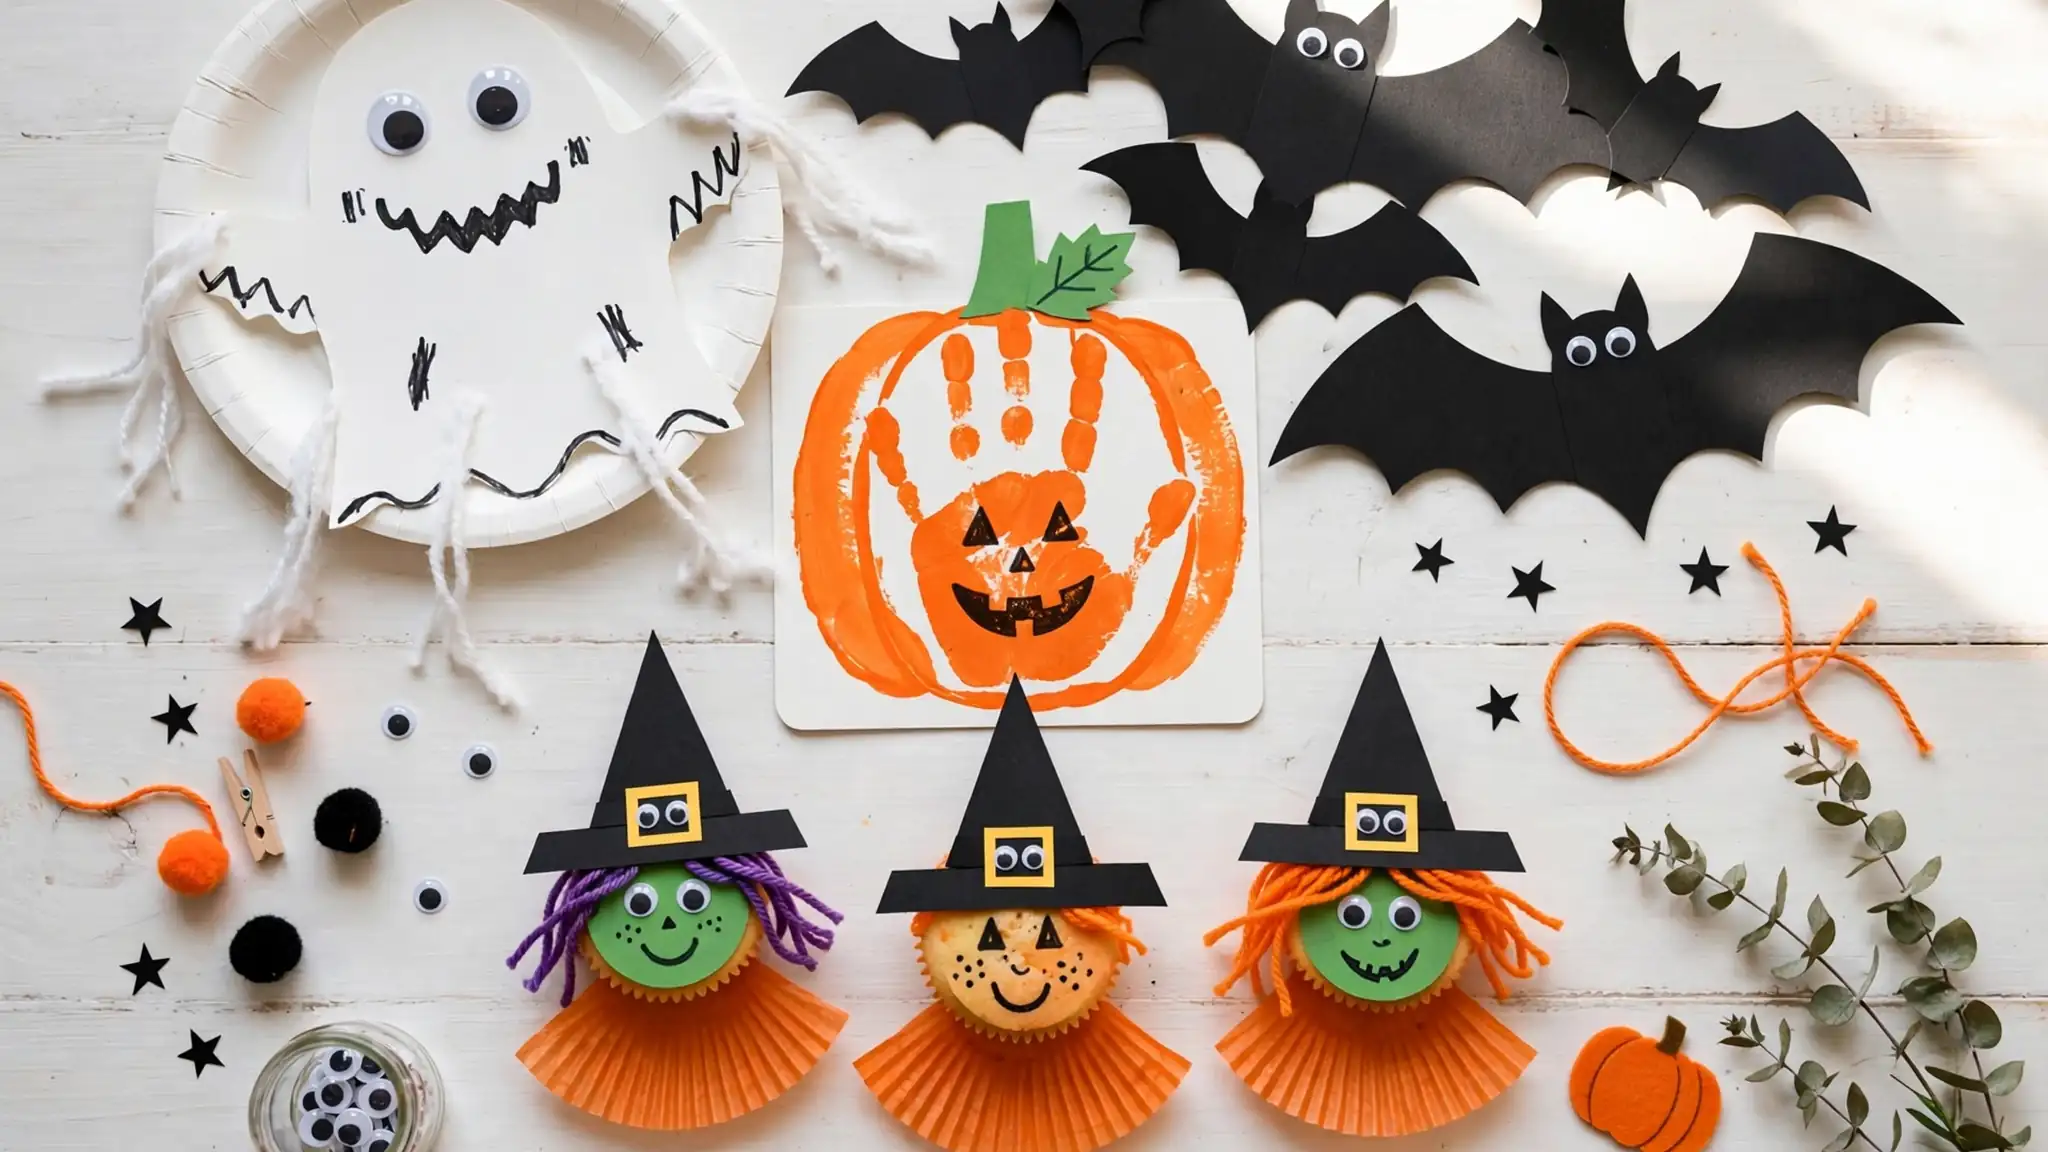
21 Halloween Crafts for Children They’ll Love Making
October brings the perfect excuse to gather around the kitchen table with halloween crafts for children that spark giggles and creativity. Little hands love cutting, gluing, and painting their way through spooky season, and these projects keep them happily busy on crisp autumn afternoons. In my experience, simple crafts with bold colors and silly faces hold young attention spans far better than complicated ones. You need only basic supplies like paper, glue, and paint to make magic happen.
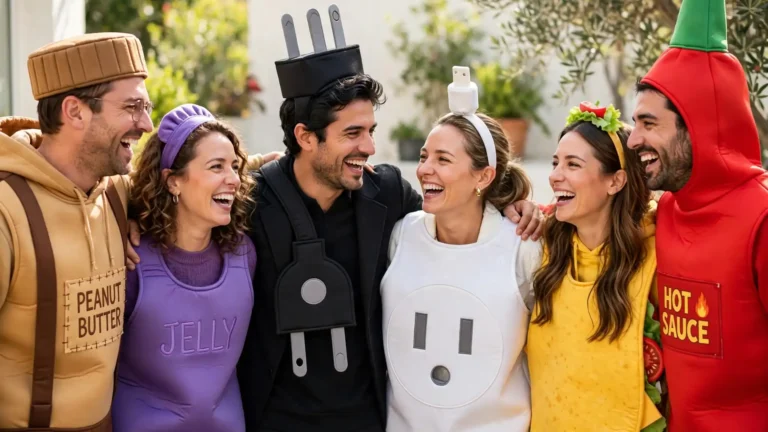
Each idea below uses kid-safe materials and takes under an hour, so you can squeeze a craft into busy school weeks. Pair the fun with a family movie night, and for grown-up giggles check out these funny couple costume ideas for your own Halloween plans. These 21 projects will fill your home with handmade spooky charm all month long.
Paper Plate Ghosts
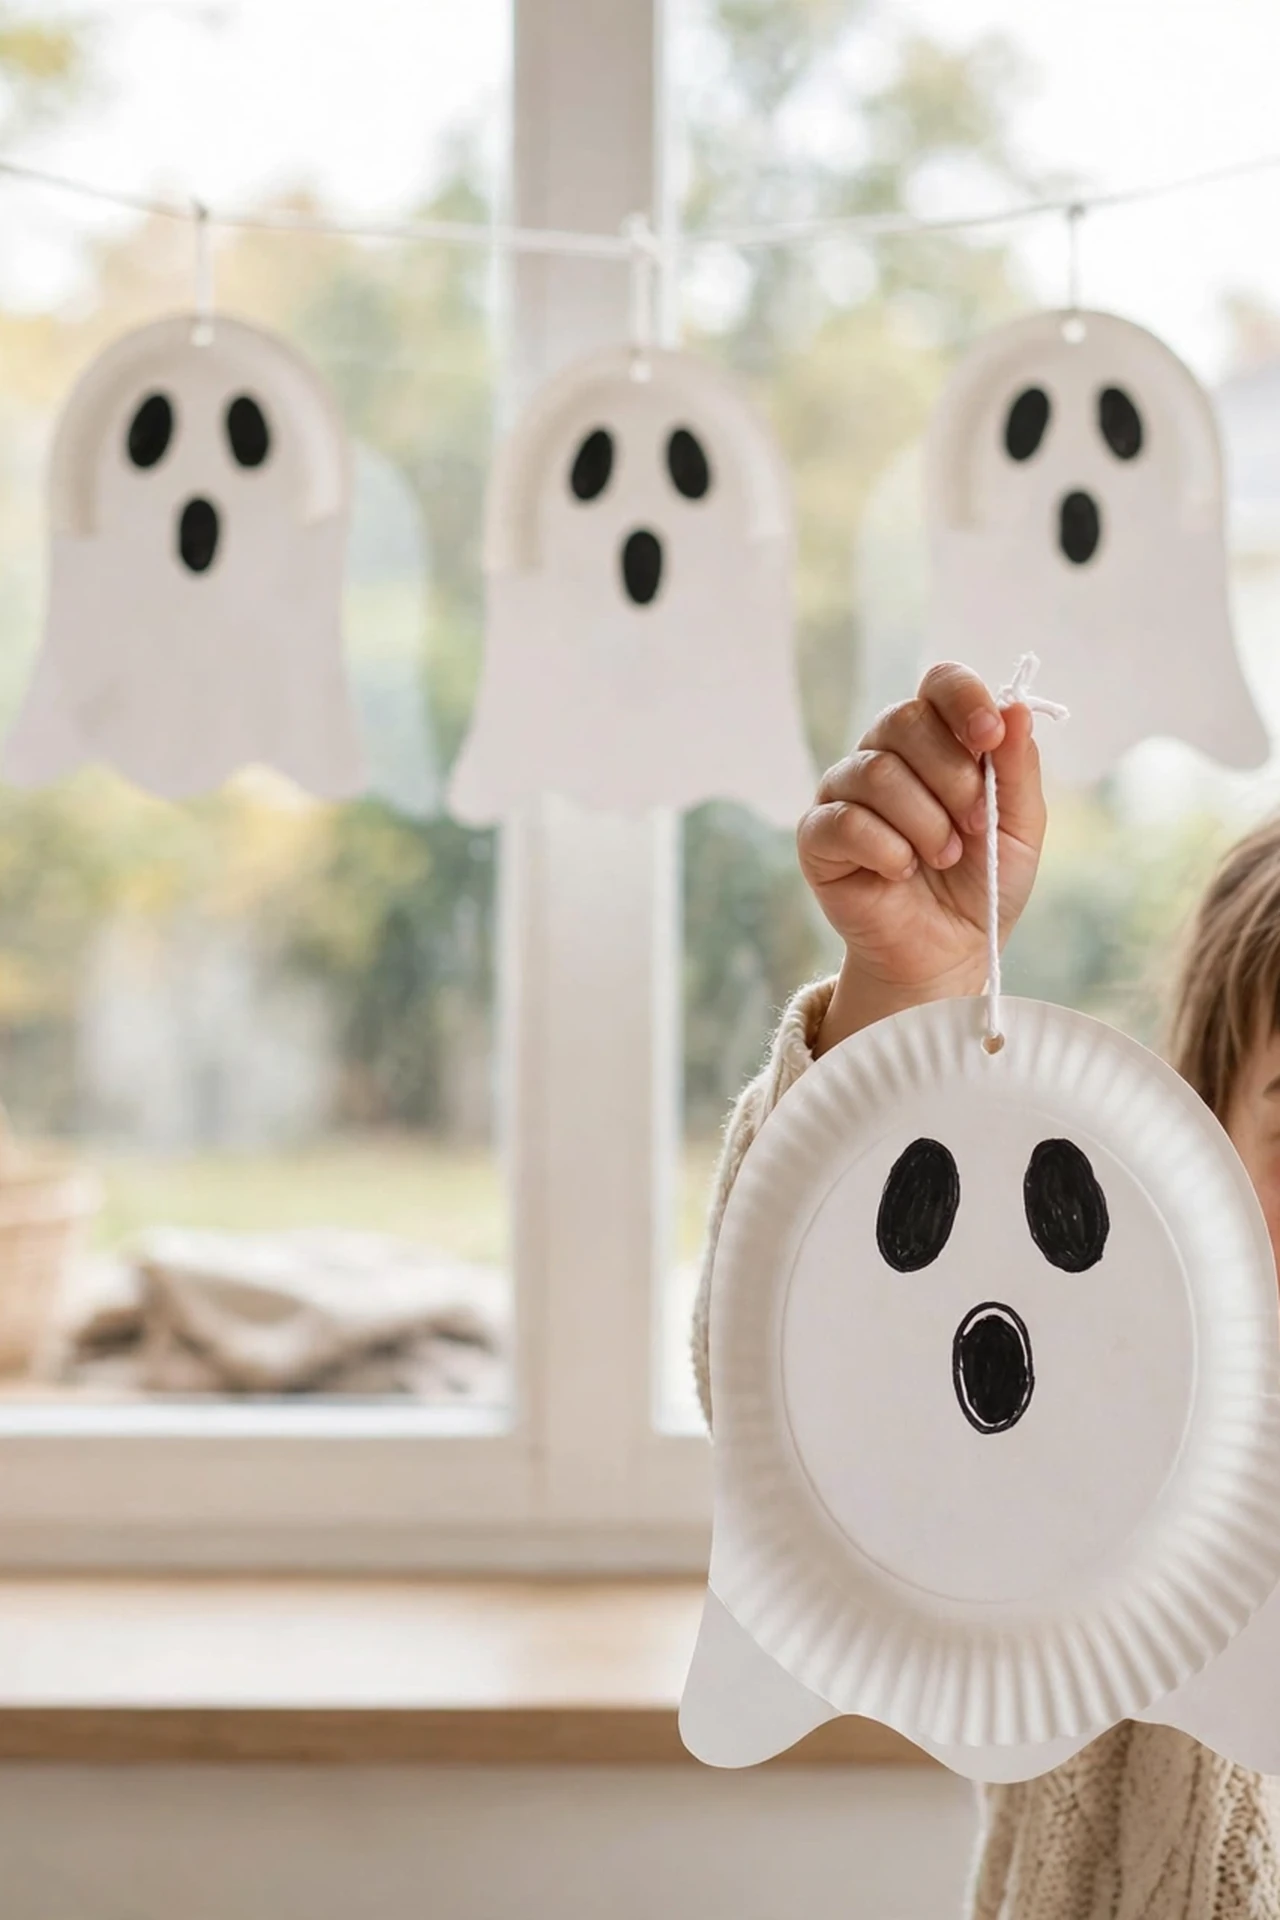
A paper plate becomes the friendliest ghost on the block with just white paint and a black marker. Kids paint the whole plate white, then draw two oval eyes and a round surprised mouth once it dries. The simplicity makes this craft ideal for toddlers, who love the big brush strokes and instant results. Tape a loop of string to the back and the ghost is ready to haunt a window or bedroom door.
Hang several ghosts at different heights to create a floating parade down your hallway. I’ve noticed that kids take extra pride in crafts they can display, so let them choose the hanging spots. Add cotton ball cheeks or glitter for extra personality if time allows.
Pumpkin Handprint Art
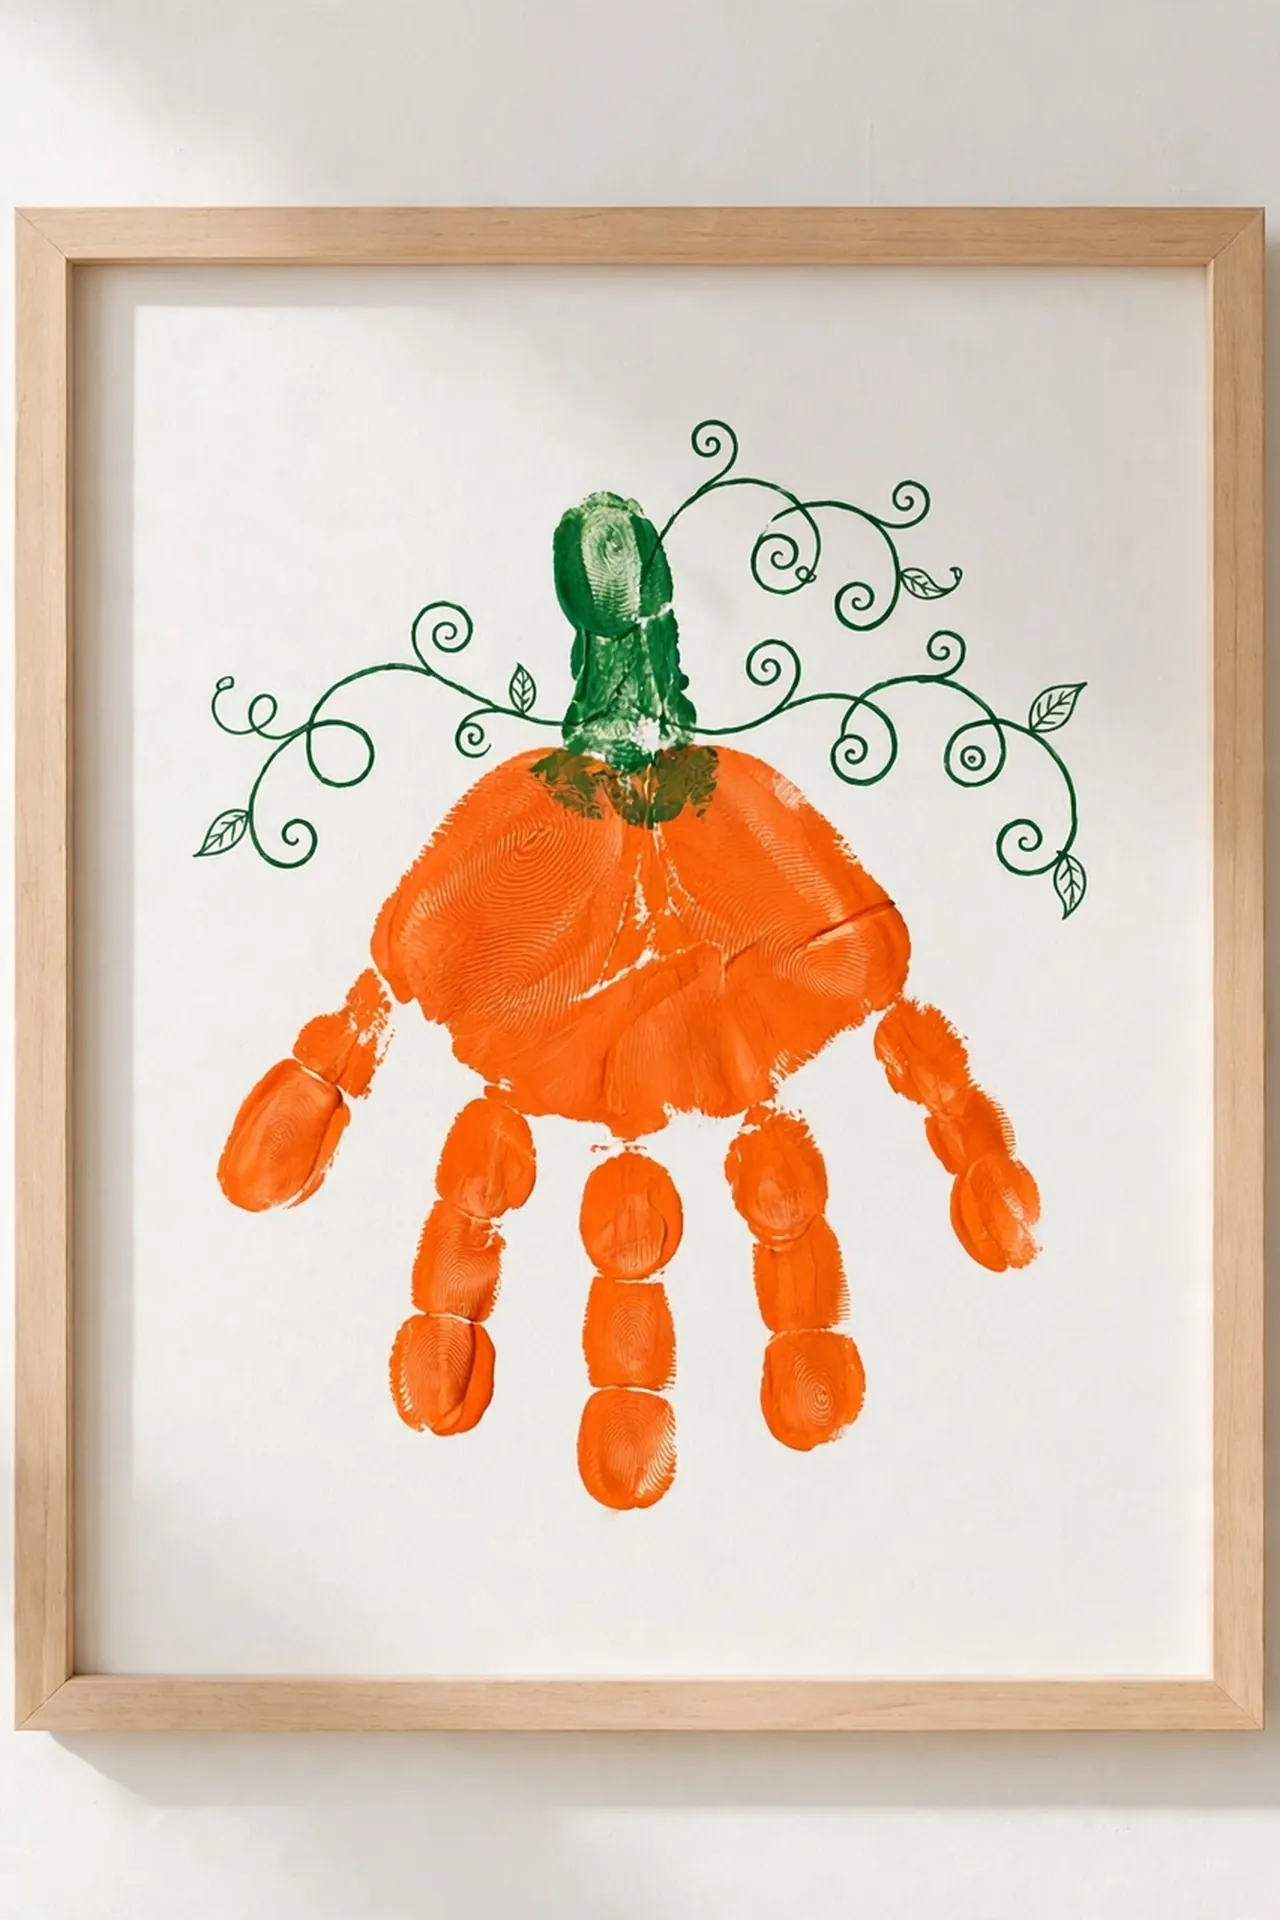
Tiny handprints make the sweetest pumpkins you will ever hang on the fridge.
- Paint your child’s palm orange and press it firmly onto white cardstock.
- Add a green thumbprint stem at the top of each orange handprint.
- Draw a curly vine and leaf with a green marker beside the stem.
- Write the child’s name and the year on the back as a keepsake.
- Frame several together to build a festive fall gallery wall.
This keepsake captures how small those hands once were, which makes grandparents melt every single time. The paint washes off skin with warm soapy water in seconds. Make one each October and watch the little handprints grow bigger year after year.
Toilet Roll Bats
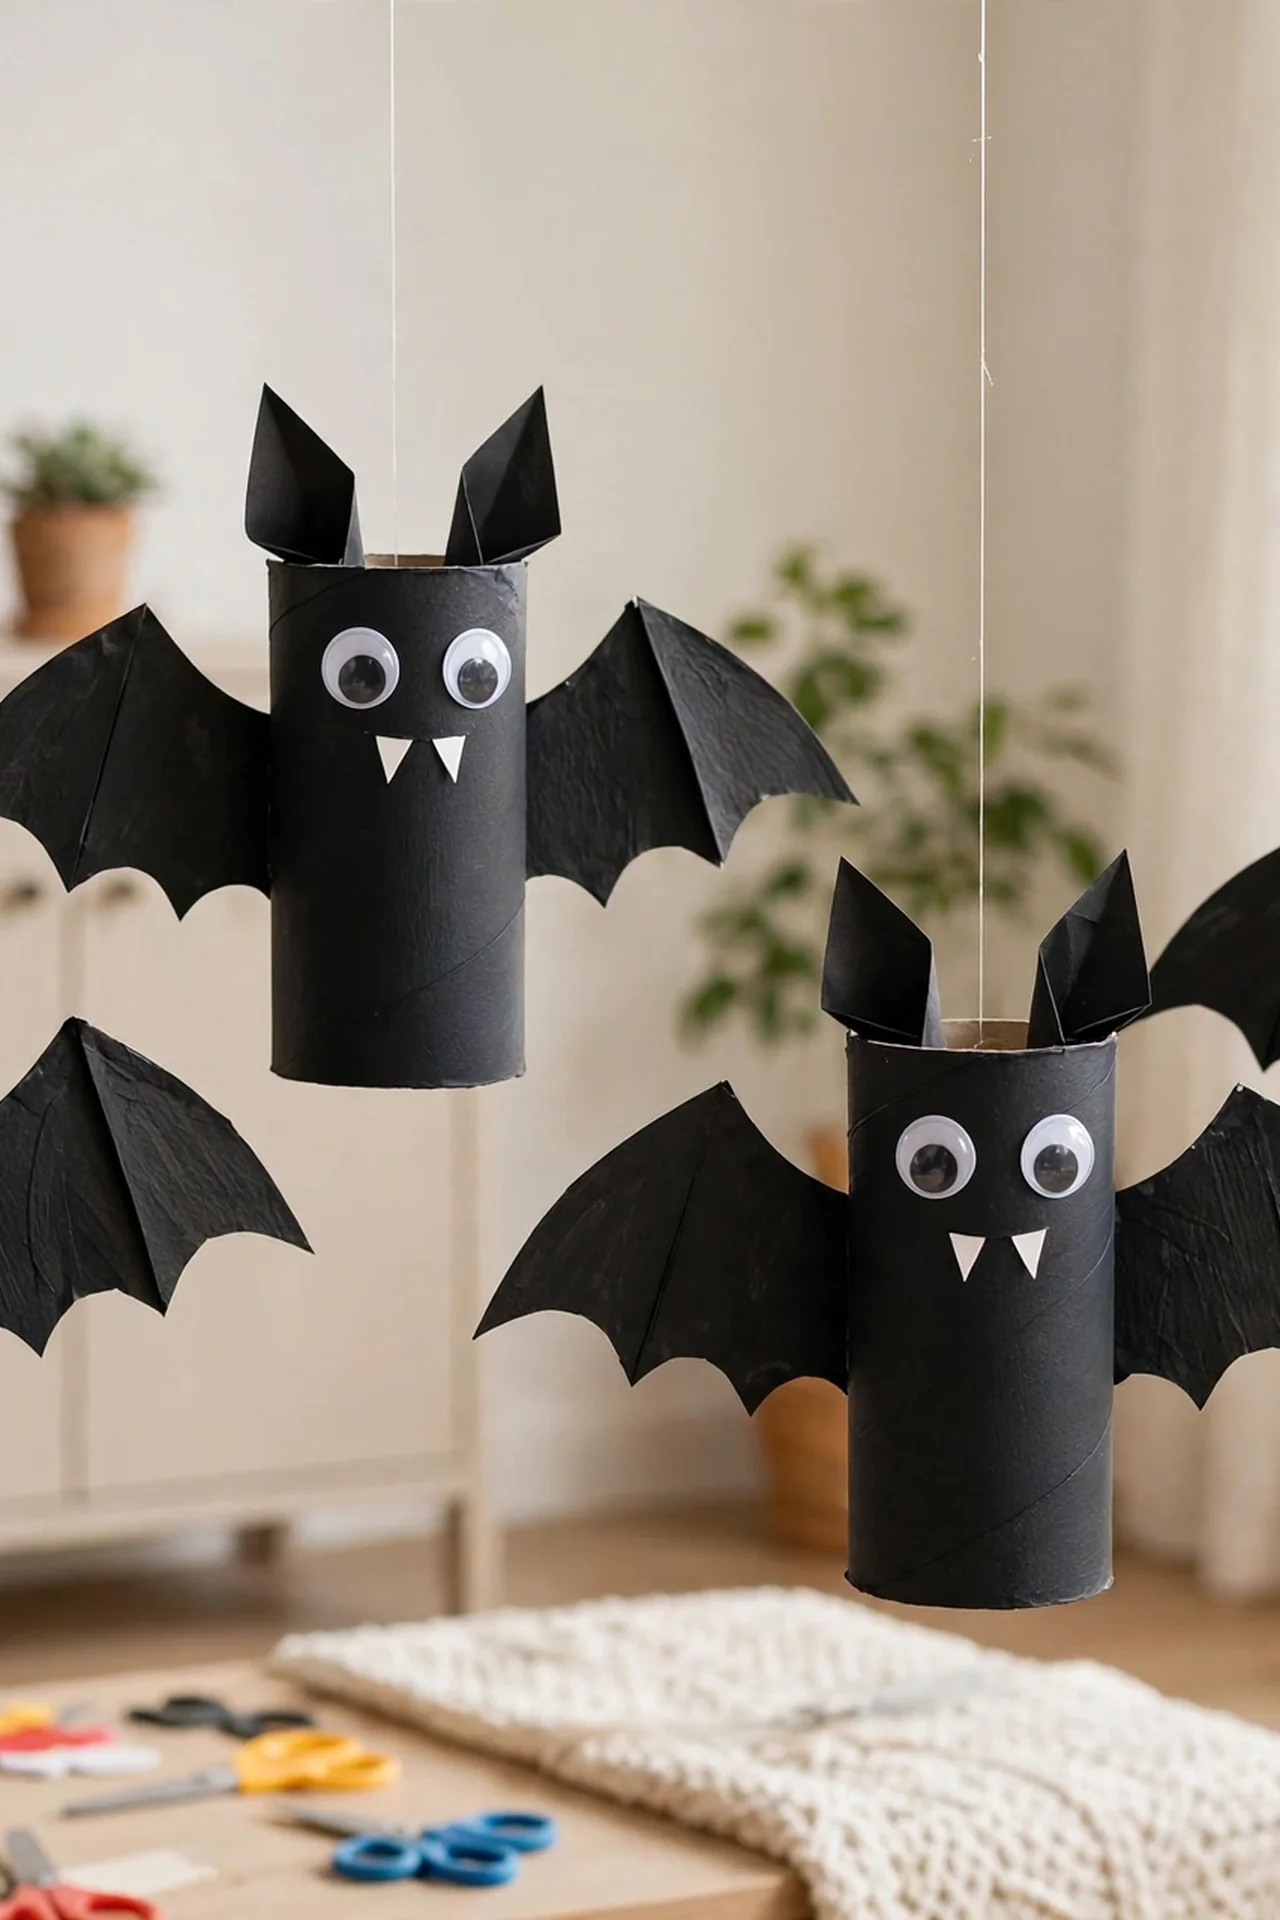
Quick Tip: Fold the top of an empty toilet paper roll inward on both sides to form pointed bat ears, then paint the whole roll black. Cut simple wing shapes from black construction paper and glue one to each side. Stick on googly eyes and draw tiny white fangs with a paint pen for a friendly vampire grin.
String a whole colony across the living room ceiling and they look like they are flying at night. Kids love choosing the exact spot where each bat should swoop and dive. I’ve seen this work well in many classrooms too, since the supplies cost almost nothing. Save paper rolls for one week and you will have enough for a full swarm.
Cupcake Liner Witches
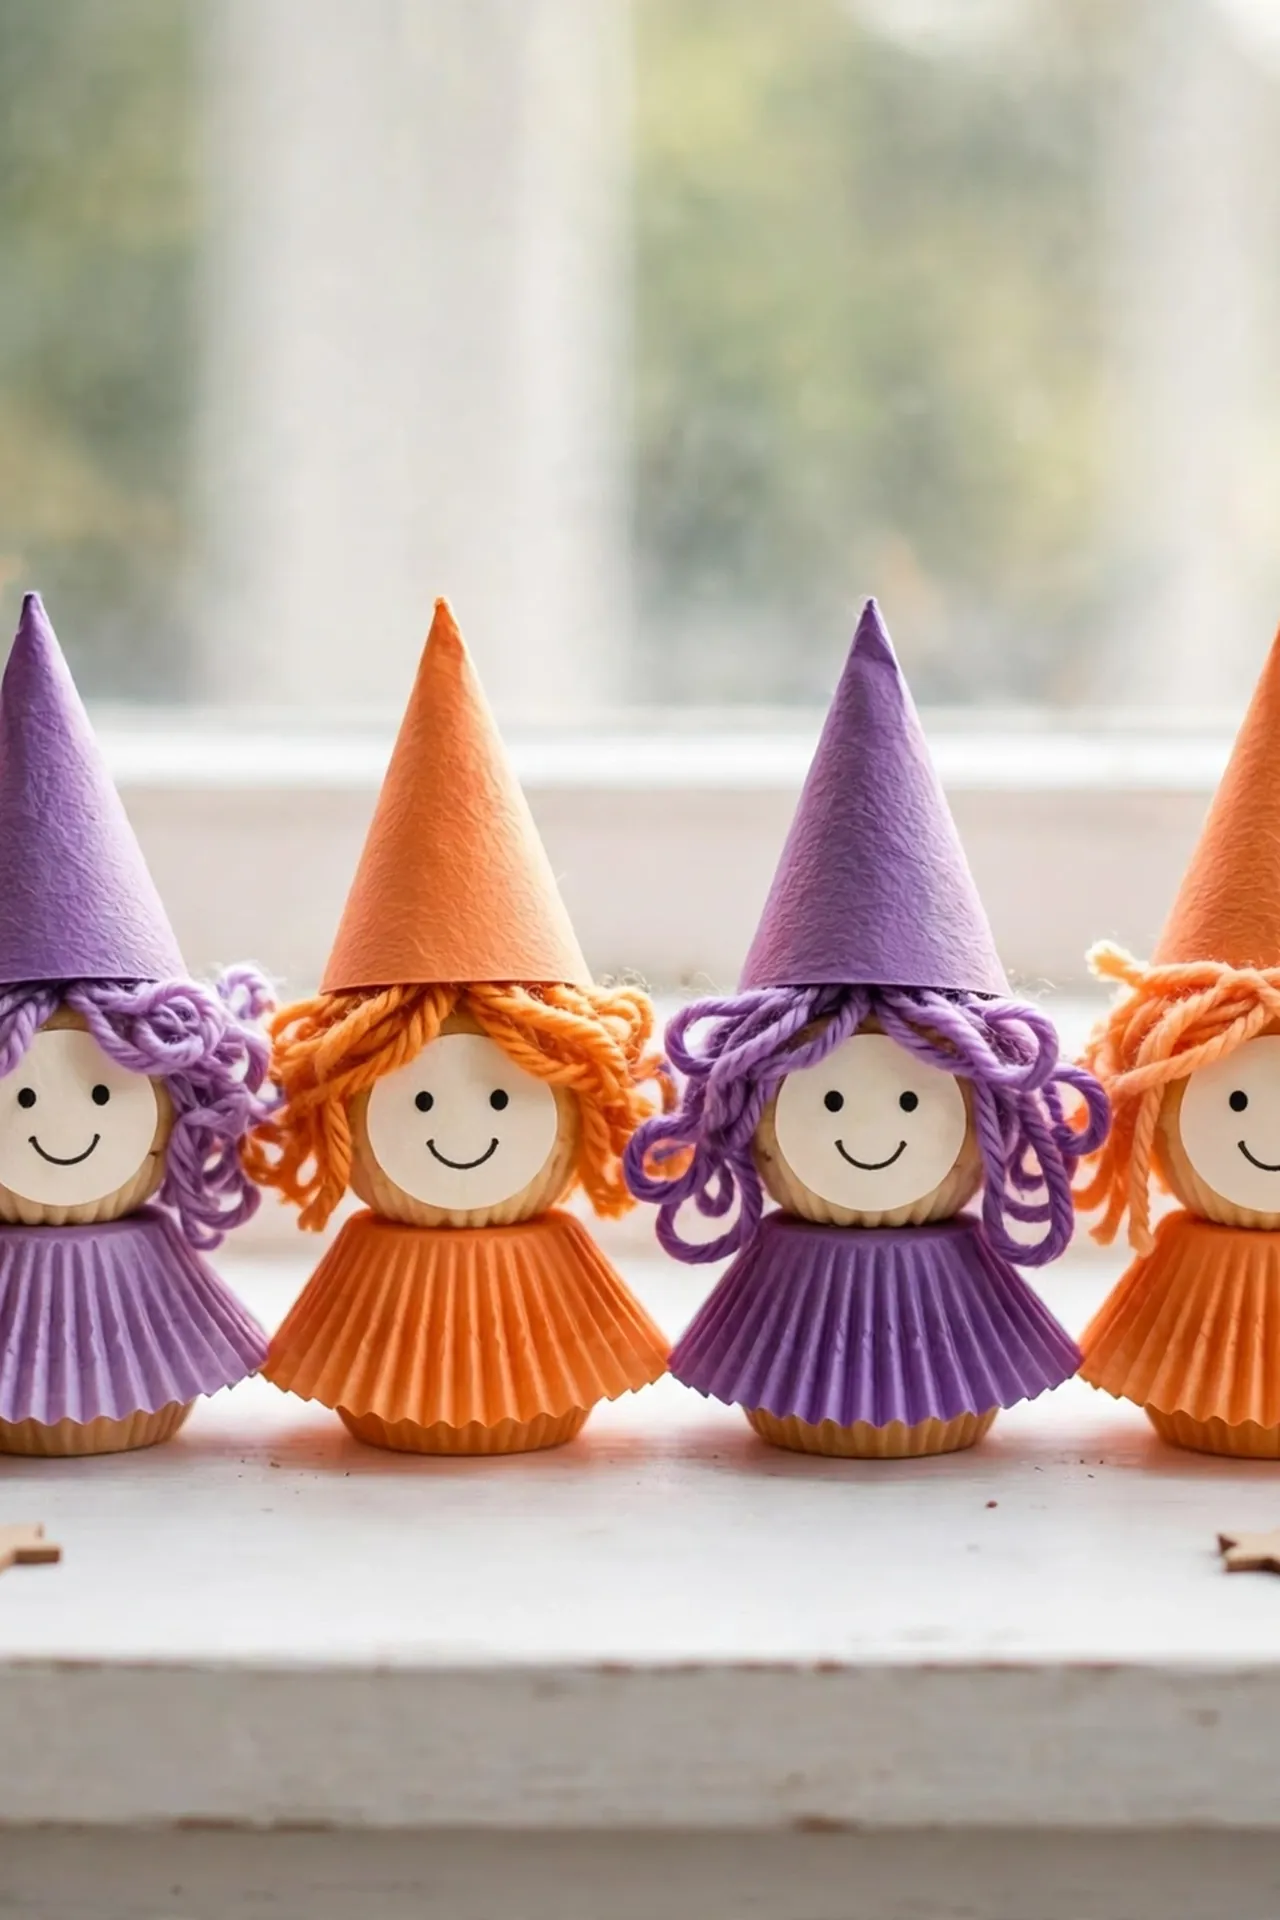
BEFORE: Plain cupcake liners sit forgotten in the baking drawer, too flimsy for any real use. They look like nothing more than crinkled paper waiting for a purpose.
AFTER: Flattened and painted, those same liners become twirly witch skirts for the cutest little witches. Add a paper cone hat, a circle face, and yarn hair, and you have a coven ready for the mantel.
Kids giggle the whole time they assemble these witches, especially when choosing wild yarn colors for hair. Line up the finished coven along a windowsill where the light catches their pointy hats. Each witch takes about fifteen minutes, so making a whole group feels easy and fun.
Egg Carton Spiders
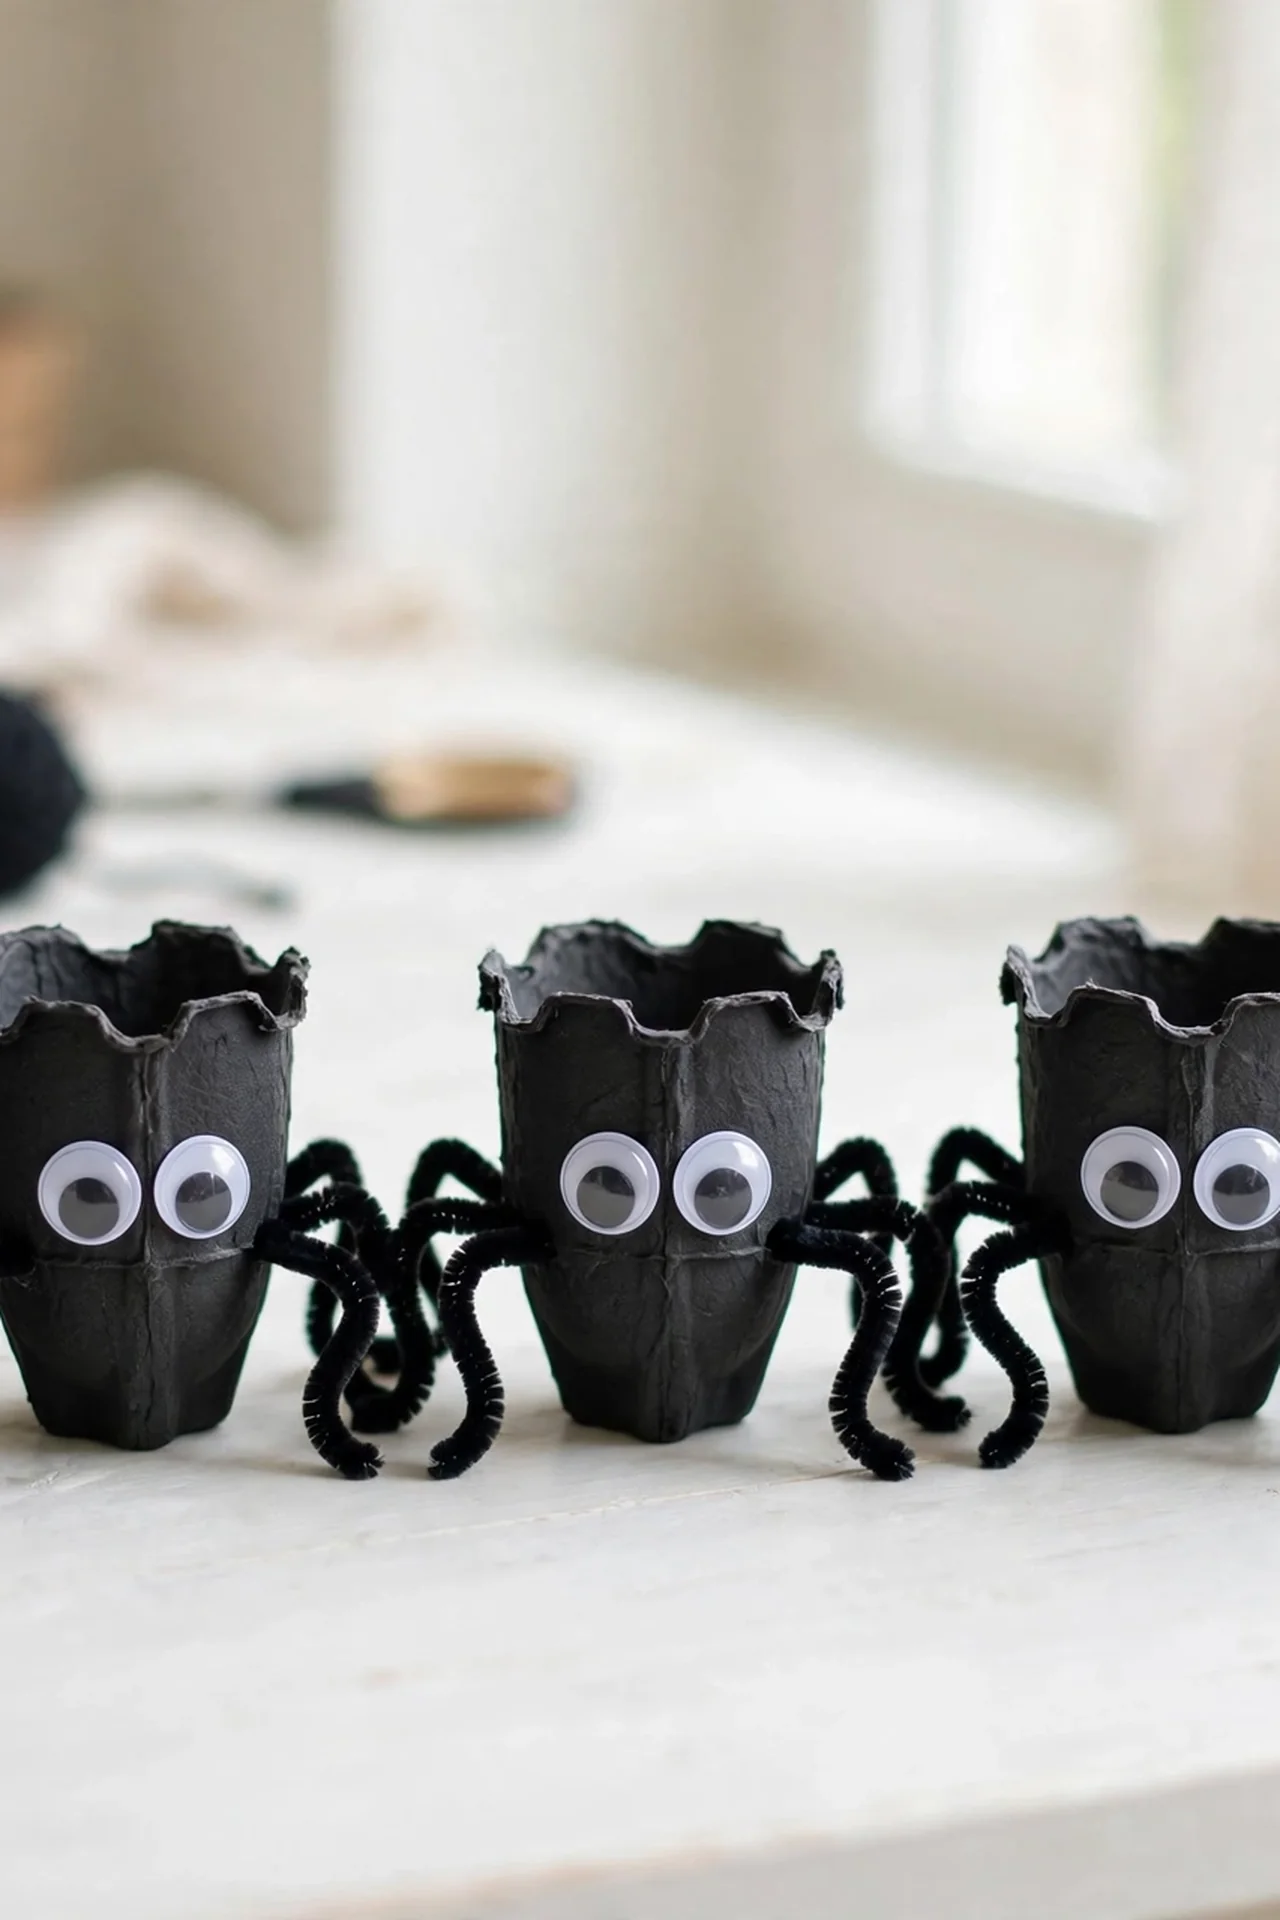
An empty egg carton hides a whole family of creepy crawly spiders.
- Cut one cup from the carton and paint it black or purple.
- Poke four pipe cleaners through each side for eight wiggly legs.
- Glue on two big googly eyes and a tiny red smile.
- Bend the pipe cleaner legs so the spider can stand upright.
Kids love racing their spiders across the table once the legs are bent just right. The pipe cleaner legs make each spider poseable, so no two look alike. Set up a spider parade on the porch railing for trick-or-treaters to admire. This craft recycles beautifully, turning breakfast trash into Halloween treasure.
Handprint Spider Webs
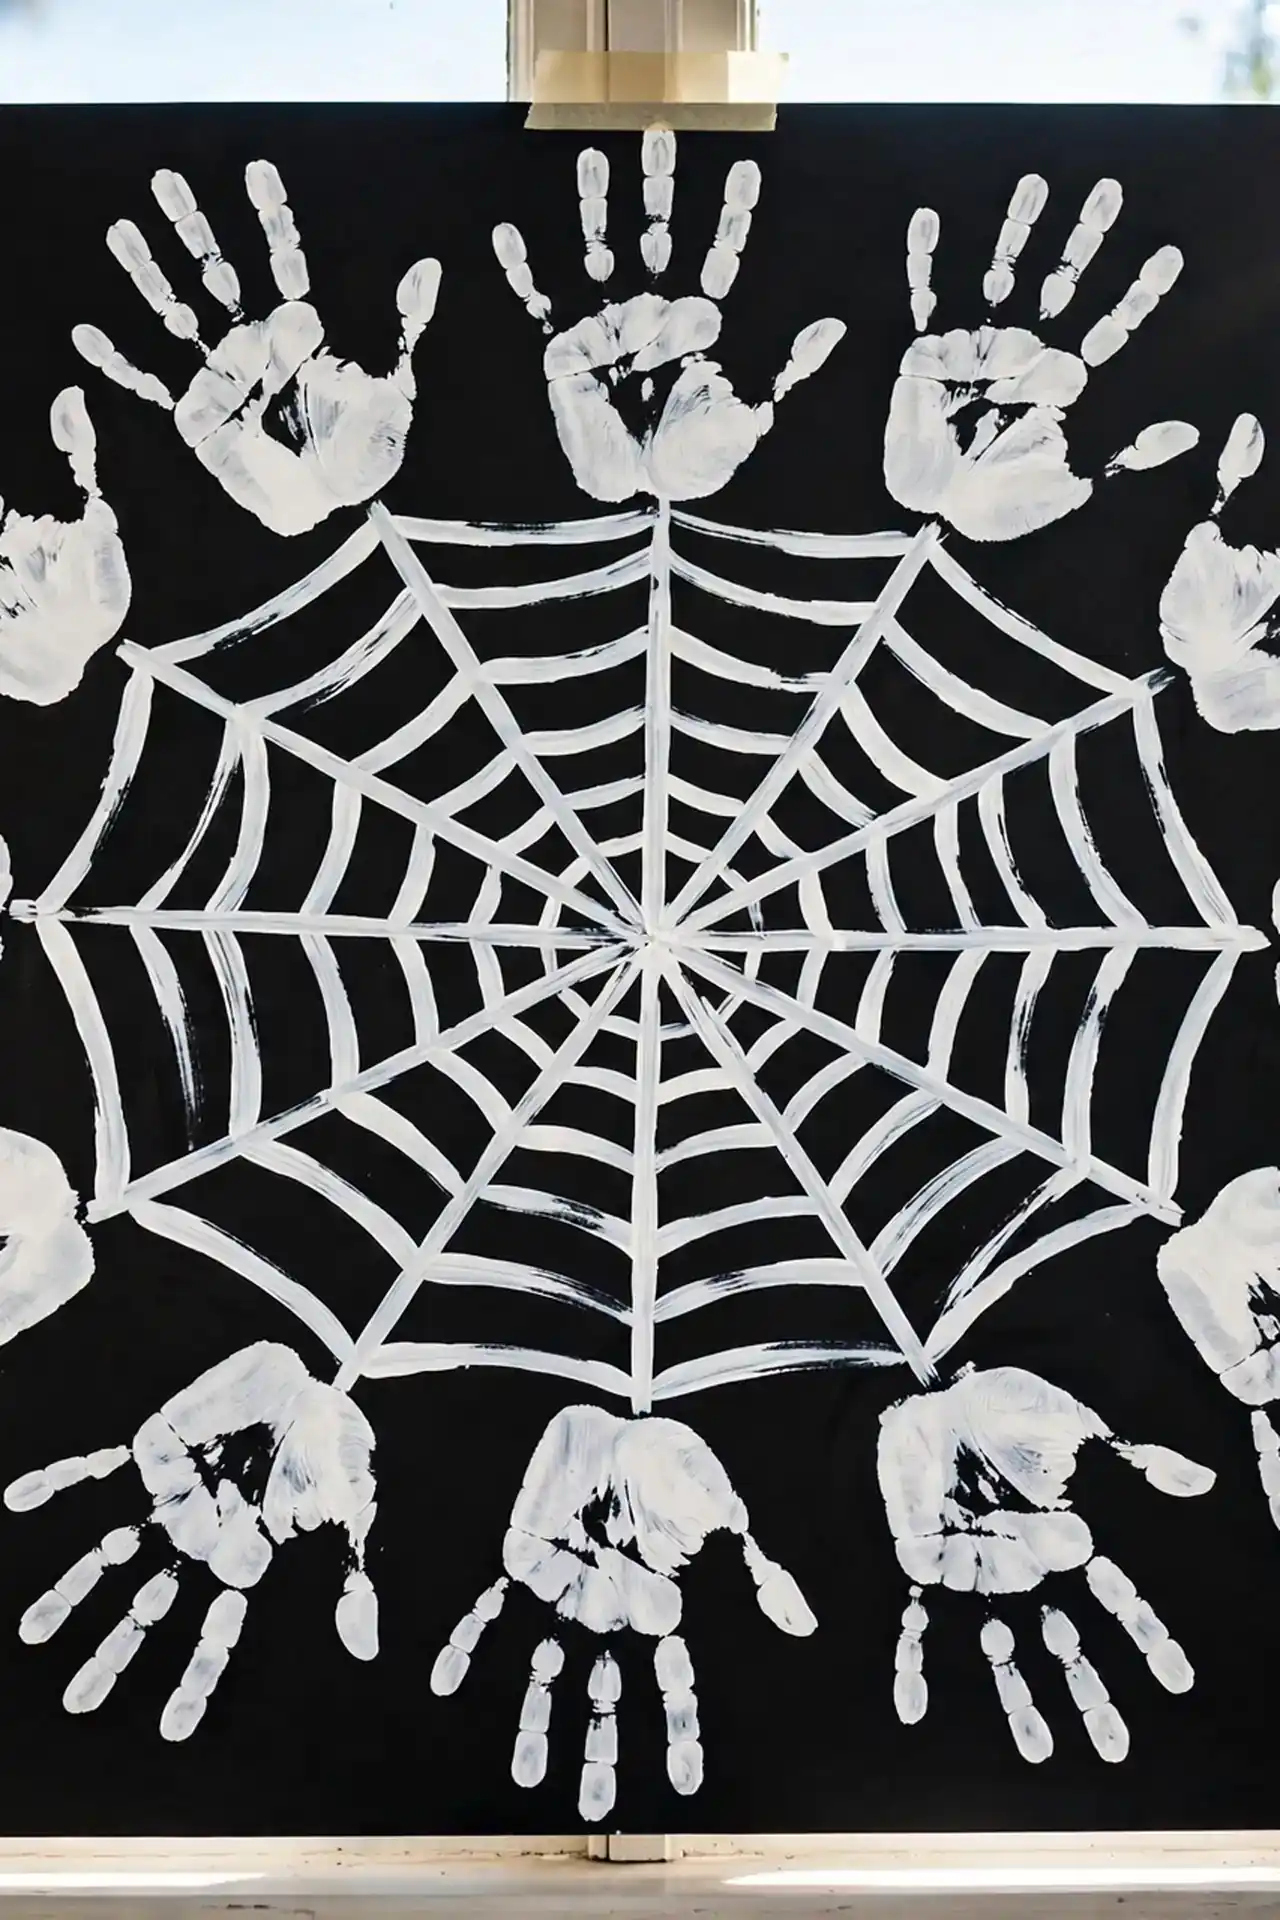
White handprints on black paper create a spider web that glows like moonlight.
| Painted Handprint Web | Drawn Web |
| Uses real handprints for a personal touch | Quick to sketch with a white crayon |
| Messy and memorable sensory fun | Clean and simple for young toddlers |
| Doubles as a keepsake grandparents love | Better for classrooms with many kids |
Spread the black paper on a covered table and let each child add one handprint ring around the center. The overlapping prints build a web pattern that looks surprisingly artistic. Hang the finished web in a window where daylight makes the white paint pop beautifully.
Popsicle Stick Mummies
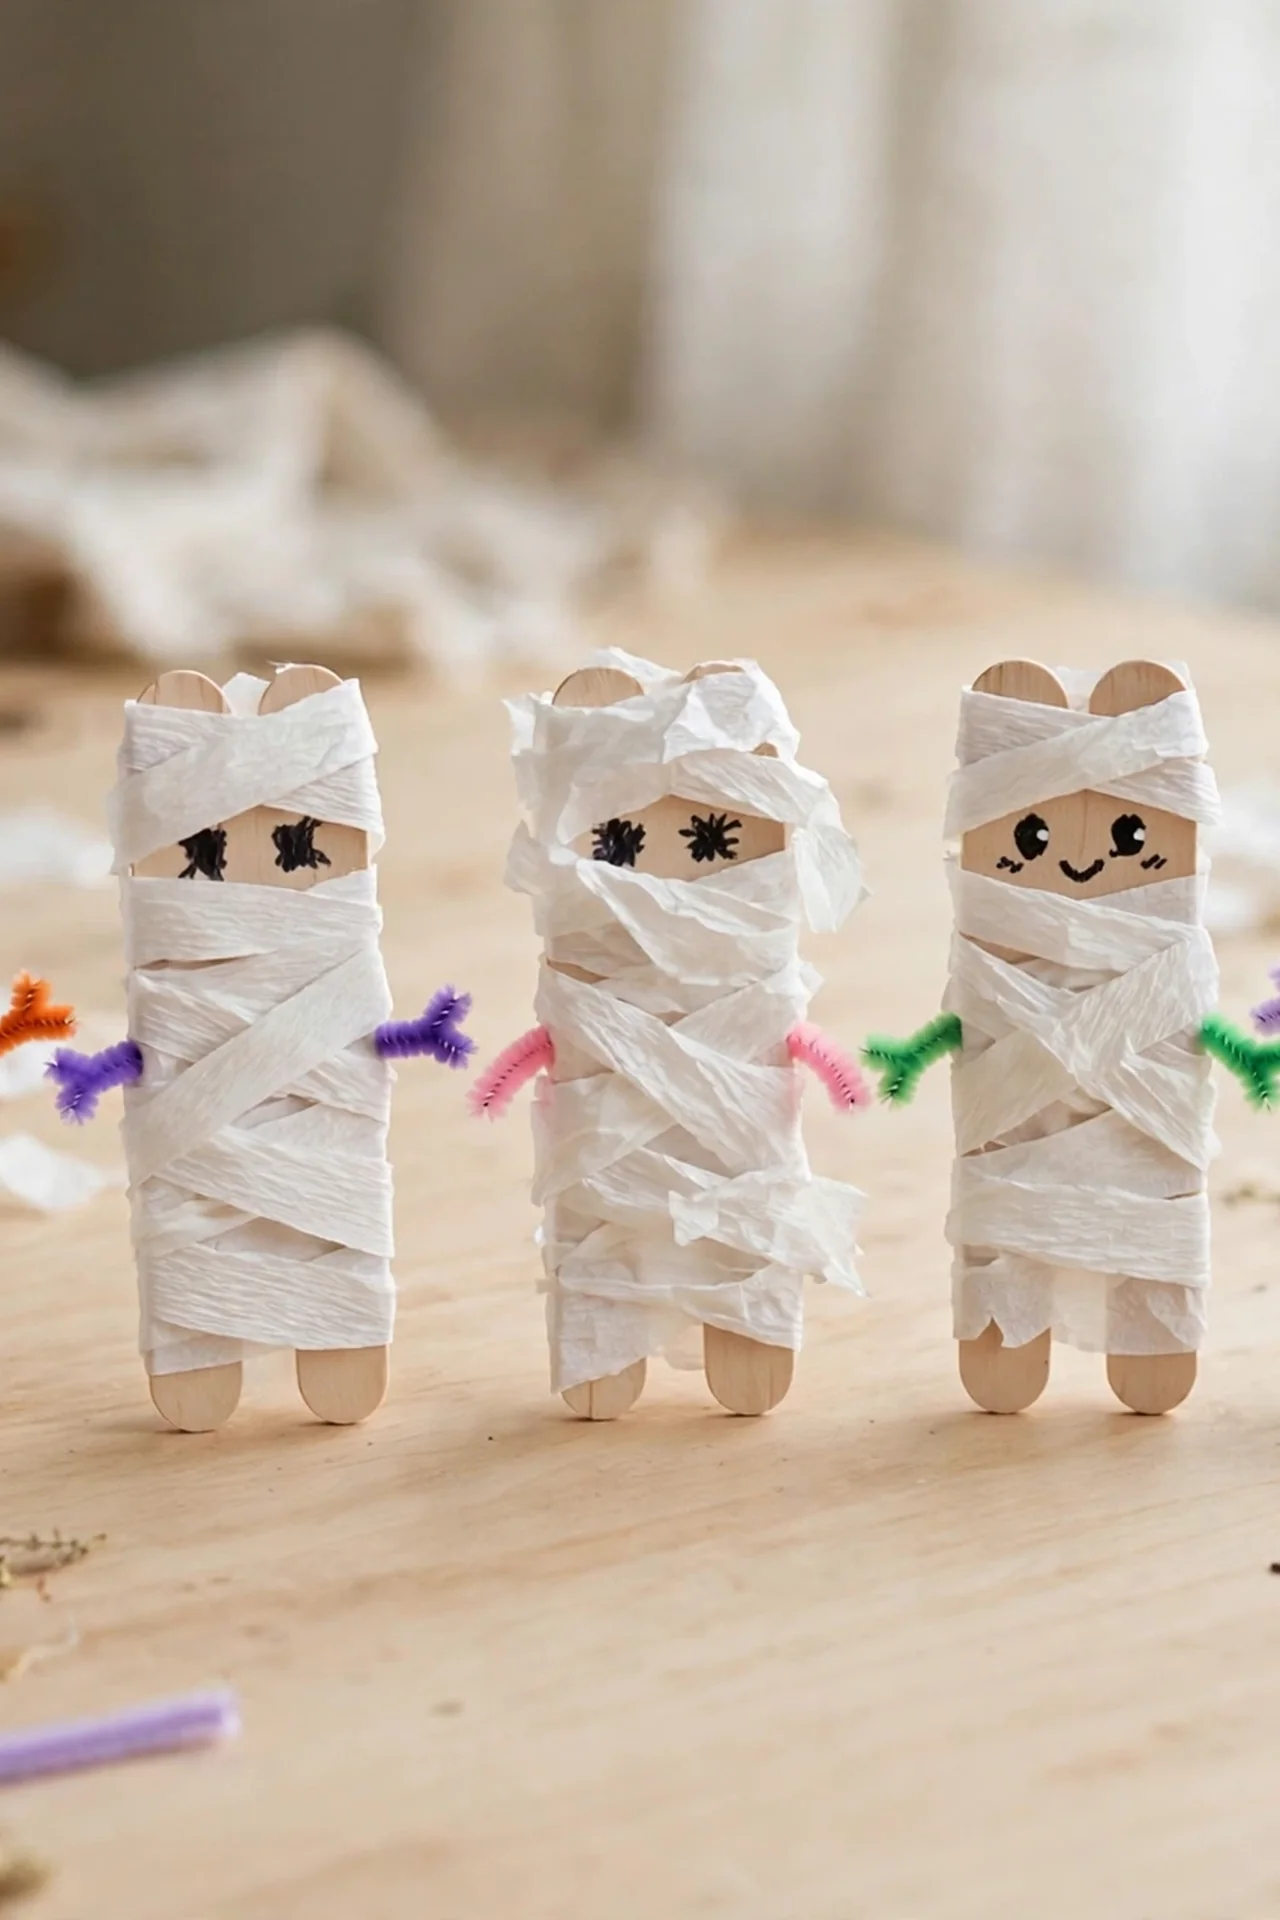
DO: Wrap the craft stick with white crepe paper strips, leaving a small gap for the face. Dab glue at the start and end of each strip so the wrapping stays put. Draw two simple eyes on the exposed wood with a black marker. Add tiny arms with short white pipe cleaners for extra charm.
DON’T: Wrap the paper too tightly or it will tear and bunch up. Use hot glue without an adult handling that step. Skip the face gap or your mummy will look like a plain white stick.
These little mummies stand on their own, which makes them perfect for shelf and mantel displays. Kids love unwrapping the strips like tiny archaeologists. Make a whole mummy family in different sizes for the cutest spooky scene.
Candy Corn Garland
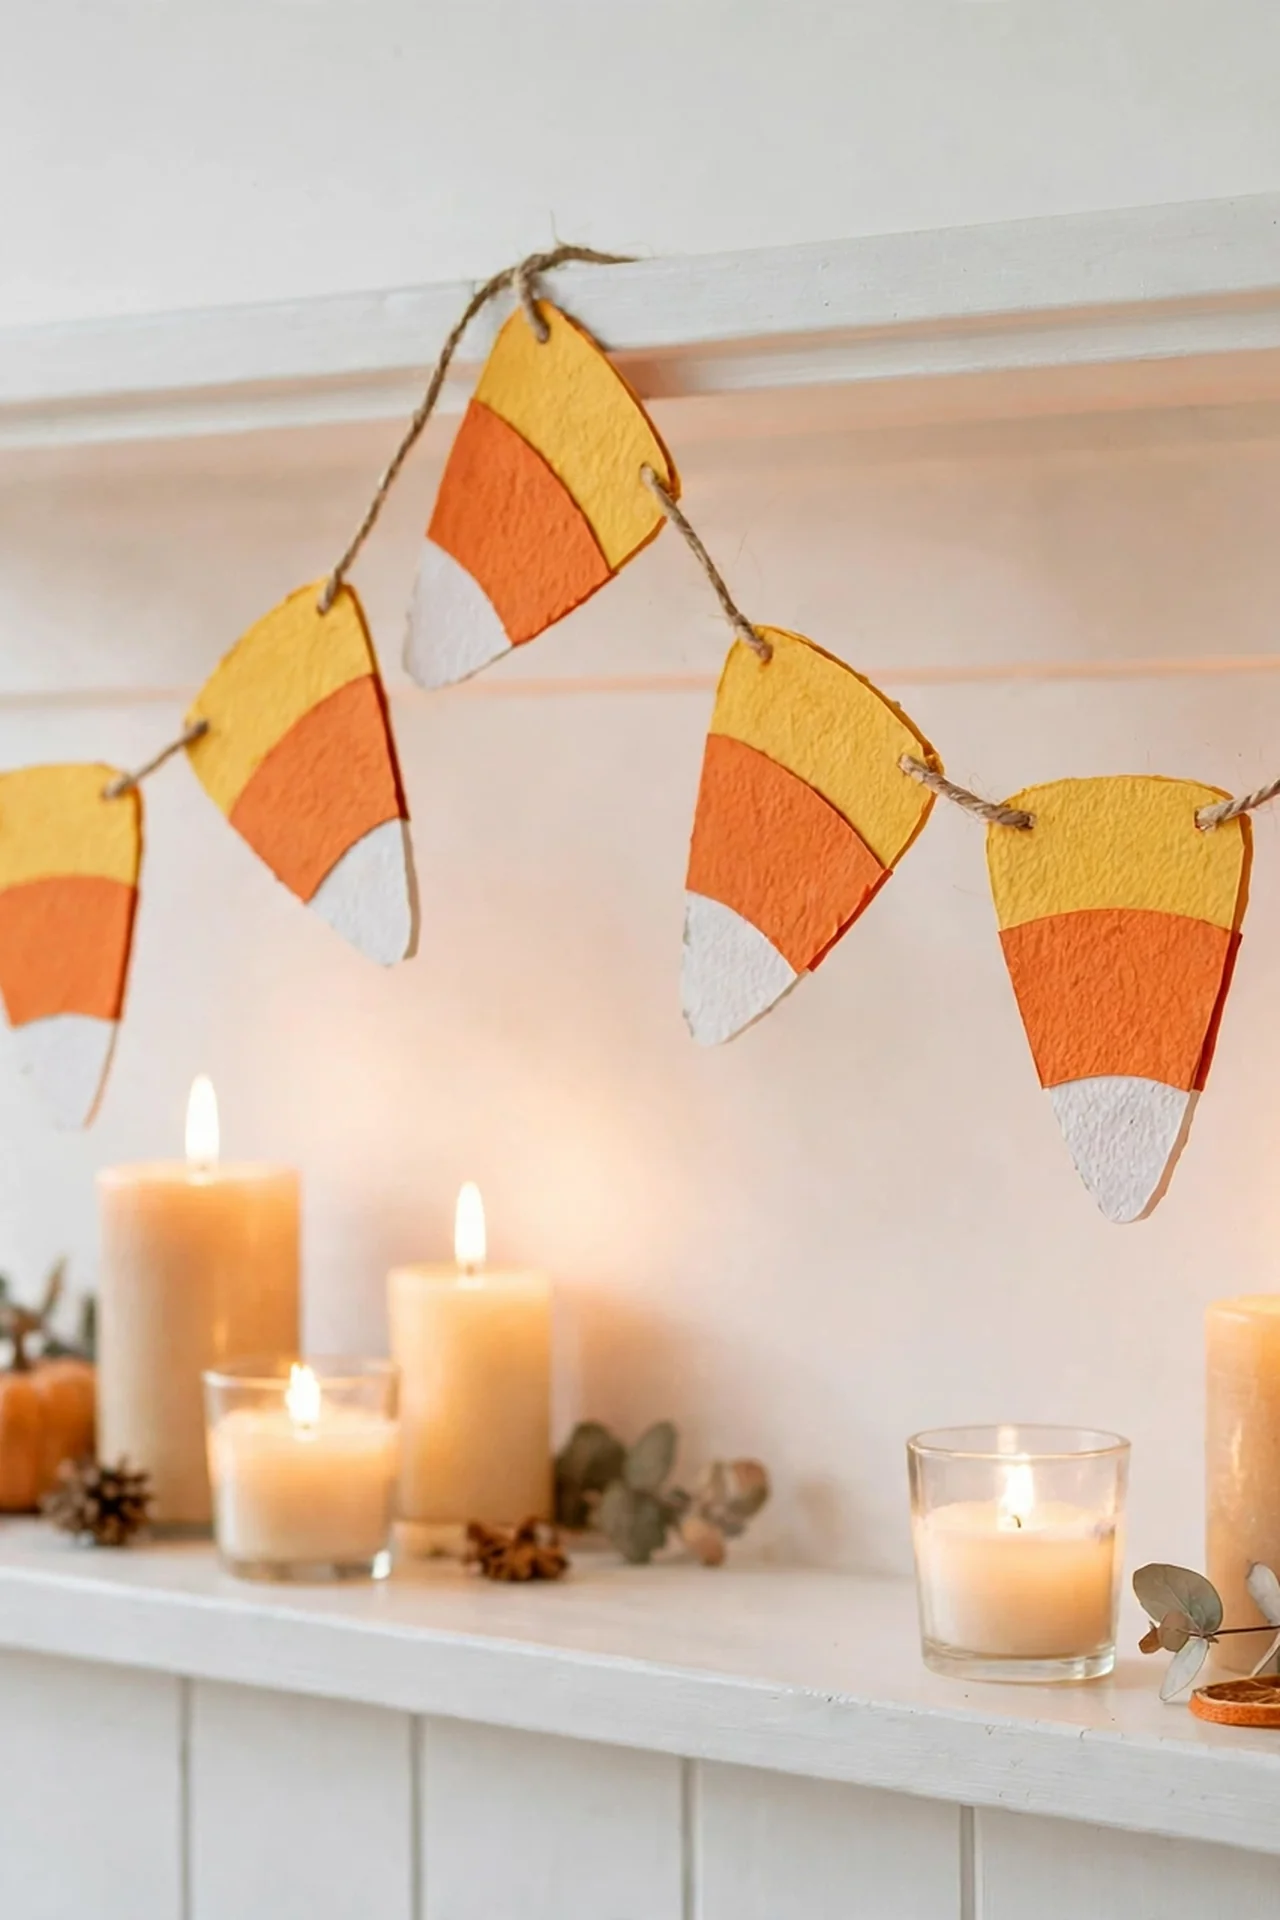
Cost: Very low | Time: 30 minutes | Skill Level: Beginner | Best For: Mantels and doorways
Candy corn shapes are the easiest festive cutouts kids can master with safety scissors. Cut triangles from orange, yellow, and white paper, then layer the colors to mimic the classic candy. String the finished pieces on twine with small gaps between each one. Drape the garland across a mantel, doorway, or bedroom mirror for instant October cheer. This sweet decoration looks good enough to eat and costs almost nothing to make. Kids beam with pride every time they spot their handmade garland hanging up.
Witch Hat Cones
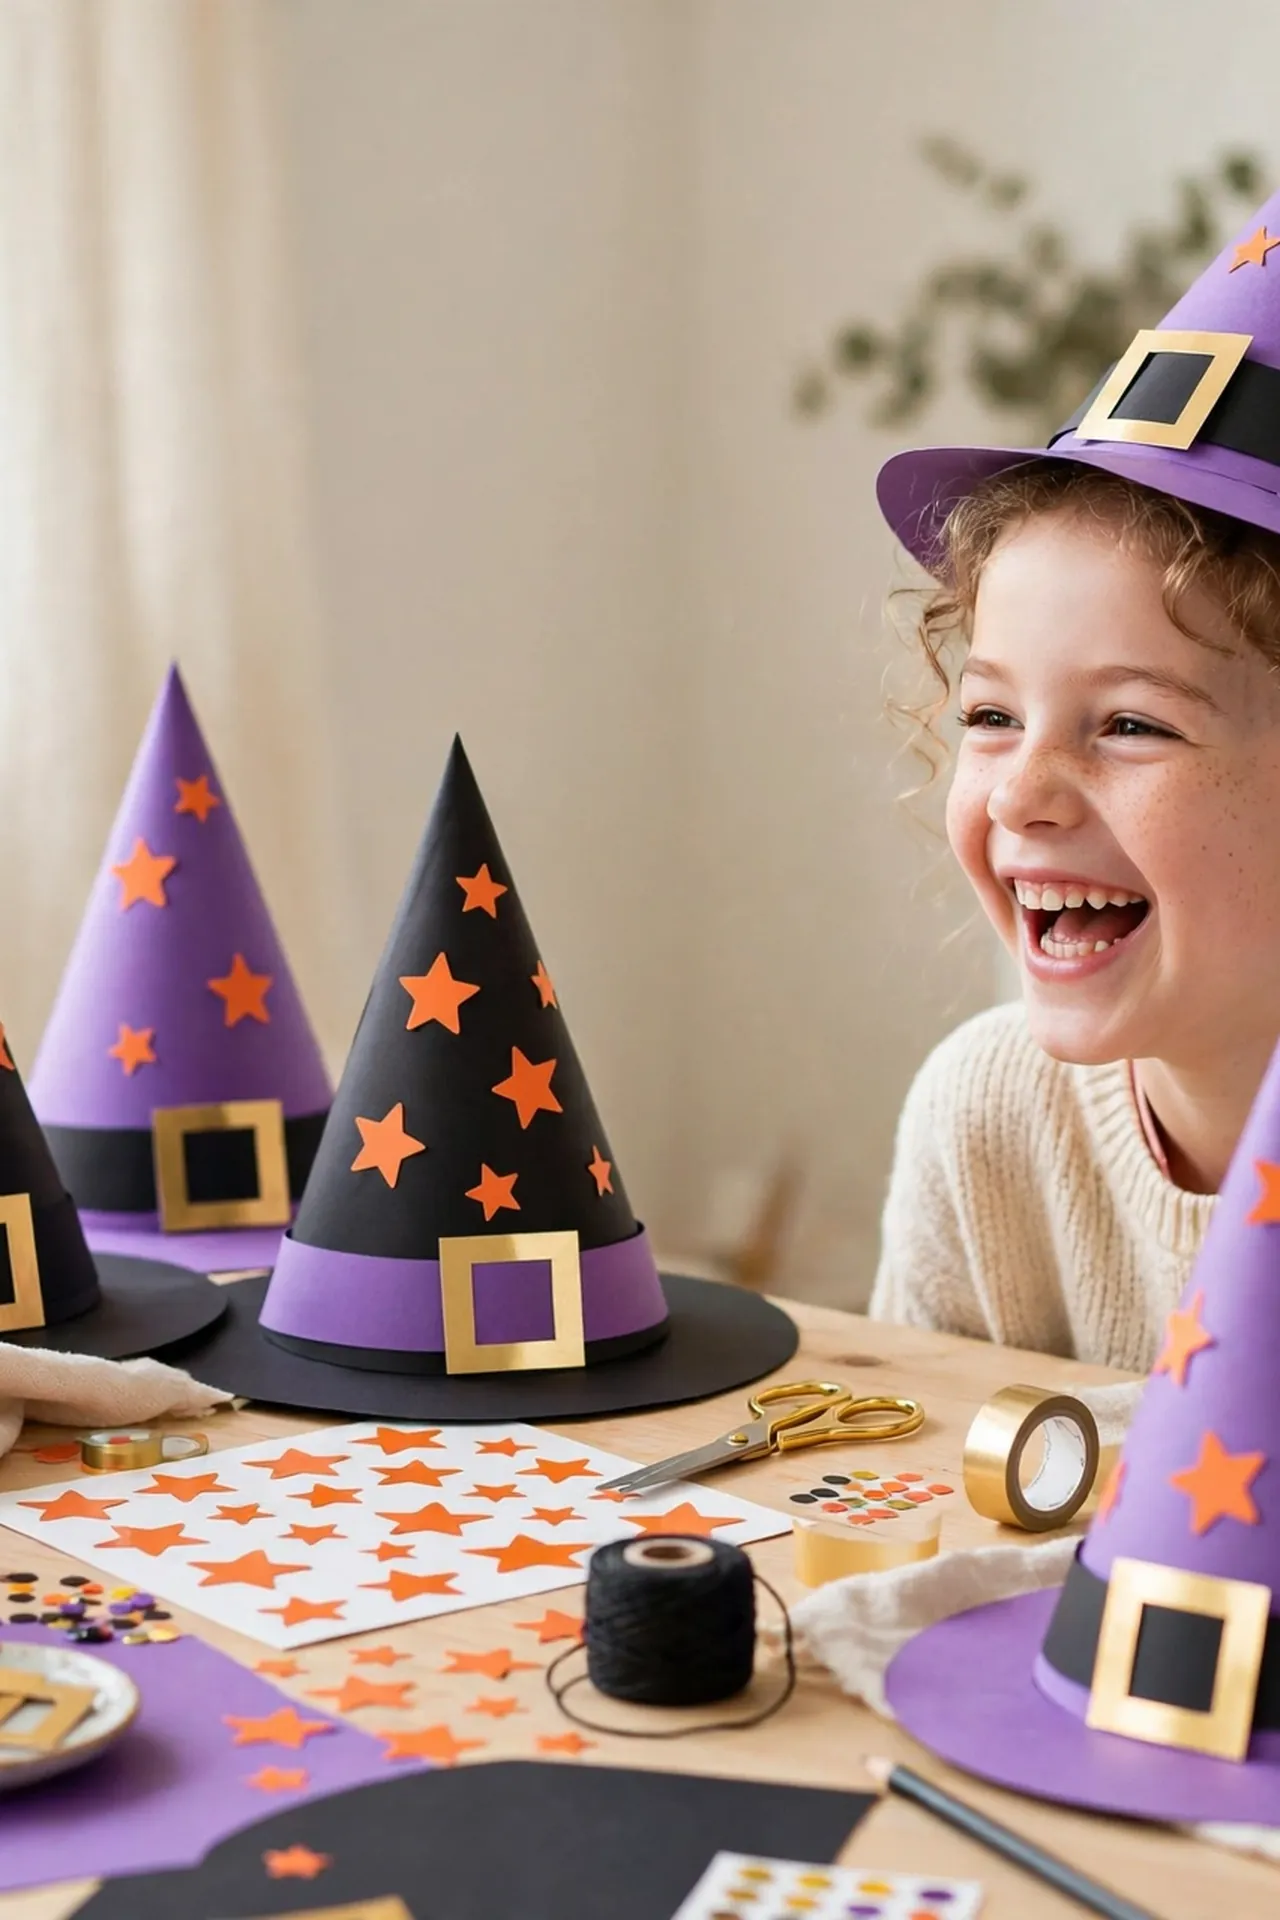
Rolling a simple cone turns an ordinary sheet of paper into a proper witch hat in minutes. Kids decorate their hats with star stickers, glitter glue, and paper buckles before the big reveal. The cone shape is forgiving, so even wobbly little hands get a great result. Punch holes on both sides and thread elastic so the hat stays on during dress-up play.
Host a hat decorating contest at your Halloween party and watch the creativity explode. I’ve noticed that kids spend far longer decorating when they know friends will vote. The finished hats double as party favors everyone takes home proudly.
Ghost Footprint Keepsakes
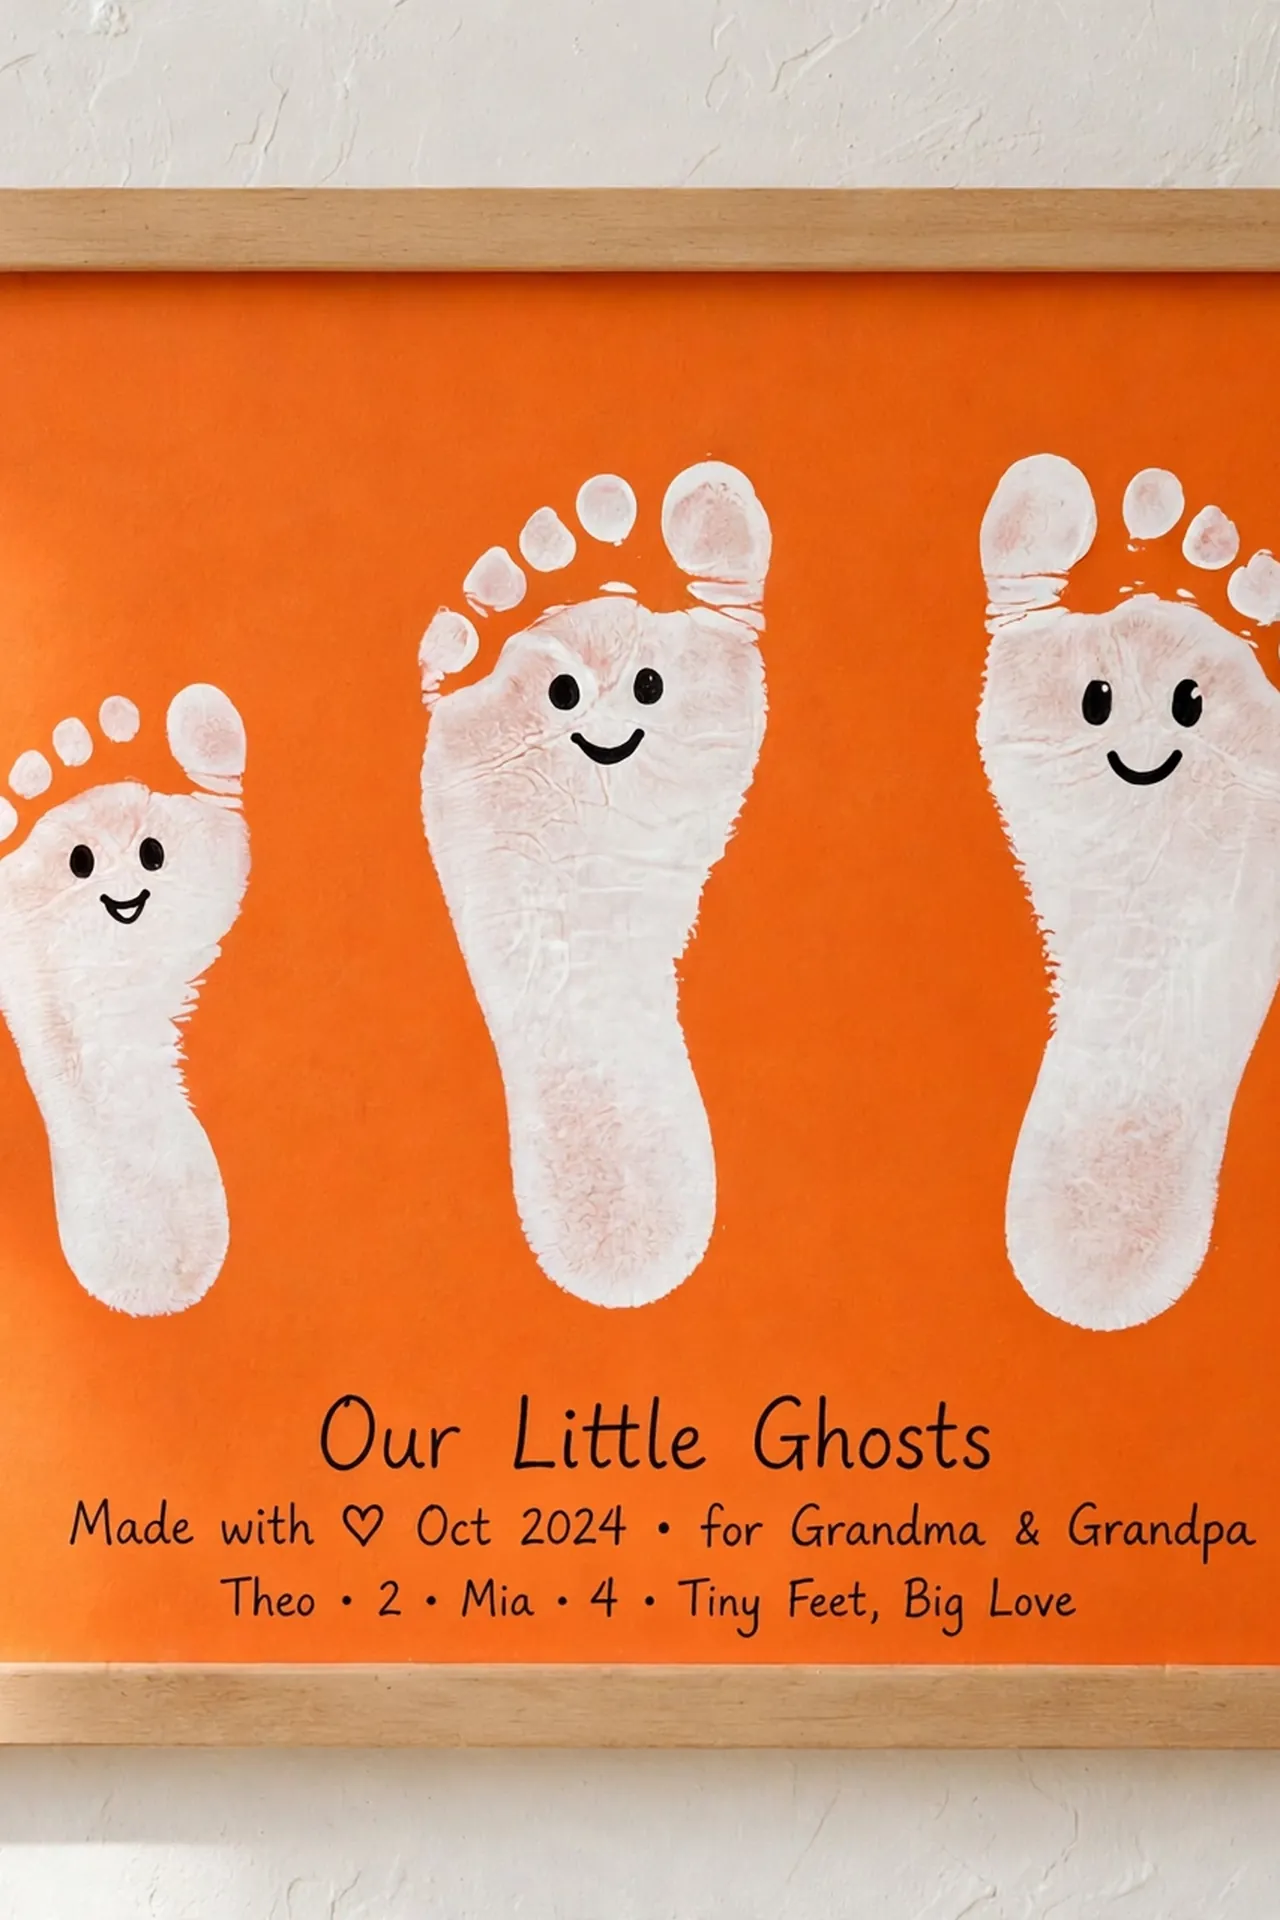
Little feet stamp out the most adorable ghosts you will ever see.
- Paint the sole of your child’s foot white with washable paint.
- Press firmly onto orange or black cardstock, heel as the head.
- Draw two eyes and a small oval mouth with a black marker.
- Add the date underneath so you remember this tiny size.
Grandparents treasure these footprint ghosts more than any store-bought gift, so make extras for family. The project takes ten minutes but the keepsake lasts for decades. For more seasonal styling inspiration, these fall table centerpiece ideas pair beautifully with handmade Halloween decor. Frame one each year and the growing feet tell their own sweet story.
Paper Bag Lanterns
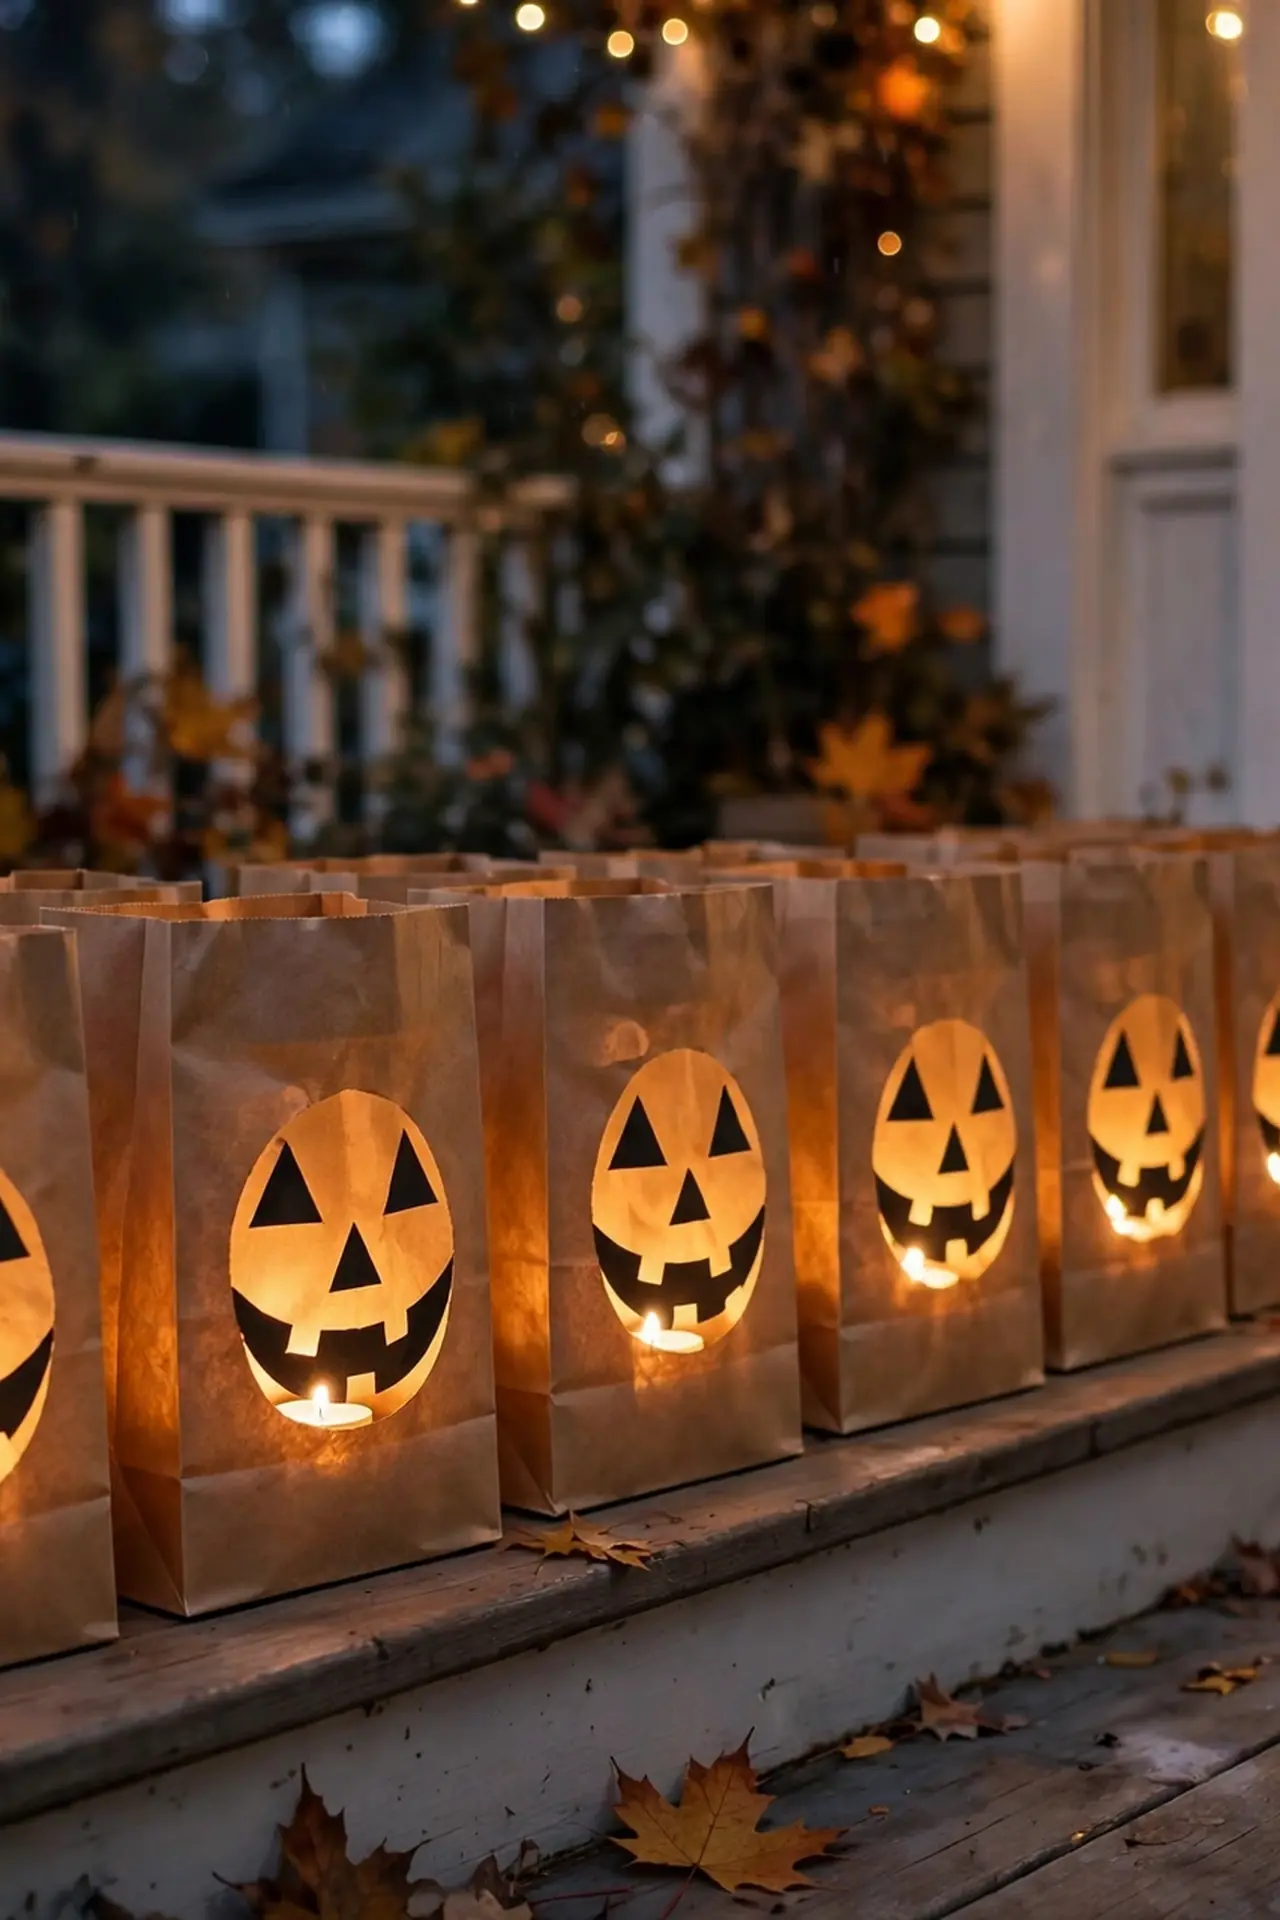
Quick Tip: Fold the top of a paper lunch bag down twice for a sturdy rim, then let kids draw jack-o-lantern faces with markers. Cut the faces out carefully with an adult helping younger children. Drop a battery tea light inside each bag and set them along walkways. The bags glow with a warm flicker that looks magical after dark.
Always use battery lights, never real candles, to keep this craft completely safe. Line the finished lanterns along your porch steps to welcome trick-or-treaters in style. The paper diffuses the light into a soft orange glow that neighbors will admire.
Bubble Wrap Pumpkins
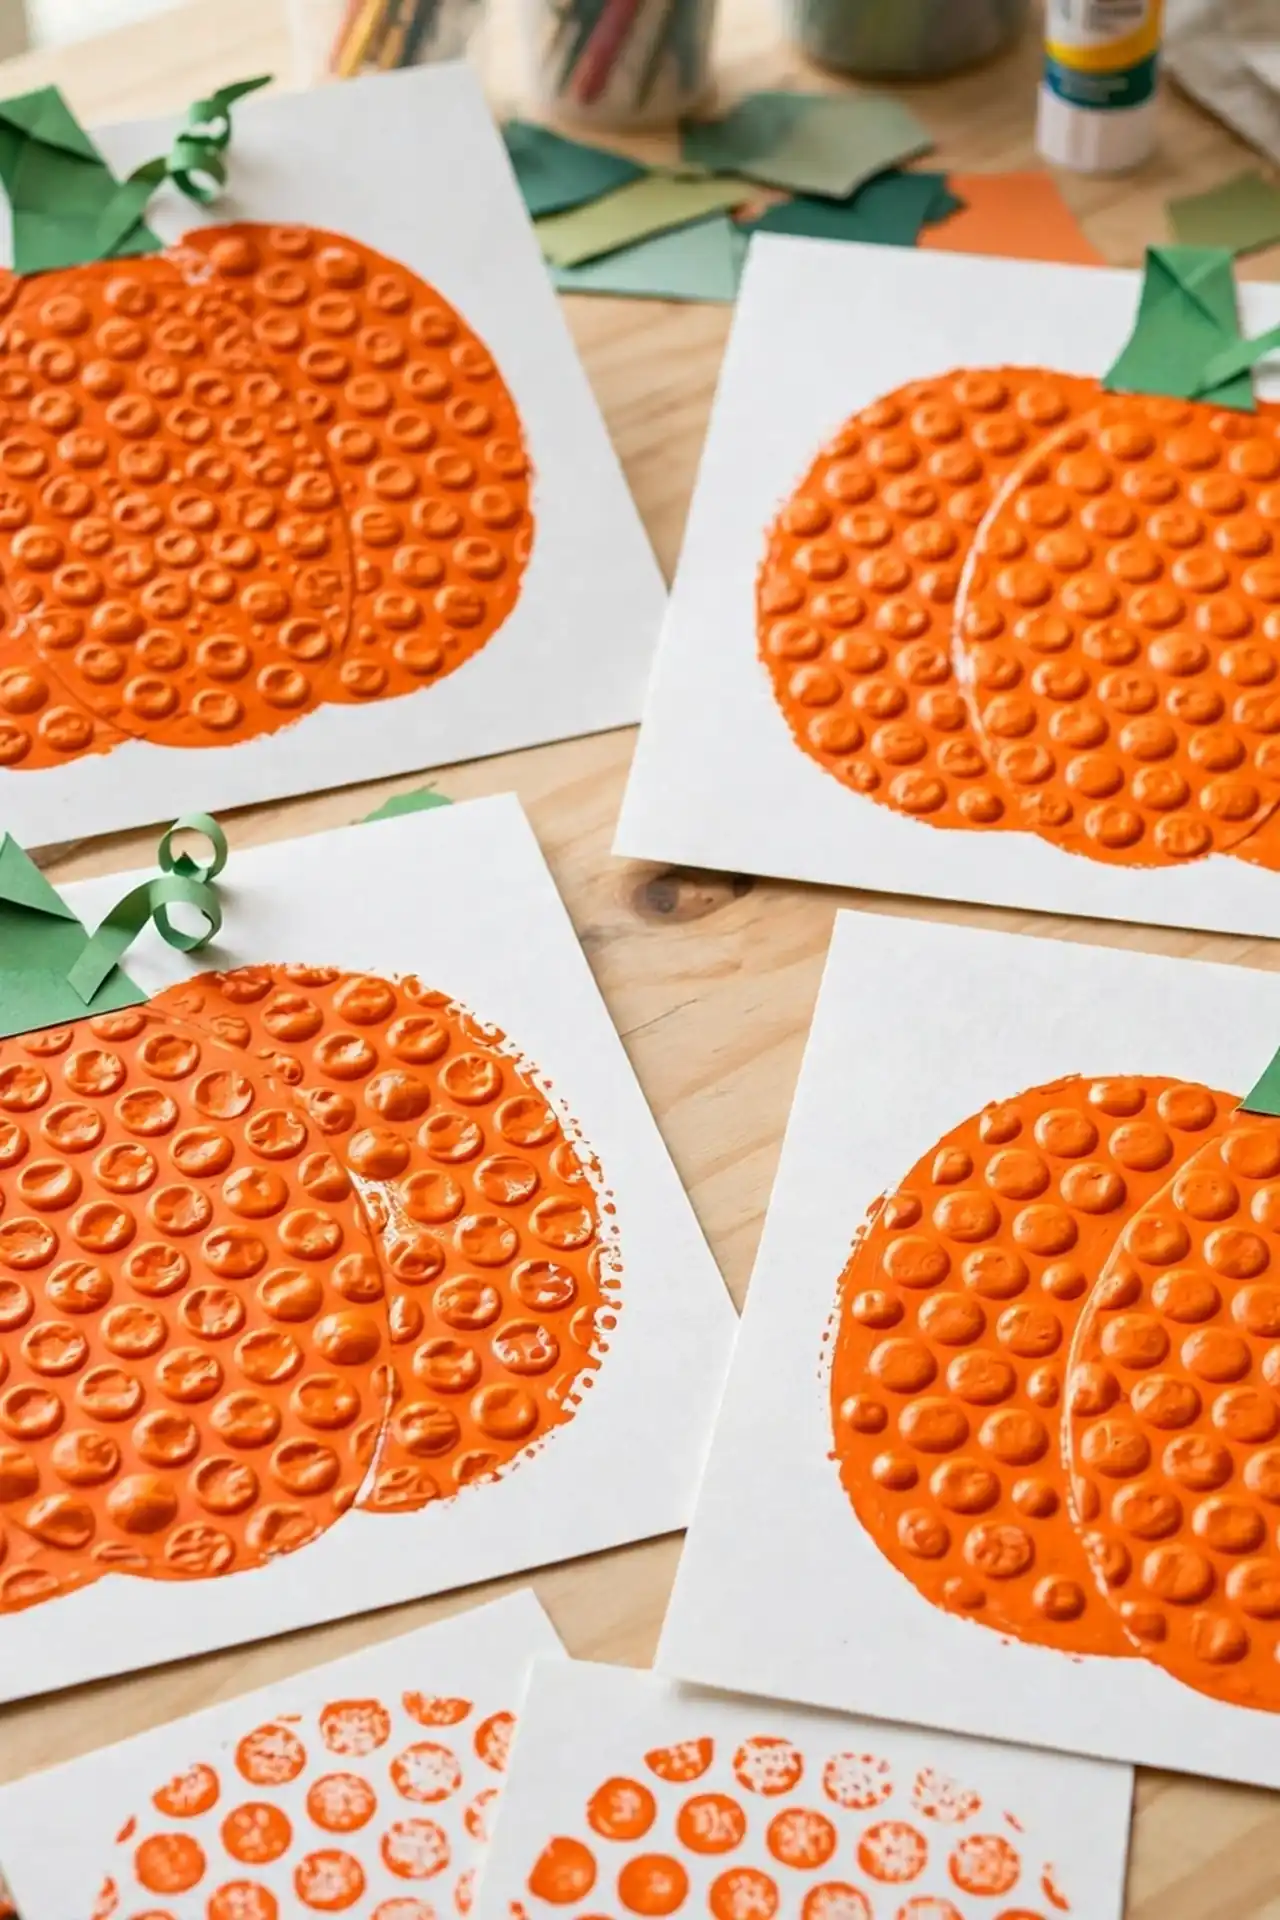
BEFORE: A sheet of bubble wrap is just packing material destined for the recycling bin. Kids pop a few bubbles, then lose interest and toss it aside.
AFTER: Dipped in orange paint, that same bubble wrap stamps the bumpiest, most textured pumpkins. Each print looks like a real pumpkin’s ridged skin. Add a green paper stem and the painting looks remarkably lifelike.
The popping sensory play keeps toddlers engaged long before the painting even starts. Let kids pop a few bubbles first as a fun warm-up. Press the wrap gently so the bubbles leave crisp round marks. Layer two shades of orange for pumpkins with real depth and dimension.
Cotton Ball Ghosts
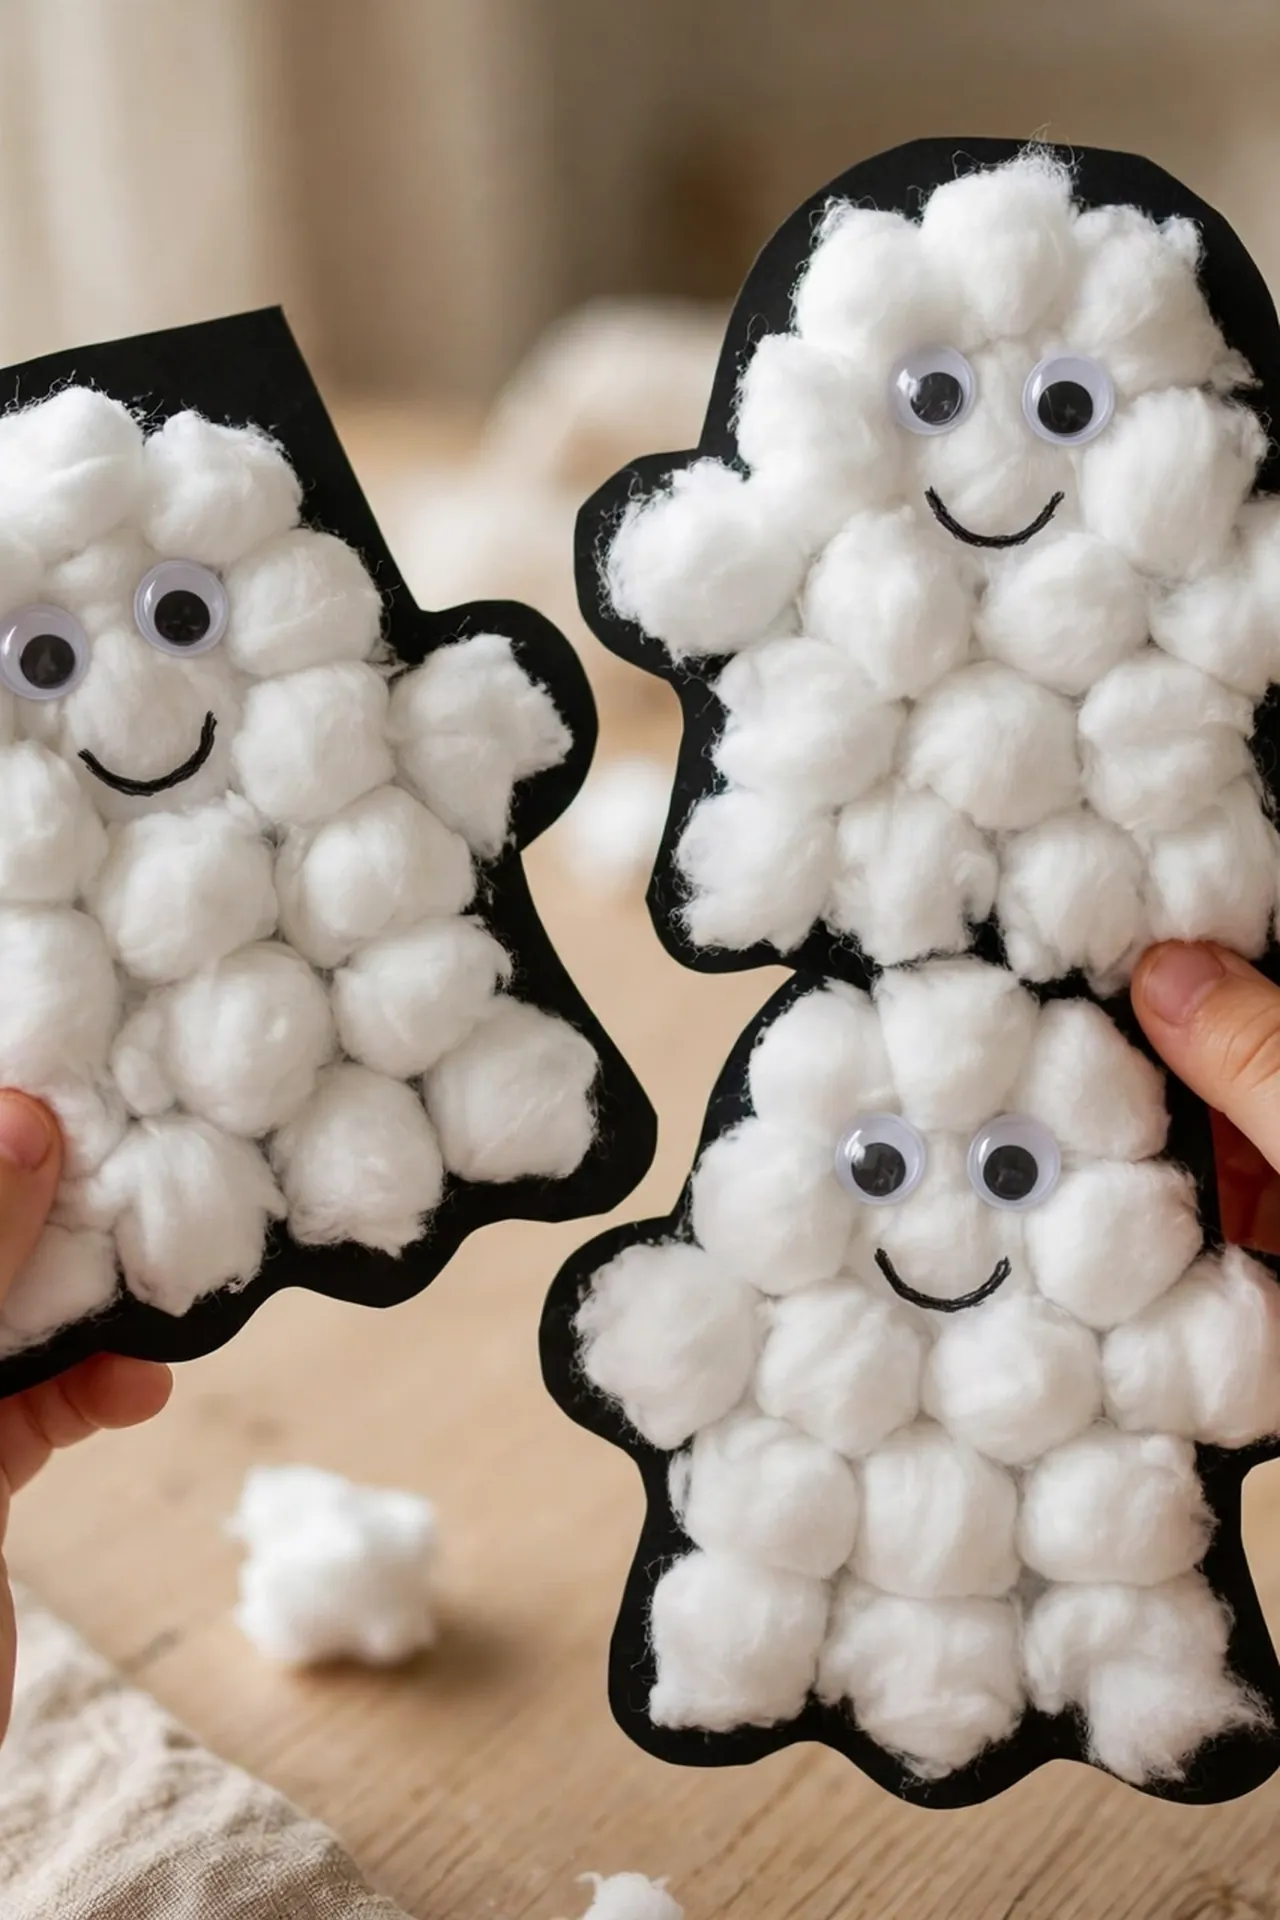
Fluffy cotton balls make the softest ghosts little fingers can build.
- Draw a simple ghost outline on black cardstock for a guide.
- Fill the shape with cotton balls using generous dots of glue.
- Press each ball down firmly so it sticks to the paper.
- Glue on googly eyes and draw a small smiling mouth.
Toddlers adore the squishy sensory feel of pulling cotton balls apart for this craft. The contrast of fluffy white against black paper looks striking on any wall. Make a family of ghosts in different sizes for extra cuteness. Hang them in a dark hallway where the white fluff glows softly.
Monster Slime Jars
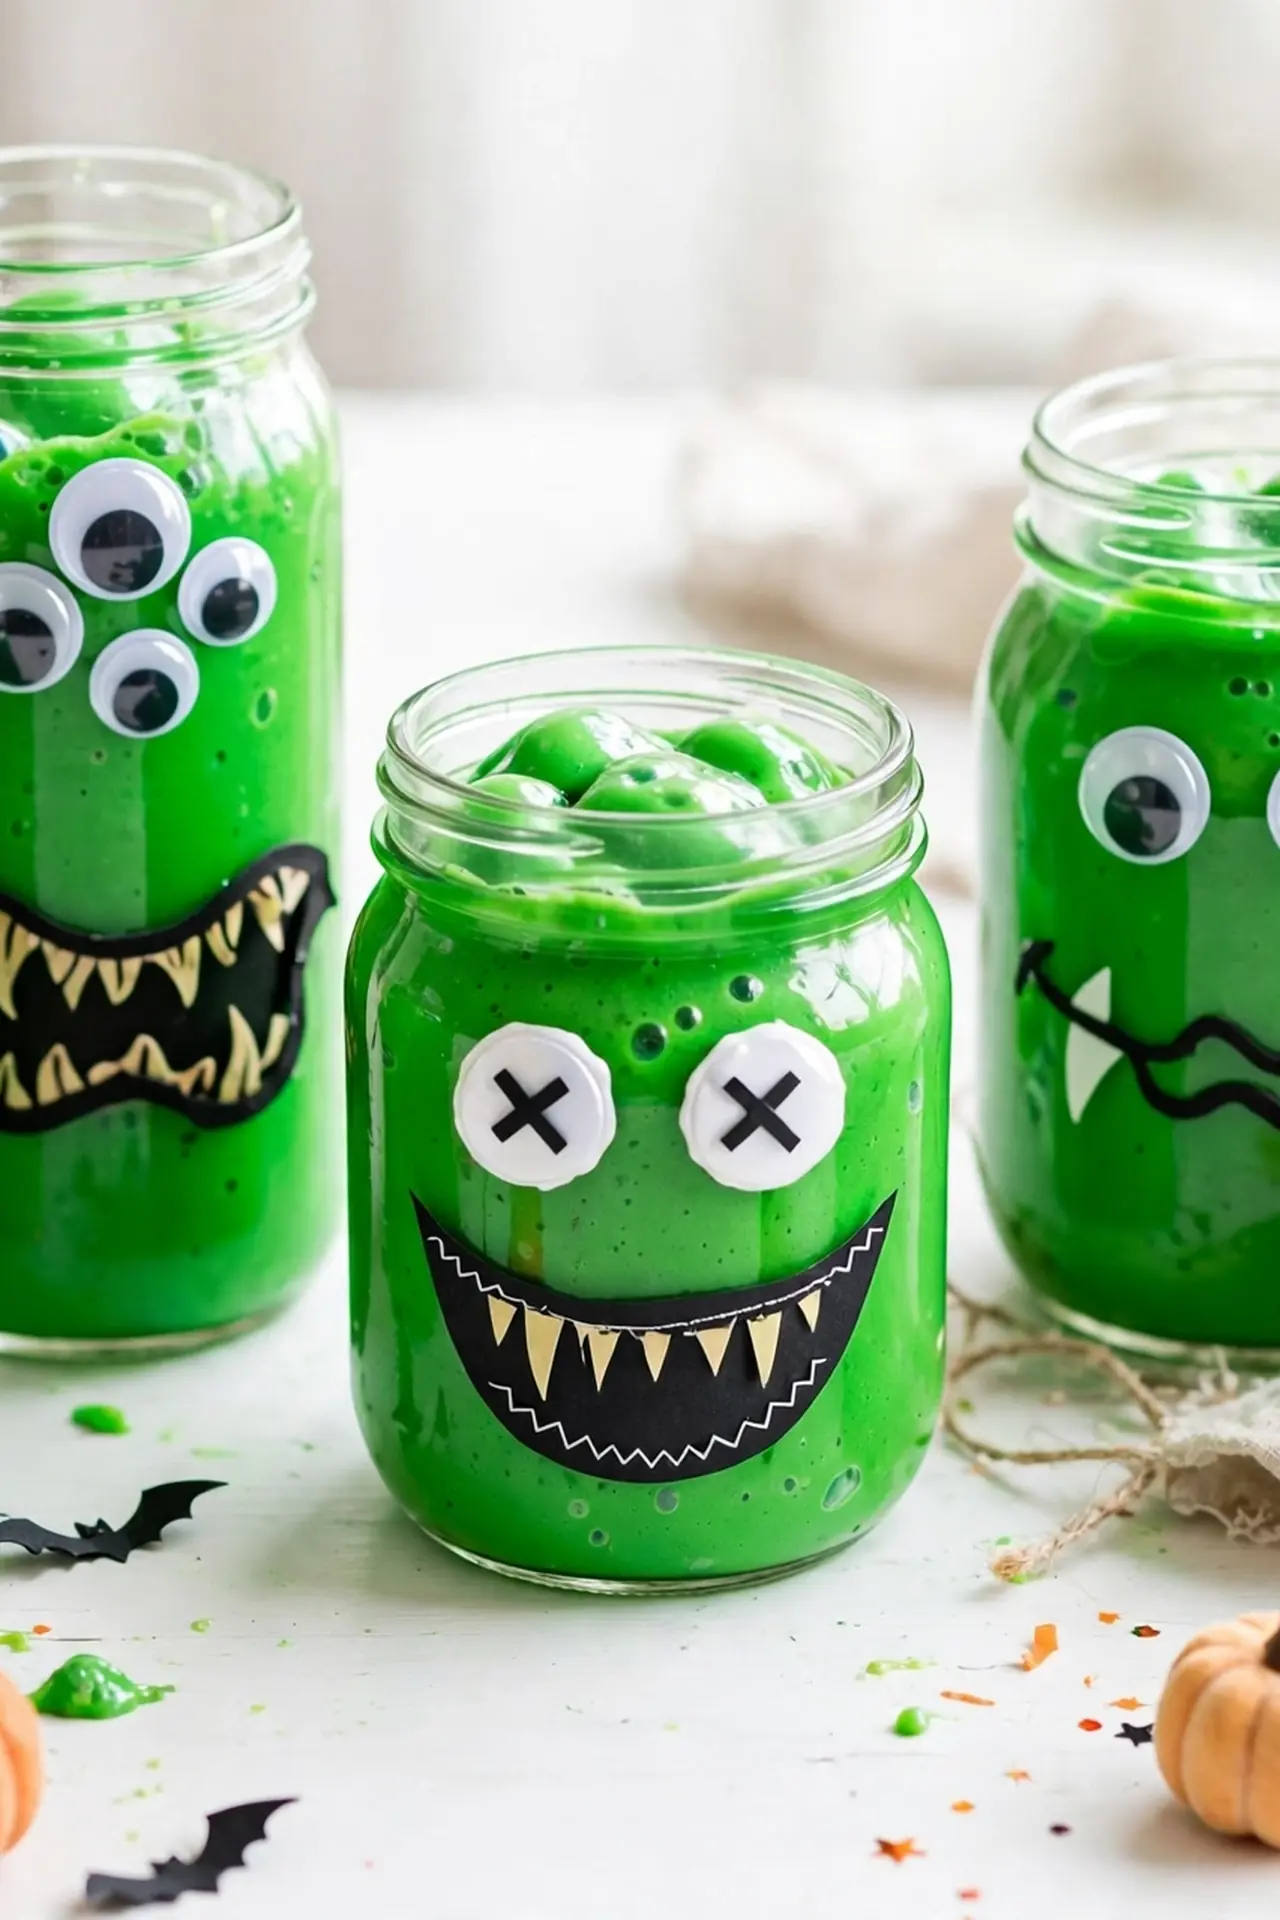
Slime in a jar becomes a pet monster with just a few silly additions.
| Decorated Monster Jar | Plain Slime Jar |
| Googly eyes give it goofy personality | Looks like ordinary green goo |
| Kids name their monster and play longer | Fun fades after a few minutes |
| Doubles as party favor guests keep | Gets left behind after the party |
Mix simple slime from glue, baking soda, and contact solution, then scoop it into small clear jars. Glue googly eyes and a paper mouth on the outside of each jar. Kids shriek with delight when their monster wiggles and jiggles. Label each jar with the monster’s name for the perfect Halloween party favor.
Leaf Ghost Puppets
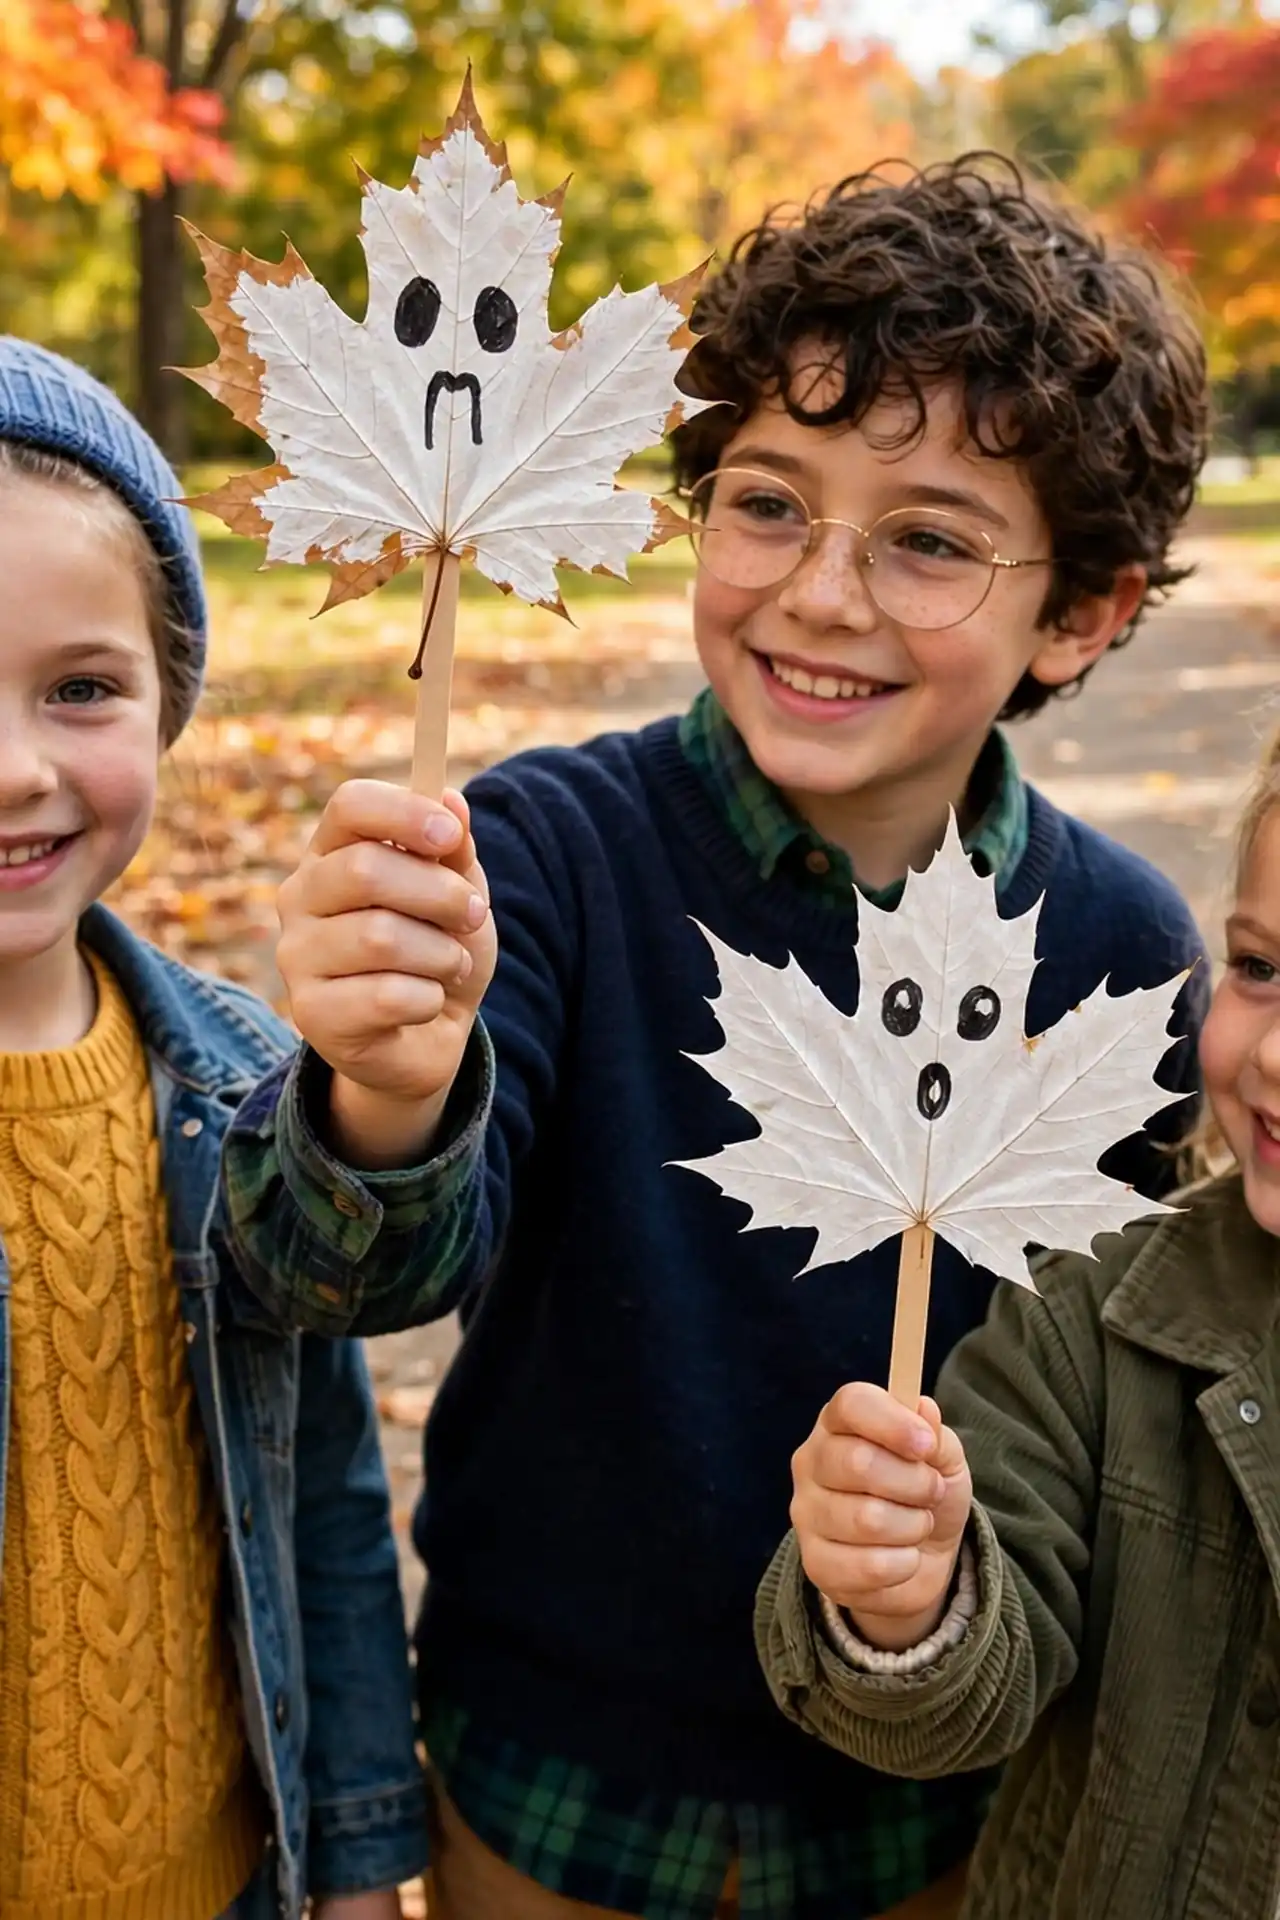
DO: Collect large, sturdy leaves on a nature walk for the puppet bases. Paint each leaf white and let it dry fully before adding faces. Glue the painted leaf to a craft stick handle. Draw simple ghost faces with a black marker.
DON’T: Pick wet or crumbly leaves that will fall apart during painting. Paint both sides thickly or the leaf may curl and crack. Let kids wave the puppets too hard before the glue sets. Forget to press leaves flat overnight first.
This craft starts with a nature walk, which makes it twice the adventure for restless kids. The leaf shapes give every ghost a wonderfully unique silhouette. Put on a spooky puppet show behind the couch when the cast is ready.
Straw Skeleton Craft
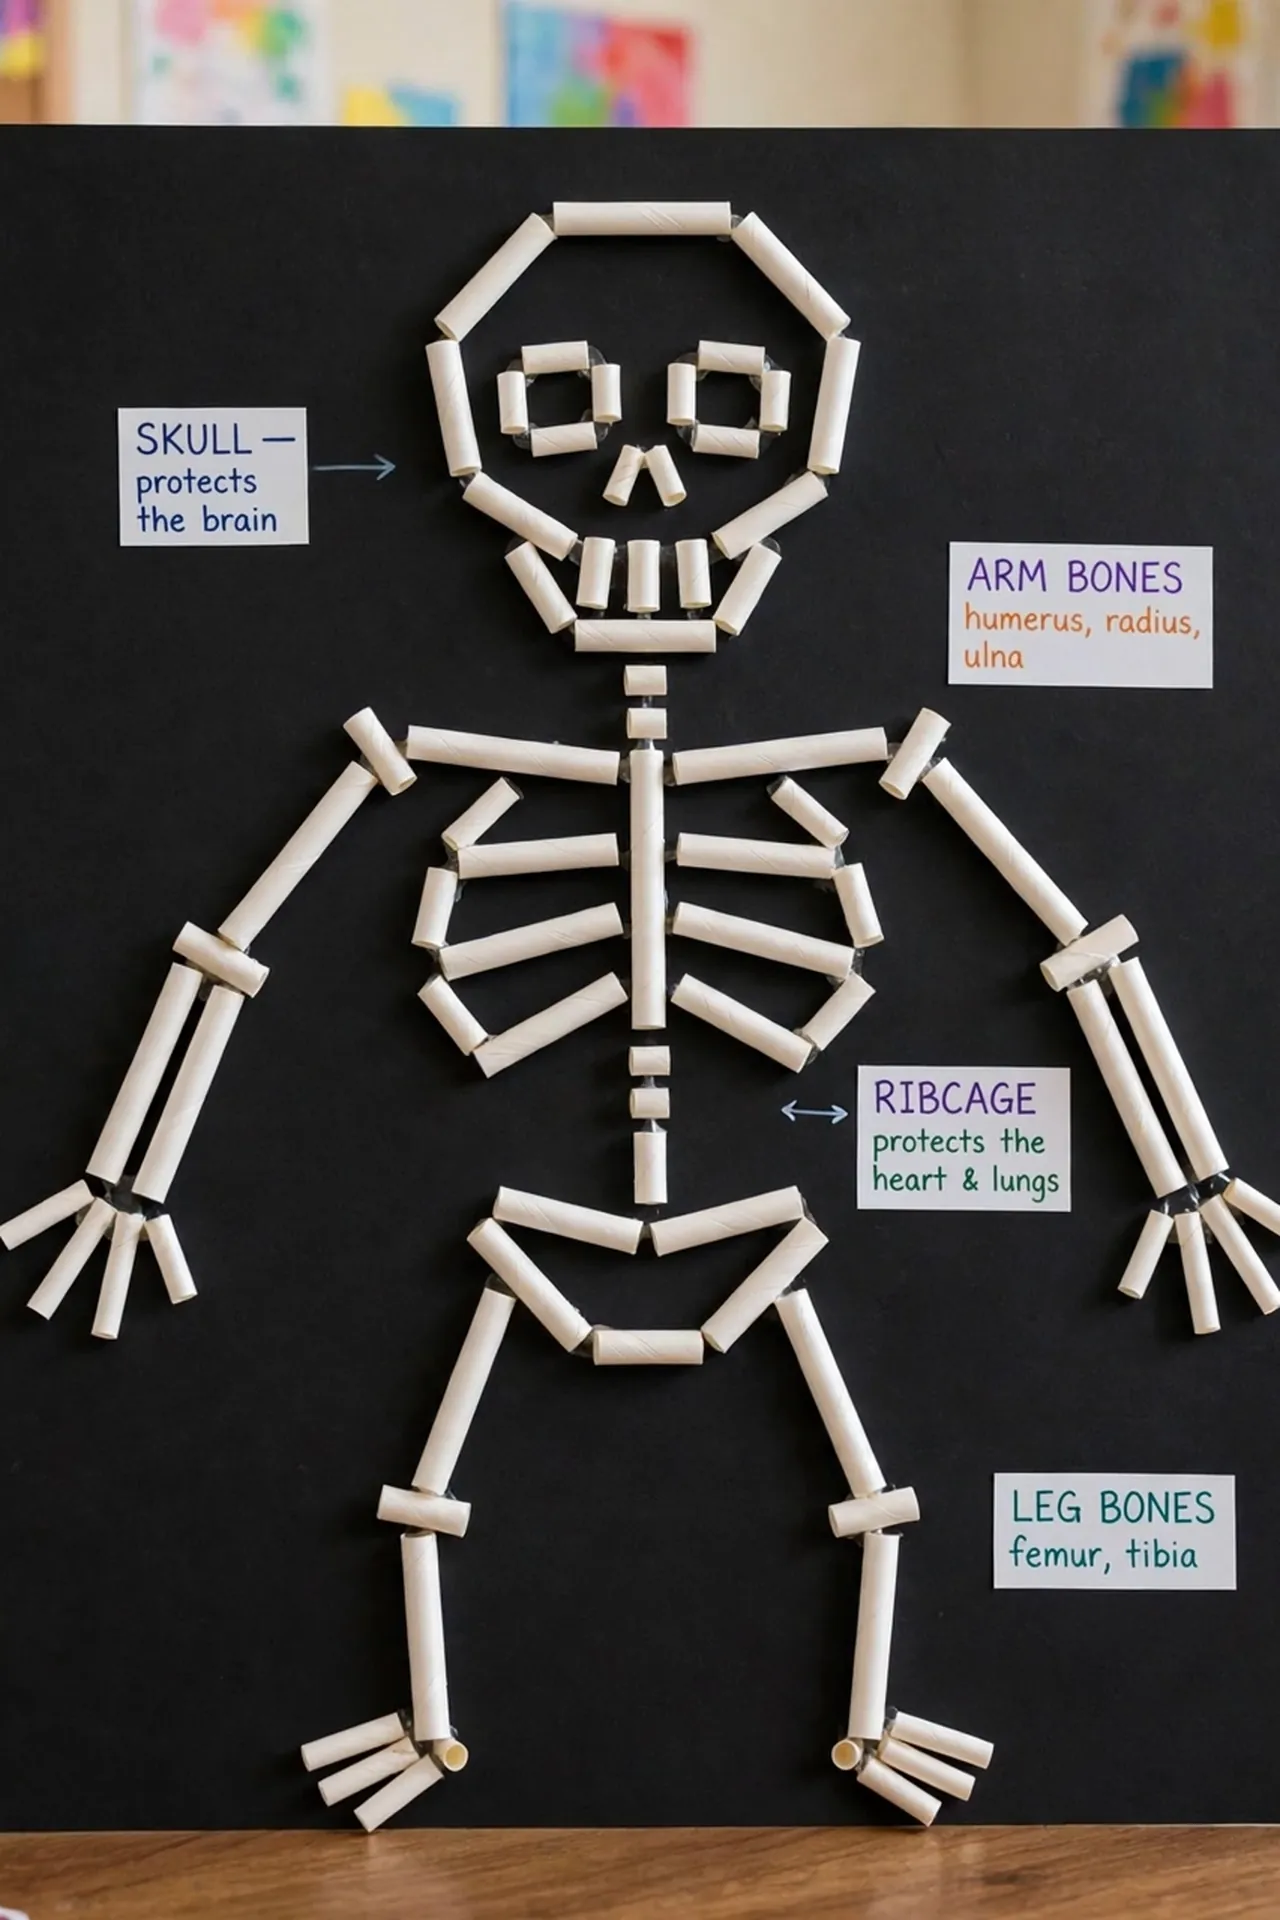
Cost: Very low | Time: 25 minutes | Skill Level: Beginner | Best For: Learning body parts
White straws on black paper build a skeleton that actually teaches anatomy basics. Cut straws into different lengths for ribs, arms, and legs, then glue them in place. Kids learn bone names while they build, which teachers absolutely love. Add a paper plate skull on top to finish the friendly figure. This project sneaks real learning into Halloween fun without feeling like a lesson. Hang the finished skeletons in the hallway for a delightfully spooky science display. Kids proudly point out the ribs and skull they built themselves.
Masking Tape Mummies
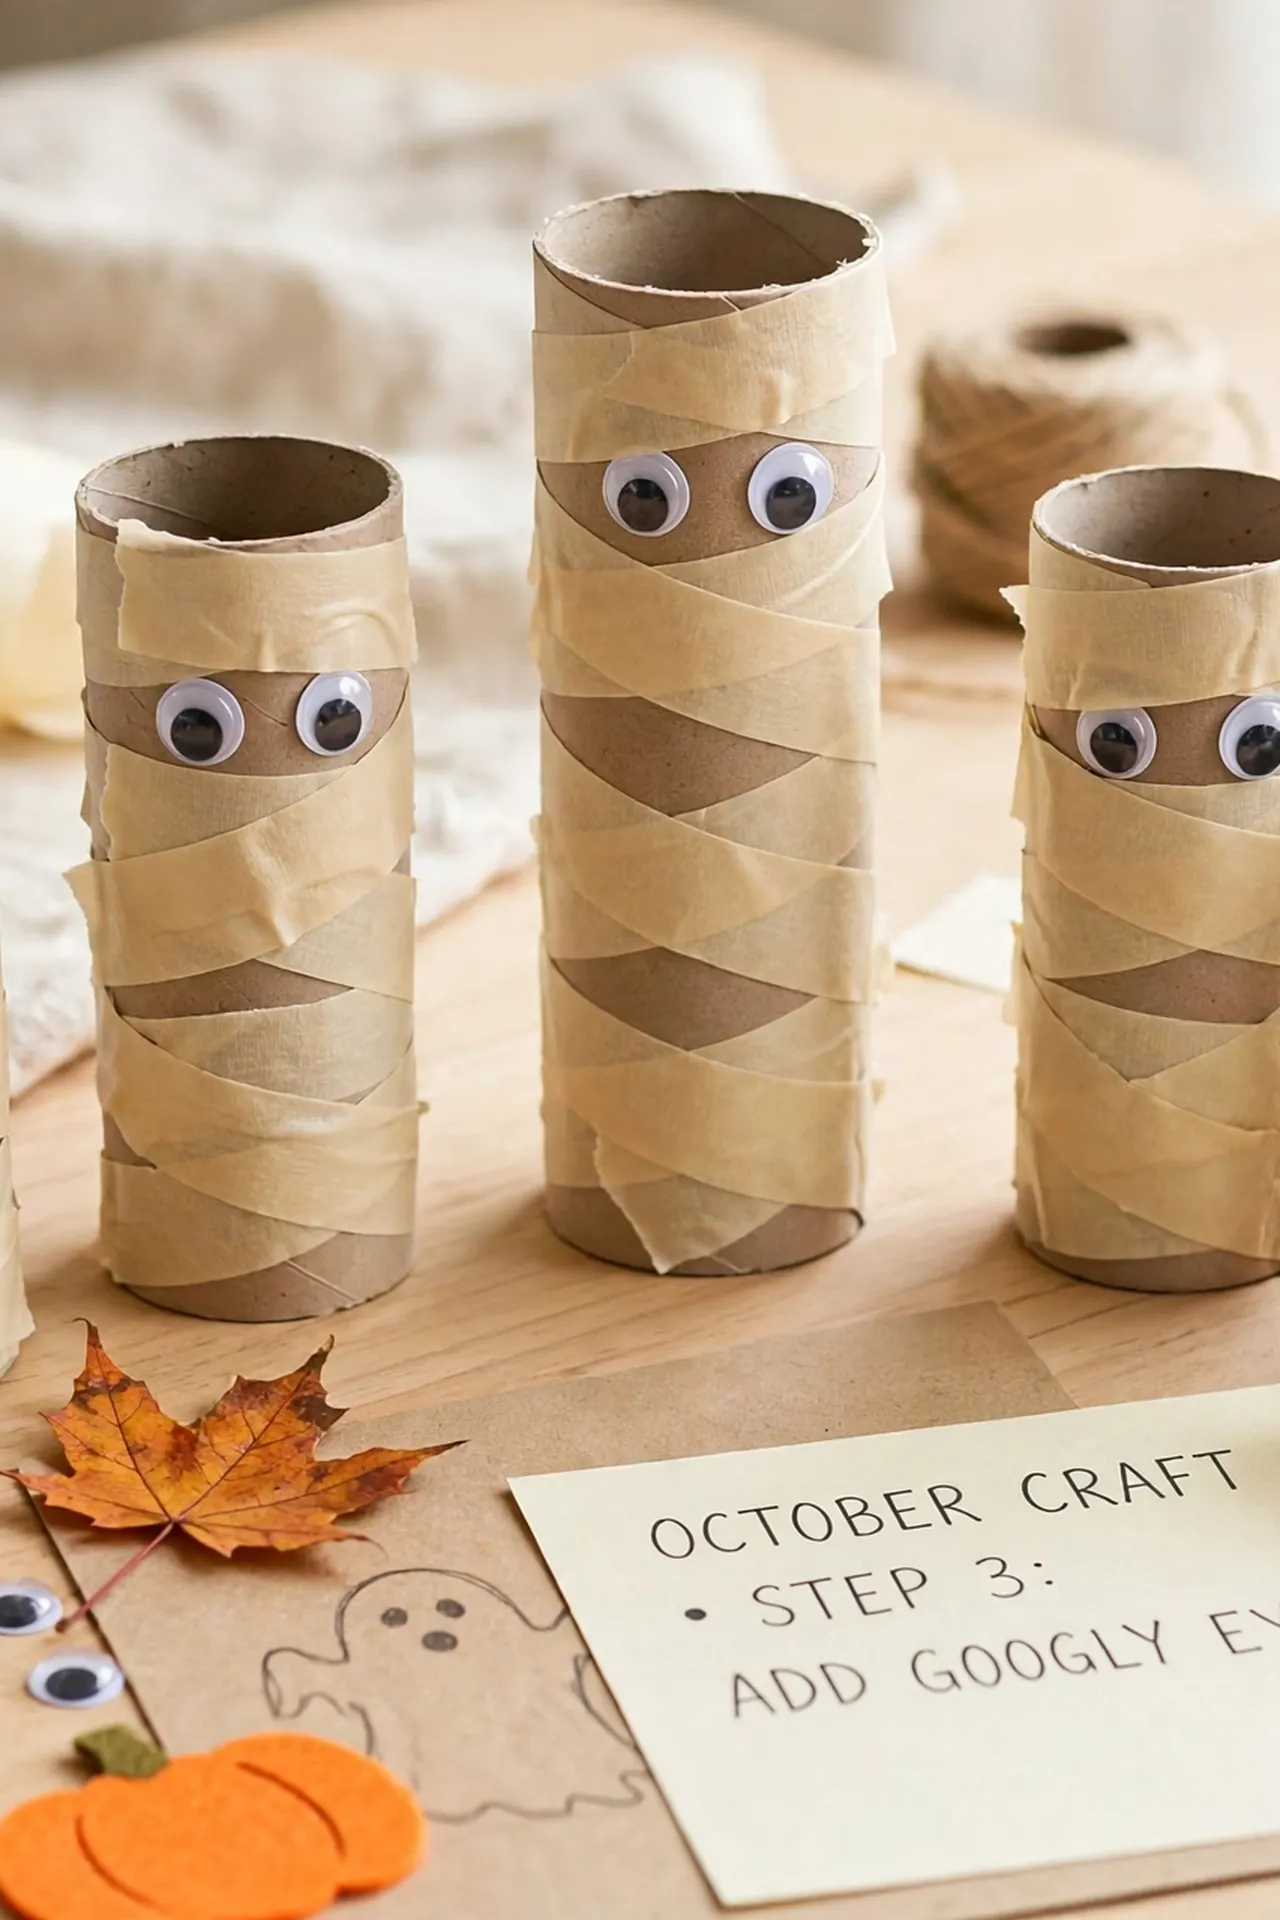
Wrapping a cardboard tube in masking tape creates a mummy faster than any other method. Kids tear short strips and layer them in every direction for that authentic wrapped look. Leave a small gap near the top where two googly eyes peek out. The tape sticks to itself, so no glue means no mess and no waiting.
This is the perfect last-minute craft when Halloween sneaks up on your calendar. I’ve noticed that even the youngest toddlers can tear tape strips successfully. Stand the finished mummies on the mantel for instant spooky decor. Keep a roll of masking tape in the craft box for spontaneous mummy-making sessions.
Pumpkin Seed Art
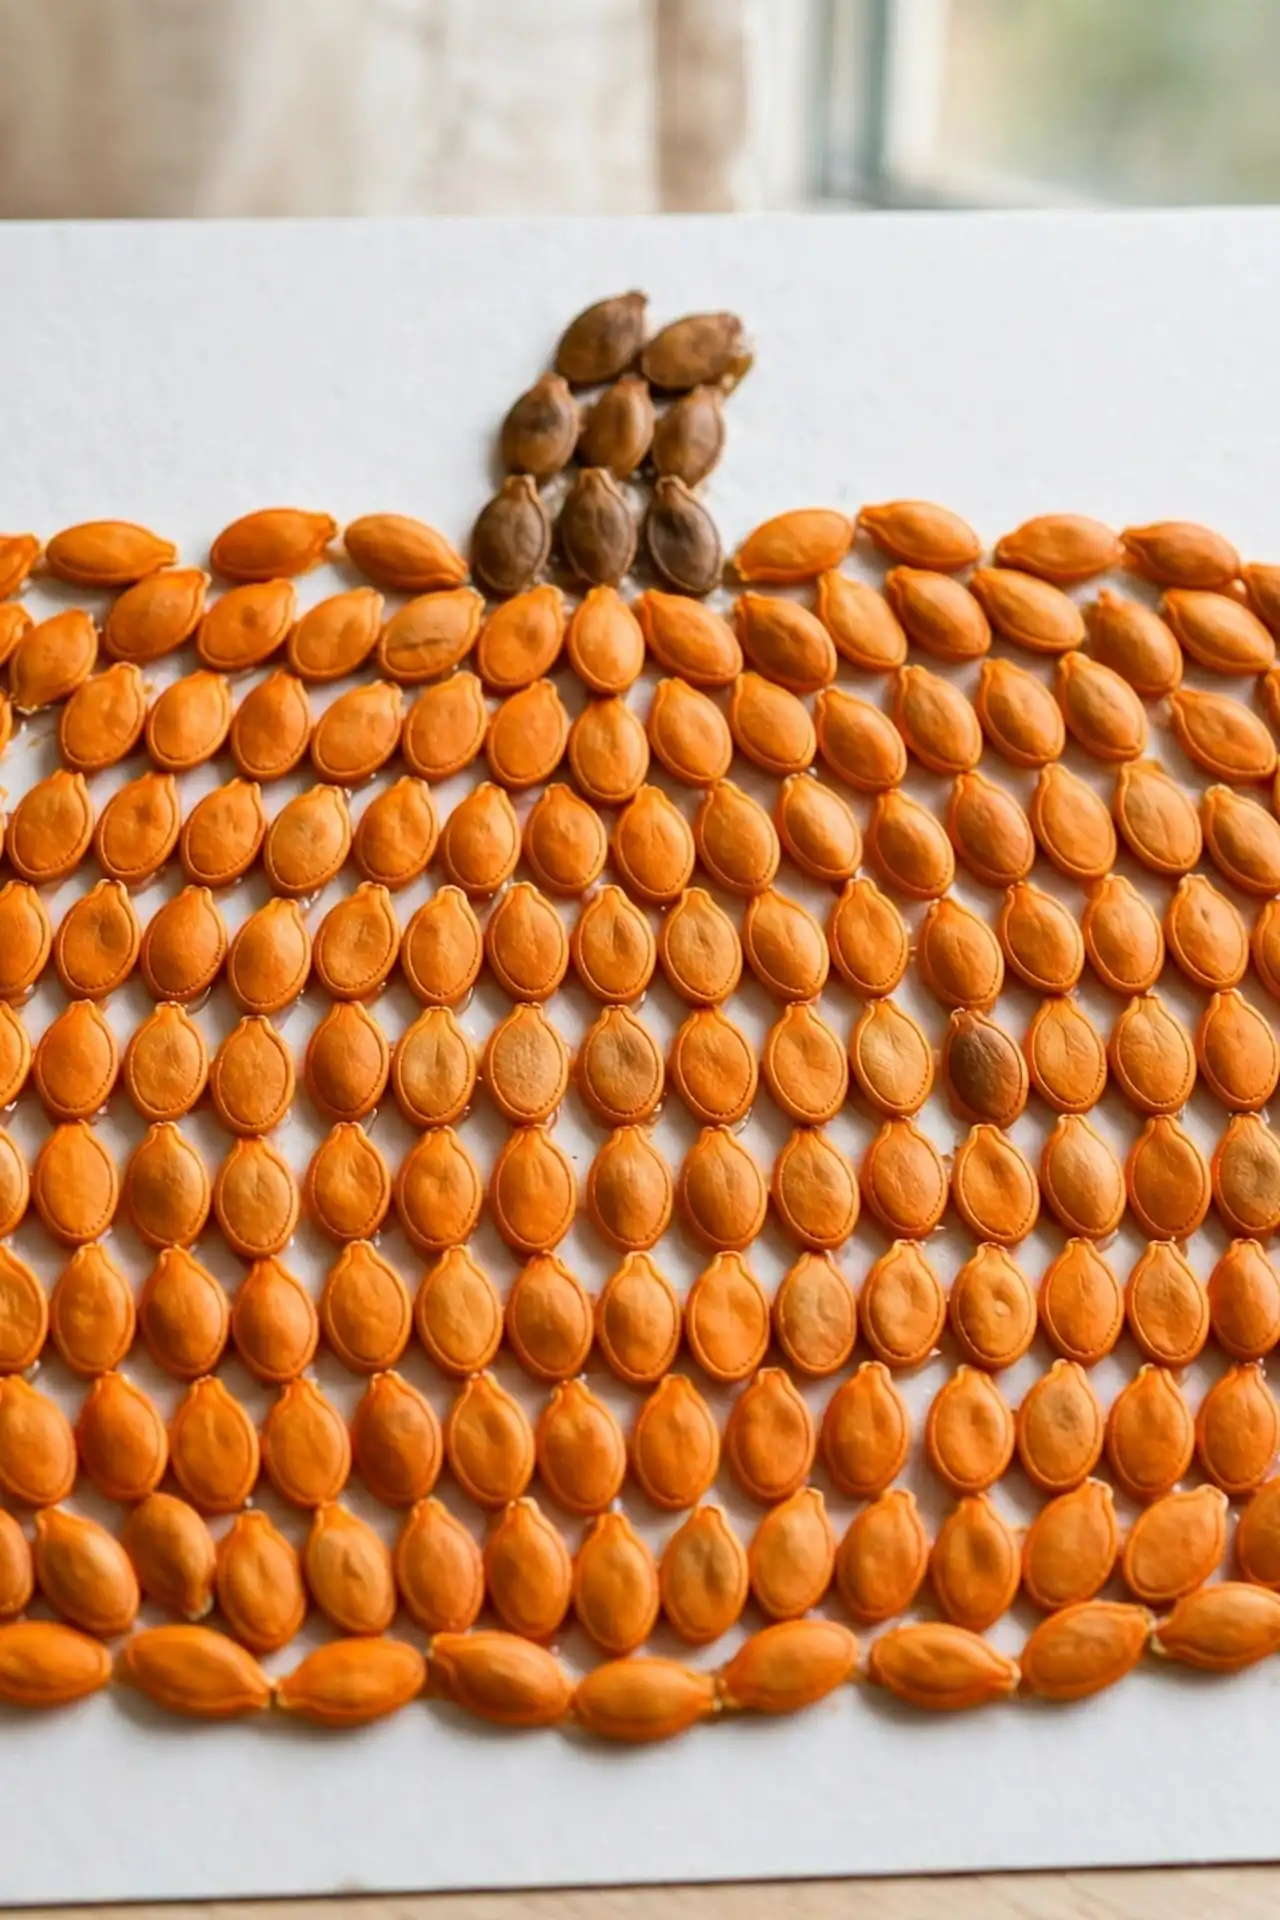
Saved pumpkin seeds become a gorgeous mosaic with a little paint.
- Rinse and dry your pumpkin seeds completely before starting.
- Dye batches orange, yellow, and brown with food coloring.
- Draw a big pumpkin outline on sturdy white cardstock.
- Glue seeds in neat rows to fill the pumpkin shape.
- Add a green paper stem and curly vine to finish.
Never throw away pumpkin guts again after seeing this beautiful result. The seed mosaic looks impressively detailed hanging in a simple frame. Kids practice patience and fine motor skills placing each tiny seed. This craft turns pumpkin carving leftovers into genuine framed art.
Felt Bat Headbands
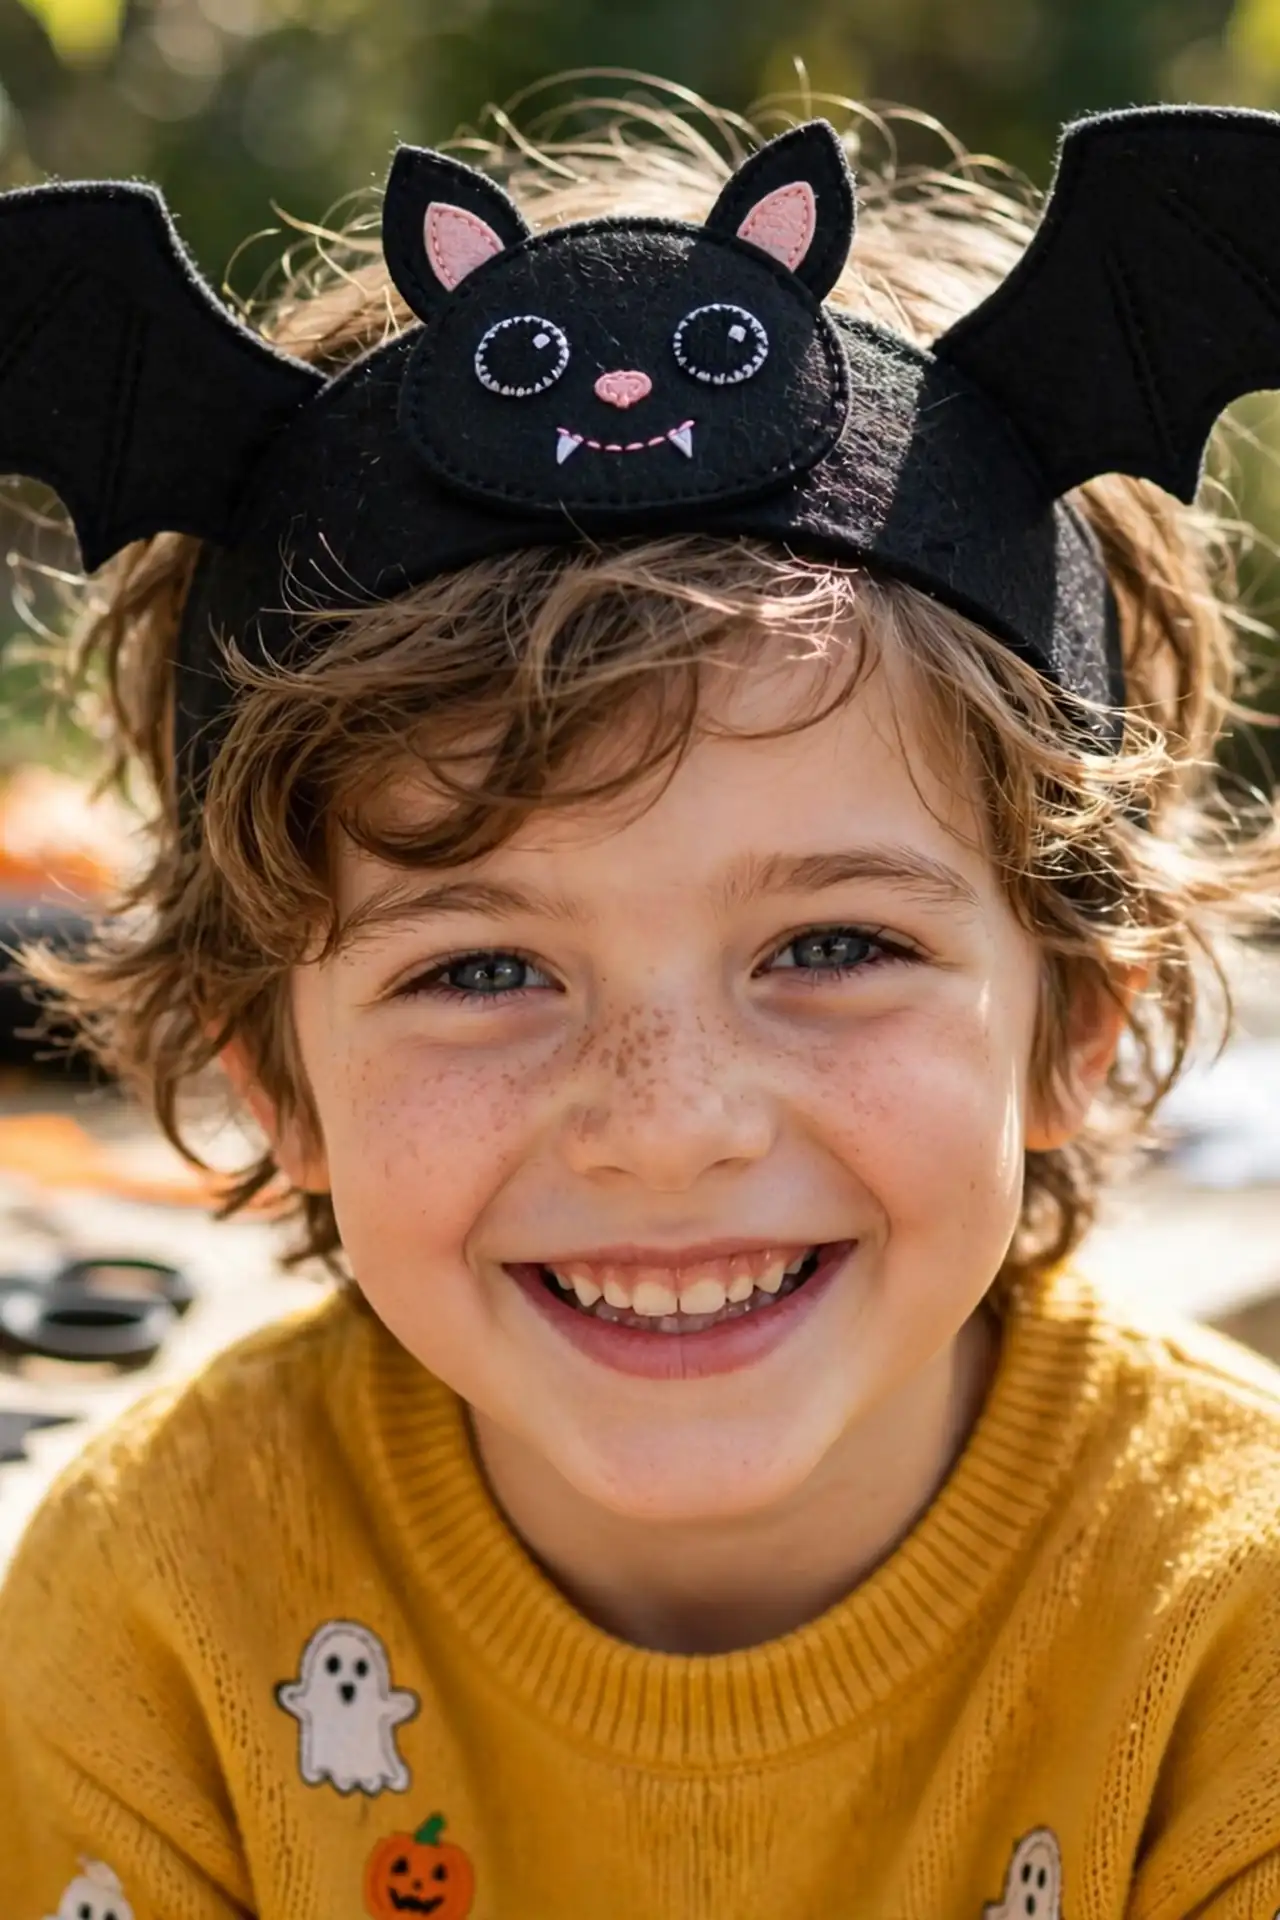
Quick Tip: Cut two bat wing shapes from black felt and hot glue them to a plain black headband with an adult helping. Add small felt ears and googly eyes to the center for a bat face. The felt is soft and light, so kids wear these comfortably all evening. Make matching headbands for siblings to create the cutest bat family.
These headbands cost pennies but photograph like a million bucks at Halloween parties. Kids wear them over and over because they are so comfortable. Pair with black clothes for an instant costume that took minutes to make. Add a black cape for the full vampire bat effect.
Sponge Print Pumpkins
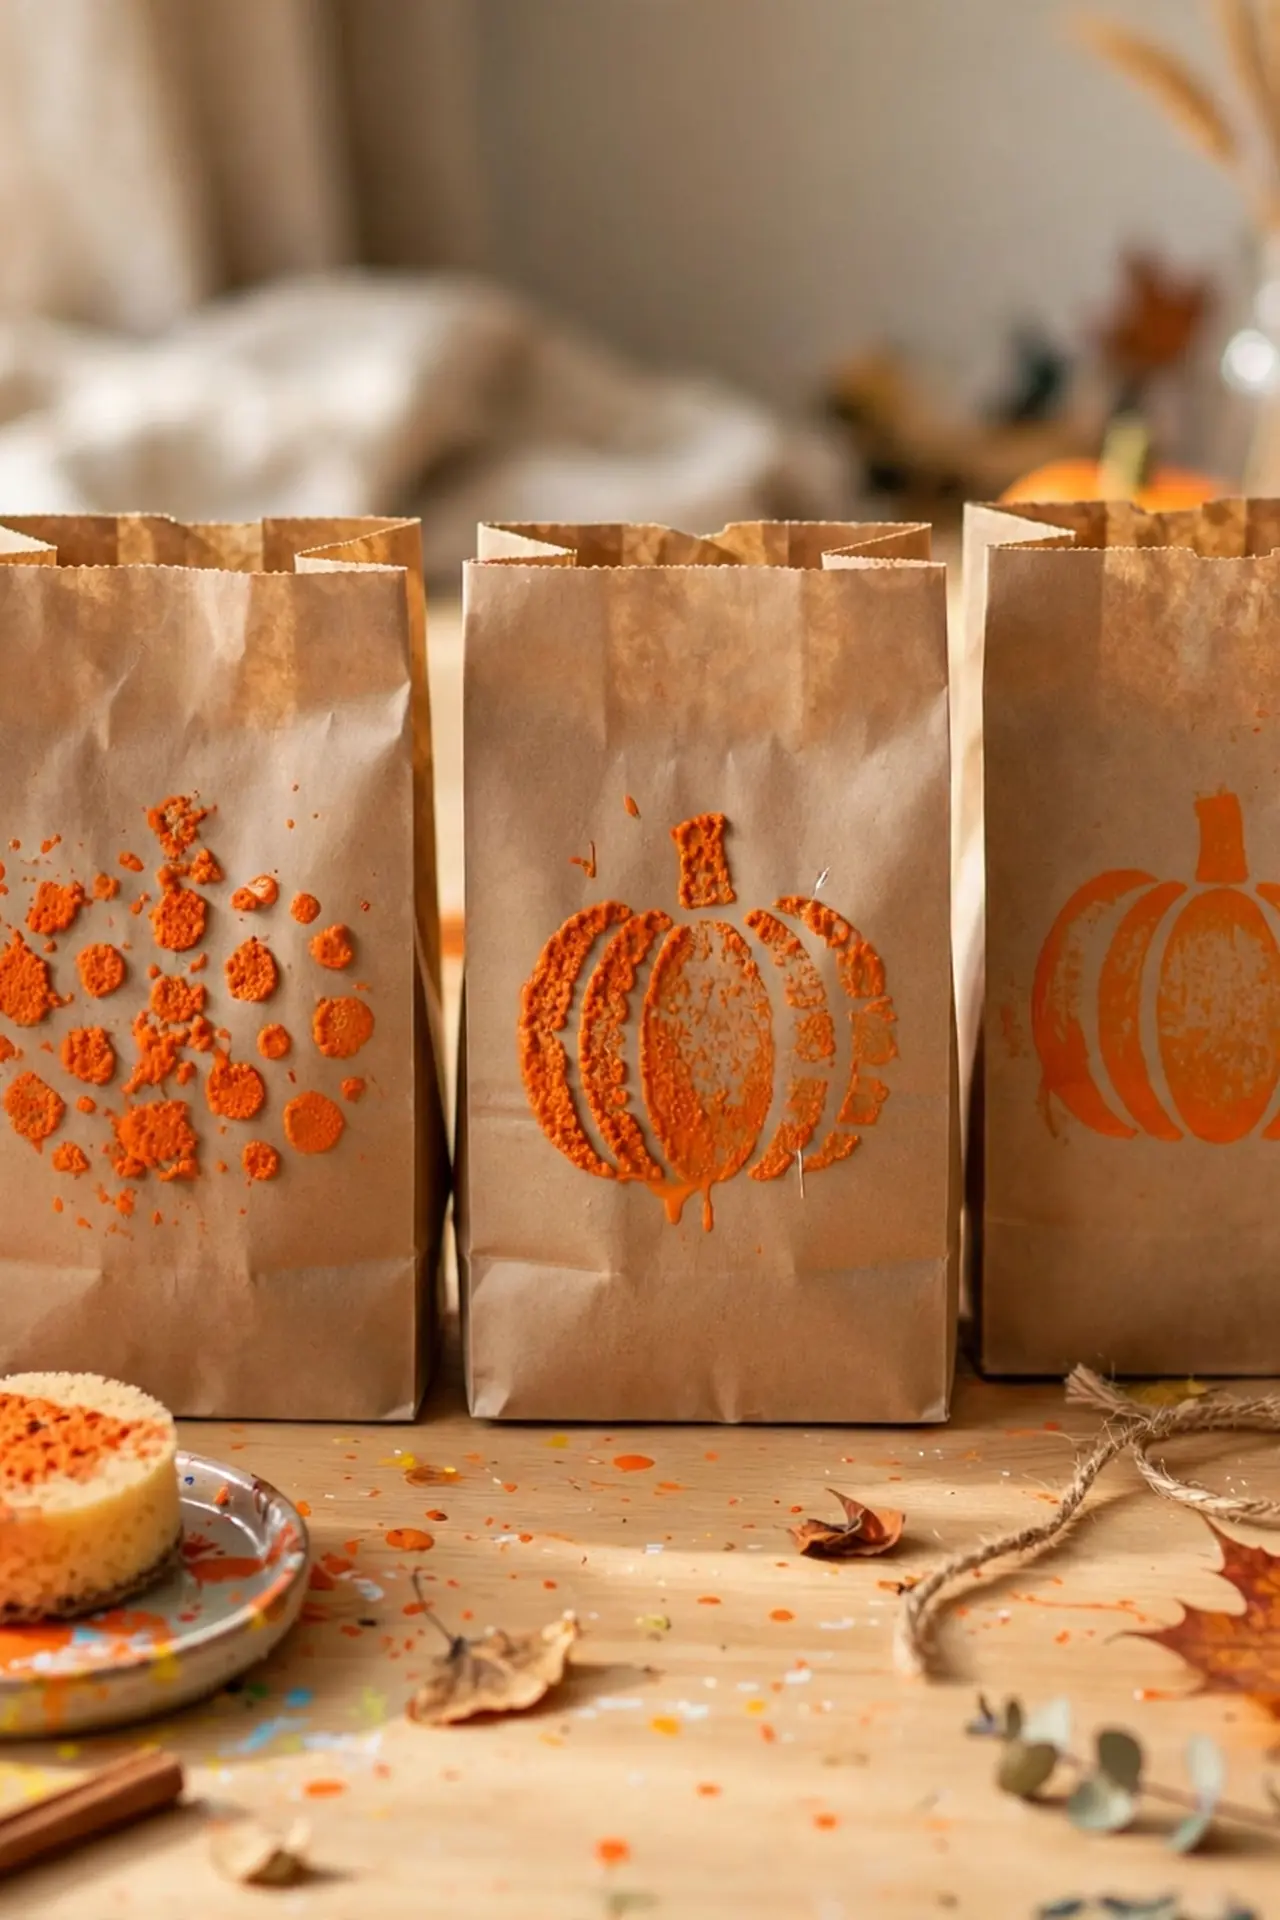
BEFORE: A plain kitchen sponge sits by the sink doing nothing but dishes. Its round shape looks completely ordinary and uninspiring.
AFTER: Dipped in orange paint, that sponge stamps perfect little pumpkin shapes. Each print lands with a satisfying squish that kids love. A quick green thumbprint stem finishes every pumpkin.
Cut sponges into different sizes for a whole pumpkin patch of varying pumpkins. Stamp them onto brown paper bags for custom trick-or-treat bags. The repetitive stamping keeps young kids happily busy for ages. Older kids can carve simple triangle eyes into the sponge for jack-o-lantern faces. The finished bags make trick-or-treating feel extra personal and handmade.
Pasta Skeleton Craft
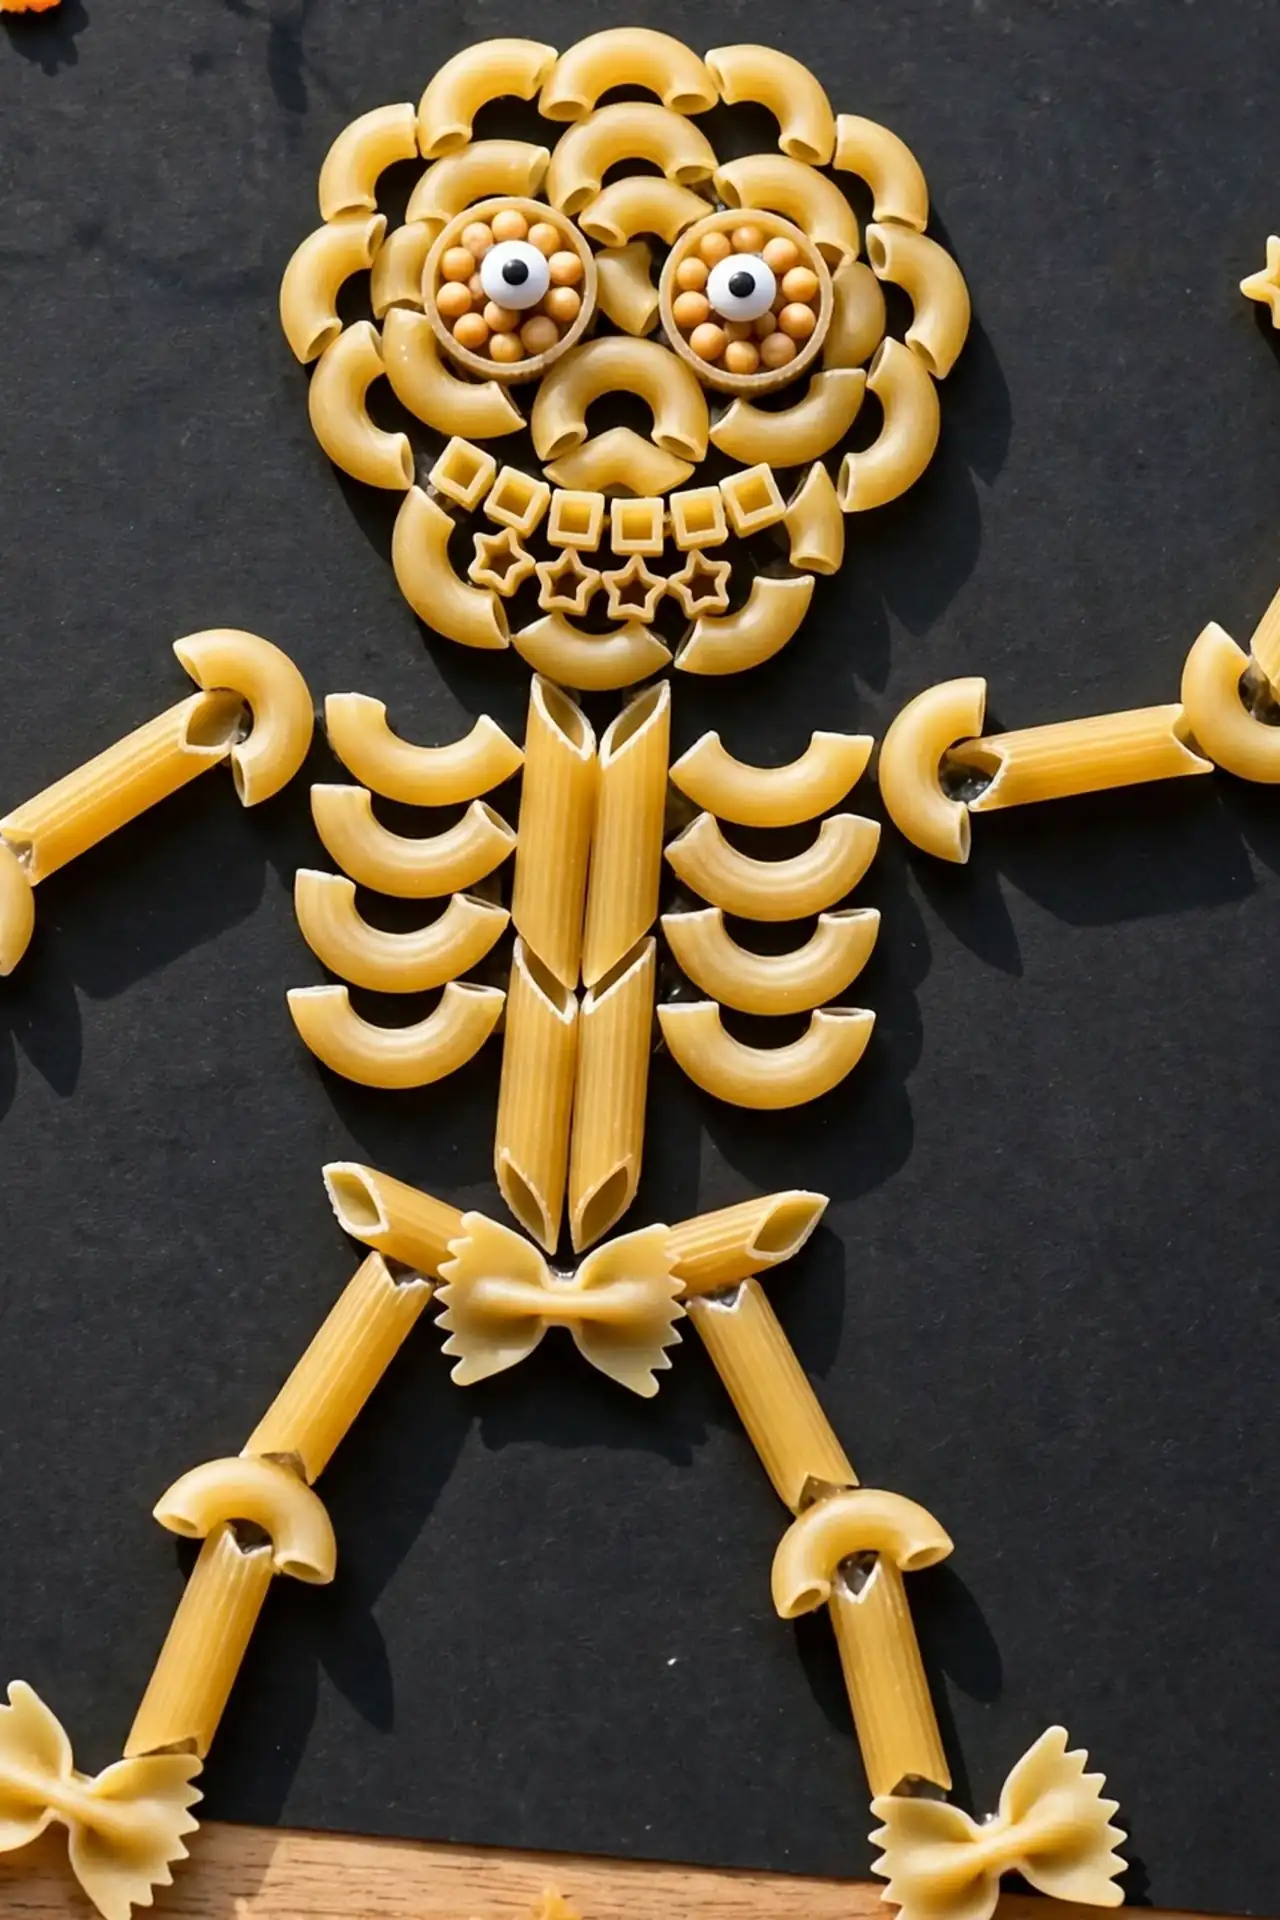
Dry pasta from the pantry builds the silliest skeleton bones.
- Sort penne for ribs, macaroni for joints, and spaghetti for limbs.
- Glue a round paper plate skull at the top of black paper.
- Arrange penne pieces in a ribcage pattern below the skull.
- Use spaghetti for arms and legs with macaroni joints.
- Let everything dry flat overnight before hanging it up.
Kids giggle at how seriously they take their pasta anatomy while building. The different pasta shapes make each skeleton wonderfully unique and textured. Spray the finished skeleton white for a polished look that lasts for years. Display it proudly on the fridge all season long.
Conclusion
Spooky season flies by, so pick a few of these halloween crafts for children and start creating memories this week. Choose one craft for a quiet afternoon or turn a rainy Saturday into a full Halloween workshop with hot cocoa. The mess washes off, the giggles fade into stories, and the handmade decorations become treasured keepsakes. The supplies cost little, but the memories last for years. I’ve seen how small creative moments like these bring families closer during busy autumn weeks. Save your favorite ideas on Pinterest, gather the supplies this weekend, and enjoy every sticky, paint-covered minute together as a family.
5 Comments