23 Apartment Bedroom Layouts for Better Space & Comfort
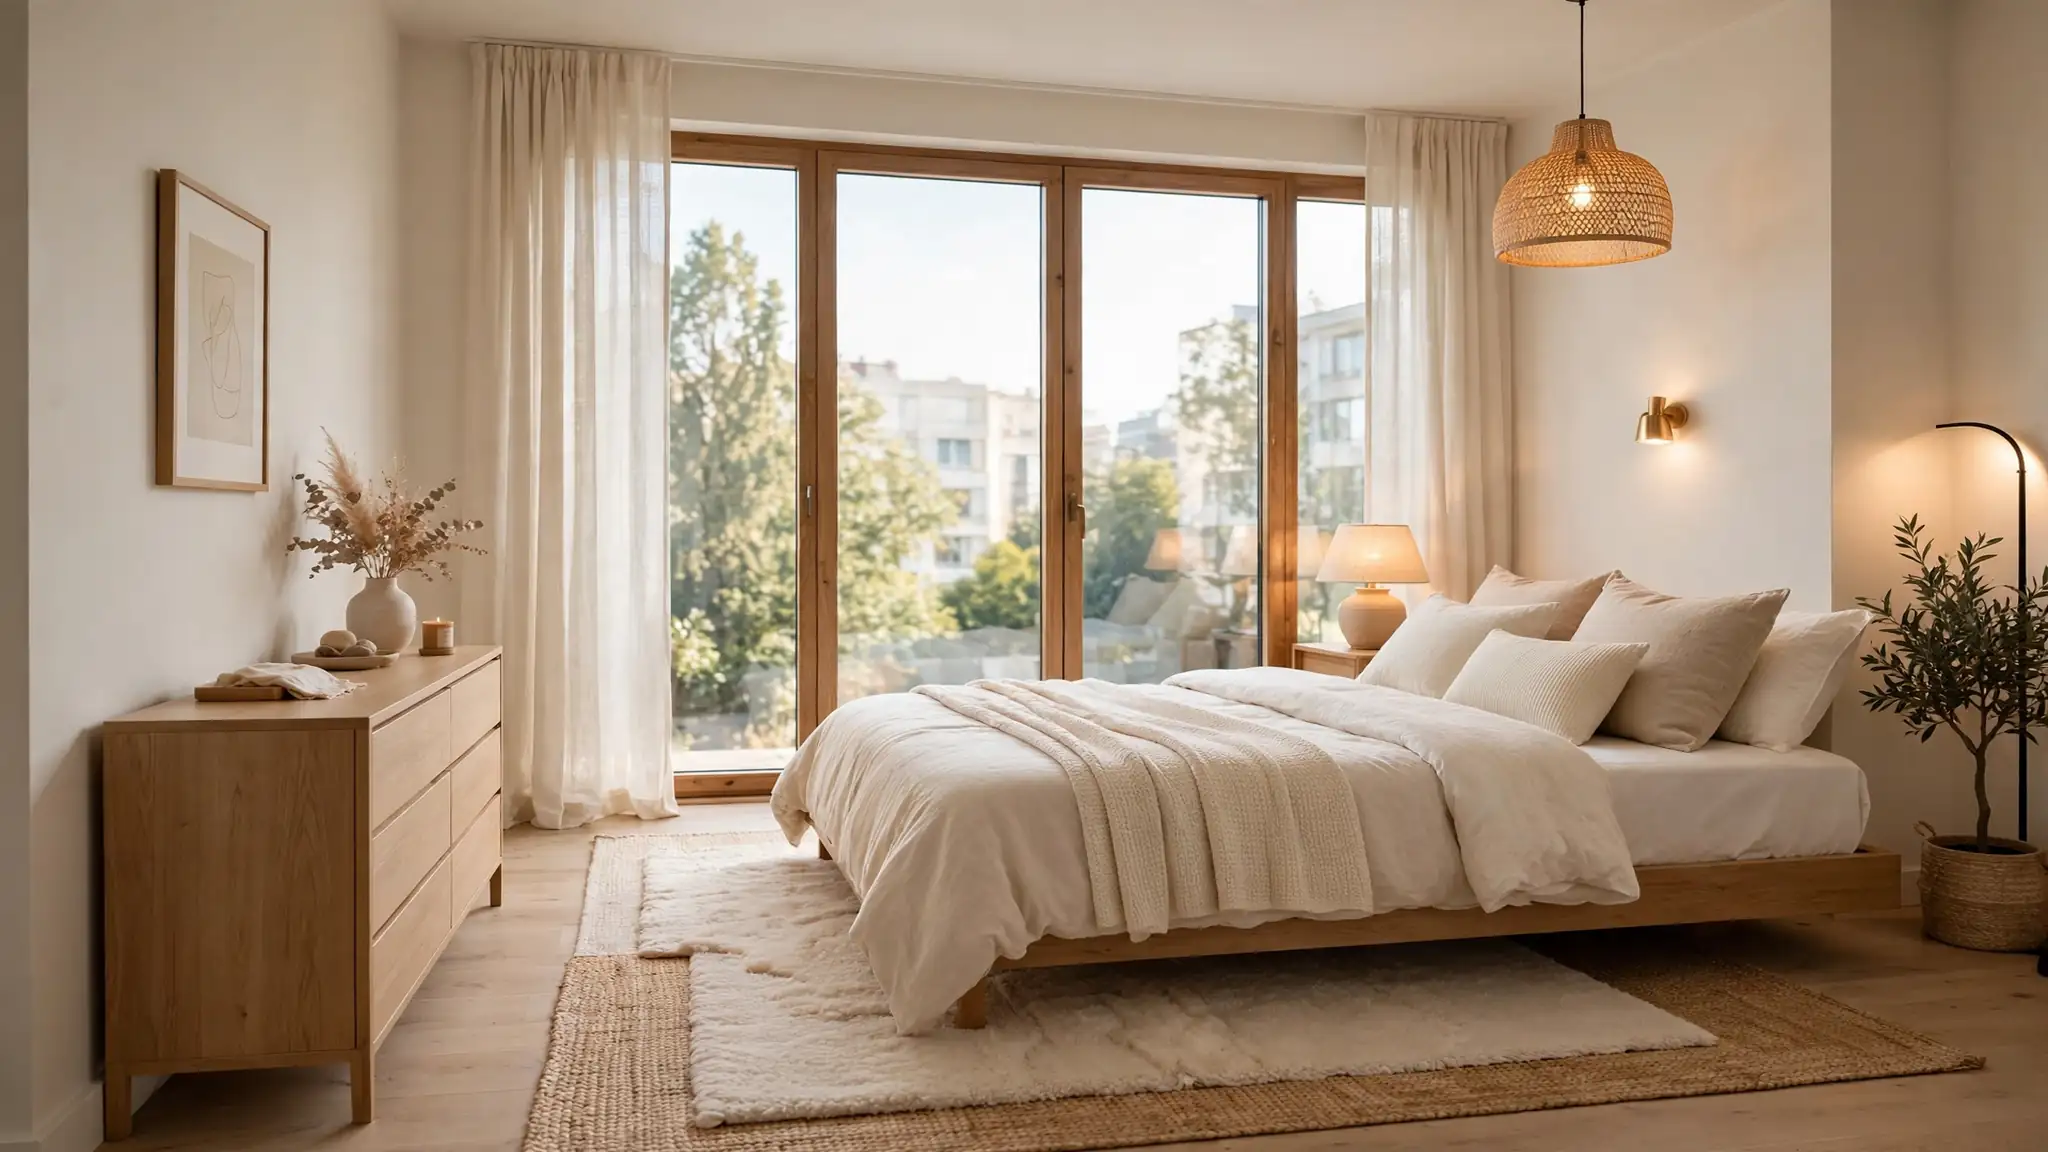
Small rooms reward smart thinking, and these apartment bedroom layouts prove placement beats square footage every time. Most renters arrange furniture once on moving day and never question it again, yet the bed, dresser, and desk all have better spots waiting to be found. A thoughtful layout adds walking space, morning light, and hidden storage without buying a single new thing. In my experience, the difference between a cramped bedroom and a calm one is rarely money. It is a few deliberate moves made with intention. The 23 layout ideas below walk you through bed placement, traffic flow, zoning tricks, and light planning, all renter friendly and budget smart. Pick one idea, try it this weekend, and feel the room change around you.
If a full room refresh sounds fun too, these apartment bedroom makeover ideas pair perfectly with a brand new layout. Start with the arrangement that fixes your biggest daily annoyance, then layer in the cosmetic upgrades. Small moves first, big style after, and one weekend is all it takes.
Bed Against Window
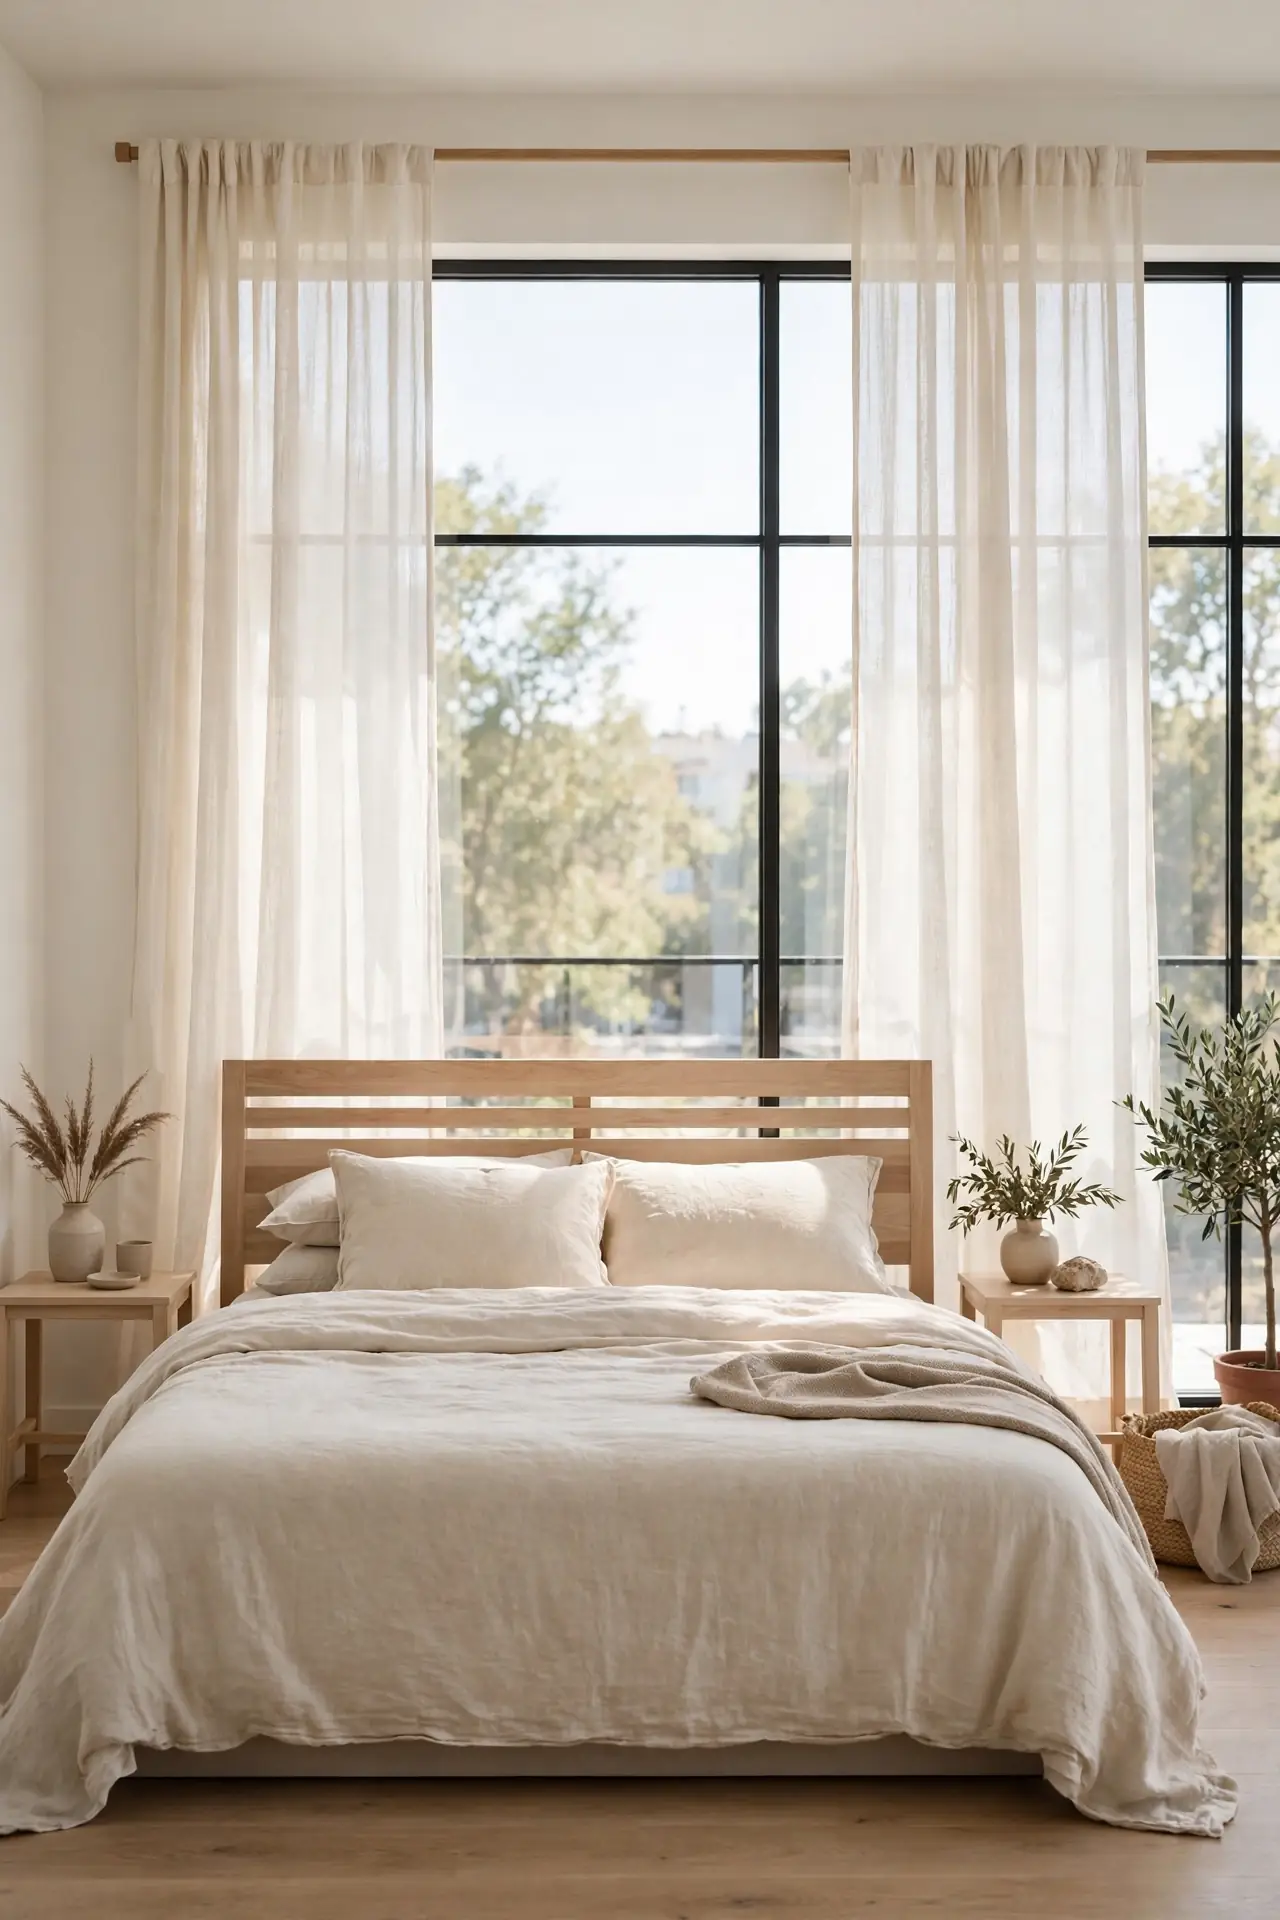
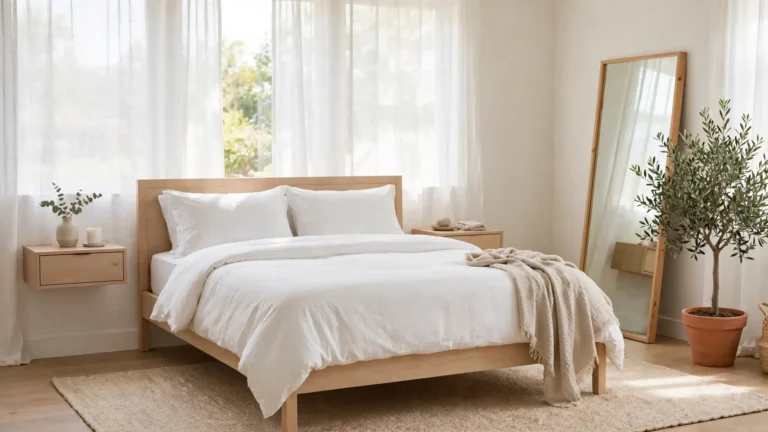
Sunlight changes everything about a bedroom, and placing your bed against the window wall puts that light to work. Morning sun lands softly on the pillows instead of glaring in your eyes, and the glass becomes a natural backdrop behind the headboard. Keep the bed low so the sill clears the frame, and choose sheer curtains for privacy without losing brightness. The view outside becomes part of your decor for free.
This placement also frees the longest wall for a dresser or storage, which small rooms desperately need. I have noticed renters hesitate to block windows, but a low headboard keeps sightlines open. Leave a small gap between the bed and the wall for airflow and easy curtain access. Measure twice, move once, and enjoy waking up in daylight.
Diagonal Bed Shift
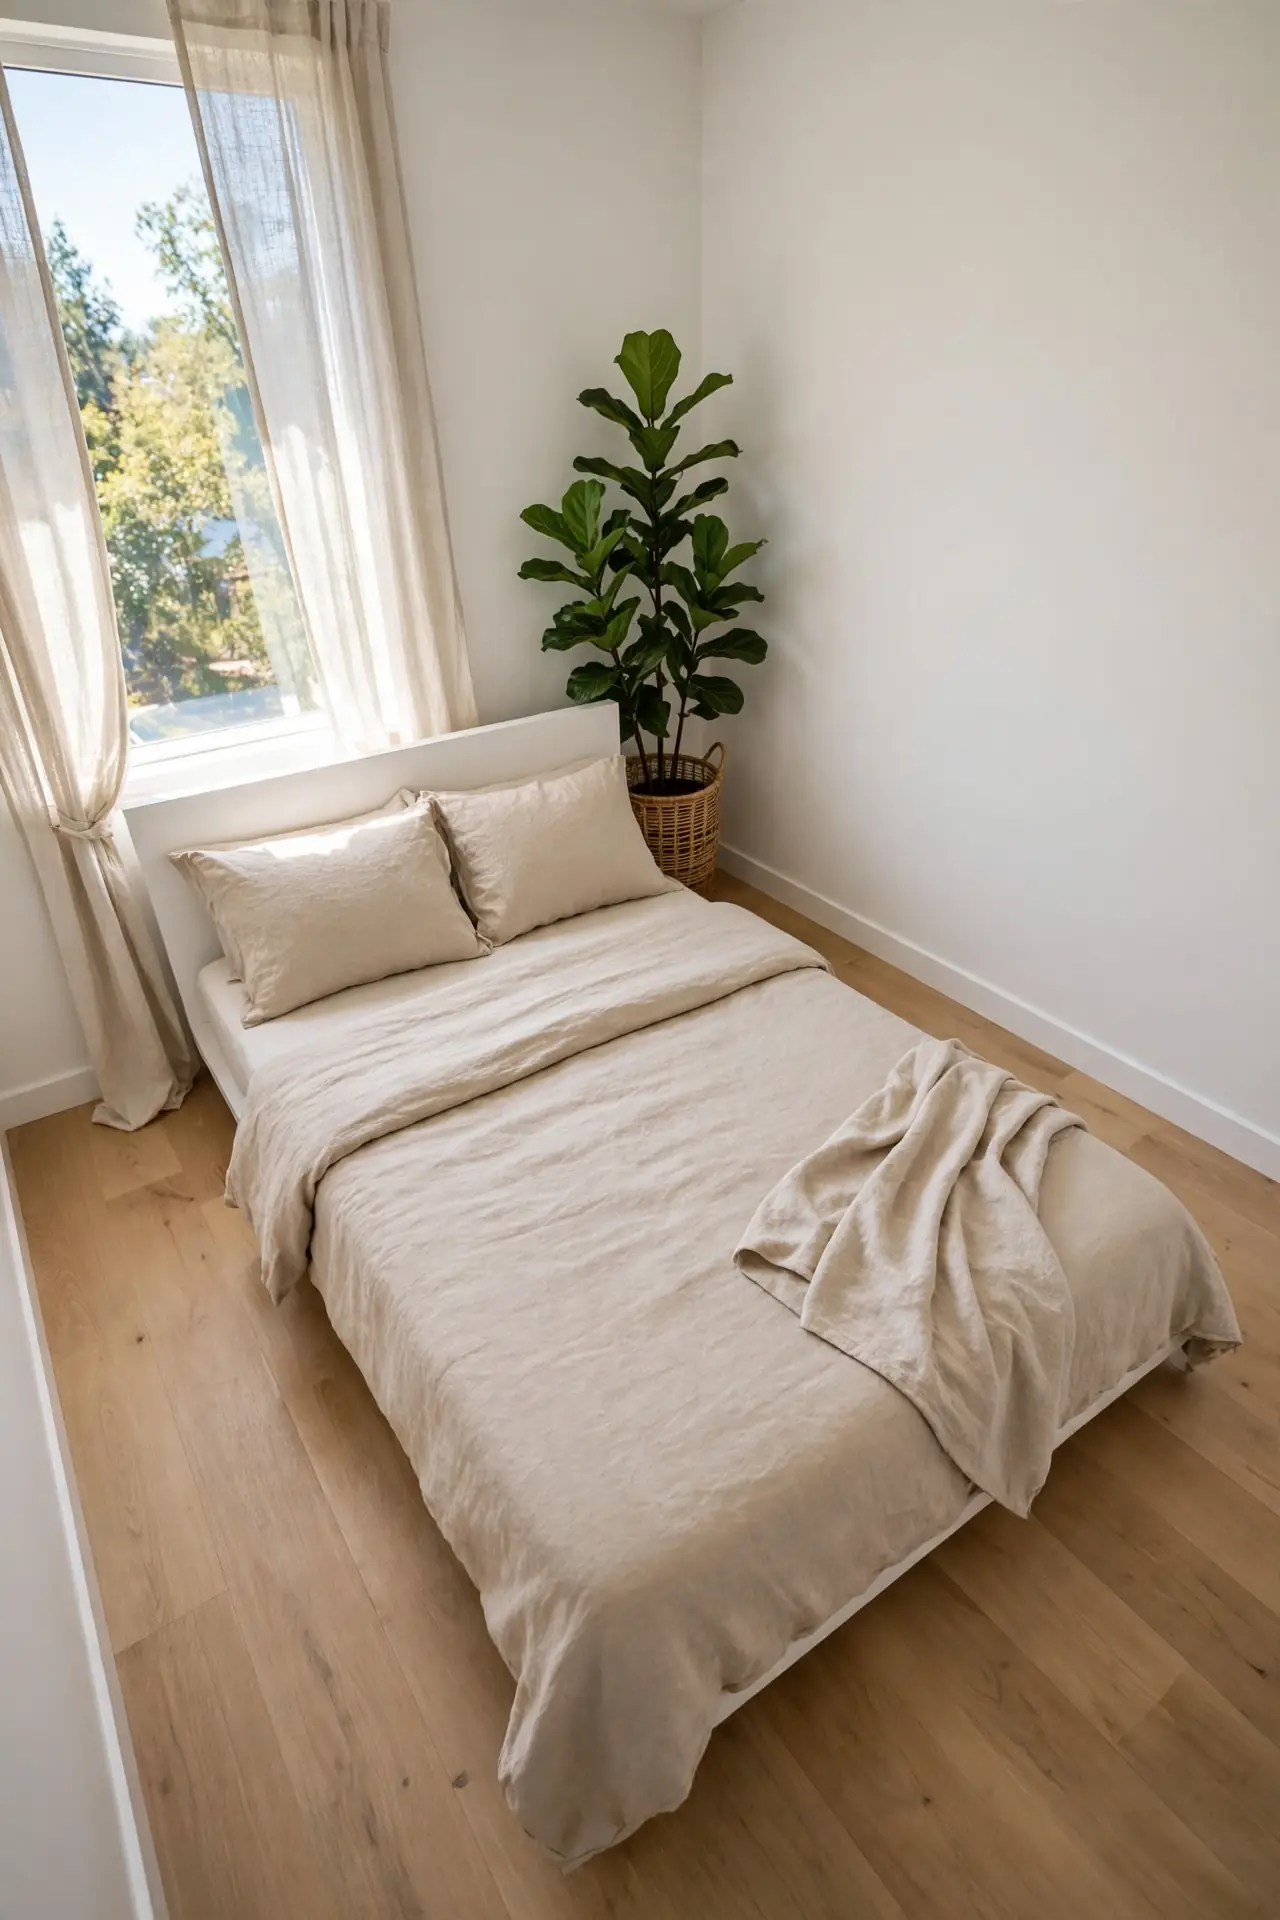
- Angle the bed across one corner so the headboard touches both walls and the foot points toward the door.
- This frees the two longest walls for a dresser, a desk, or generous open walking space.
- Tuck a tall plant in the corner behind the bed to soften the angled lines.
- Keep pathways at least 24 inches wide so the diagonal arrangement never feels cramped.
A diagonal bed placement surprises people, but it solves the classic square room problem where the bed eats the middle. I have seen this work well in many cases with rooms under 120 square feet. Sketch the layout on paper first, then move only the bed to test it. You will know within a day if the flow feels right.
Corner Reading Nook
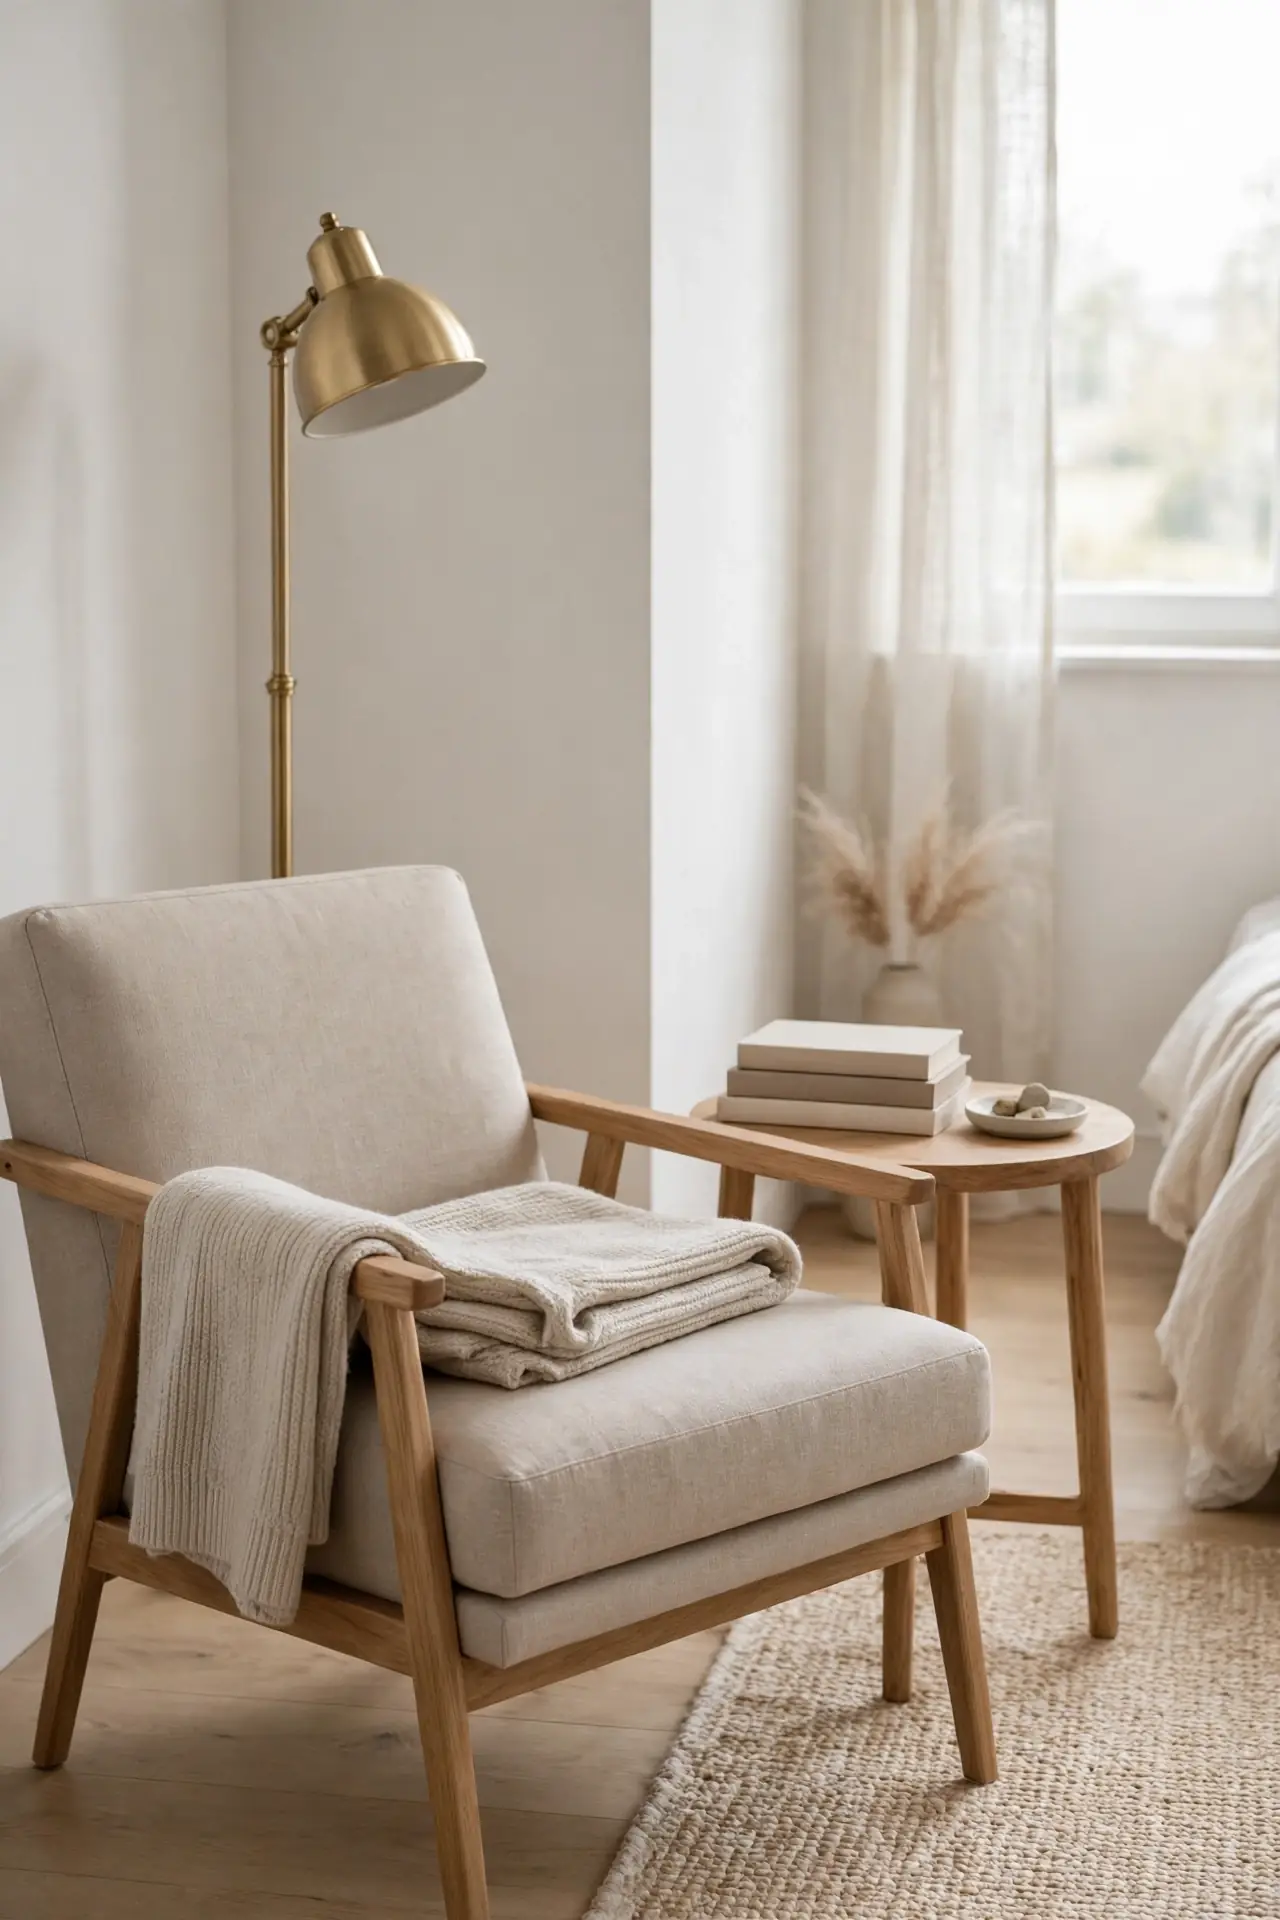
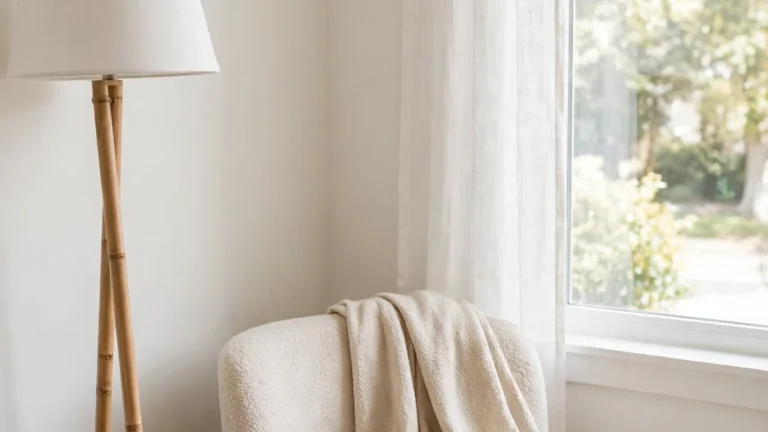
Quick Tip: Pick the brightest corner and place a small armchair at a 45-degree angle with a floor lamp tucked behind it. Add a folded throw and a low side table, and the whole setup comes together in minutes. This tiny zone makes the entire room feel bigger because every corner finally has a clear purpose.
Apartment bedrooms often waste their corners, and a reading nook turns dead space into the room’s favorite spot. Choose a chair with a slim profile so it never crowds the bed. Warm light from the lamp makes the nook inviting after dark. It also gives the layout a clear second zone, which is the quiet secret behind rooms that feel designed instead of just furnished.
Floating Nightstand Zone
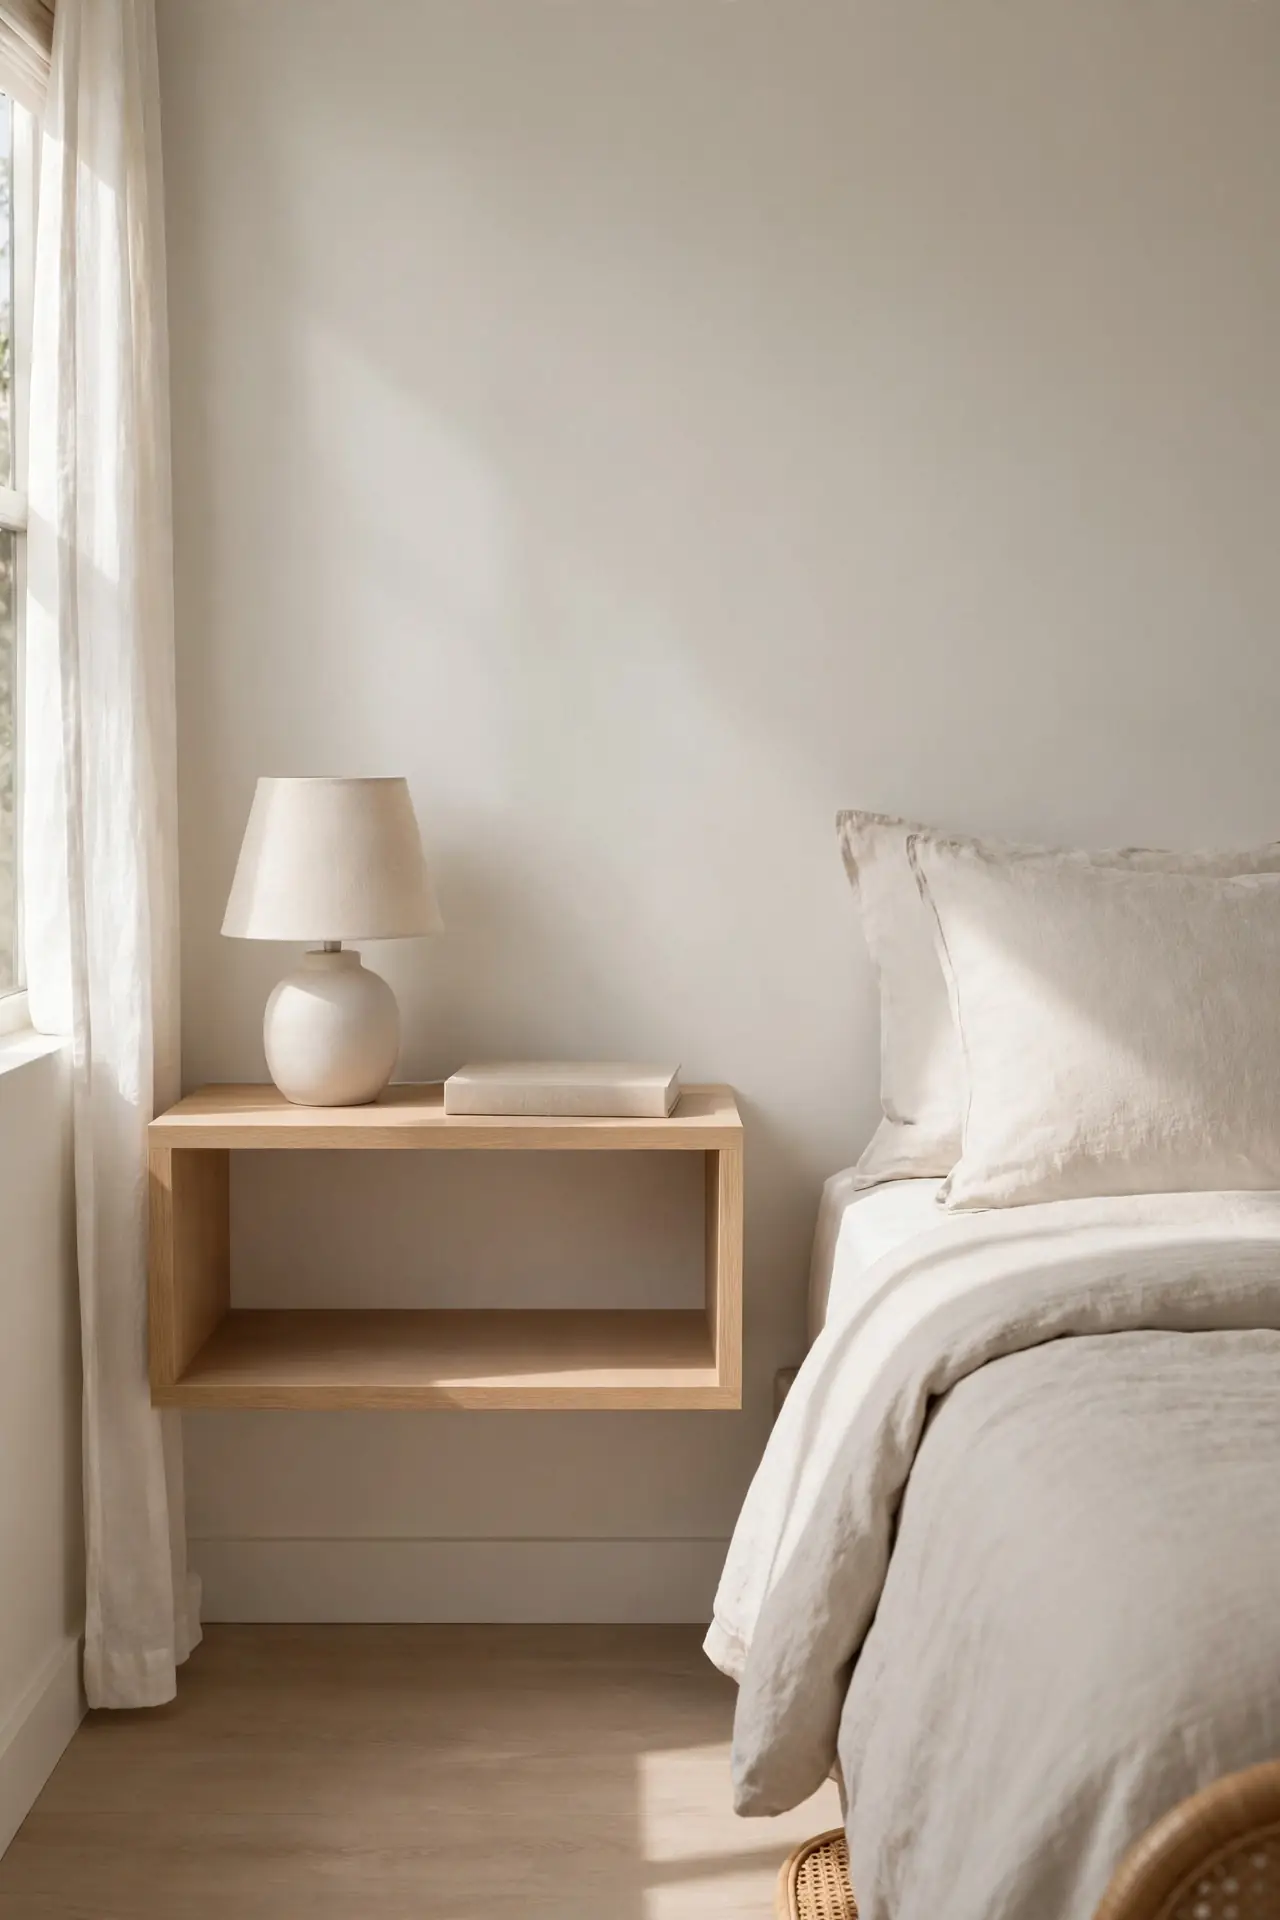
BEFORE: The nightstand was a bulky wooden box that jutted into the walkway and collected clutter on every surface. It made one side of the bed feel heavy and blocked the natural path to the closet.
AFTER: A wall-mounted shelf now floats beside the bed, holding a lamp and a book with clear floor space underneath. The room feels wider, and the walkway stays open from door to closet.
Floating nightstands trick the eye into seeing more floor, which is gold in tight layouts. Mount the shelf at mattress height so reaching your lamp feels natural. Anchor into a stud or use heavy duty toggle bolts for solid support. The open space underneath also makes cleaning around the bed wonderfully easy.
Storage Bed Zone
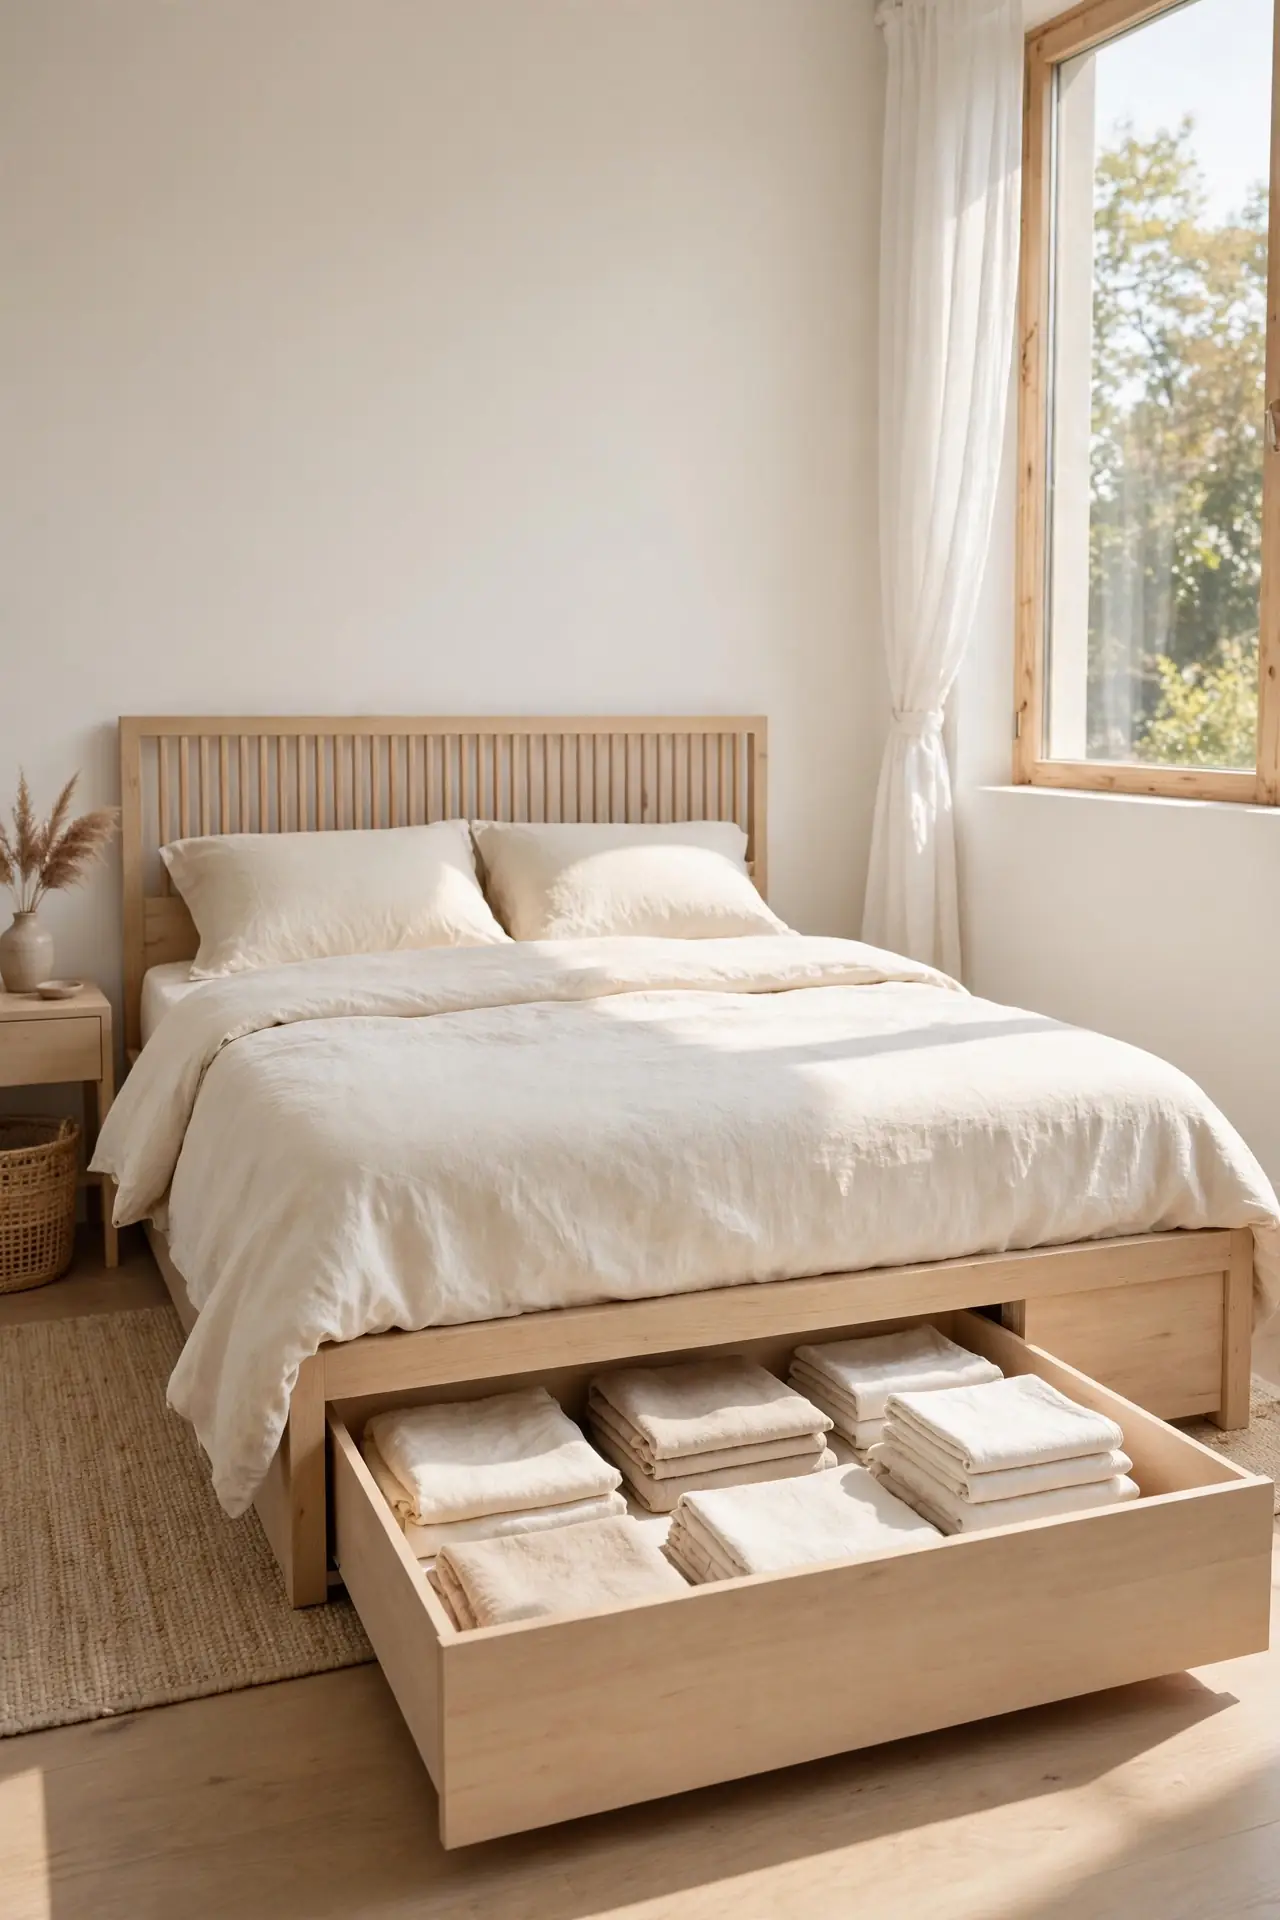
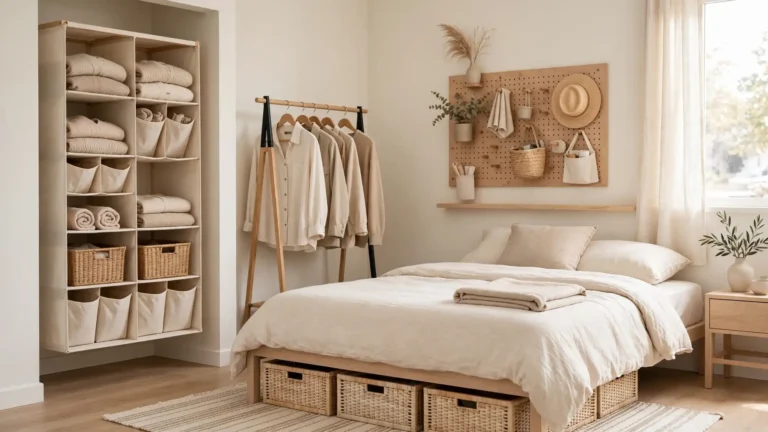
- Choose a bed frame with deep drawers or a hydraulic lift base for generous hidden storage.
- Sort seasonal clothes, extra bedding, and luggage into the drawers by category.
- Leave one drawer empty so the layout can grow with your changing needs.
- Vacuum under and around the frame monthly to keep dust from settling in.
A storage bed removes the need for a second dresser, which frees an entire wall in a small bedroom. I have noticed renters gain the equivalent of a closet without losing a single inch of floor. Measure your drawers before buying bins so everything slides smoothly. The room stays tidy because every item finally has a real home.
Rug Anchor Setup
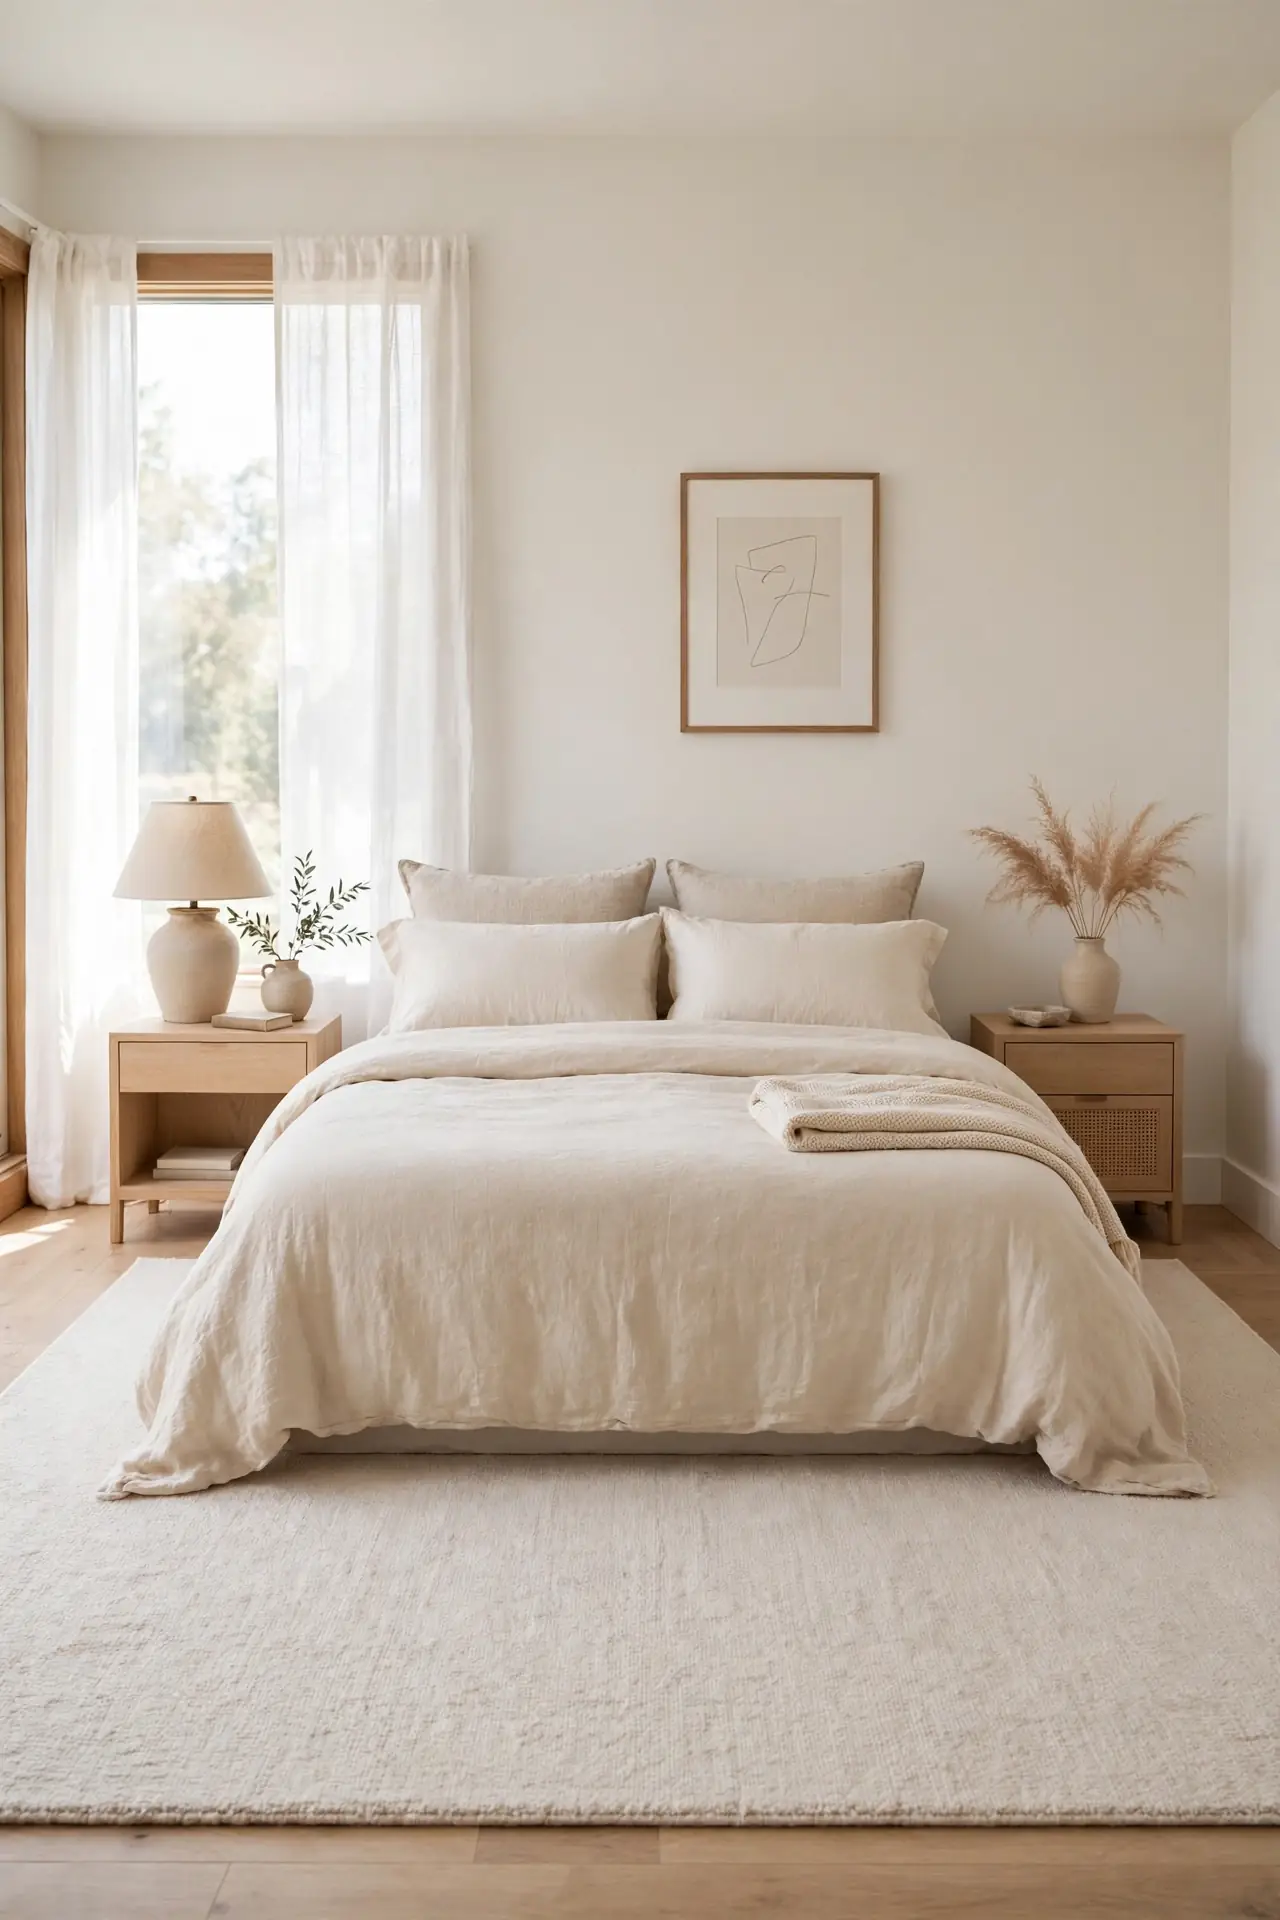
| Option | Coverage | Best For |
| One large rug | Bed plus both nightstands | Simple rooms needing one calm base |
| Layered rugs | Bedside strips over a flat weave | Adding texture and softness cheaply |
| Rug under bed only | Foot and sides of the bed | Tight budgets and small footprints |
A rug defines the sleep zone in an open studio layout better than any furniture arrangement. Let the rug extend at least 18 inches past each side of the bed so your feet land on softness. Match the rug tone to your bedding for a calm, continuous look. The right rug makes the bed feel like a deliberate destination, not just furniture against a wall.
Walkway Clear Path
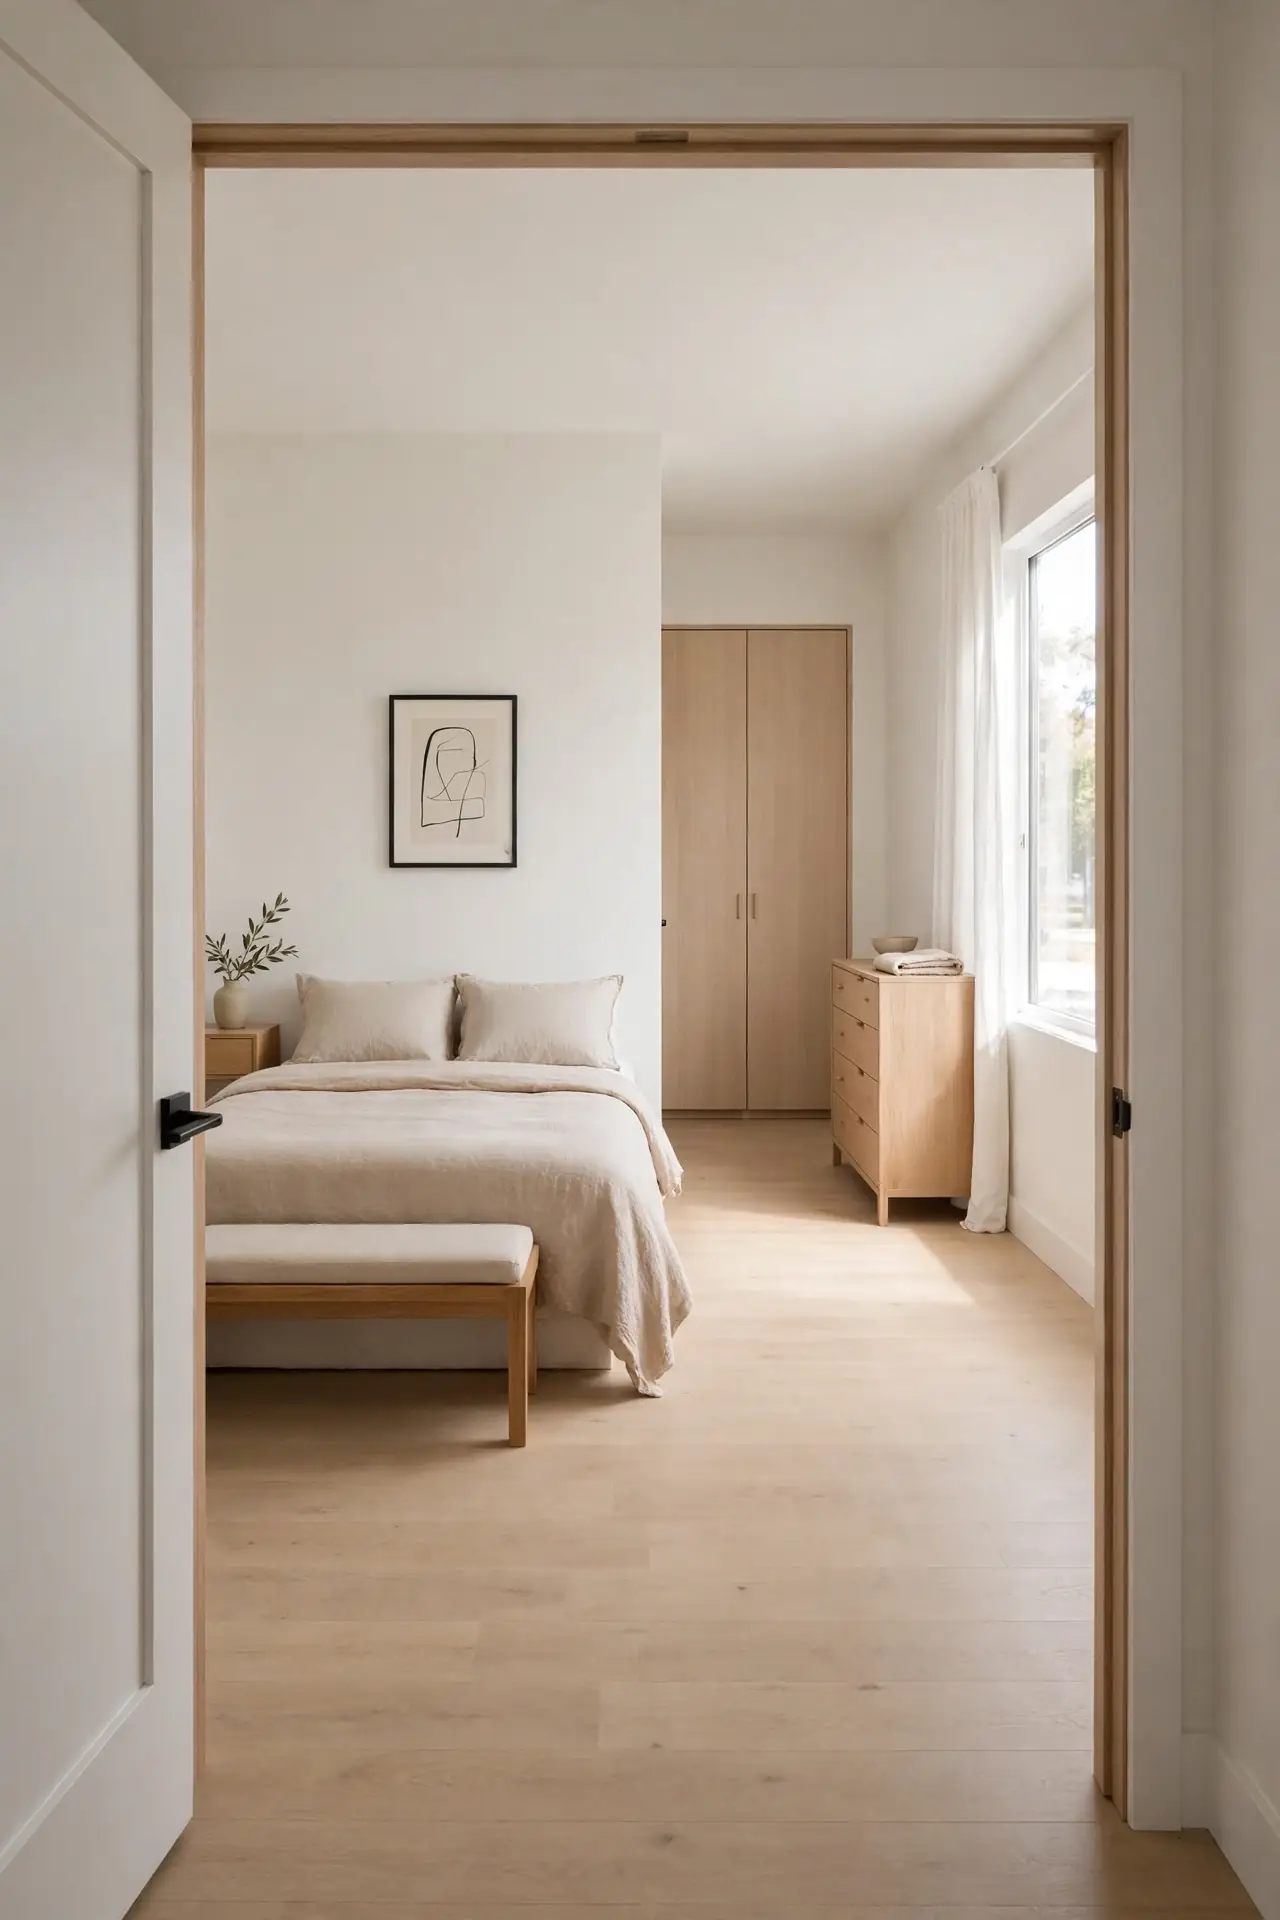
DO: Keep a clear 30-inch path from door to closet.
DO: Push furniture flush against walls to keep walkways wide.
DO: Choose rounded-corner pieces where paths turn tight.
DO: Test the path with a laundry basket to catch real-life snags.
DON’T: Let the bed foot block the door swing or closet reach.
DON’T: Place a dresser where open drawers narrow the walkway.
DON’T: Run cords across the floor where feet travel daily.
DON’T: Stack boxes in the path and call it temporary storage.
Clear walkways separate rooms that flow from ones that frustrate. I have watched renters move one dresser and suddenly love their layout. Walk the route slowly and notice where your shoulders tense. Fix those spots first, because comfort is the true measure of a good layout.
Window Seat Layout
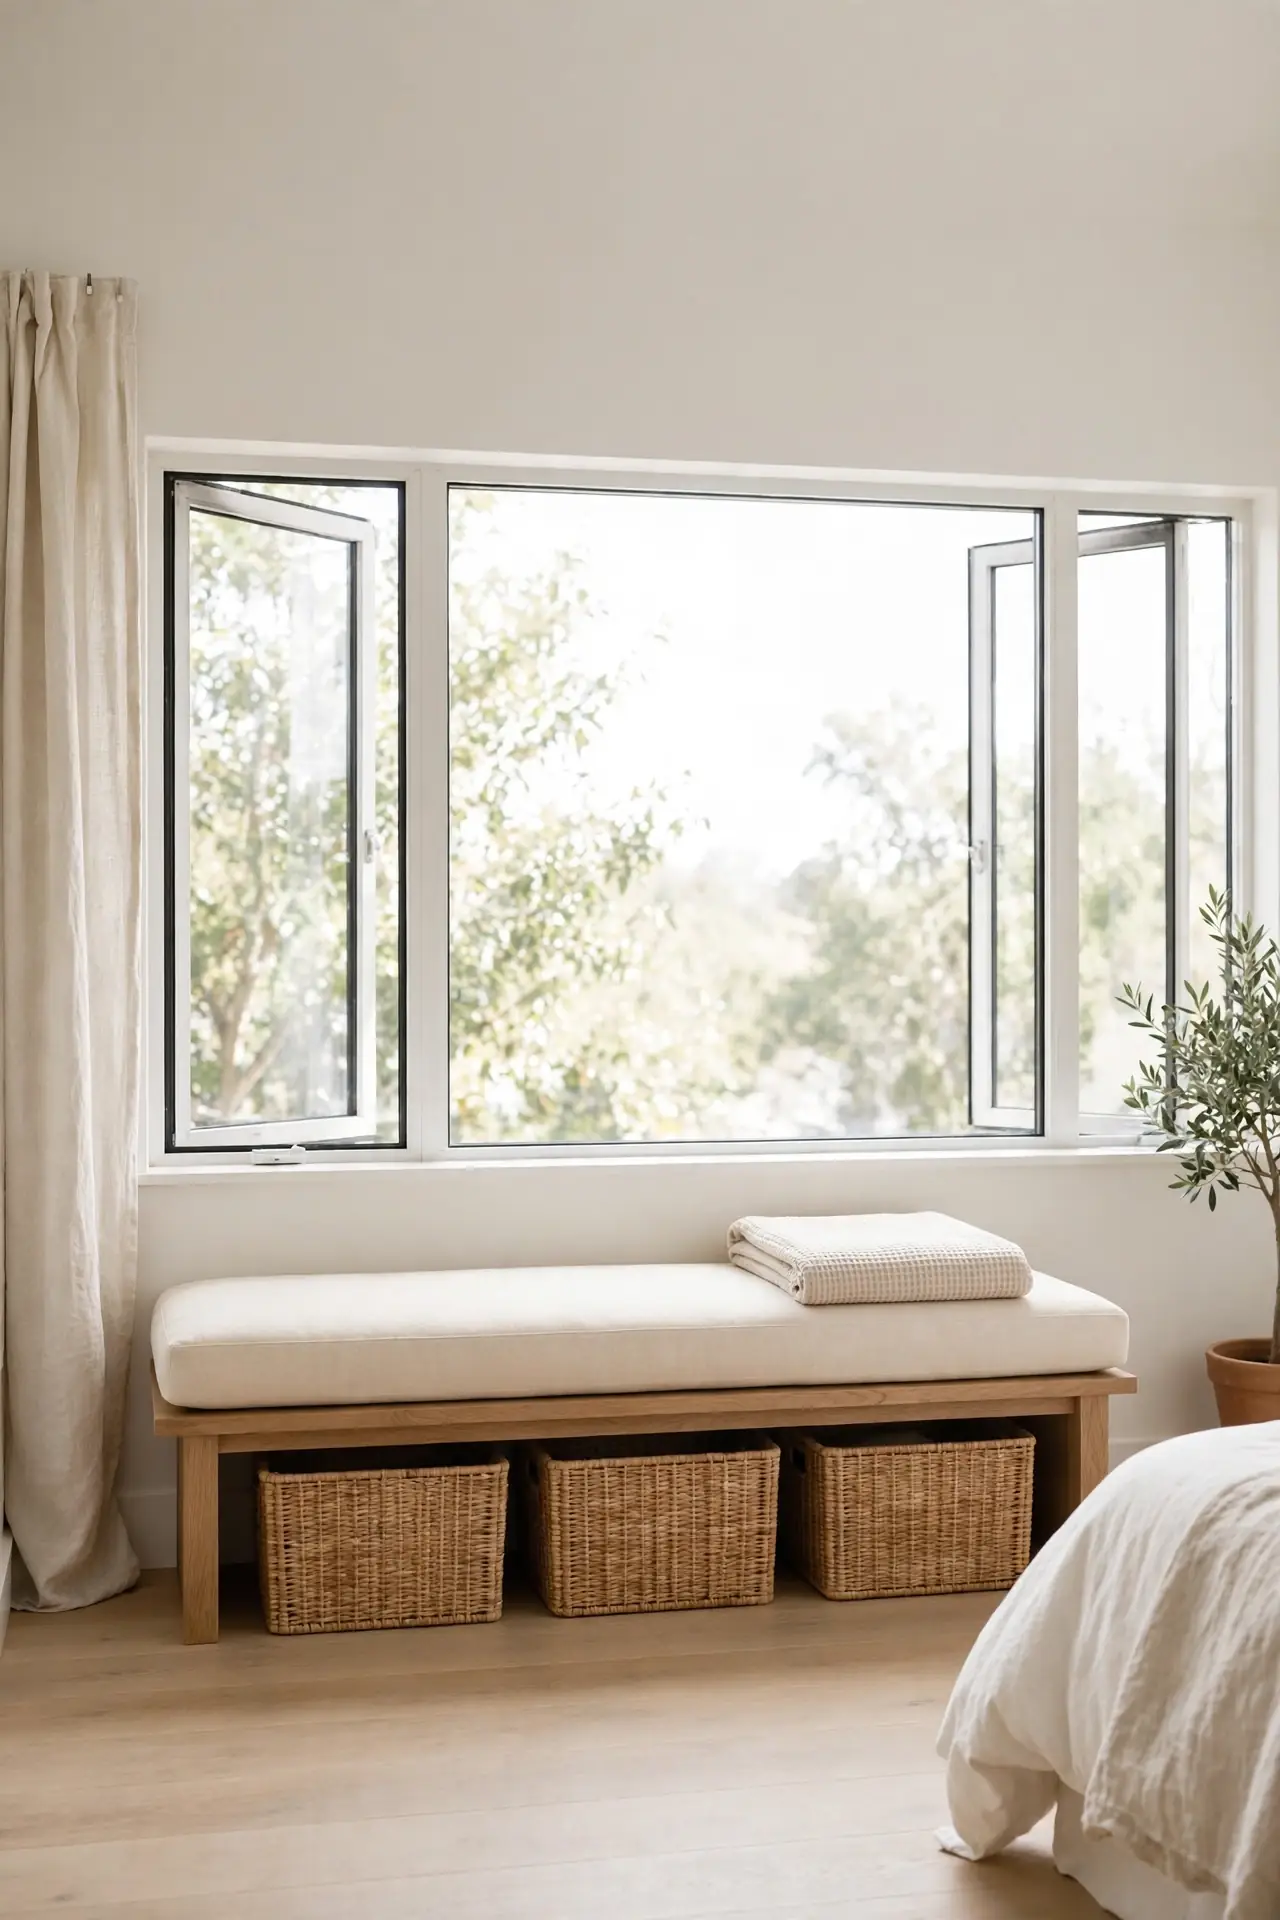
Best For: Wide window walls | Cost: Low to medium | Time: One weekend | Result: A sunny perch that adds seating without extra furniture.
A window seat turns an underused wall into the room’s best feature. Place a low bench or a firm cushion along the sill with storage baskets tucked underneath. In my experience, this single addition makes renters spend more relaxed time in their bedroom. Add one lumbar pillow and a folded throw for comfort. The seat doubles as a dressing bench, so it earns its footprint twice over every single day. A cushion in a washable cover keeps the seat practical for daily use.
Work Desk Corner
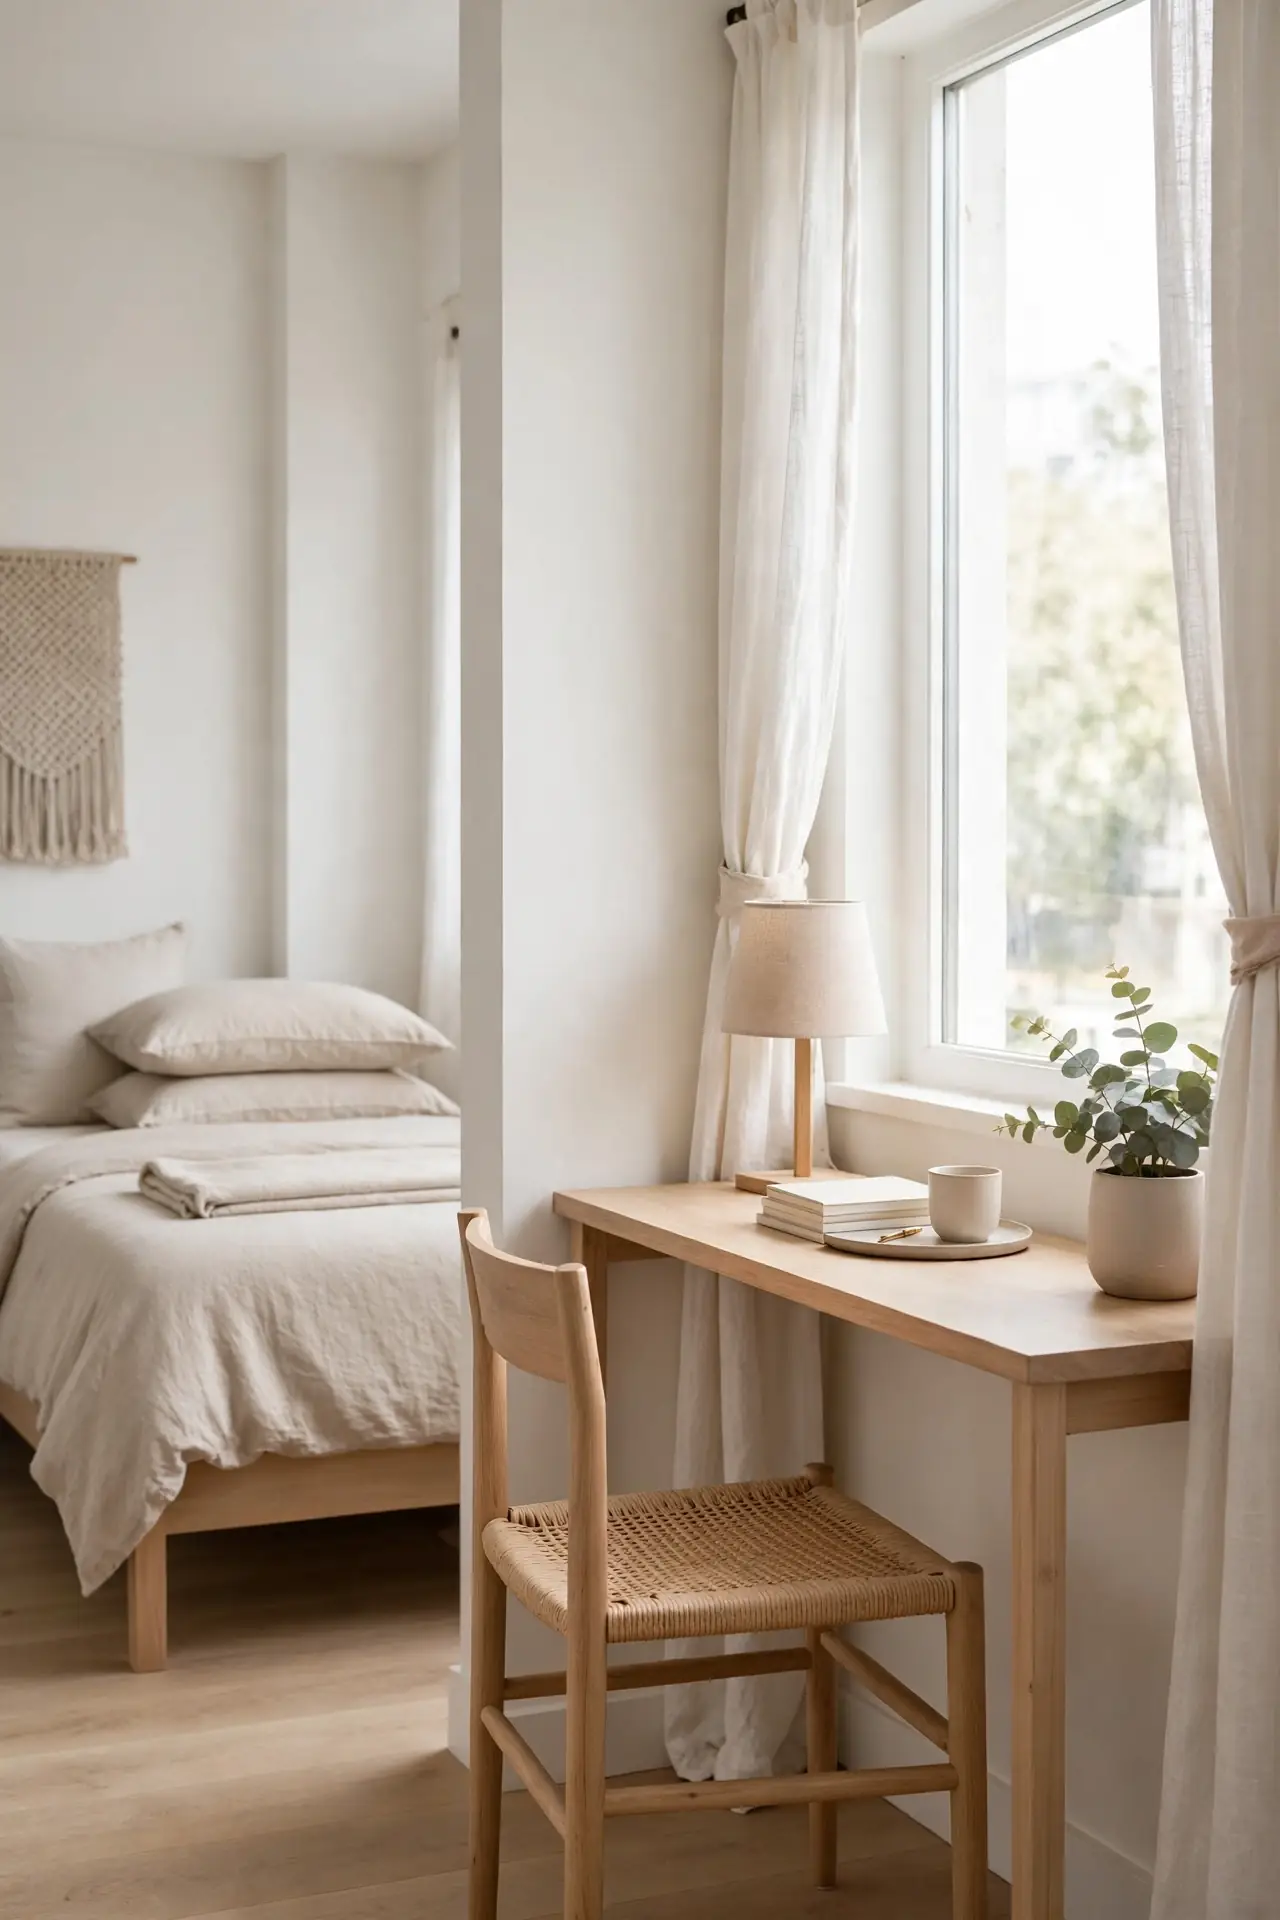
A desk in the bedroom works when it claims a corner instead of floating in the middle. Tuck a narrow desk against the wall beside the closet or under a window, and face it toward the room so the bed stays out of your sightline. A chair that slides under the desk keeps the floor clear when work ends. The corner placement keeps sleep and work feeling like separate worlds.
Cable management makes or breaks this layout, so clip cords to the desk leg and use one power strip. I have seen this work well in many cases for remote workers in studios. Set a lamp with warm light to signal work hours versus rest hours. When the laptop closes, the corner fades and the bedroom feels restful again.
Mirror Bounce Plan
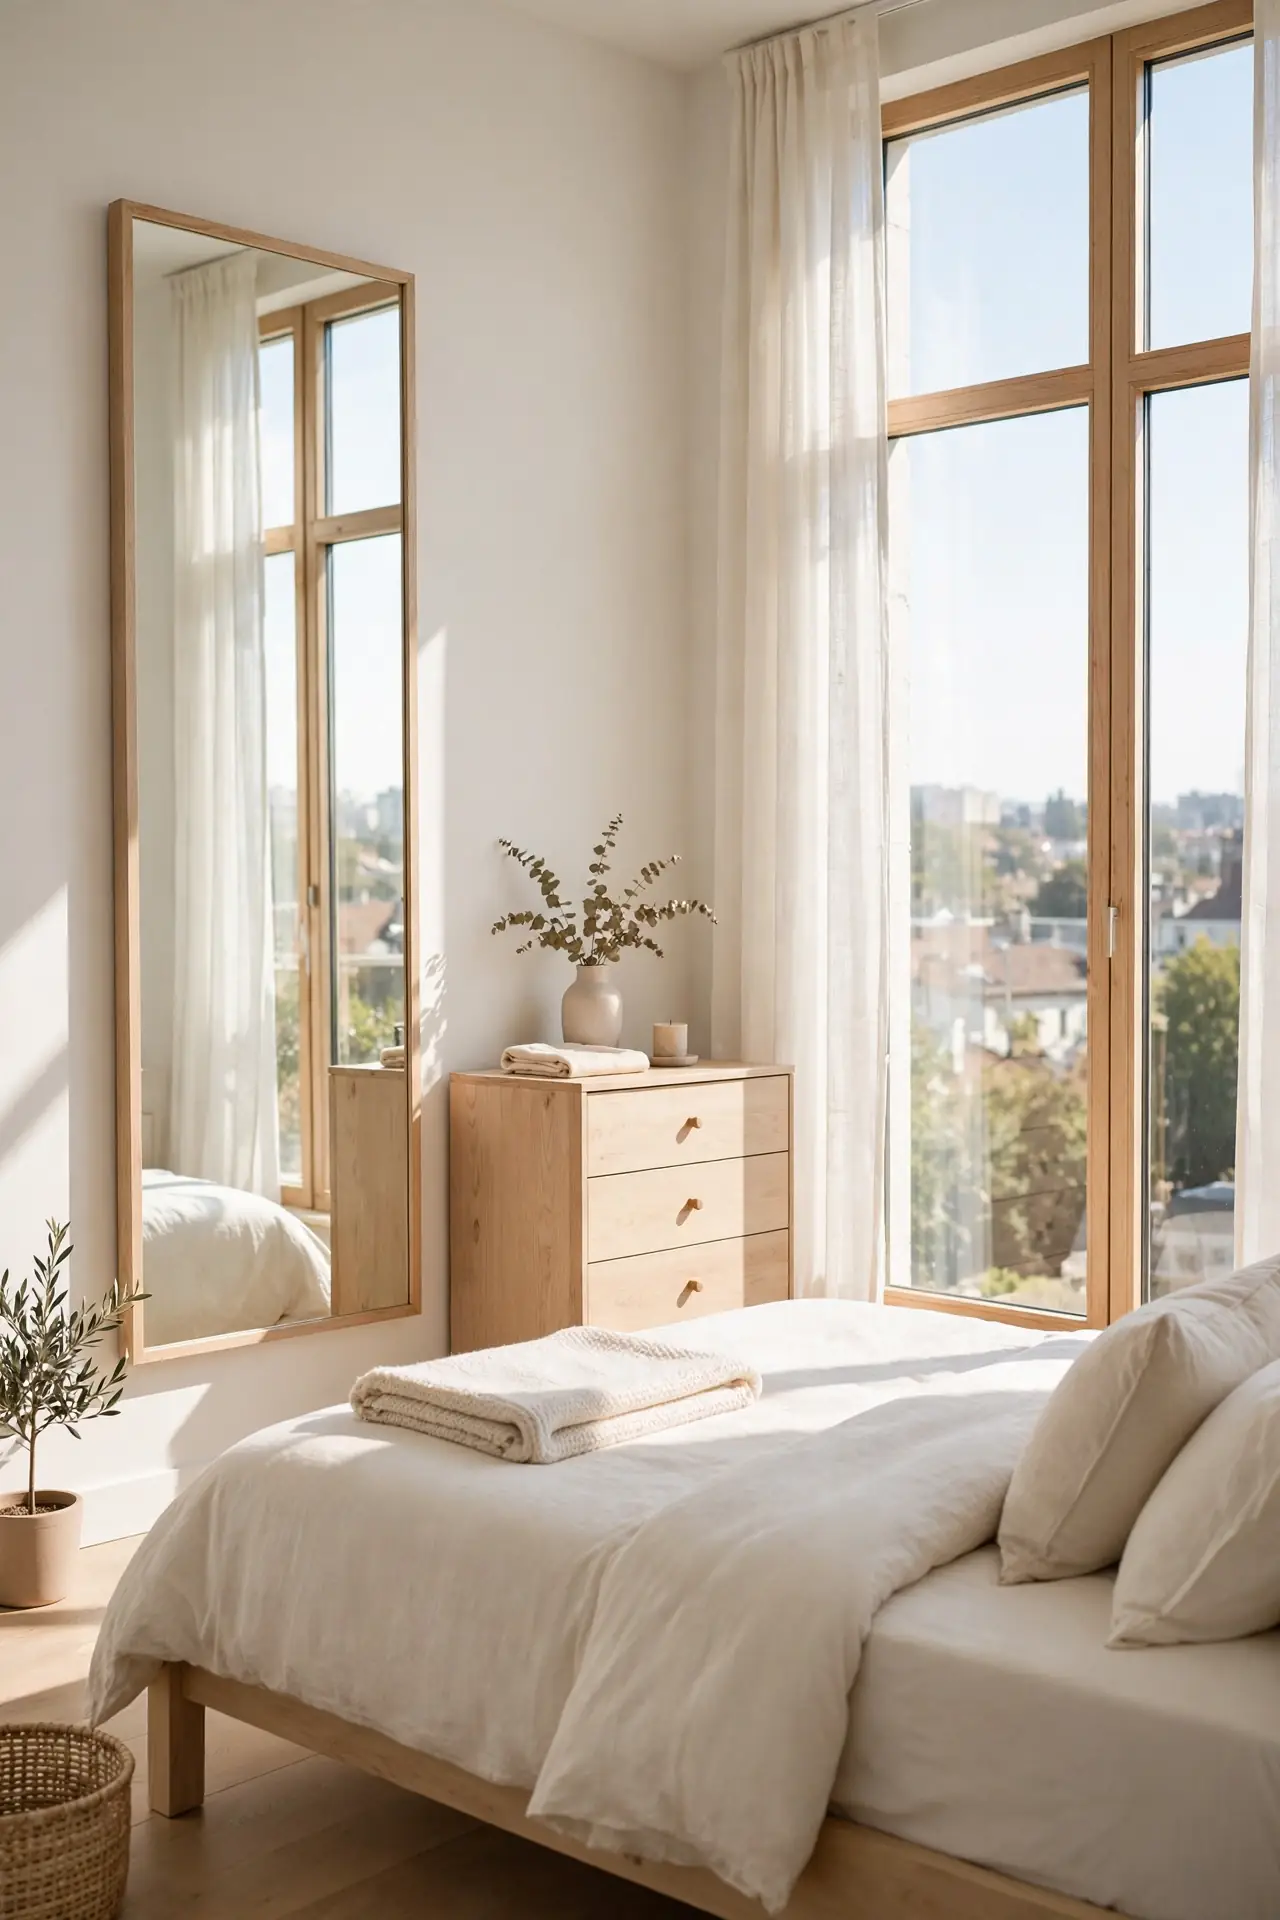
- Hang the mirror directly across from the window so daylight bounces deep into the room.
- Choose a tall mirror to stretch the wall height visually.
- Lean an oversized mirror against the wall for a renter-friendly, no-drill option.
- Keep the mirror’s view clear of clutter so the reflection stays calming.
Mirrors double whatever light your bedroom gets, and placement decides how far that light travels. A mirror opposite the window throws brightness onto dark corners that lamps never reach. I have seen small bedrooms feel twice their size with one well-placed mirror. Skip mirrored closet doors if they face the bed, since moving reflections can disturb sleep. One large mirror beats several small ones for a calm, open feel.
Headboard Wall Switch
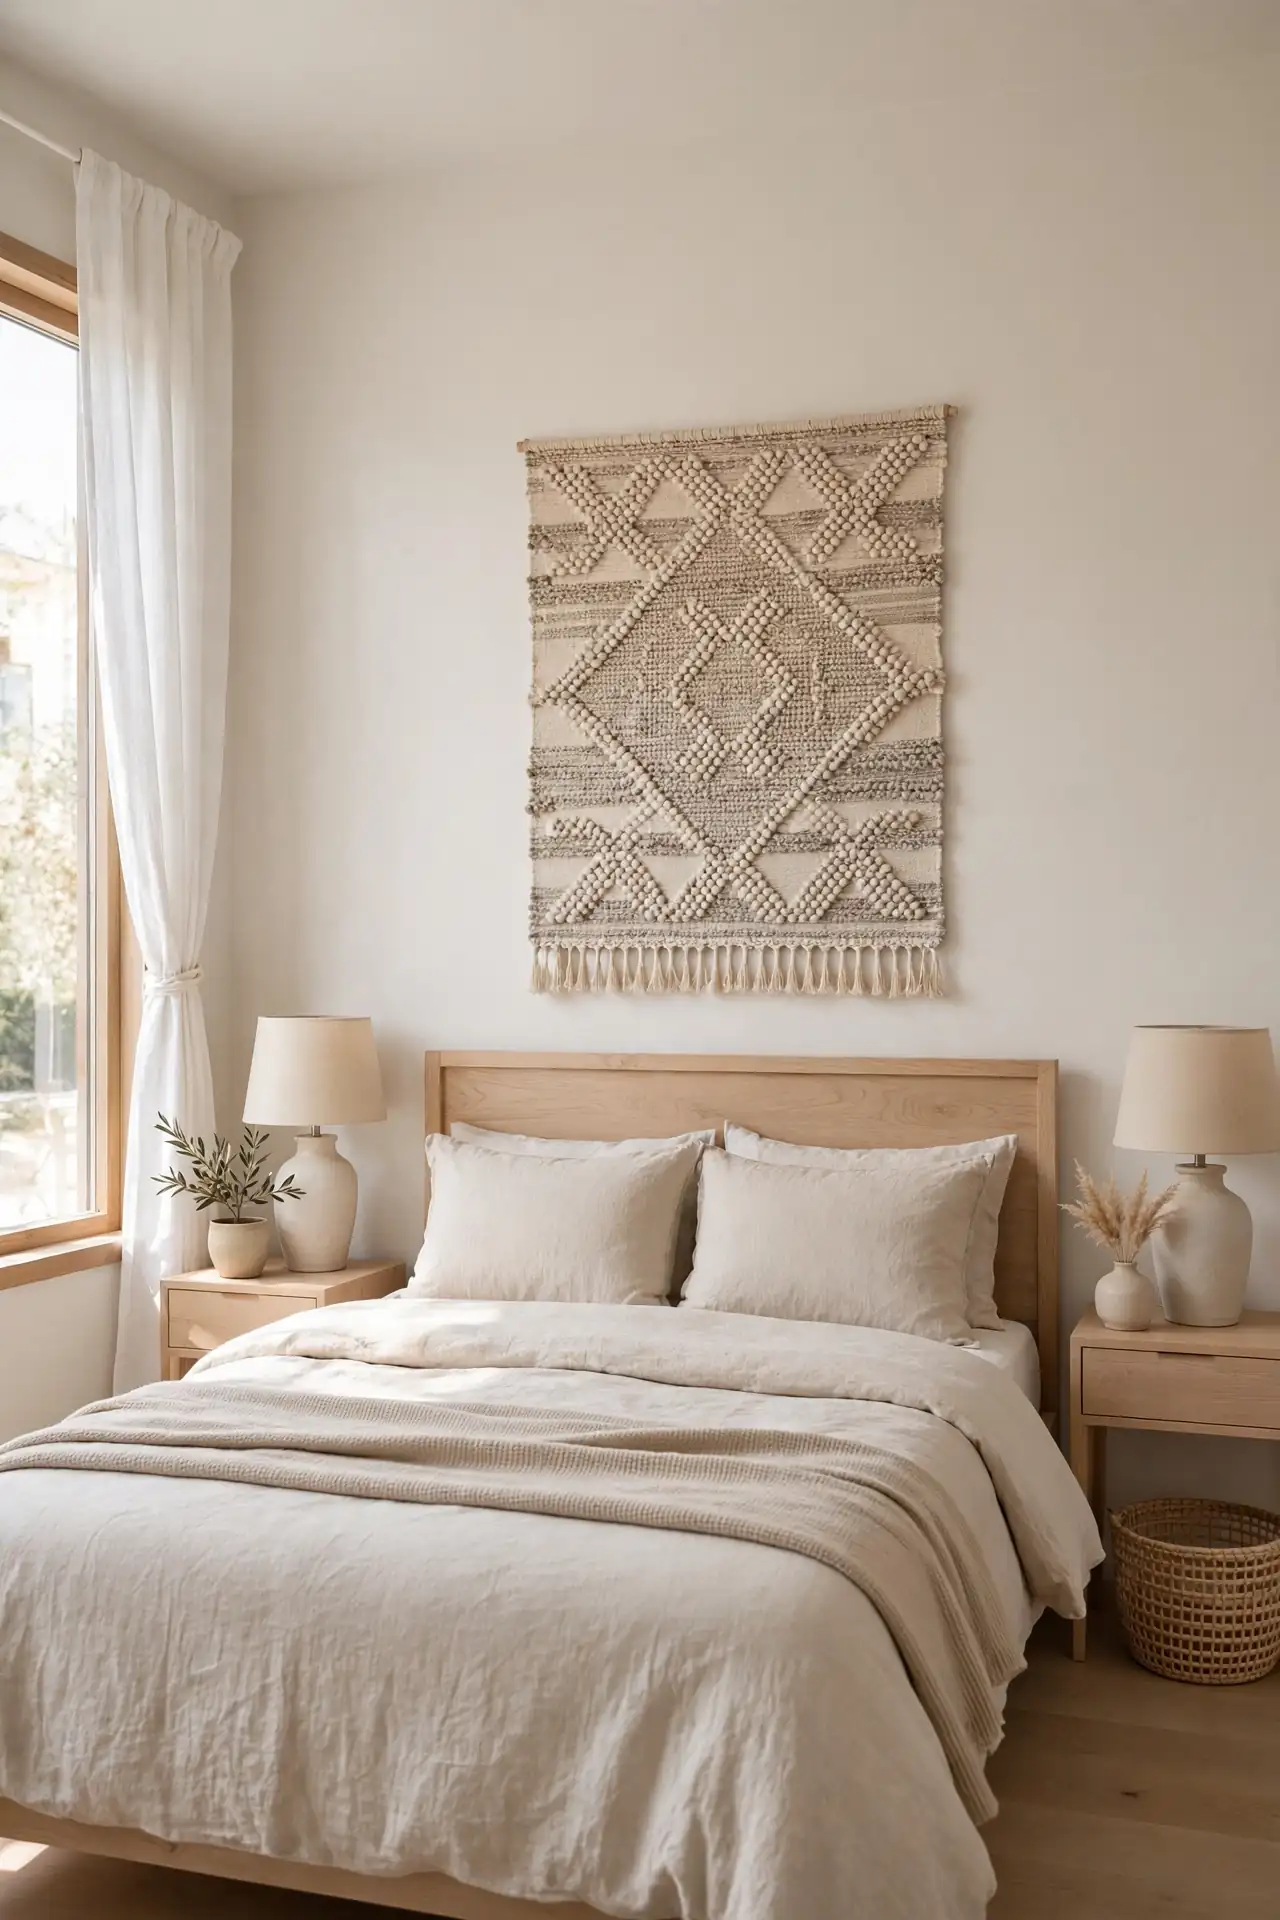
Quick Tip: Try the bed on the wall opposite the door first, then test it on the adjacent wall for a full day each. Notice which spot gives you a clear view of the doorway without facing it head-on. The winner usually feels obvious by the second morning.
The wall behind your headboard sets the tone for the entire layout, so choose it deliberately. A solid wall beats a window wall for support and blocks less natural light. I have noticed renters default to the longest wall, but the best wall is the one that gives the bed a clear, grounded backdrop. Test both options before committing heavy furniture. Your sleep quality will reflect the choice.
Dual Nightstand Balance
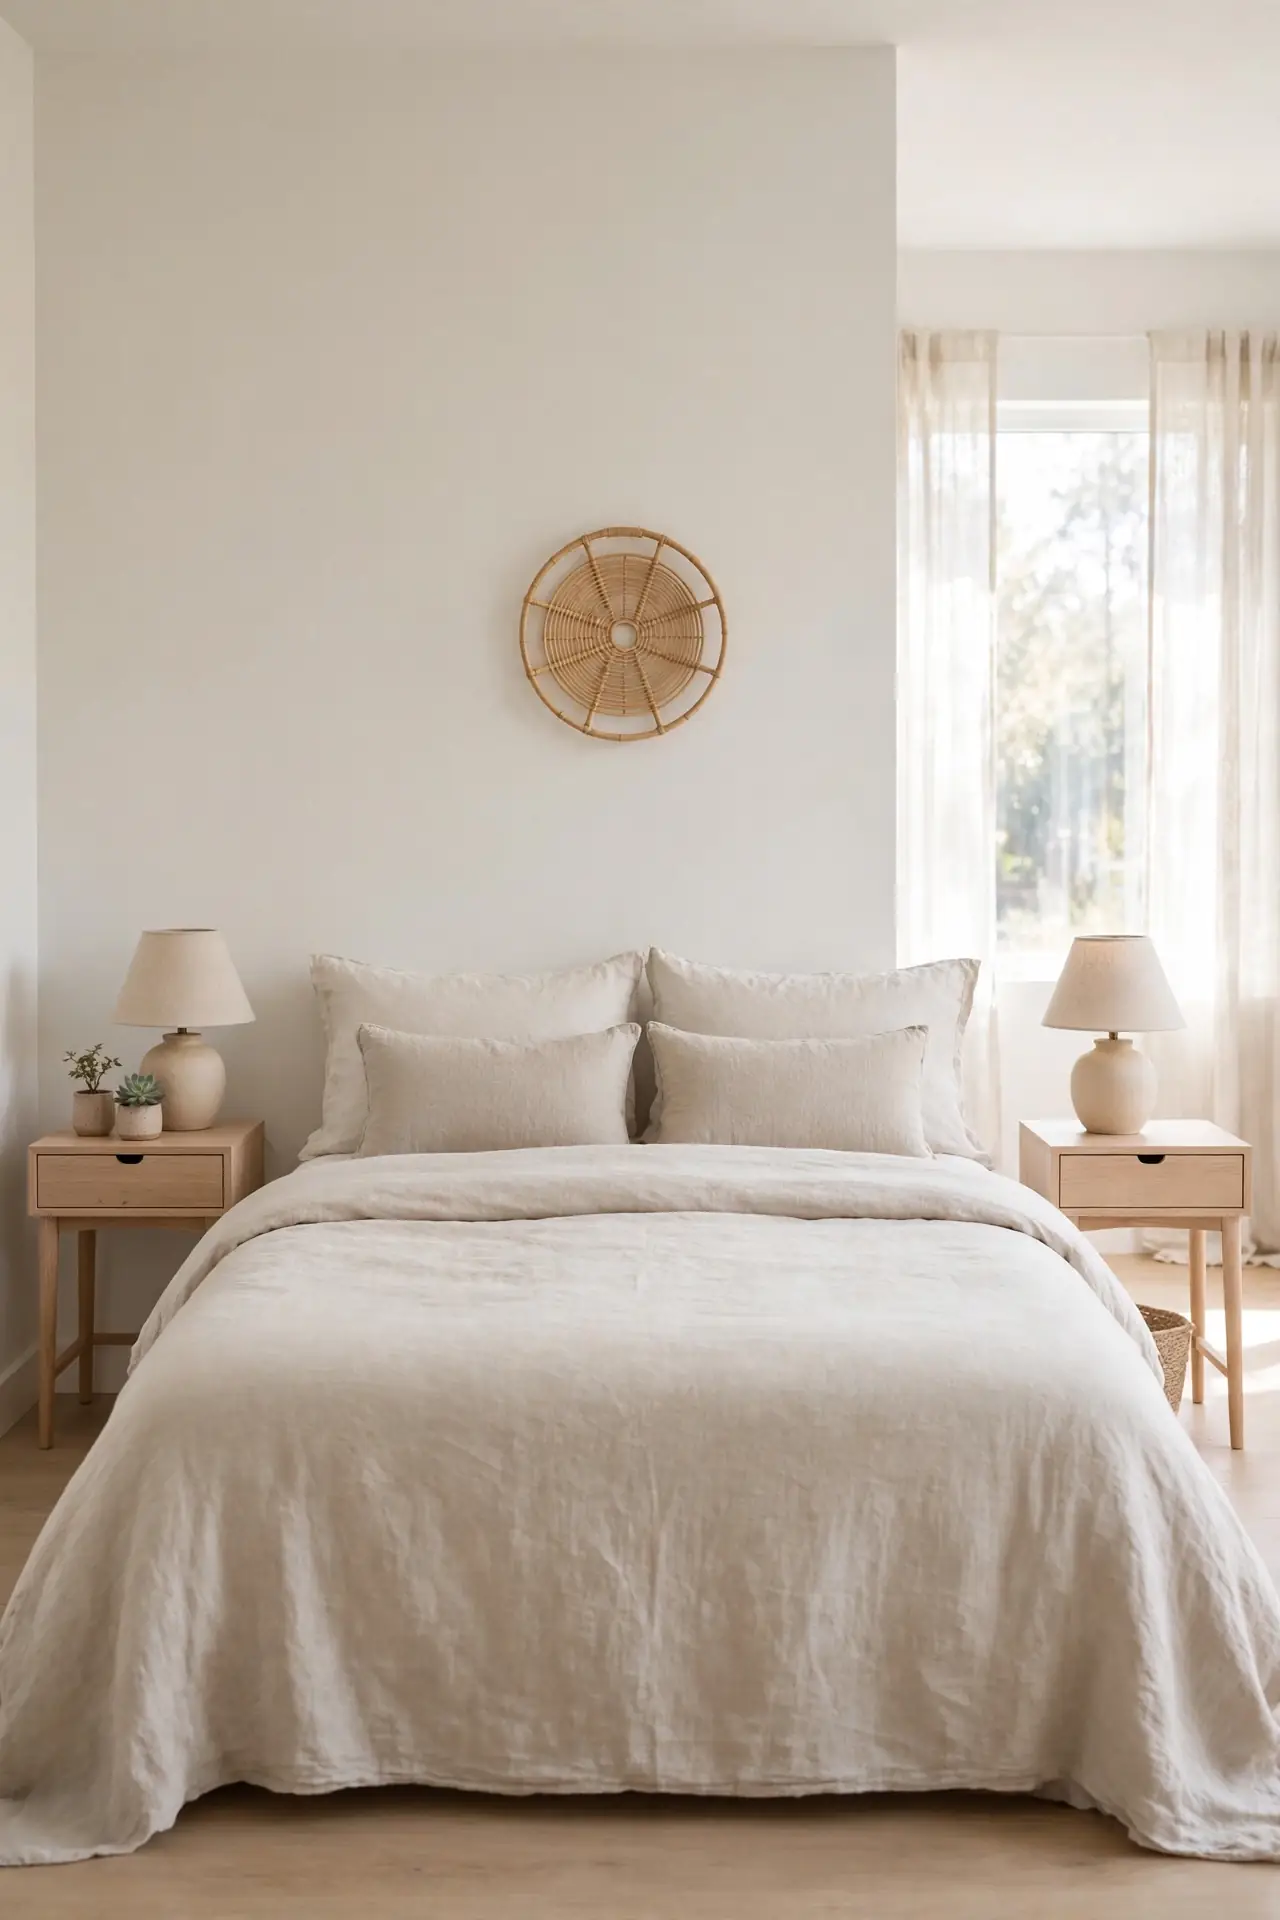
BEFORE: One nightstand crowded the left side while the right side sat empty, and the lopsided layout made the bed look temporary. The empty side collected laundry piles and random clutter.
AFTER: Two slim nightstands now flank the bed with matching lamps, and the symmetry makes the whole room feel intentional. Each side holds only the essentials, and the floor stays clear.
Matching nightstands create visual calm even when the pieces are not identical. Keep the heights within two inches so the symmetry reads clearly. I have watched this simple balance make rental bedrooms feel like boutique hotels. Clear the surfaces nightly to keep the calm. Symmetry works hardest when it stays simple.
Closet Door Clearance
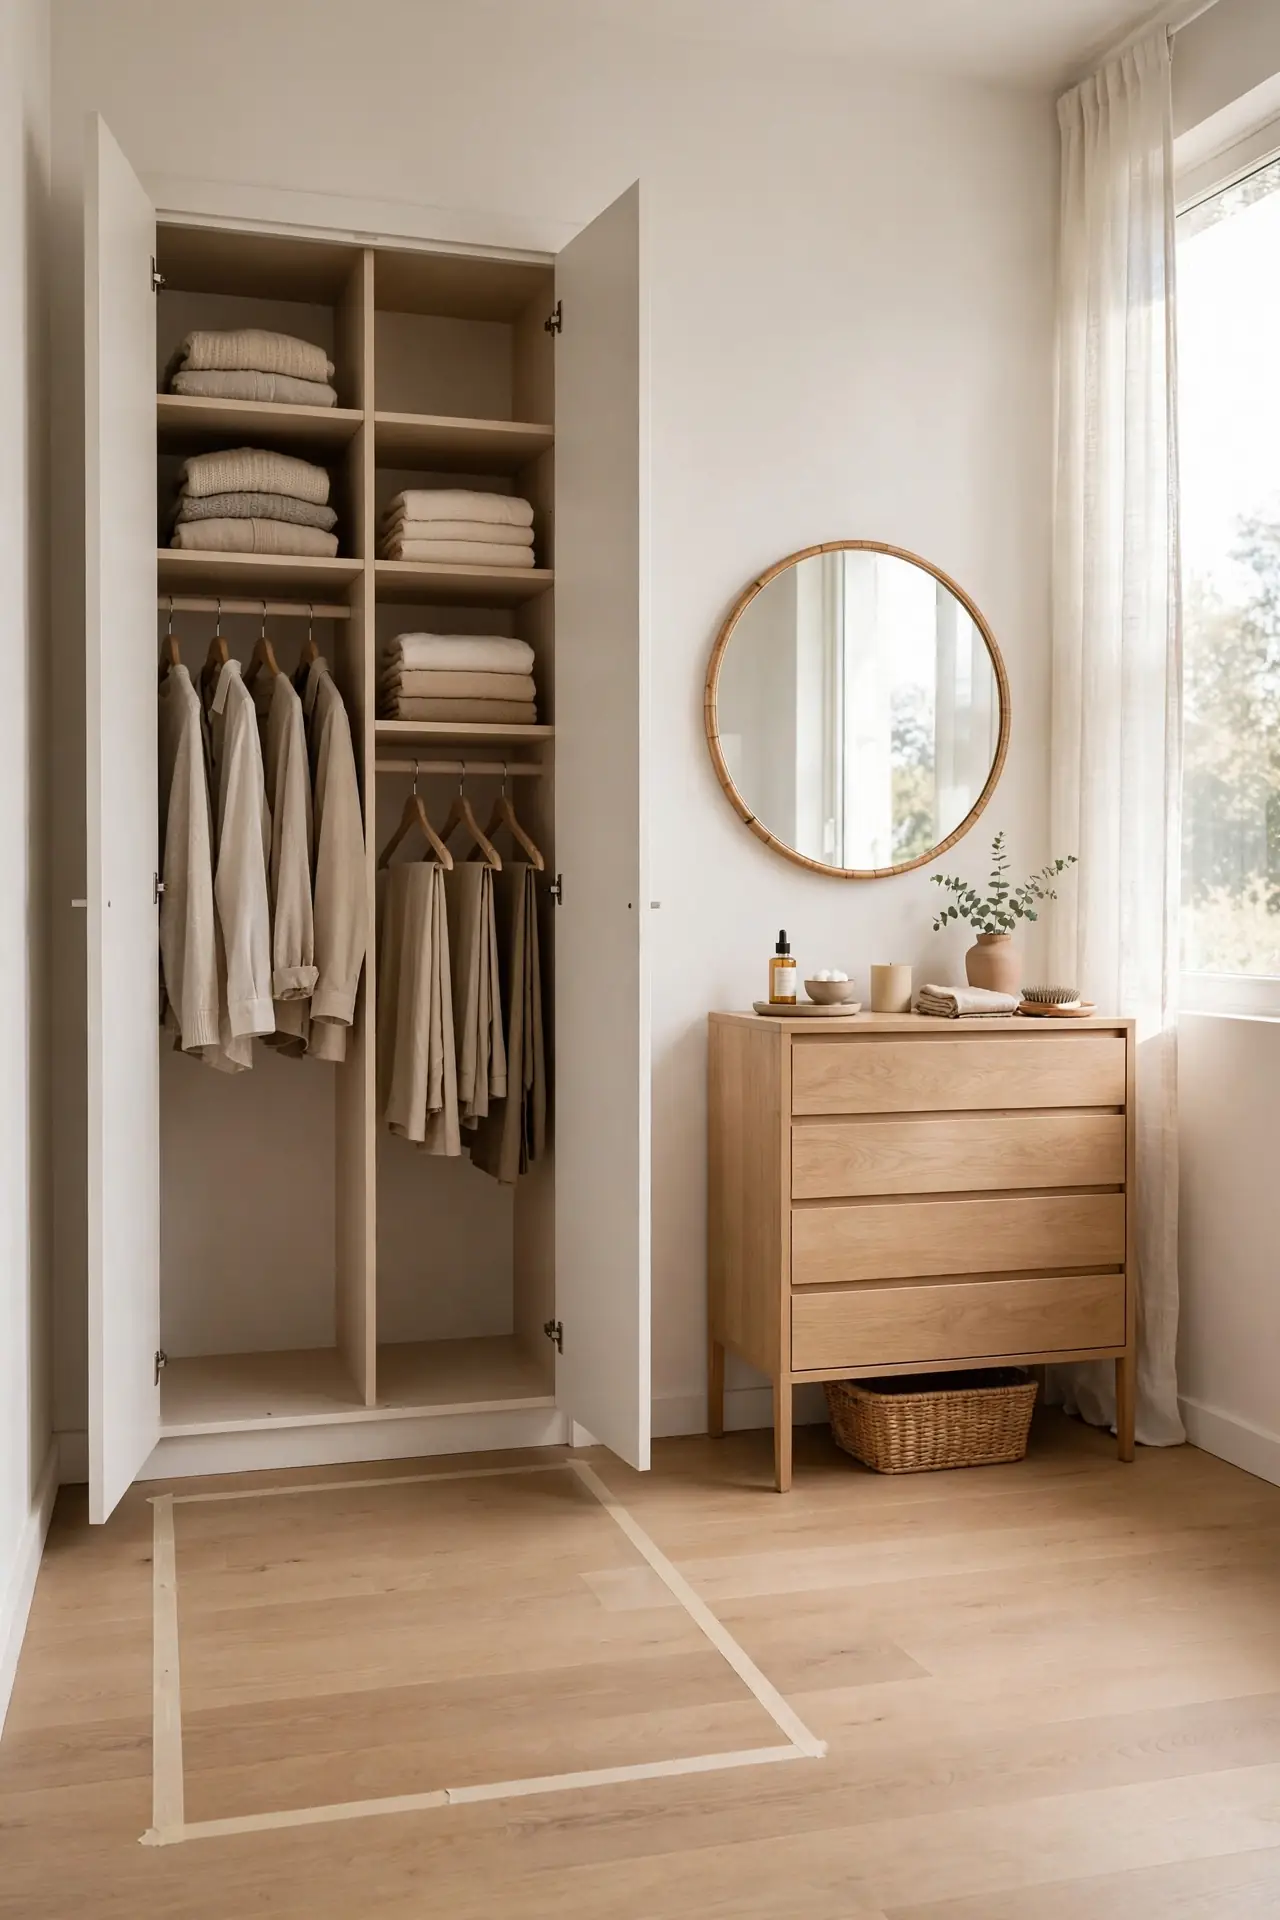
- Measure the closet door swing arc and mark it on the floor with tape.
- Keep the full arc clear of beds, dressers, and storage bins.
- Slide a narrow shelf into the dead corner beside the door instead.
- Choose bifold or sliding doors if you ever replace the closet front.
Closet doors need room to breathe, and blocking their swing is the most common layout mistake. A bed that traps the closet door turns every morning into a squeeze. I have noticed this issue most in galley-style bedrooms with doors on the short wall. Map the arc before you move anything heavy. Clearance here saves daily frustration.
Curtain Height Layout
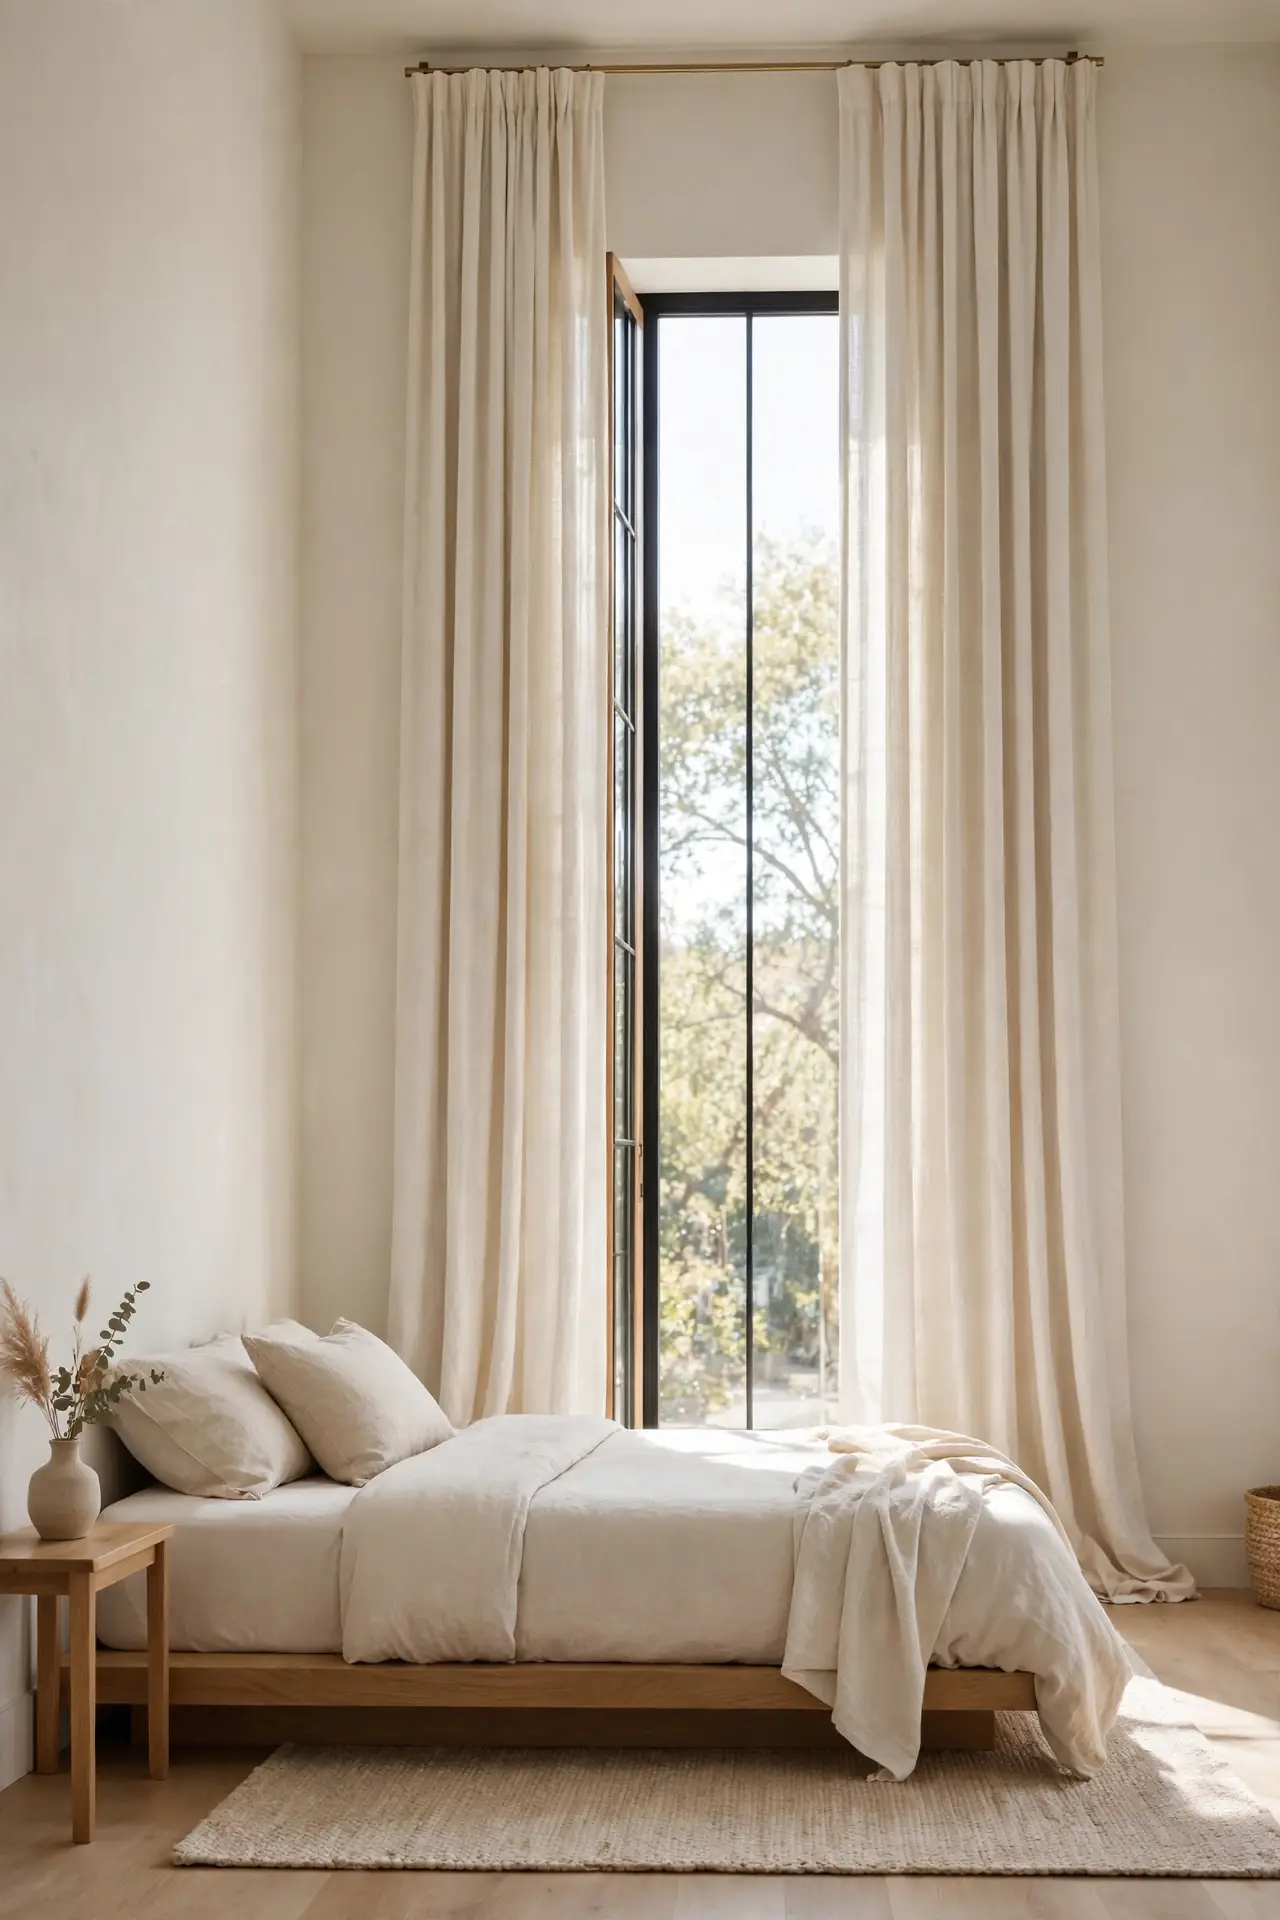
| Style | Rod Placement | Effect |
| Sill-length curtains | Rod just above frame | Keeps walls looking short |
| Floor-length curtains | Rod near ceiling | Stretches wall height |
| Sheer layers | Double rod, sheers inside | Softens light beautifully |
Curtain rod height changes how tall your walls feel, so hang them high and wide. Mount the rod close to the ceiling and extend it past the frame so the window looks larger. I have seen this trick add visual height to the squattest rental bedrooms. Choose floor-length panels that just kiss the floor. The layout gains height without moving a single piece of furniture.
Lamp Layered Zones
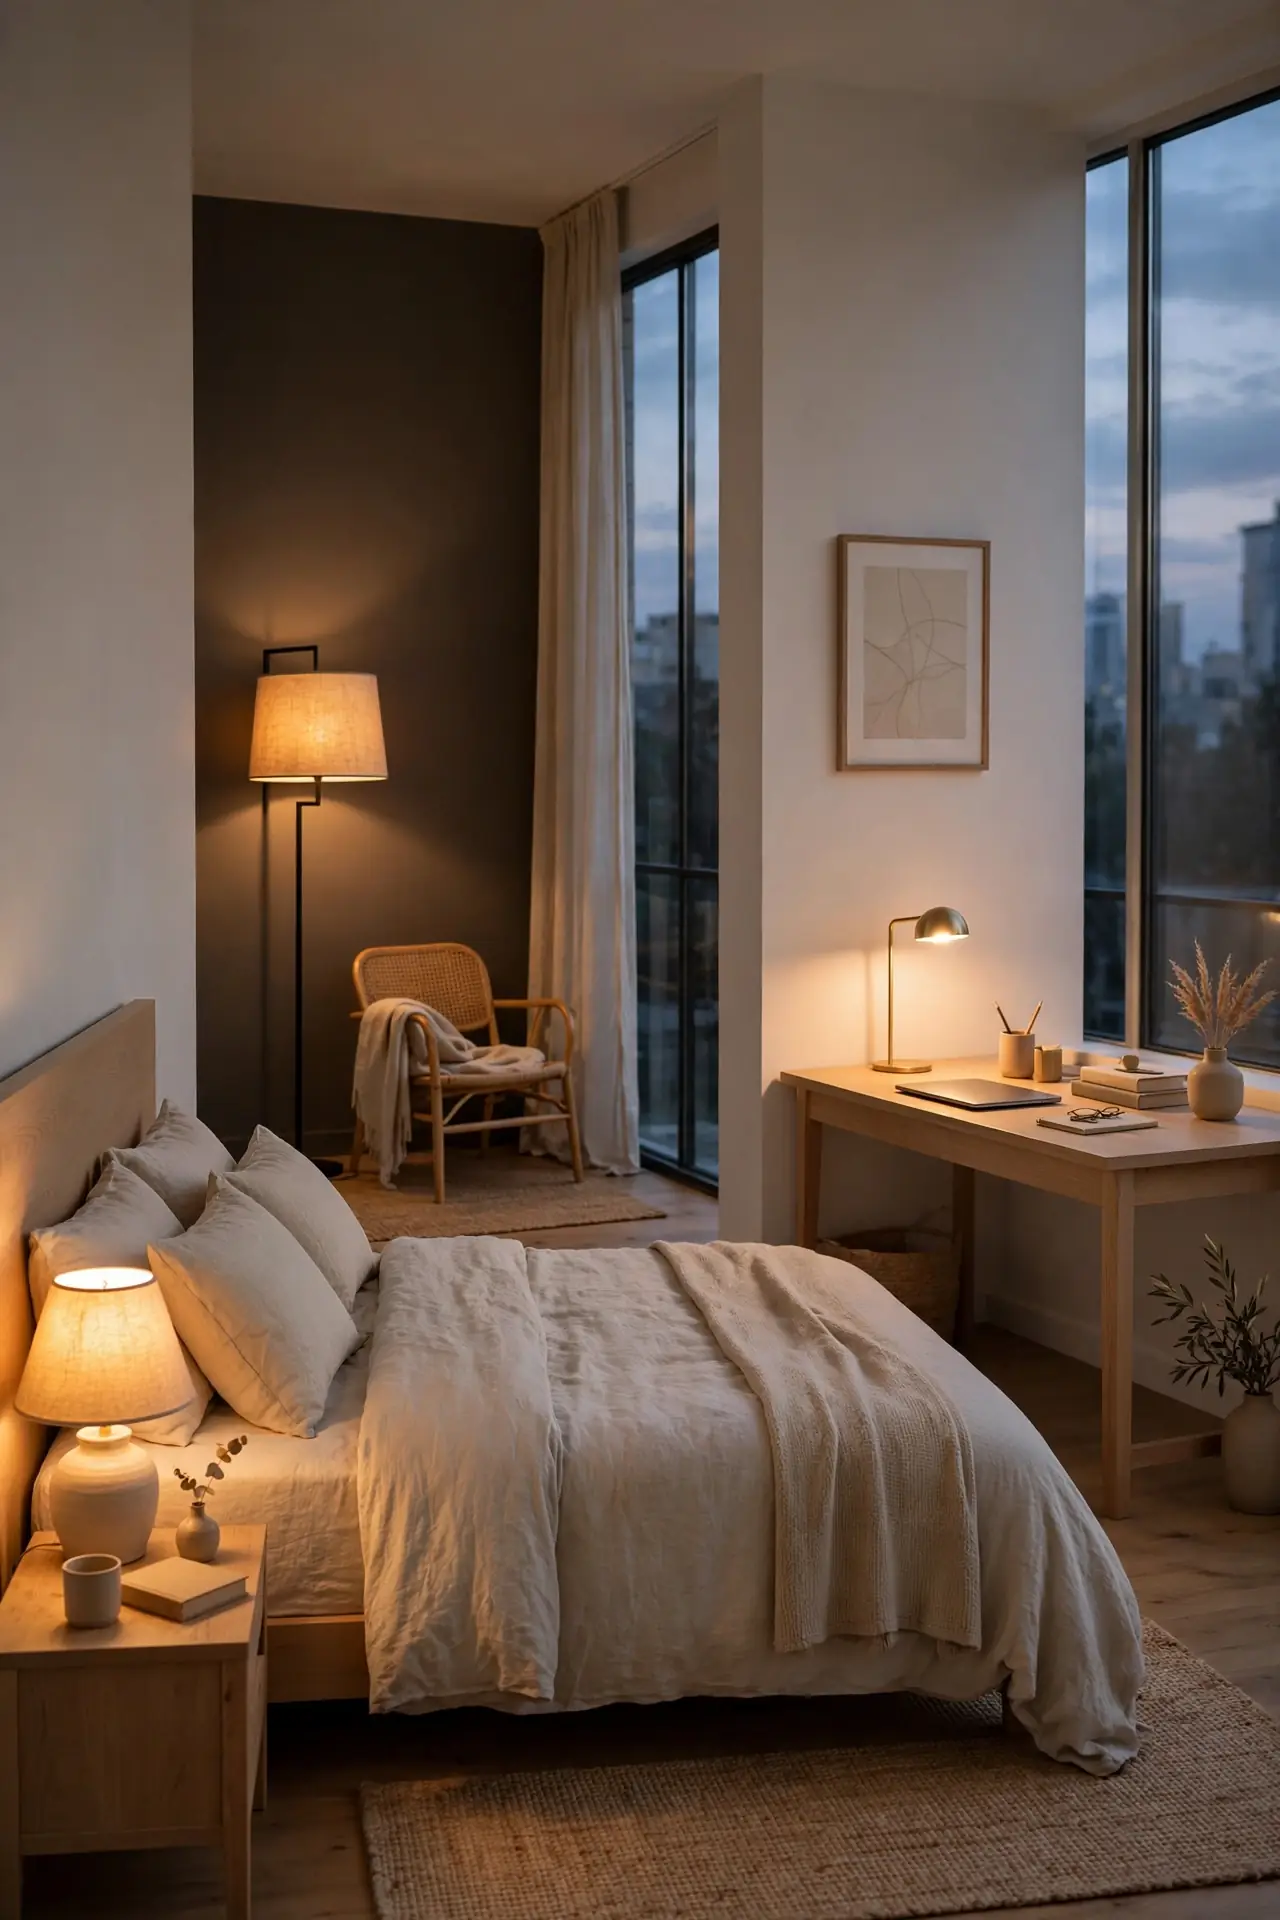
DO: Place lamps at the bedside, desk, and darkest corner.
DO: Use warm 2700K bulbs for evening calm everywhere.
DO: Put main lamps on dimmers or smart plugs.
DO: Aim one light at art or a plant.
DON’T: Rely only on the single ceiling fixture.
DON’T: Mix cool and warm bulbs together.
DON’T: Hide lamp light behind tall furniture.
DON’T: Leave cords trailing across the floor.
Layered lighting turns one flat room into zones for sleep, work, and reading. These apartment bedroom ideas show how light placement changes mood more than furniture. I have watched a dark rental feel twice as welcoming after two small lamps. Start with the bedside, then fill the darkest corner. Light is the cheapest layout upgrade you can buy.
Dresser Wall Slim
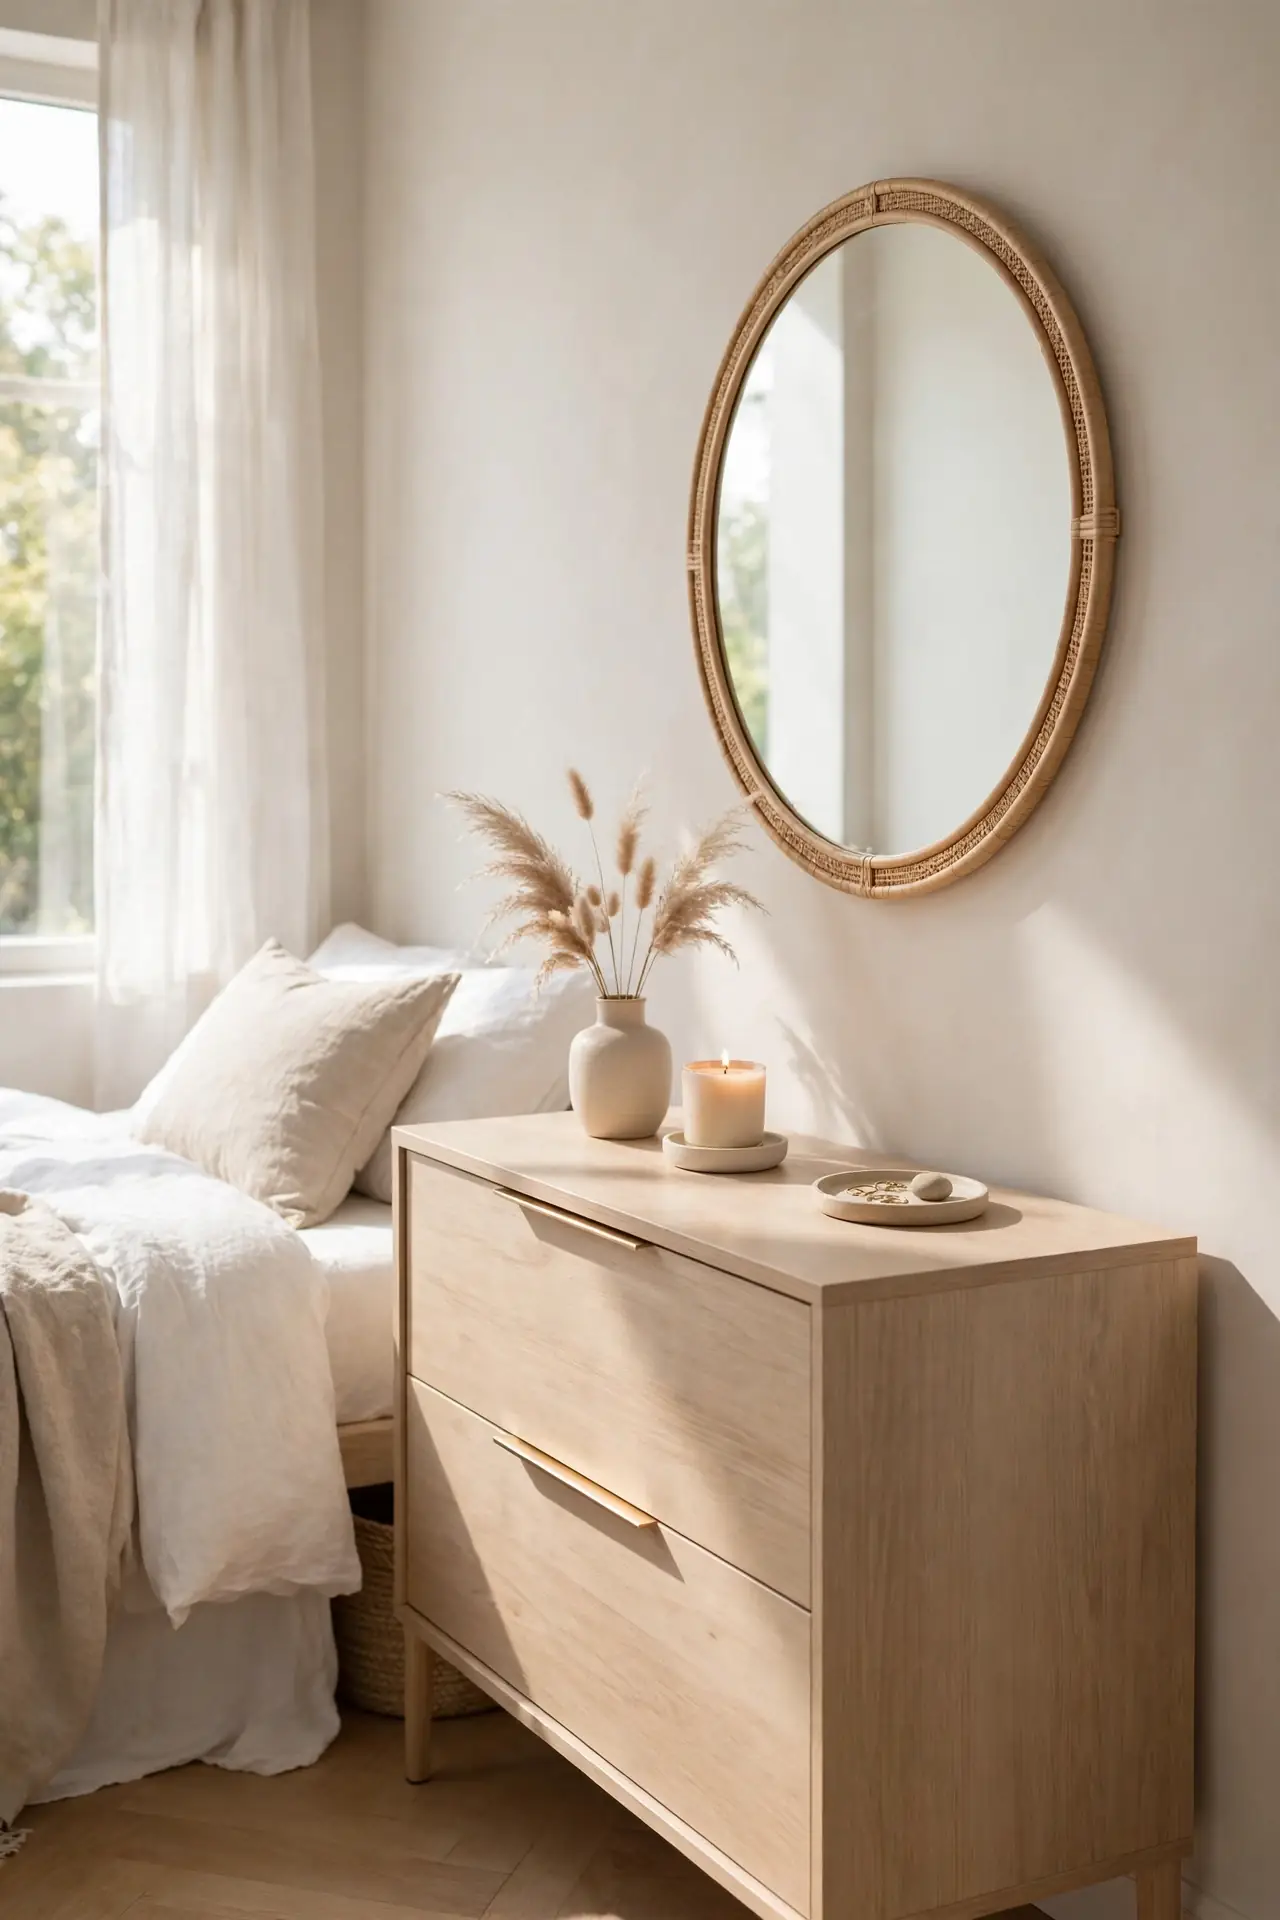
Best For: Narrow wall runs | Cost: Medium | Skill Level: Beginner | Works In: Bedrooms under 150 square feet.
A slim dresser along the longest free wall stores a full wardrobe without jutting into the room. Look for units under 16 inches deep with wide, shallow drawers that glide easily and quietly. Top it with a mirror to double as a vanity zone for getting ready each morning. In my experience, one good dresser beats two small chests because it keeps the layout clean. Anchor it to the wall for safety and style it with just three objects on top.
Open Floor Flow
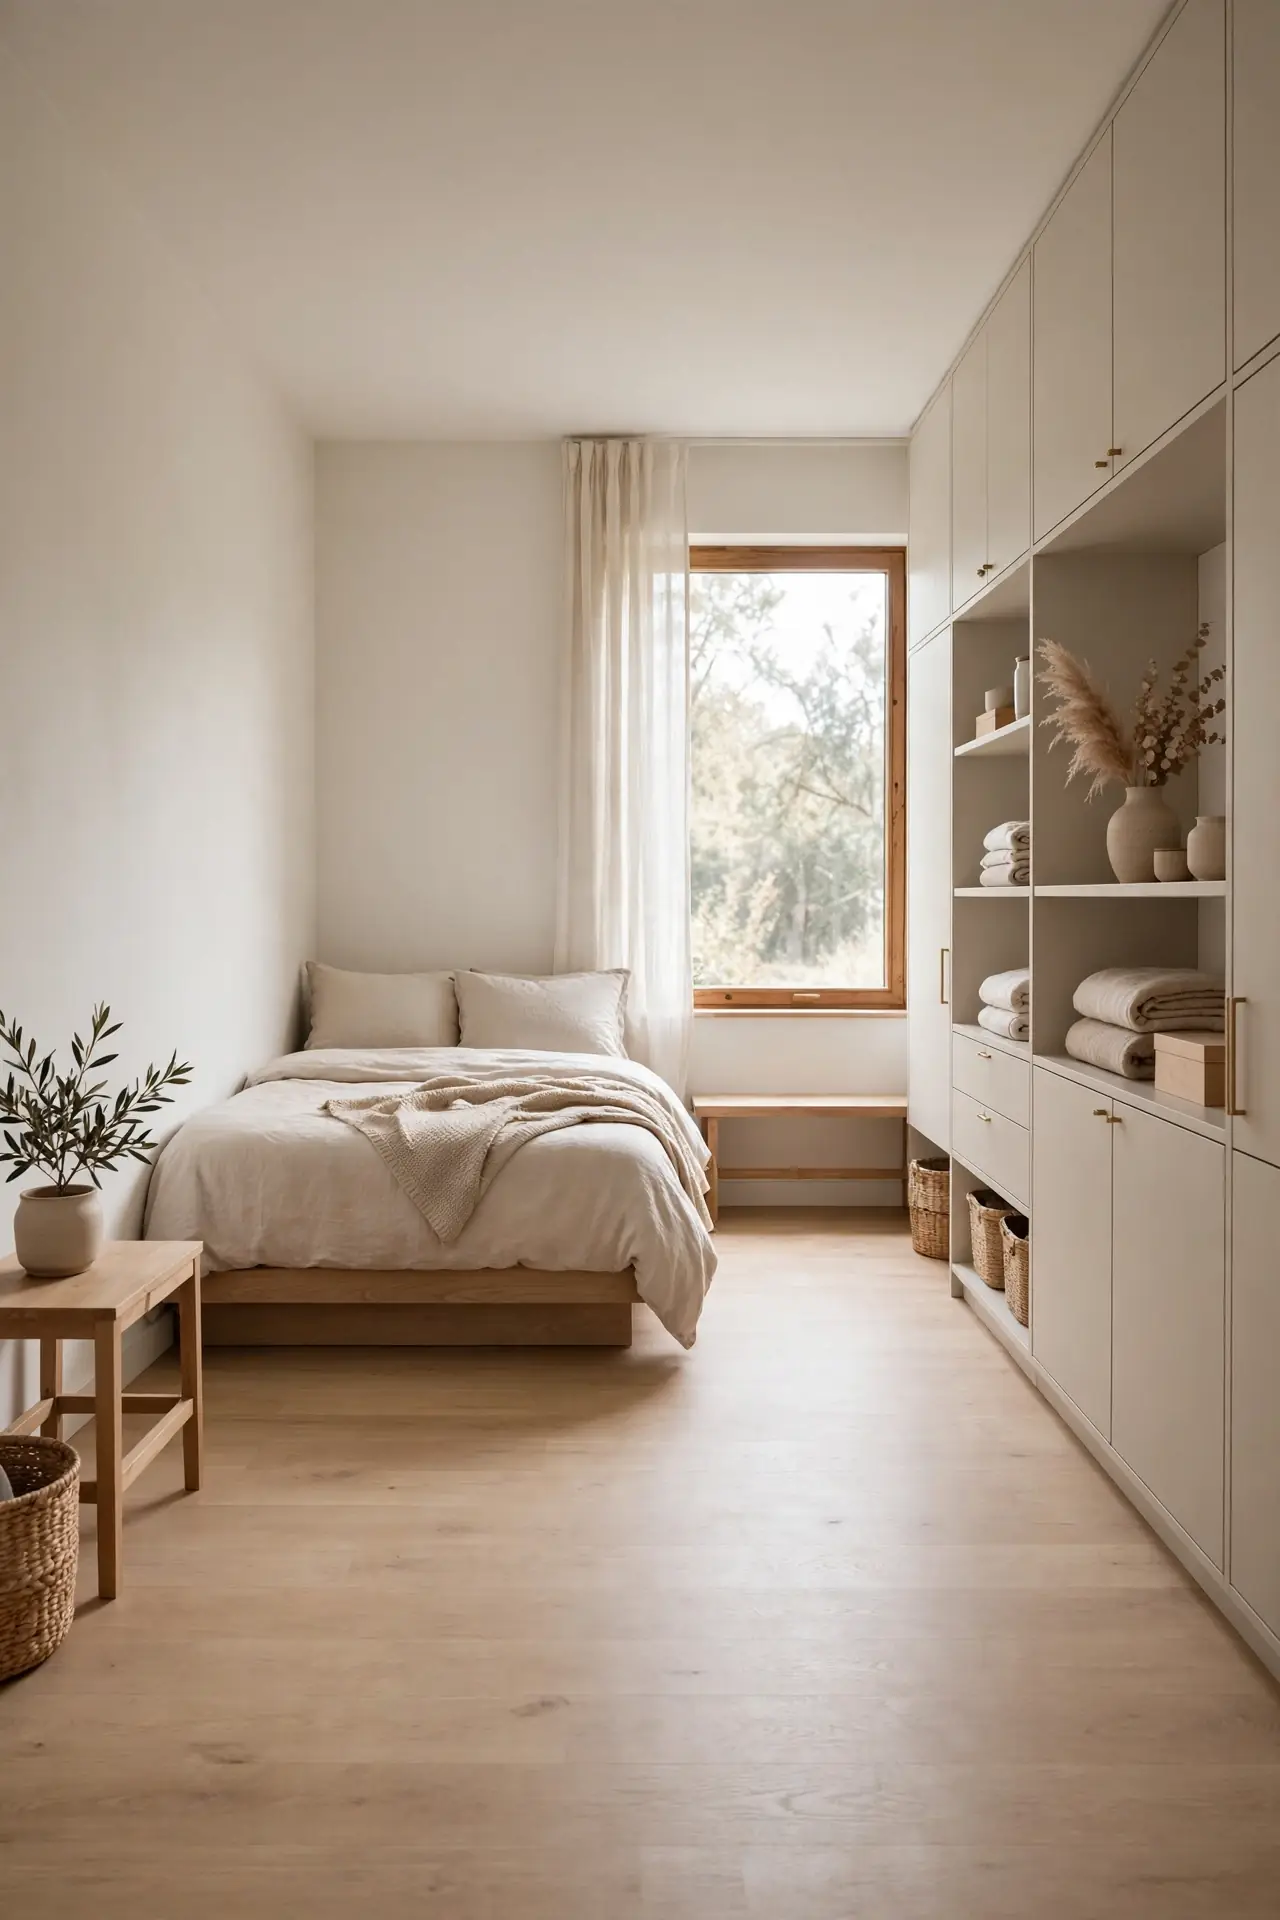
The best small layouts keep the center of the room open and push furniture to the edges. Pull the bed into a corner, line storage along one wall, and leave the middle as breathing space. This negative space makes the room feel twice its size and gives you room to stretch, dress, and move freely. Open centers also make cleaning faster, which keeps the whole room calmer.
Resist the urge to fill every inch, because empty floor is a design choice, not a failure. I have noticed the calmest rentals follow this rule without even realizing it. Stand in the doorway and check that your eye travels to the window, not to clutter. If something blocks that view, move it. Flow is felt in the body before it is seen.
Focal Wall Bed
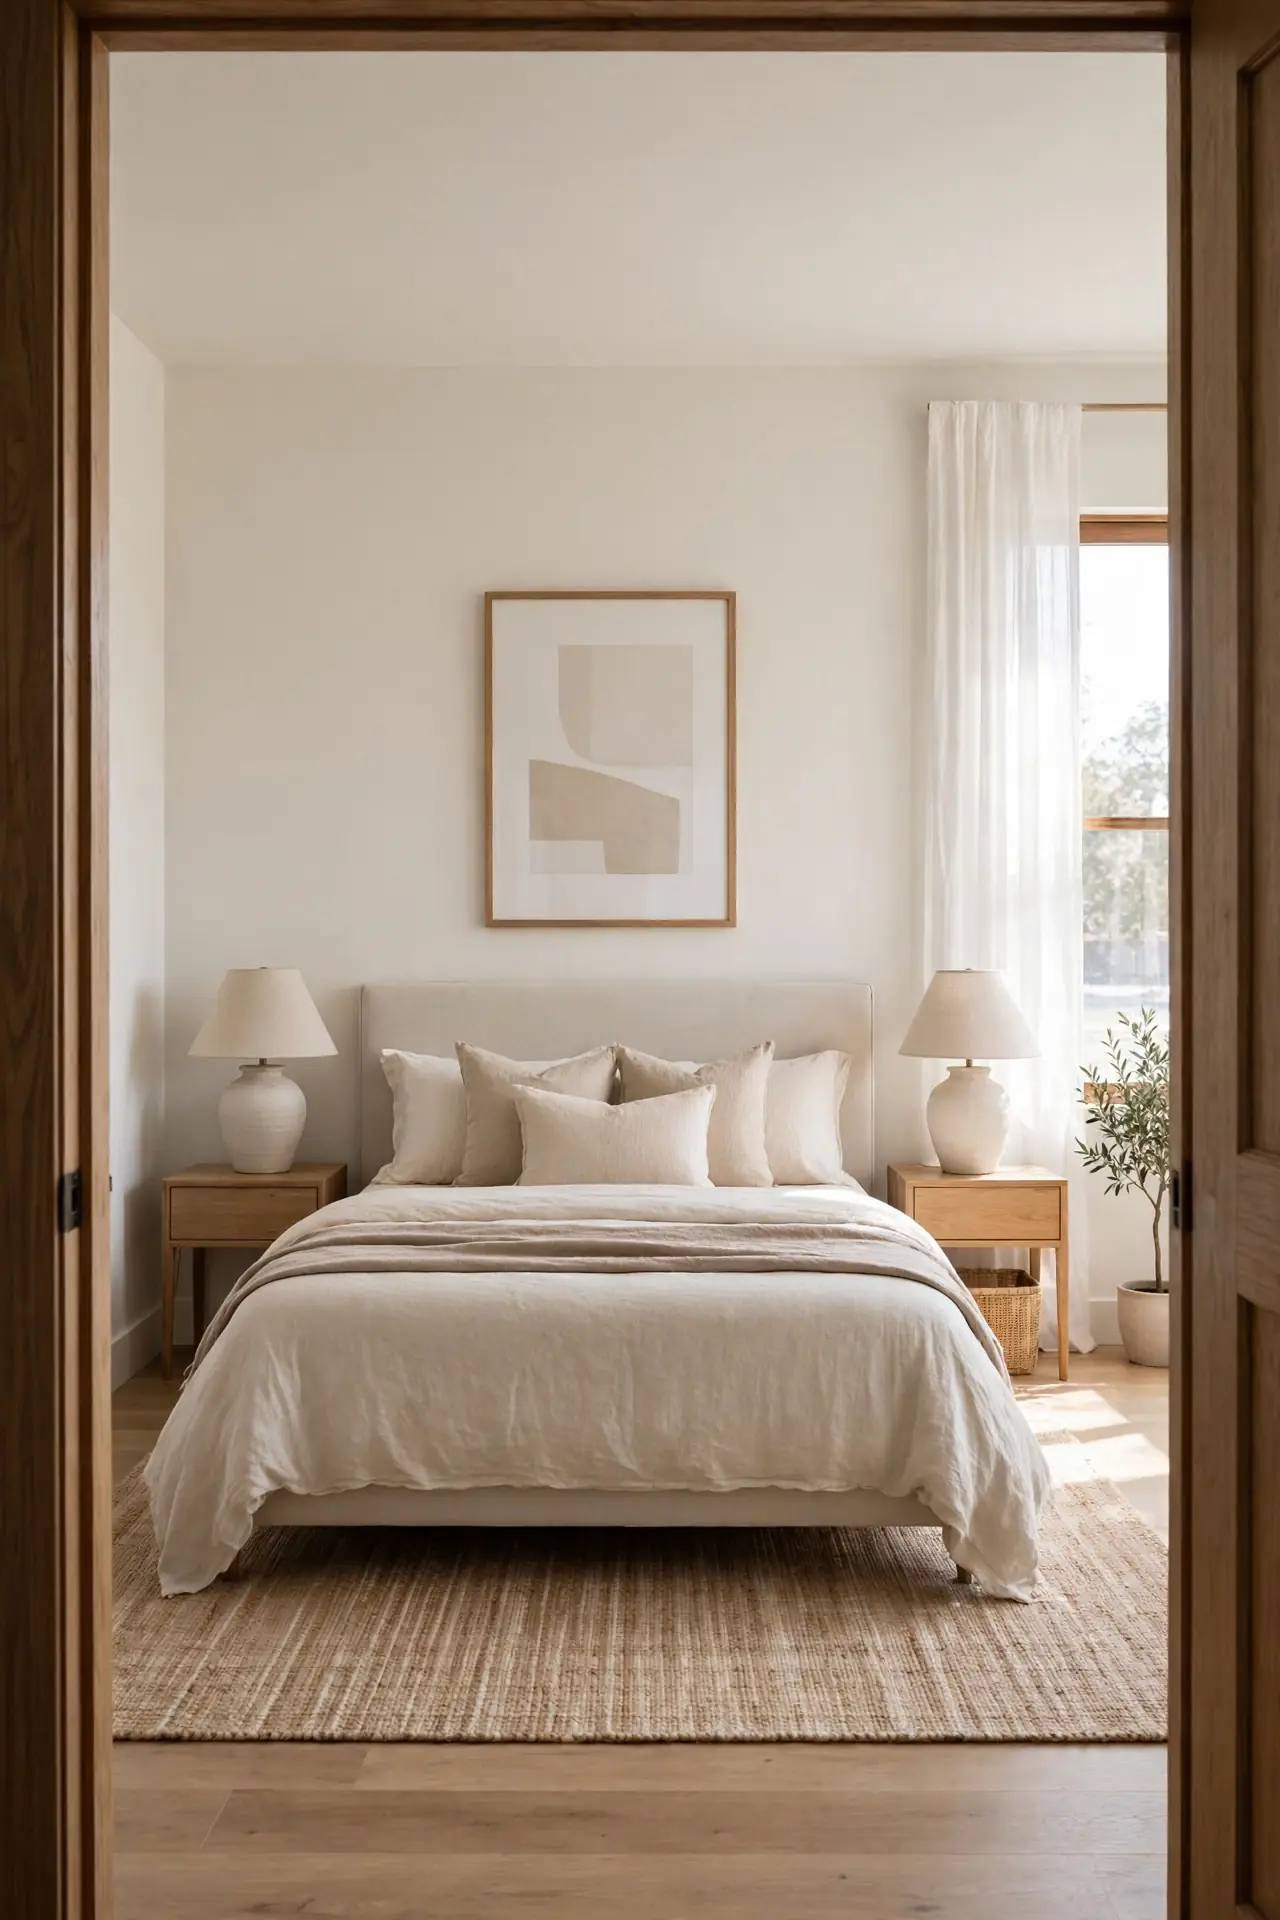
- Choose the wall you see first from the doorway as the bed’s backdrop.
- Hang one large art piece or a woven textile centered above the headboard.
- Flank the bed with matching lamps to frame the focal point clearly.
- Keep the opposite wall quiet so the focal wall holds all the attention.
Every strong layout has a star, and the bed wall should play that role. A clear focal point organizes the eye and makes arranging everything else easier. I have seen this work well in many cases where renters felt their room had no personality. Pick the art before the bedding so colors pull together naturally. The room will finally feel finished.
Cozy Rug Perimeter
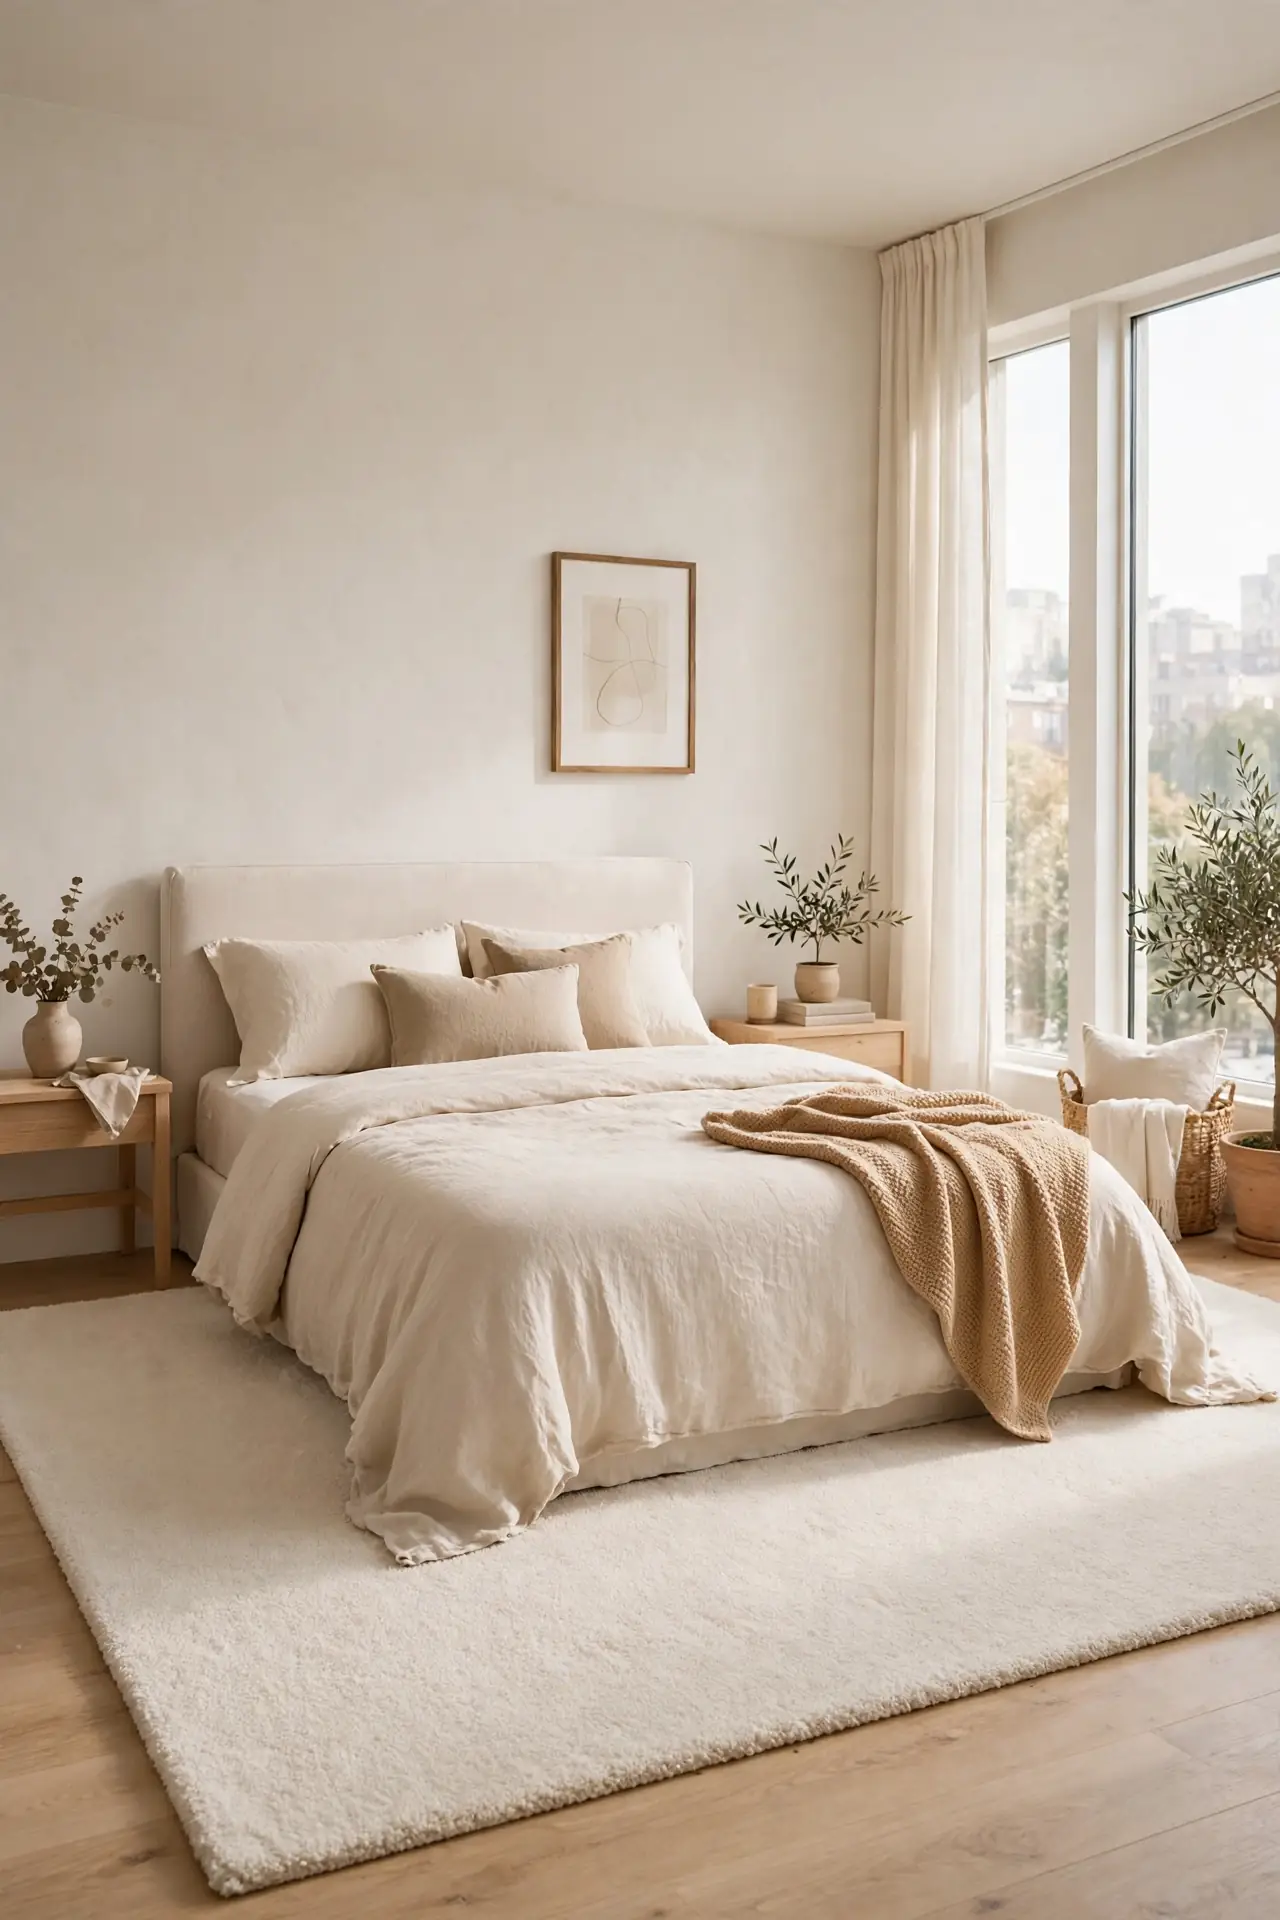
Quick Tip: Extend rugs at least 24 inches beyond the bed on three sides to build a soft perimeter. In studios, run the rug under the bed and the desk to unite both zones. A low pile in a warm neutral keeps the base calm while the texture does the talking.
Rug perimeters define where the bedroom begins and ends, which matters in open apartments. The soft border underfoot also absorbs sound, making the room feel quieter and more private. I have noticed renters underestimate how much a rug changes a room’s acoustics. Vacuum weekly and rotate seasonally for even wear. The perimeter becomes the room’s warmest welcome home.
Symmetry Made Simple
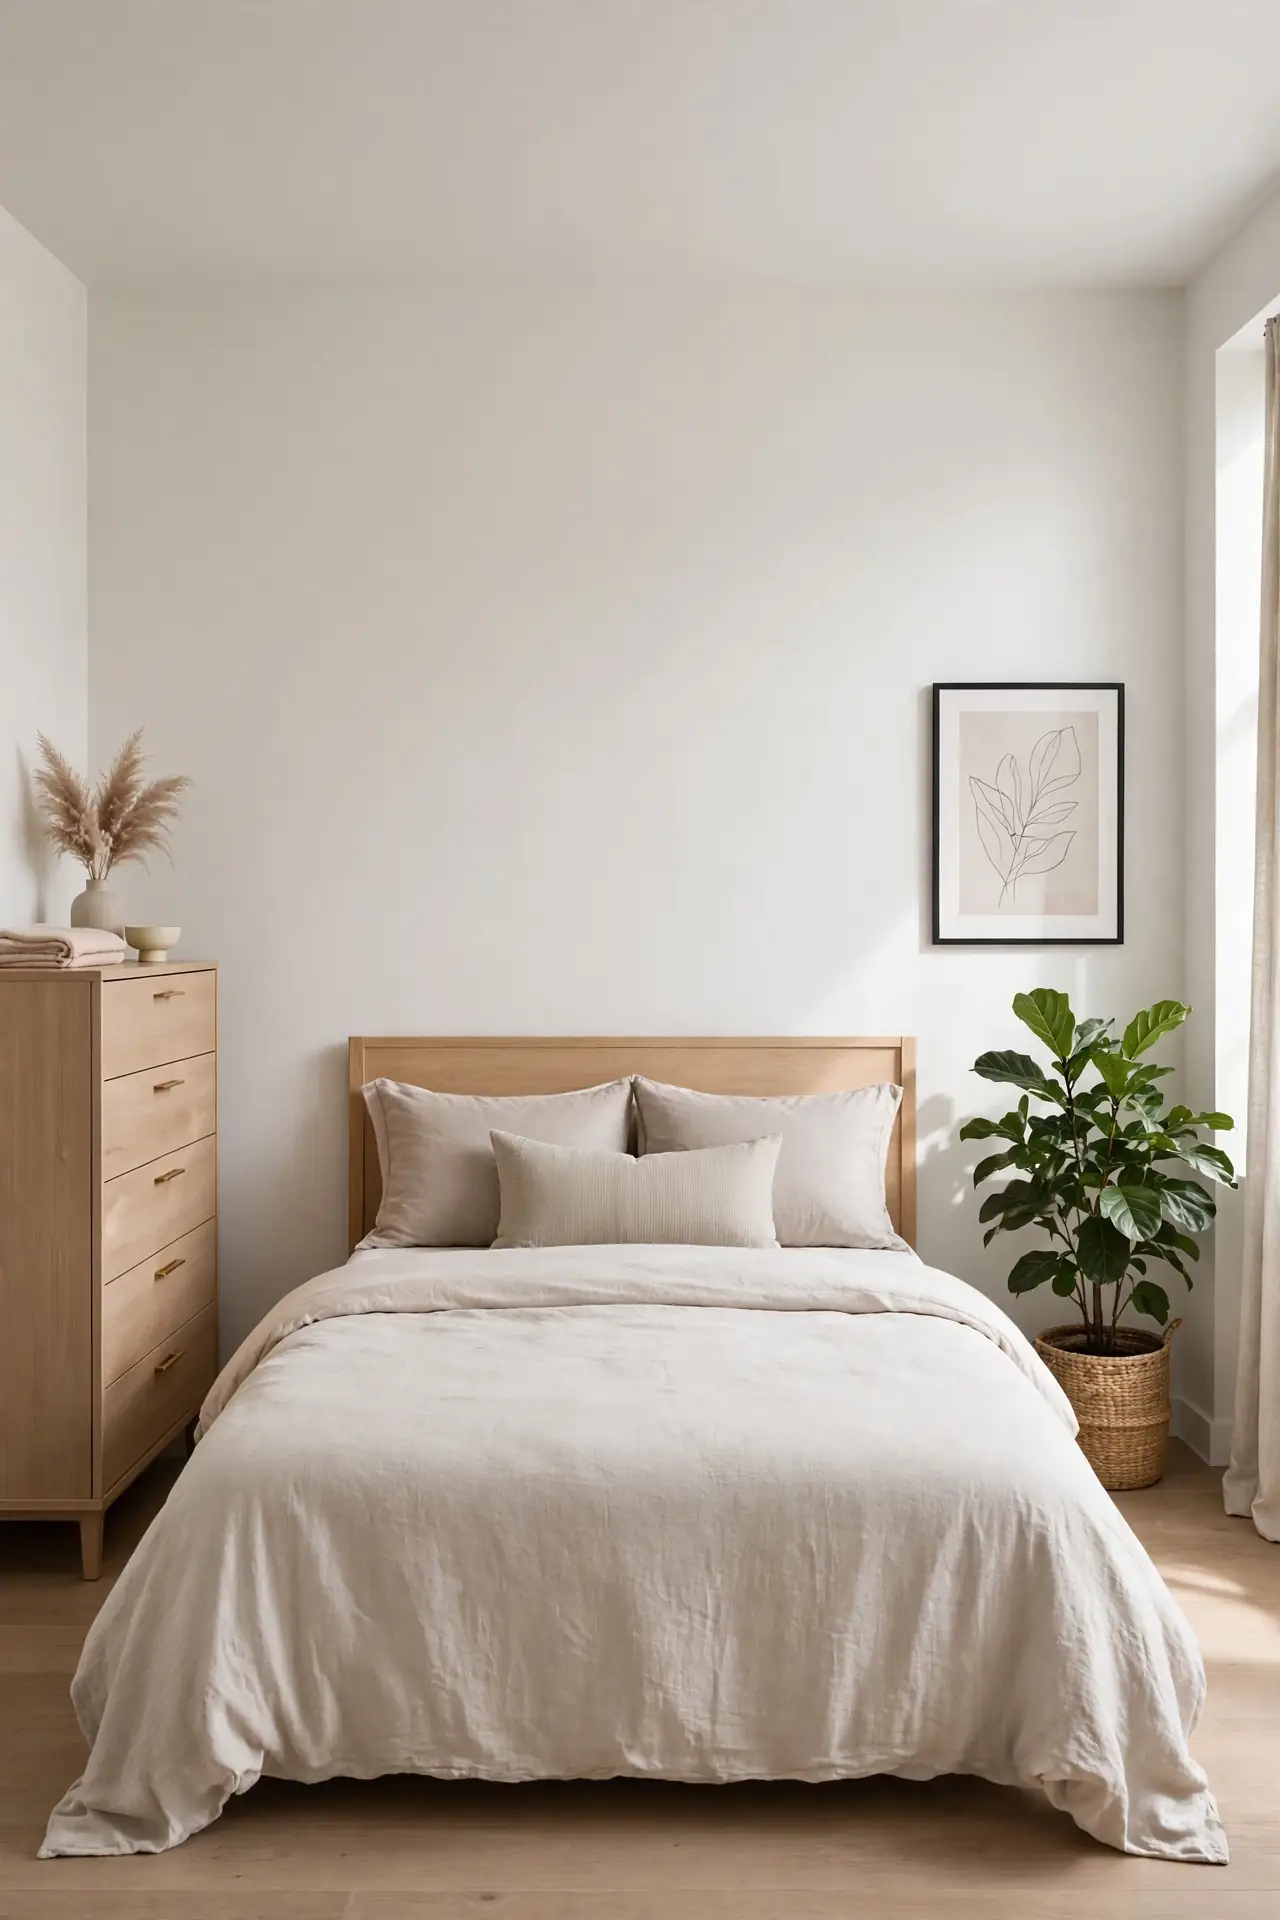
BEFORE: Furniture crowded one side of the room while the other sat empty, and the imbalance made the space feel restless. The bed faced a blank wall, and nothing in the layout felt deliberate or planned.
AFTER: The bed now centers on the main wall with balanced pieces on each side, and the empty corner holds a leafy plant. The room feels settled, and every piece finally looks like it belongs.
Symmetry does not mean matching everything, just balancing visual weight across the room. Pair a tall dresser on one side with a plant and art on the other. I have watched this principle calm the busiest rental bedrooms. Step back to the doorway and squint: both halves should feel roughly equal. Small tweaks here pay off every single day.
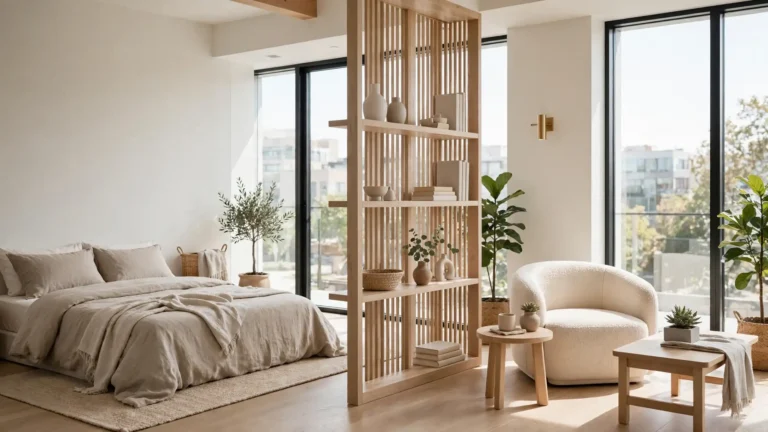
Small Room Divide
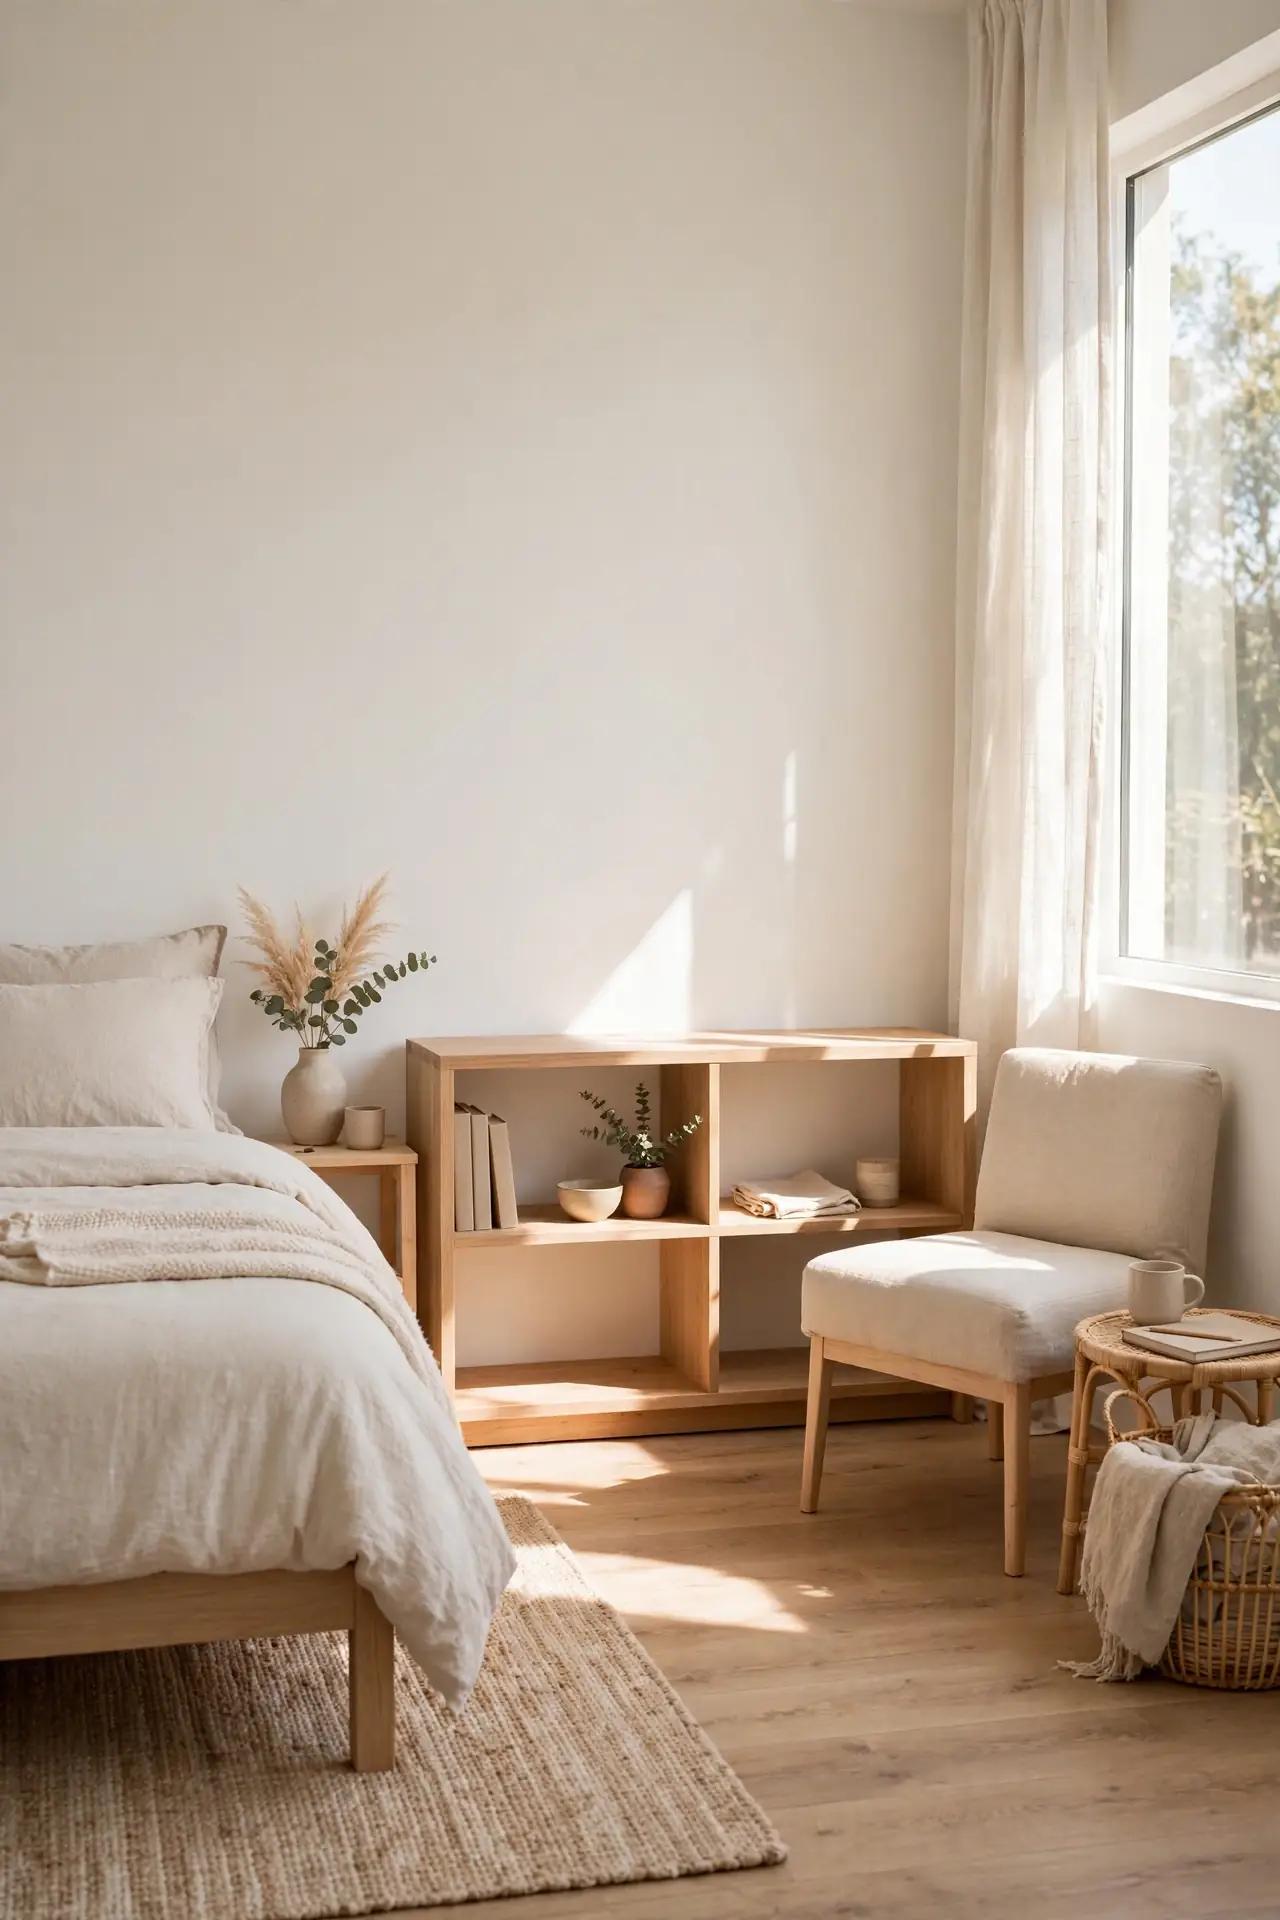
- Use an open bookshelf as a divider between the bed and the living corner.
- Keep the shelf low, around 36 inches, so light still flows across the room.
- Style the shelf from both sides so it looks good from bed and chair.
- Add a rug under each zone to reinforce the separation visually.
Dividers give studio apartments the feeling of real rooms without any construction. An open shelf stores books while marking the bedroom boundary clearly. I have noticed this trick works best when both sides stay tidy, since the divider is visible from everywhere. Choose a sturdy unit and anchor it well. The two zones will feel distinct yet connected.
Door Swing Check
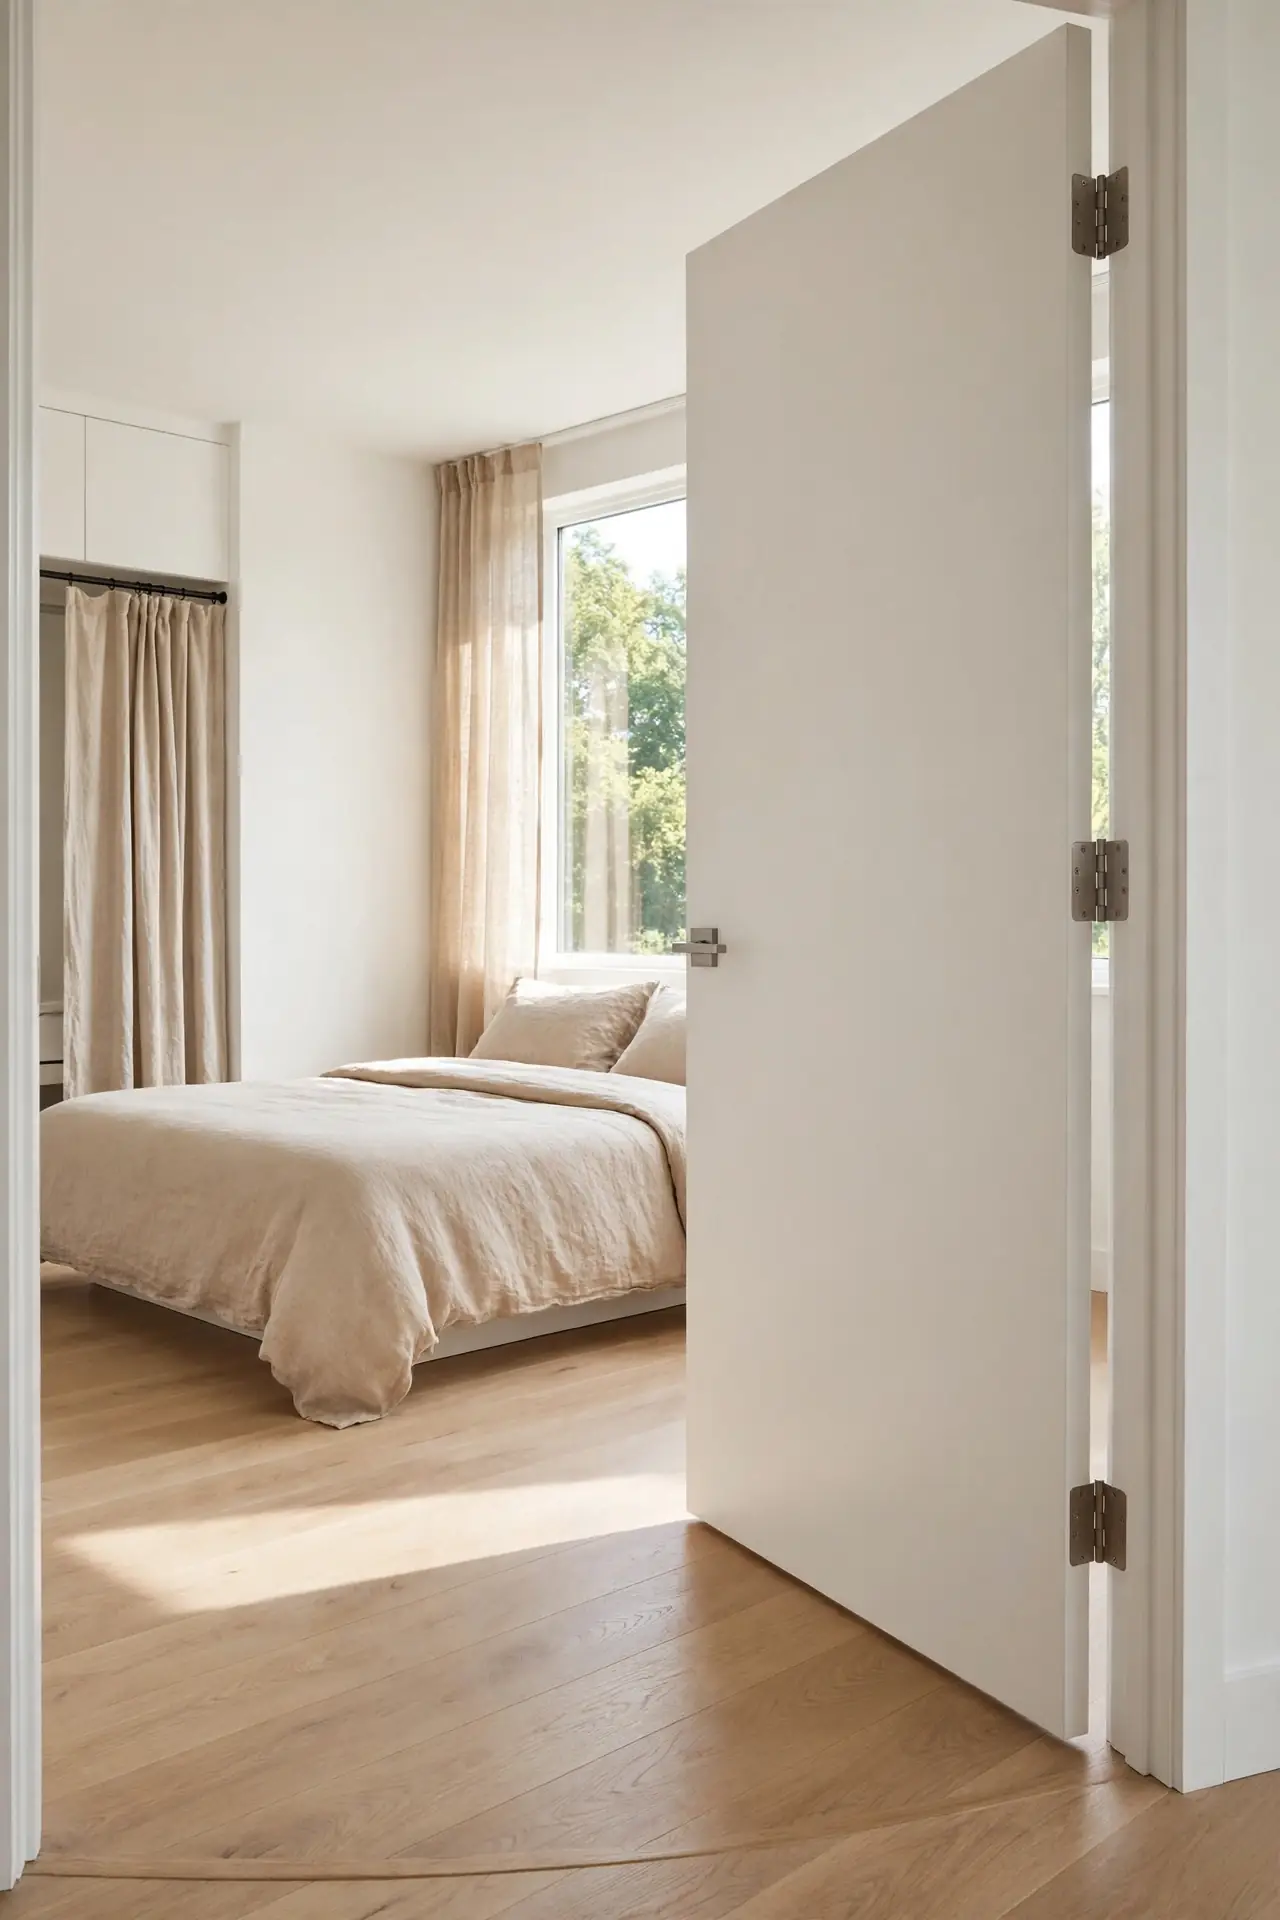
| Option | Floor Space | Renter Factor |
| Standard swing door | Loses up to 9 square feet | Already there, costs nothing |
| Curtain panel swap | Keeps nearly all floor free | Fully reversible, low cost |
| Pocket door | Loses zero swing space | Needs landlord approval first |
Doors eat layout space silently, so check every swing arc before placing any furniture. A bed tucked behind a door swing loses daily comfort to a few inches of missing clearance. I have watched renters gain a whole furniture zone by swapping a door for a simple curtain panel. Measure the arc carefully, then arrange everything around it. Small clearances create big daily ease.
Final Layout Test
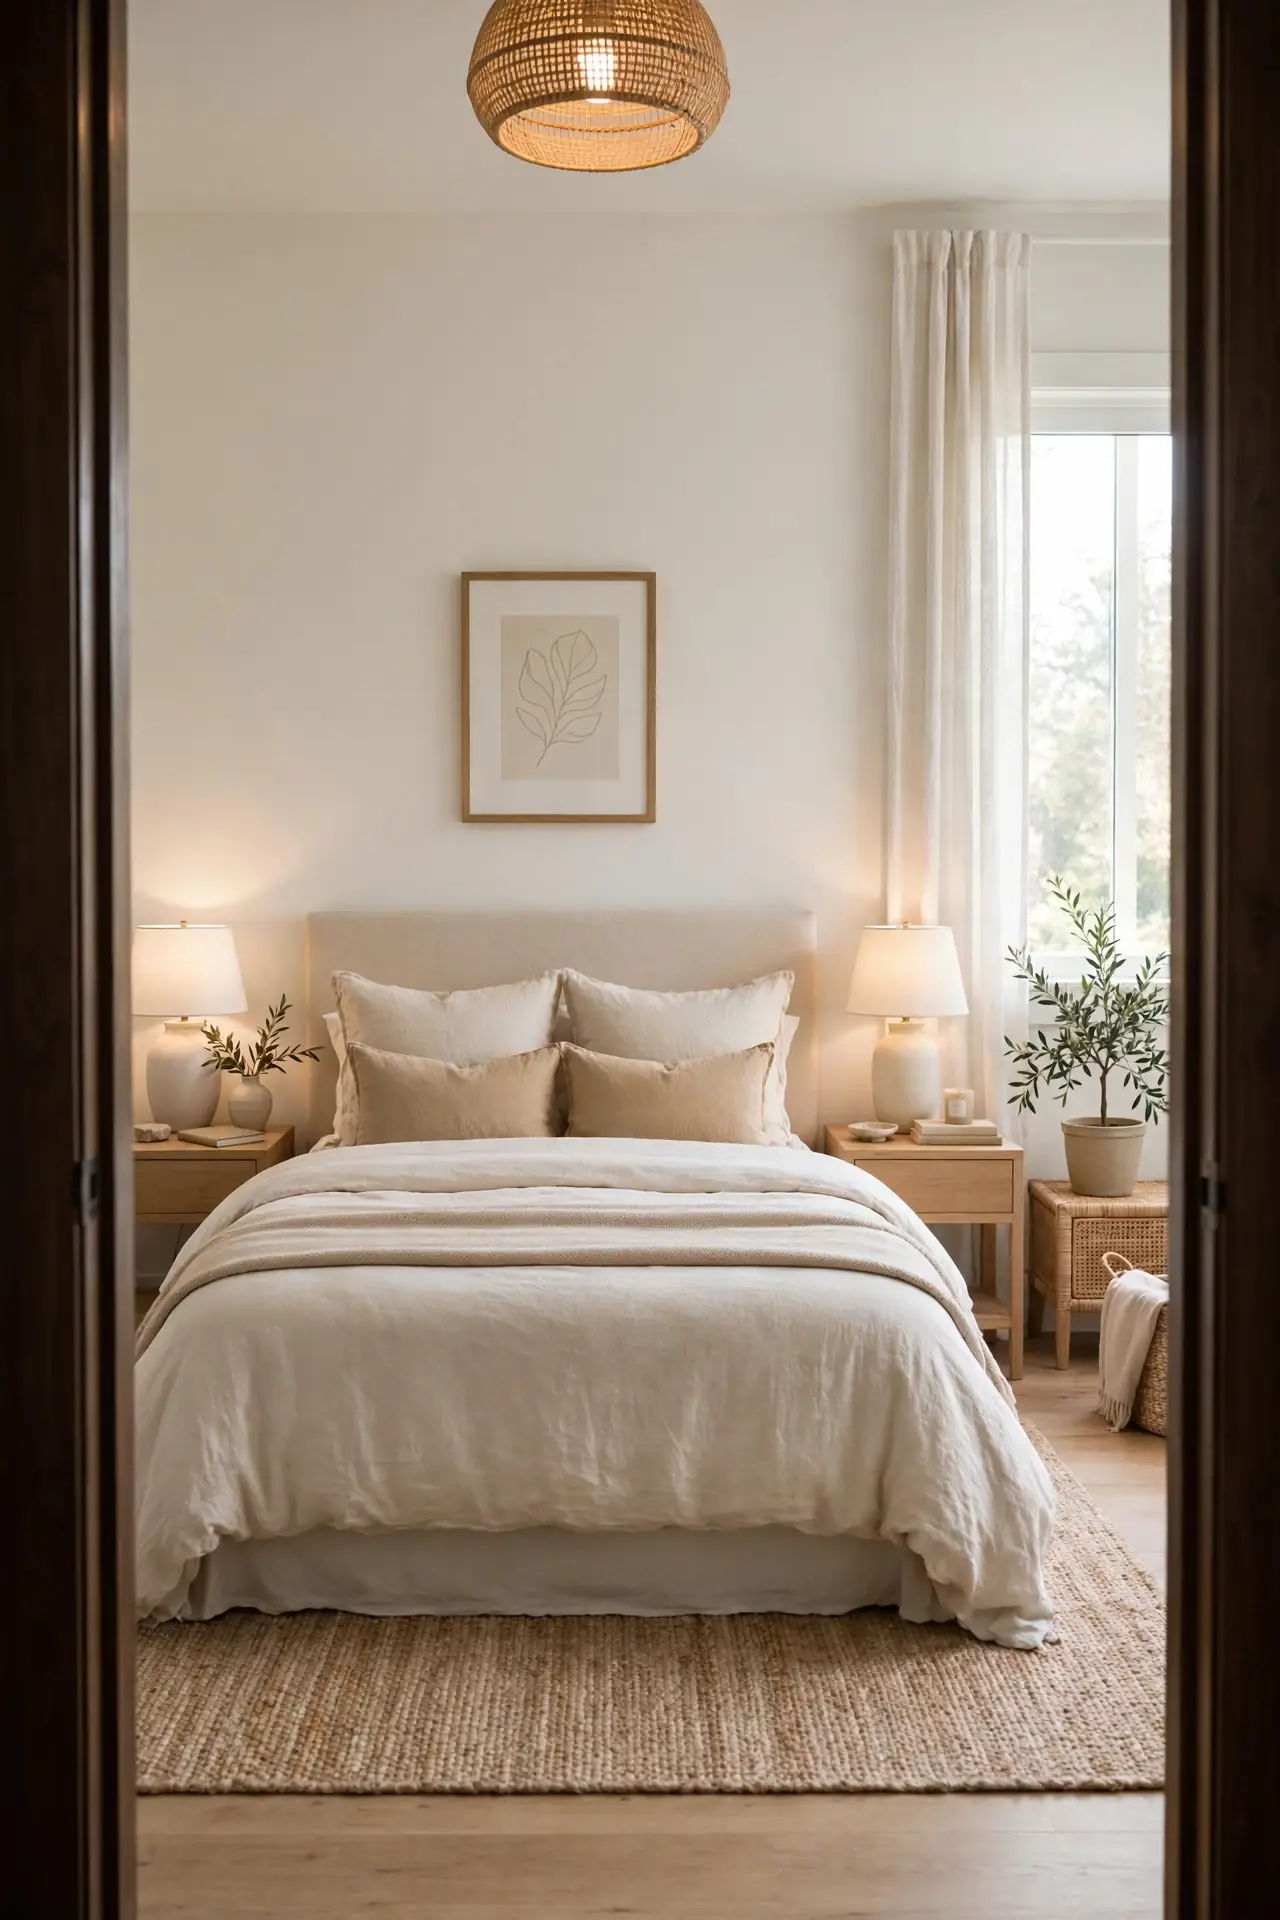
DO: Live with a new layout for three days first.
DO: Photograph from the doorway to spot hidden problems.
DO: Ask a friend to walk the room and name tight spots.
DO: Write down what works for future moves.
DON’T: Judge a layout on chaotic moving day.
DON’T: Keep furniture that fights the natural flow.
DON’T: Skip measuring; guessing wastes the most time.
DON’T: Change everything at once instead of one piece.
Testing is the step most people skip, yet it locks in a great layout. Photos reveal crooked rugs and cramped corners that tired eyes forgive. I have noticed the best rooms come from patient tweaking, not perfect first tries. Keep a note on your phone of each arrangement. Your future moves will thank you.
Conclusion
Great rooms are arranged, not just decorated, and the right apartment bedroom layouts turn even the tiniest rental into a space that works hard and rests easy. Save your favorite ideas to Pinterest so you can test them one weekend at a time. Share this guide with a friend who is wrestling with a tricky floor plan. I have seen how small changes like these can completely shift the way a space feels. Start with the bed, clear the paths, layer the light, and watch your bedroom become the calmest room in your home.

3 Comments