22 Sandstone Accent Wall Interior Design Ideas for Natural Warmth
A plain wall in warm plaster can feel flat by midday, but real stone changes the light itself. These sandstone accent wall interior design ideas use the stone’s natural bands of cream, honey, and soft beige to warm living rooms, bedrooms, and entryways without a single drop of paint. The texture does the decorating: shadows gather in the joints, sunlight rakes across the surface, and simple furniture suddenly looks considered.
Start with the wall that catches your eye first, the fireplace wall or the one behind the sofa. Softer, fabric-led schemes, like the rooms in vintage floral chintz living room ideas, show how one strong surface can carry a whole room. Ahead, twenty two stone clad walls pair with cream plaster, light oak, and linen, each one bright, calm, and achievable with real stone or simple veneer panels.
Full Wall Stone Backdrop

One full wall of sandstone turns a plain rectangle of a room into a place with a centre. Lay large format tiles from skirting to ceiling and the stone’s own banding becomes the artwork, shifting from pale cream in the morning to deep honey by late afternoon.
Keep every other wall warm white and the floor light oak so nothing competes with the stone. A low linen sofa, one woven rug, and a single leafy plant are honestly enough furniture here. In my experience, the rooms that work best leave a full hand’s width of bare stone visible around every frame and shelf.
Fireplace Surround in Sandstone

- Clad the chimney breast in split face sandstone from hearth to ceiling
- Choose a chunky oak mantel shelf to echo the stone’s warm tones
- Fit a simple black fire basket for contrast against the pale stone
- Keep the hearth stone large and unpolished underfoot
- Leave the side walls plain cream so the breast stays the focus
Firelight does half the styling on a stone surround. The flame rakes across every ridge and shadow line, so even a plain rectangular opening looks carved and old. Hang one round mirror above the mantel and stop there; the stone has already said everything the wall needs to say. Keep a small side table within reach for tea and reading glasses.
Reading Nook Stone Wall
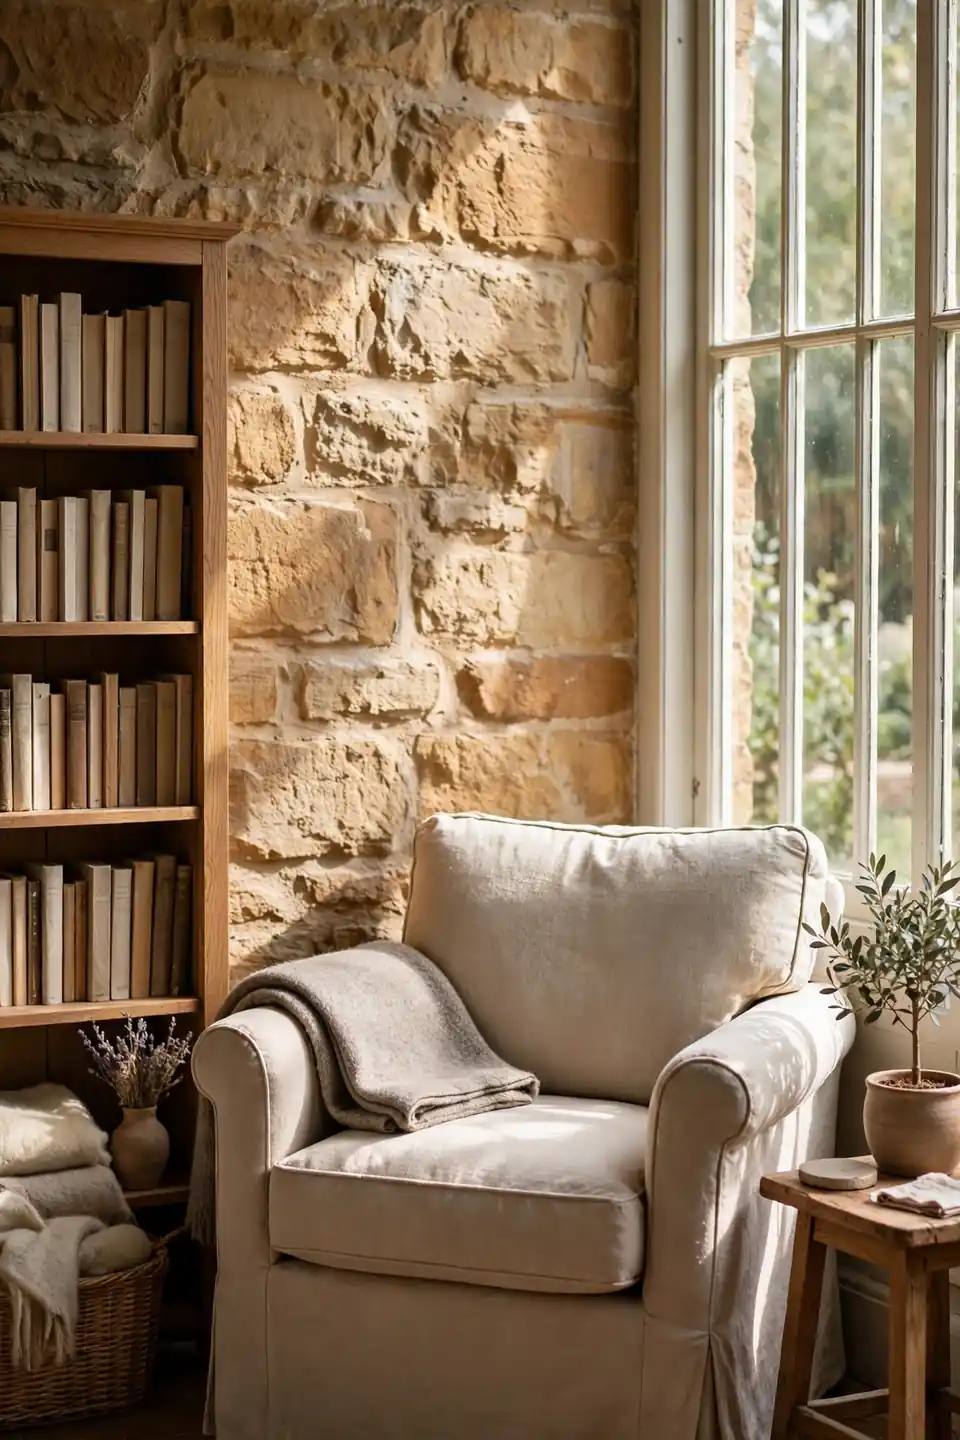
Quick Tip: Build the nook where the stone wall meets a window. Daylight raking across the surface shows every warm band in the rock, and the seat below gets the best light in the house for reading. Add a small wall lamp for evenings, on a warm bulb only.
A deep armchair in oatmeal linen, a folded wool throw, and a narrow oak bookcase turn the corner into a destination rather than a leftover space. Stone behind a reading chair feels sheltering, like the inside wall of an old cottage, and it softens sound so pages turn in real quiet. A small stool for the book pile keeps the chair itself clear.
Plain Wall Sandstone Makeover
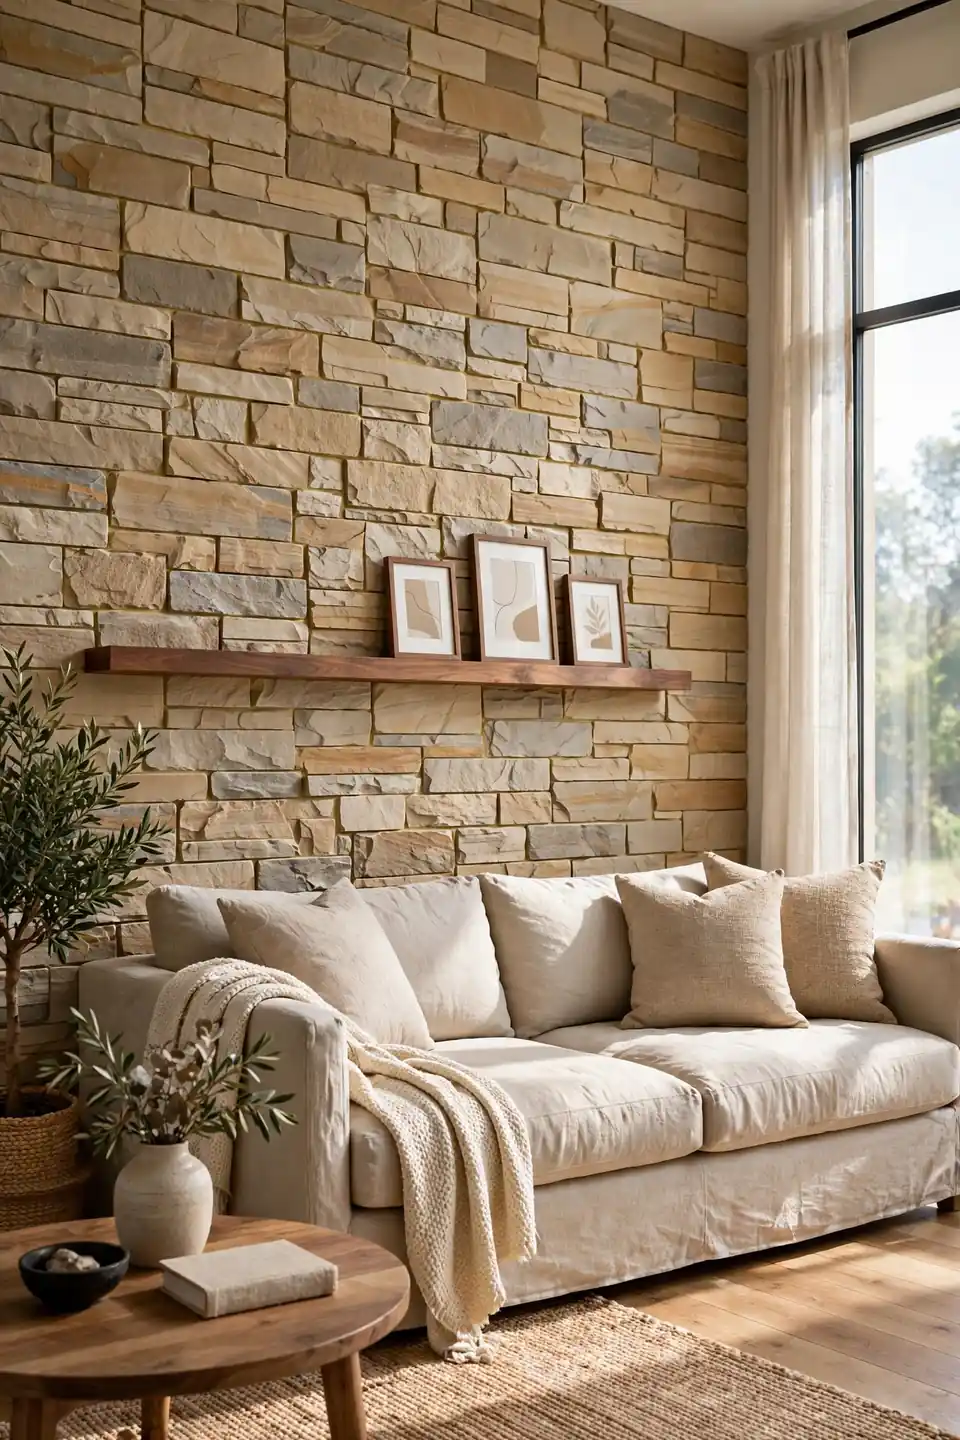
BEFORE: The long wall was flat magnolia paint, one lonely print, and a sofa floating in front of nothing. The room felt rented and cold at the edges, impossible to anchor however the furniture was arranged.
AFTER: Sandstone veneer panels now run floor to ceiling in a broken bond pattern. The sofa sits against real texture, the print moved to a side wall, and a walnut ledge carries three small frames. The same furniture suddenly looks chosen.
Panel systems made the change a weekend project rather than a building job. Each board is numbered on the back, cuts happen outside with a standard saw, and the wall went up with adhesive and a level. I’ve seen this work well in many cases.
Panel Layout Planning Steps

- Measure the wall twice and sketch each course on paper before ordering any stone
- Order ten percent extra for cuts, corners, and the inevitable cracked tile
- Dry lay the first three rows on the floor to test the colour mix
- Mark a level starter line and fix a straight batten along it
Planning on the floor saves the wall. Stone varies from tile to tile, and a patch of dark pieces clustered in one corner will pull the eye forever. Shuffle tiles from several boxes as you lay them out, photograph the arrangement, and number the rows on the back before a single drop of adhesive is mixed.
Real Stone vs Veneer

| Solid Sandstone | Stone Veneer |
|---|---|
| Heavy, needs a strong wall | Light, suits most walls |
| Higher material cost | Lower cost per metre |
| Cut with a wet saw | Cut with standard tools |
| Best on ground floor masonry | Best for upstairs rooms |
| Repairs need matching stone | Single panels swap out easily |
Neither option is fake; veneer is real stone sliced thin. Choose solid blocks where the wall can carry them and the budget stretches, and choose veneer everywhere else. On the finished wall, guests honestly cannot tell the two apart at arm’s length. Weight settles most arguments: upstairs walls and timber frames point one way, ground floor masonry the other.
Sofa Wall Styling Rules
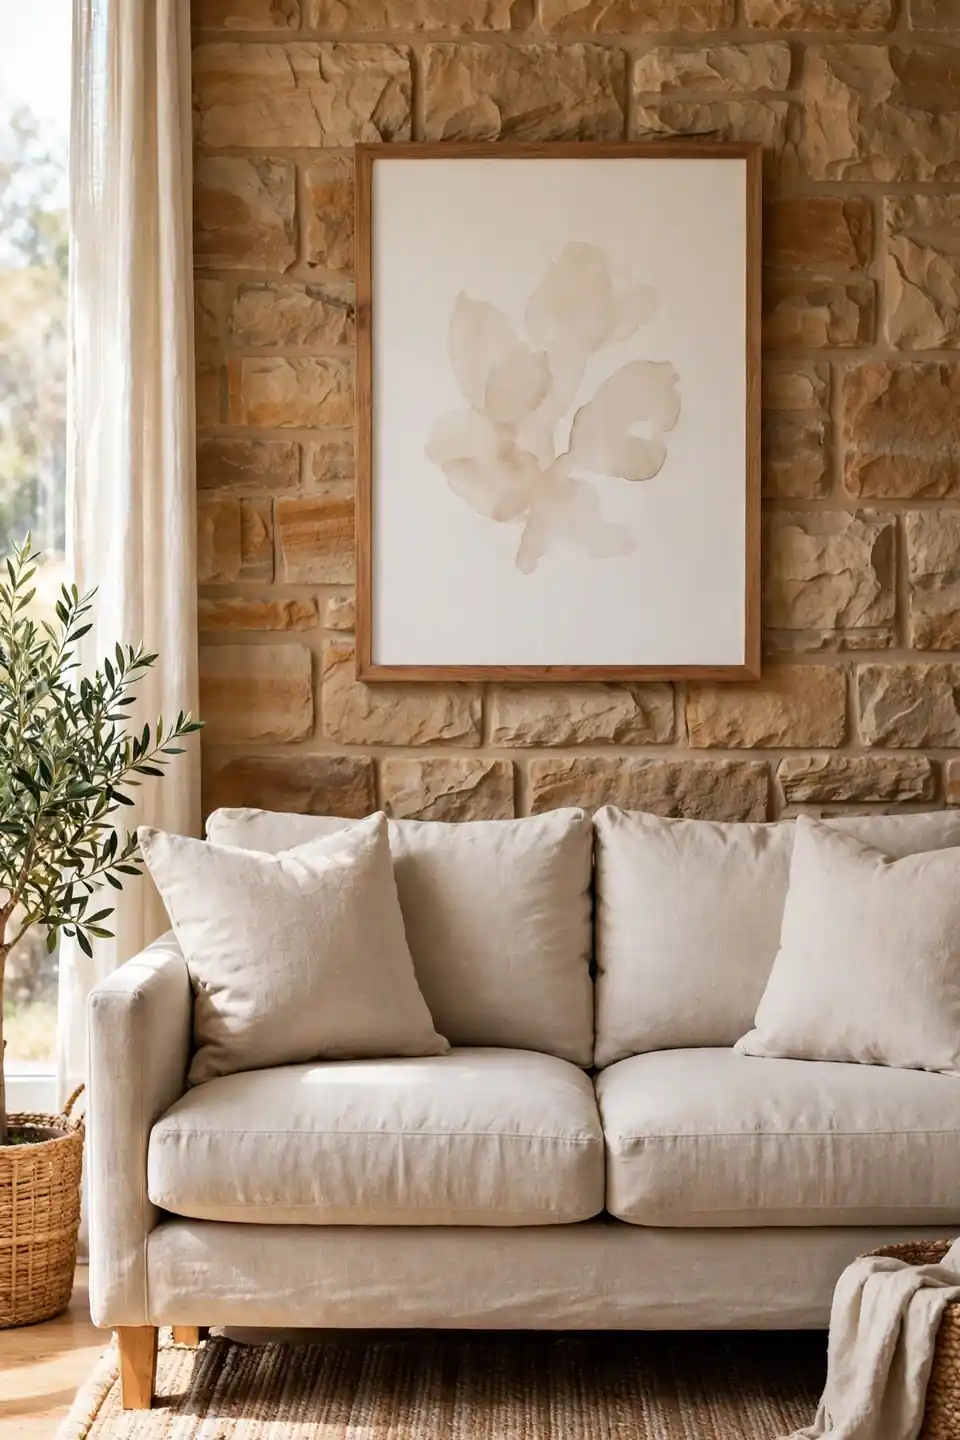
Do:
- Centre the sofa on the stone wall, not on the room
- Hang art at eye level measured from a seated position
- Leave a hand’s width of stone showing above the cushions
- Pull rug edges under the front legs for grounding
Don’t:
- Do not line the wall top with a row of small frames
- Avoid glossy paint colours that glare against rough stone
- Skip heavy curtains in tones that fight the stone’s warmth
Stone behind a sofa is already a strong picture, so styling means editing rather than adding. One large piece of art or a single round mirror is enough company for the texture. Everything else on that wall competes with bands of colour the stone spent millions of years making.
Sandstone Wall Quick Facts

Cost: Moderate, veneer panels cost less than solid stone
Time: One weekend for a single feature wall
Skill Level: Confident beginner with veneer, professional for solid
Best For: Living rooms, bedrooms, and entryways
Numbers help before emotion takes over at the tile shop. A veneer feature wall lands near the price of a good sofa, while solid stone costs more and needs a wall that can carry real weight. Both ask for the same simple care afterwards: a soft brush, warm water, and a sealer coat every few years. One honest warning: pale stone shows soot near open fires, so fireplace walls earn a deeper sealer coat.
Bedroom Headboard Stone Wall
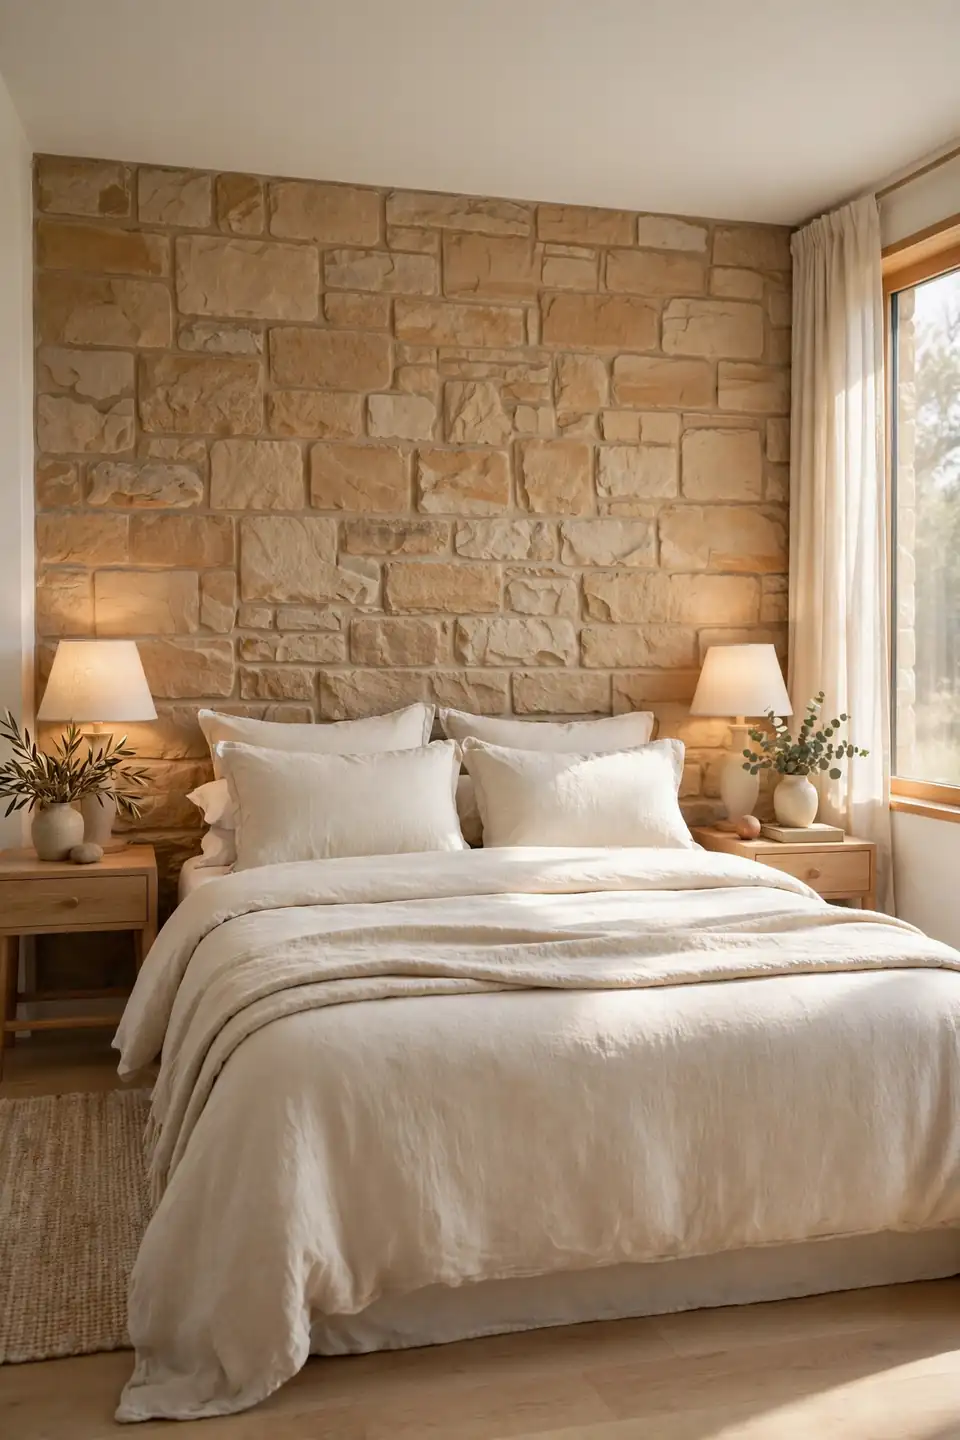
Sleeping against stone sounds cold until the first morning proves otherwise. Sandstone holds the room’s warmth, softens echo, and gives the bed a backdrop with real depth, so plain cream linen bedding looks rich instead of plain. Run the stone from skirting to ceiling for the full effect.
Keep bedside furniture low and light in tone, oak or painted cream, so the wall keeps its height. Two small lamps with linen shades warm the surface at night and pick out the palest bands. In my experience, guests always ask about this wall first, long before they notice anything else in the room.
Entryway Welcome Stone Wall

- Clad the wall facing the front door for the first impression
- Hang one round mirror to bounce light down the hall
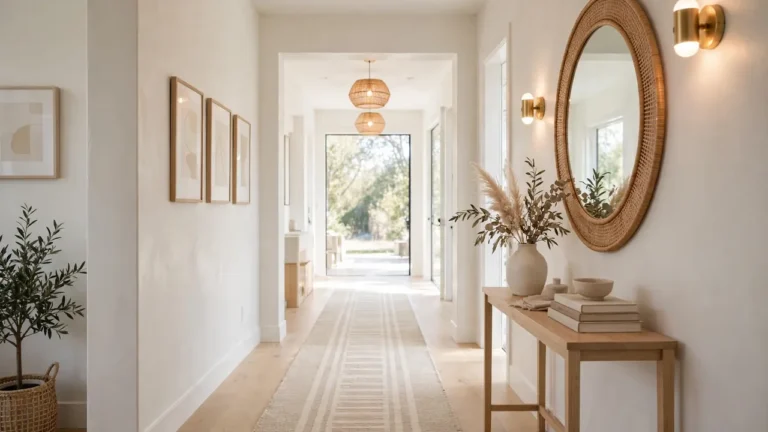
- Choose a slim oak console that leaves walking room clear
- Add a woven basket for shoes and post by the bench
- Finish with a washable runner in warm neutral stripes
Hallways work hard and get decorated last, which is exactly why stone suits them. It shrugs off scuffs from bags and boots, hides the marks paint shows within a month, and greets everyone with texture instead of a blank stare. The calm, ordered feel matches the rooms in warm minimalist dining room decor ideas, where one honest material does the talking.
Warm Lighting On Stone

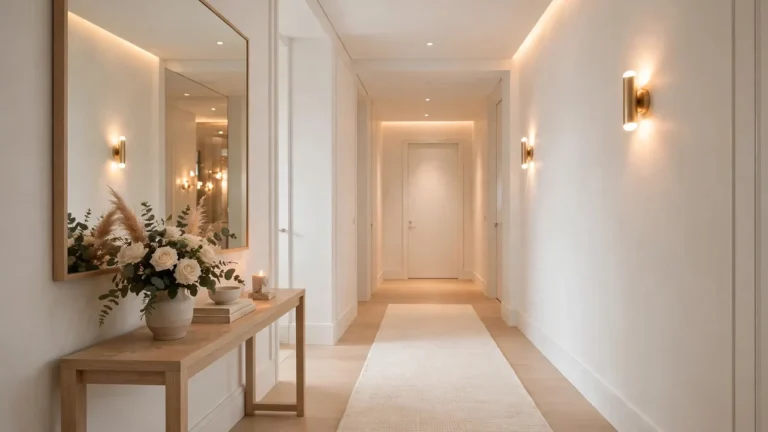
Quick Tip: Mount lights so the beam grazes down the stone rather than pointing straight at it. A sconce fixed fifteen centimetres from the wall throws long shadows across every joint and ridge, and the texture doubles after dark. Warm bulbs around 2700K keep the stone honeyed, never grey.
Daylight shows the colour of sandstone; lamplight shows its character. One pair of sconces flanking a fireplace or a picture light above a ledge turns a flat evening wall into the room’s backdrop again. Keep overhead spots off this wall entirely, because flat white light from above washes the bands out and leaves the stone looking dusty.
Dining Room Stone Feature

BEFORE: The dining room’s long wall was bare white plaster with one small clock. Meals felt like they happened in a corridor, and the oak table looked lost against so much empty, echoing wall.
AFTER: Honed sandstone tiles now cover the wall behind the table in wide, calm courses. A low pendant throws warm light across the surface, the clock moved to the kitchen, and dinner guests face texture and colour instead of blank plaster.
Stone behind a dining table earns its keep at night, when candlelight and pendants rake across it for hours. It also swallows the clatter of plates and glasses, so conversation stays clear. I’ve noticed meals simply last longer in rooms like this.
Grout Color Choice Steps
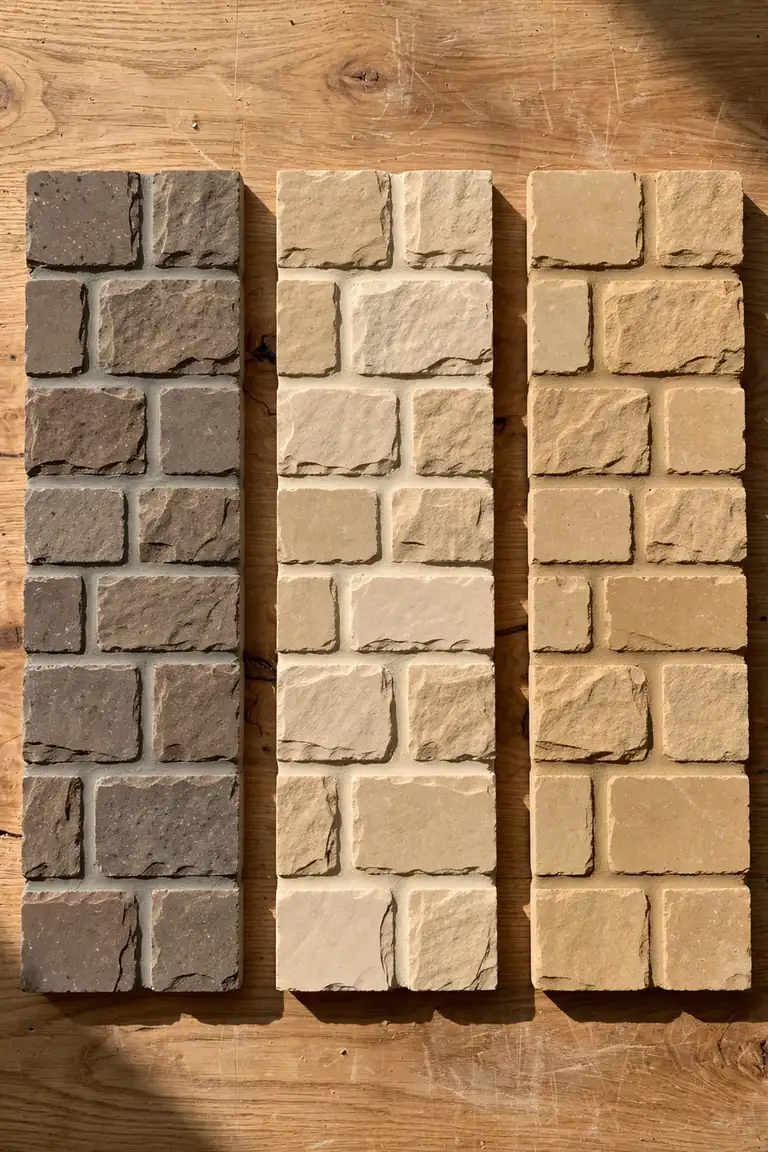
- Lay six tiles on a board with gaps, in the room’s real light
- Fill one gap with cream grout, one with warm grey, one with sand
- Live with the board against the wall for a full day
- Pick the colour that lets the stone, not the grid, lead
Grout decides whether sandstone accent wall interior design reads calm or busy. A grout close to the stone’s mid tone melts the joints away and lets the bands flow, while a pale grout draws a graph paper grid over the whole wall. In my experience, warm grey is the safe middle path for honey coloured stone in north facing rooms.
Rough vs Smooth Finish

| Split Face | Honed Smooth |
|---|---|
| Deep ridges and strong shadows | Flat surface, soft even bands |
| Dramatic under grazing light | Calm in flat daylight |
| Brush clean, holds some dust | Wipes clean in seconds |
| Best behind sofas and fires | Best in baths and kitchens |
| Shows soot marks near fires | Ages evenly, easy to reseal |
The finish changes the room more than the stone colour does. Split face is theatre, all shadow and drama, while honed stone is a quiet backdrop that lets furniture speak. Match the finish to the room’s job, not to the sample that shouted loudest in the shop. Run one hand over both samples in the shop; your fingers settle the argument faster than your eyes.
Art Display On Stone
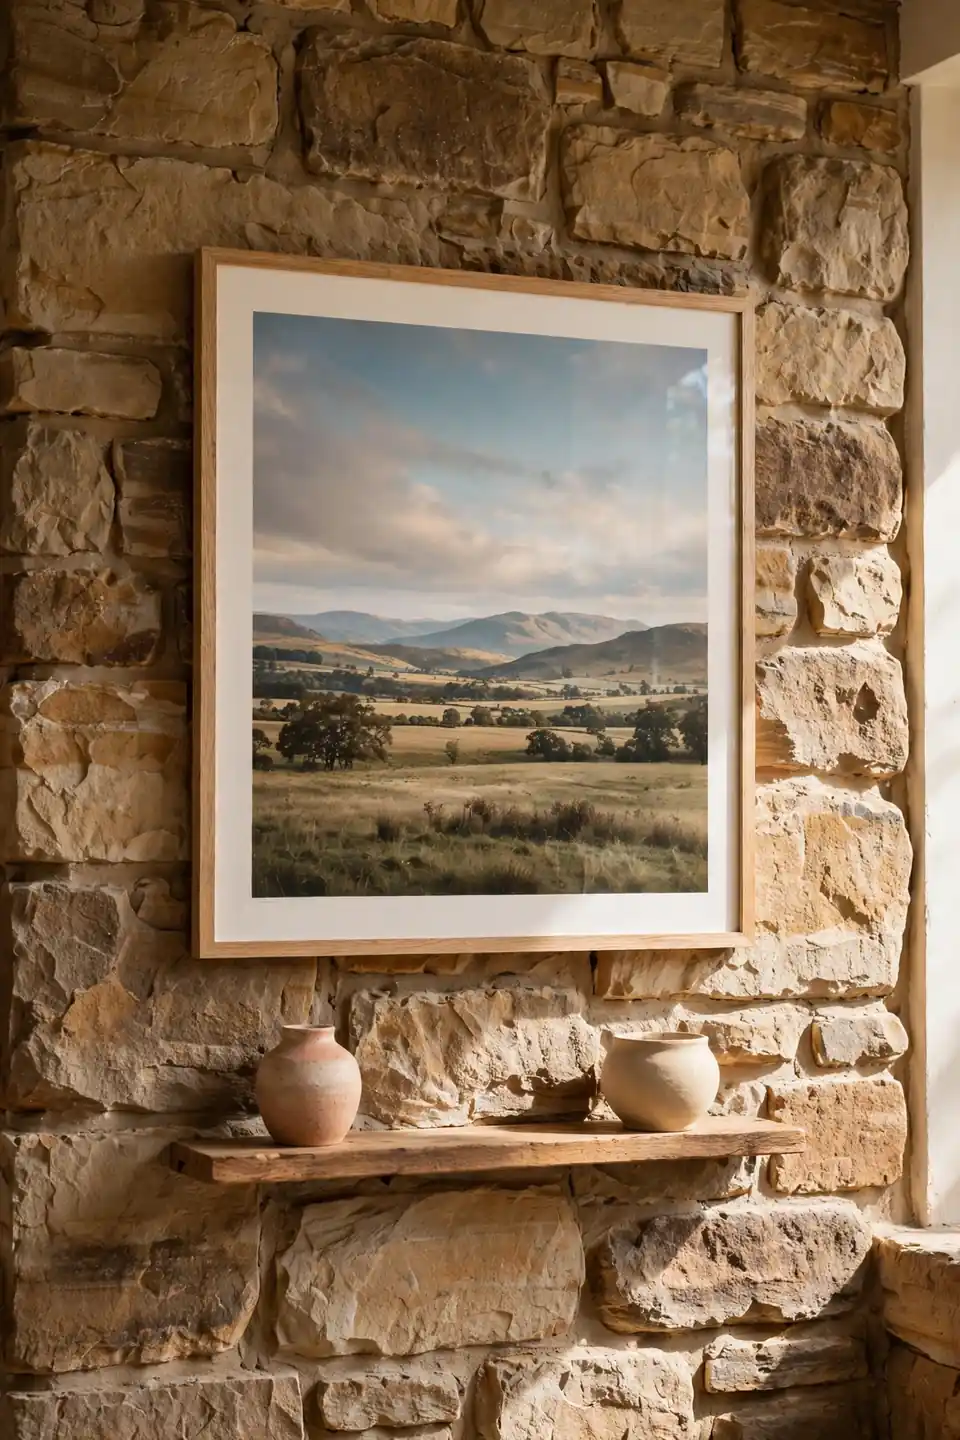
Do:
- Hang one large piece instead of many small ones
- Choose thin oak or black frames that sit quietly
- Drill into mortar joints, never through the stone face
- Leave bare stone visible on all four sides of the art
Don’t:
- Do not lean heavy frames on weak adhesive strips
- Avoid glass that reflects the whole room back at you
- Skip salon walls; stone plus many frames turns noisy
Stone is already a patterned surface, so art on it needs confidence and restraint in equal measure. A single large print with a wide mount gives the eye one place to rest, and the wall reads as a gallery rather than a noticeboard. Swap the print with the seasons and the room changes for the price of a poster.
Stone And Wood Pairing
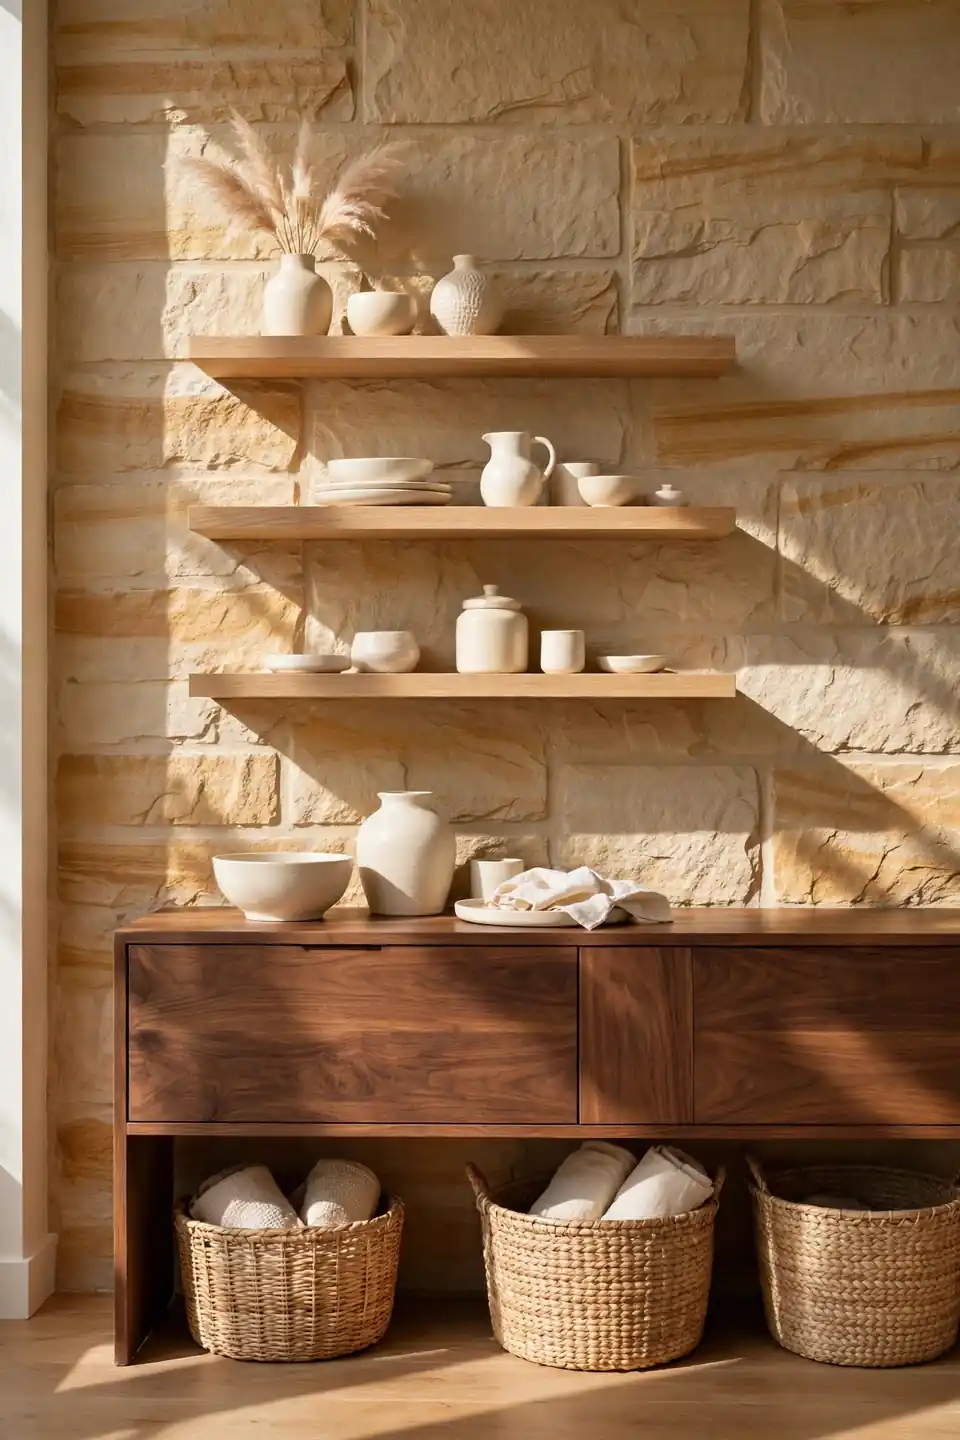
Cost: Low to moderate, shelves and one sideboard
Time: One afternoon to fit shelves and style
Skill Level: Beginner, basic drilling into joints
Best For: Living rooms and dining walls
Sandstone and timber grew up in the same landscape, so they rarely quarrel on a wall. Pale oak keeps the pairing light and Scandinavian in mood, while walnut adds depth for evening rooms. Keep metal accents black and simple, and let the two natural materials share the stage without a third texture shouting over them. One practical caution: seal the stone before the shelves go up, because drips of oil or wine behind a sideboard can hide for months.
Small Room Stone Accent

Small rooms forgive one bold wall far more easily than four busy ones. Clad only the narrow end wall in sandstone and the room gains depth, because the eye reads texture as distance. Keep the stone pale, the joints tight, and every other surface quieter than the stone.
Furniture should shrink a little here: a compact two seater sofa, one round mirror to double the light, and a low bookshelf instead of tall storage. I’ve seen this work well in many cases where paint alone made the room feel smaller, because dark colour advances while warm stone simply glows. One wall, fully clad, always beats stone sprinkled timidly across three.
Bookshelf Wall Stone Backing
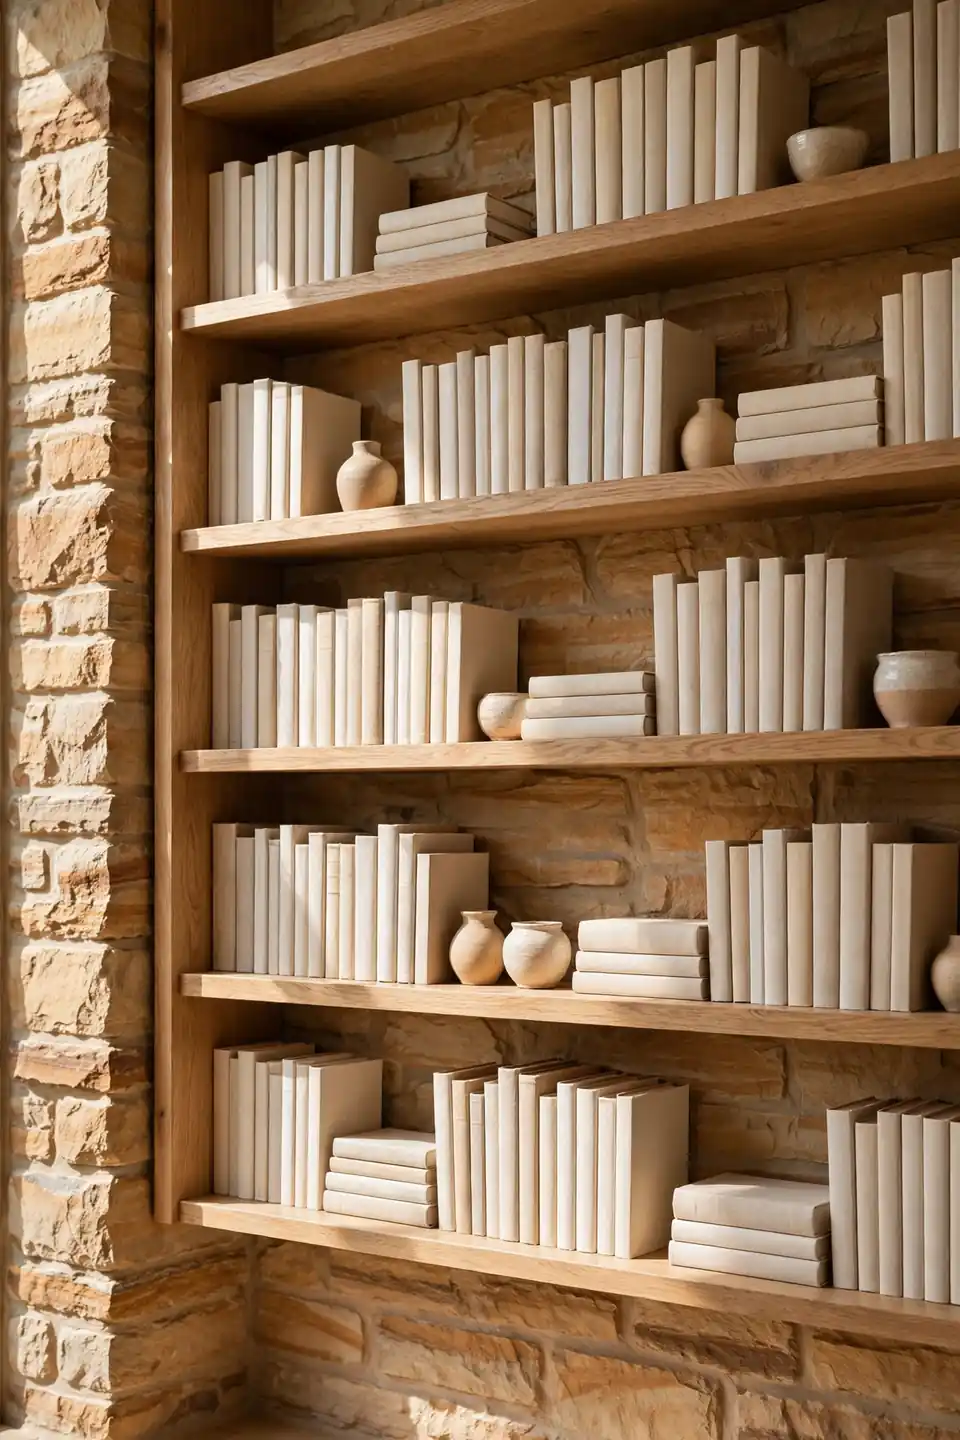
- Clad the wall first, then fix shelves into the mortar joints
- Choose open oak shelves so the stone stays visible between books
- Group books by cloth colour in creams, rusts, and soft browns
- Leave one shelf in three nearly empty for breathing room
- Rest a small framed print against the stone on one shelf
A stone backing turns plain shelving into a library wall with a history. Books in warm cloth tones settle into the palette, and the rough surface behind them makes even paperbacks look collected. Keep the top shelf for ceramics only, so the wall ends with objects and air rather than a crush of spines.
Staircase Wall Stone Cladding

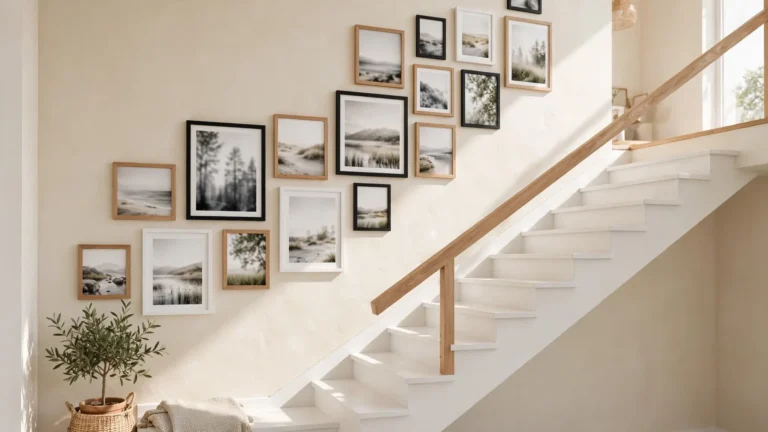
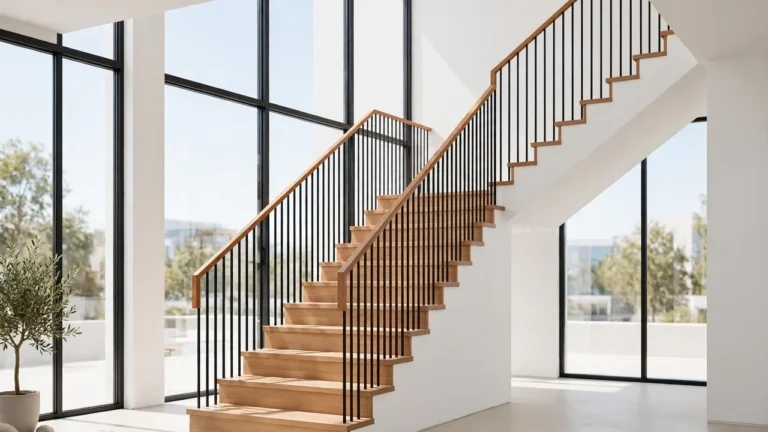
Quick Tip: Follow the slope of the stairs with the stone courses, not the floor line. Steps look best when each course steps up in rhythm with the treads, and a light oak handrail against the stone keeps the climb feeling warm rather than heavy. Plan the pattern on paper first.
Stair walls are the largest blank canvas in most houses and the least decorated. Stone climbing beside the treads gives the whole house a spine, visible from the front door and the landing at once. Small black sconces every fourth step wash the surface at night and turn a plain trip upstairs into a small event.
Bathroom Vanity Stone Wall
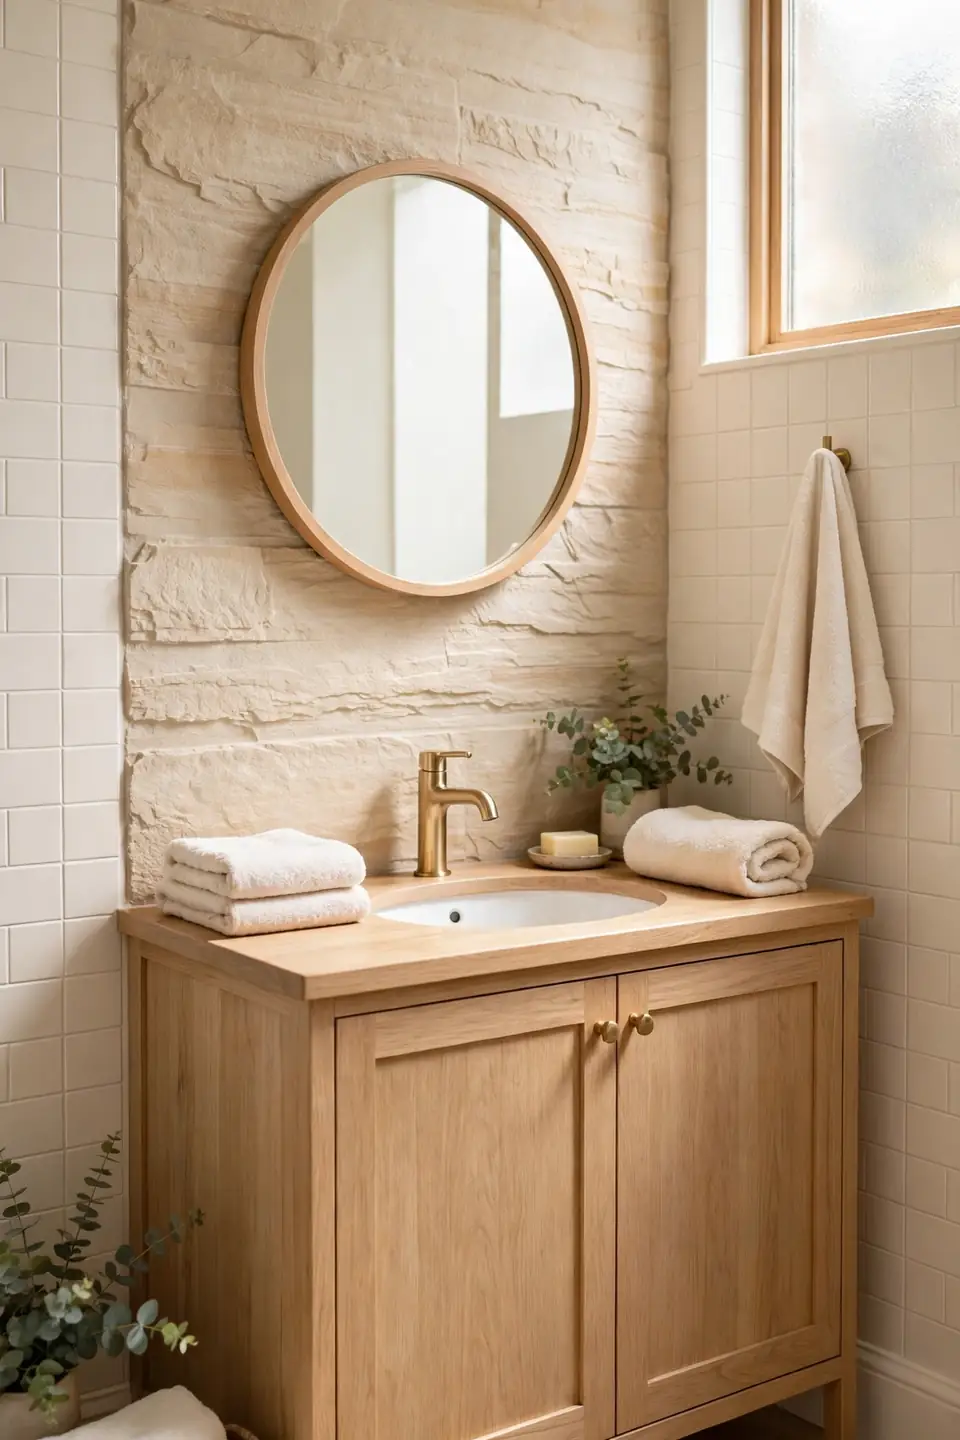
BEFORE: The bathroom wall behind the vanity was glossy white tile that showed every splash and water mark. The room felt clinical, cold in the mornings, and far brighter than anyone wanted at six o’clock.
AFTER: Honed sandstone tiles now run behind the oak vanity, sealed twice for the splash zone. The surface hides water marks, warms the mirror light, and pairs with cream towels and a single green plant on the sill.
Stone in a bathroom is a sealing question, not a style question. Honed faces wipe clean, two coats of penetrating sealer keep splashes out, and the joints get the same grout discipline as any tile. Choose the smooth finish here; split face texture near a basin traps toothpaste and regret.
Sealing Stone Maintenance Steps

- Brush the whole wall down with a soft hand brush each spring
- Wash marks with warm water and a drop of stone soap
- Let the wall dry for a full day before sealing
- Roll on penetrating sealer in thin coats, wiping the excess
- Buff the surface softly once the sealer cures overnight
Stone asks for little, but it does ask. Unsealed sandstone drinks spills and holds them as dark patches, while a sealed wall shrugs off red wine and coffee with a damp cloth. The whole routine takes one afternoon every two or three years, and the wall repays it by looking freshly built every single morning.
Stone Tile Pattern Options

| Stacked Bond | Broken Bond |
|---|---|
| Neat grid, modern feel | Staggered joints, rustic feel |
| Fewer cuts, faster laying | More cuts at the edges |
| Grout lines form a pattern | Stone bands lead the eye |
| Best for baths and kitchens | Best for living room walls |
| Feels calm behind a vanity | Feels warm behind a sofa |
Pattern is the cheapest design decision on the whole wall, because both options use the same stone. Stacked courses read calm and architectural, broken courses read warm and handmade. Lay both patterns in a dry run of twelve tiles and trust the one your eye relaxes on. Photograph both dry runs; the camera exposes a fussy pattern faster than the naked eye.
Conclusion
Stone rewards patience more than budget. Start with one wall, live with the samples through a full day of light, and let the stone’s own bands set the palette for everything around it. Whether you chose rough split face panels behind the sofa or smooth honed tiles in the bath, these sandstone accent wall interior design choices age gracefully and ask for little more than a soft brush and warm water. Save your favourite walls to Pinterest before you order a single sample, then share the finished corner with someone planning a room of their own.