21 Natural Stone Bathroom Decor Ideas for a Spa-Like Retreat
A bathroom wrapped in real stone slows the whole morning down, and thoughtful natural stone bathroom decor ideas bring that calm home without a full resort renovation. Travertine, marble, slate, and pebble each carry their own texture, and even one surface changes how the room feels underfoot and in the light.
The twenty one ideas ahead move from walls and floors to the small trays and niches that finish the look, with honest notes on cost, sealing, and daily care. Warm color pairings matter here too, the same way blush and wine tones layer in pink and burgundy bedroom decor ideas, because stone reads best beside soft textiles and warm wood. Start with one surface, live with it, and let the room grow calmer piece by piece.
Travertine Walls Warm Texture
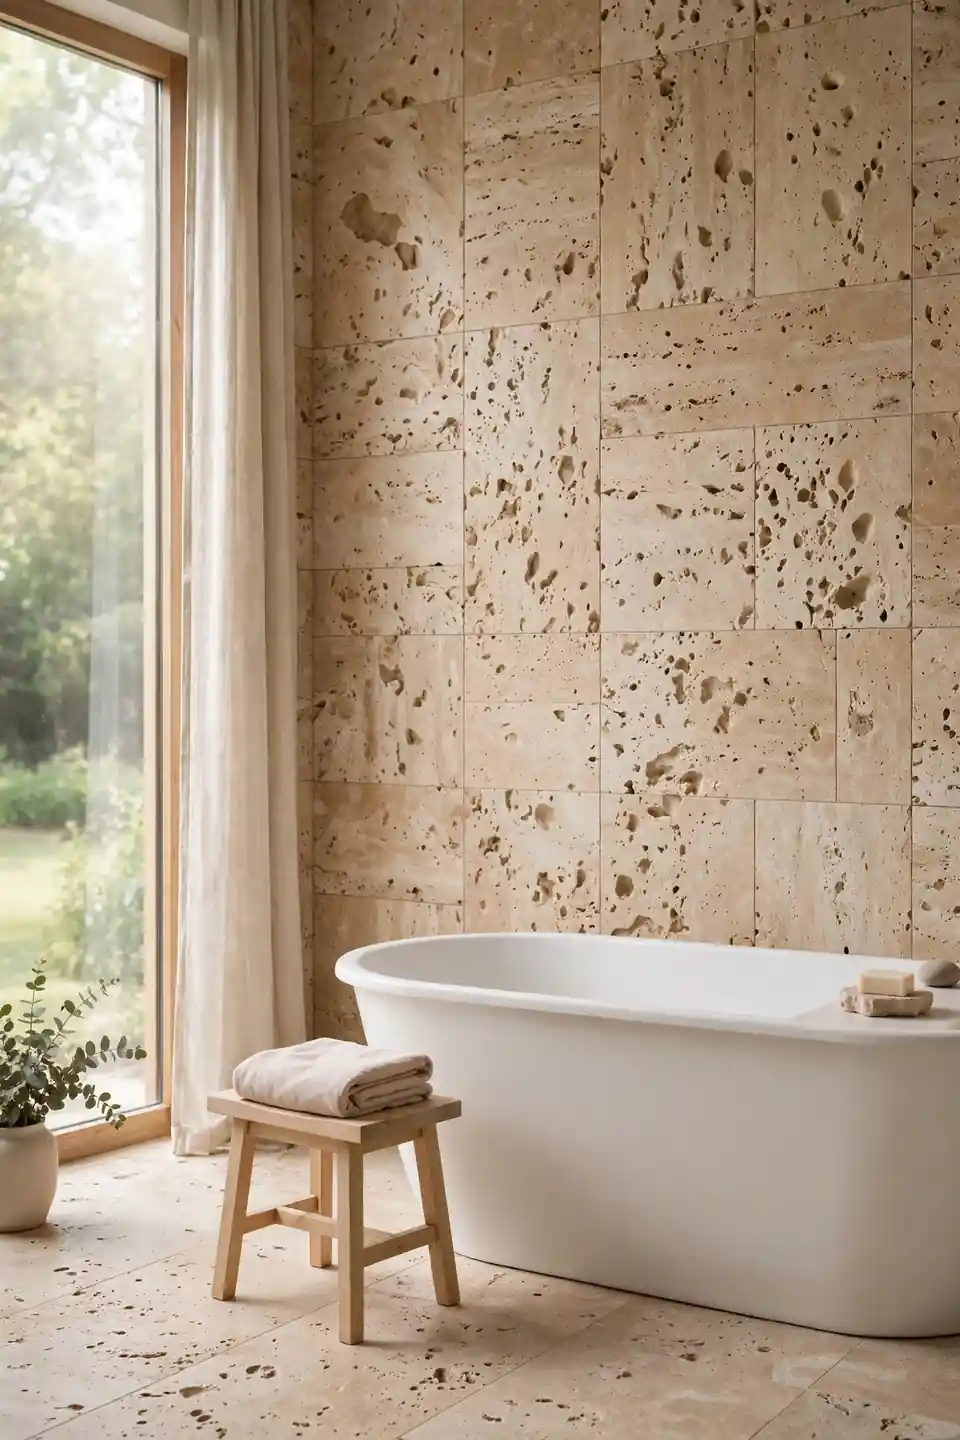
Travertine turns a plain wall into the warmest surface in the room. Its pits and soft bands of beige catch morning light at an angle, so the wall seems to glow rather than shine. Large format tiles with tight grout lines keep the pattern calm and spa like. Few stones feel this gentle at full height.
Run the tile from floor to ceiling behind the tub or vanity and stop there. One full stone wall anchors the room while painted walls keep the budget and the mood in balance. In my experience, honed travertine hides water spots far better than polished marble, which makes it the forgiving choice for busy family bathrooms and guest baths alike.
Pebble Shower Floor Massage
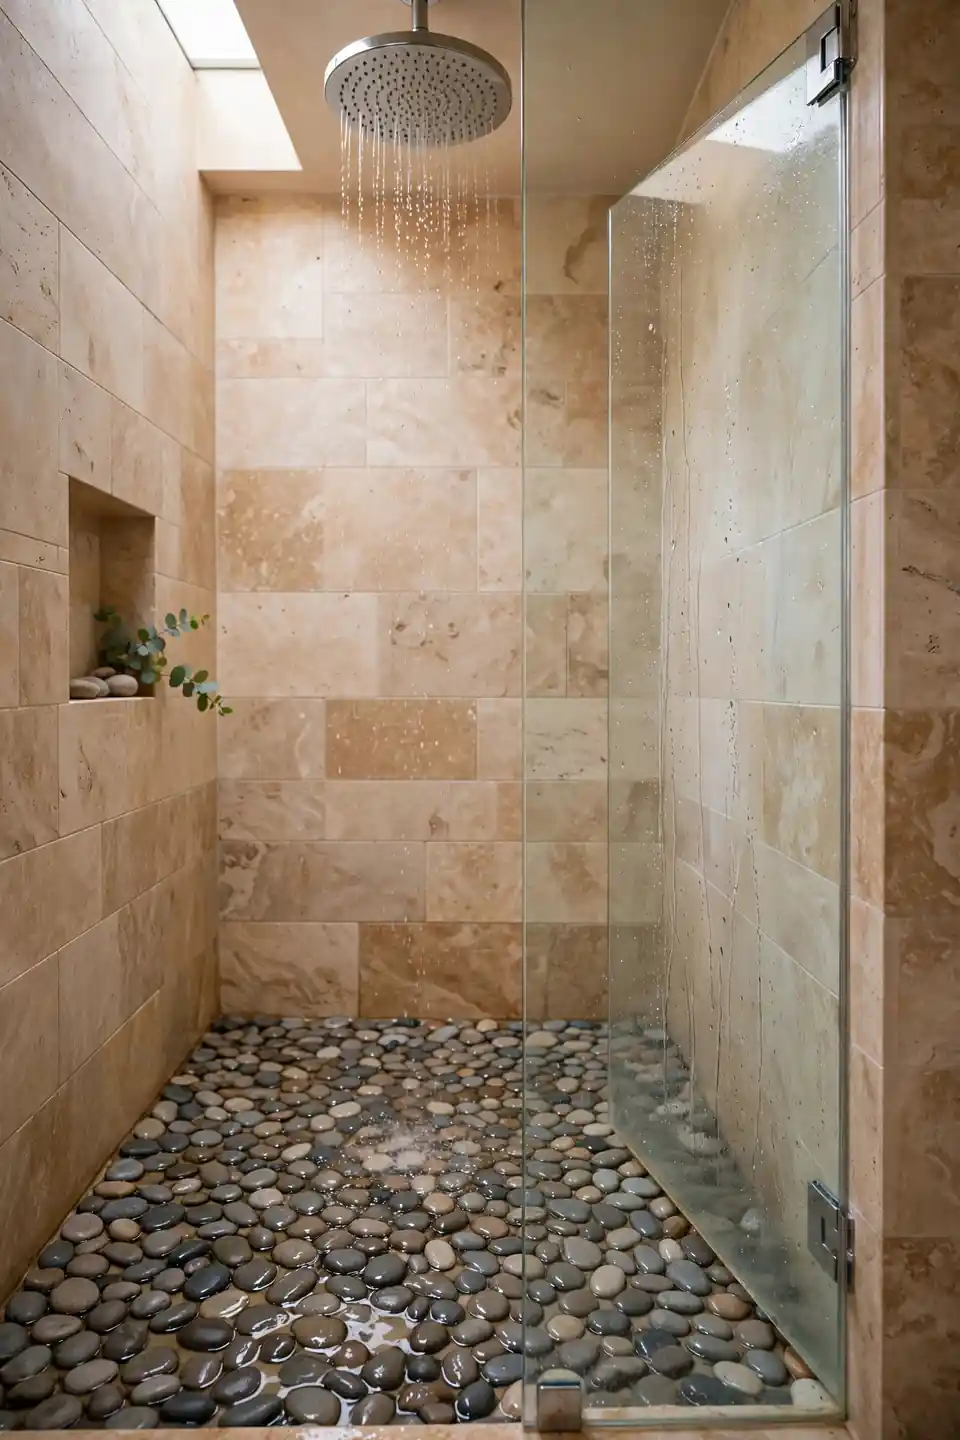
- Pick flat sliced river pebbles so the floor massages feet instead of poking them.
- Seal the pebbles before grouting and again after, since shower water tests every pore daily.
- Match grout to the darkest stone for a calm floor that hides soap film well.
- Slope the drain carefully, because pebble floors hold small puddles longer than flat tile.
- Warm water over pebbles releases a faint earthy scent that flat ceramic never gives.
Underfoot, the texture does quiet work on tired feet at the end of the day. Each step presses a slightly different point, and the shower starts to feel like part of a spa circuit rather than a rushed rinse. Pair the floor with one stone wall and plain glass.
Marble Vessel Sink Statement
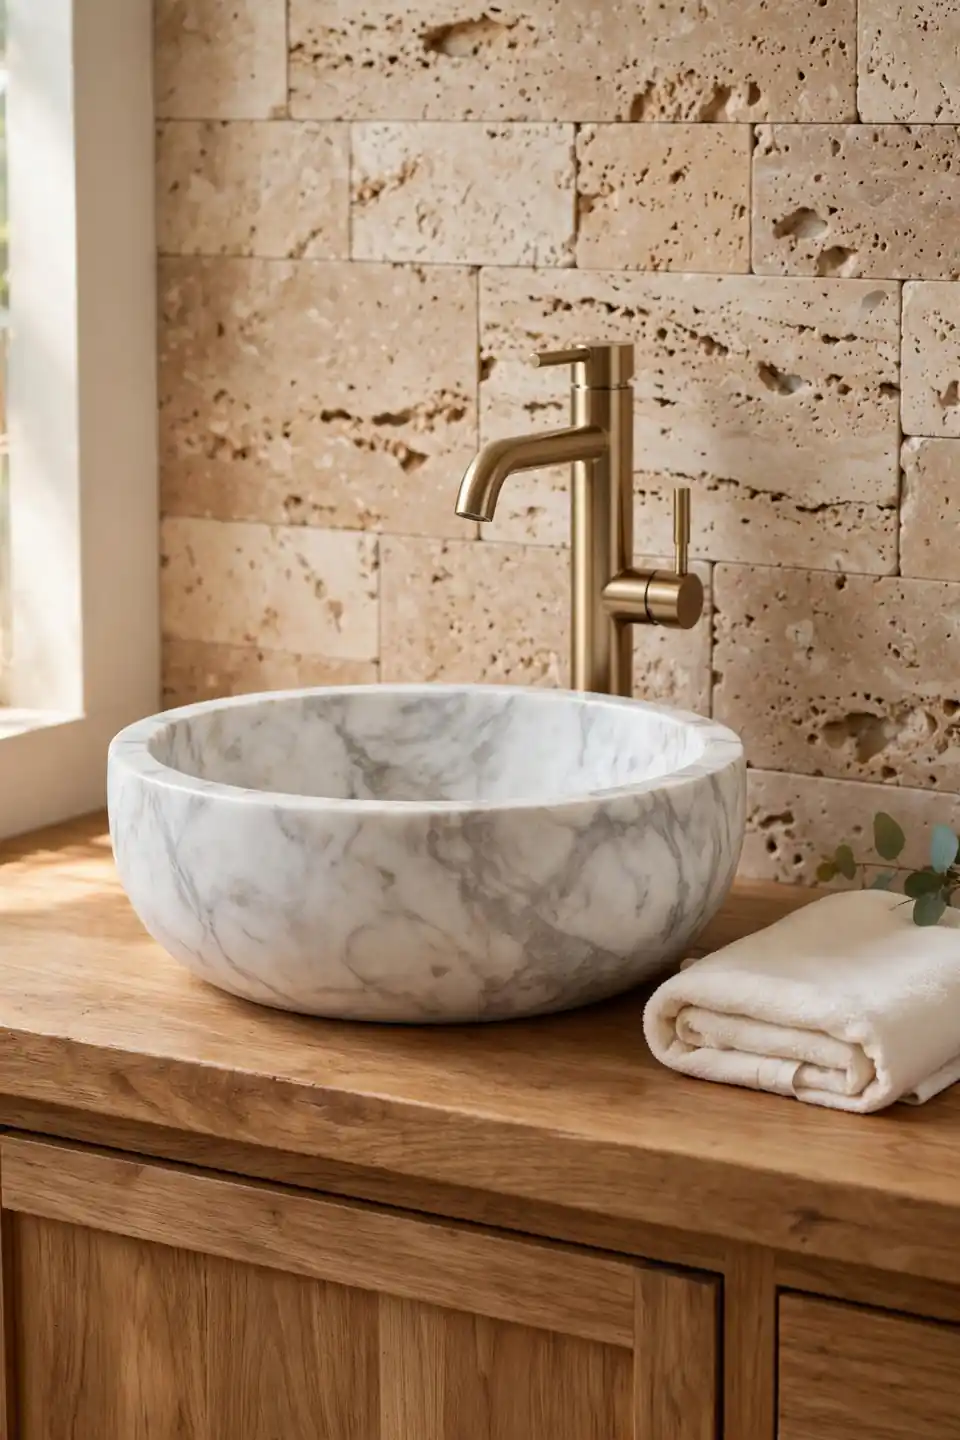
Quick Tip: Set a marble vessel sink slightly off center on a wide vanity. The small shift looks deliberate, leaves room for a folded towel beside it, and keeps the faucet arc clear of the bowl rim. A felt pad under the base also stops the stone from clicking against wood or counter stone.
A vessel bowl lifts the whole vanity into view, turning a daily wash into a small ritual. Veined marble carries the eye upward, so keep the mirror simple and the faucet tall and quiet in brushed brass or matte black. One beautiful bowl earns more attention than a counter crowded with matching accessories and bottles.
Dull Bathroom Stone Makeover

BEFORE: The old bathroom felt flat and cold, with shiny white tiles, a chipped acrylic tub, and a fogged mirror. Nothing in the room had texture, so every sound echoed and the light felt harsh at night.
AFTER: Warm travertine now climbs one wall, a pebble floor cushions the shower, and a stone tray holds the few things left out. The room sounds softer, the light bounces warmer, and the tub finally looks like a place to linger.
The change came from surfaces, not layout. Walls, floor, and one vanity top carried the whole budget, while the tub and toilet stayed in place. Stone did the decorating work that paint and accessories never managed in this room before. That restraint kept the project calm and affordable.
Stone Bathtub Surround Steps
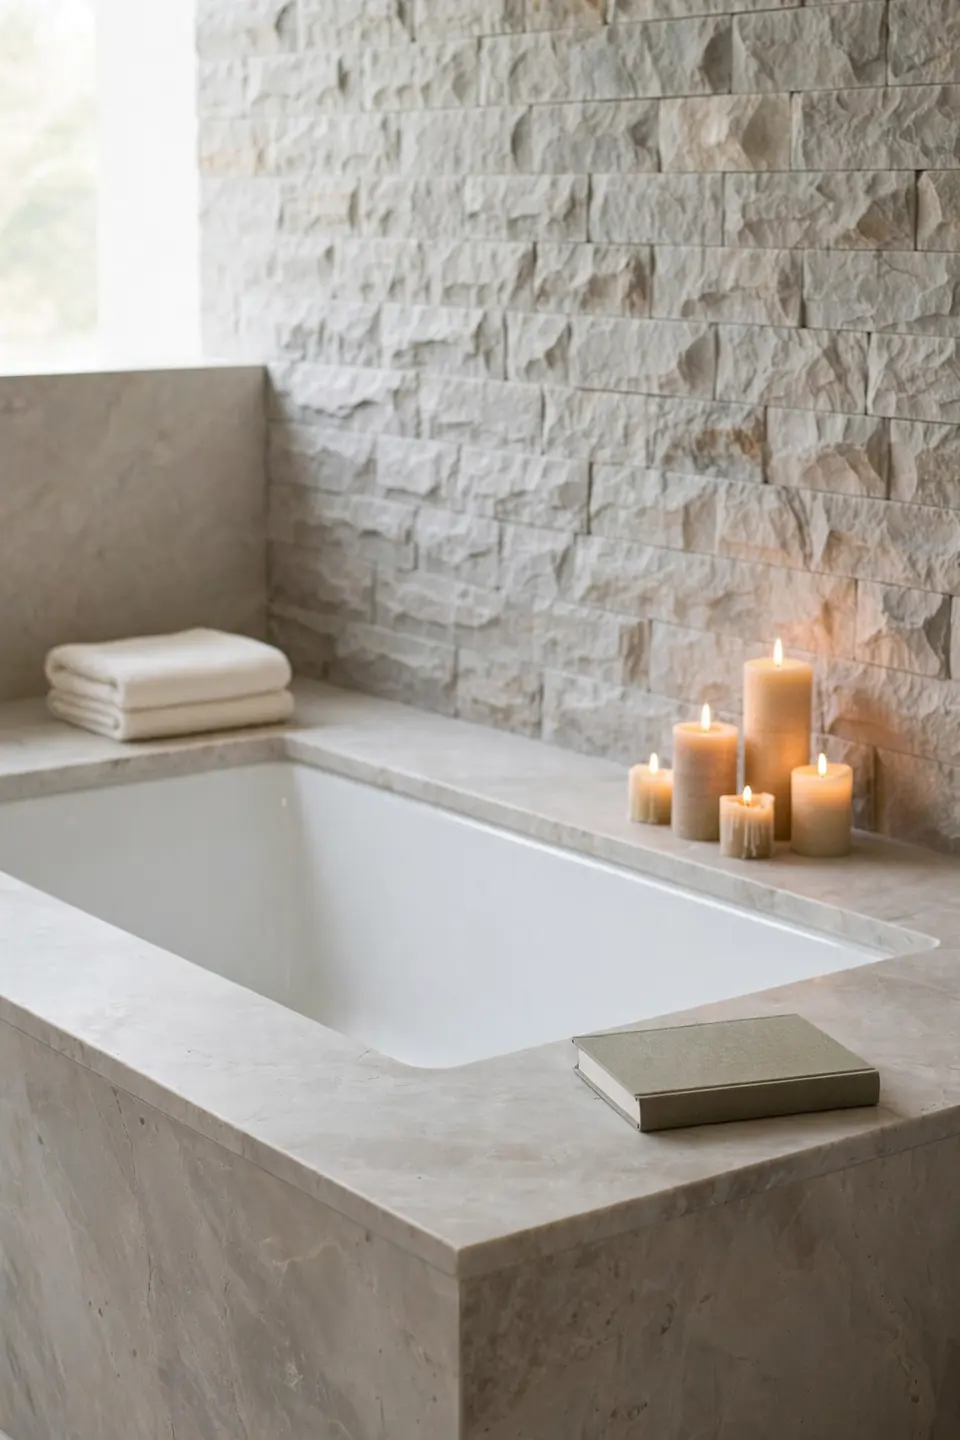
- Measure the tub deck twice and order stone slabs with a small overhang allowance.
- Set a waterproof membrane under every joint, since bath water finds seams fast.
- Lay the longest slabs first along the back edge, then fit the shorter sides.
- Seal the finished surround twice, letting the first coat dry a full day.
A stone surround turns the tub edge into the most useful shelf in the room. Candles, a book, and a cup of tea all sit steady on the wide flat surface, and splashes wipe away without staining. Choose honed stone here, because polished edges turn slippery exactly where hands reach for support.
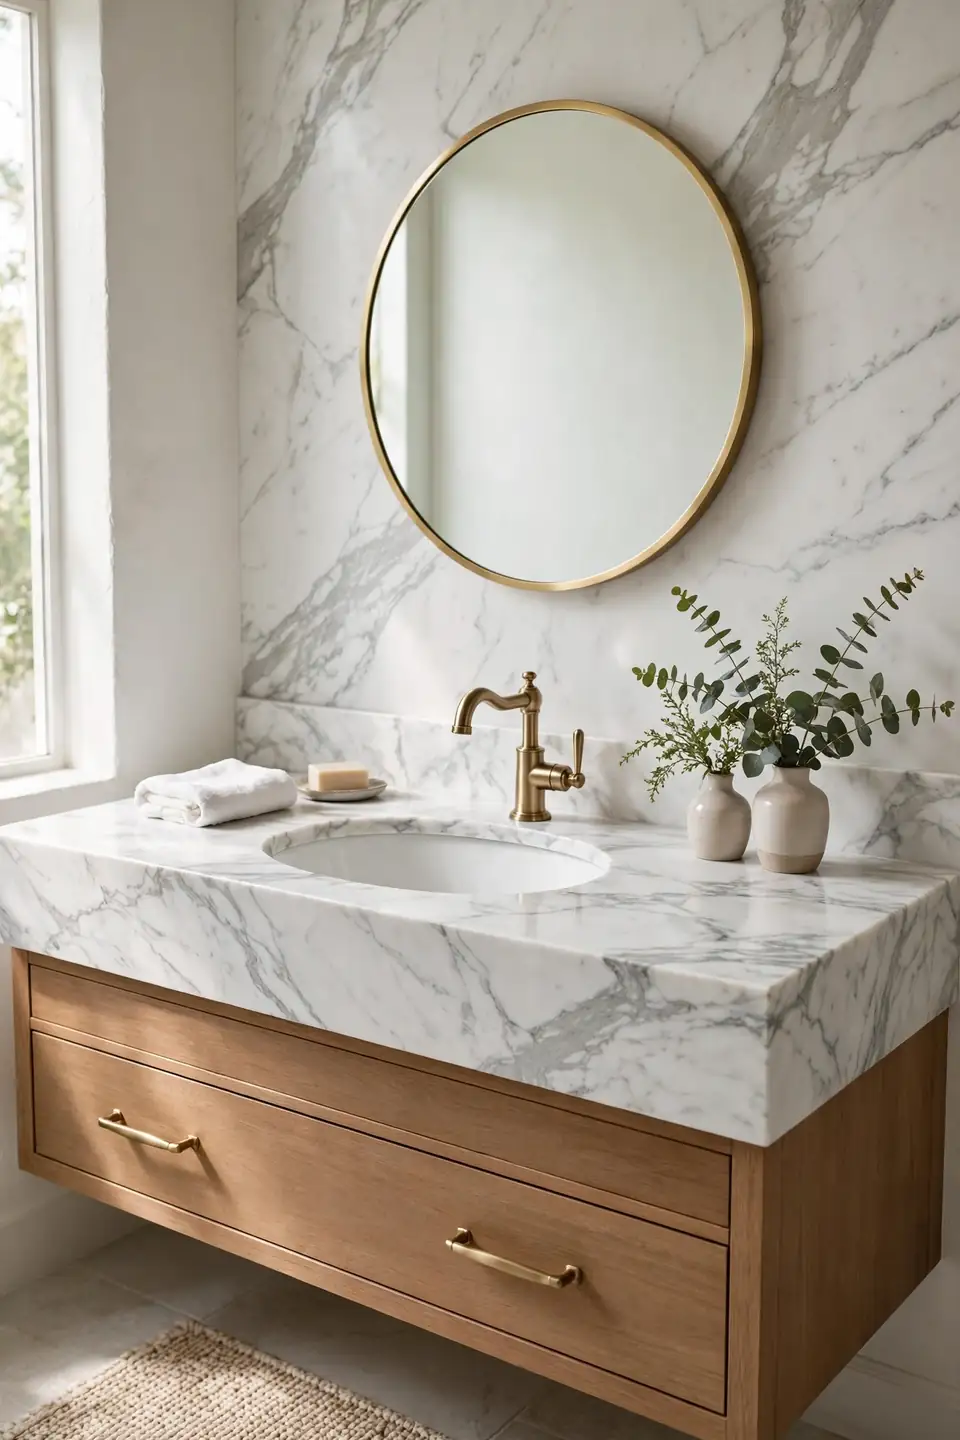
Marble Versus Travertine Counters
| Feature | Marble | Travertine |
|---|---|---|
| Look | Bold veins, polished shine | Soft pits, matte warmth |
| Care | Seal twice a year | Seal once a year |
| Stains | Etches from lemon and wine | Hides marks in texture |
| Cost | Higher per slab | Lower per slab |
Both stones reward the same habit of quick wipe downs after busy mornings. Marble suits the vanity that hosts makeup and perfume, where its shine reads as luxury. Travertine suits the family bath, where toothpaste and water spots disappear into the texture. Pick by the mess your mornings honestly make. Neither choice is wrong, and mixed stone rooms often pair a marble vanity with travertine floors.
Slate Accent Wall Rules
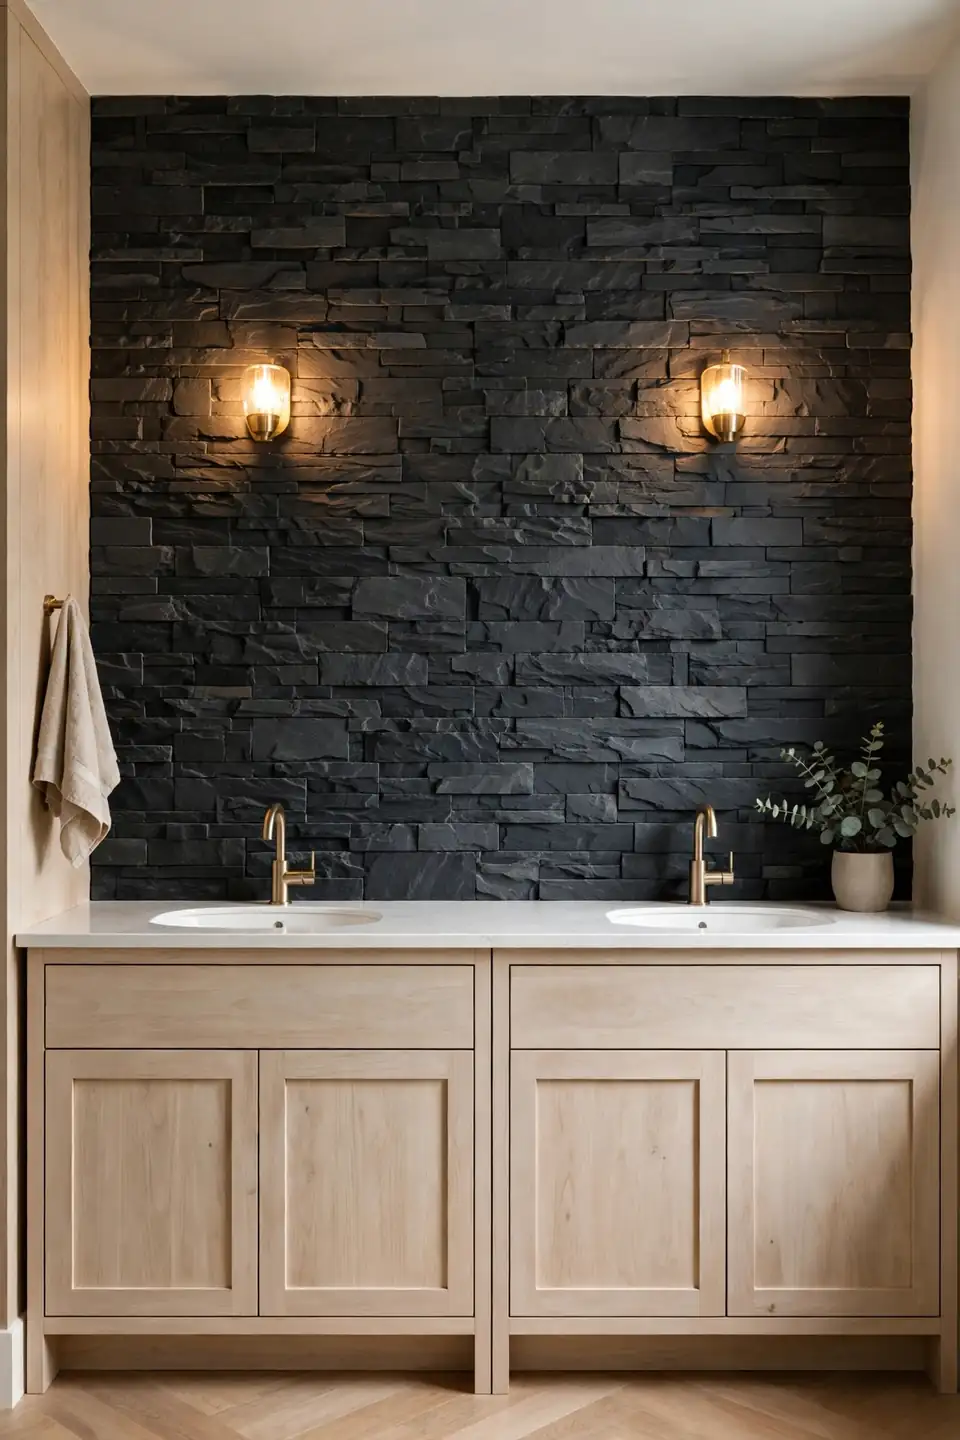
Do:
- Run slate tiles in a stacked pattern for a calm, modern grid.
- Seal dark slate with an enhancing sealer to keep the charcoal depth.
- Light the wall with a warm sconce so the texture shows at night.
Don’t:
- Skip glossy slate, which shows every water spot and soap streak.
- Avoid busy borders that fight the stone’s own natural pattern.
- Never carry slate onto every wall; one accent wall is plenty.
Slate brings the moody depth that pale stone cannot, and one wall of it makes white fixtures look sculptural. The stone splits along natural layers, so no two tiles match exactly, and that small variation is the whole point. Guests always ask about this wall first.
River Rock Vanity Backsplash
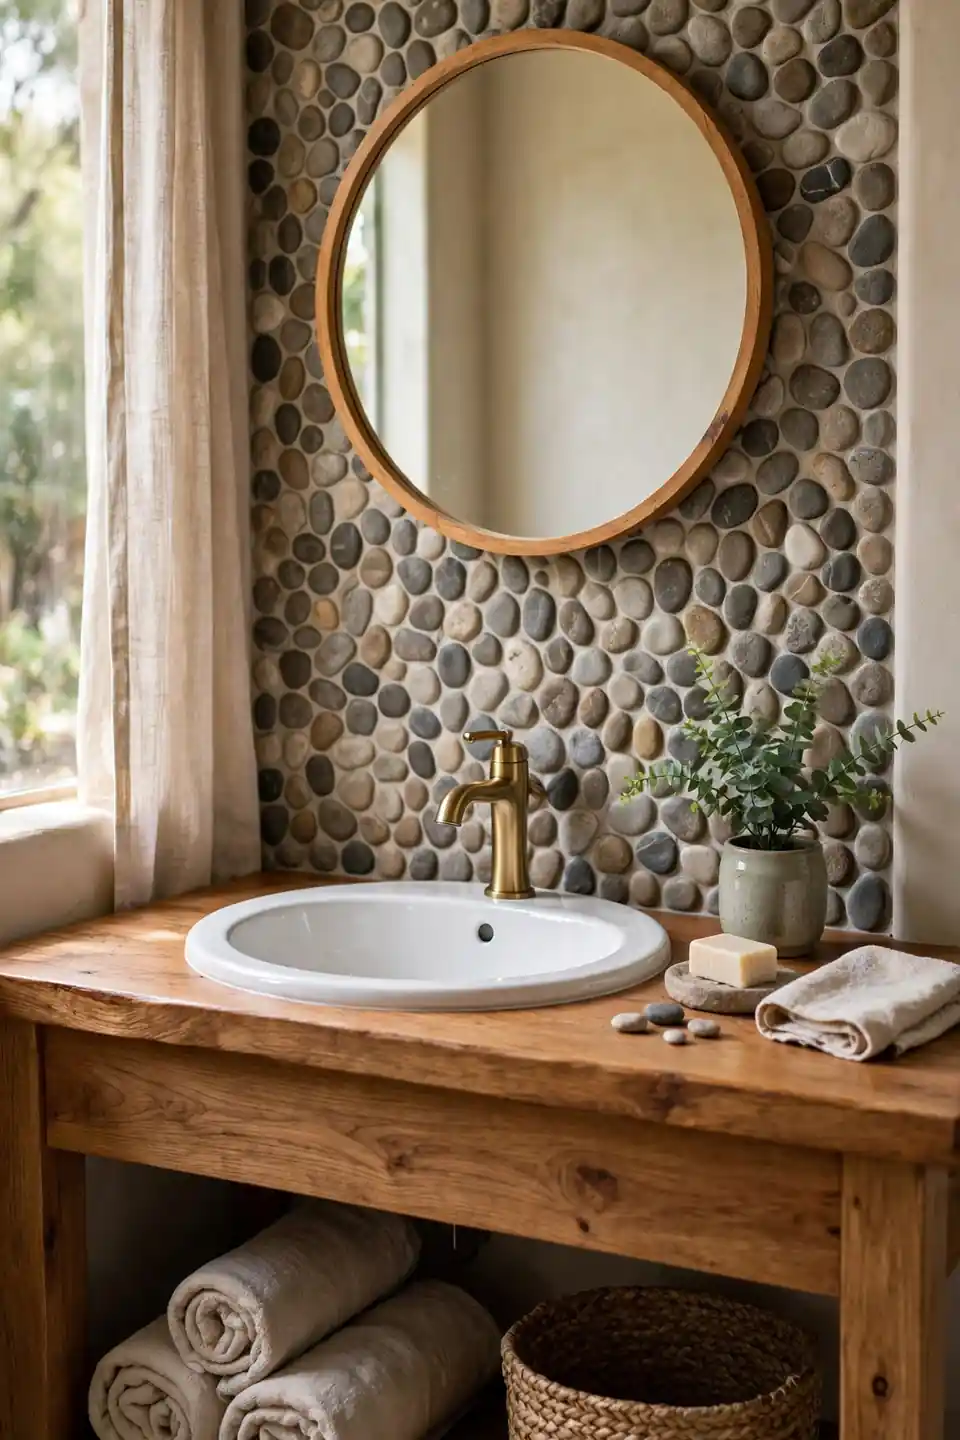
Cost: Mesh sheets of river rock run a few dollars per square foot at tile shops.
Time: One afternoon covers a standard vanity backsplash, grouting included.
Skill Level: Beginner friendly, since mesh sheets forgive small alignment slips.
Best For: Rustic and spa style bathrooms with wood vanities and simple mirrors.
A river rock backsplash connects the sink to the shower floor when the same pebbles appear in both places. The rounded stones catch droplets and hide splashes better than any flat tile, and their shadows give a plain mirror wall quiet depth. Keep the counter below it smooth so the texture has contrast.
Freestanding Tub Stone Backdrop
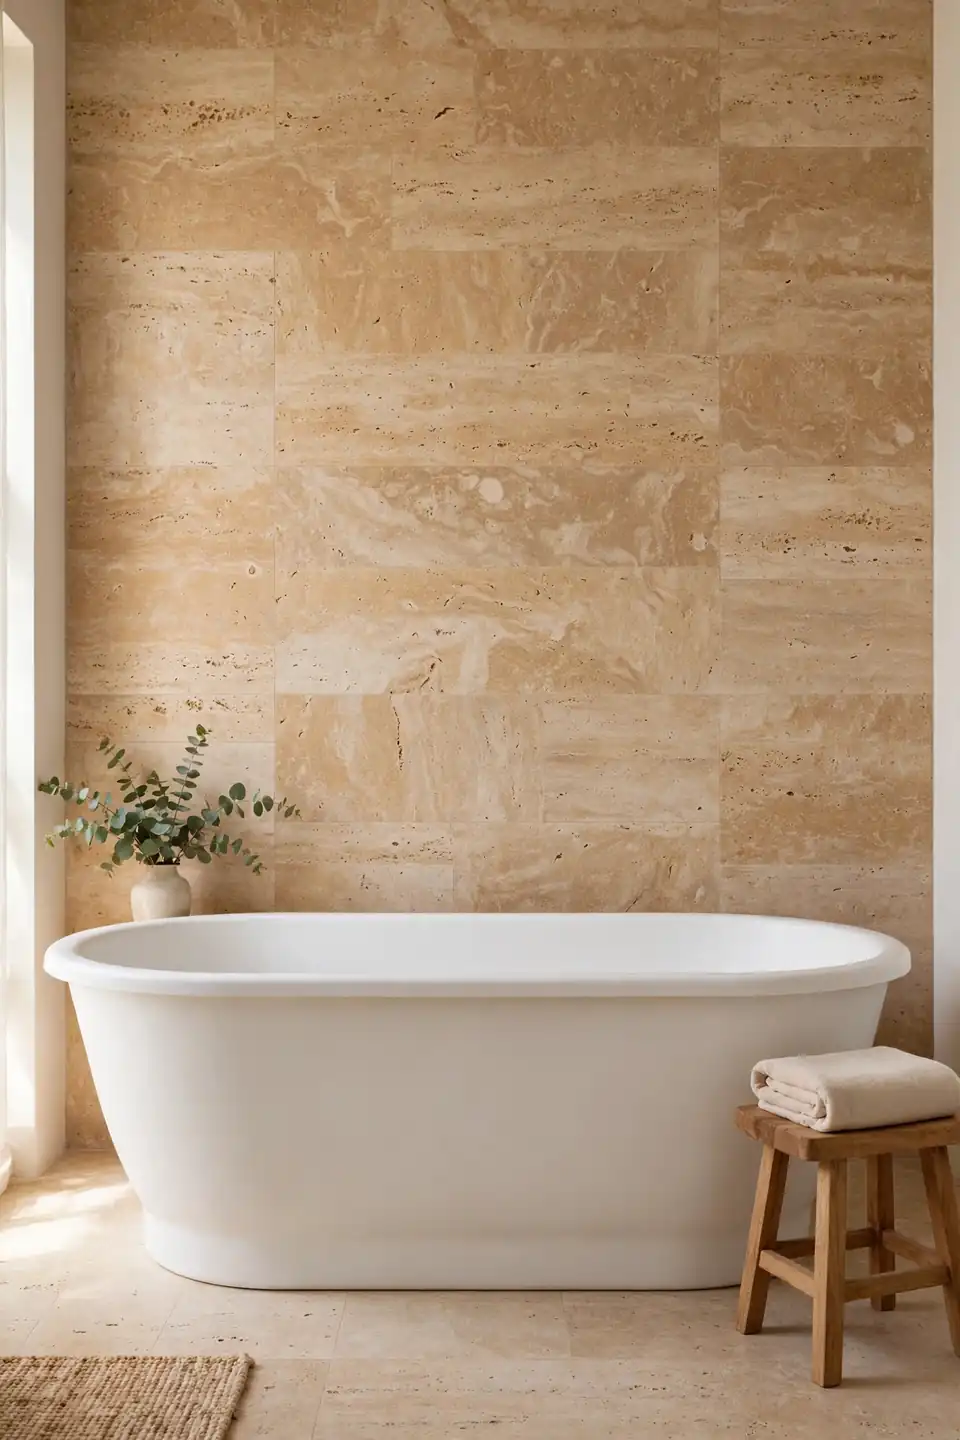
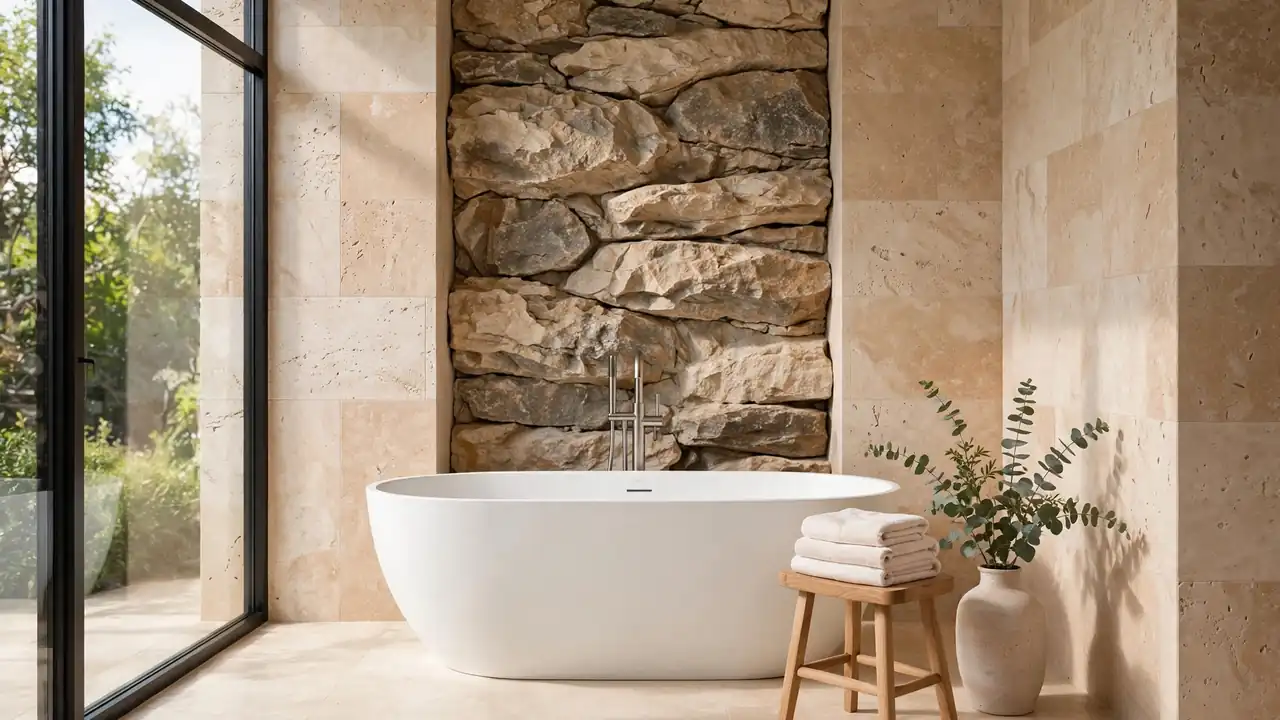
A freestanding tub floats in the middle of the room until a stone wall gives it a destination. Floor to ceiling travertine or stacked slate behind the tub turns the whole bathing zone into a single photograph. The eye stops traveling and the room finally feels finished. Nothing else in the room needs to compete.
Keep the stone run one tub width wider than the tub itself so the edges read as a frame. A small wood stool and a folded towel are the only styling the wall needs. I’ve noticed guests photograph this corner more than any other spot in stone bathrooms, because the pairing of curve and texture flatters both.
Honed Limestone Floor Tiles
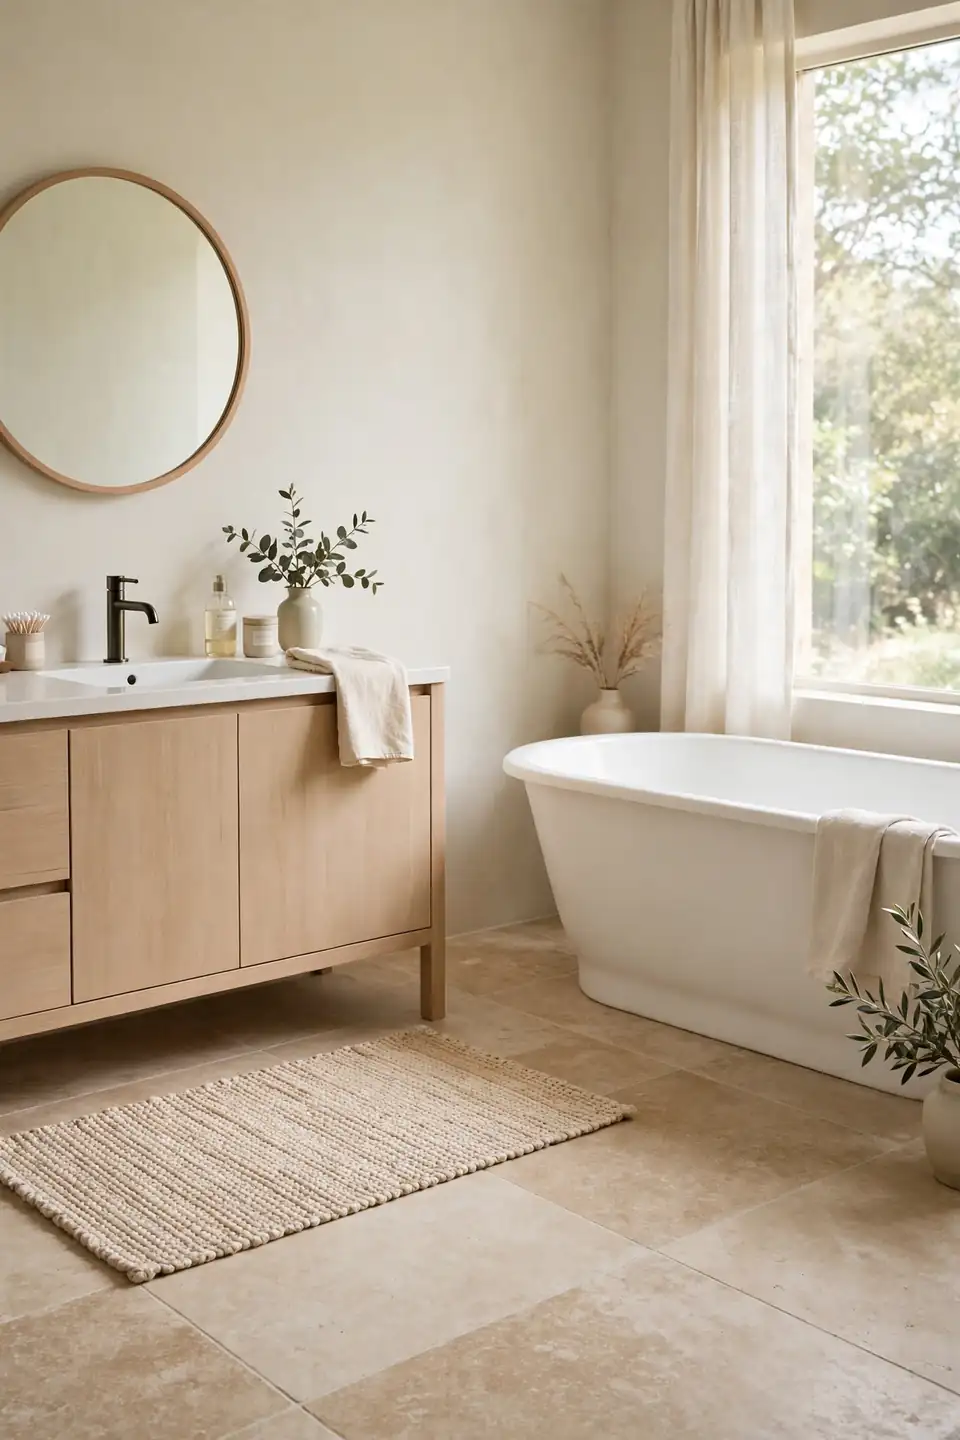
- Choose honed limestone in large squares to keep grout lines few and calm.
- Pick warm grey or oat tones that forgive dust between weekly cleanings.
- Lay tiles in a straight grid, since limestone’s soft pattern needs no fancy layout.
- Seal the floor on day one; limestone drinks spills faster than marble.
- Add a woven cotton rug at the vanity for warmth against cool stone.
Limestone feels softer than it looks, both underfoot and in photographs. Its fossils and faint shells reward a slow look, and the matte surface hides the daily scatter of hair and powder that glossy tile announces. A floor like this makes white towels and wood accents look expensive without trying.
Stone Tray Vanity Styling

Quick Tip: Corral the vanity clutter on one small stone tray, soap, a candle, and the one cream used daily. Anything that does not fit on the tray lives in a drawer. The hard edge of the tray makes the limit easy to keep, even on rushed mornings before work.
Stone trays carry weight that plastic and wood trays cannot, and they stay put when bumped. A travertine tray beside the sink also repeats the wall or floor stone in miniature, which ties the room together at almost no cost. Swap the candle scent with the seasons and the vanity feels restyled in seconds.
Cold Bathroom Warm Stone

BEFORE: The bathroom felt like a clinic, all white ceramic and chrome, with a floor that shocked bare feet every winter morning. Guests used it quickly and never once complimented the room.
AFTER: Honed stone in warm oat tones now covers the floor and one wall, and a wood stool softens the corner by the tub. The room holds heat longer, the light reads golden, and morning routines finally feel unhurried.
Most natural stone bathroom decor ideas chase looks, but this one chases temperature and mood first. Stone with warm undertones tricks the body into feeling warmer, especially beside wood and soft lamplight. The clinic feeling never stood a chance once texture arrived. Start with the floor for the biggest shift.
Pebble Mosaic Niche Shelves
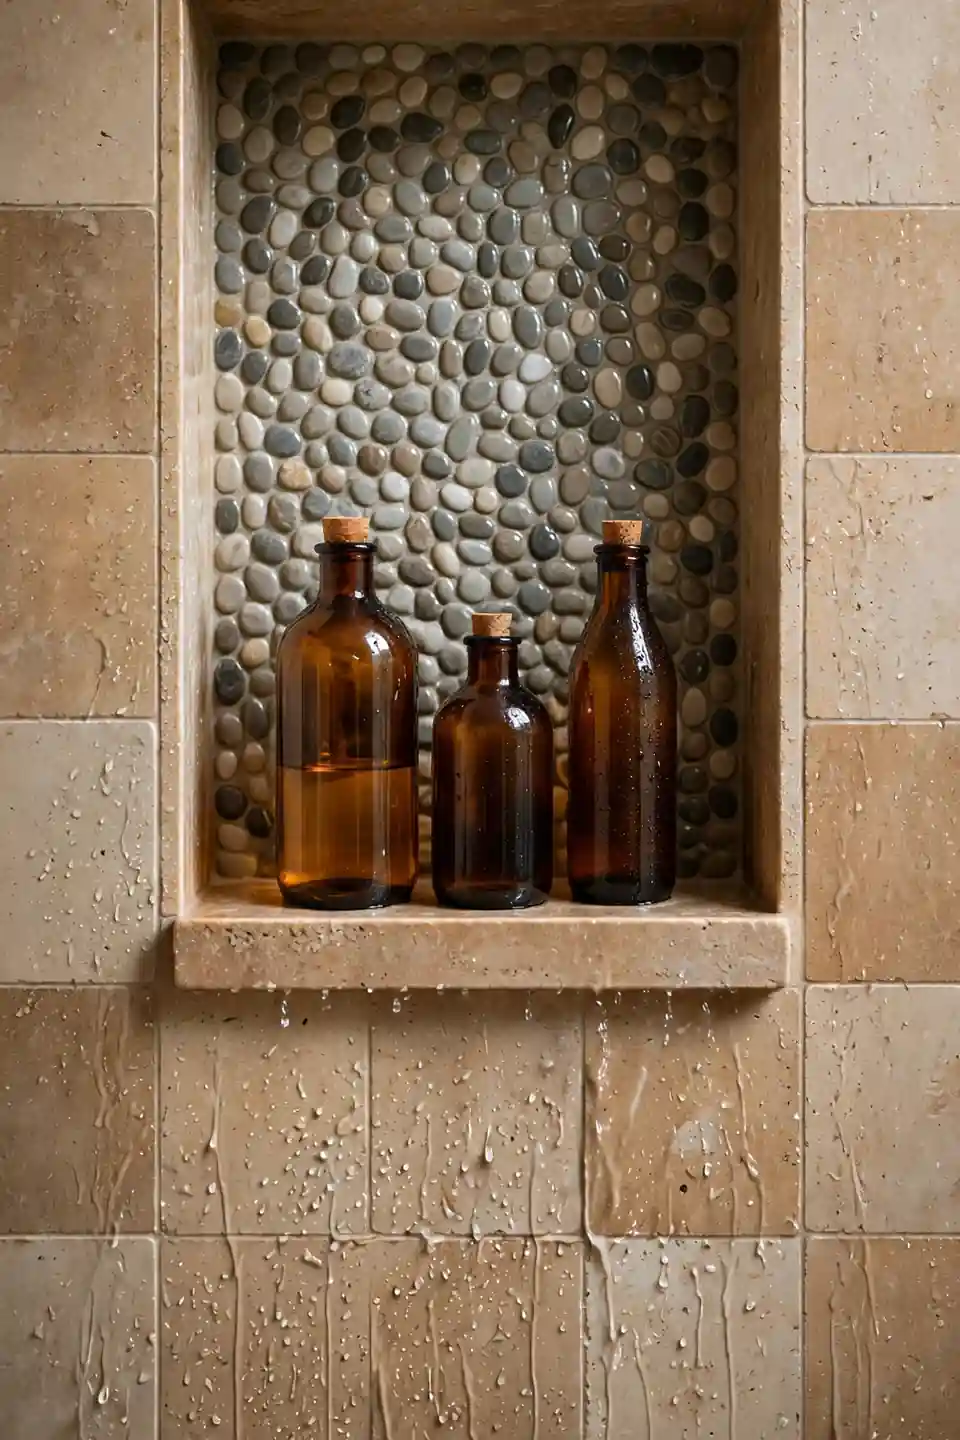
- Frame the niche between two studs and line it with waterproof board first.
- Cover the niche back with pebble mosaic sheet, keeping stones tight to the edges.
- Set one thick stone shelf at chest height for bottles used every day.
- Grout, seal, and let the niche cure two days before the first shower.
A pebble backed niche turns shampoo storage into the prettiest part of the shower. Amber bottles against rounded stone read as spa products rather than clutter, and the texture hides water marks between deep cleans. Keep only daily bottles inside and the niche stays photogenic all year.
Granite Versus Quartzite Vanities
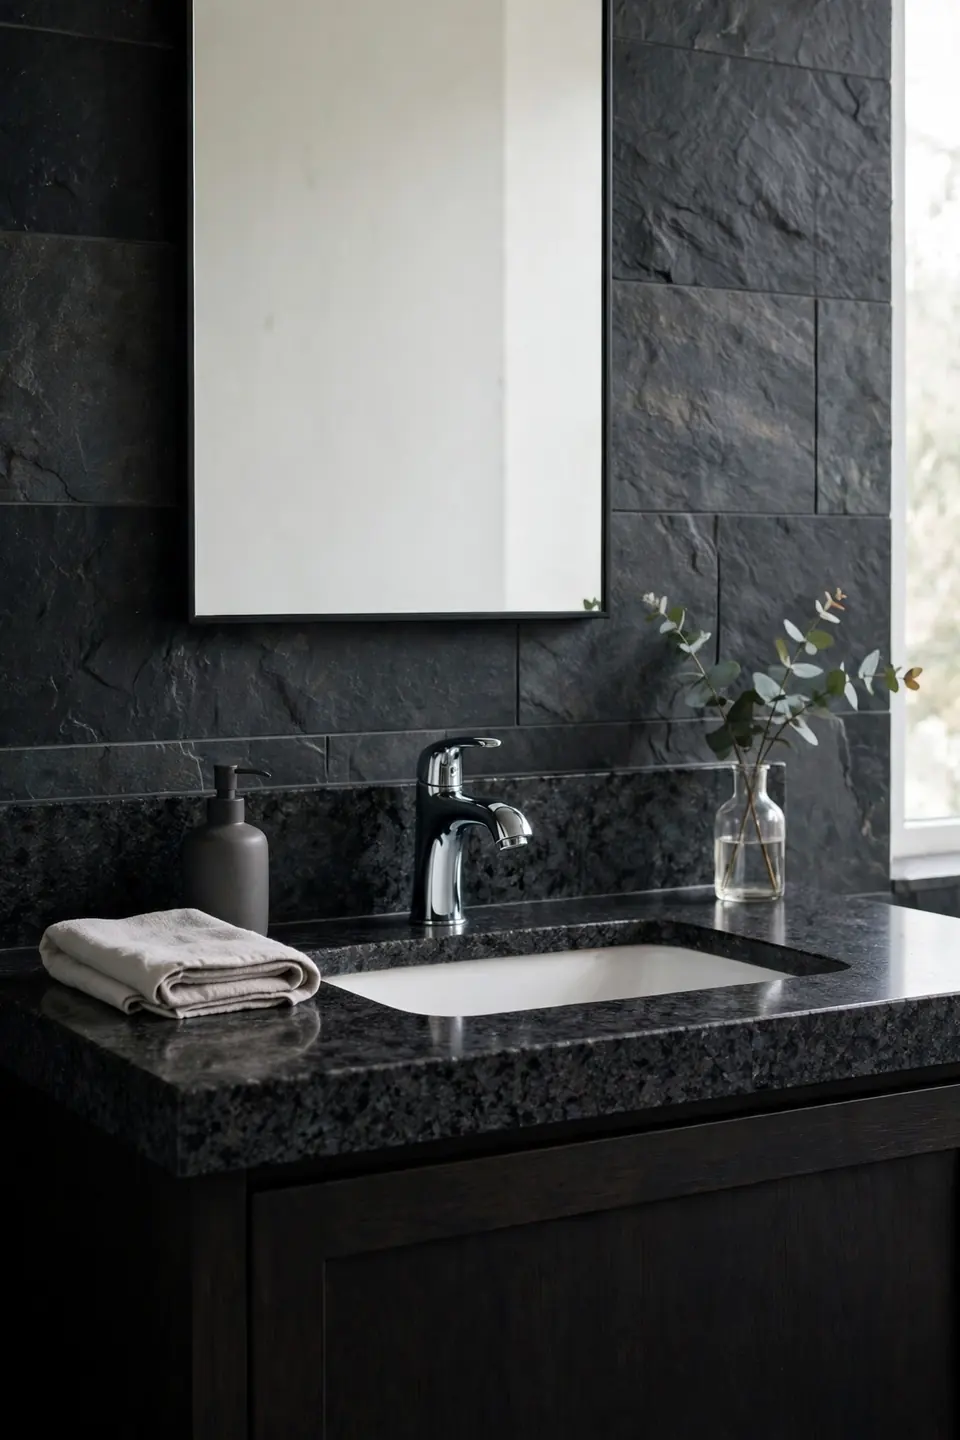
| Feature | Granite | Quartzite |
|---|---|---|
| Look | Speckled, deep, traditional | Veined like marble, brighter |
| Strength | Hard, resists chips well | Harder, resists scratches best |
| Care | Seal once a year | Seal once a year |
| Cost | Mid range per slab | Higher per slab |
Quartzite wins where mornings are rough and hot tools land on the counter daily. Granite wins where the budget matters and a deeper, moodier tone suits the room. Both stones outlast the faucets and mirrors around them, so choose the pattern you want to see at midnight and at dawn. Ask the slab yard for a honed finish on either stone to keep the spa mood soft.
Tumbled Stone Border Trim

Do:
- Set the border at eye level in the shower for the strongest effect.
- Repeat the same border behind the vanity to link the two walls.
- Choose tumbled edges that feel soft and aged beside smooth field tile.
Don’t:
- Skip borders in two different stones; the room starts to feel patched.
- Avoid high gloss borders that clash with tumbled stone’s matte finish.
- Never place the border where shampoo bottles hide it all day.
A single border row does the decorating work of a whole accent wall for a fraction of the stone. It gives large plain tiles a horizon line, and the eye reads the room as designed rather than merely tiled. This is the cheapest stone upgrade in the whole list.
Outdoor Stone Bath Corner

Cost: A stone clad outdoor corner costs less than most indoor remodels, since plumbing runs stay short and simple.
Time: A long weekend covers the wall cladding and tub placement.
Skill Level: Confident DIY level, with a plumber for the water lines.
Best For: Warm climates and private gardens with an outdoor shower already installed.
Bathing outside under a stone wall rewires what a bathroom can be. Steam rises into open air, plants lean over the tub edge, and every soak feels like a small holiday. A privacy screen of bamboo and one lantern finish the corner without any building work at all.
Stacked Stone Feature Wall
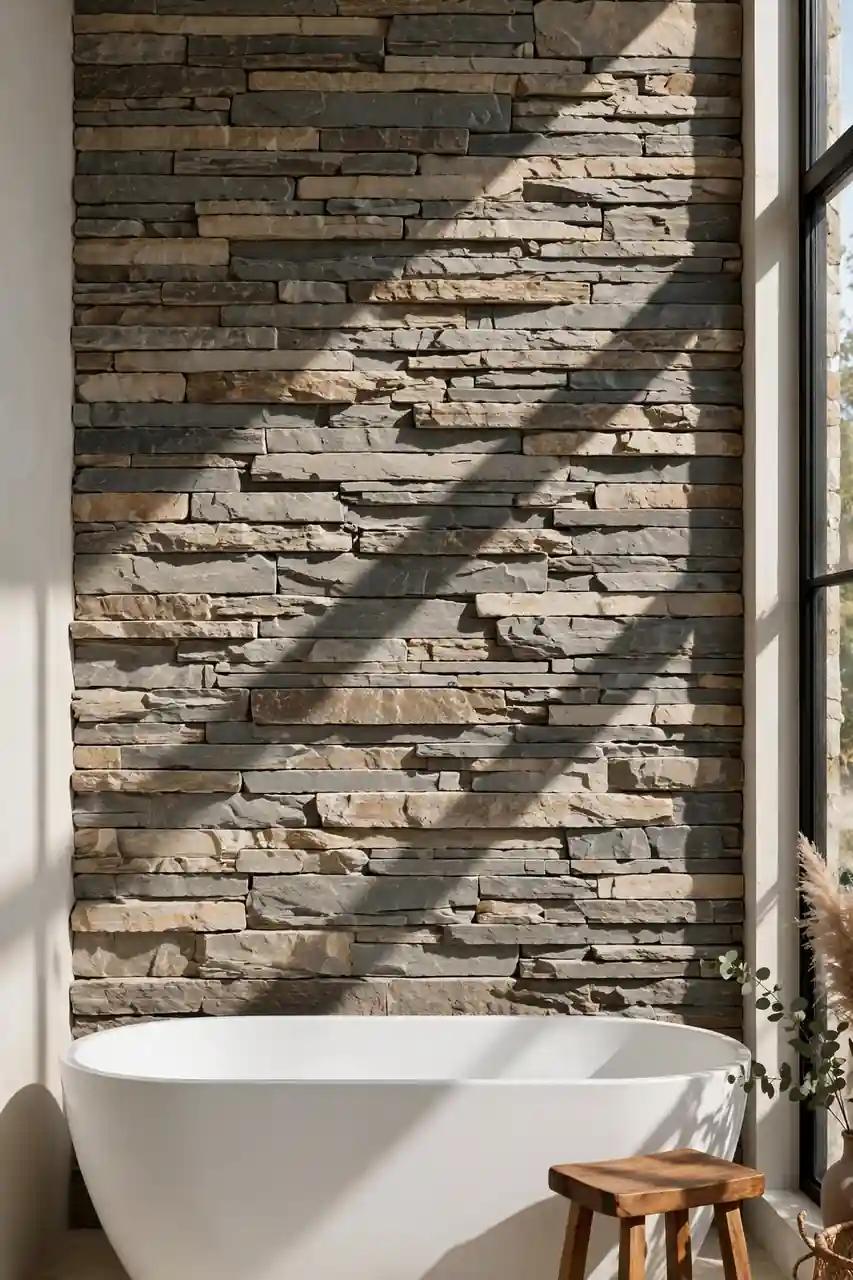
Stacked stone brings the lodge wall home, one rough ledge at a time. Thin strips of slate, quartzite, or travertine stack into a wall with real shadow lines that shift as daylight moves. Behind a tub or vanity, that texture does the work of art, mirrors, and wallpaper combined. Few finishes feel this permanent.
Balance the roughness with smooth partners, a plain white tub, flat front vanity, and warm wood in the stool or mirror frame. That contrast between rough stone and calm surfaces is the same trick behind cream and wood kitchen design ideas, where texture stays rich because everything around it stays quiet. Keep grout off the face of the stone so the ledges cast their full shadows.
Stone Soap Dish Details
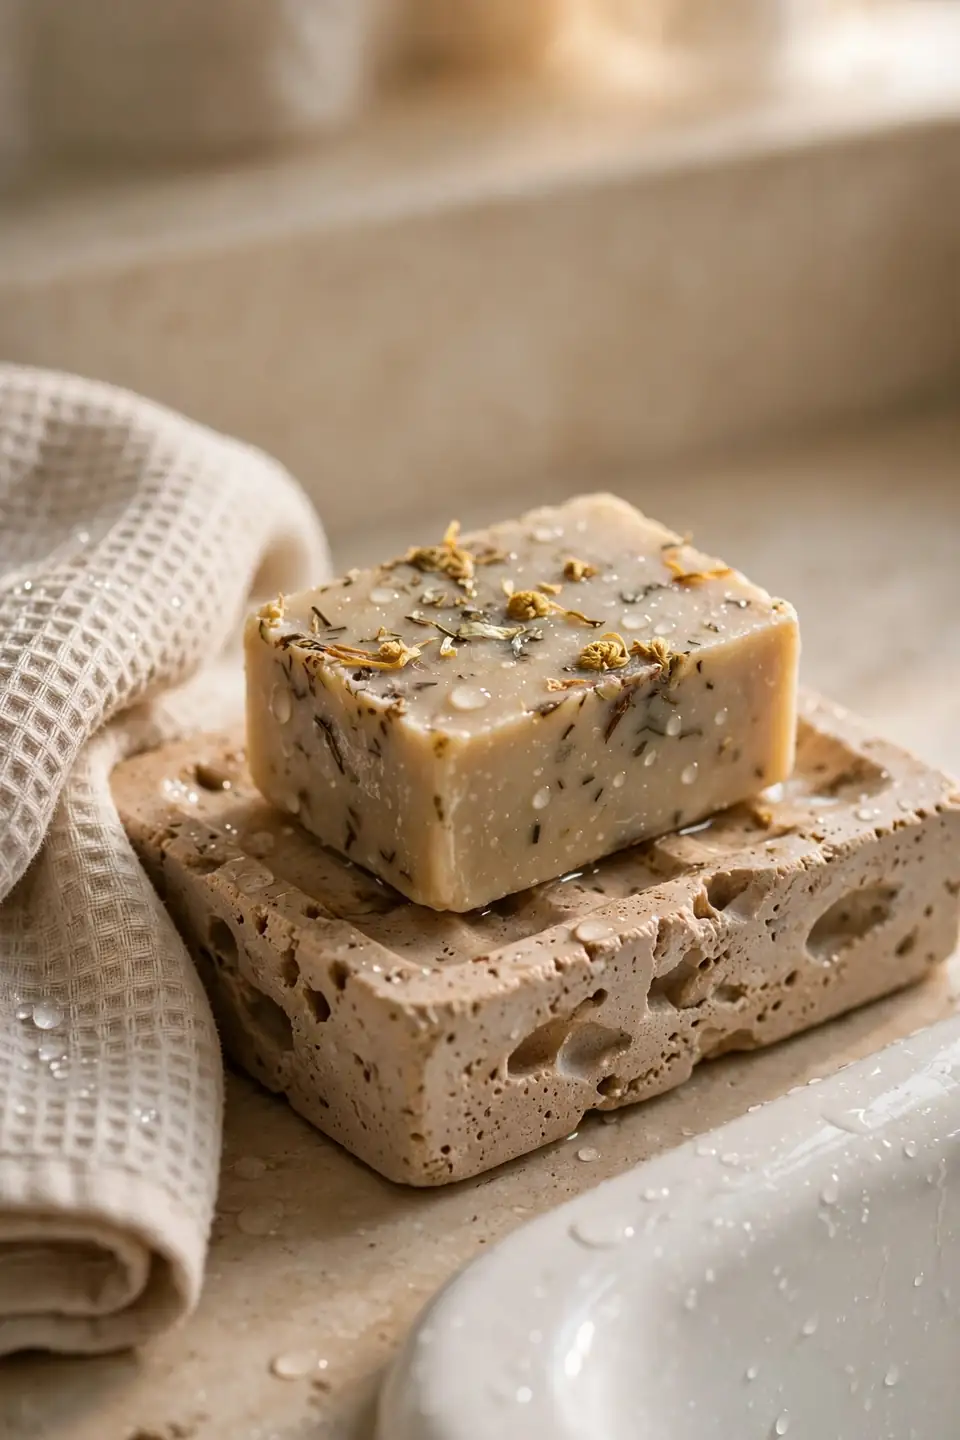
- Set a small travertine dish beside each sink so bars dry between uses.
- Choose a dish with a raised center that lifts the bar out of puddles.
- Match the dish stone to the counter for a built in, deliberate look.
- Rinse the dish weekly; soap film dulls stone faster than water alone.
- Keep a spare handmade bar on display, since pretty soap doubles as decor.
Small stone pieces are where a spa bathroom proves its standards. A bar of soap resting in a puddle on the counter undoes the calm of the whole room, while the same bar on stone looks intentional. Details this size cost little and greet you every single morning.
Heated Stone Floor Comfort
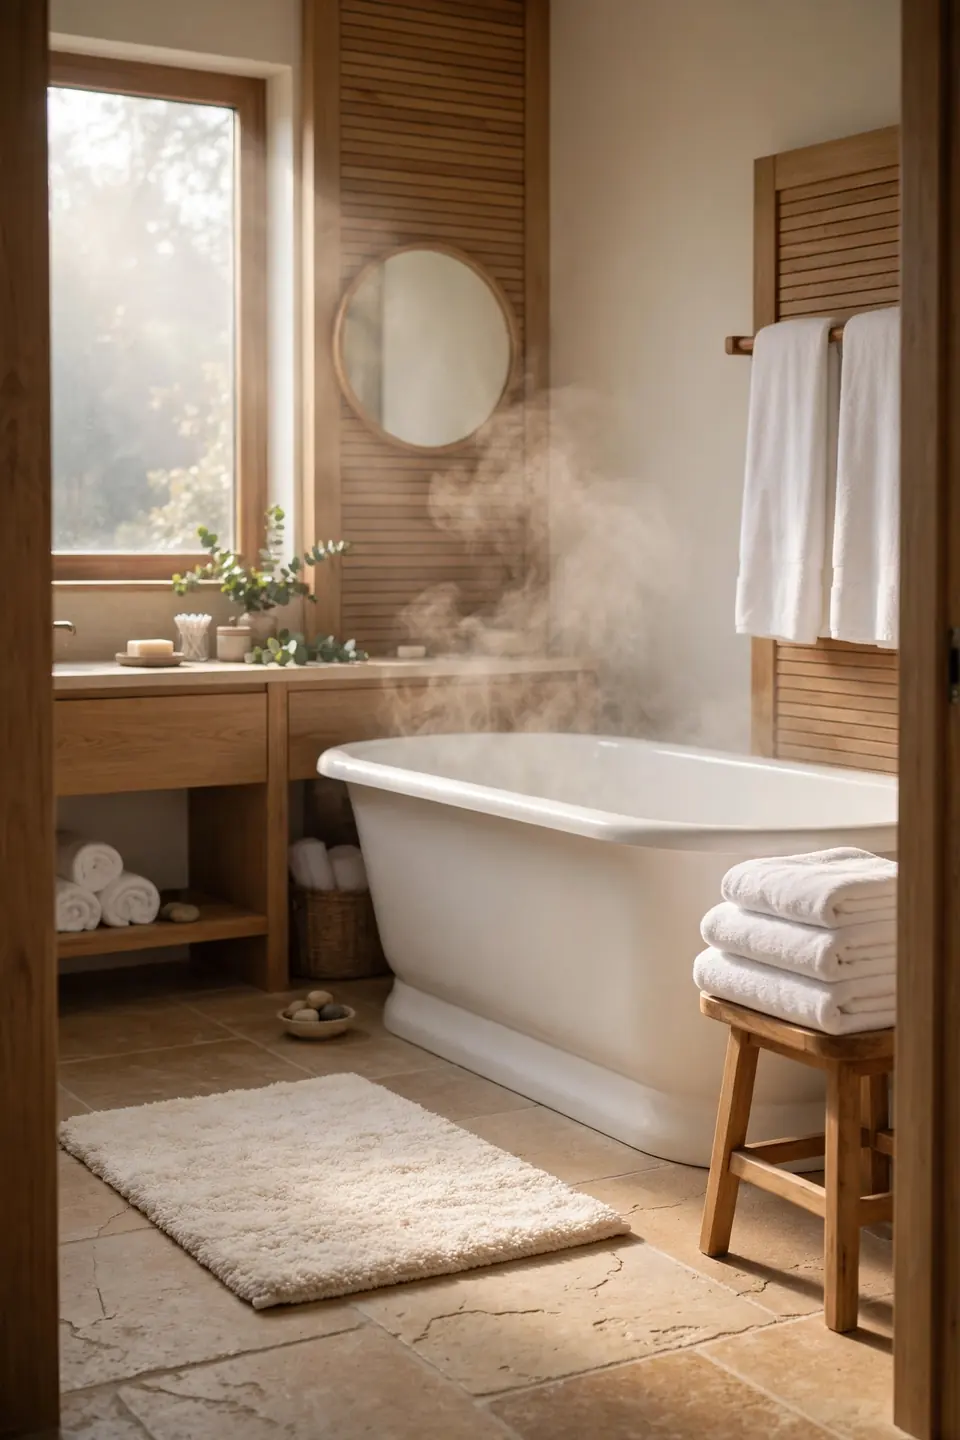
Quick Tip: Stone holds radiant heat longer than ceramic tile, so a heated stone floor stays warm well after the system clicks off. Set the thermostat timer thirty minutes before the alarm and the floor greets bare feet at full warmth every single morning. The stone also dries faster after showers.
Cold floors undo every other comfort a bathroom offers, no matter how lovely the walls look. Heated stone changes the first step of the day from a shock into a reward, and the warmth rises gently around the tub zone. In my experience, this single upgrade is the one guests ask about most.
Rustic Slate Shower Walls
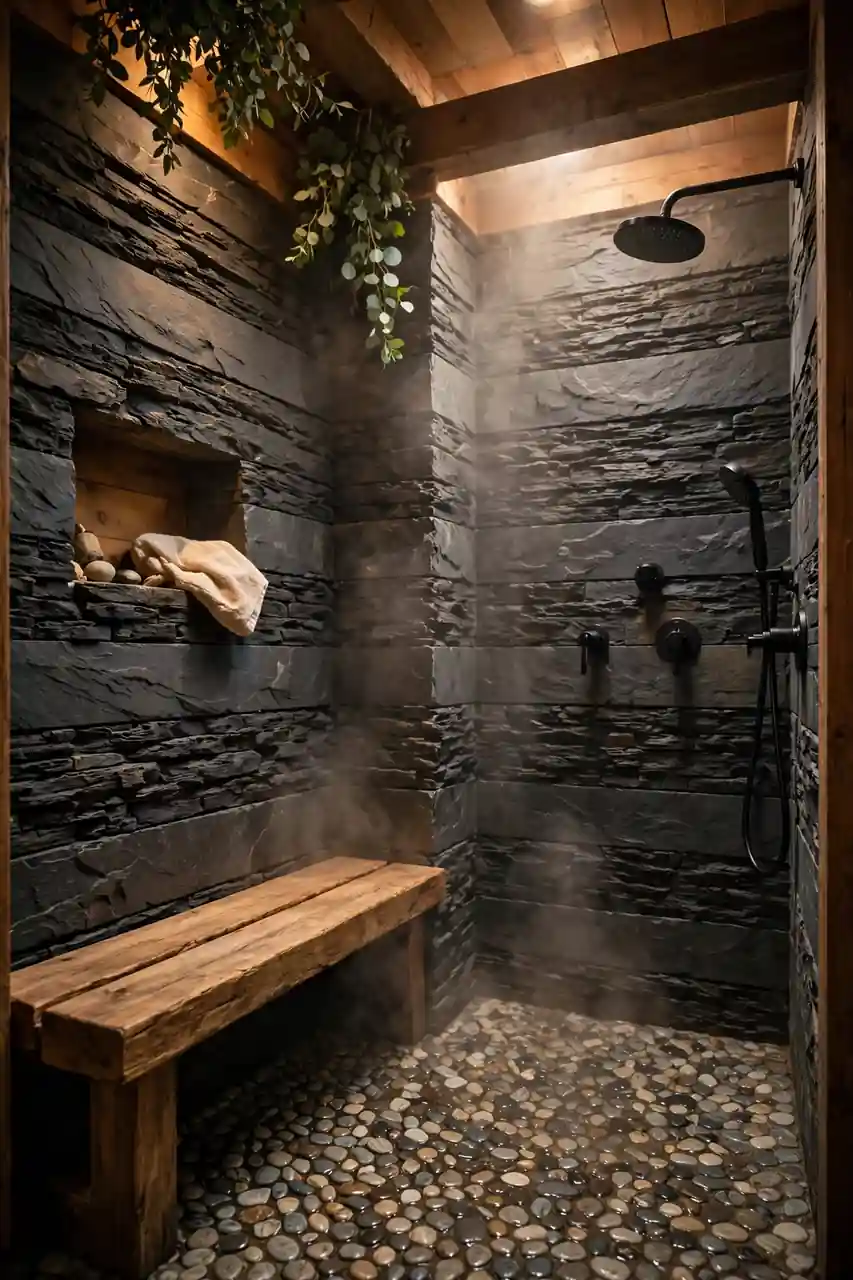
BEFORE: The shower was a white fiberglass box with yellowing seams, a weak spray, and walls that flexed when leaned on. It felt temporary, like something waiting to be replaced since the day it was installed.
AFTER: Rough slate now lines the shower walls in wide horizontal bands, with a wood bench and a pebble floor underfoot. Water sheets down the dark stone, steam hangs softer, and the shower finally feels built rather than fitted.
Slate’s natural cleft surface grips feet better than glazed tile and hides soap film between cleans. The rustic finish also forgives imperfect walls, since the stone’s own unevenness becomes the pattern. Pair it with warm wood and the shower reads as a cabin spa rather than a cave.
Sealing Stone Care Routine

- Clean the stone with a pH neutral cleaner and let it dry fully.
- Apply sealer in thin lines with a foam brush, one small area at a time.
- Wipe off the excess after ten minutes so no sticky film stays behind.
- Test with a spoon of water the next day; it should bead on top.
- Mark the date on the calendar and repeat yearly for showers and floors.
Sealing sounds like a chore until a red wine or turmeric stain explains why it matters. Twenty minutes once a year keeps stone looking deep and clean instead of tired and blotchy. Set a phone reminder each spring and the whole routine stays painless for good.
Conclusion
Stone asks for a little care and gives back calm every single day. These natural stone bathroom decor ideas work in small guest baths and big primary suites alike, because texture never depends on square footage. Begin with one surface, a tray, a backsplash, or a floor, and notice how the room slows down around it. Save this list to your Pinterest bathroom board, share it with anyone planning a remodel, and let real stone do the quiet work of turning daily routines into rest. Your mornings will feel different within a week.