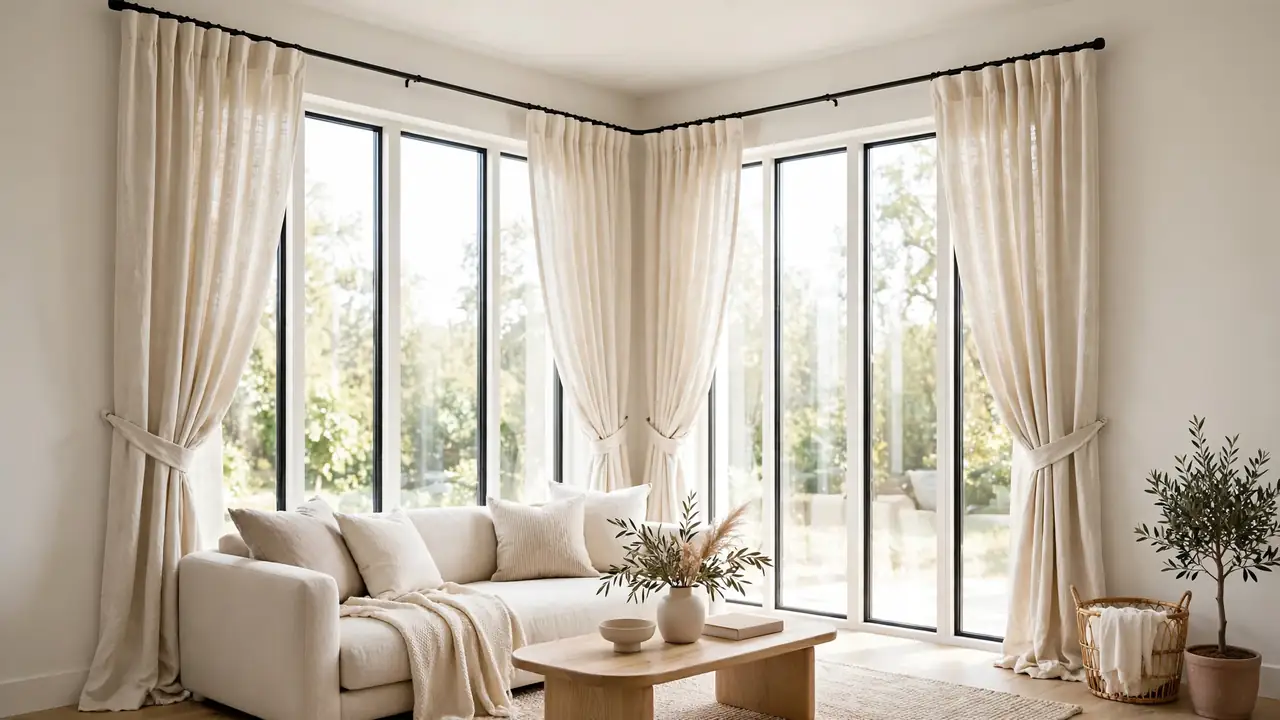
How to Choose Curtains for Windows Near a Corner
Learning how to choose curtains for windows near a corner can make the difference between a polished room and an awkward one. Corner windows create tricky angles, uneven light, and hard-to-reach rods, but the right panels can turn those quirks into a design feature. Like the flow tips in how to make a rental apartment look cohesive from room to room, small choices here shape the whole room.
The secret is planning around the corner itself: measure both walls, decide where panels will stack, and pick hardware that bends or wraps. Once those basics are set, everything from fabric weight to rod height falls into place, and your corner windows will look intentional instead of afterthought.
Start With Precise Corner Measurements
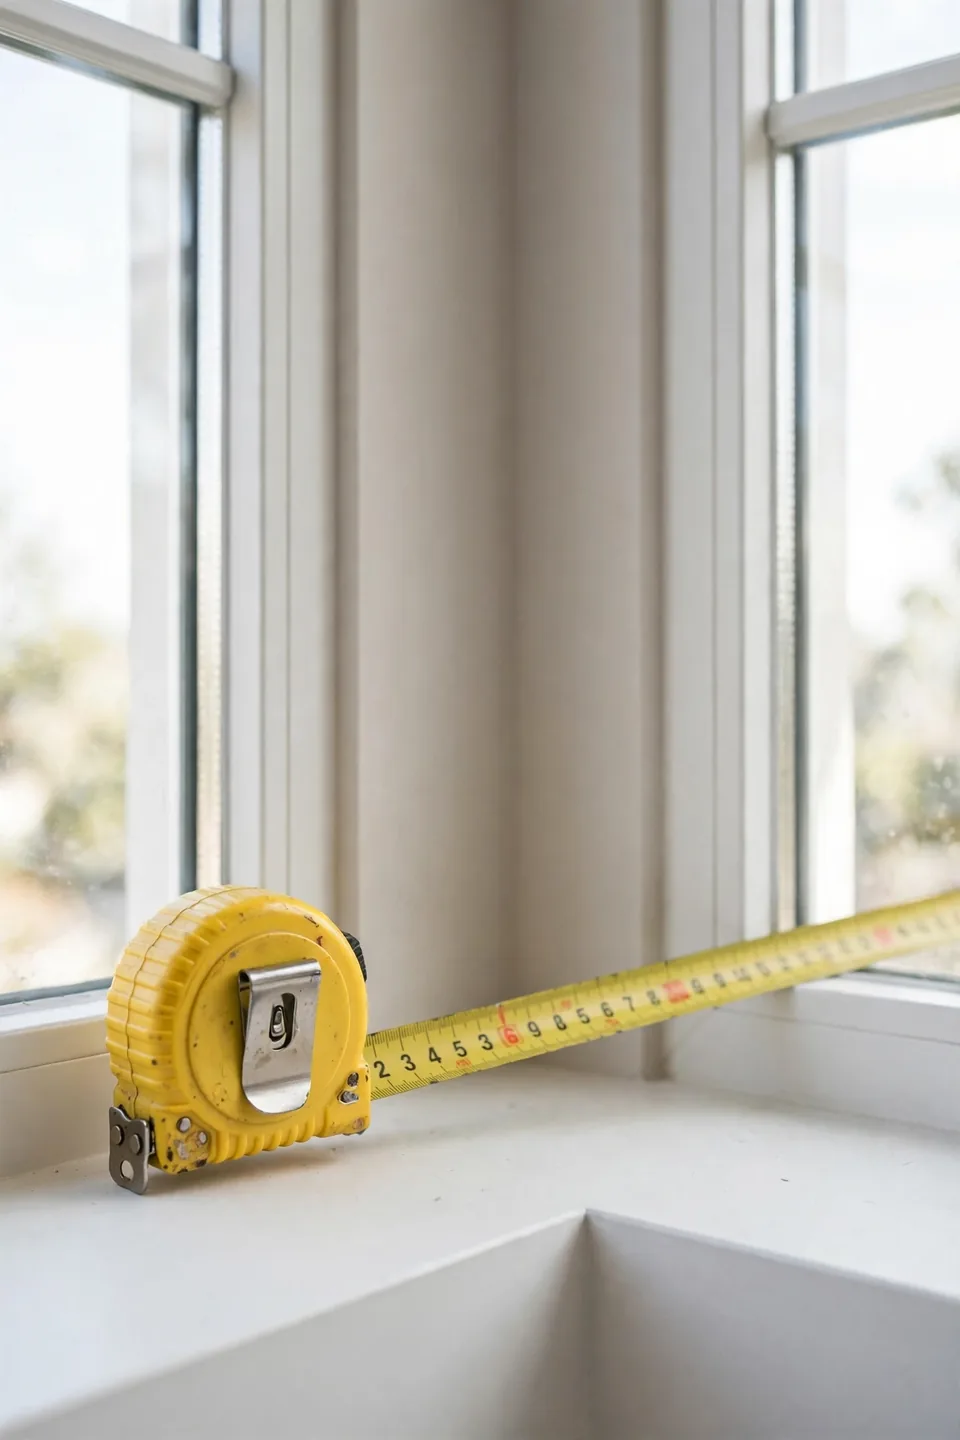
Grab a tape measure and note the width of each window wall, the distance from each window to the corner, and the total corner-to-corner span. These numbers decide whether you need one long rod, two separate rods, or a corner connector piece that wraps the angle cleanly.
Jot the height from floor to ceiling too, since mounting higher draws the eye up and hides uneven trim lines. Snap a photo of the corner from straight on and from each side so you can compare rod options at home without second-guessing your measurements later.
Decide Where the Panels Will Stack
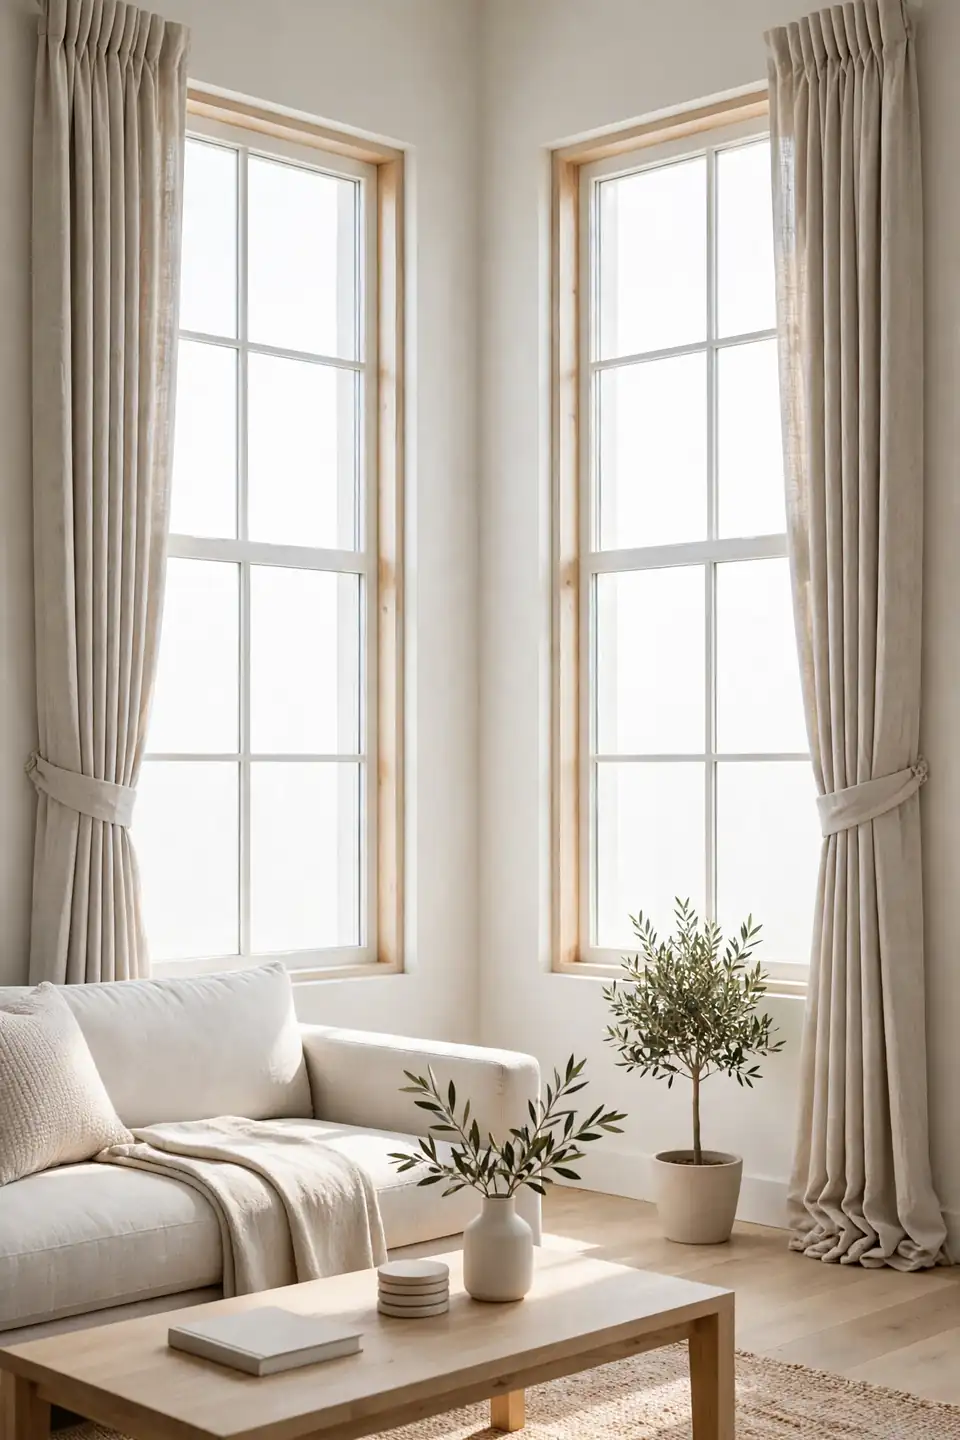
Panels need a landing spot when open, and corner windows change the math because two walls compete for the same space. Walk through these steps to choose a stacking side that keeps daylight flowing and both walls looking balanced every day.
- Picture both windows dressed and mark where each panel would land.
- Stack panels on the outer wall edges so the corner stays bright.
- If one wall is short, let panels stack only on the longer wall.
- Test the choice with painter’s tape before drilling any brackets.
Pick Hardware That Wraps the Corner
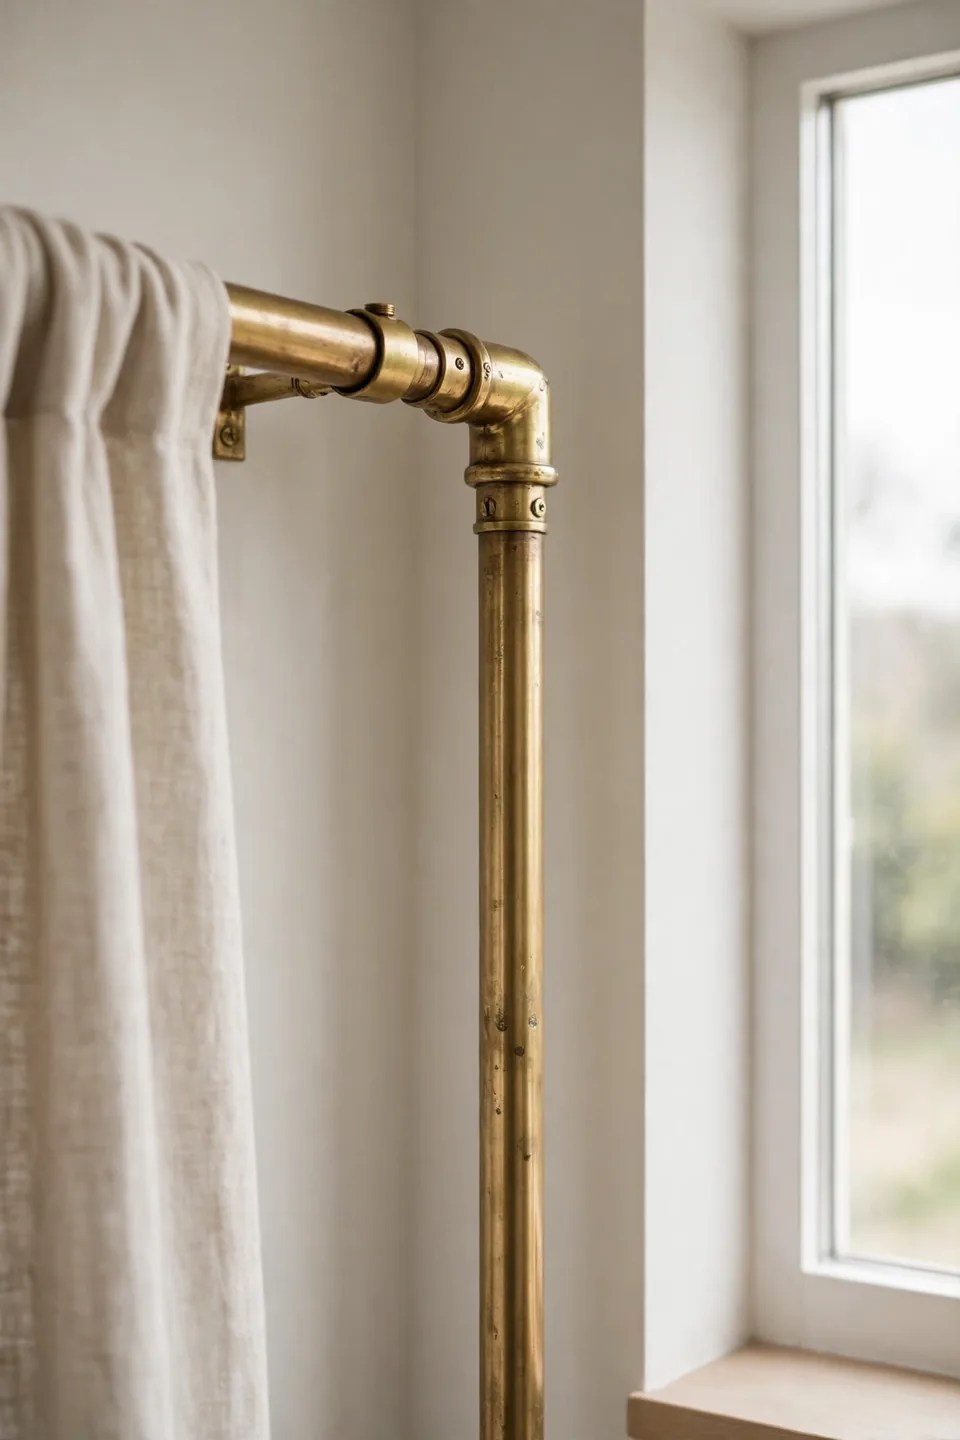
Quick Tip: Use an elbow connector or a flexible track so one continuous rod turns the corner.
A single rod that bends around the corner keeps panels gliding smoothly and looks far tidier than two rods butting together. Look for corner connectors that match your rod diameter, and mount brackets at least four inches past each window edge so panels clear the glass when open.
Avoid Panels That Pool in the Corner
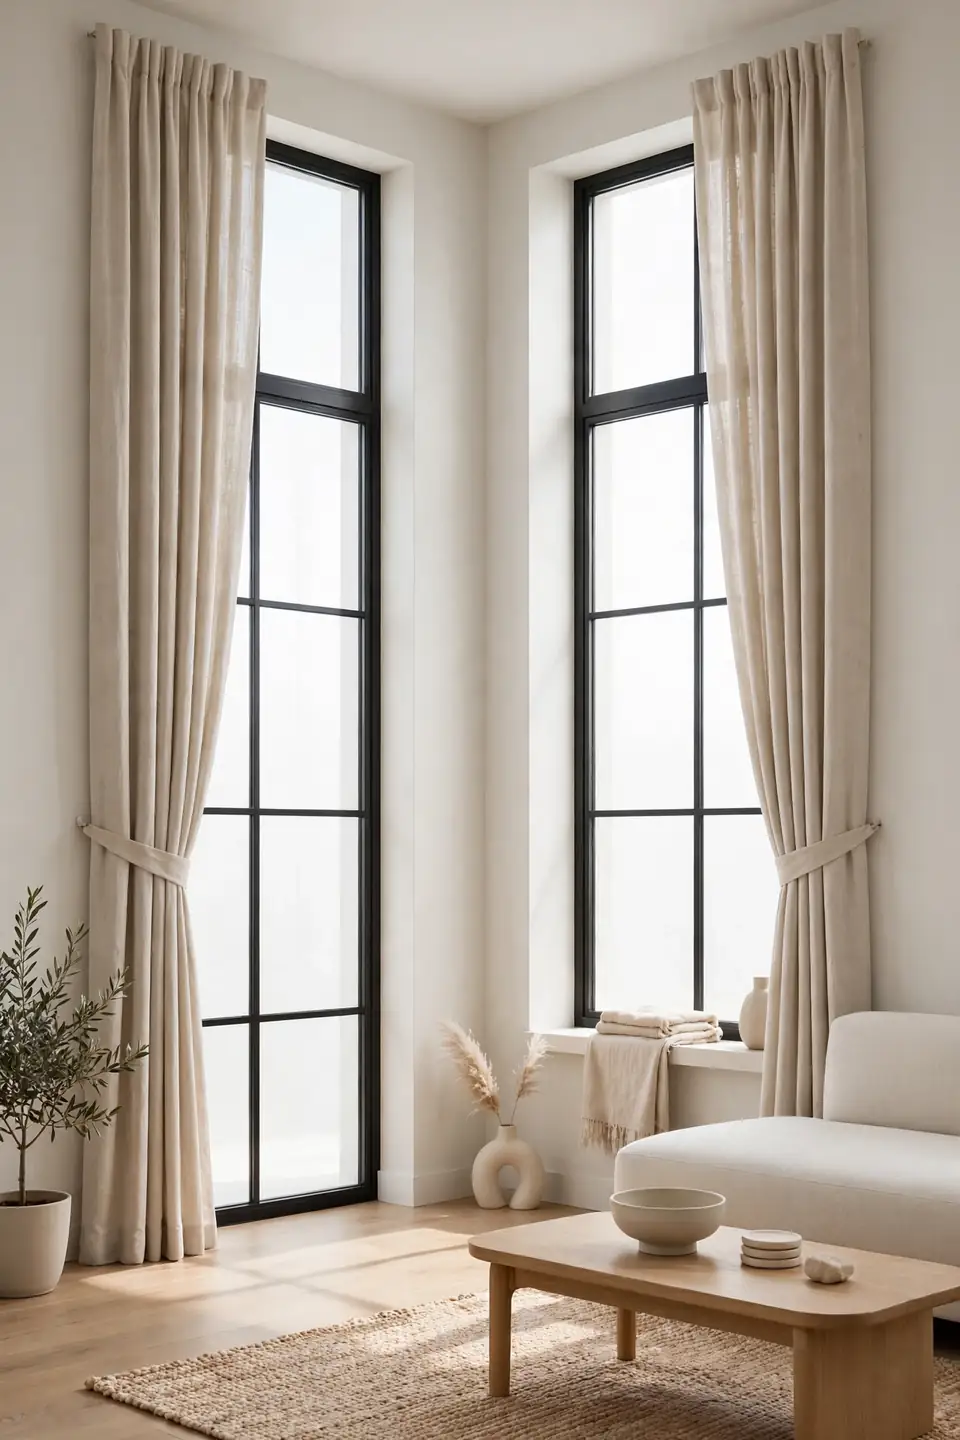
Common Mistake: Letting long panels bunch up where the two walls meet.
The Fix: Hem panels to kiss the floor and hold them back with tiebacks on the outer edges.
Fabric that piles in a corner collects dust and looks sloppy fast. Measure for a finished length that just grazes the floor, then add tiebacks on the outside edges so panels sweep away from the corner. For trim that refuses to line up, see how to decorate a room with uneven wall heights for backup tricks.
Gather the Right Tools Before You Shop
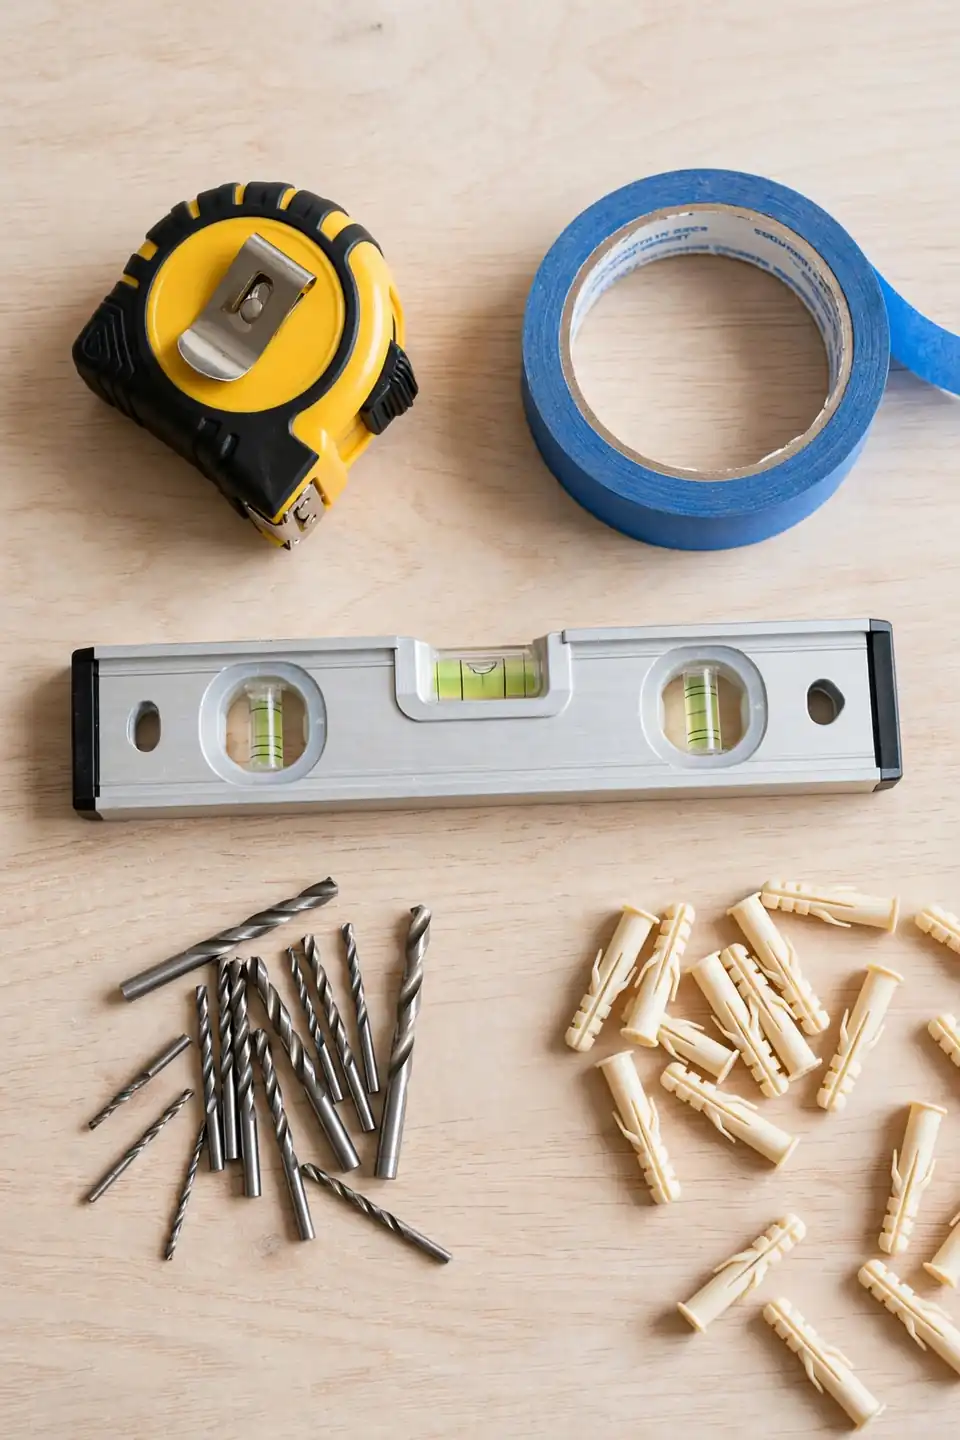
What You Need:
- Tape measure and pencil
- Painter’s tape for mock layouts
- Corner rod connector or flexible track
- Wall anchors rated for your wall type
- Level and drill with the right bits
Shopping with tools in hand prevents the classic two-trips-to-the-store loop. Mark rod placement with painter’s tape first and check it from across the room before buying hardware. A level keeps the rod straight across both walls, and sturdy anchors hold everything secure on plaster or drywall.
Choose Fabric Weight for Corner Light
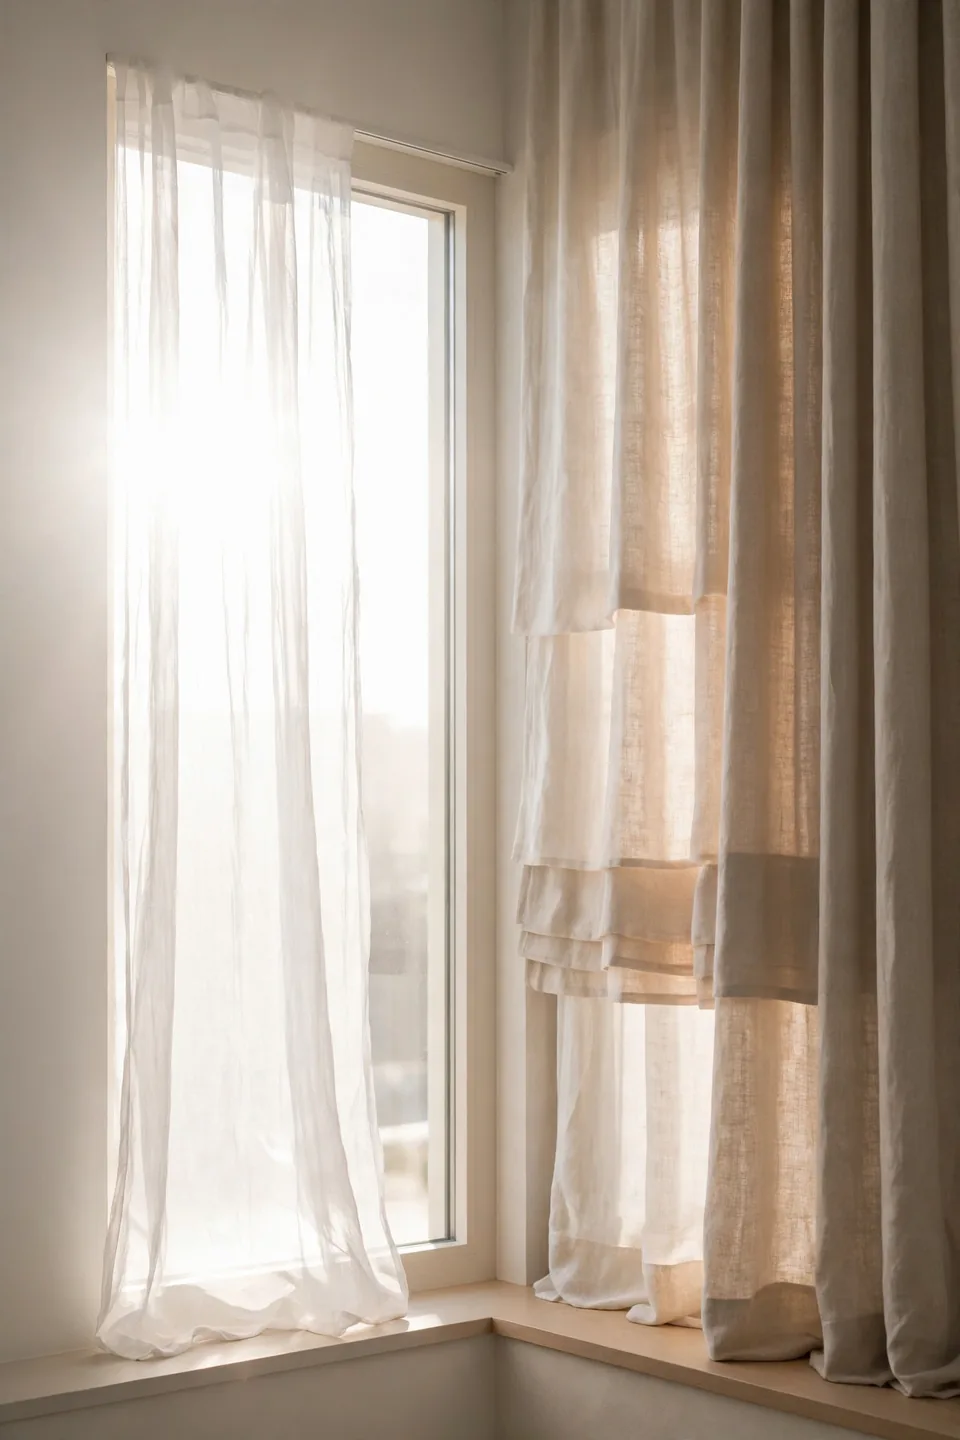
BEFORE: Thin sheers on both windows can leave a bright corner feeling washed out, with glare bouncing between the two walls and fading nearby furniture.
AFTER: Layered linen panels soften the light from each direction, so the corner glows gently instead of glaring, and the room feels calm all day.
Corner windows catch light from two angles, which doubles both brightness and heat. Medium-weight linen or cotton strikes the right balance: it filters harsh rays while keeping the room airy. Reserve blackout lining for bedrooms where sleep matters, and keep living areas light-friendly so the corner becomes a welcoming nook rather than a squint zone.
Style Panels Like a Designer Would
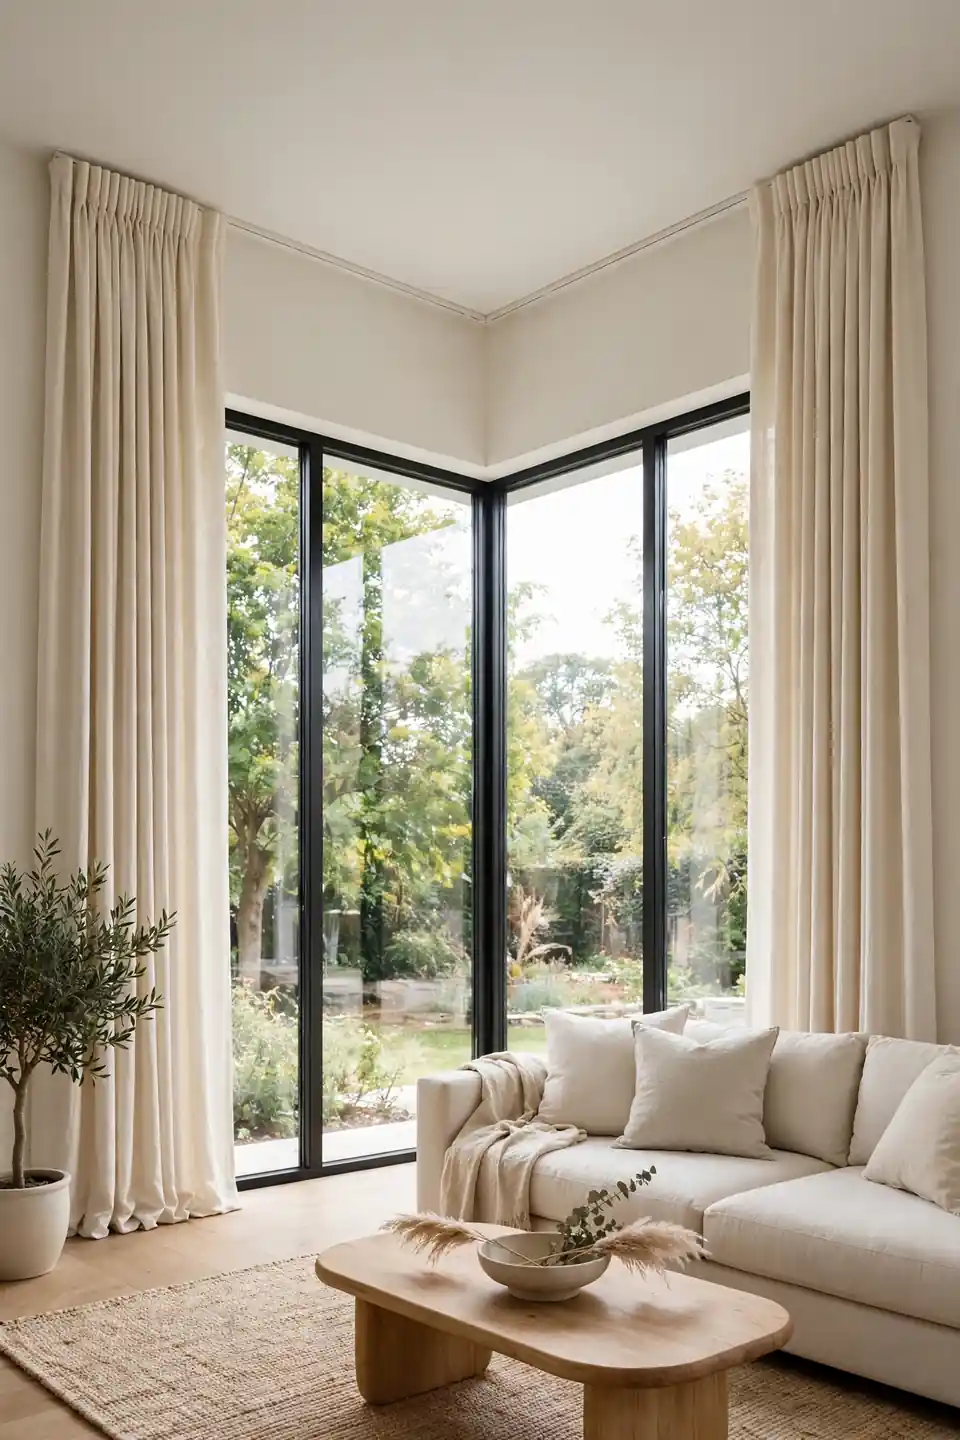
Do This:
- Hang rods 4 to 6 inches above each window frame.
- Extend rods past the outer edges for full coverage.
- Match panel color across both windows.
- Steam panels so they fall in clean folds.
Avoid This:
- Stopping rods exactly at the window edges.
- Mixing busy patterns on the two windows.
- Letting hems hover inches above the floor.
- Forgetting the corner when pressing pleats.
Designers treat corner windows as one wide feature instead of two separate problems. Consistent color and height across both windows fools the eye into seeing a single generous window wall. Keep patterns quiet near corners since angles already add visual noise, and let simple, well-hung panels do the talking.
Corner Curtain Facts Worth Knowing
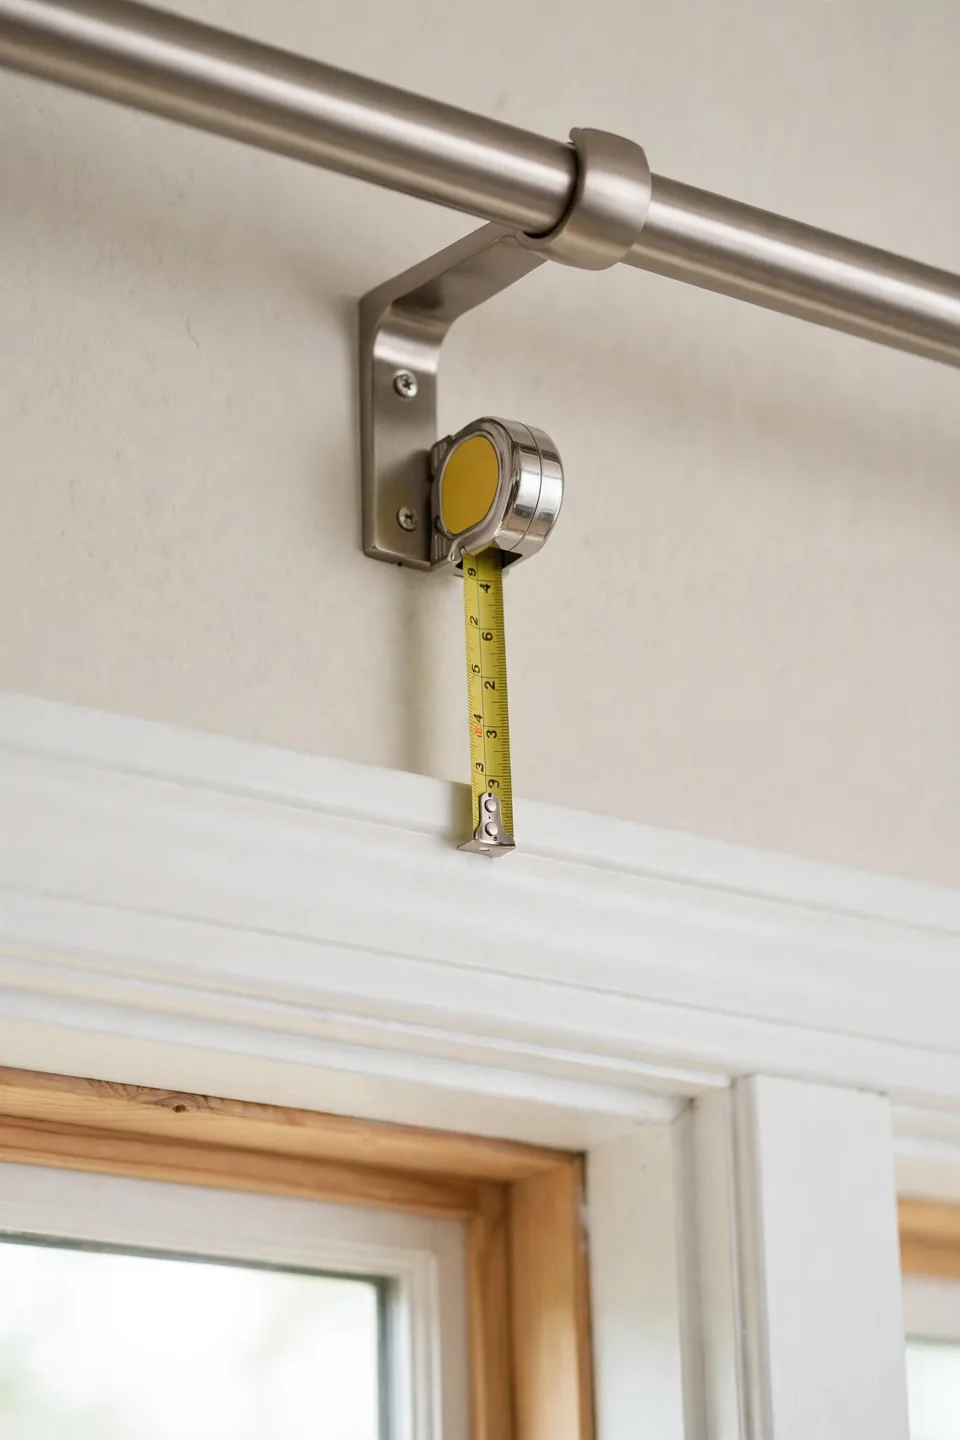
Rod height: Mount 4 to 6 inches above the frame for taller-looking windows.
Stack space: Leave 6 to 8 inches of wall past each outer edge.
Panel width: Each panel should span 1.5 times the window width for fullness.
Corner gap: A connector adds about 2 inches of turn radius.
These numbers remove the guesswork. Standard stack space keeps panels from covering glass when open, and the fullness ratio guarantees soft folds instead of stretched-flat fabric. If your walls are short on space, slim ripple-fold tracks need less stack room and glide around corners with ease.
Handle Tricky Corner Layouts
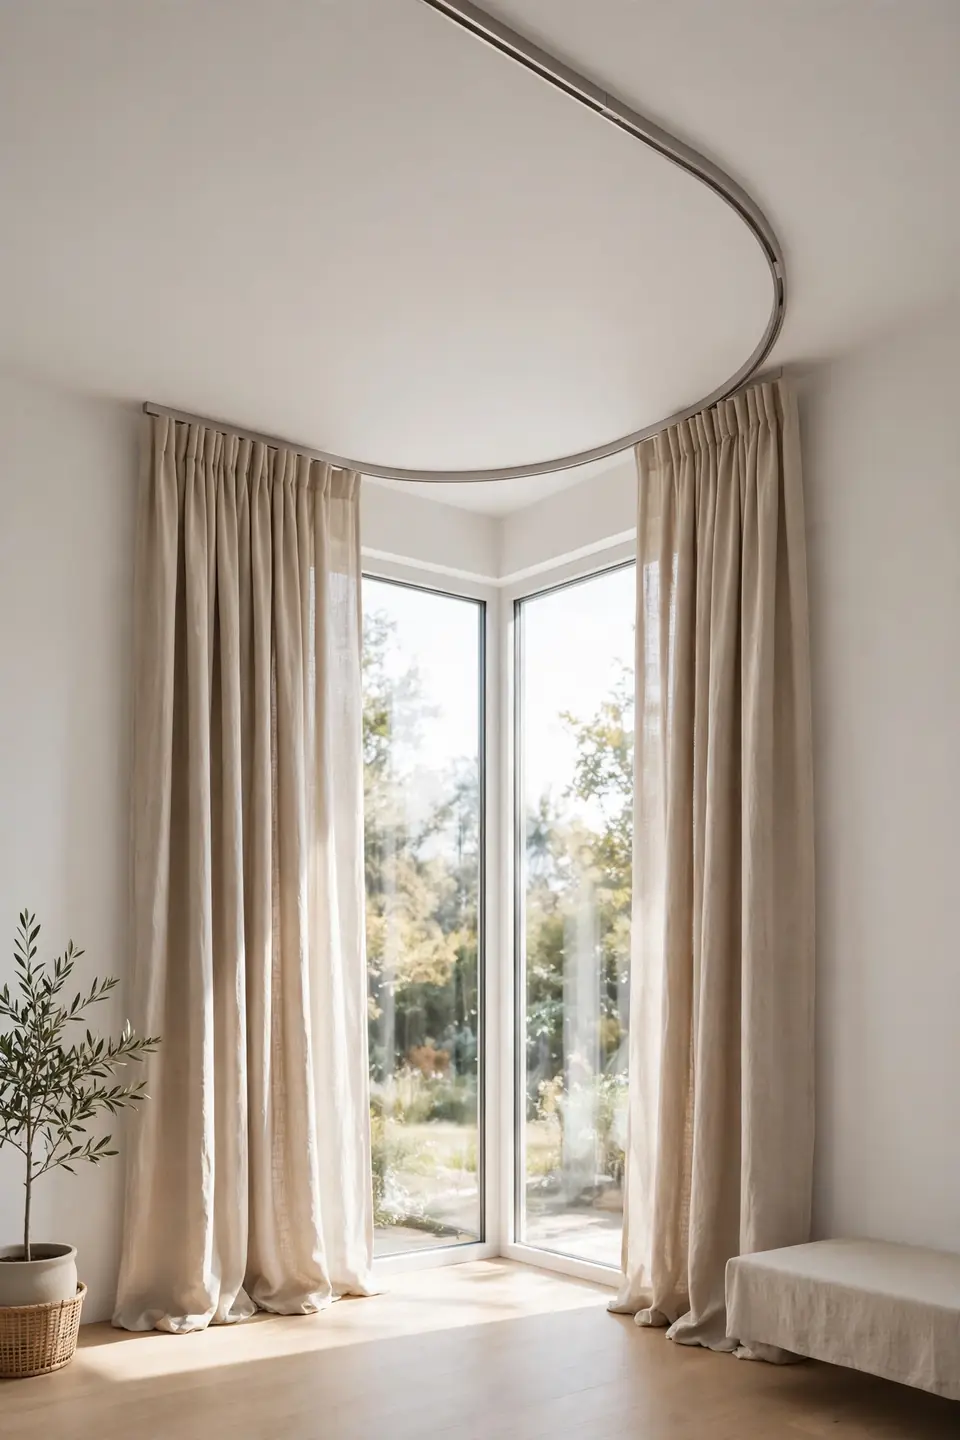
Bay-style corners and deep window sills need a custom touch. For angled walls, a ceiling-mounted track follows any shape and disappears overhead, which keeps the focus on the windows instead of the hardware. Measure the full track path with a flexible tape so the curve matches your wall exactly.
When one window sits lower than the other, hang both rods at the same height and give the taller panel a deeper hem. The shared rod line unites the pair so guests never notice the glass size difference, and matching panel styling makes the corner read as one calm composition.
Give the Finished Corner a Final Check
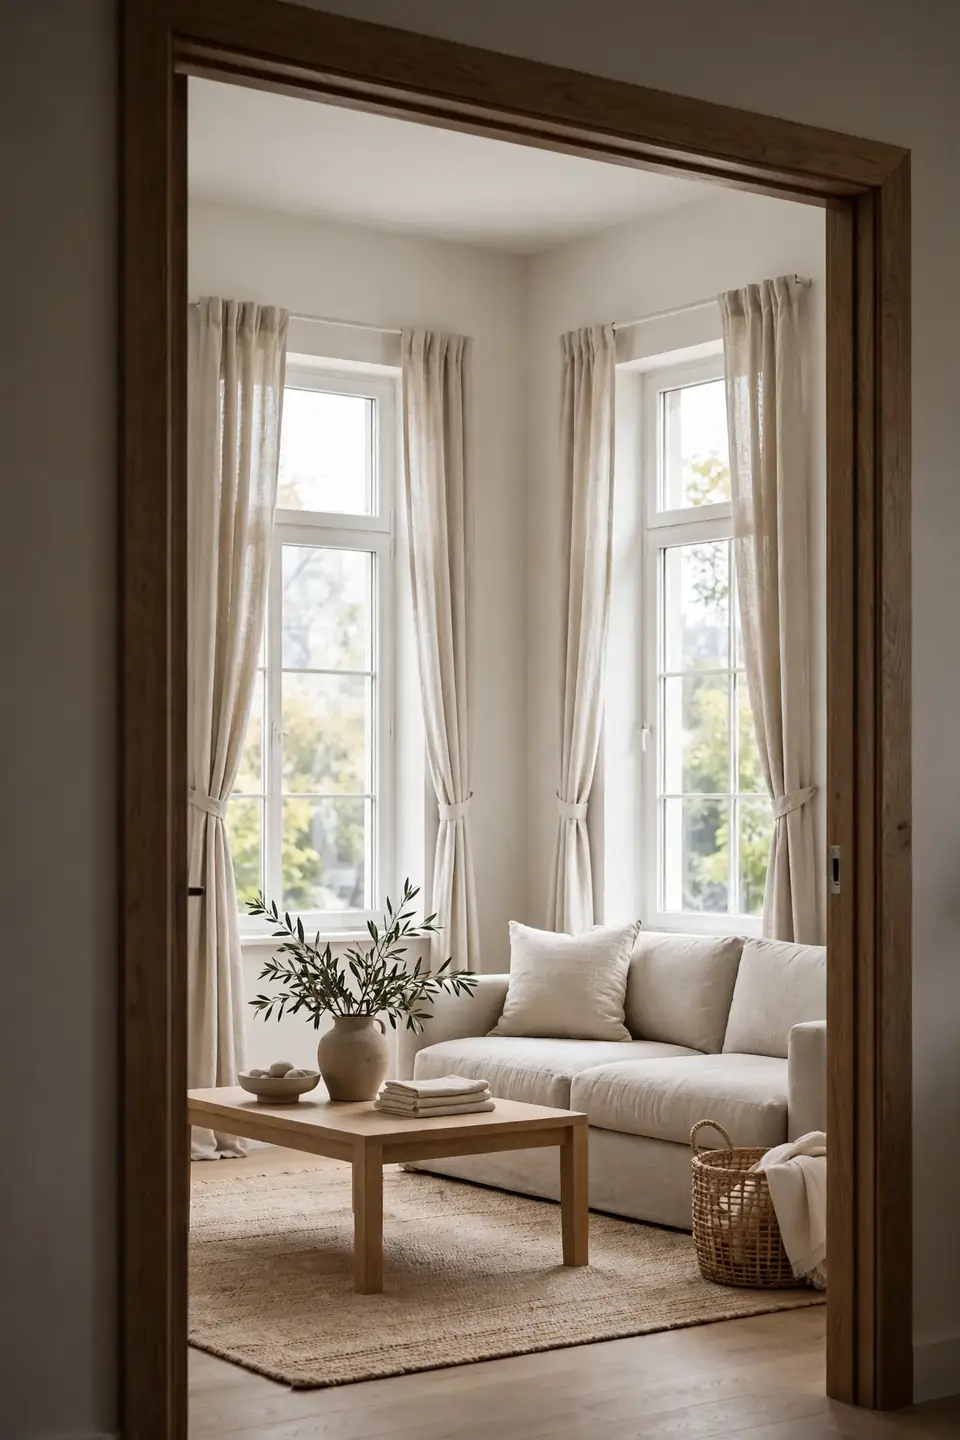
Before calling the project done, step back and review the whole corner with fresh eyes from the room’s main doorway. These final checks catch small flaws that show up in photos and everyday life, so take a slow look before you put the tools away.
- Close the panels fully and confirm no light gaps show at the corner.
- Open them wide and check that glass stays fully uncovered.
- Sight along each rod to make sure brackets sit level.
- Fluff the folds and trim any loose threads for a clean finish.
Conclusion
Corner windows stop being a headache the moment you plan for the angle instead of fighting it. Measure carefully, choose wraparound hardware, and keep fabric and rod height consistent across both walls. Your corner will look intentional, bright, and beautifully finished. Once you know how to choose curtains for windows near a corner, every tricky window in the house feels easier. Pin this guide to your favorite Pinterest home decor board so the measuring steps and hardware tips stay handy for your next project. Future you will thank present you when the next corner window stops feeling like a puzzle.