
How to Hide Pipes in a Basement Ceiling
Staring up at a tangle of copper, PVC, and ductwork can make any basement feel unfinished. If you want to know how to hide pipes in a basement ceiling, you are in the right place. Open joists and hanging lines do not have to stay visible forever.
Below you will find eight proven ways to cover, box, or blend those pipes, from a simple coat of paint to a full beadboard ceiling. Each method suits a different budget and skill level, and most take a single weekend. For more room-by-room ideas, see how to decorate a bedroom with exposed brick too.
I have used several of these tricks in my own basement, and the change always surprises guests. Pick the method that fits your space and get started.
Why Basement Pipes Look Ugly
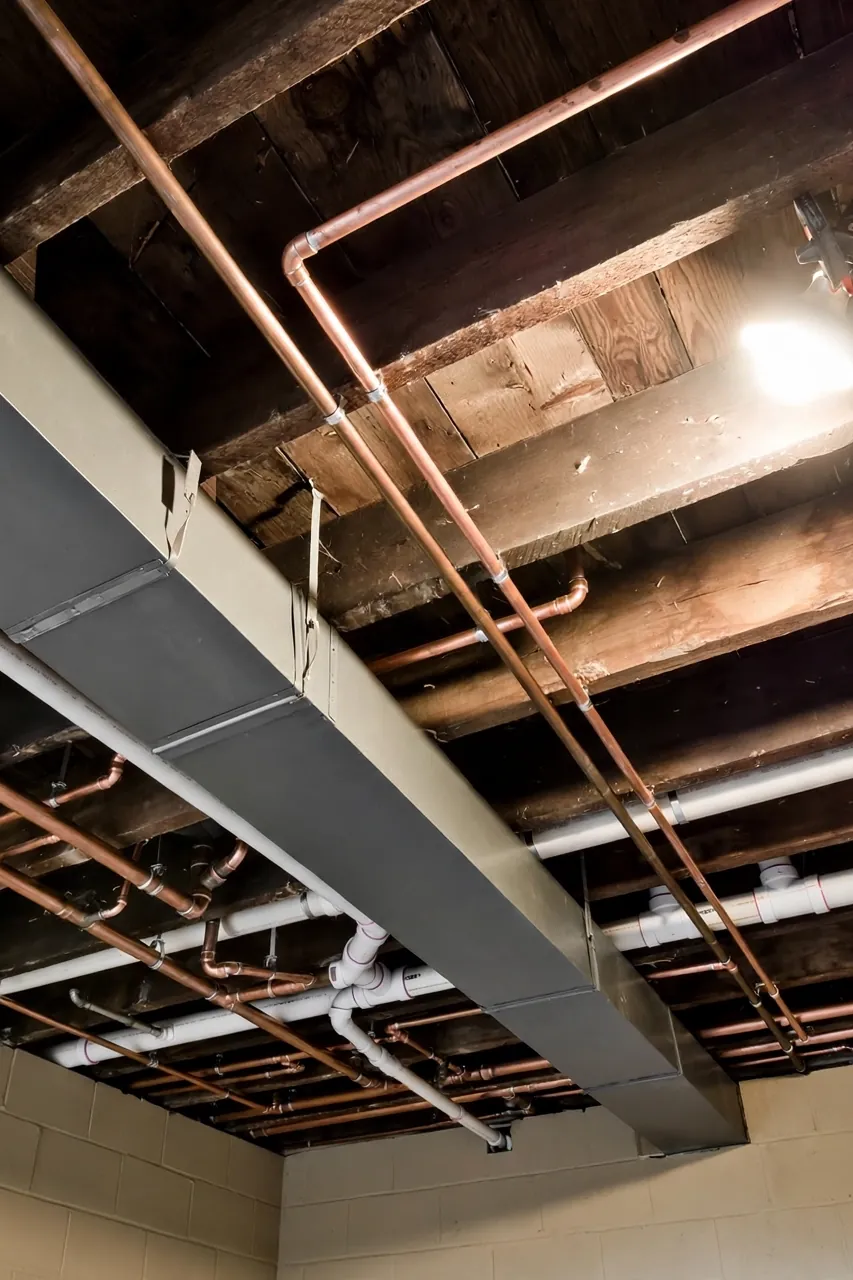
Basements collect every pipe in the house: water lines, drains, gas, and HVAC ducts all cross the joists overhead. They clash in color and material, from dull copper to bright white PVC. The eye reads that chaos as unfinished, no matter how nice the walls and floor look below.
The good news is that covering pipes ranks among the easiest basement upgrades. Nothing needs rerouting, and no plumber is required. Most methods simply hide or blend what is there while keeping valves reachable. Once the ceiling looks intentional, the whole basement reads as finished.
Paint Them to Blend
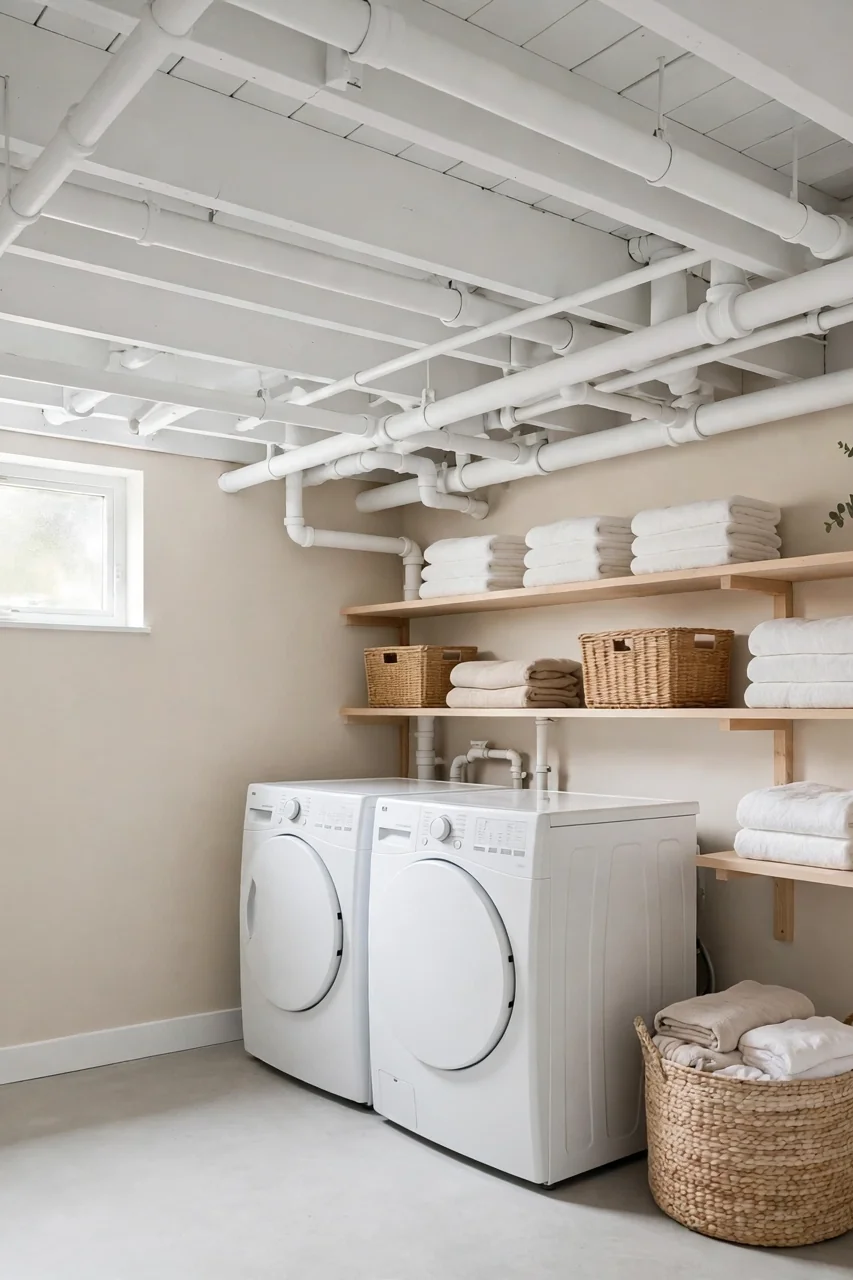
A single color across pipes, joists, and ducts is the fastest way to calm a busy ceiling. It removes the clash of materials and makes everything recede into one quiet surface. Black adds drama in a home theater; white or light gray keeps a playroom bright.
- Clean every surface with a degreaser and let it dry fully so paint bonds well.
- Wrap valves, cleanout caps, and any labels with painter’s tape to keep them accessible.
- Prime bare metal and copper with a metal bonding primer before the topcoat.
- Spray with an airless sprayer for speed, or roll and brush for a tighter budget.
Build a Drop Ceiling
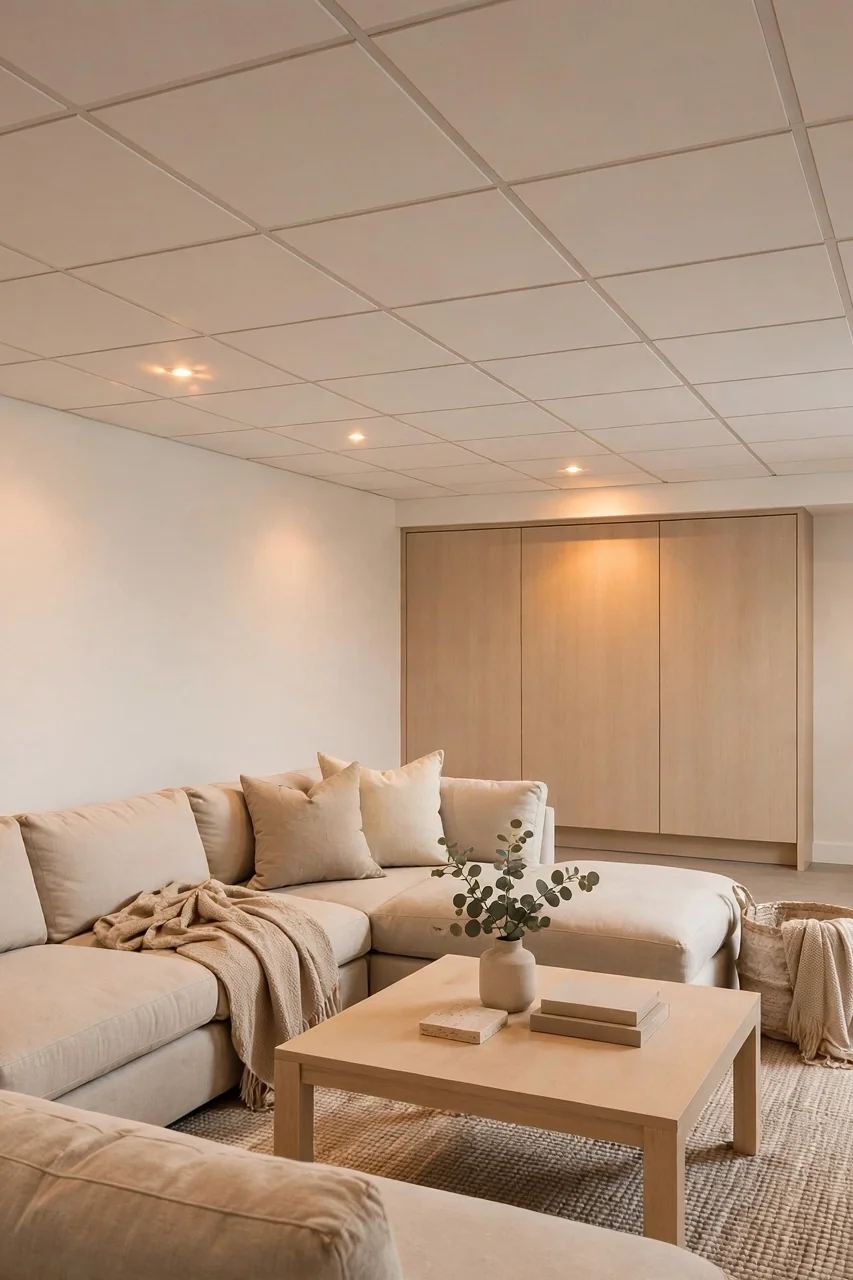
Quick Tip: A suspended tile ceiling is the only method that gives full access to every pipe later. Choose 2×2 tiles with a slim grid in white so the ceiling feels high and bright. Measure twice, because one wrong grid cut shows across the whole room.
Drop ceilings hang a few inches below the lowest pipe, so nothing ever pokes through. Panels lift out for repairs, which plumbers love. The look is simple and tidy, though it steals a few inches of headroom. In basements with tall ceilings, that trade is well worth it.
Use Fabric Drapes

Common Mistake: Most people staple thin bed sheets to the joists, which sag and look worse than the pipes. Cheap fabric stretches, collects dust, and tears within a year. It also hides leaks until the damage spreads.
The Fix: Use heavyweight canvas or upholstery fabric on a simple track system, like curtain tracks screwed to the joists. The fabric hangs taut, washes easily, and slides open for pipe access. Pick a warm neutral so the ceiling feels soft instead of dark.
Draped fabric suits casual spaces like playrooms, lounges, and craft areas best. It costs far less than drywall and installs in a single afternoon. Hang the fabric a few inches below the lowest pipe so nothing presses against it and air can still move freely.
Box Them In
What You Need:
- 2×2 lumber: Forms the light frame that drops below the pipe run.
- Half inch drywall: Skins the frame for a smooth painted finish.
- Wood screws: Hold the frame tight to the joists without wobble.
- Drywall compound: Fills seams so the box looks like one piece.
- Access panels: Cover shutoff valves and cleanouts for future repairs.
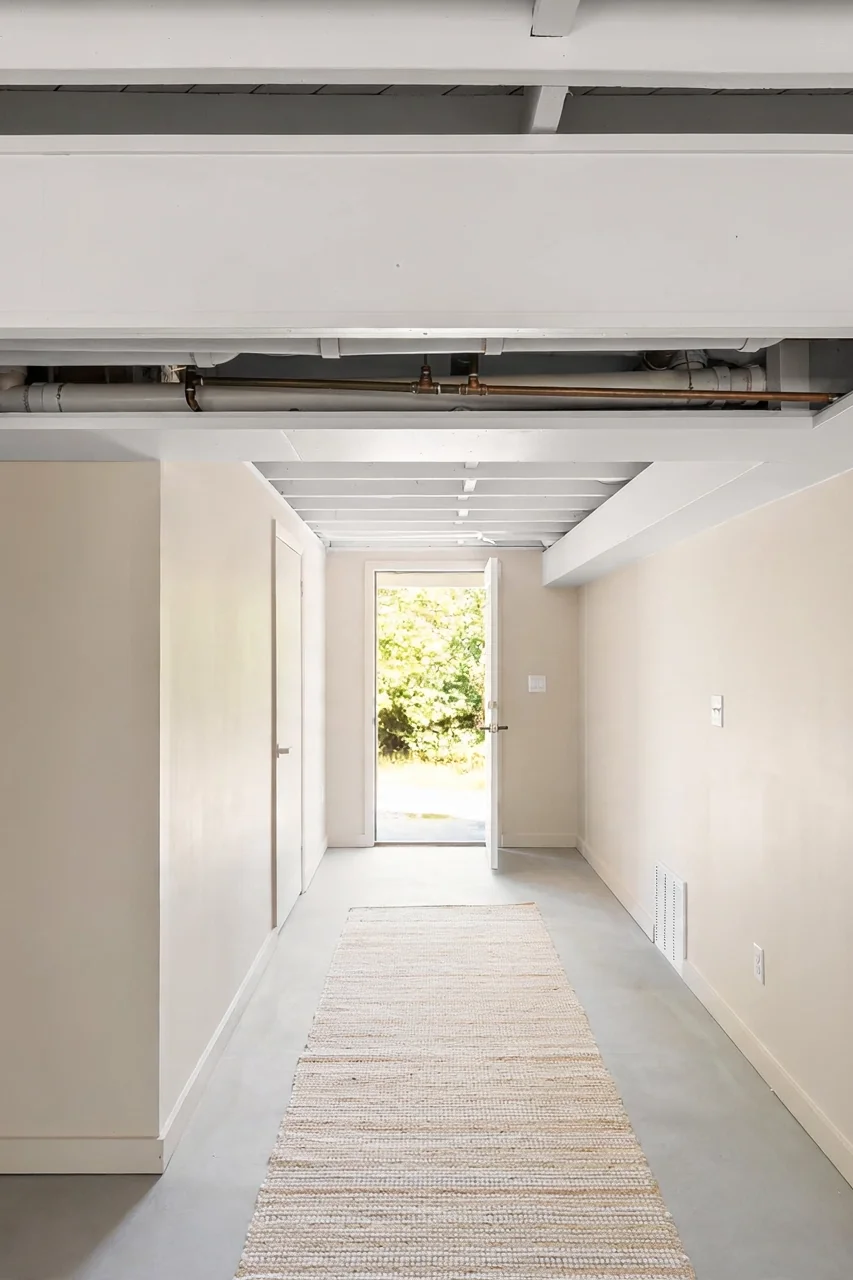
A soffit box turns an ugly pipe run into a clean architectural beam. Frame a simple rectangle around the pipes, skin it with drywall, and paint it to match the ceiling. Anyone who wants to know how to hide pipes in a basement ceiling without losing headroom should try this first.
Add Beadboard
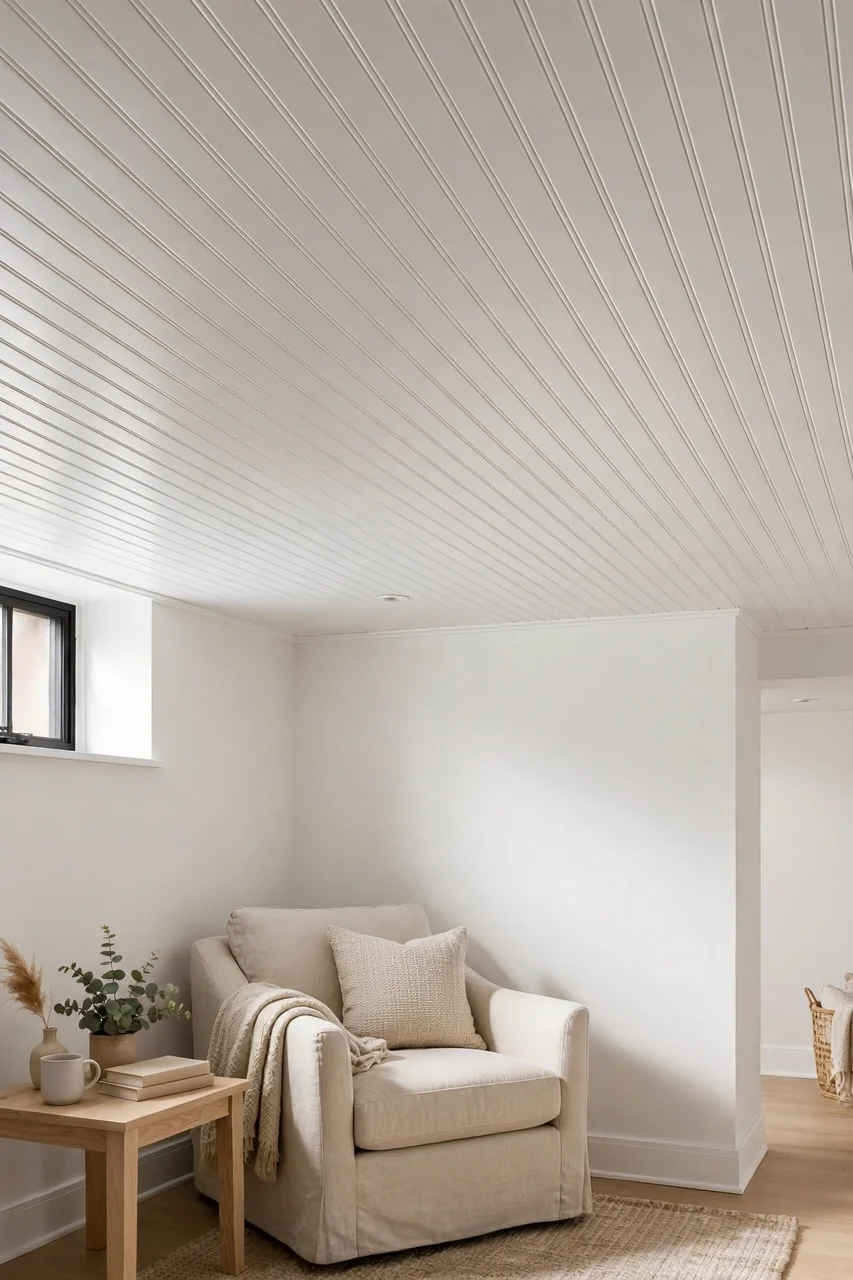
Before: The open joists showed every wire and pipe in the basement ceiling. Dust collected on the horizontal runs, and the room felt like a workshop no matter how the furniture was arranged. Guests always looked up and asked when the renovation would start.
After: Smooth beadboard panels run wall to wall, hiding every pipe behind a classic cottage texture. The ceiling looks finished and bright, and the room finally feels like part of the house. Small access hatches blend into the grooves wherever valves need reaching.
Beadboard comes in lightweight PVC or wood panels that screw straight to the joists. Paint it white for a crisp look or a soft cream for warmth. Leave removable panels over every cleanout and junction so future repairs stay simple and fast. Cut each panel a hair short so it slides in without forcing.
Try Pipe Covers
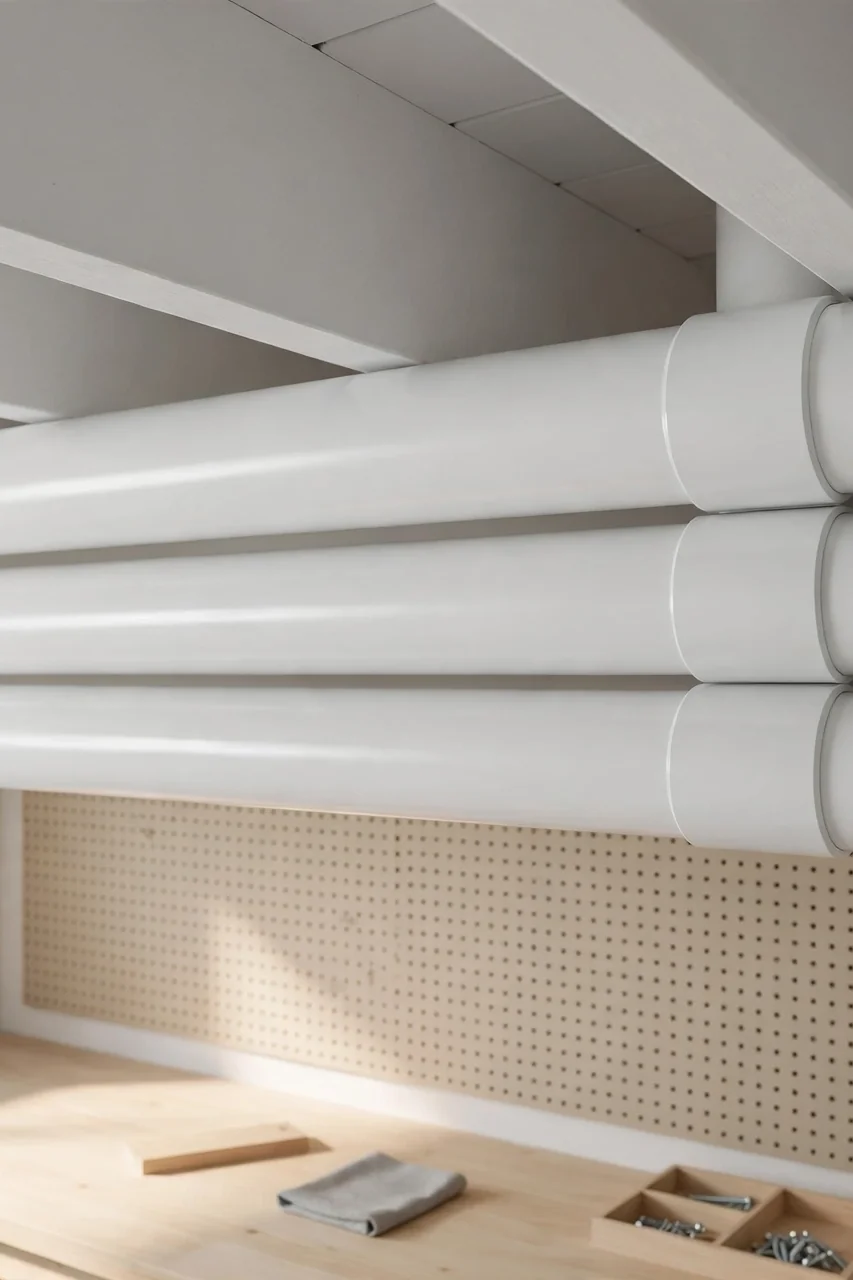
Do This:
- Measure each pipe run and buy covers slightly longer than needed.
- Choose covers that match your ceiling color for a blended look.
- Snap seams shut fully so no gaps show from below.
- Leave valve handles and cleanout caps uncovered for access.
Avoid This:
- Wrapping pipes in tape or rope, which traps moisture against metal.
- Covering gas lines in ways that hide leak smells from noses.
- Glueing covers permanently so future repairs need cutting.
Snap-on covers slide over copper and PVC in minutes with no tools at all. They give a clean uniform look that paint alone cannot match. Pick this fix when the pipes bother you but the ceiling is otherwise fine and you want results today right away.
Planning the room beyond the ceiling? Browse how to arrange furniture in a square living room for layout ideas that pair well with a finished basement.
Light Strategically
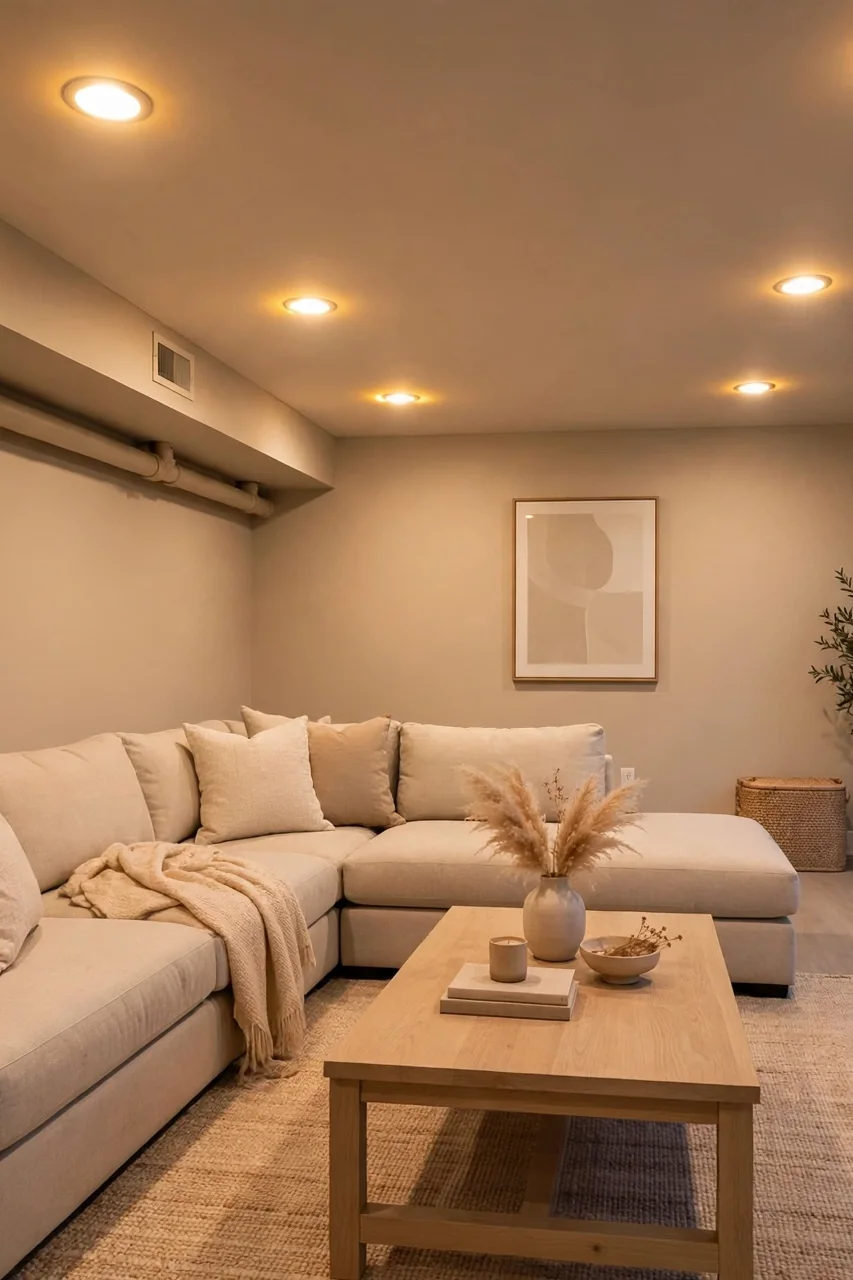
Time Needed: One afternoon | Difficulty: Easy | Cost: Low to medium | Best For: Any method above
Good lighting pulls eyes down to the room instead of up to the ceiling. Recessed cans or flush mounts spread even light and make pipe shadows disappear. Warm bulbs between 2700 and 3000 kelvin keep the space cozy, so spread lights evenly and skip dim corners.
Common Pipe Mistakes
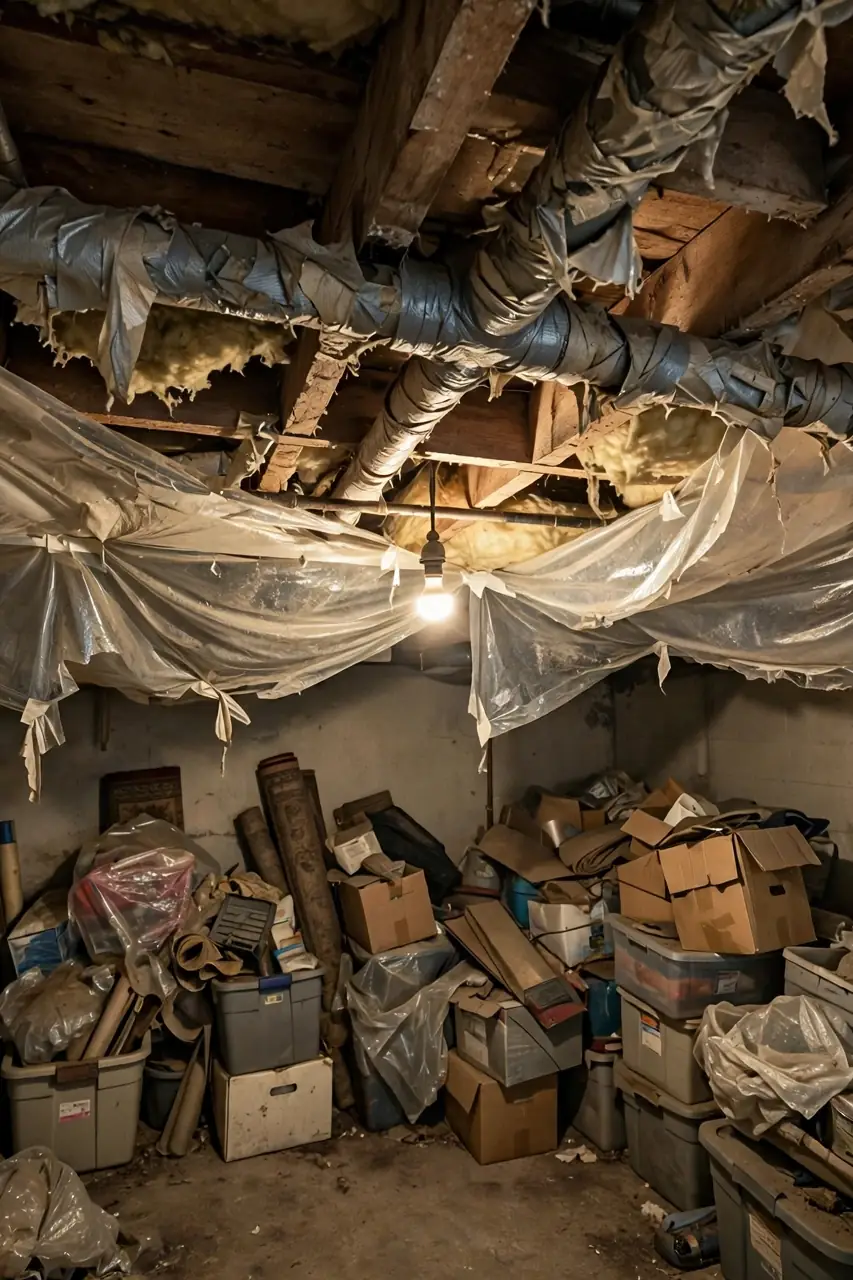
Sealing pipes behind drywall with no access is the biggest mistake homeowners make. The first leak means cutting open the ceiling and patching drywall, which costs far more than a few access panels would have. Always mark every valve and cleanout spot clearly before covering anything.
Another common error is ignoring moisture. Basements run damp, and trapped condensation rusts metal pipes fast. Leave small air gaps around covers, use mold resistant paint, and fix any active drips before hiding them. A hidden leak always finds a way to announce itself later.
Pro Tips for Clean Ceilings
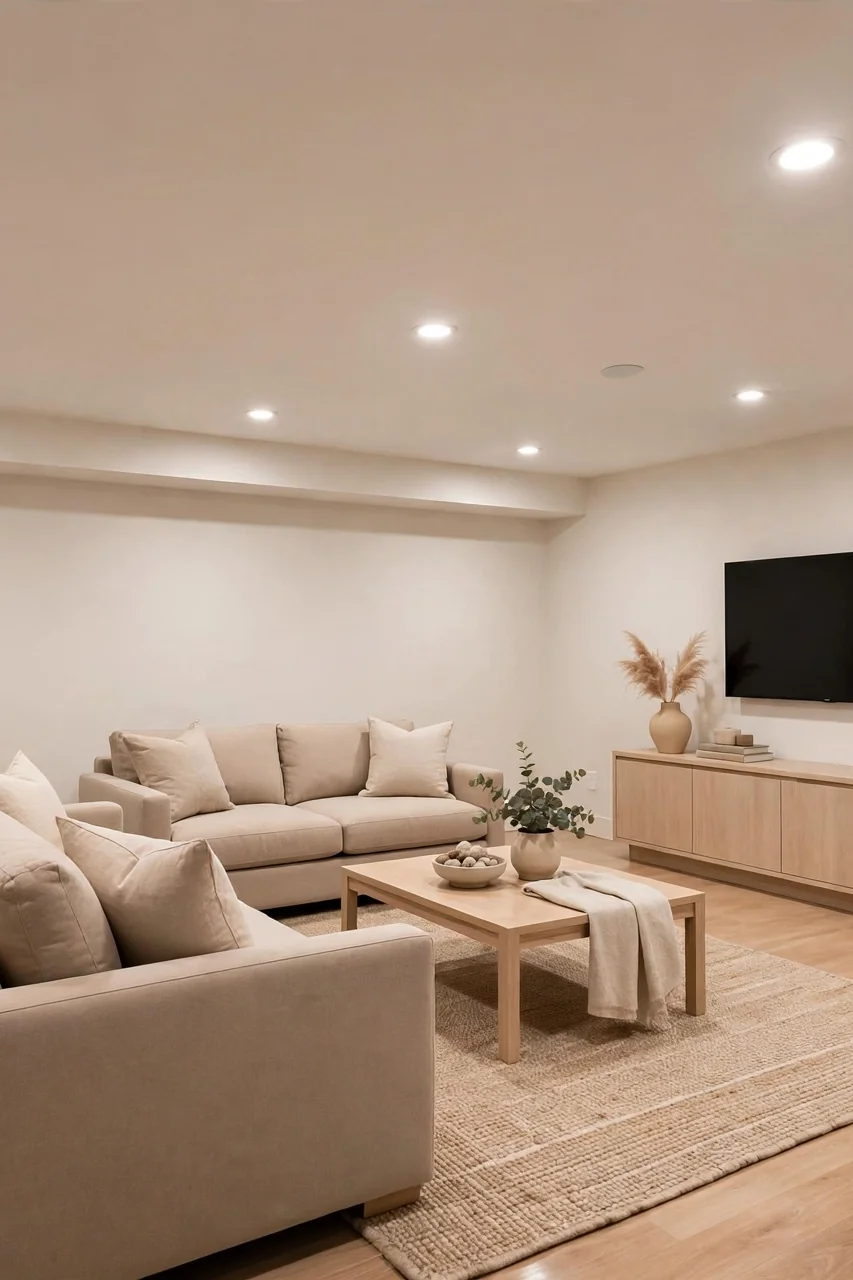
These finishing touches separate an okay ceiling from a truly polished one. Small details like caulked seams and matched paint make covers disappear completely. Take your time on the last ten percent of the job and it will show every time.
- Caulk every seam where boxes meet joists for a built in look.
- Label each access panel with a small pencil mark so valves stay easy to find.
- Paint covers and boxes the exact same sheen as the ceiling to avoid patchy spots.
- Photograph the pipes before covering them, so future repairs start with a map.
Conclusion
Exposed pipes do not have to define your basement. Whether you paint, box, drape, or cover them, learning how to hide pipes in a basement ceiling turns a rough utility space into a room the whole family enjoys. Pick one method that fits your budget, gather your supplies this weekend, and save this guide on Pinterest to share with a friend tackling the same project. Start with the simplest option that covers your worst pipe run, then work outward from there. I have seen how making this one change can completely shift how a basement feels.






One Comment