23 Fall Crafts for Kids to Make Colorful Autumn Memories
Autumn hands families the best craft supplies on earth, and fall crafts for kids turn every walk into a treasure hunt. My kids still remember the year we collected three bags of leaves before lunch and spent the afternoon gluing, painting, and giggling at the kitchen table. You need nothing fancy to start. A basket for nature finds, basic paint, glue, and paper will keep little hands busy for hours.
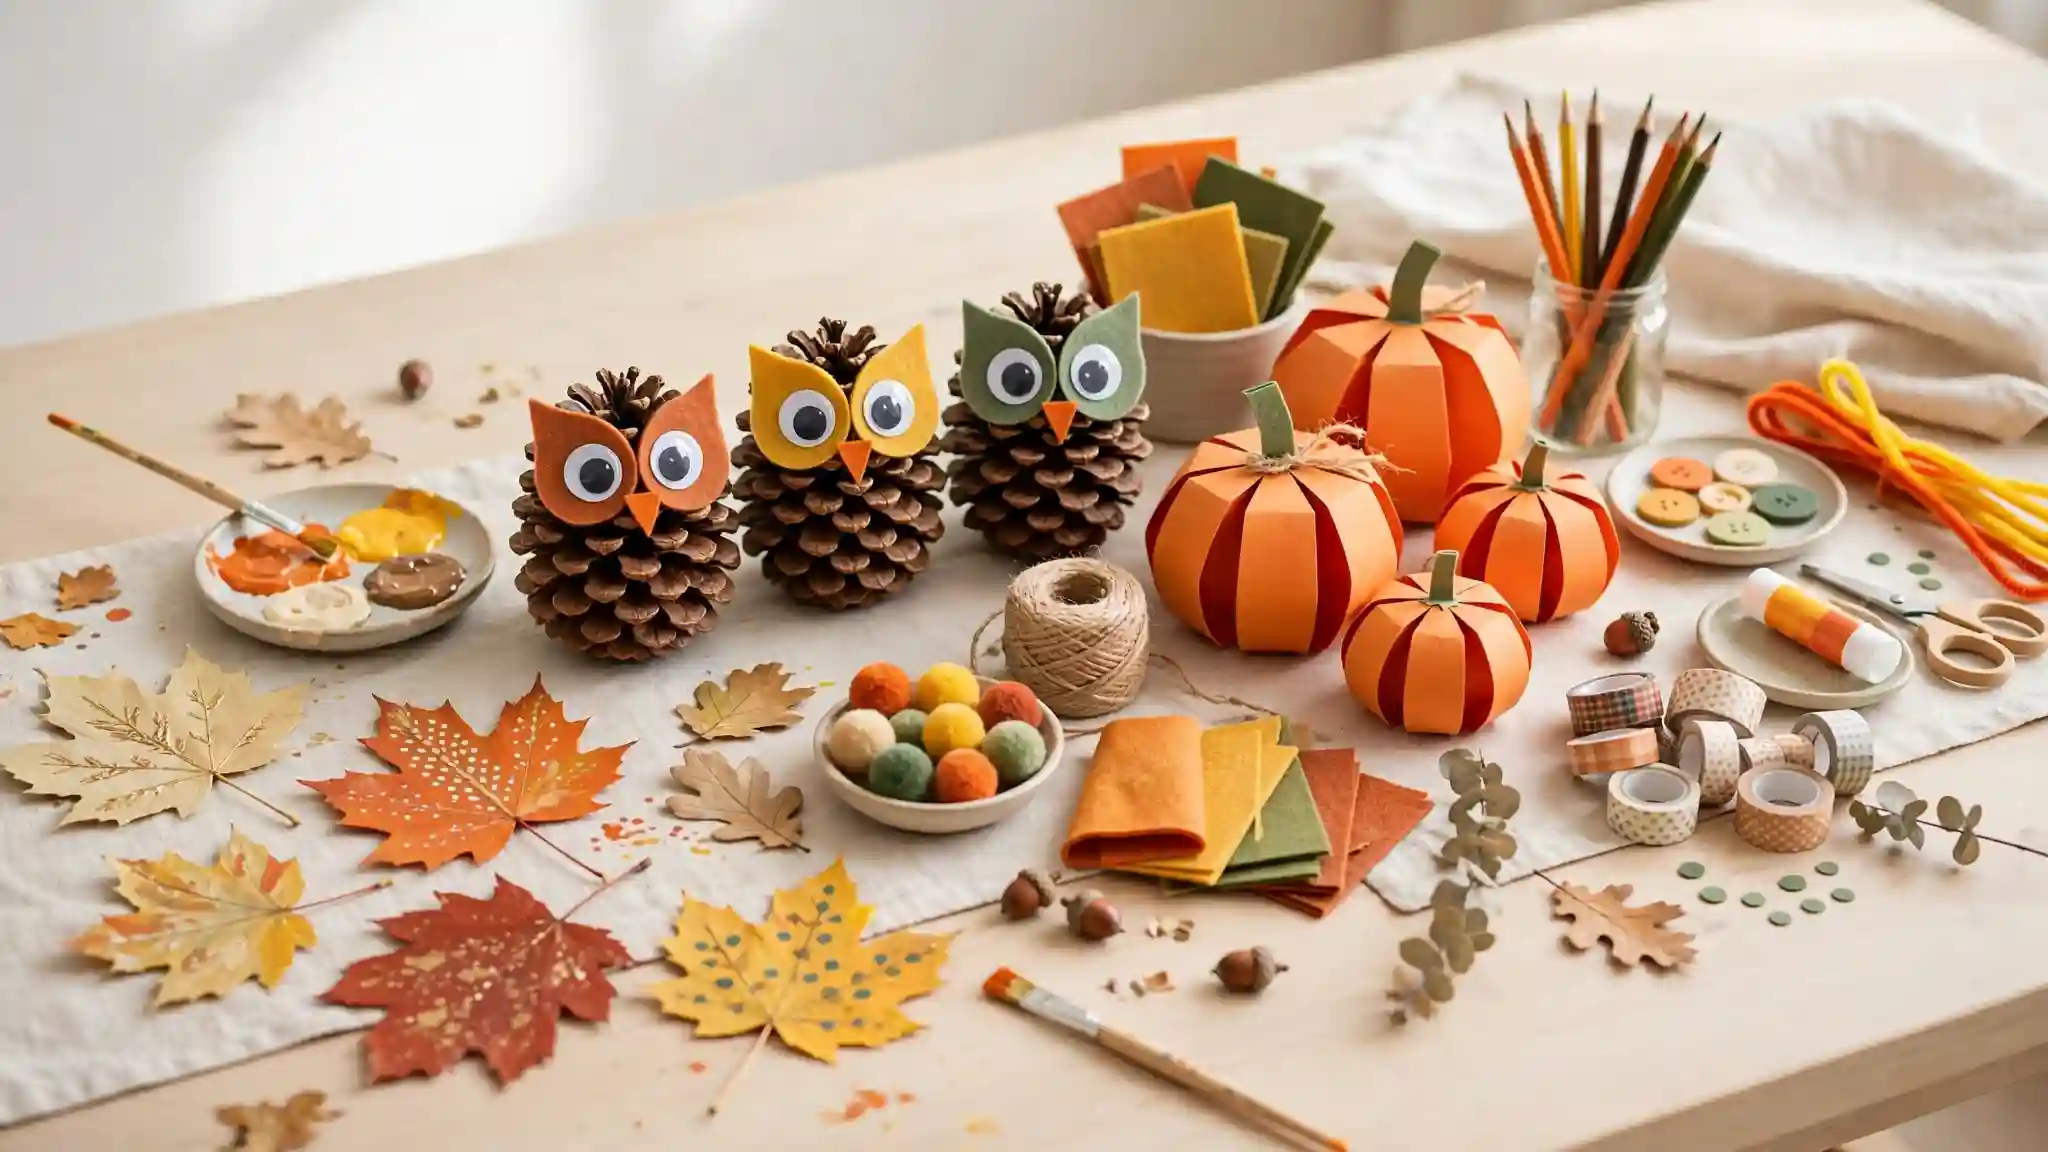
This collection brings together 23 colorful projects that use leaves, pinecones, acorns, and other autumn finds alongside simple supplies. Each one is easy enough for preschoolers with a little help and fun enough to keep older kids engaged. If your family loves holiday projects too, these christmas crafts for kids to make pair perfectly with the season ahead. Set out the supplies, cover the table, and let the colorful autumn memories begin.
Painted Leaf Monsters
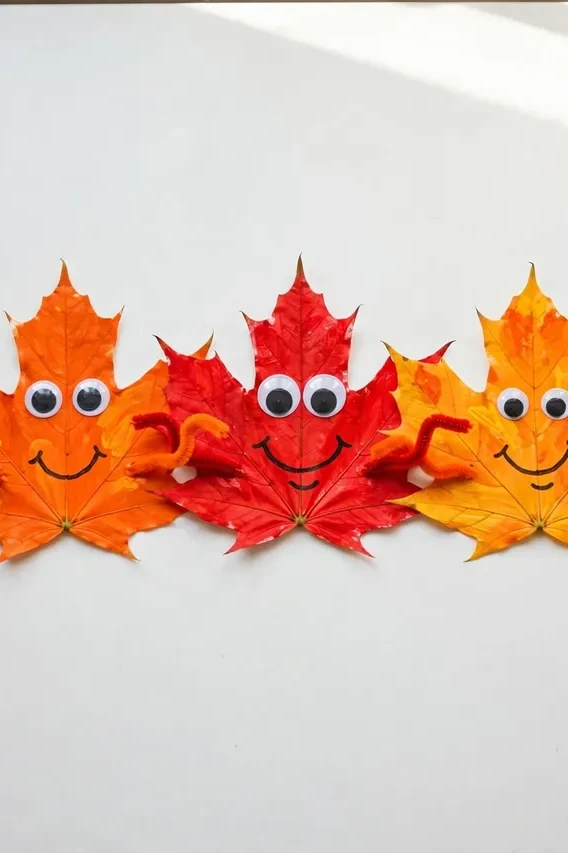
Send the kids outside with a basket and one simple mission: find the biggest, crunchiest leaves they can. Maple and oak leaves work best because their wide surfaces hold paint beautifully. Back at the table, brush each leaf with washable tempera in bright autumn shades and let them dry completely.
Then the fun starts. Glue on googly eyes, draw silly mouths with markers, and add pipe cleaner arms for extra personality. I have watched a whole afternoon disappear over one tray of leaf monsters. Display the finished creatures on the fridge or string them into a garland for the mantel.
Pinecone Owl Friends
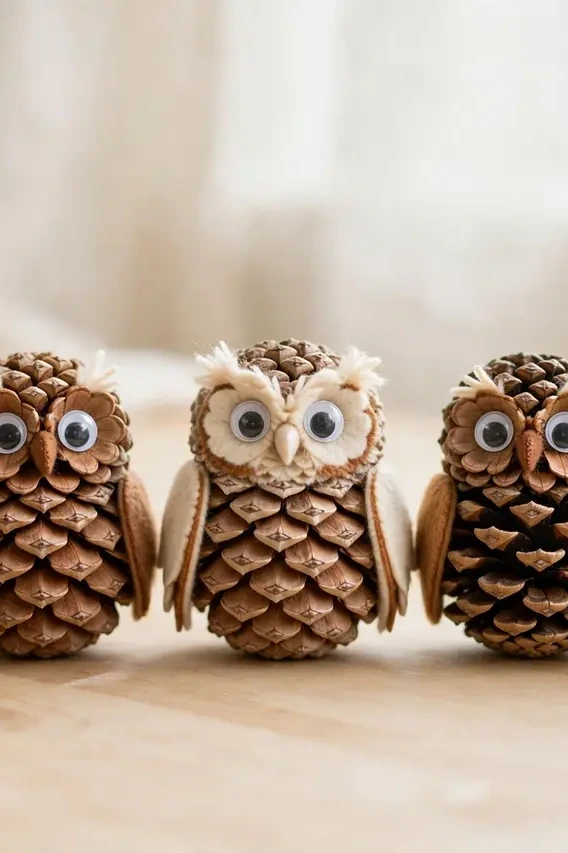
- Pick pinecones that sit flat on their own so the owls stand upright.
- Cut simple wing and ear shapes from craft felt in brown, cream, and orange.
- Glue on large googly eyes and a tiny triangle beak cut from orange felt.
- Add a small feather tuft on top of the head for extra charm.
- Let everything dry for at least twenty minutes before playtime.
I have made these owls with groups of ten kids and they never fail to delight. The secret is giving each child total freedom over colors and expressions. Line the finished owls along a windowsill or bookshelf and they double as sweet autumn decor all season long.
Handprint Acorn Art
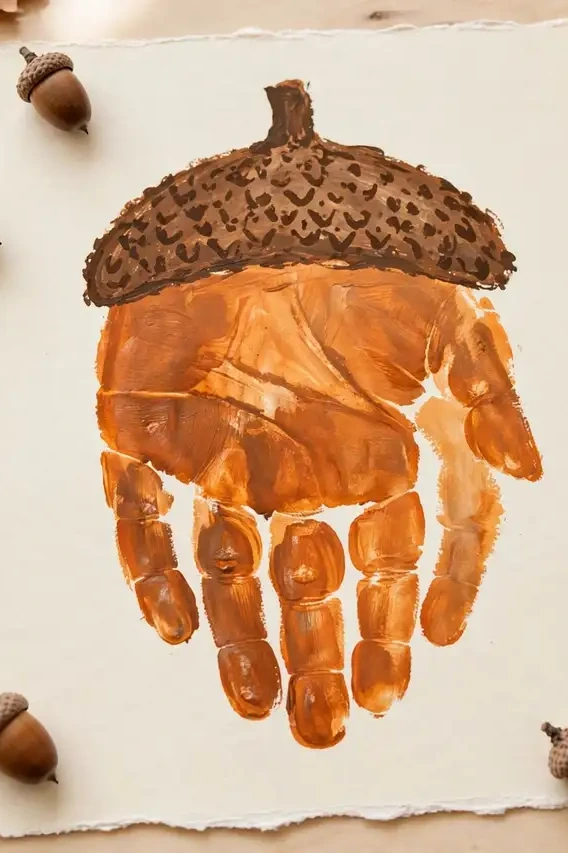
Quick Tip: Press little hands firmly and evenly for one clean print, then lift straight up without wiggling. I keep baby wipes nearby for fast cleanup between colors. Paint the palm brown for the acorn cap and the fingers orange for the body, then add a tiny stem with a marker once dry.
This keepsake captures how small their hands are right now, which makes it a grandparent favorite. I have framed one every autumn since my oldest was two, and the row of growing handprints on our hallway wall tells its own story. Add the year and their name in the corner with a fine marker.
Paper Plate Pumpkins
BEFORE: Our Halloween table looked bare last October, just a store-bought tablecloth and nothing handmade. The kids felt left out of the decorating, and the whole setup seemed flat and uninspired.
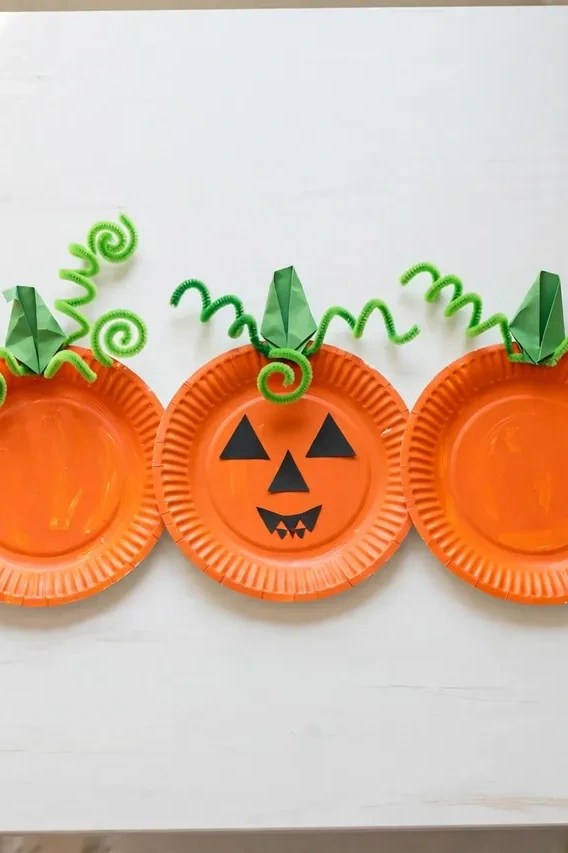
AFTER: A stack of paper plate pumpkins changed the whole table. The kids painted plates orange, added green stems and curly vines, and drew their own jack-o-lantern faces. Now the table looks festive and personal, and every guest asks who made them.
Use small dessert plates for ornaments and large dinner plates for statement pumpkins. I have seen this work well in many cases where parents want a big decorating payoff from a five-dollar supply run.
Twig Photo Frames
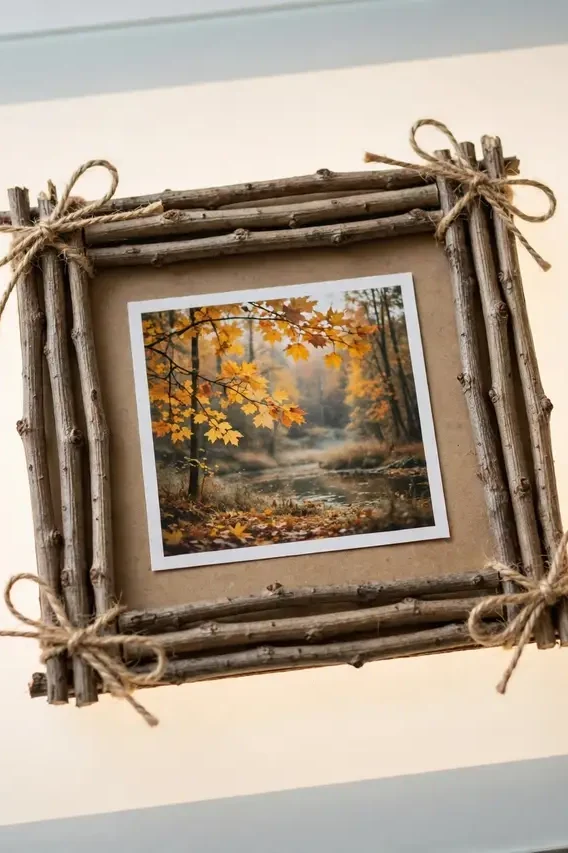
- Collect straight, sturdy twigs about the same thickness during a nature walk.
- Cut a square window from cardboard and glue four twigs around the edges.
- Layer a second row of twigs for a chunky, rustic look.
- Tape a favorite autumn photo behind the opening.
- Tie twine around two corners for hanging.
These frames make wonderful gifts because they pair a handmade frame with a real memory. I have given them to grandparents for years, and they always end up displayed somewhere special. Choose photos from your leaf-collecting walks to tie the whole project together. A coat of clear varnish protects the twigs and keeps them from getting brittle over time.
Felt Leaf Garlands
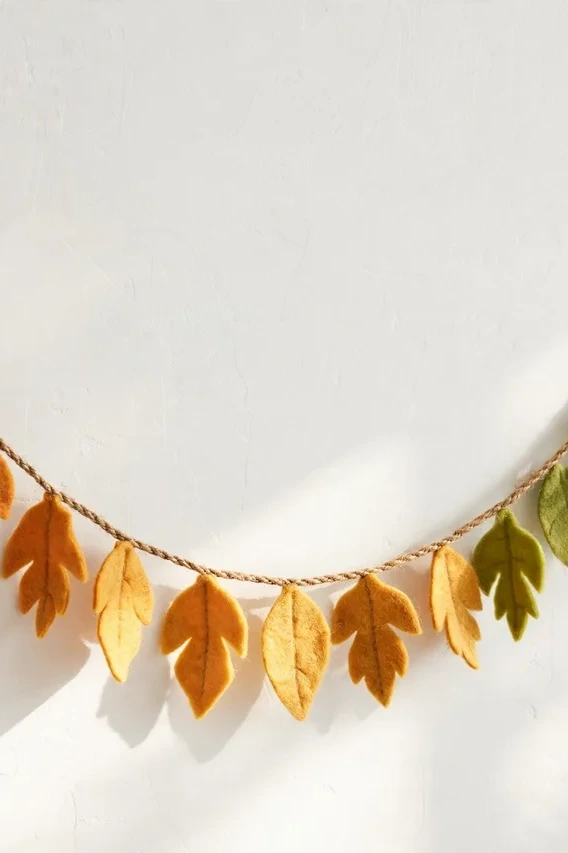
Choose between bold solid colors or soft ombre blends for your garland.
| Feature | Solid Colors | Ombre Blend |
|---|---|---|
| Look | Cheerful and playful | Soft and sophisticated |
| Cutting | One shape, many colors | Graduated shades, more planning |
| Best for | Young kids, quick projects | Older kids, mantel displays |
Either style strings up in under an hour and lasts for years. I cut leaf shapes from felt while the kids punch holes and thread the twine. Hang the finished garland across the mantel, a doorway, or the front of a bookshelf for instant autumn warmth that survives many seasons. Let the kids pick the color order so the garland feels truly theirs.
Cork Apple Stamps
DO:
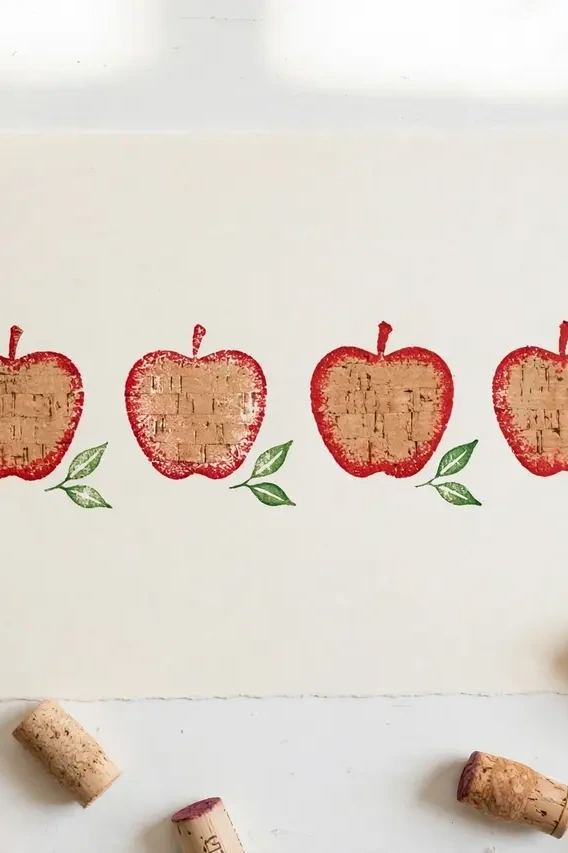
- Use real wine corks for round stamps and champagne corks for larger prints.
- Dip the cork lightly so the paint stays crisp, not blobby.
- Press straight down and lift cleanly for the sharpest apple shape.
DON’T:
- Do not let kids press too hard or the paint will squish outward.
- Do not skip the paper underneath, because stamping gets messy fast.
- Do not forget a green fingerprint leaf beside each apple.
Cork stamping is the perfect first printmaking project for toddlers. I have watched two-year-olds master it in minutes, and the results look genuinely charming. Turn the finished prints into cards, gift wrap, or a banner for the kitchen.
Mason Jar Lanterns
Cost: Low | Time: One afternoon | Skill Level: Beginner | Best For: Cozy evening glow
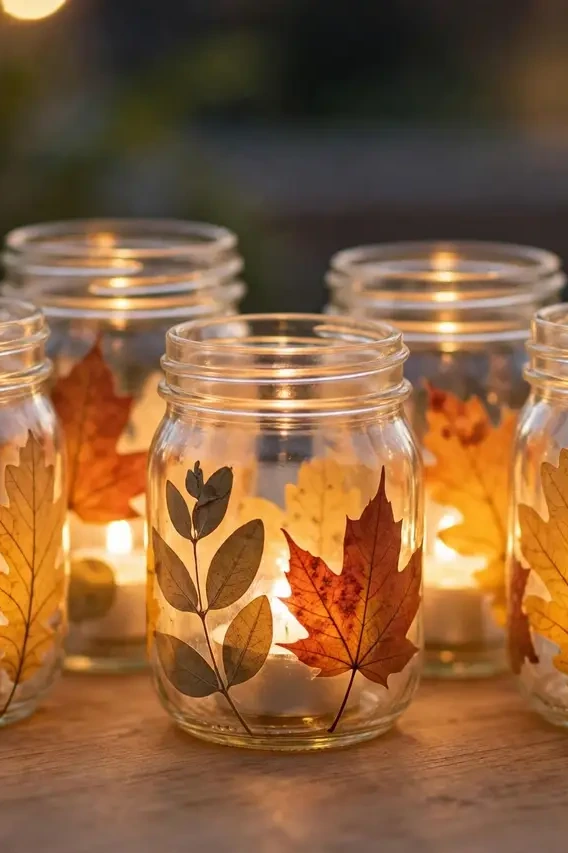
Pressed leaves turn ordinary jars into glowing autumn lanterns. Brush a thin layer of decoupage glue on the outside of a clean jar, press on flat dried leaves, and seal with another thin coat. Drop in a battery tea light and watch the whole jar glow amber. I have lined our porch steps with a dozen of these every October, and neighbors always slow down to look. They also make lovely nightlights for kids who are nervous in the dark. Cluster jars of different heights together for the prettiest glow.
Sock Scarecrow Pals
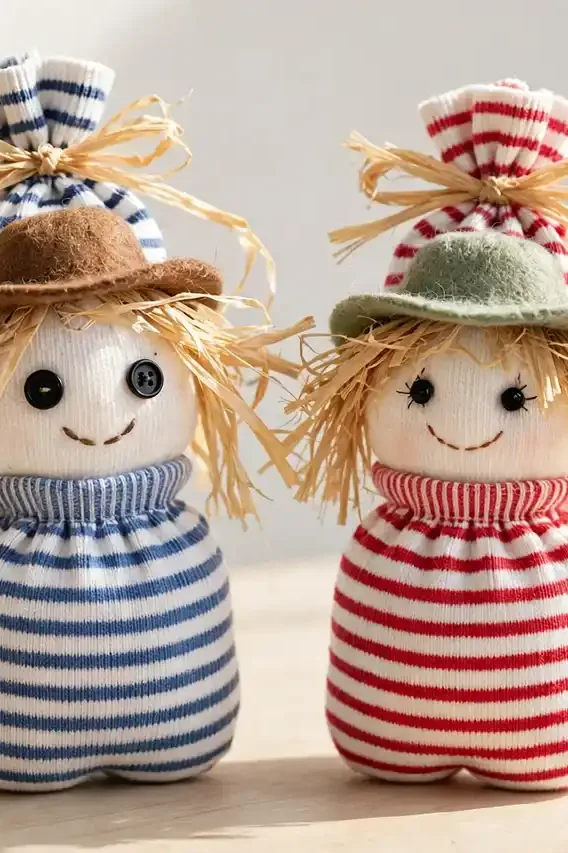
Dig through the sock drawer for lonely singles and turn them into scarecrow friends. Fill each sock with rice or dried beans, tie it off with twine, and draw a stitched smile with fabric markers. Raffia hair and a tiny felt hat complete the look in minutes.
The rice filling makes them wonderfully squishy to hold, which younger kids love. I have made these as party favors for a fall birthday, and every child carried theirs home like a new best friend. Set out buttons, ribbons, and fabric scraps so each scarecrow gets its own personality. A dab of hot glue holds the hat in place through plenty of hugs.
Cardboard Harvest Houses
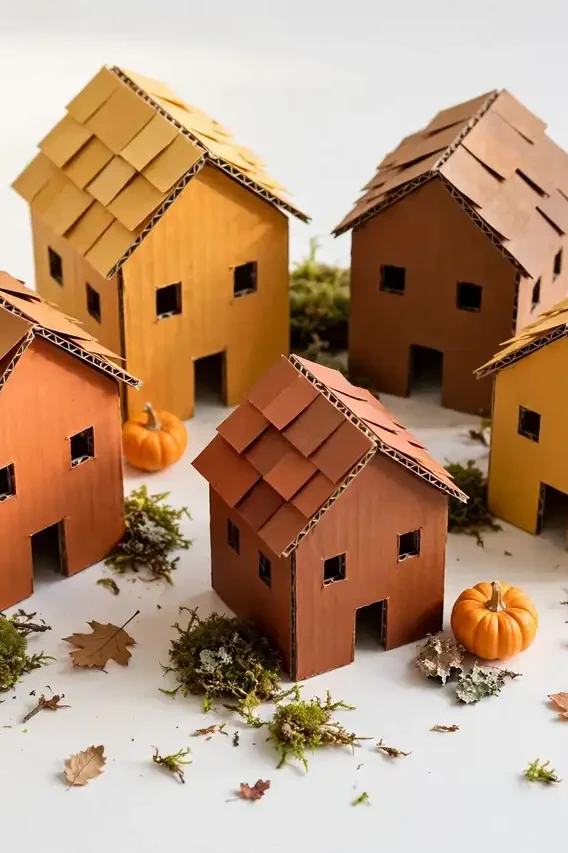
- Cut simple house shapes from sturdy cardboard boxes, keeping windows generous.
- Paint walls in cream, rust, or sage and let dry fully before roofing.
- Glue on a folded paper roof in a contrasting autumn shade.
- Add tiny paper pumpkins and leaf bushes around each house.
- Place a battery tea light inside for a cozy glowing village.
I have built whole villages of these with my kids across rainy weekends. The best part is how the project grows: start with one house, then add a barn, a shop, and a tiny school. Arrange the finished village on a tray with moss and pinecones for a centerpiece everyone admires.
Bubble Wrap Corn
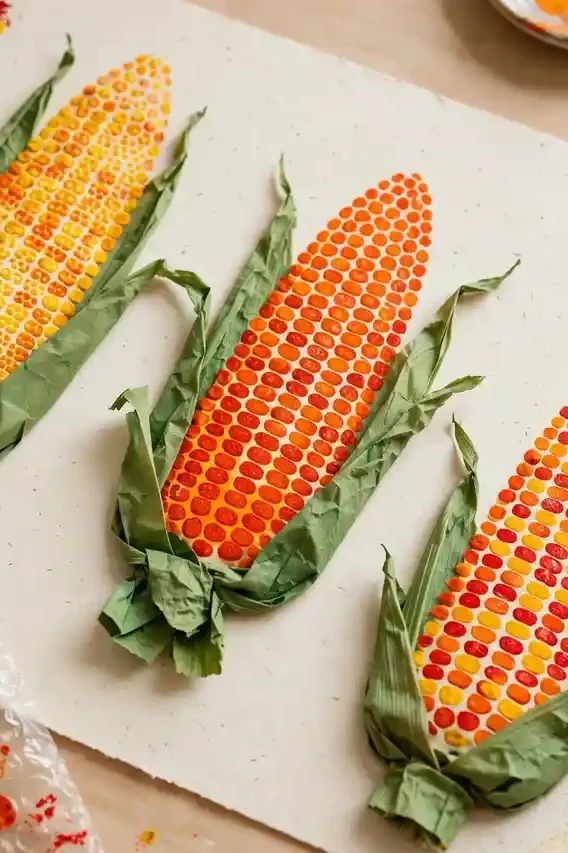
Quick Tip: Cut bubble wrap into small rectangles and tape them flat to the table before painting. I roll the paint on with a small brayer for the most even kernels. Press paper firmly onto the painted wrap, rub gently, and peel back to reveal perfect rows of corn kernels.
This printmaking trick fascinates kids because the texture does the hard work. I have used it in classrooms of twenty children with zero frustration. Add green construction paper husks and tie the ears into bundles for a harvest display that looks straight from a farm stand. Frame the best prints for a sweet harvest gallery wall.
Thumbprint Squirrel Art
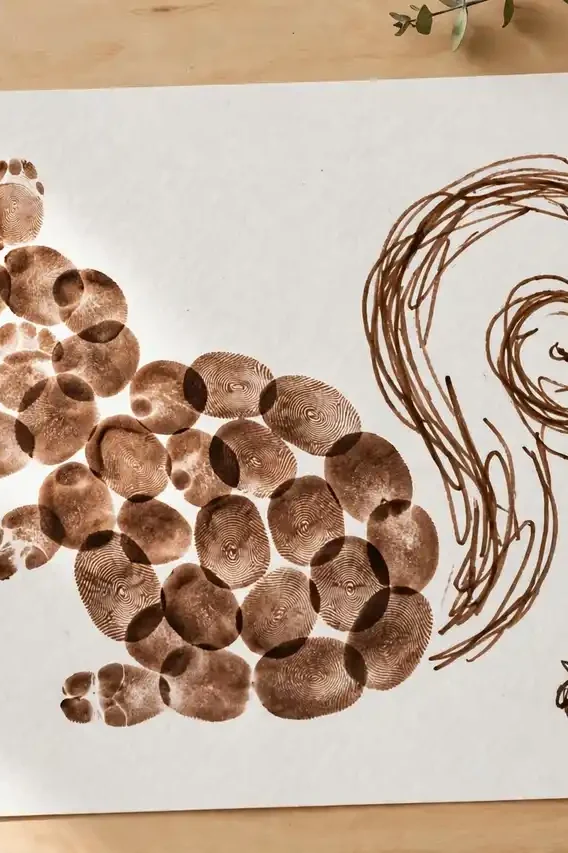
BEFORE: Our autumn art wall was all leaves and pumpkins, sweet but a little repetitive. The kids wanted to draw animals, yet squirrels felt too hard to sketch from scratch.
AFTER: Thumbprint squirrels solved it in one afternoon. Brown thumbprints form the body and head, a drawn tail curls behind, and tiny features bring the face to life. Now the art wall has personality, and the kids proudly point out which squirrel is theirs.
Use washable ink pads in two brown shades for depth. I have seen this work well in many cases as a first art project for shy kids, since the thumbprint does most of the drawing for them.
Nature Weaving Looms
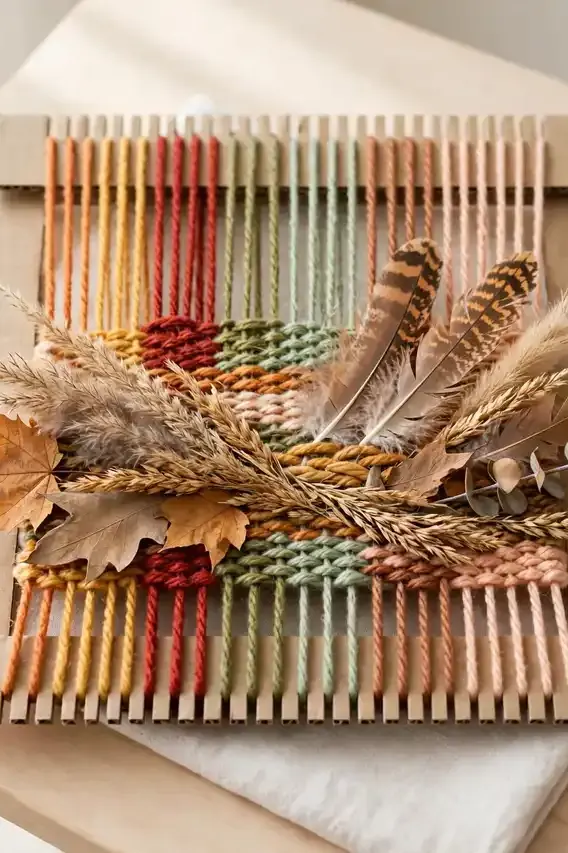
- Cut notches along two opposite edges of a small cardboard rectangle.
- Wrap yarn around the notches to create the warp threads.
- Weave in grasses, leaves, ribbons, and feathers, over and under.
- Push each row snug with a fork or craft stick.
- Tie off the ends and trim the cardboard away.
Weaving slows busy kids down in the best possible way. I have watched fidgety afternoons turn calm within minutes of starting a loom. The finished weavings look beautiful hung in a row on the wall, and each one captures the exact colors of the day it was made. Older kids can try simple patterns once they master the basic weave.
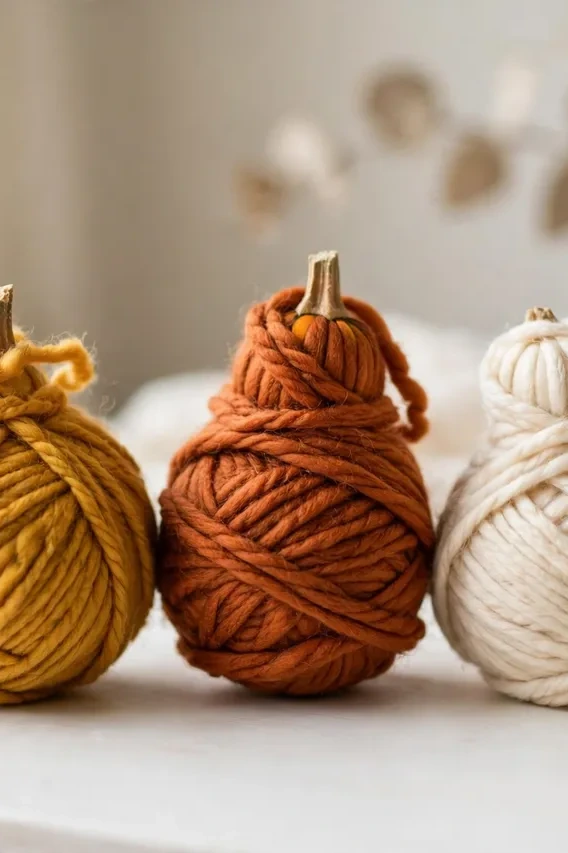
Yarn Wrapped Gourds
Choose mini gourds with smooth, even shapes for the neatest wrap.
| Feature | Thin Yarn | Chunky Yarn |
|---|---|---|
| Coverage | Takes longer, finer texture | Fast coverage, cozy look |
| Kid effort | Better for older kids | Easy for little hands |
| Finish | Sleek and modern | Rustic and chunky |
Either yarn turns a plain gourd into a jewel-toned accent. I start the wrap with a dab of glue at the top, then let the kids wind round and round while I tuck the end under at the finish. Group three wrapped gourds in a wooden bowl for a centerpiece that looks store-bought. Tuck a sprig of dried wheat beside the bowl for a finished look.
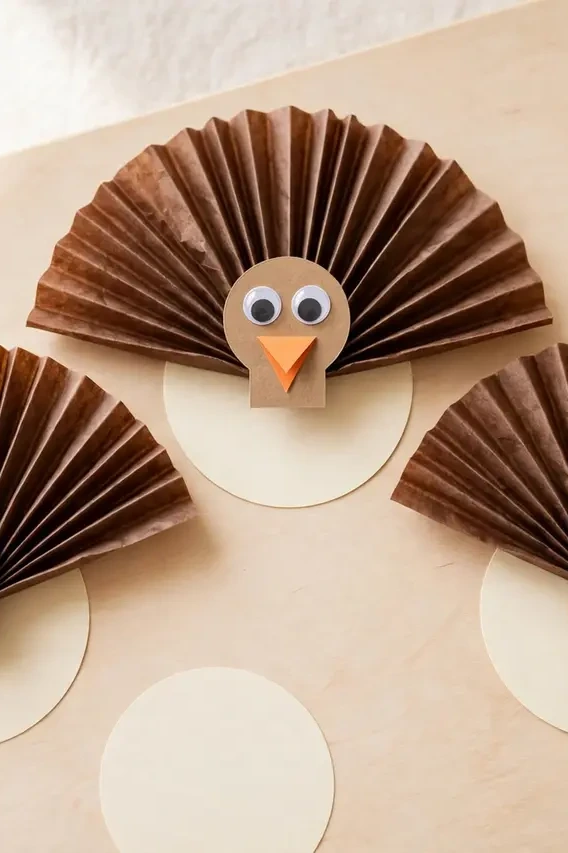
Cupcake Liner Turkeys
DO:
- Use two liners per turkey, one flattened for the body and one fanned for the tail.
- Layer three or four tail liners for a full, impressive fan.
- Glue the beak and wattle on last so they sit on top.
DON’T:
- Do not use wet glue on thin liners or the colors will bleed.
- Do not skip the googly eyes, because they make the whole turkey.
- Do not rush the drying, since layered liners slide when wet.
Cupcake liner turkeys are a Thanksgiving classic for good reason. I have made them with every age group, and the fanned tails always get gasps. Hang a whole flock on the fridge or use them as place cards for the holiday table.
Salt Dough Leaves
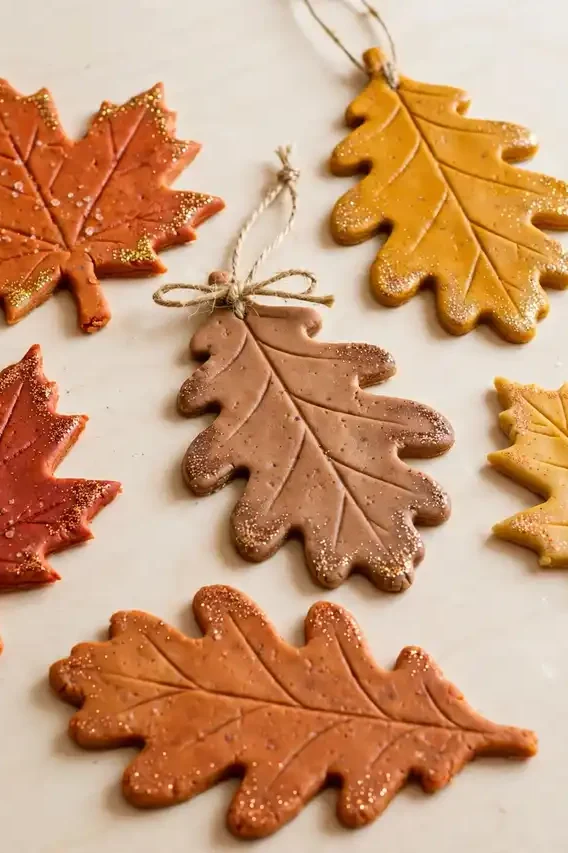
Cost: Very low | Time: One morning plus drying | Skill Level: Beginner | Best For: Keepsake ornaments
Salt dough turns pantry staples into ornaments that last for years. Mix two cups of flour, one cup of salt, and one cup of water, then roll and cut leaf shapes with cookie cutters. Bake low and slow until hard, then paint in autumn shades and seal with varnish. I have ornaments from five years ago still hanging on our fall tree, each one dated on the back. Kids love pressing real leaves into the soft dough for vein textures. Punch a hole at the top before baking so hanging is easy later.
Torn Paper Collages
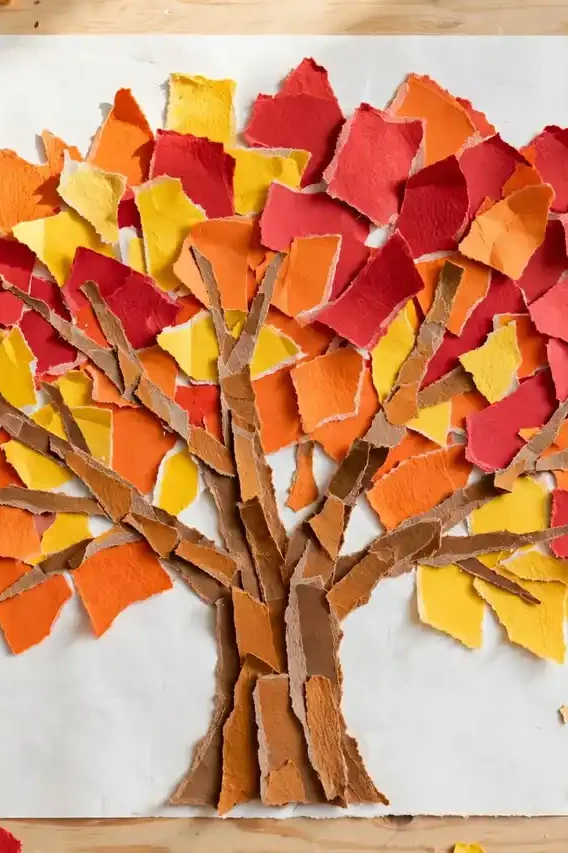
Rip, don’t cut. Torn edges give collages a soft, painterly texture that scissors can’t match. Set out construction paper in every autumn shade and let the kids tear freely, then arrange the pieces into trees, pumpkins, or abstract color fields on a large sheet.
This project is wonderfully forgiving, which makes it perfect for toddlers. I have covered entire tabletops with torn paper trees, and the results always look like real art. Glue everything down with a glue stick, then frame the best ones for instant gallery walls. Mix in a few magazine cutouts for surprising pops of color and texture that make each piece unique.
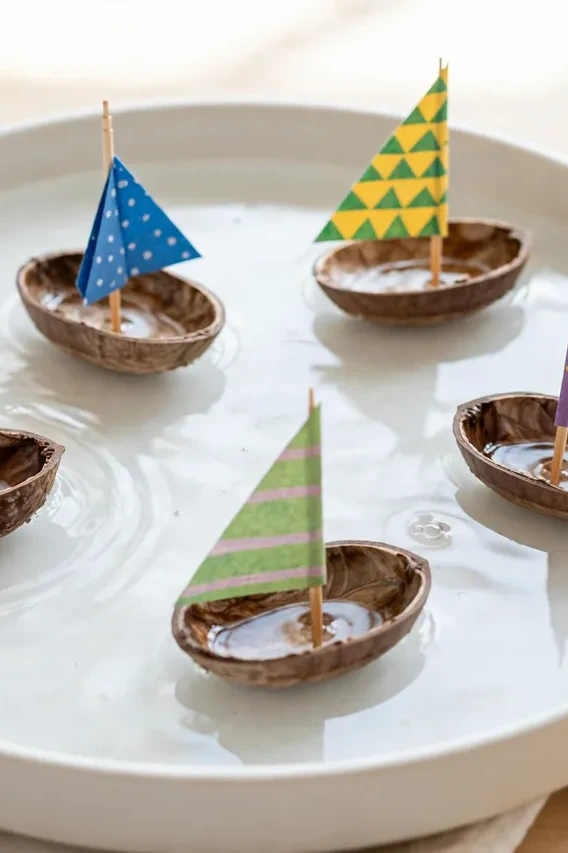
Walnut Shell Boats
- Crack walnuts carefully to keep clean half shells.
- Press a small ball of clay inside each shell for the mast base.
- Cut triangle sails from colorful paper and thread onto toothpicks.
- Push the mast into the clay and trim the sail to size.
- Float the fleet in a shallow dish and race them with gentle puffs of air.
I have raced walnut boats with my kids in everything from baking dishes to backyard puddles. The races always end in laughter, especially when someone’s boat capsizes. Paint the shells in bright colors before assembling for an extra personal touch. Line up the whole fleet on the mantel when the races are done.
Sticker Mosaic Pumpkins
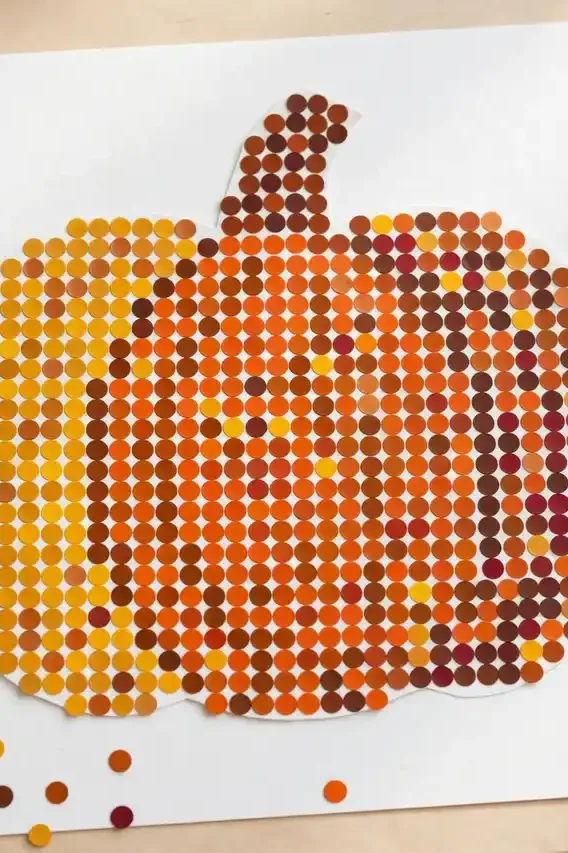
Quick Tip: Draw light pencil guidelines on the pumpkin shape so kids know where each color zone goes. I sort dot stickers into small bowls by color before we start, which keeps the table calm. Peel, stick, and repeat until the whole pumpkin glows with mosaic color.
This is the ultimate low-mess craft for days when paint feels like too much. I have handed these to restless kids in waiting rooms and watched them focus for a full half hour. The finished pumpkins look surprisingly sophisticated, like tiny stained glass windows. Use metallic stickers for the stem to add a touch of shine.
Clay Pumpkin Pots
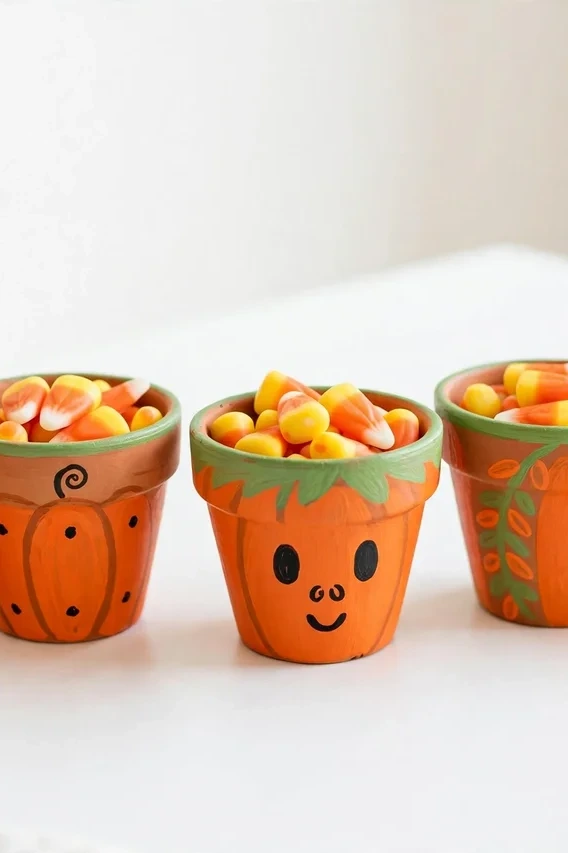
BEFORE: Our treat table was just a bowl of candy, functional but forgettable. The kids wanted to help with Halloween prep, yet most projects were too complex for little hands.
AFTER: Painted clay pumpkin pots fixed everything. Small terracotta pots became jack-o-lanterns with a few brushstrokes, and the kids filled each one with treats themselves. If you enjoy painting pumpkins in other forms, these pumpkin painting ideas offer even more inspiration. Now the treat table looks adorable and the kids beam with pride.
Seal the finished pots with clear varnish so the paint survives handling. I have reused ours for three Halloweens running, and they still look fresh.
Sponge Painted Wreaths
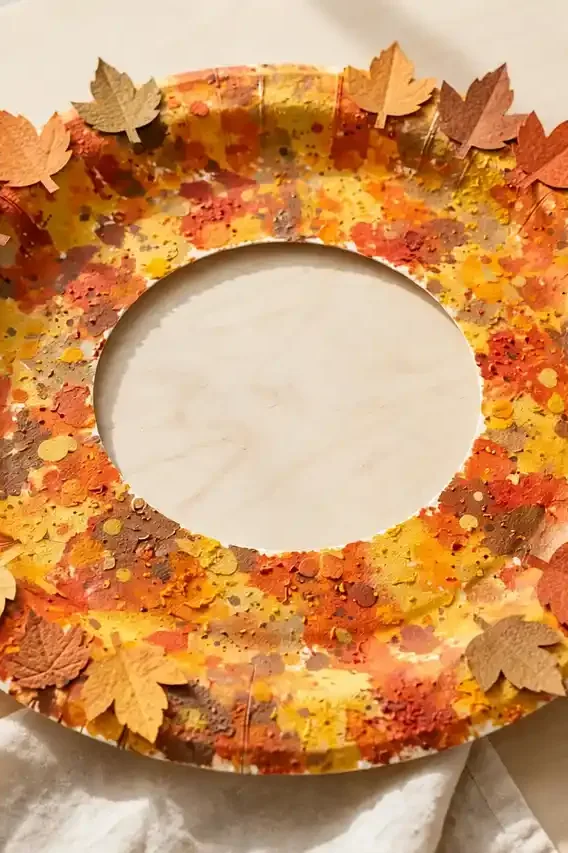
- Cut the center from a paper plate to form the wreath ring.
- Dab sponges in red, orange, yellow, and green paint around the ring.
- Overlap the colors so they blend into autumn tones.
- Glue on a few real pressed leaves for texture.
- Tie a ribbon loop at the top for hanging.
Sponge painting gives wreaths a soft, mottled look that brushes can’t match. I have hung a whole row of these on our front door through the years, each one marking a different autumn. Let the kids sign and date the back for a sweet time capsule effect. Hang them at kid height so little artists can admire their work daily.
Feather Owl Masks
Pick feather colors that match the owl personality your child wants.
| Feature | Natural Feathers | Craft Feathers |
|---|---|---|
| Texture | Soft and realistic | Bright and bold colors |
| Allergies | Check for sensitivities | Hypoallergenic option |
| Cost | Free from nature walks | A few dollars per bag |
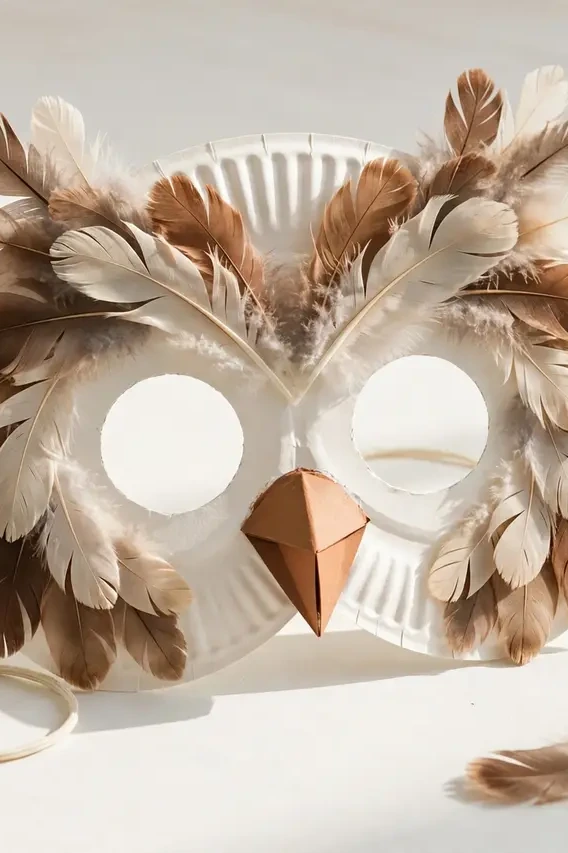
Either feather makes a mask kids refuse to take off. I cut eye holes in a paper plate, then let the kids layer feathers from the outside in. Add a paper beak and elastic string, and the transformation is instant. These masks star in every autumn parade and playdate at our house. Store them flat in a large envelope so the feathers stay fluffy.
Acorn Cap Necklaces
DO:
- Choose acorn caps that are whole and sturdy, not cracked.
- Paint the caps in bright colors and let them dry fully.
- Thread a needle with embroidery floss for easy stringing.
DON’T:
- Do not use caps with holes, since the paint will look patchy.
- Do not pull the floss too tight or the caps will bunch up.
- Do not forget a knot between beads to keep everything spaced.
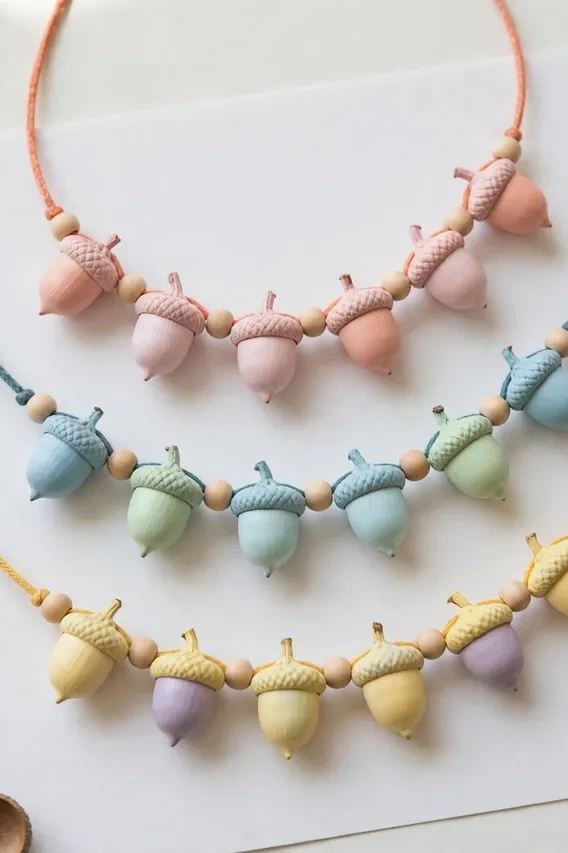
Acorn cap necklaces are tiny treasures kids wear for weeks. I have made them as friendship gifts, party favors, and quiet-time projects. Alternate painted caps with wooden beads for a polished look that rivals store-bought jewelry.
Conclusion
Every one of these projects proves that the best autumn memories cost almost nothing. A walk through crunchy leaves, an afternoon at the craft table, and a house full of handmade treasures is what the season is really about. These fall crafts for kids will fill your home with color and your camera roll with smiles. Pick your favorite project this weekend, gather the supplies, and make something wonderful together. Save this list to Pinterest so the ideas are waiting when the leaves start to turn. Share your finished crafts in the comments so other families can find fresh inspiration too.