22 Front Porch Planter Ideas for Stunning Curb Appeal
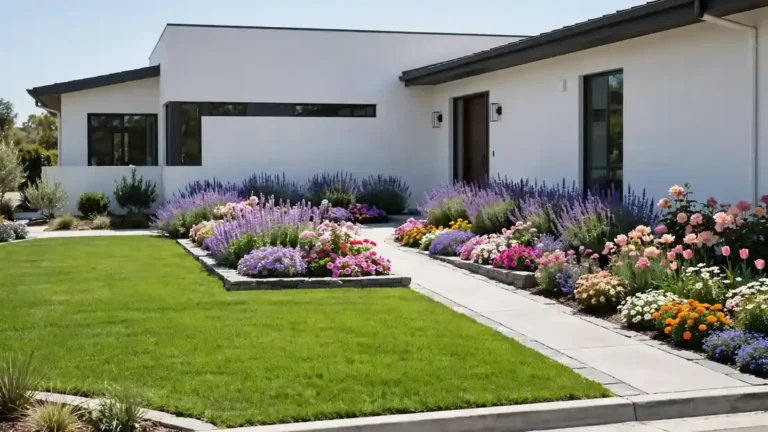
Your front porch sets the tone for your entire home before anyone steps inside. These front porch planter ideas turn a plain entryway into a warm, inviting space that boosts curb appeal instantly. I have noticed that homes with lush, well-styled planters feel more cared for and welcoming, even from the street. The right planters frame your door beautifully and give your porch personality in every season.
Start by looking at your porch size, sunlight, and the style of your home. A modern farmhouse loves weathered wood and galvanized metal, while a classic brick home shines with timeless terracotta and boxwood. Simple inspiration from outdoor porch decor ideas helps you match planters to your home’s character. Work through the twenty-two looks below and choose the combinations that fit your space, budget, and the seasons you love most.
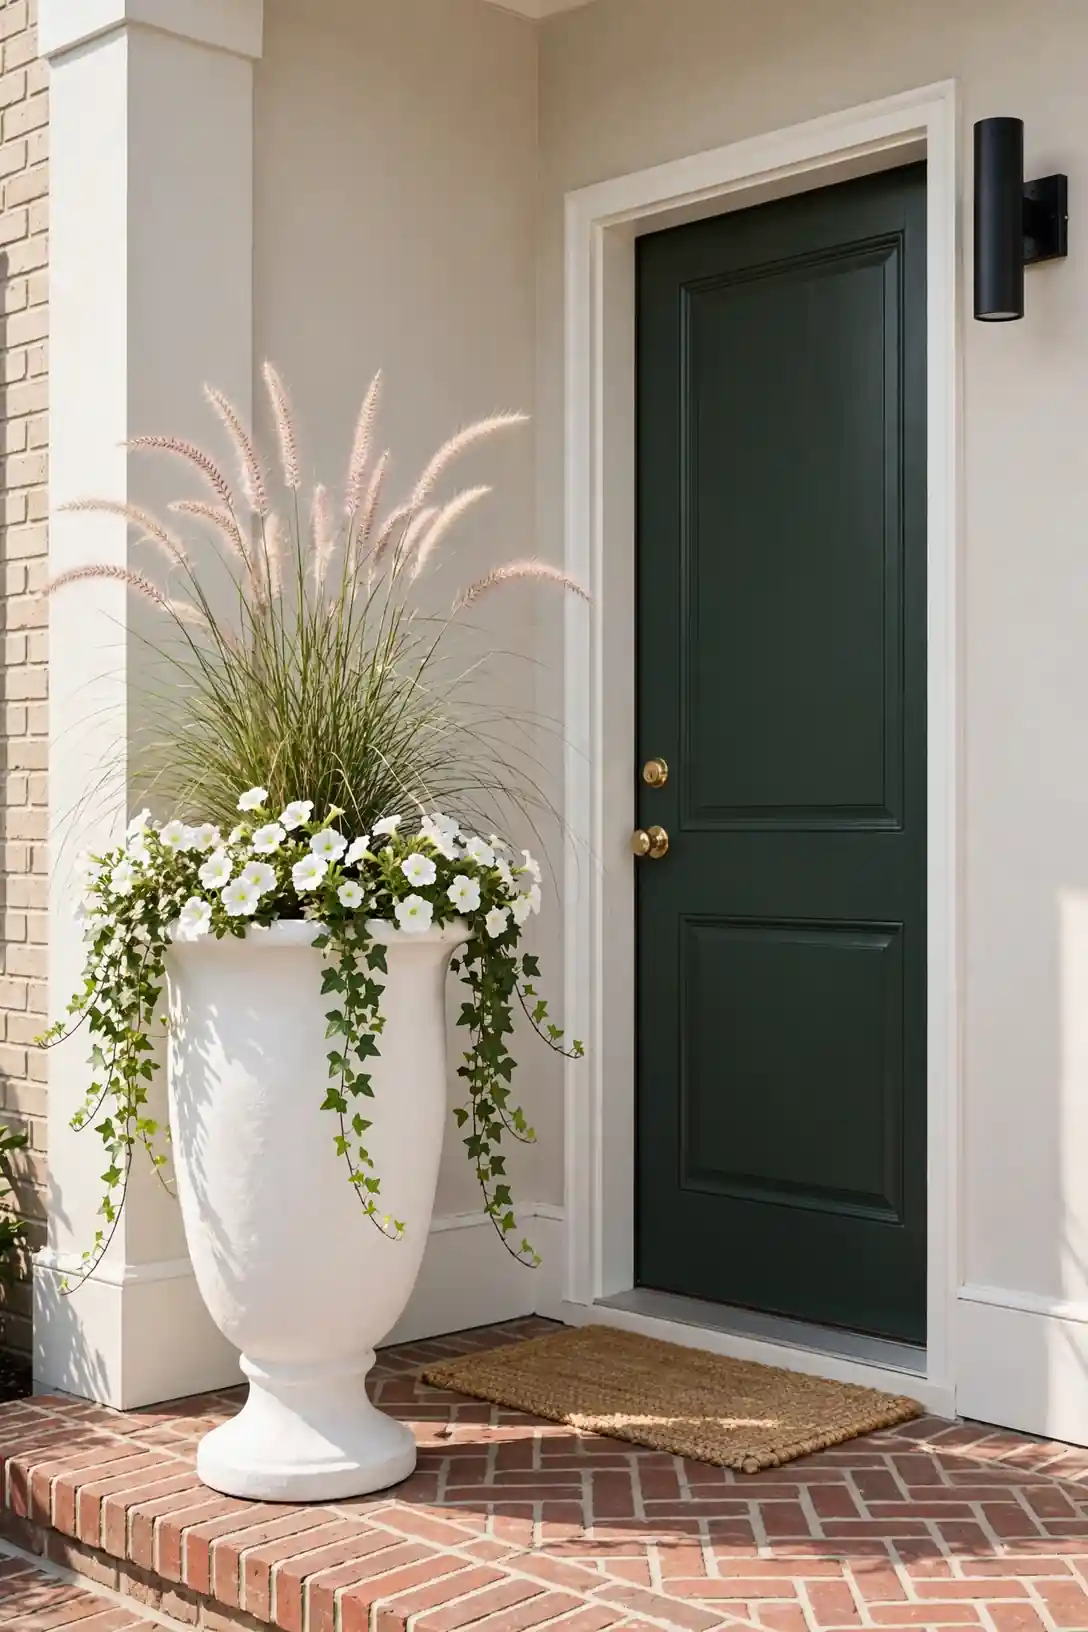
Oversized Urn Statement
A single oversized urn commands attention the moment guests reach your steps. Choose a planter at least 24 inches tall so it holds its own beside your front door. Fill it with a tall thriller like ornamental grass, then surround the base with cascading sweet potato vine.
Place the urn slightly off-center rather than dead middle for a designer look that feels natural. In my experience, one bold planter beats three small ones every time, because small pots get lost against a big facade. Water deeply twice a week and rotate the urn monthly so every side grows evenly. Tuck trailing plants around the base to soften the transition between pot and porch.
Symmetric Flanking Pair
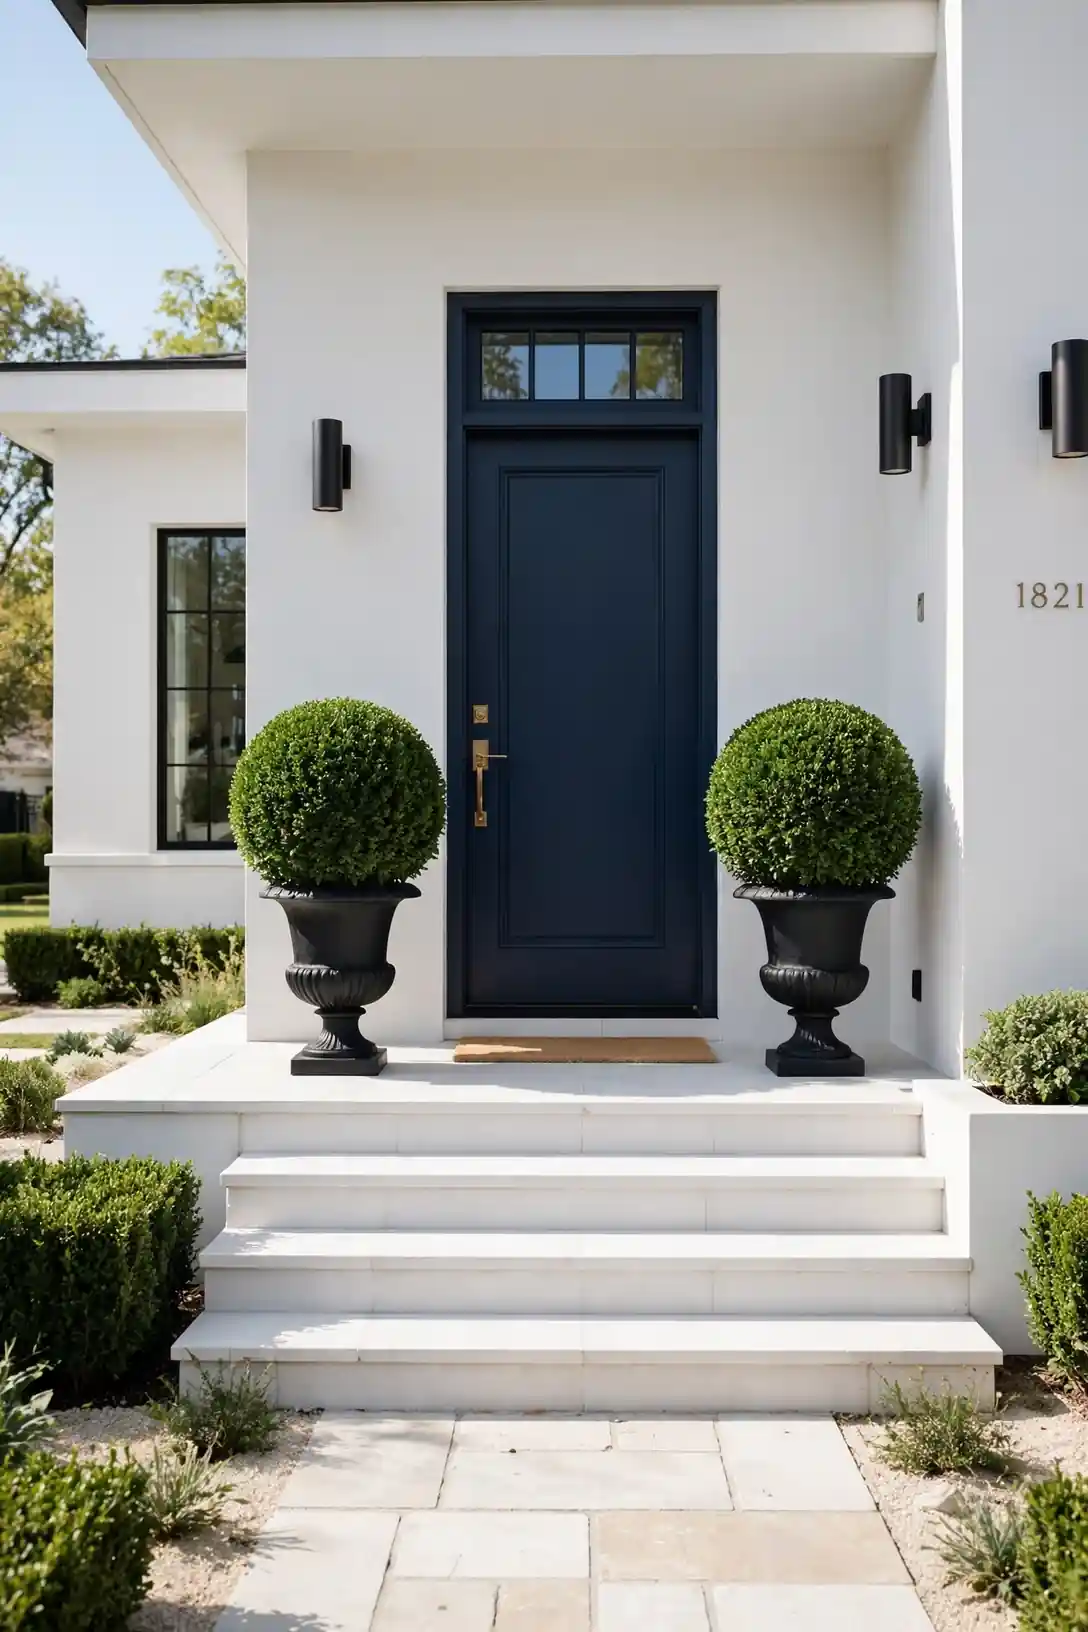
- Match your planters exactly in size, color, and shape for true symmetry that frames the door like a picture frame.
- Keep both arrangements identical, or mirror them, so the pair reads as one intentional design from the street.
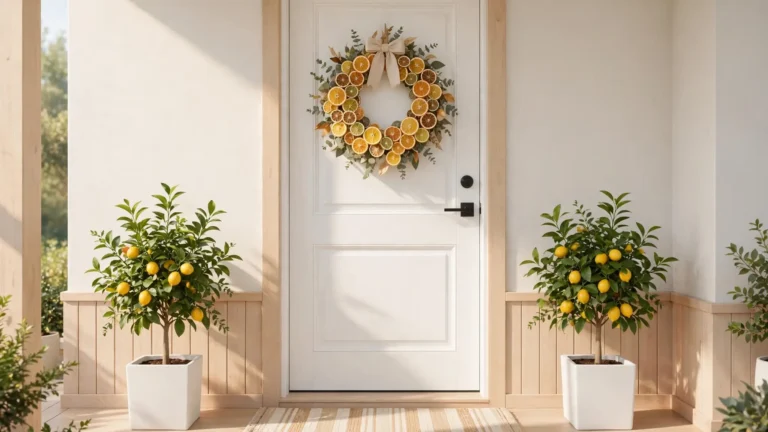
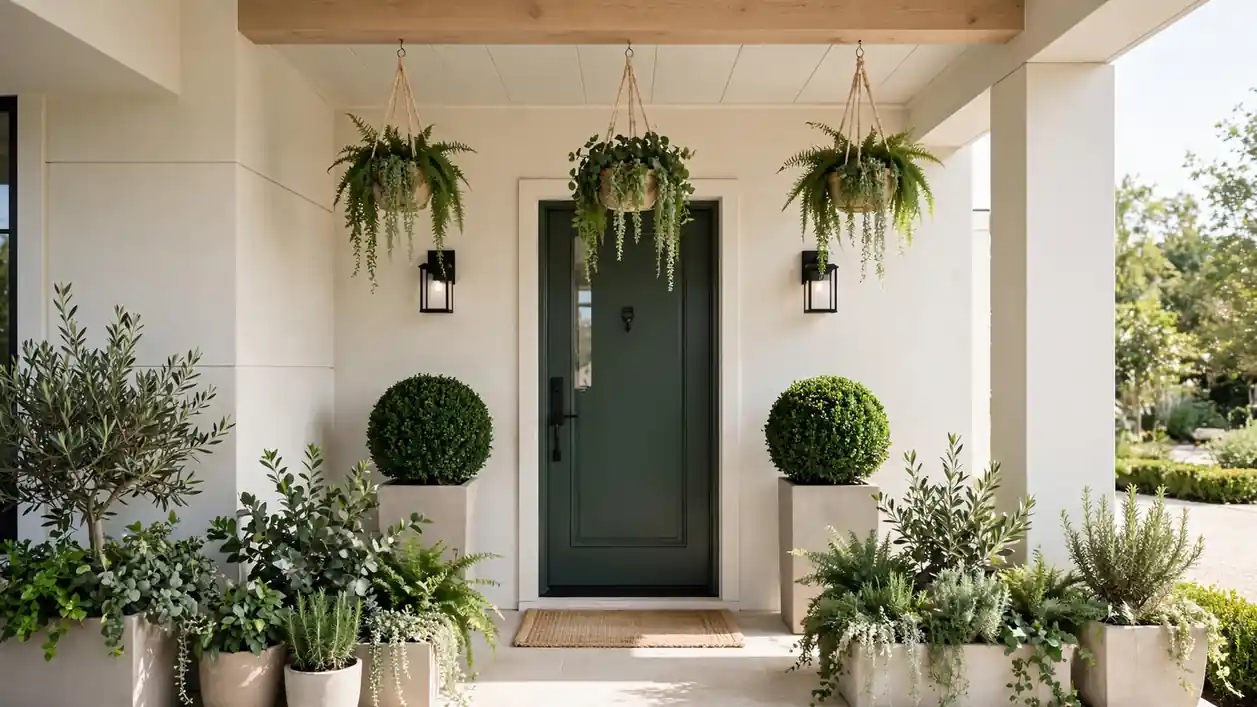
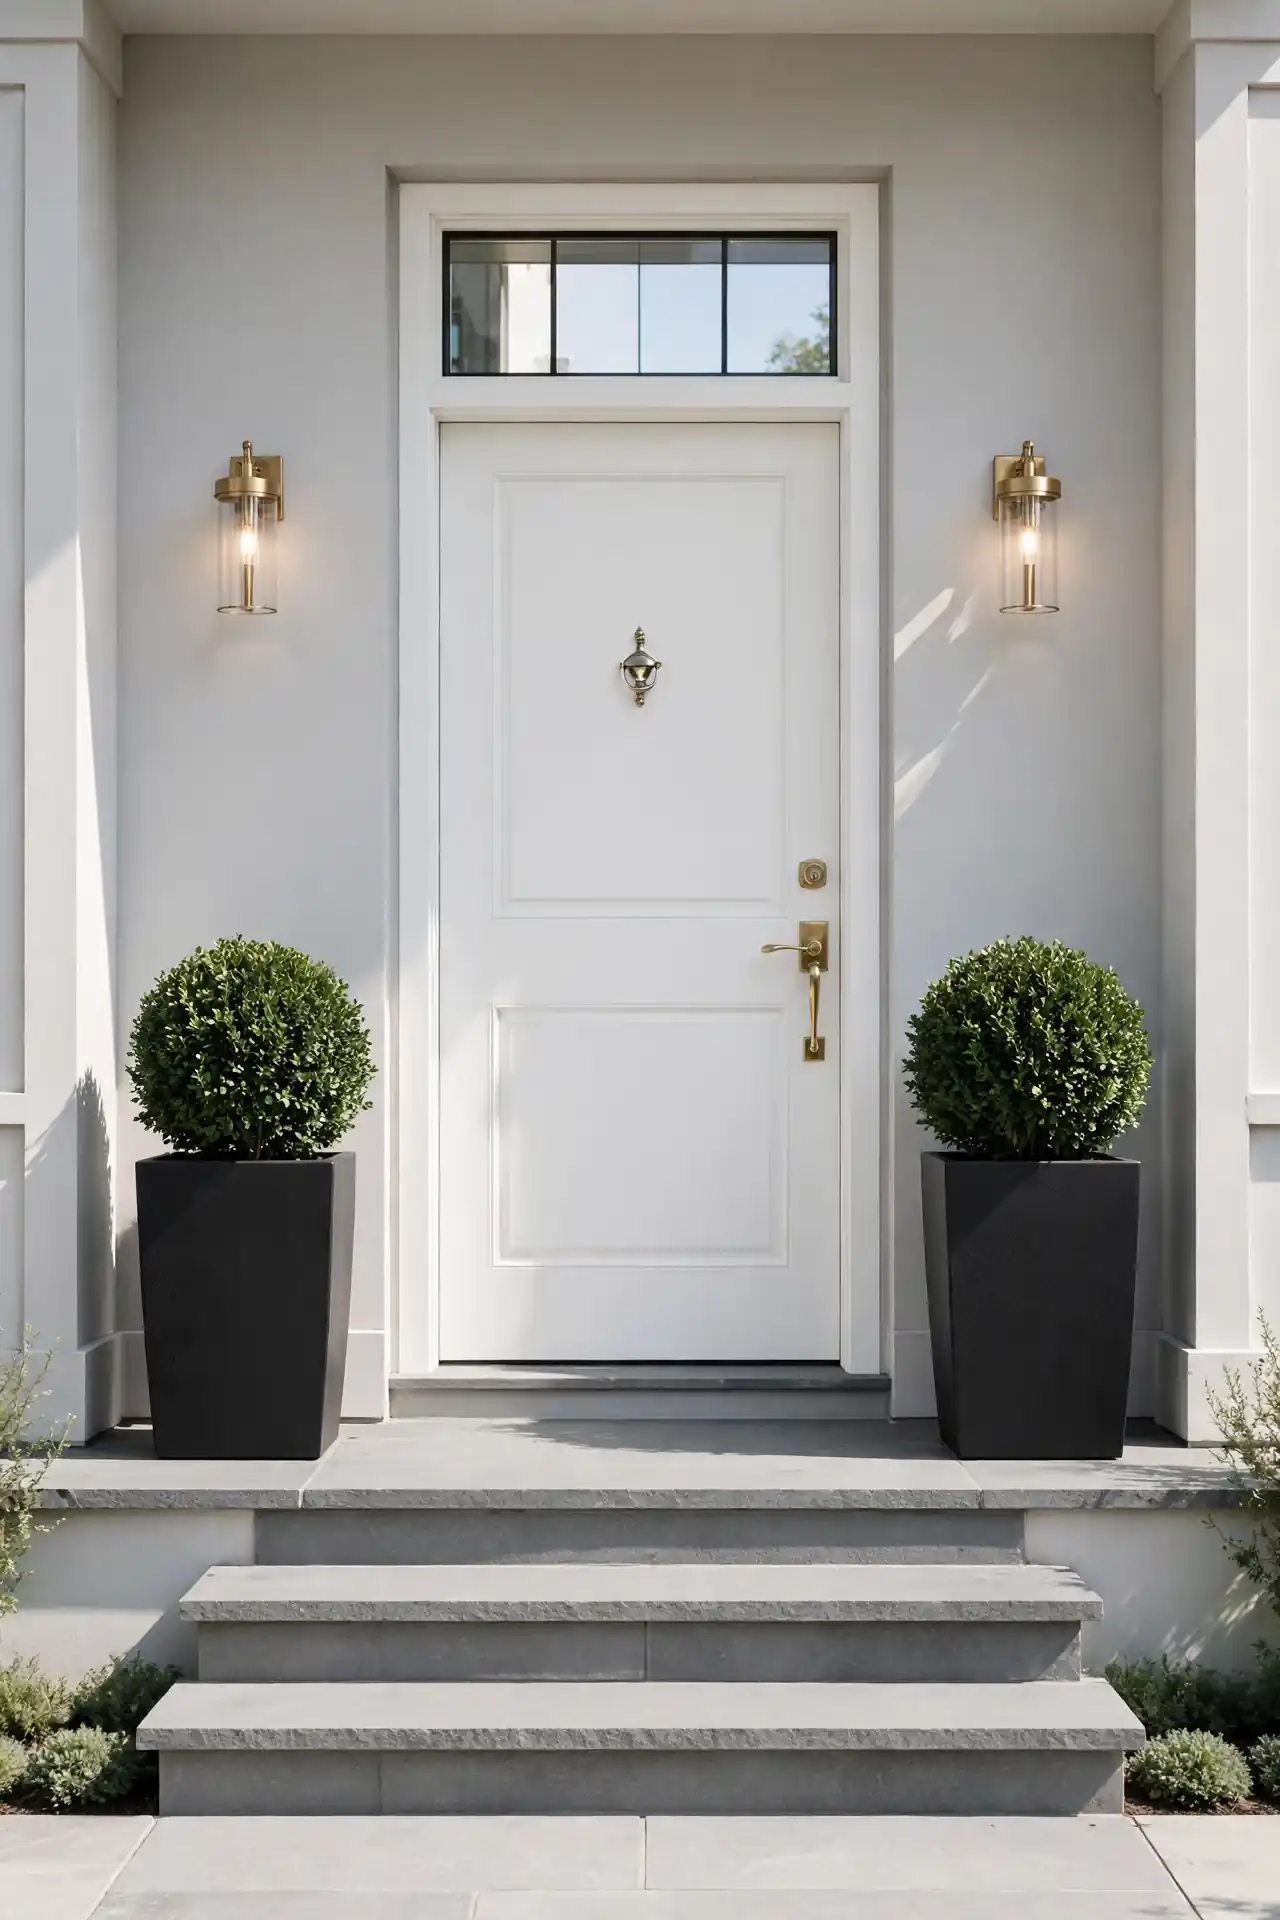
- Choose evergreen anchors like boxwood or dwarf spruce so the symmetry holds strong through winter months.
- Set planters 18 to 24 inches from the door frame so they welcome without blocking the walkway.
Symmetry feels calm and orderly, which is why it suits formal and traditional homes so well. I have seen this work well in many cases where a plain entry suddenly looked custom and cared for. Measure twice before you buy, because even a two-inch height difference breaks the illusion from the curb.
Layered Thriller Fillers
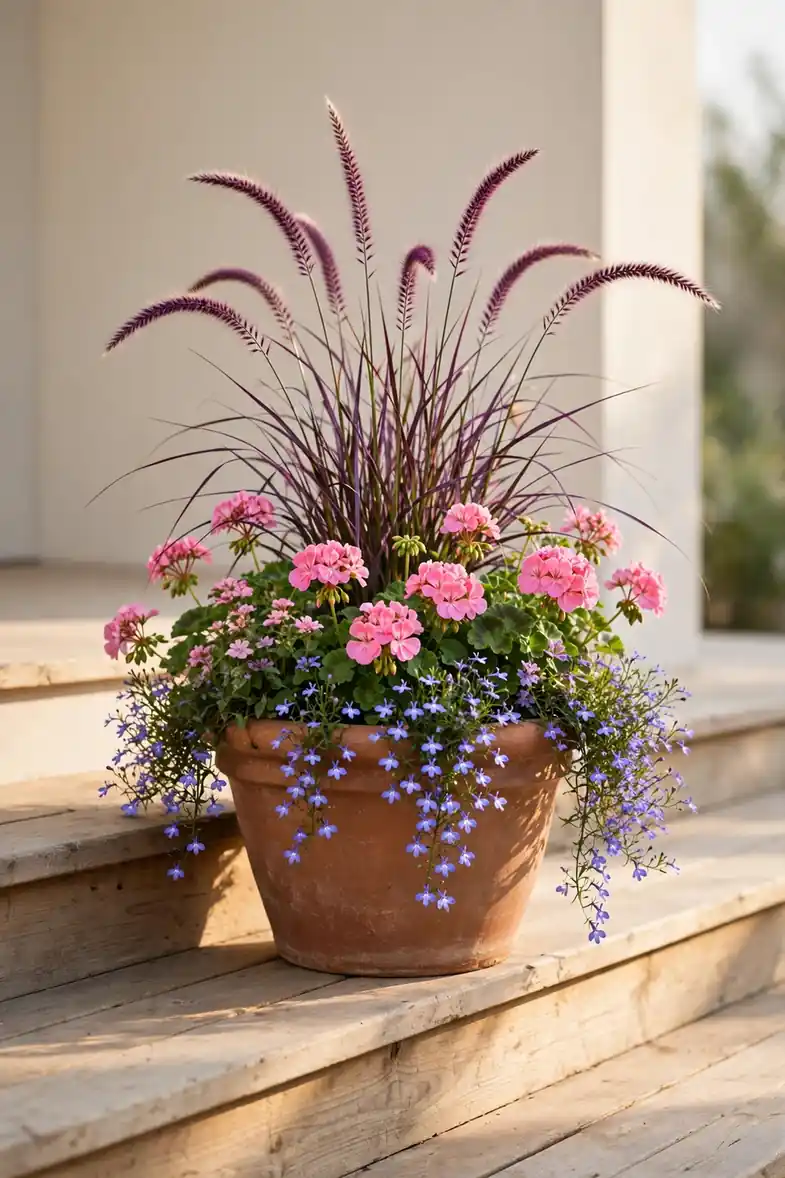
Quick Tip: Build every planter with the thriller, filler, spiller formula for a full professional look. Place one tall thriller in the center, ring it with mounding fillers, then edge the pot with trailing spillers that cascade over the rim. This simple structure works for any pot size and any season, so memorize it once and reuse it forever.
Layering gives planters depth that single-plant pots never achieve. Start with thriller height at least twice the pot height for proper proportion. Choose fillers in odd numbers, three or five, for a natural rhythm. Let spillers grow long before trimming, because the cascade is what catches the eye from the street.
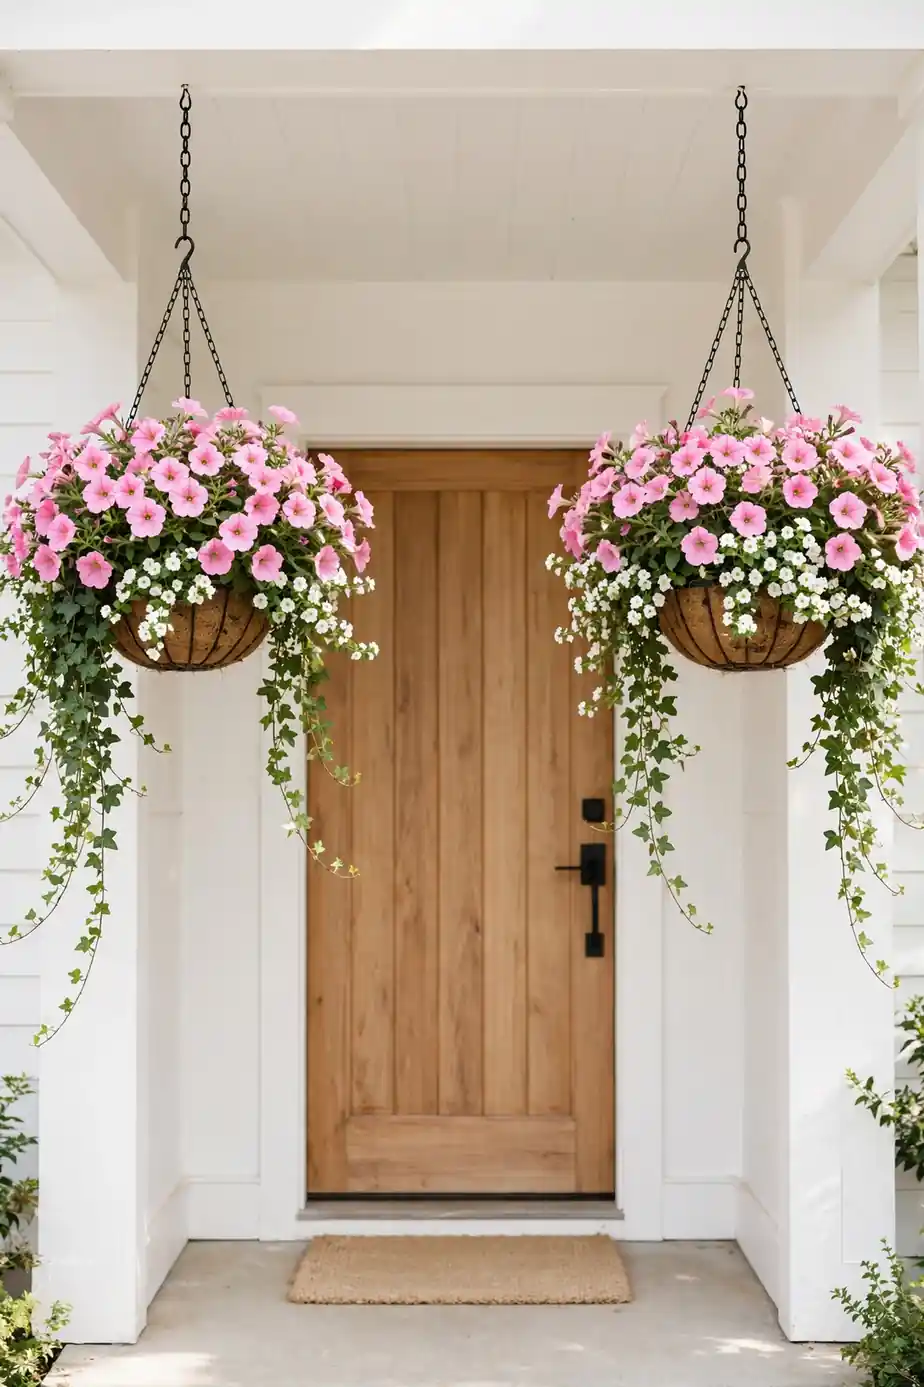
Hanging Basket Charm
BEFORE: Bare porch ceilings look unfinished and waste vertical space. The eye drops to the floor, and the entry feels flat no matter how nice your pots look. Most porches already have beams or hooks waiting.
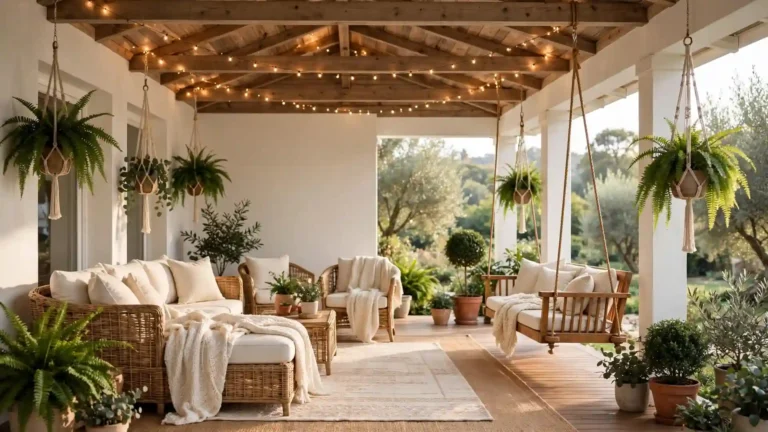
AFTER: Hanging baskets draw the eye upward and fill empty air with color. Ferns and petunias sway in the breeze, making the porch feel alive. The layered height creates a lush, garden-like entry instantly.
Hang baskets at eye level so they frame rather than block the doorway. Use coco liners and water daily in summer heat, since hanging baskets dry out faster than ground pots. I have noticed a pair of full baskets can transform a plain porch in a single afternoon.
Wooden Crate Garden
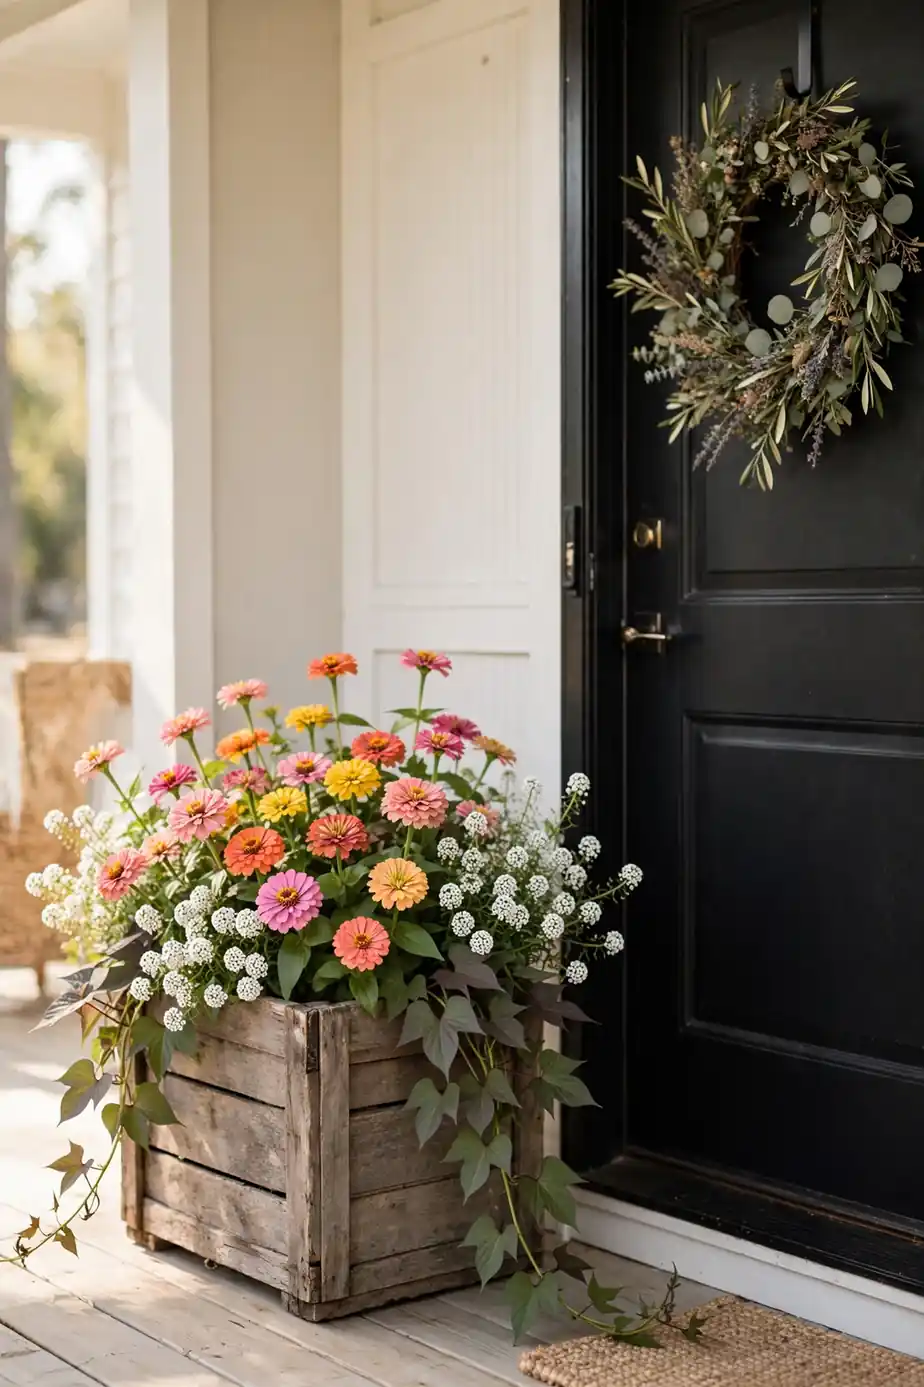
- Choose a sturdy wooden crate and line it with landscape fabric, stapling the edges so soil stays put while water drains freely.
- Fill the crate two-thirds with potting mix, then arrange plants with tall growers at the back and trailers at the front edge.
- Water thoroughly after planting and set the crate where it gets morning sun and afternoon shade for happiest plants.
- Refresh the display each season by swapping annuals while keeping any evergreen anchors in place year-round.
Crates bring farmhouse warmth that sleek pots cannot match. Sand rough edges and seal the wood with outdoor polyurethane so the crate survives rain and sun. I have seen this work well in many cases where renters wanted big style without permanent changes, since crates move easily.
Terracotta vs Fiberglass
| Feature | Terracotta | Fiberglass |
| Weight | Heavy, stays put in wind | Light, easy to move |
| Price | Affordable | Higher upfront cost |
| Durability | Cracks in hard freeze | Withstands freeze and sun |
| Look | Classic, ages beautifully | Mimics stone or clay |
Choose terracotta for timeless charm in mild climates, and fiberglass when you need lightweight durability. Both hold plants well, so the decision comes down to your weather and how often you rearrange. I have noticed fiberglass wins for upper porches and balconies where every pound matters. Terracotta develops a beautiful aged patina that many gardeners love, while fiberglass keeps its factory finish for years. If you move planters seasonally, the lighter weight of fiberglass saves your back every single time.
Topiary Ball Elegance
DO:
- Trim topiary balls lightly every few weeks to keep their round shape crisp.
- Water at the soil level to keep foliage dry and prevent disease spots.
- Rotate the pot a quarter turn weekly so all sides grow evenly round.
DON’T:
- Do not shear aggressively, since cutting into bare wood leaves permanent bald patches.
- Do not let the soil dry out completely, because stressed boxwood drops leaves fast.
- Do not place in deep shade, where growth turns thin and leggy.
Topiaries add formal elegance that few other plants can match. Real boxwood needs regular care, while quality faux versions give the look with zero maintenance. In my experience, one pair of topiary balls makes even a modest porch feel grand and intentional from the street.
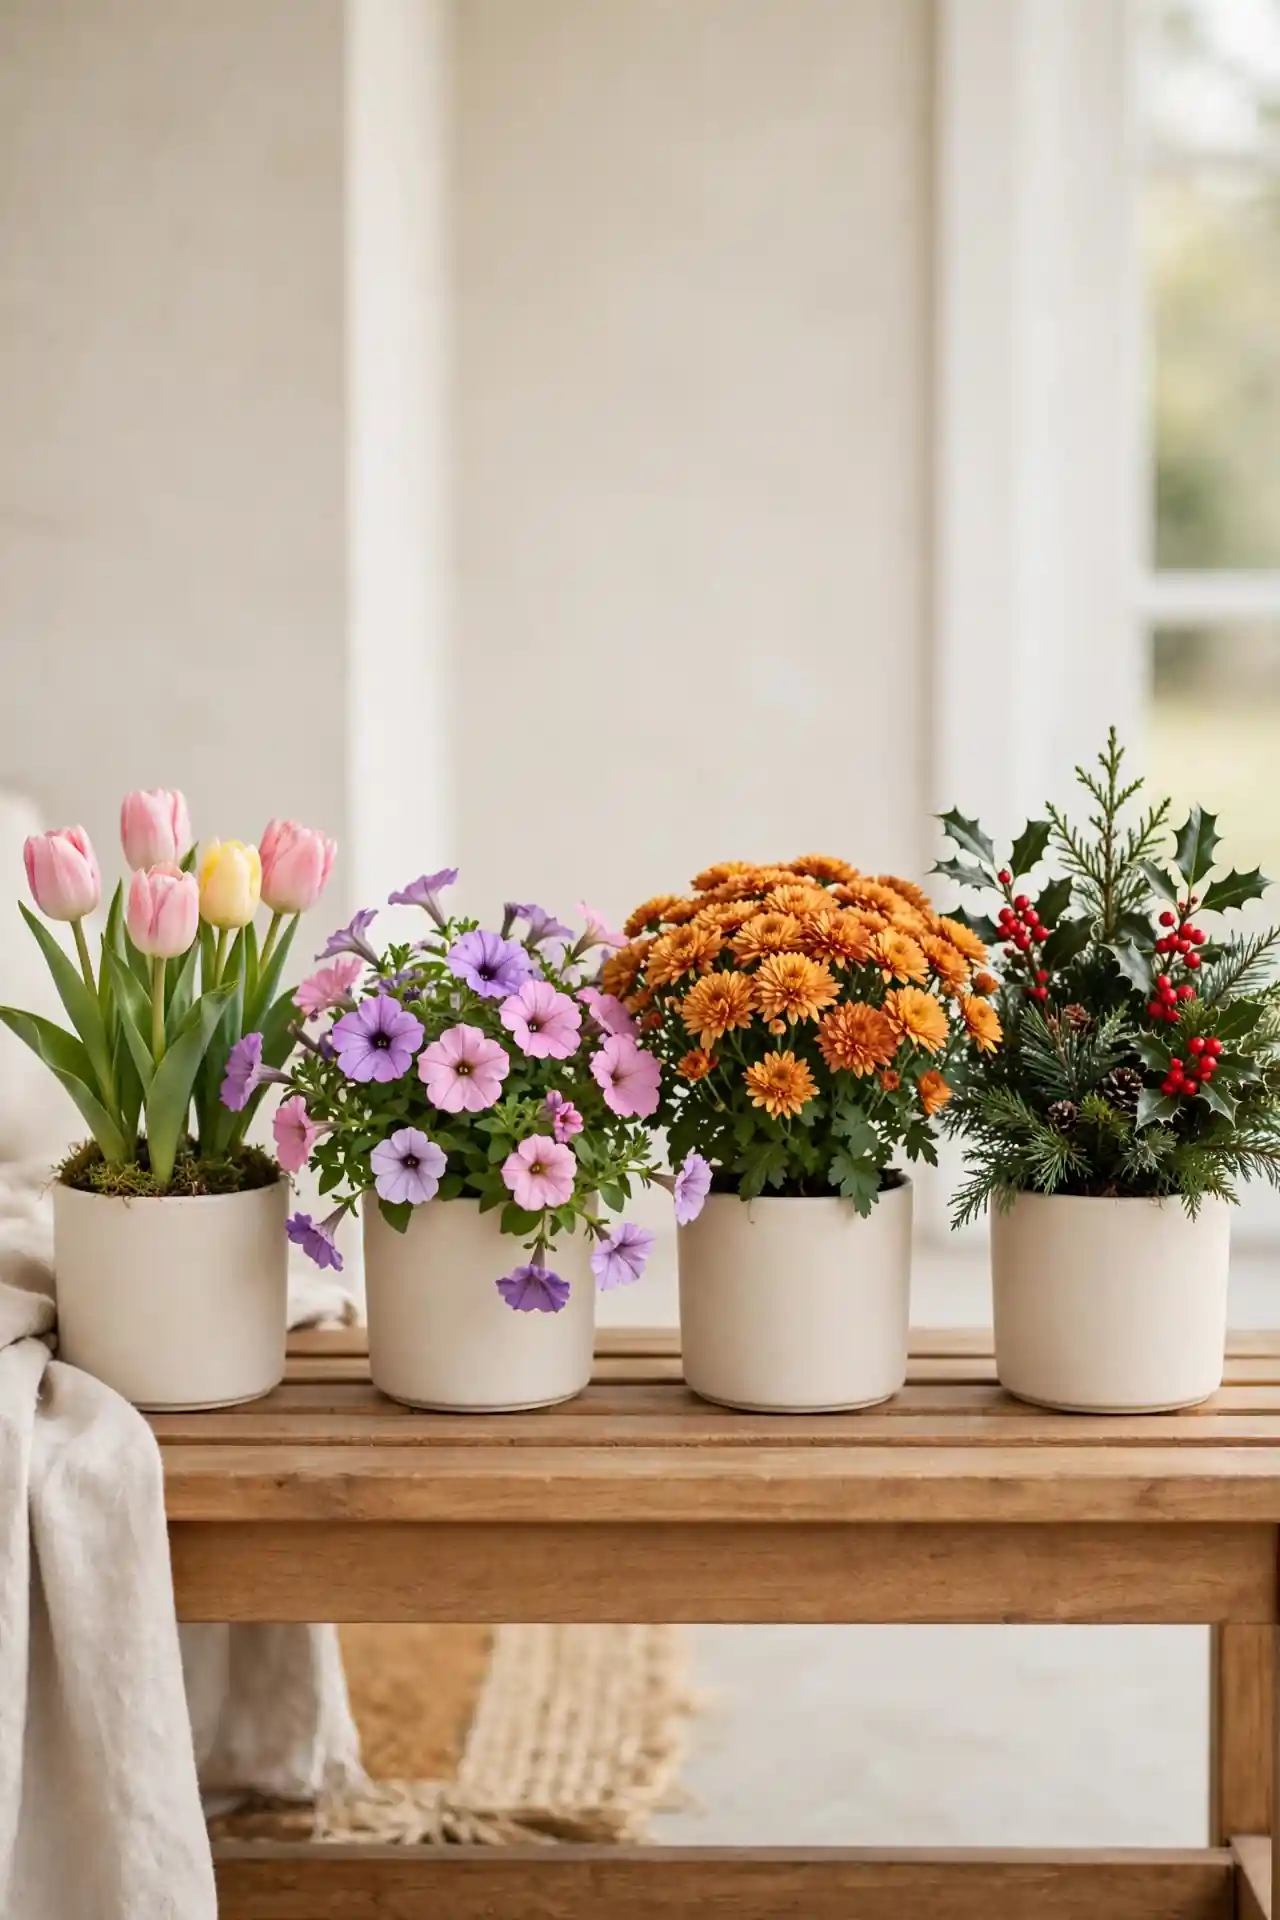
Seasonal Bloom Rotation
Cost: Low to medium, mostly annuals | Time: One hour per seasonal swap | Skill Level: Beginner | Best For: Color lovers who enjoy refreshing their porch
Rotating blooms keeps your porch feeling fresh all year instead of tired by midsummer. Plan four simple swaps, spring bulbs, summer annuals, fall mums, winter evergreens, and the work stays easy. That is why many experts recommend keeping a small stash of backup plants ready for quick replacements. Keep a simple calendar reminder for each swap so you never miss the window. Buy the next season’s plants two weeks early and let them acclimate in a sheltered spot.
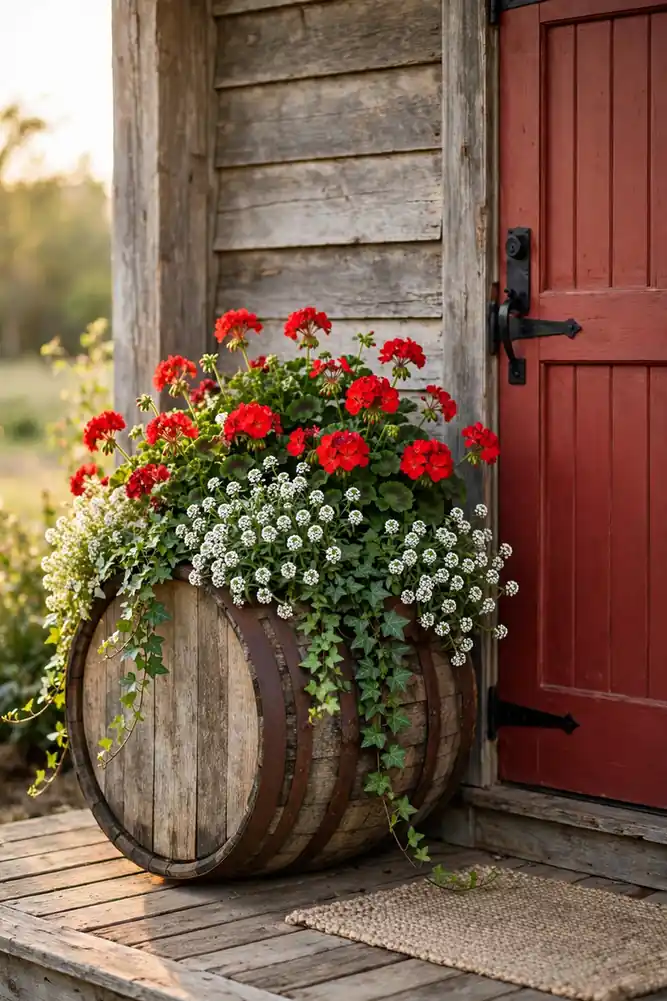
Rustic Barrel Planters
Half whiskey barrels bring instant rustic character that suits farmhouses and cottages perfectly. Their wide tops hold generous plantings, from cascading petunias to upright cannas. Drill extra drainage holes in the bottom before planting, because barrels hold water longer than clay pots in summer heat. Their generous size means less frequent watering, which busy gardeners appreciate.
Line the inside with landscape fabric to slow wood rot and extend the barrel’s life for years. Fill the bottom third with empty plastic bottles to save on soil, then top with quality potting mix. The weathered wood only looks better with age, gaining silvery patina each season.
Window Box Welcome
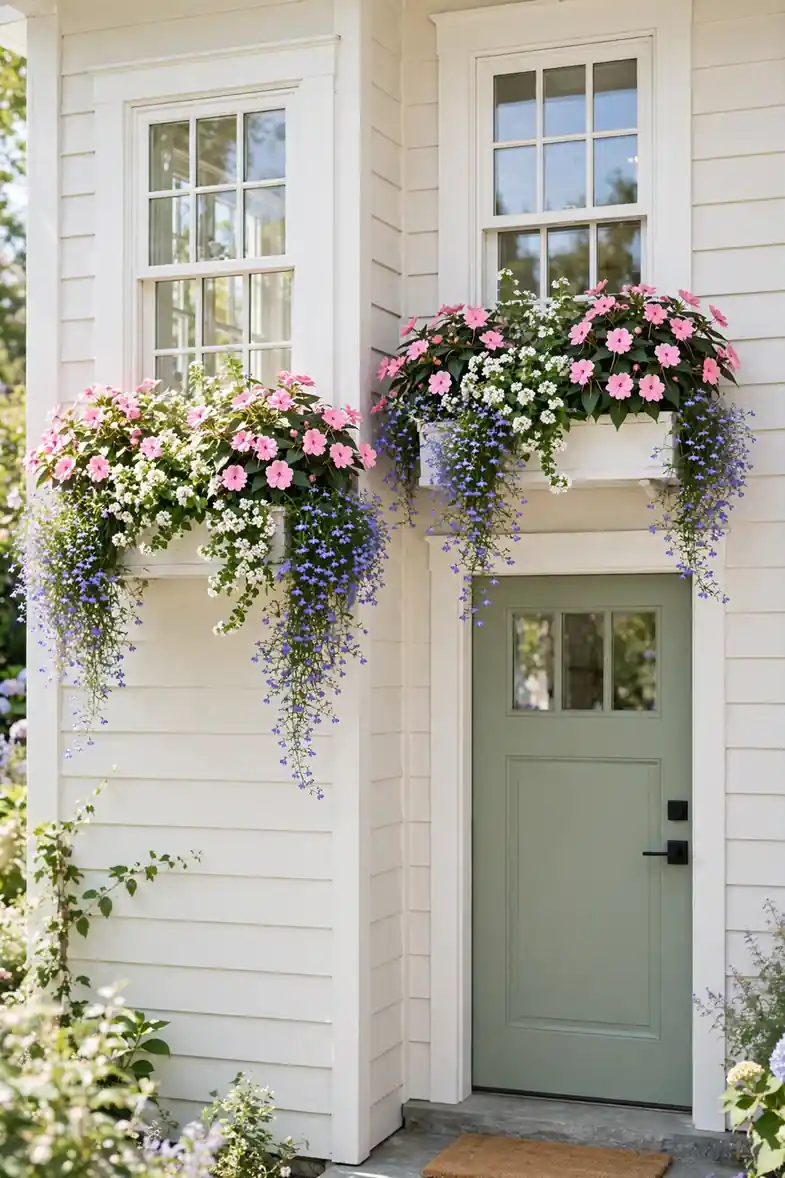
- Mount boxes securely with brackets rated for twice the planted weight, since wet soil gets surprisingly heavy.
- Choose boxes at least 8 inches deep so roots have room to grow strong all season.
- Plant in the same thriller, filler, spiller rhythm you use for floor planters.
- Water window boxes daily in summer, as their shallow soil dries out faster than large pots.
- Coordinate box flowers with your door wreath for a pulled-together look guests notice.
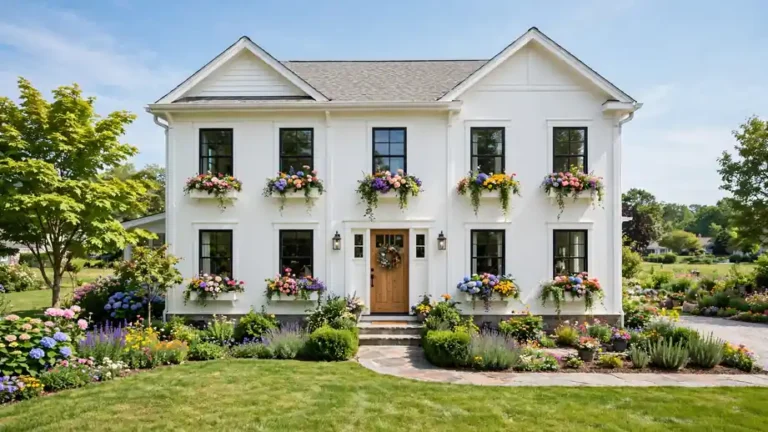
Window boxes dress up the windows flanking your door without taking an inch of floor space. They work beautifully on porches too narrow for big planters. In my experience, matching boxes on both sides of the door double the welcoming effect for very little extra effort.
Concrete Bowl Minimalism
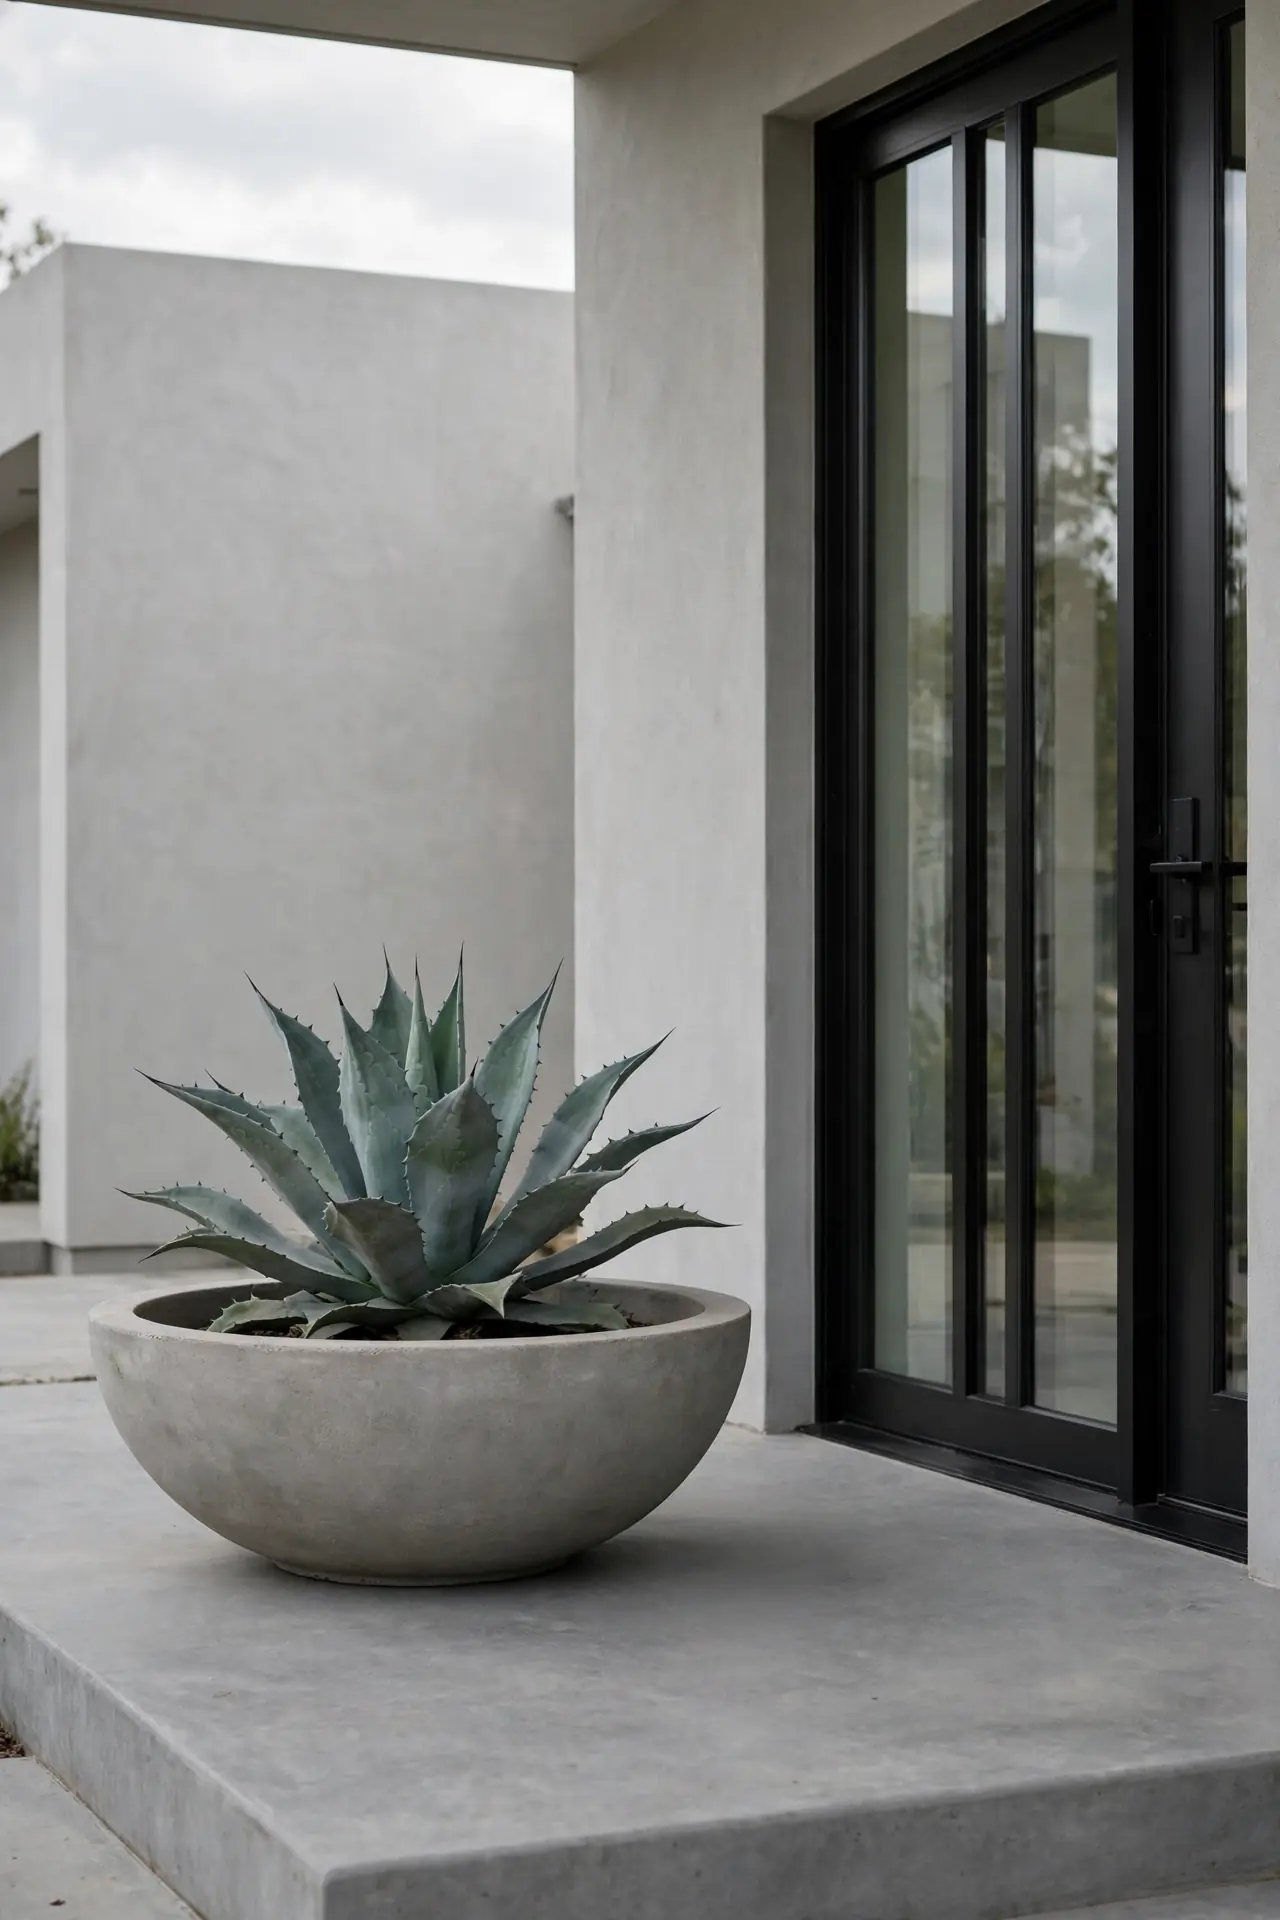
Quick Tip: Let the concrete be the star by planting a single sculptural specimen. One architectural agave, a cloud-pruned juniper, or a simple grass mound looks striking against raw gray concrete. Resist the urge to overfill, because negative space is what makes minimalist planters feel calm and expensive. Choose a bowl with a wide, low profile for the most modern silhouette.
Concrete bowls suit modern and minimalist homes where clean lines matter most. Seal the inside with concrete sealer to prevent lime from leaching into the soil. The heavy weight keeps bowls stable in wind, which makes them perfect for exposed, breezy porches in every season.
Fern Filled Corners

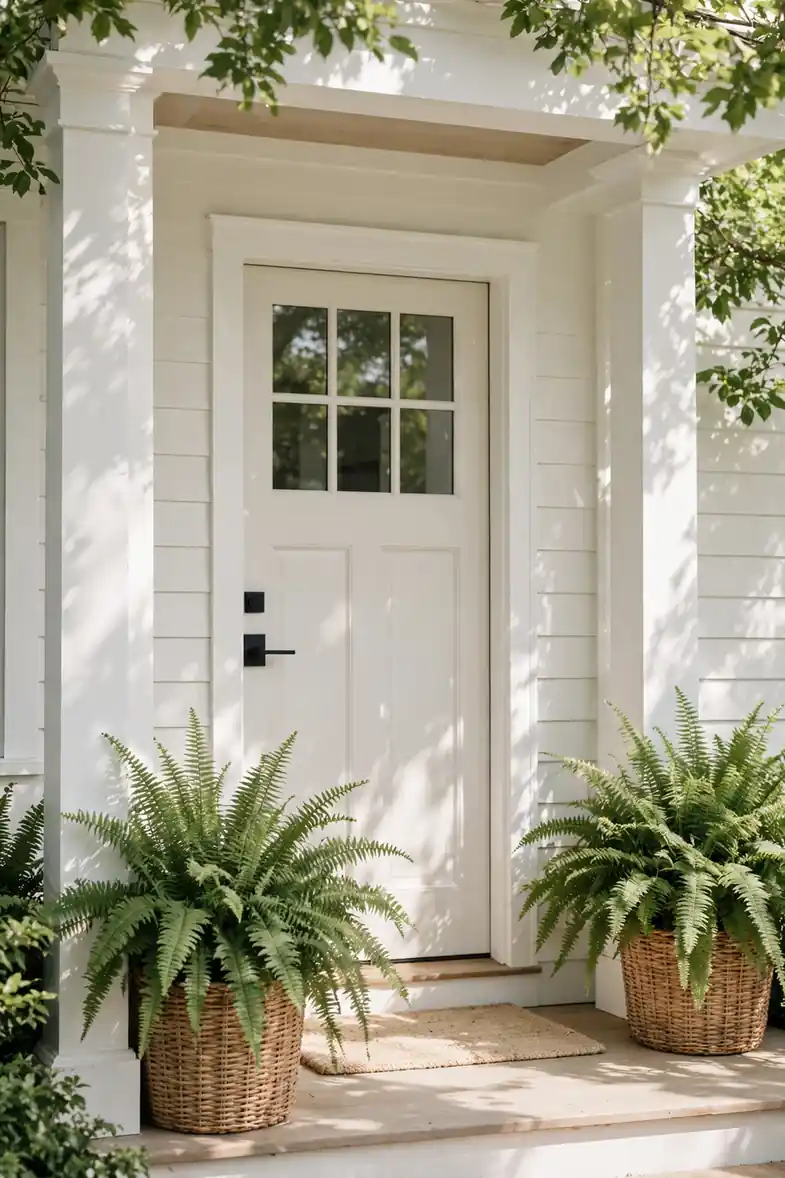
BEFORE: Empty porch corners collect dust, cobwebs, and forgotten clutter. The dead space makes even a decorated porch feel incomplete and unbalanced. Corners are the first place the eye checks for fullness.
AFTER: Lush ferns fill corners with soft, feathery texture that softens hard angles. Boston ferns, Kimberly queens, and autumn ferns all thrive in shady corners. The green mass balances the doorway and makes the whole porch feel finished.
Tuck one large fern into each dead corner and watch the porch come together instantly. Ferns love shade and humidity, so they suit covered porches perfectly. More ideas in container garden ideas show how shade plants thrive with little fuss. Mist fronds weekly and keep soil evenly moist for the fullest growth.
Galvanized Bucket Style
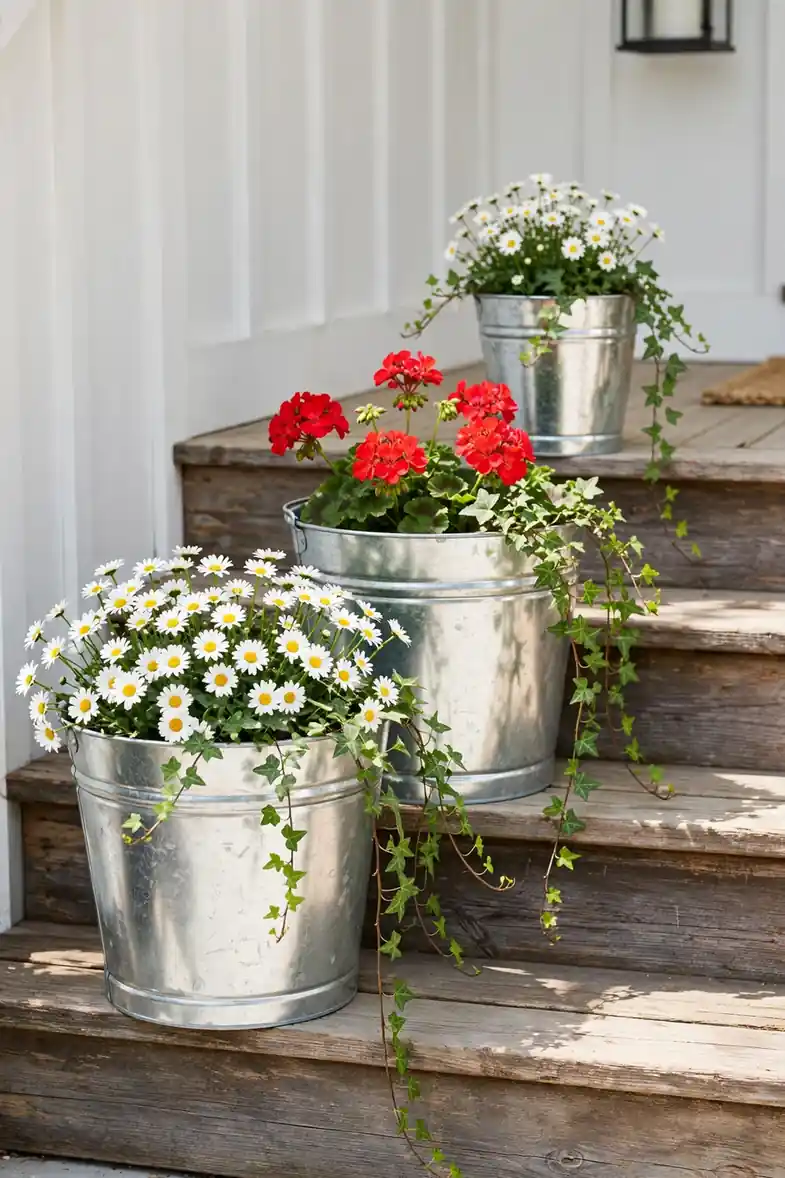
- Pick buckets with drainage holes, or drill your own, since metal pots without drainage drown roots fast.
- Add a 2-inch layer of gravel at the bottom to keep roots above any standing water.
- Plant with sun-loving blooms like zinnias or geraniums that pop against the silver metal.
- Group buckets in threes at varying heights for a collected, casual display.
Galvanized buckets bring industrial farmhouse charm for very little money. The zinc coating resists rust for years, even in rainy climates. I have noticed they look best slightly aged, so skip the urge to polish them and let the patina develop naturally over the seasons.
Stone vs Ceramic Pots
| Feature | Stone | Ceramic |
| Weight | Very heavy, permanent | Medium, movable |
| Price | Expensive | Mid-range |
| Weather | Lasts decades outdoors | Bring inside in hard freeze |
| Style | Natural, timeless | Glazed colors, endless choices |
Stone suits forever homes where planters never move, while ceramic gives color lovers endless options. Both lift a porch instantly, so choose based on your budget and climate. That is why many experts recommend buying the best quality you can afford, since planters outlast plants by years. Check the frost rating before buying ceramic, since not all glazes survive hard freezes. Stone needs no such worry and only grows more beautiful with decades of weather.
Color Blocked Blooms
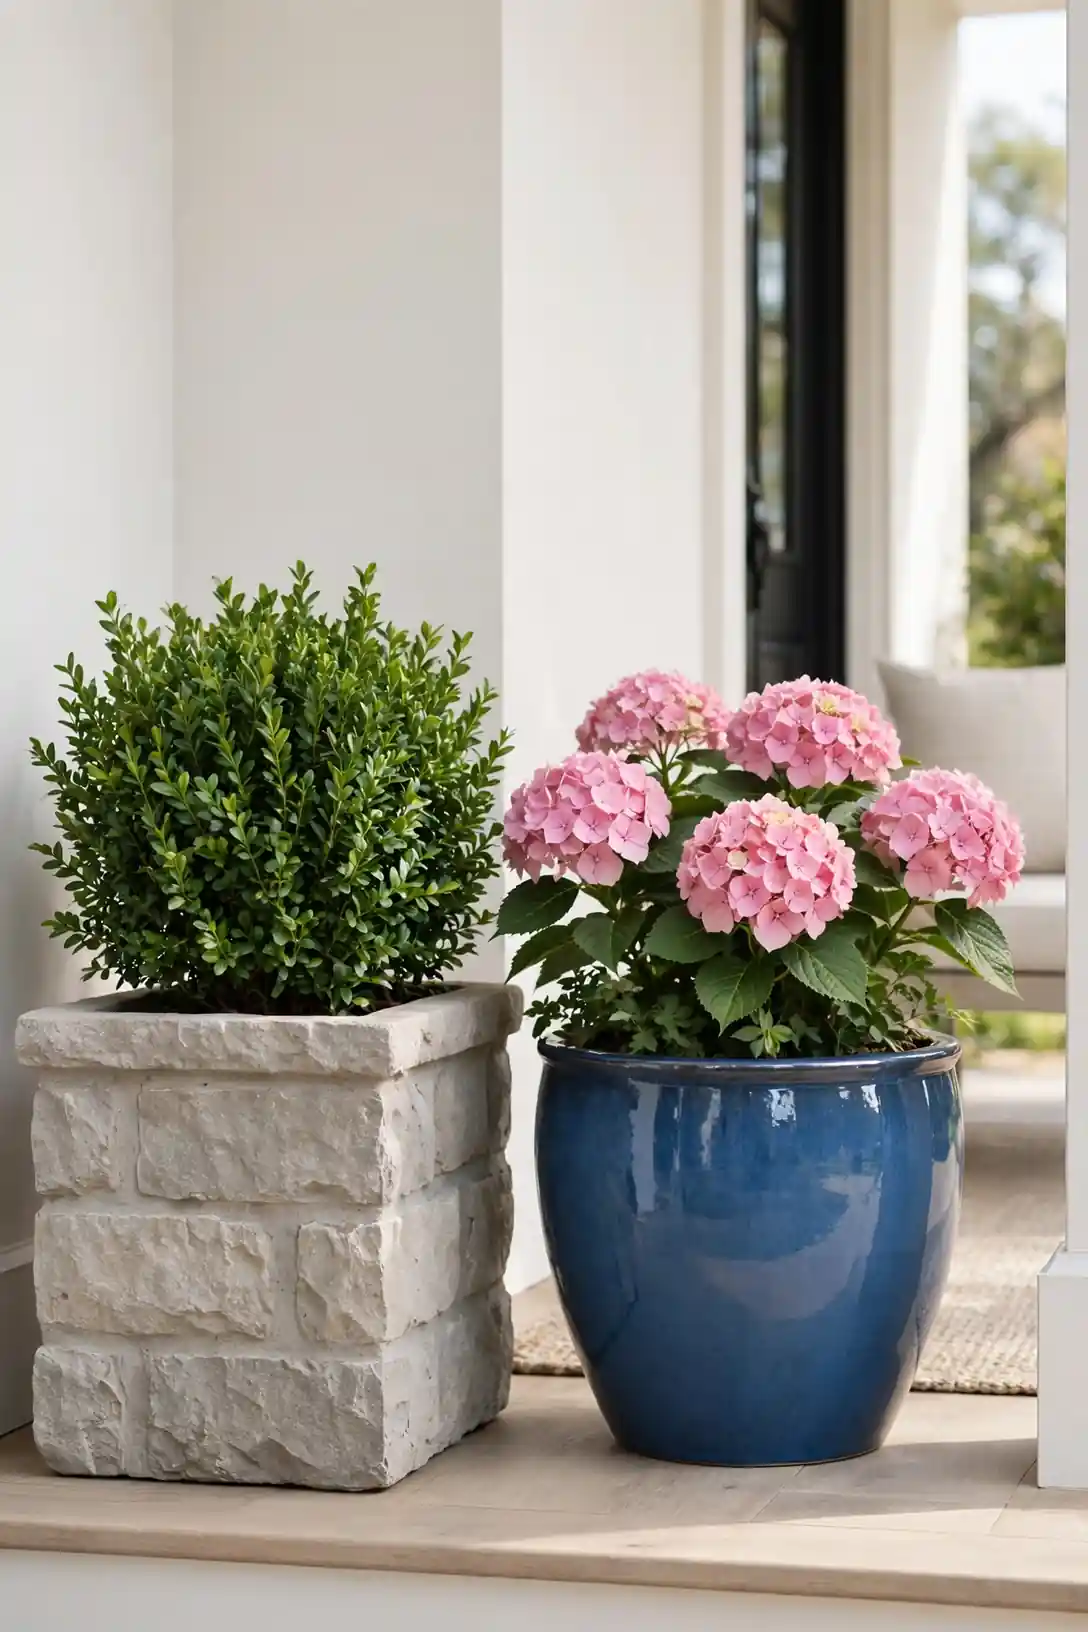
DO:
- Pick one bold color and repeat it in at least three planters for real impact.
- Use white blooms between color blocks to give the eye a clean resting place.
- Match your bloom color to your door or shutters for a custom, designed feel.
DON’T:
- Do not mix more than two bold colors, or the porch starts to look chaotic.
- Do not forget foliage, since green leaves make every bloom color pop harder.
- Do not plant pastels next to neons, because the clash weakens both.
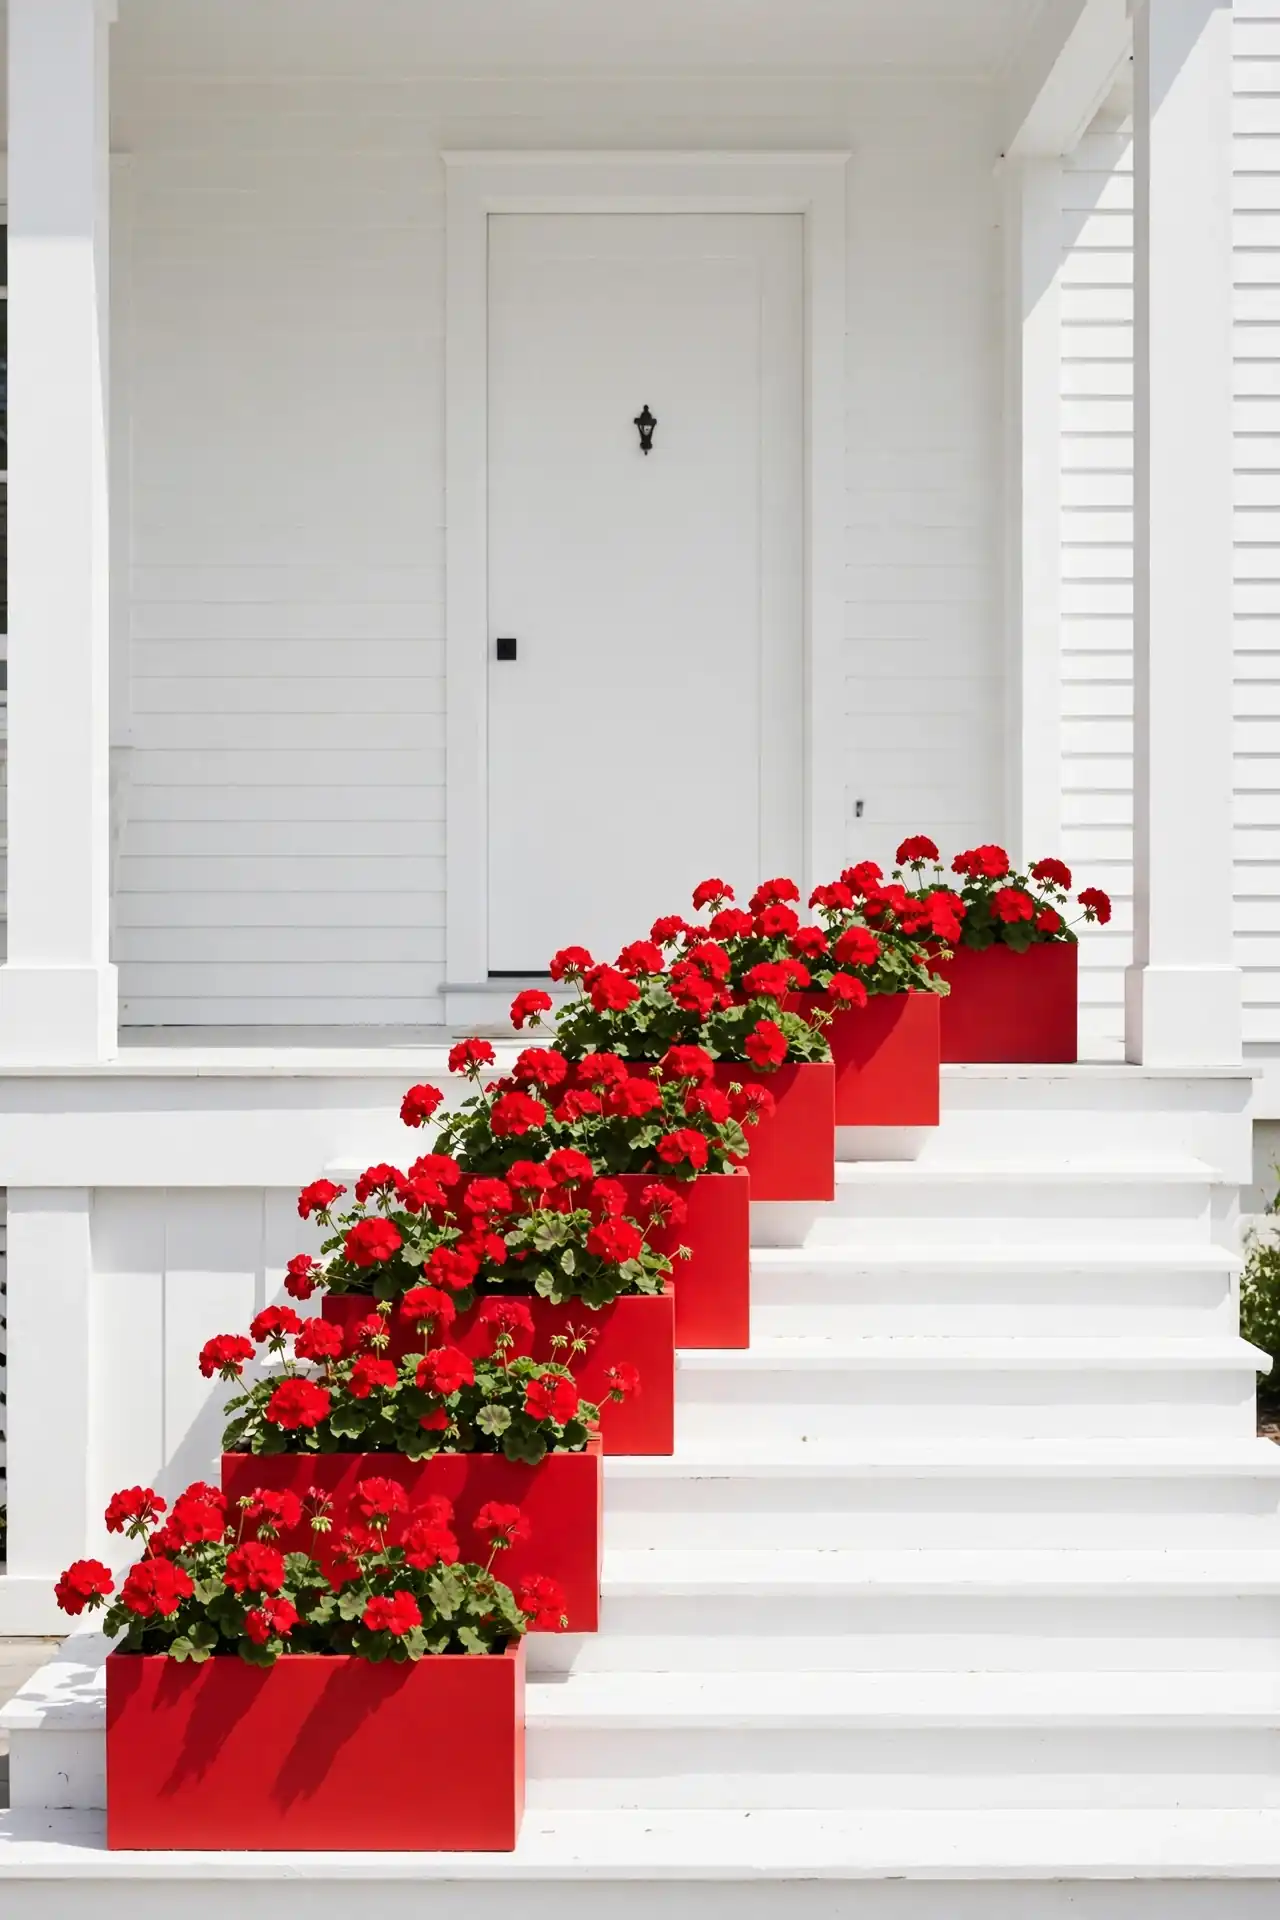
Color blocking turns planters into a bold design statement instead of random pots. This trick works best on neutral porches where the blooms become the star. In my experience, red geraniums against a white house stop traffic, because the contrast reads clearly from the street.
Evergreen Winter Pots
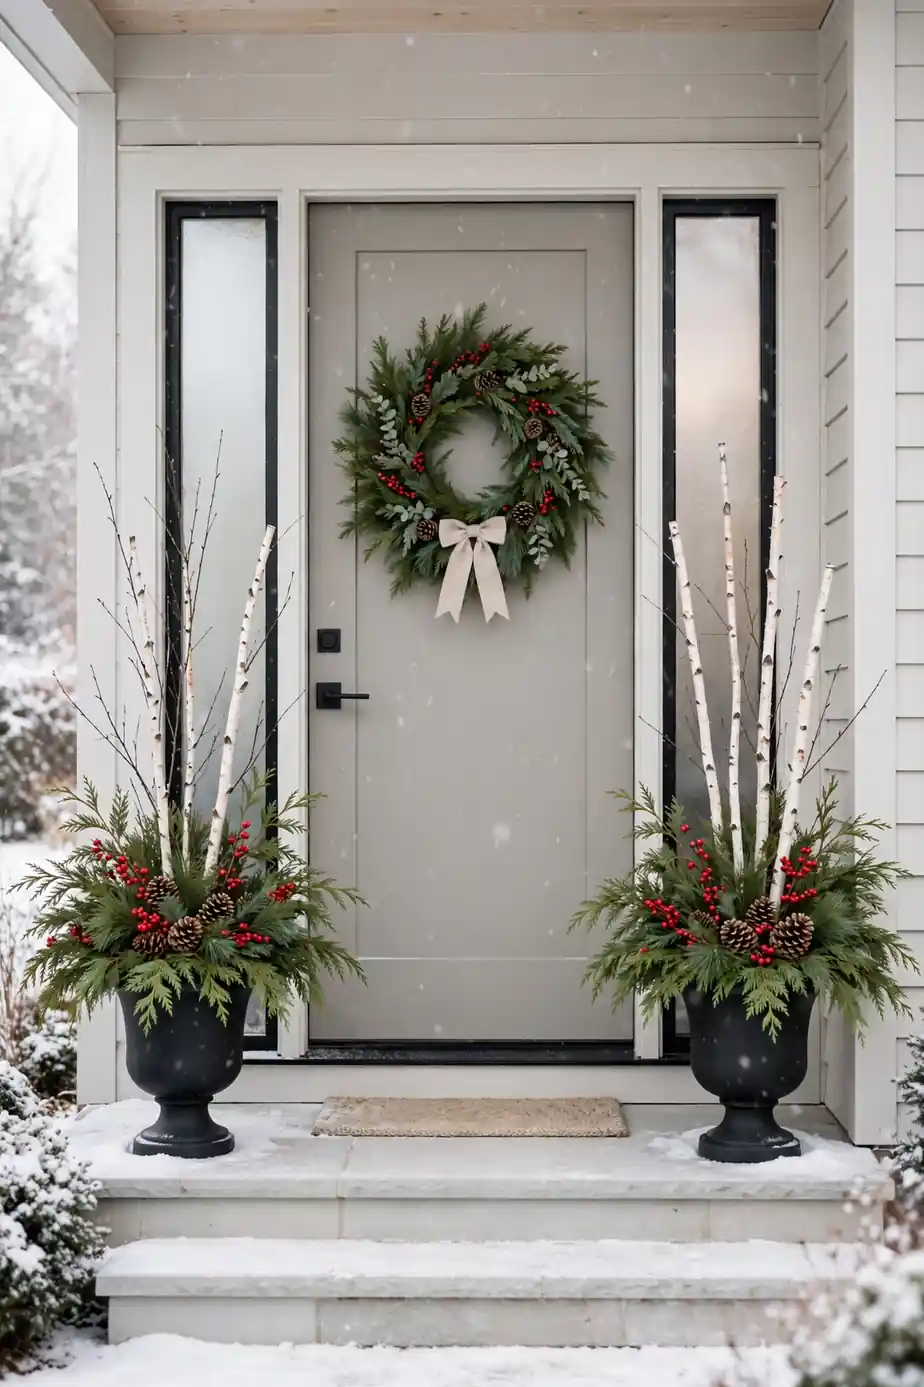
Cost: Medium, mostly reusable greens | Time: 45 minutes per pot | Skill Level: Beginner | Best For: Cold climates and holiday curb appeal
Evergreen pots keep your porch beautiful long after flowers fade. Mix cedar, pine, and spruce clippings with red berries and pinecones for texture. Add a strand of outdoor fairy lights for evening magic. I have seen this work well in many cases where homeowners wanted winter charm without replanting. Start with a foam block or packed soil as your anchor, then push stems in at angles for a full, professional shape. A burlap wrap around the pot adds the perfect finishing touch.
Tiered Stand Display
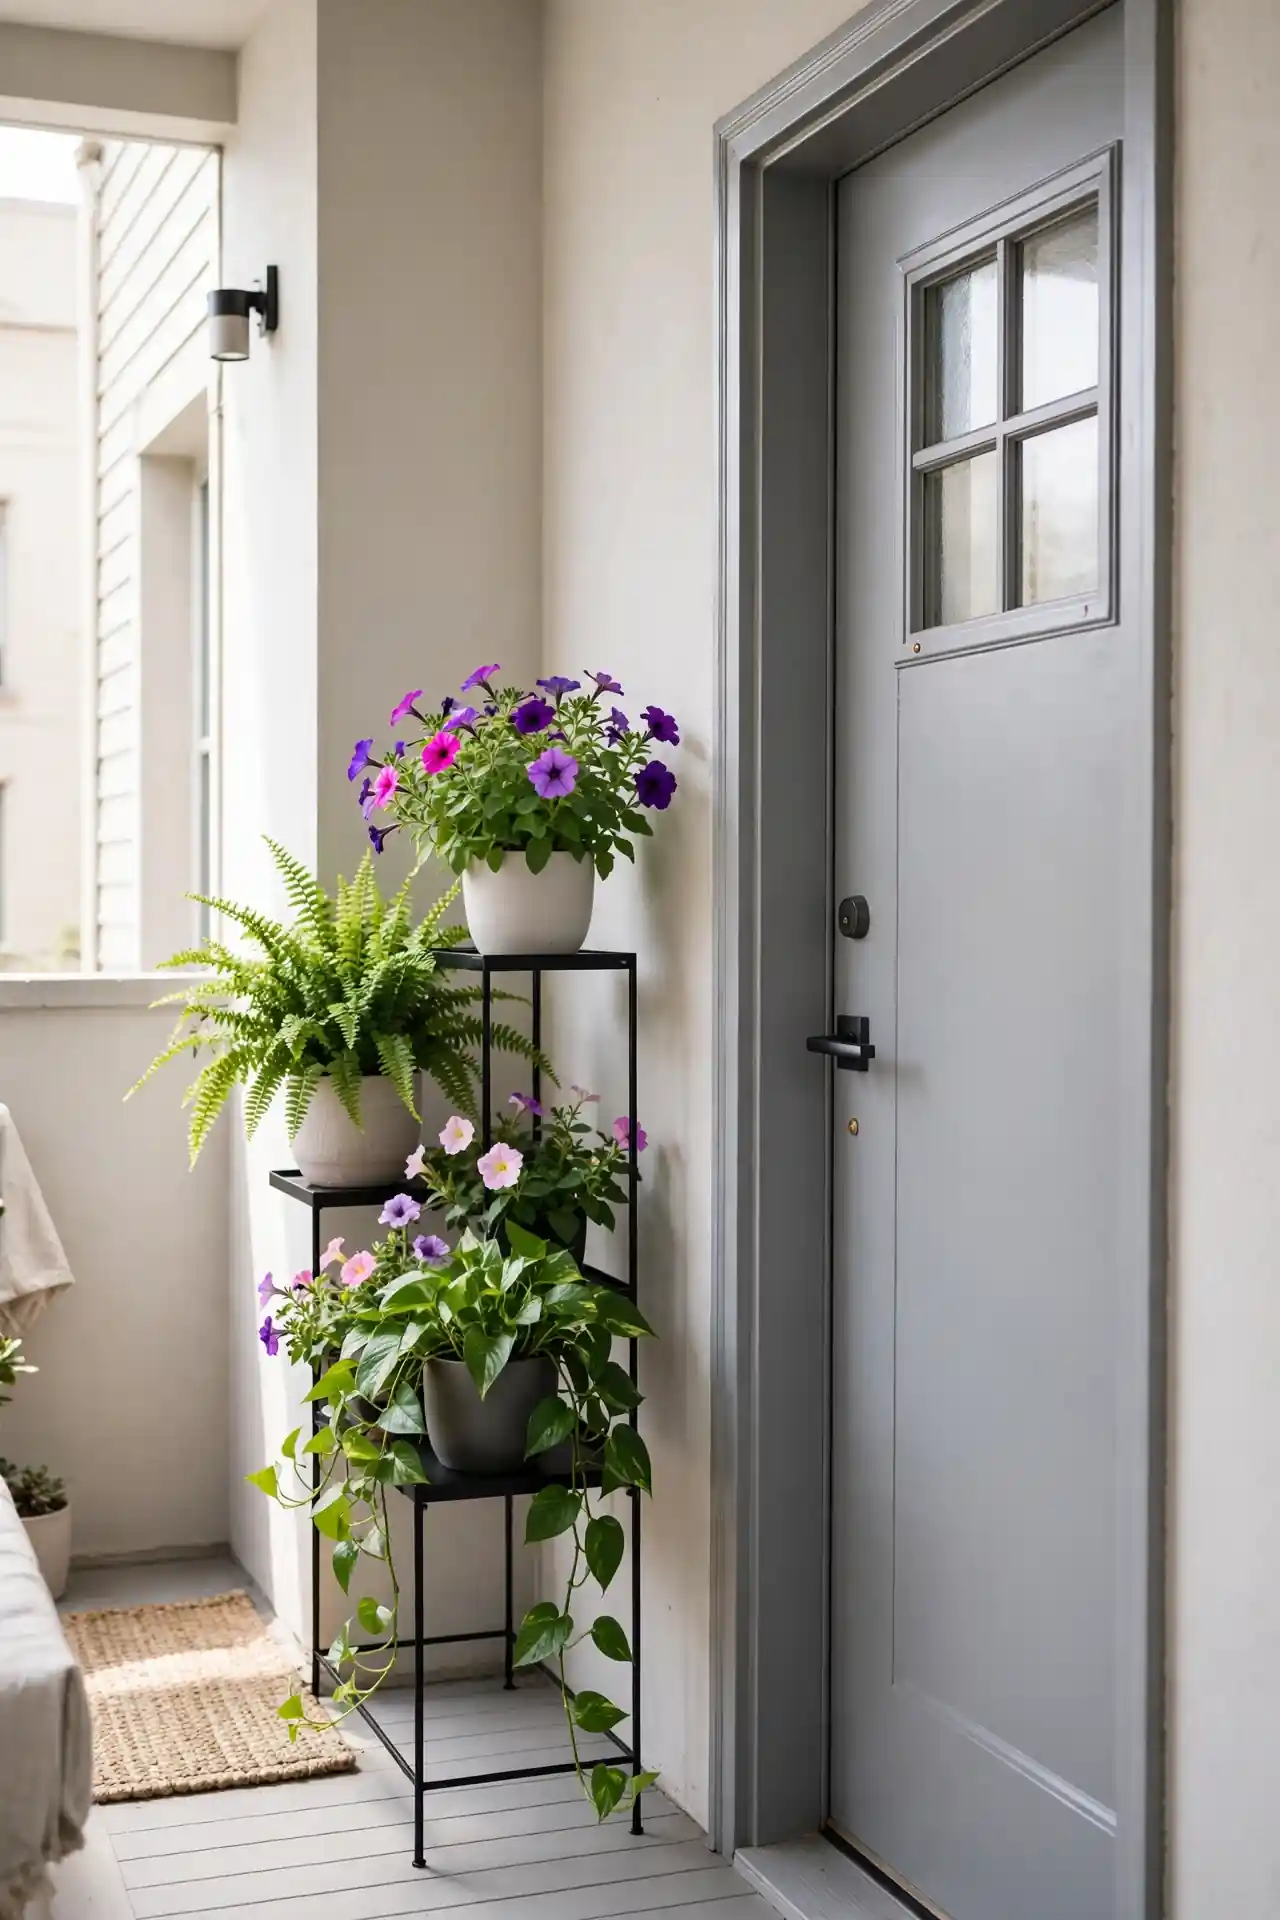
A tiered plant stand stacks three levels of color into one small footprint. Place the largest thriller pot on top, medium fillers in the middle, and trailing spillers on the bottom shelf. The vertical design draws eyes up and makes narrow porches feel lush and full.
Choose a stand in black metal or natural wood to match your porch style. Secure it against the wall so wind cannot topple the display. Water each level separately, since top pots dry faster than shaded bottom ones. Rotate the whole stand monthly for even growth on every side. A small drip tray under the bottom shelf protects your porch floor from water stains.
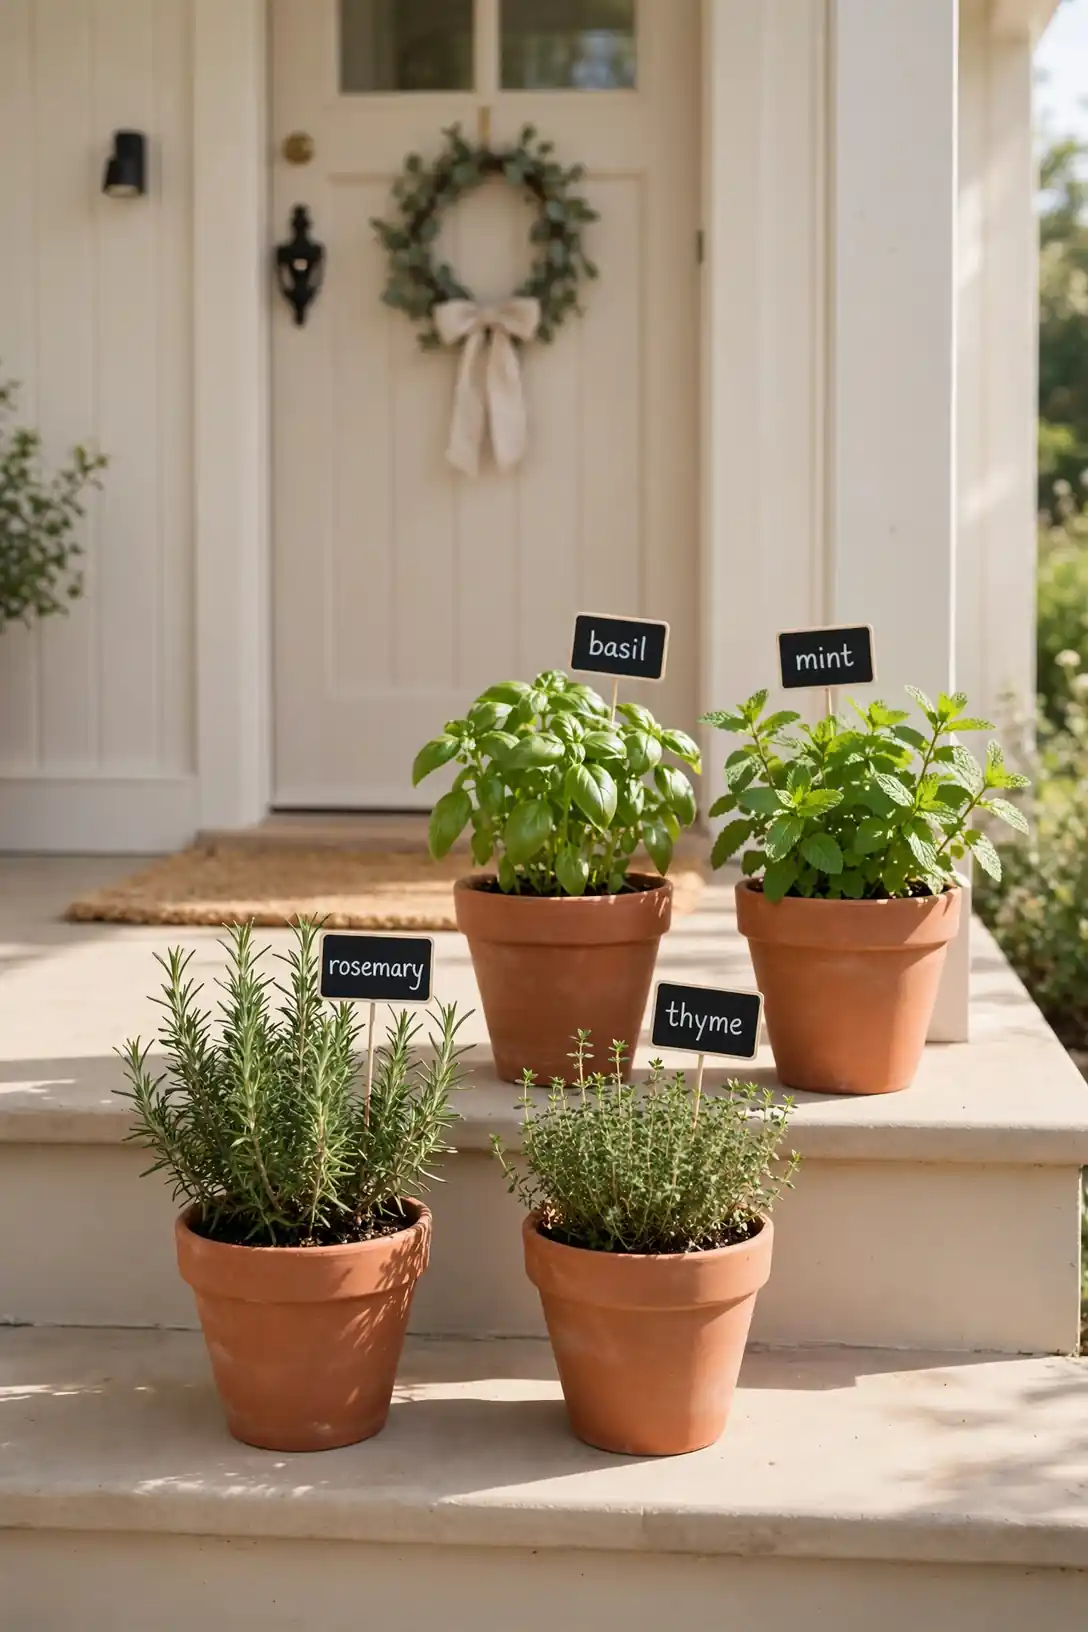
Herb Pot Welcome
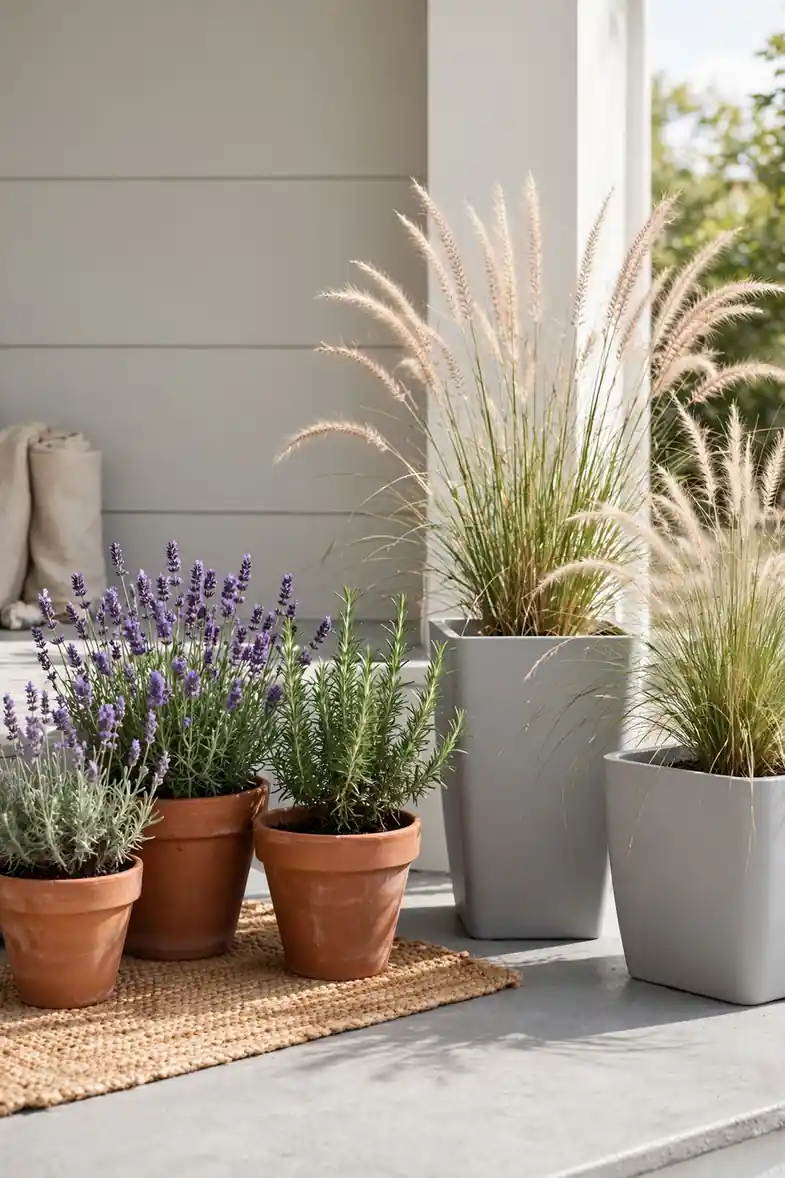
- Plant rosemary, thyme, and mint in separate pots, since mint spreads aggressively and bullies neighbors.
- Snip herbs regularly for cooking, because frequent harvesting keeps plants bushy and full.
- Label each pot with a small chalkboard stake so guests know they can pinch a sprig.
- Place herbs where they get at least six hours of sun for the strongest flavor.
- Bring tender herbs like basil indoors before the first frost to extend the harvest.
Herb pots welcome guests with fragrance and give your kitchen a living pantry steps from the door. They suit cooks and anyone who loves useful beauty. In my experience, a rosemary topiary by the door impresses visitors more than flowers, because it engages both sight and scent.
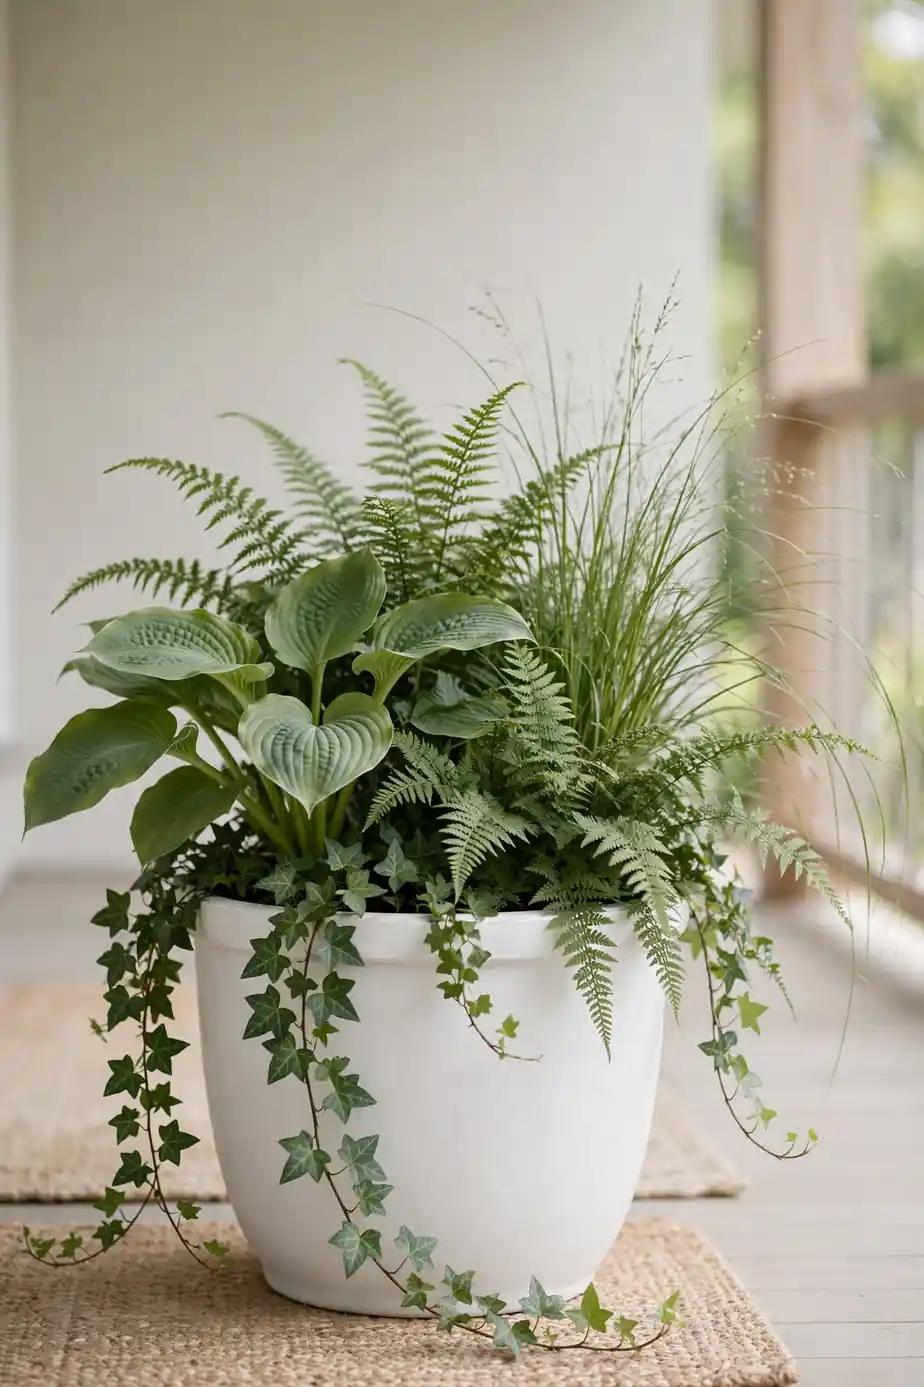
Monochrome Green Scheme
Quick Tip: Build an all-green planter using five different leaf textures for richness without a single bloom. Combine glossy hosta leaves, feathery ferns, strappy grasses, round boxwood, and trailing ivy in one pot. The variety of shapes keeps the eye moving, and the monochrome palette feels calm and sophisticated. This scheme never clashes with your house color, which makes it foolproof for any home.
Green-on-green planters prove you do not need flowers for stunning curb appeal. They stay handsome from spring through fall with minimal deadheading. Choose shade-tolerant greens for covered porches and sun lovers for open entries, matching plants to your light for the healthiest growth all season long.
Lantern Paired Planters
BEFORE: Planters alone can look flat after dark when the porch goes dim. Beautiful daytime arrangements disappear into shadows by evening. The entry loses its welcoming power exactly when guests arrive for dinner.
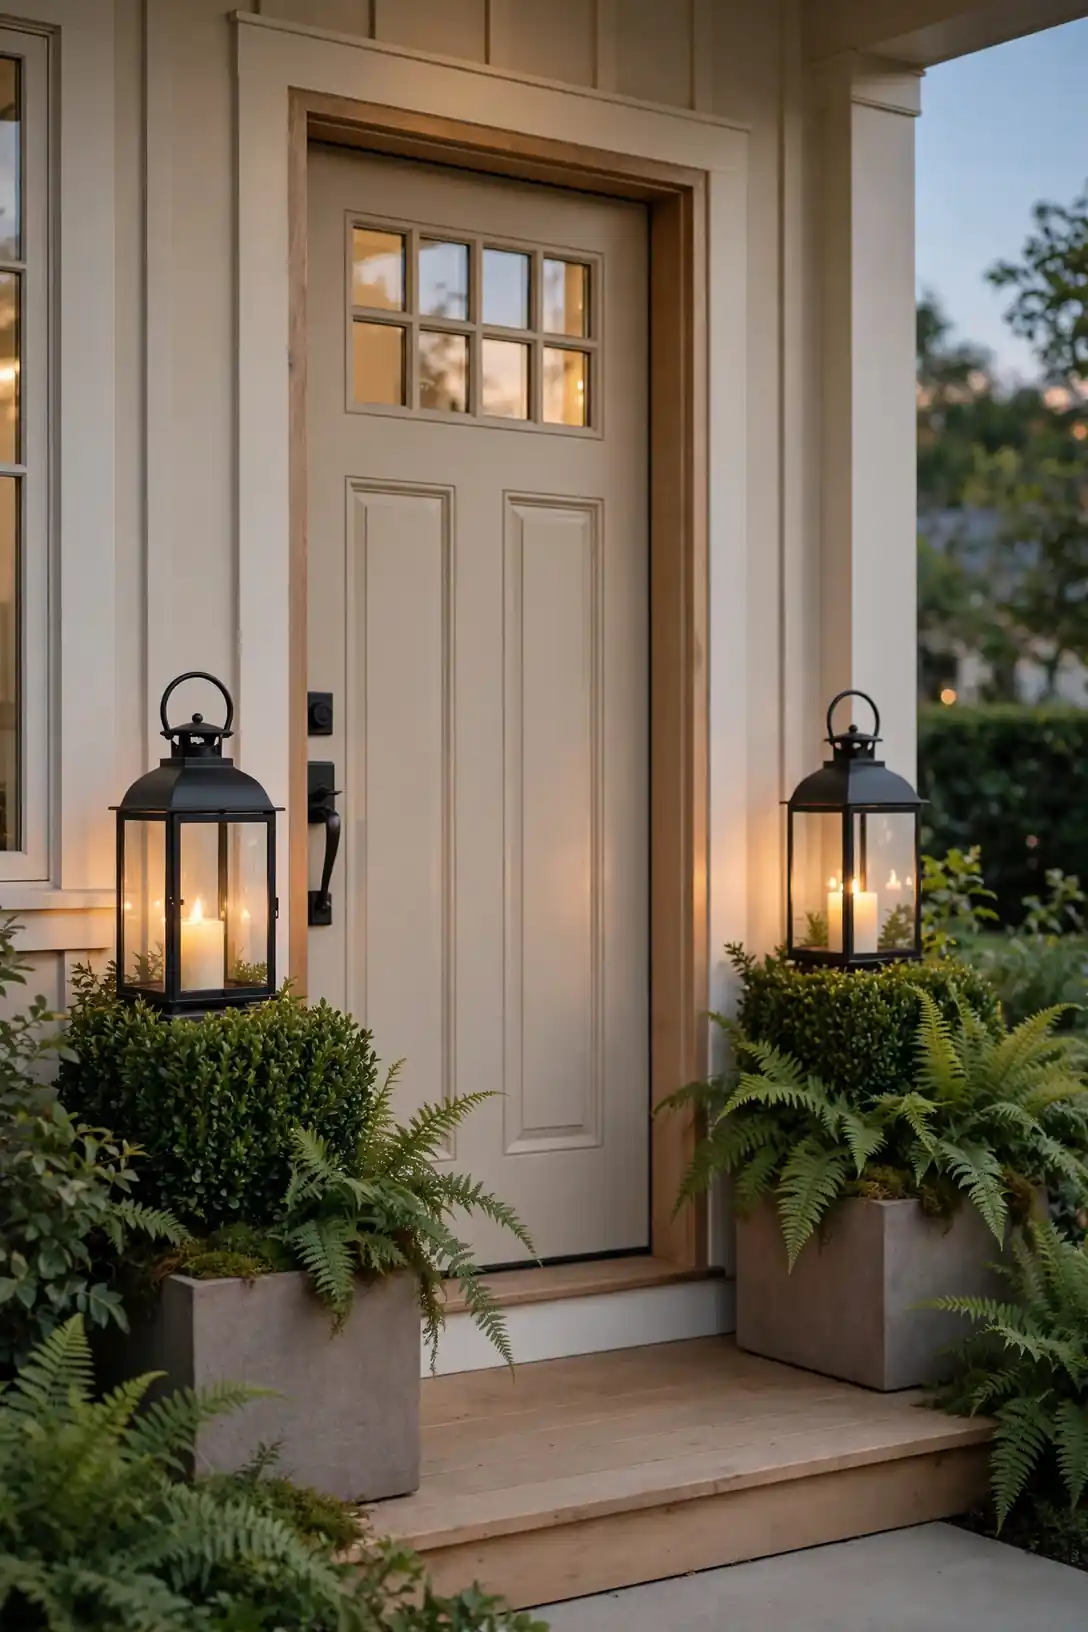
AFTER: Lanterns tucked beside planters cast a warm glow that shows off foliage after sunset. Solar or flameless candles flicker safely without any wiring. The combination of green plants and golden light feels magical and deeply welcoming.
Pair one lantern with each planter for balanced evening charm. Choose lanterns in a finish that matches your hardware, black, bronze, or nickel, for a cohesive look. I have noticed solar lanterns work beautifully where outlets are scarce, charging all day and glowing automatically at dusk.
Trailing Vine Drama
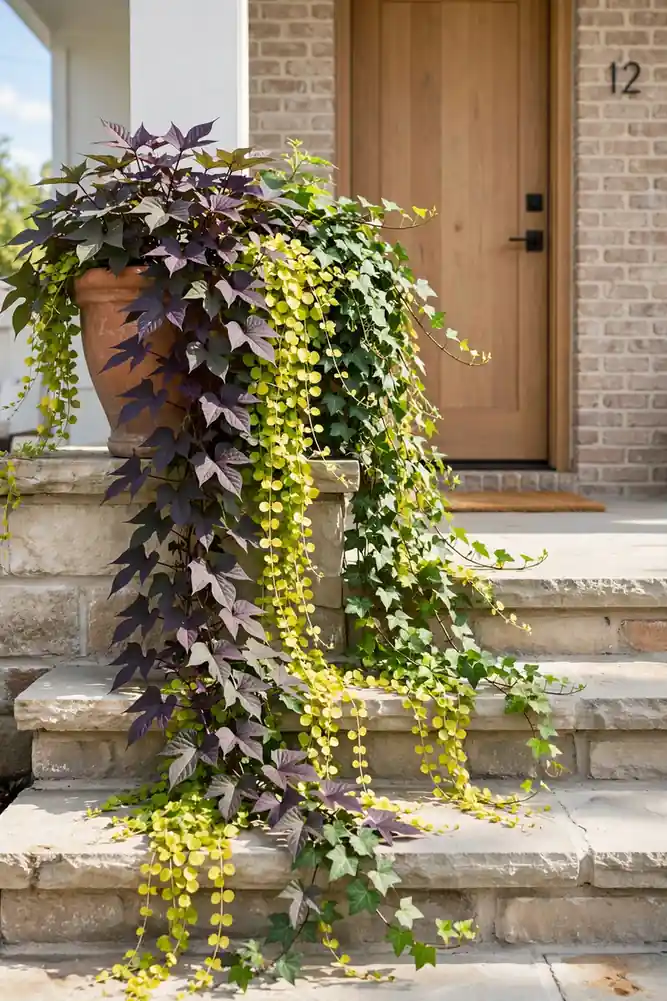
- Choose fast trailers like sweet potato vine, creeping jenny, or ivy that cascade 2 to 3 feet in one season.
- Plant trailers at the pot edge, angling stems outward so they spill over the rim naturally.
- Pinch the growing tips monthly to encourage branching and a thicker waterfall effect.
- Feed every two weeks with liquid fertilizer, since heavy growers are hungry feeders.
Trailing vines add movement and softness that upright plants cannot provide. They spill over porch edges and blur hard lines beautifully. That is why many experts recommend at least one spiller in every planter, because the cascade is what makes arrangements look professionally designed from the street.
Paint vs Stain Finish
| Feature | Paint | Stain |
| Coverage | Solid color, hides grain | Shows wood grain |
| Colors | Any shade imaginable | Natural wood tones |
| Maintenance | Touch up chips yearly | Reapply every 2-3 years |
| Best For | Bold, modern statements | Rustic, natural looks |
Paint gives old planters a fresh start in any color, while stain honors the wood’s natural beauty. Both protect against weather when you use exterior formulas. In my experience, white paint brightens dark porches instantly, while cedar stain warms up modern gray exteriors beautifully year after year. Always sand and prime before painting for a finish that lasts, and apply stain in thin coats for even coverage. Two coats of either finish beat one thick coat every time.
Conclusion
These front porch planter ideas prove that great curb appeal starts right at your front door. I have seen how small changes like these can completely shift the way a space feels, turning a plain entry into the prettiest spot on the block. Pick the planters that match your home’s style, your sunlight, and the seasons you love most.
Start with one statement planter, then build outward as your confidence grows. Mix heights, textures, and colors until the porch feels like you. Save your favorites on Pinterest, share them with a friend, and enjoy watching neighbors slow down to admire your beautiful entry.