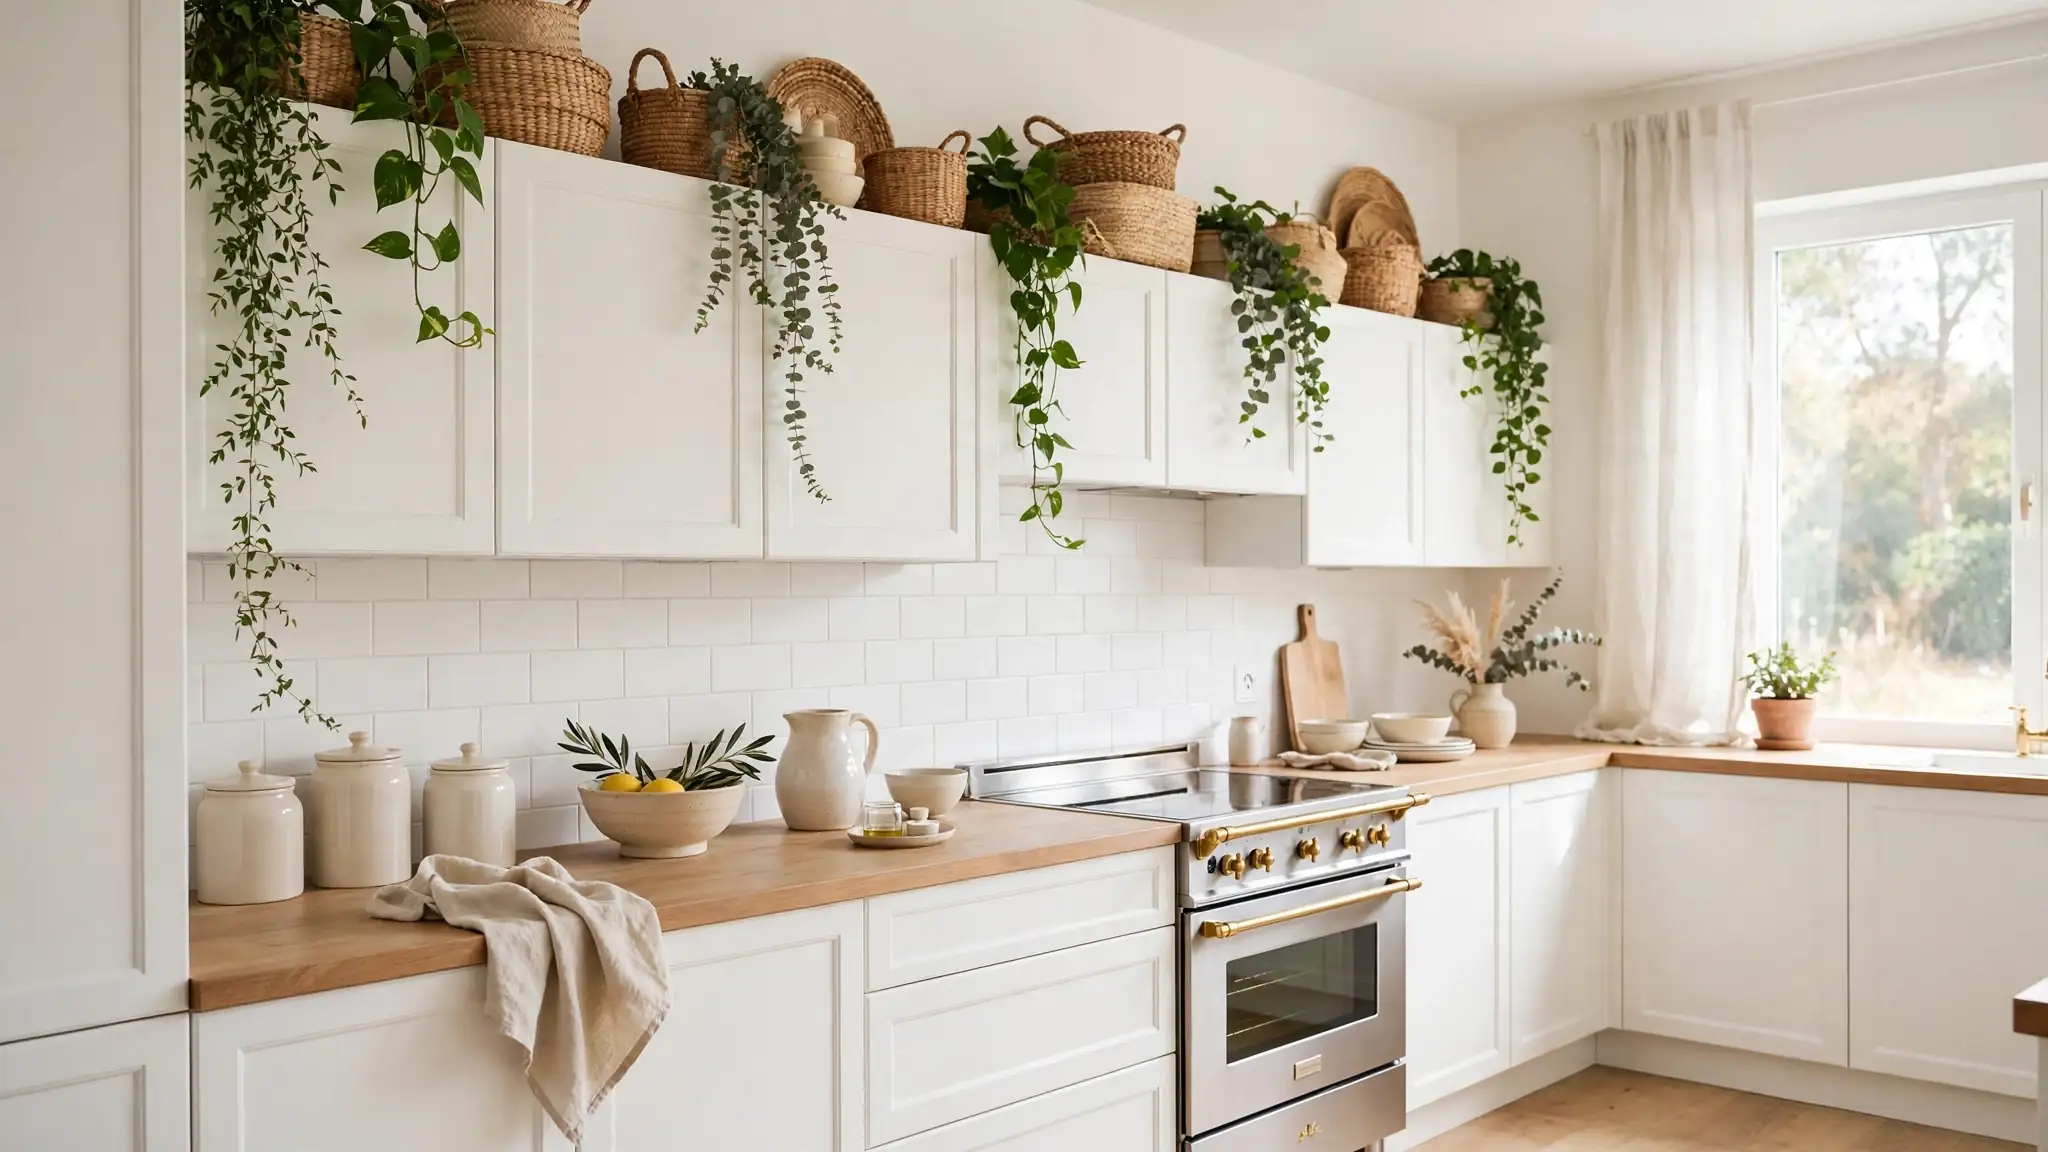
21 Decorating Above Kitchen Cabinets for a Stunning Finish
That blank strip between your cabinets and the ceiling can feel like a missed opportunity, but decorating above kitchen cabinets turns it into one of the warmest spots in your home. Most people leave it empty because they are unsure what works up high, where dust gathers and sightlines are tricky. In my experience, this narrow shelf is prime real estate for baskets, greenery, ceramics, and art that lift the whole room.
Before you start styling, it helps to think about what the rest of your kitchen is already doing. Seasonal touches matter up here too, so take a peek at these fall kitchen decorations for ideas that blend with your year round look. Then choose pieces that can handle a little heat and dust, because this spot is beautiful but hardworking. The 21 ideas below will help you turn that forgotten ledge into the prettiest shelf in your house.
Woven Basket Row
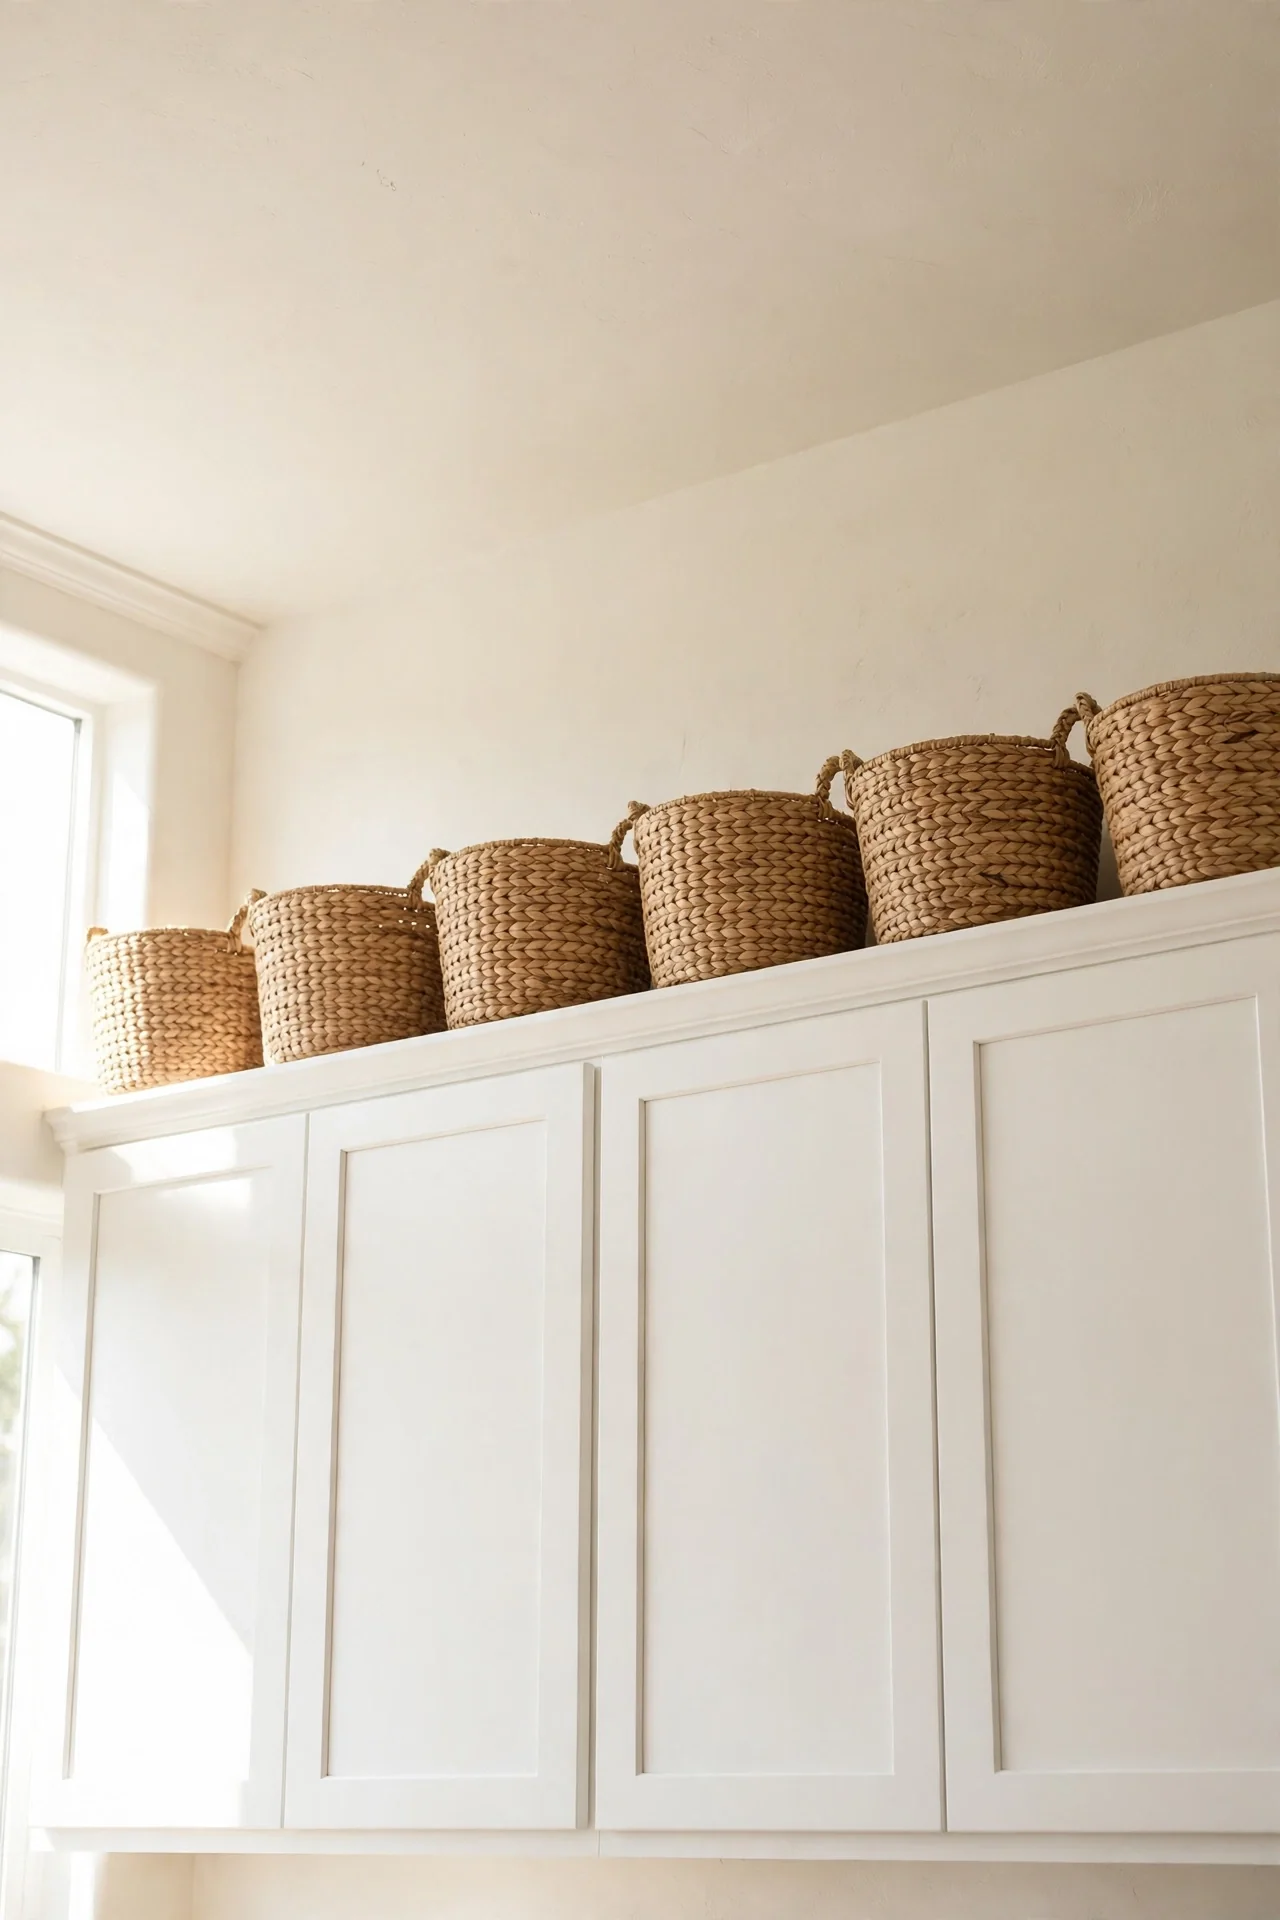
Baskets are the easiest way to fill the long stretch above your cabinets without making it look cluttered. I’ve noticed that a simple row of woven baskets in the same material creates rhythm and warmth across the whole kitchen. Choose natural seagrass or rattan tones, keep sizes medium to large, and space them evenly so the line feels intentional rather than random.
Anchor the ends with two taller baskets so the display has a clear beginning and end. If your cabinets run into a corner, let the row turn the corner naturally instead of stopping short. Dust them every few weeks with a soft brush to keep the weave looking fresh. This look suits farmhouse, coastal, and relaxed traditional kitchens best, and it costs very little to try.
Trailing Green Plants
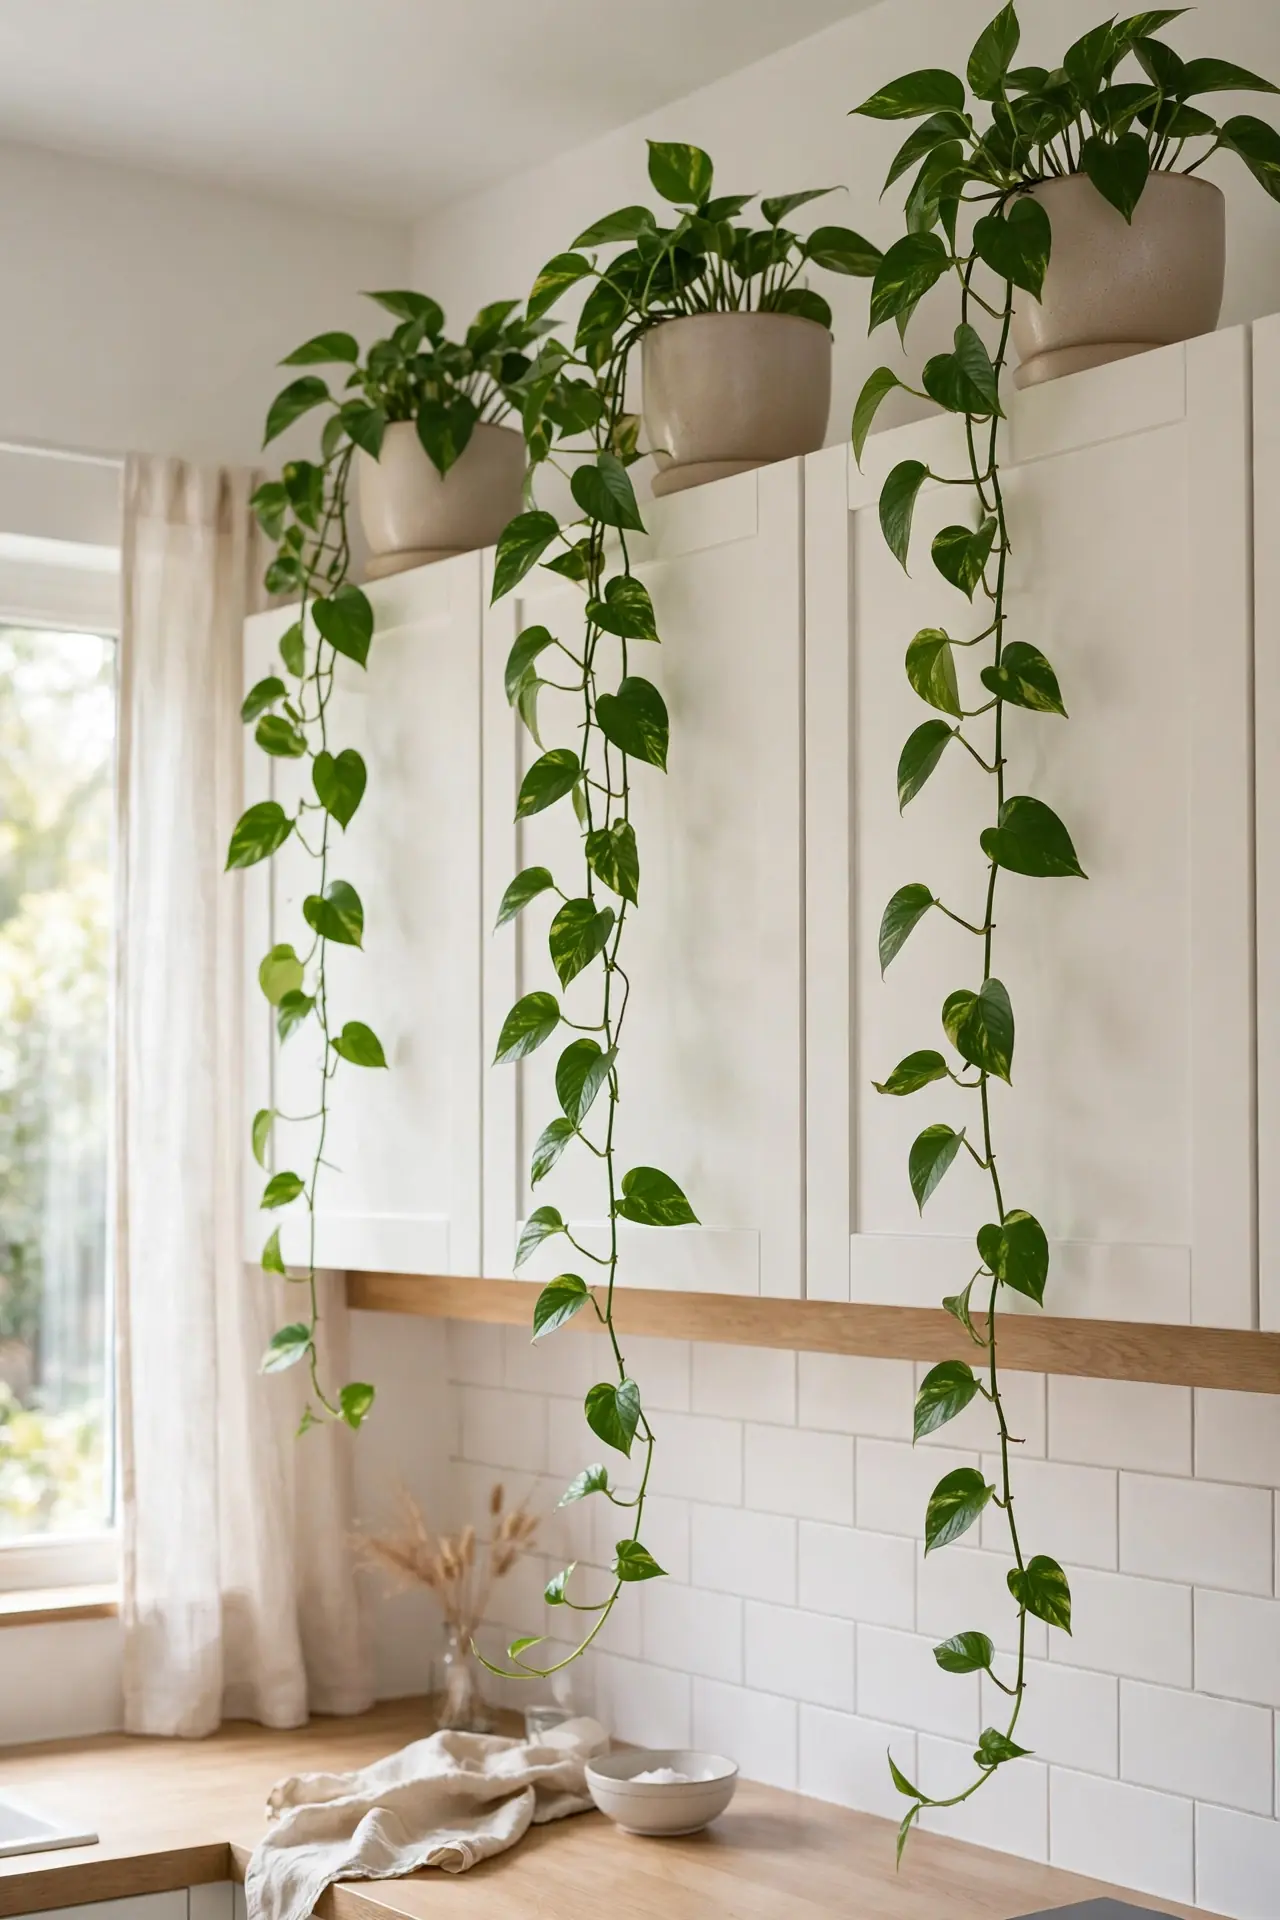
- Faux pothos and trailing philodendron look convincing from below and need zero watering up high.
- Place one plant every two to three feet so vines can drape without tangling together.
- Mix two shades of green for depth, but keep the pots matching for a tidy finish.
- Add a low wattage grow light if the spot above your cabinets stays dim.
- Trim faux vines once a season so they keep a natural shape instead of looking wild.
Live plants can work too if you own a step stool and strong light. I’ve seen this work well in kitchens with bright indirect light and owners who actually climb up there. Faux greenery gives you the same soft drape with none of the maintenance, which is why most busy households choose it.
Stacked White Ceramics
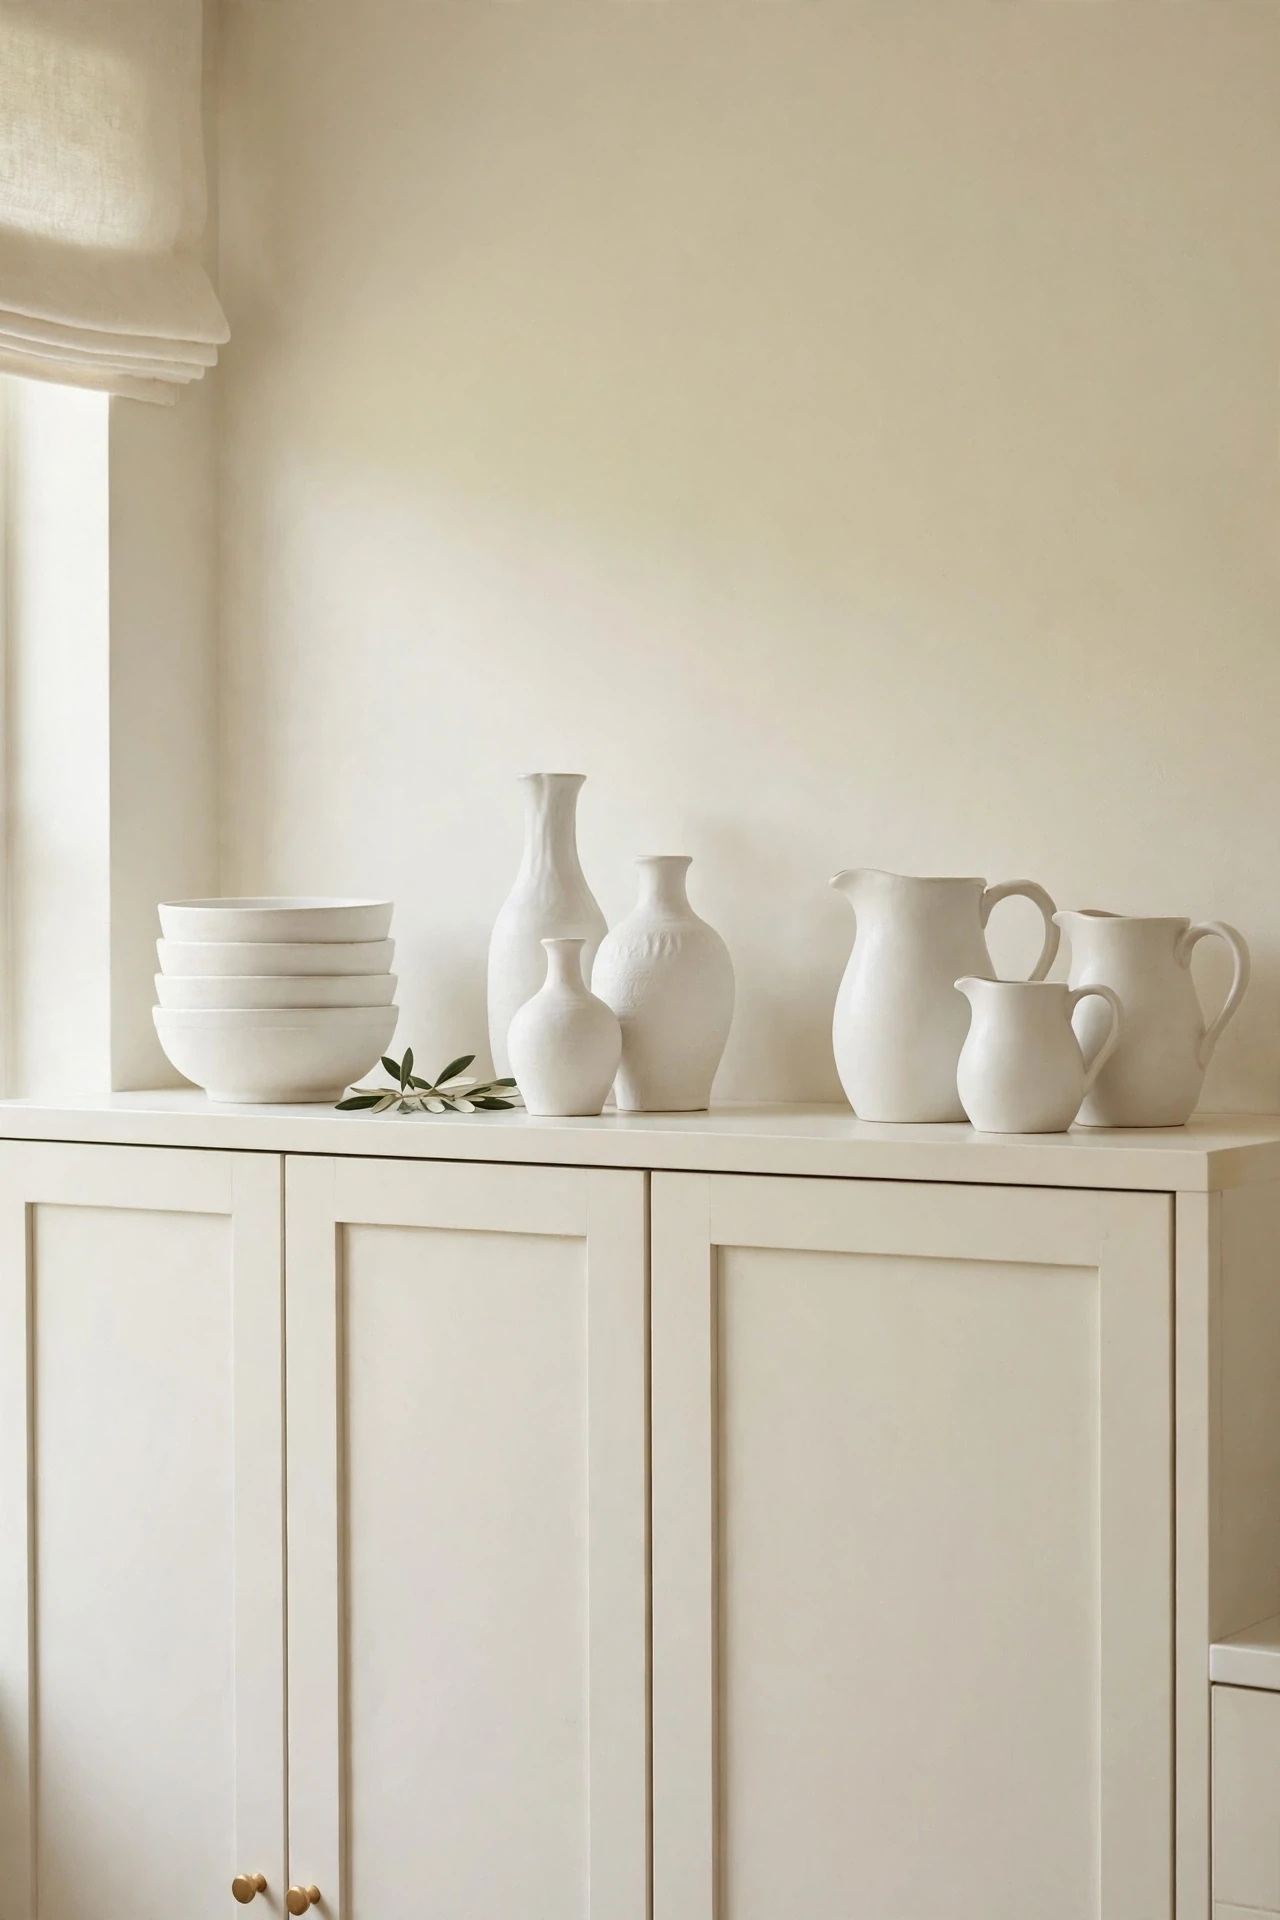
Quick Tip: Stick to one color family, all white or all cream, and vary the heights from eight to sixteen inches. Odd numbers of pieces read more natural than even sets, so group in threes and fives across the cabinet run. This simple rule keeps the display calm instead of chaotic.
Stacked bowls, tall vases, and simple pitchers give the top of your cabinets a calm, collected feeling. I’ve noticed that matching glaze finishes matter more than matching shapes, so mix forms freely as long as the color stays consistent. Keep each stack short enough to read as one silhouette from the floor. Cream and white pieces also bounce light around, which makes the whole kitchen feel brighter.
Vintage Cookbook Stack
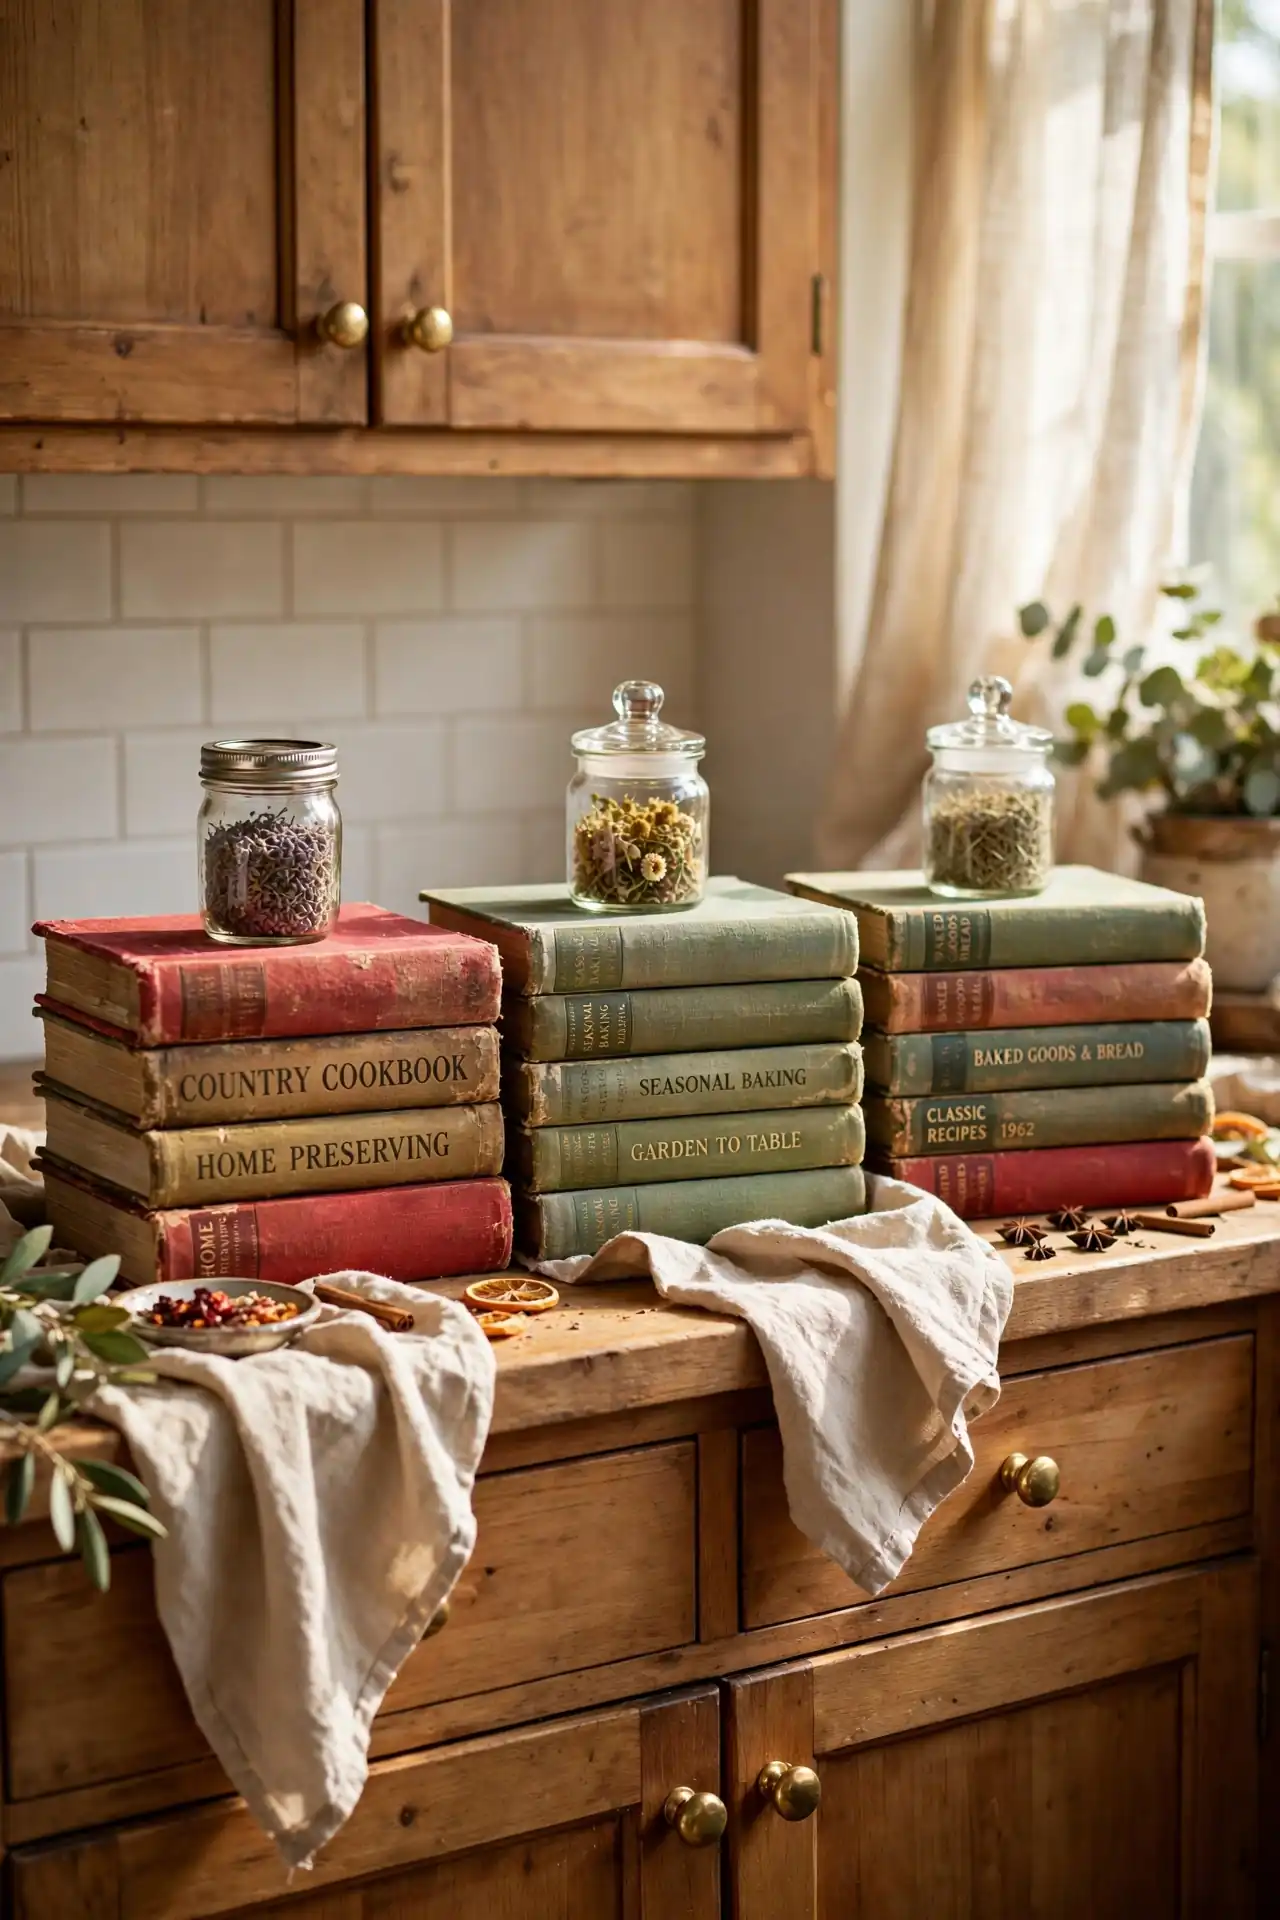
BEFORE: The top of the cabinets sat empty for years, a gray dust trap that made the kitchen feel unfinished no matter how clean the counters were. Guests barely glanced up there, and the room seemed to stop at the cabinet line.
AFTER: Now stacks of vintage cookbooks in faded reds and greens draw the eye upward and make the kitchen feel taller. Each stack is capped with a small jar or plant, sparking conversation about favorite recipes.
Hunt thrift stores for cookbooks with interesting spines rather than pretty covers, since only the spine shows. Stack five to eight books per pile and vary the pile heights so the skyline feels natural. Lay them flat in horizontal stacks so nothing slides off when the cabinet doors slam.
Antique Brass Accents
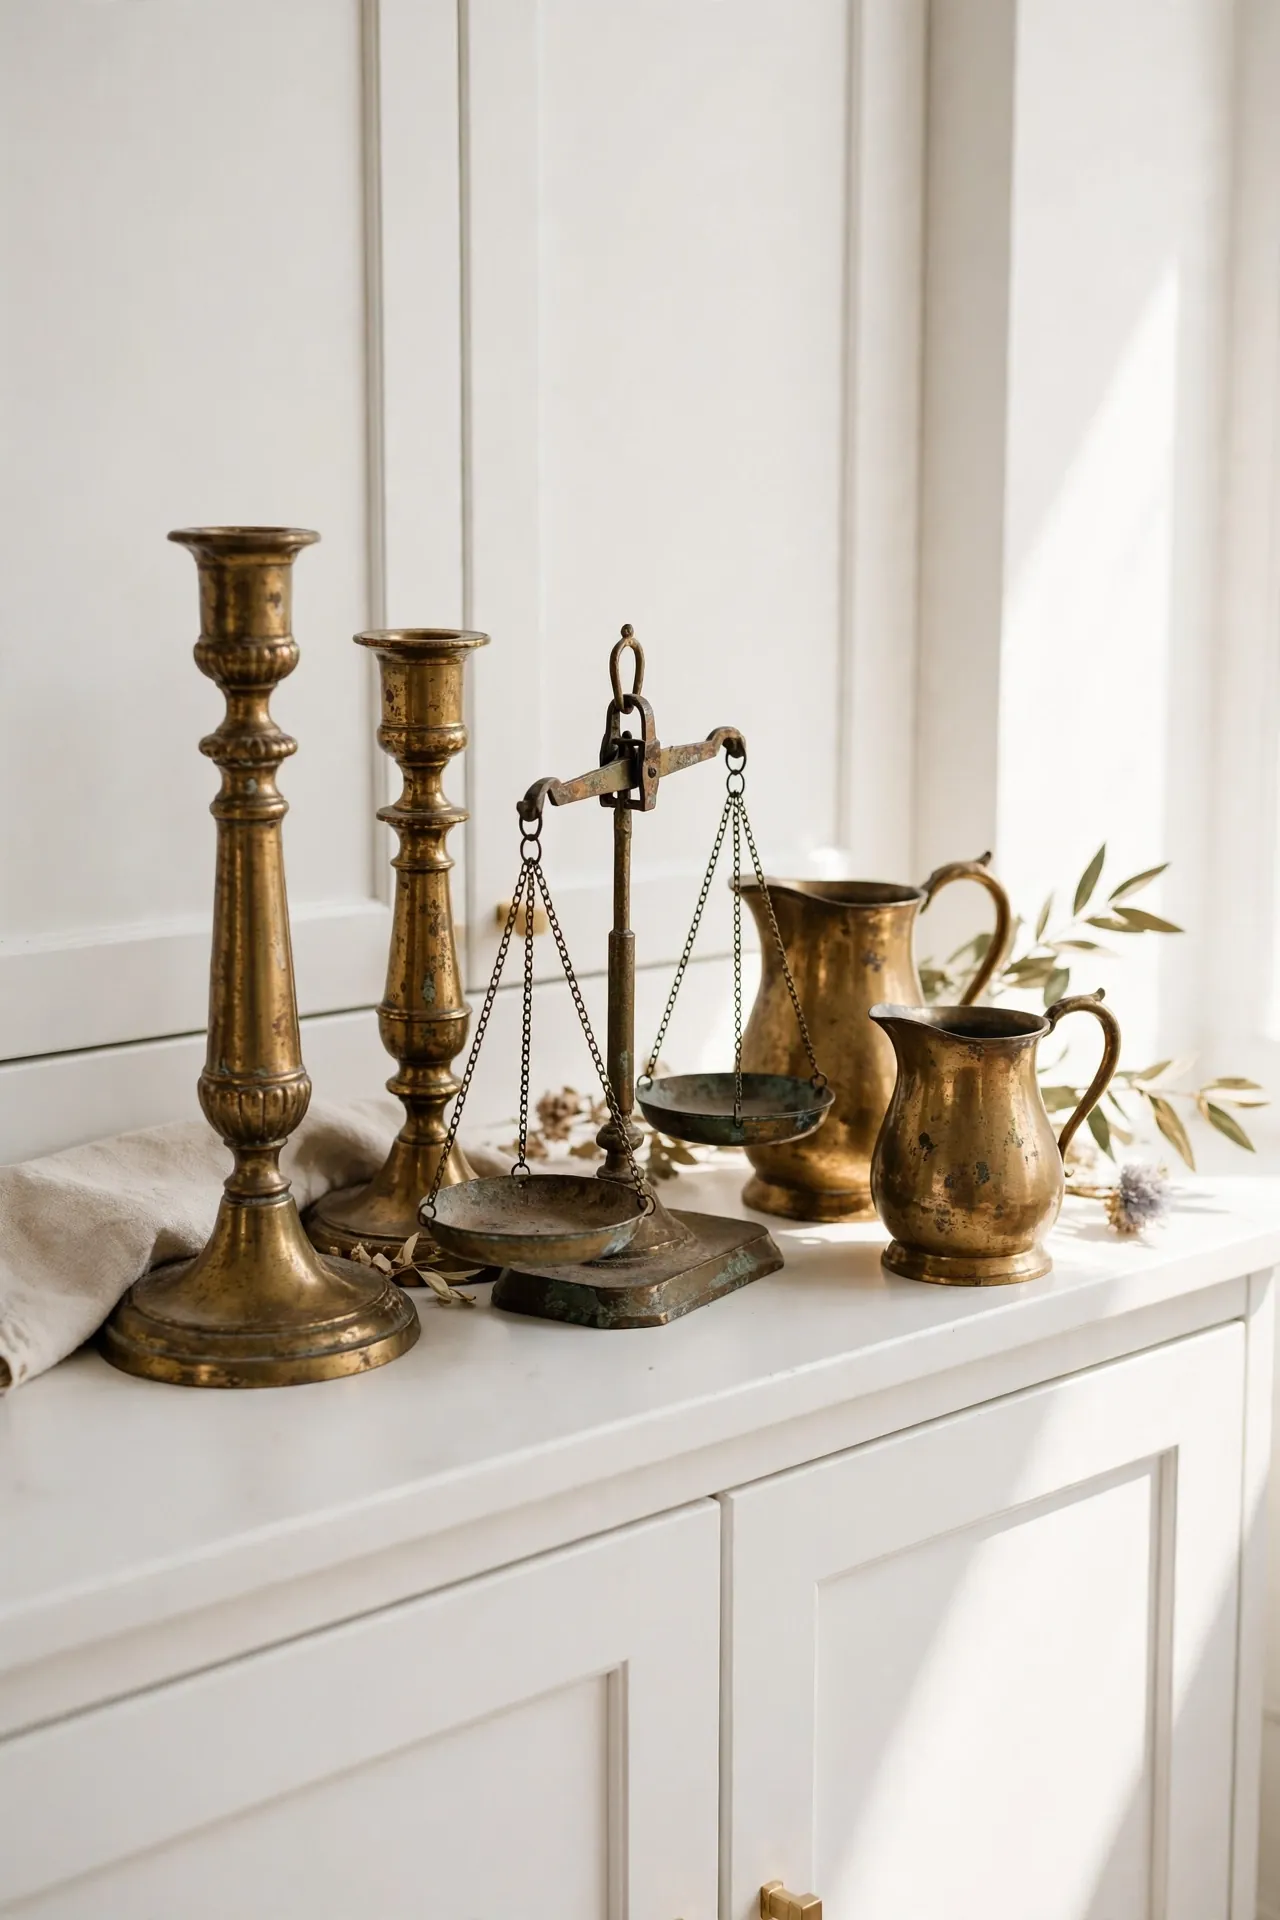
- Pick three to five brass pieces like candlesticks, small pitchers, or old scales with real patina.
- Cluster them in one zone rather than spreading them thin across every cabinet.
- Add one contrasting material, such as a wooden box or stone bowl, to keep brass from looking cold.
- Polish lightly once a year and leave the rest of the aging alone for character.
Brass warms up white and gray kitchens instantly because the metal catches every bit of light up there. I’ve seen this work well in many cases when the pieces share a similar aged finish, so avoid mixing shiny new brass with old. Keep pieces back from the front edge by at least four inches for safety. This idea shines in kitchens with warm hardware and wood tones.
Symmetrical Pottery Line
| Look | Matching set | Mixed collection |
| Cost | Medium, buy a set | Low, thrift over time |
| Effort | Easy, one purchase | Higher, hunt for pieces |
| Best for | Clean modern kitchens | Eclectic vintage kitchens |
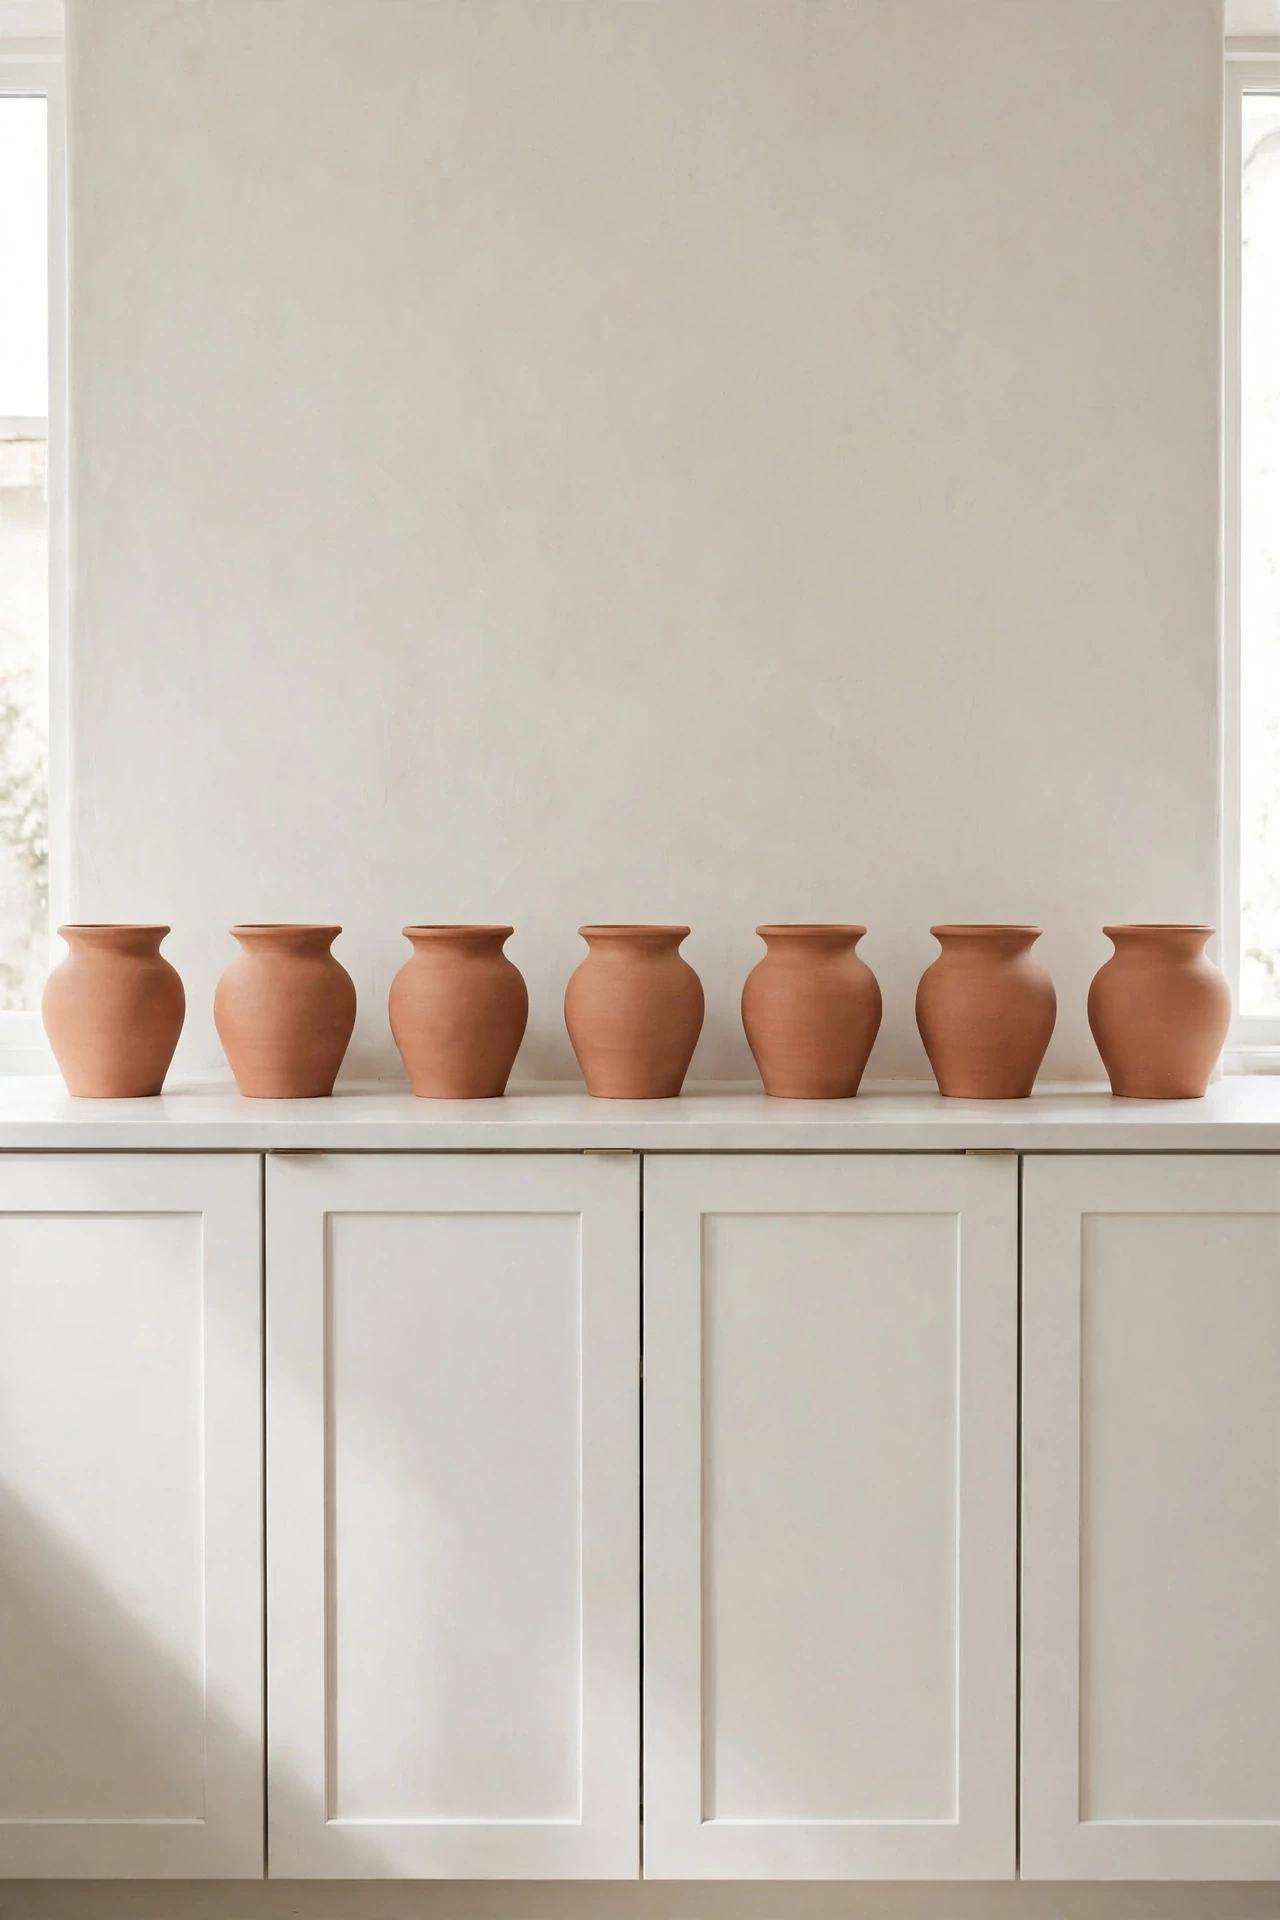
Symmetry reads calm from the floor, so identical spacing matters more than identical pots. In my experience, a row of same height vessels in one clay tone looks high end even when every piece came from a discount store. Measure the run and mark light pencil ticks on the cabinet top so each piece lands in exactly the right spot. Step back to the doorway and check the line before you call it done, since small shifts show from far away.
Woven Wood Tray Display
DO:
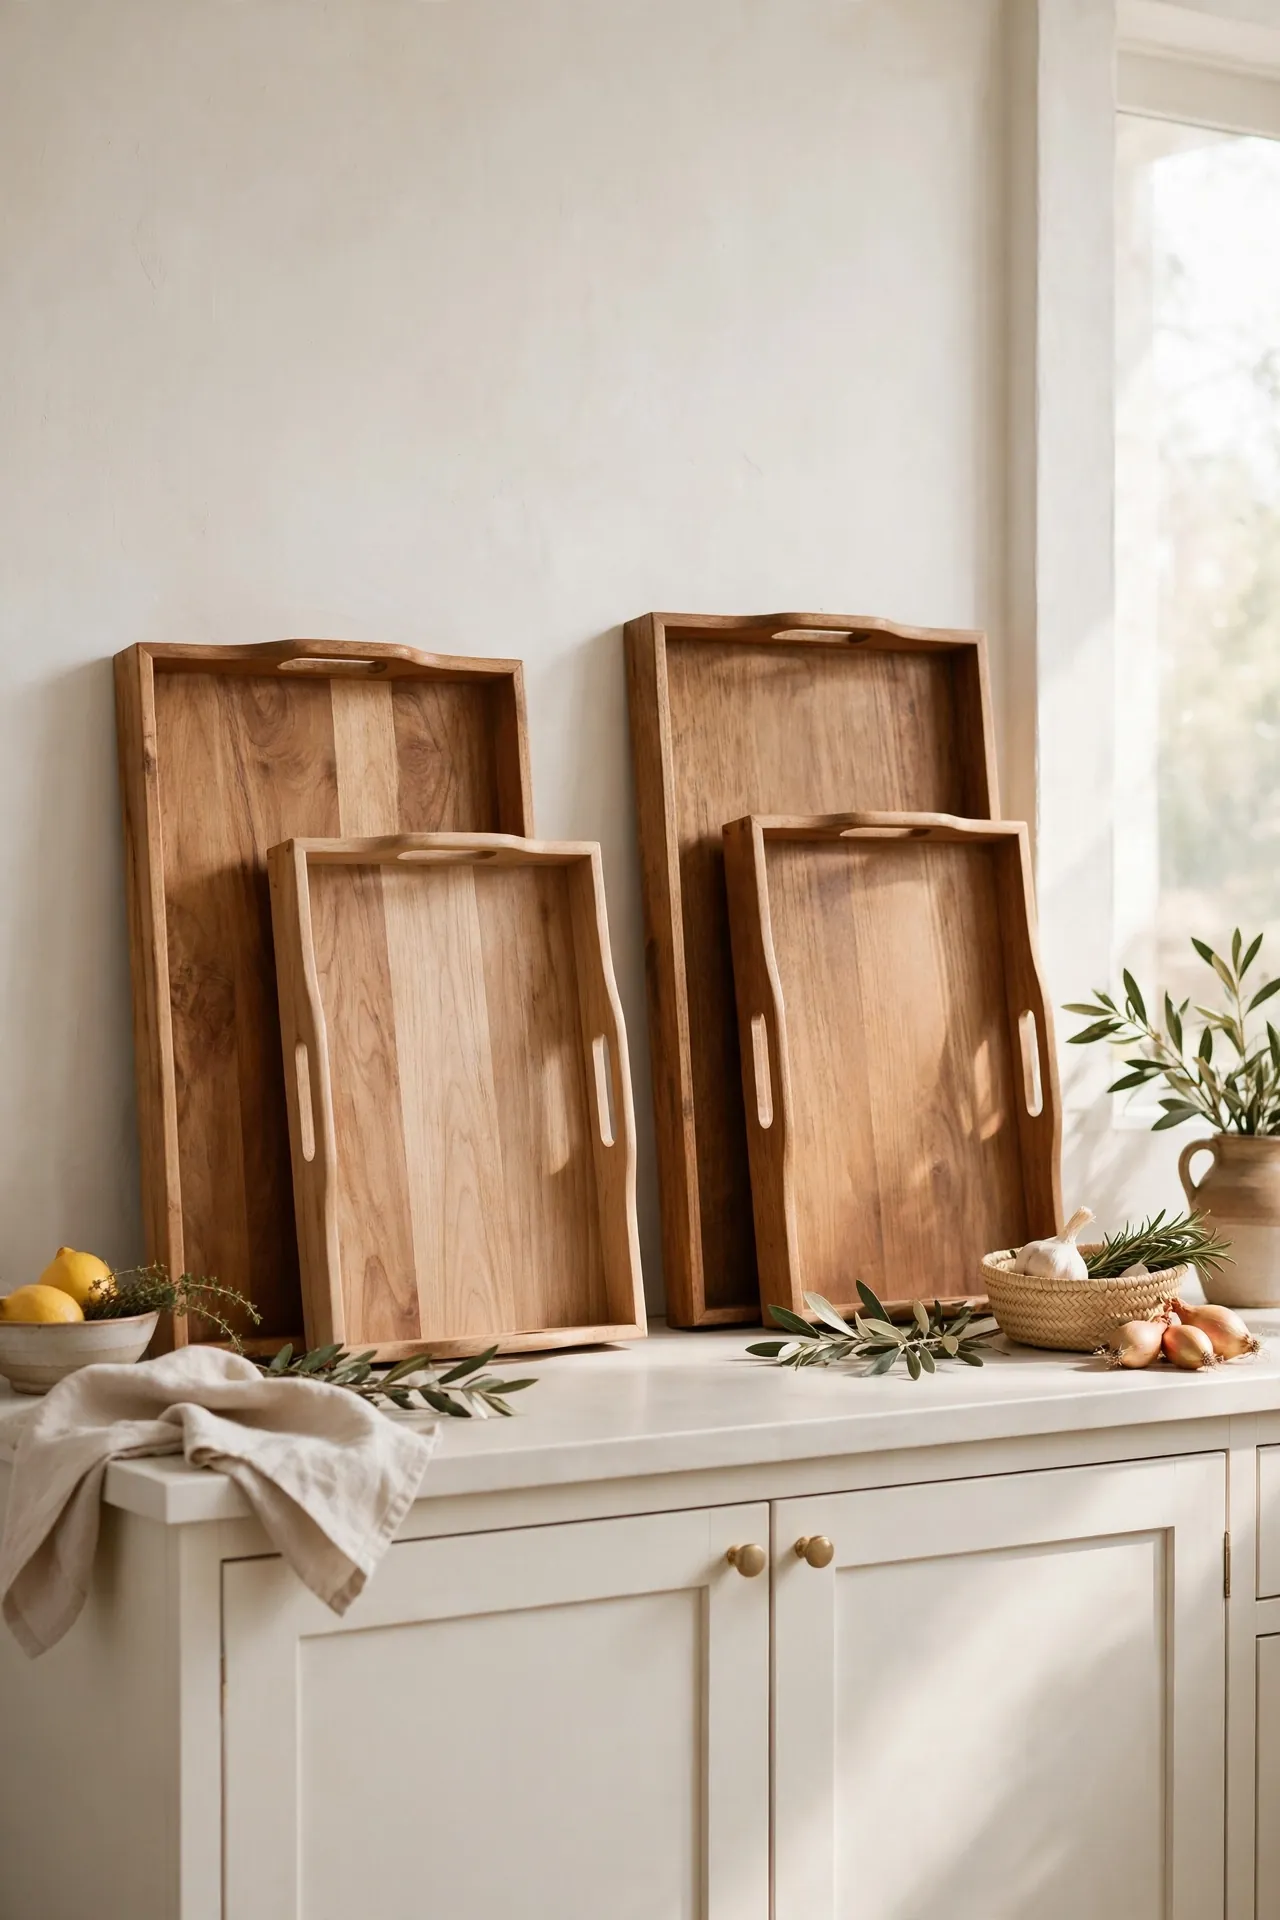
- Group trays in overlapping pairs so they read as one layered arrangement.
- Lean larger trays against the wall and stack smaller ones in front.
- Choose trays with handles or cutouts for extra texture and shadow play.
DON’T:
- Don’t use more than three trays per section or the display looks crowded.
- Don’t lean glass trays up high where they could slide and shatter.
- Don’t block the range hood vent with any leaning piece.
Wood trays bring a handmade, market day feeling to the top of your cabinets. I’ve noticed that round trays mixed with one rectangular board break up the long horizontal line nicely. Keep everything six inches from the stove side to protect the wood from heat. This suits rustic and farmhouse kitchens best.
Fresh Herb Pots
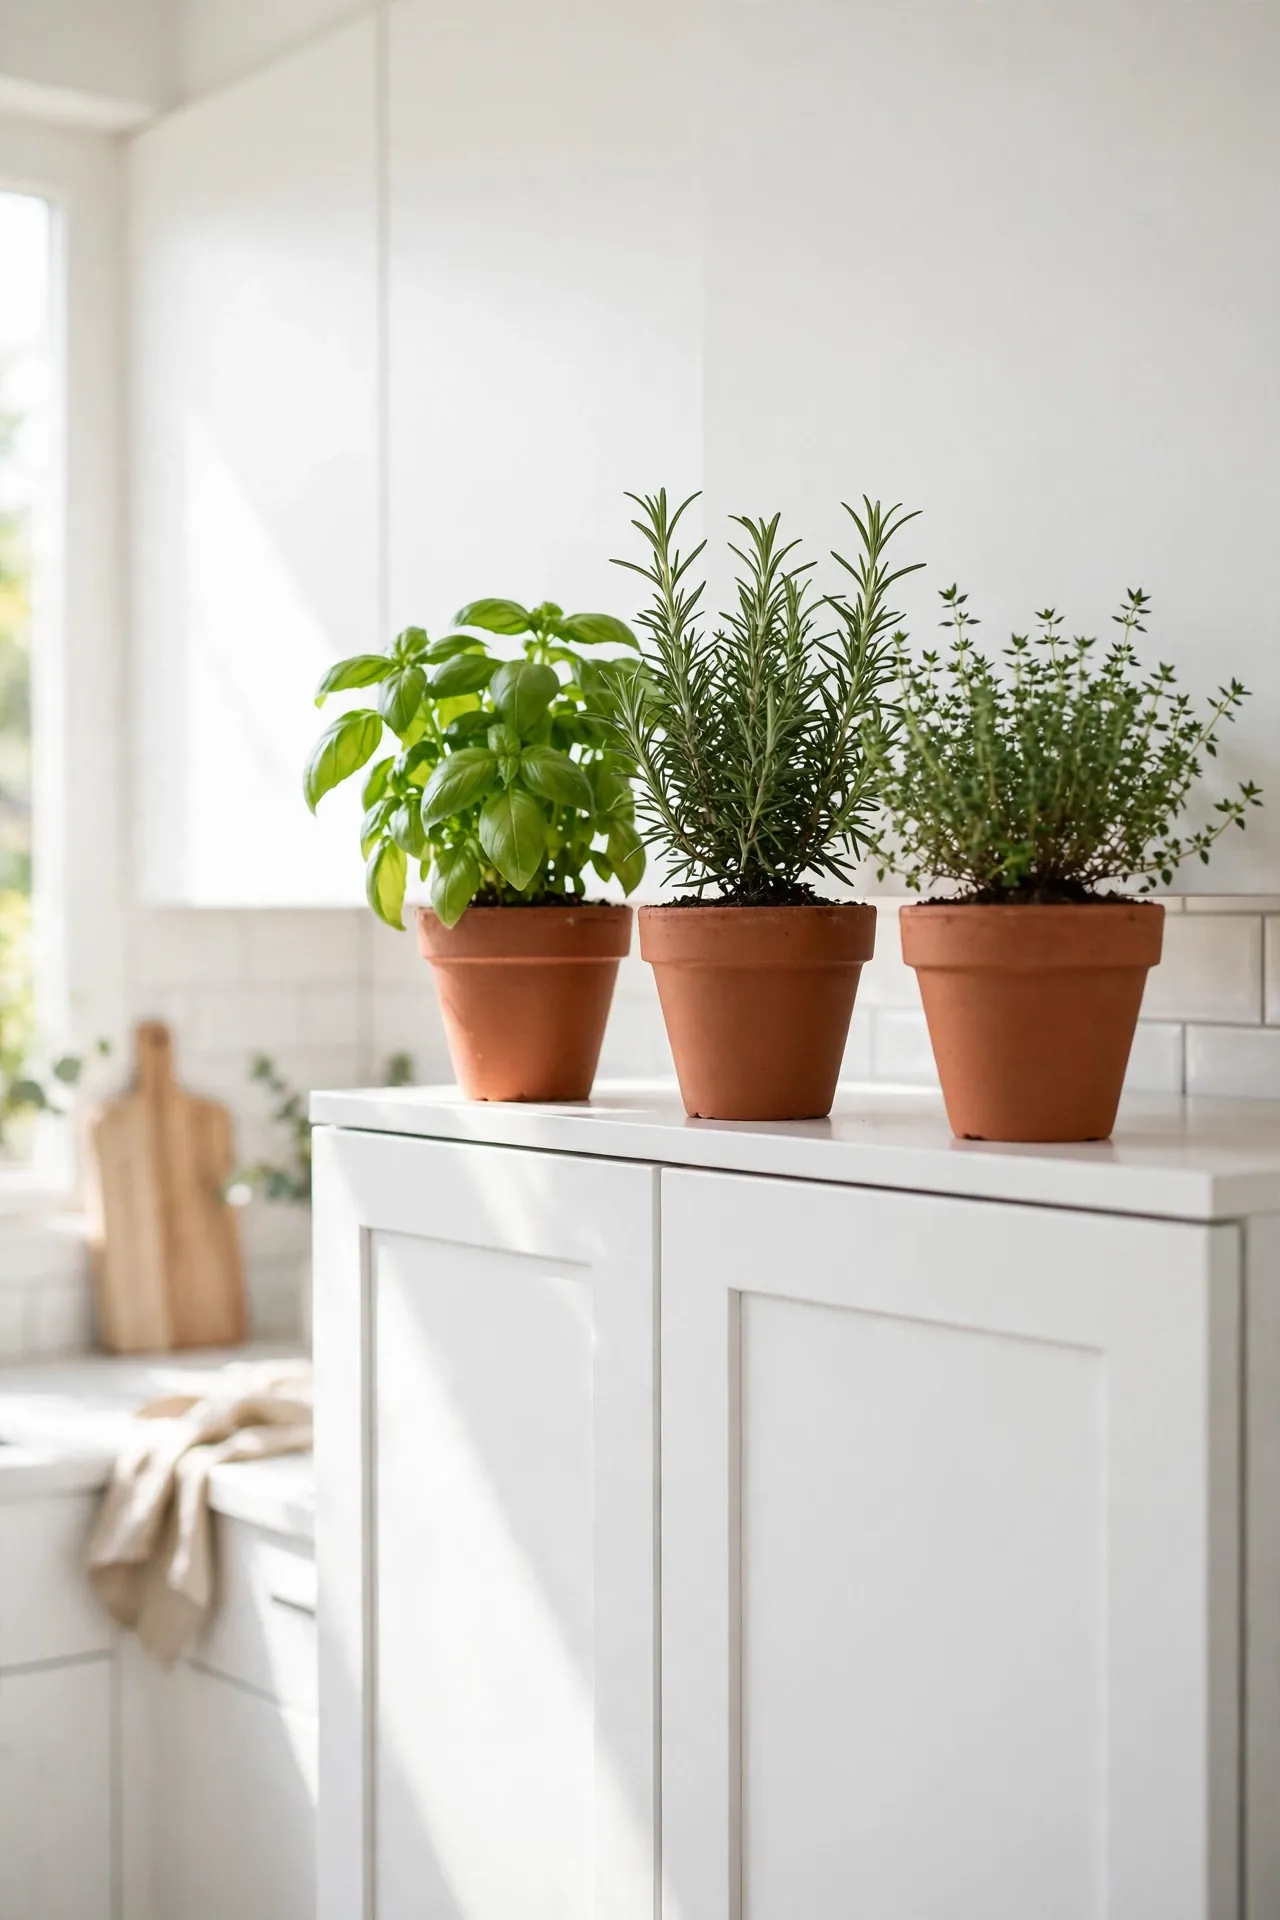
Cost: Low | Time: One weekend | Skill Level: Beginner | Best For: Cooks who love fresh flavor
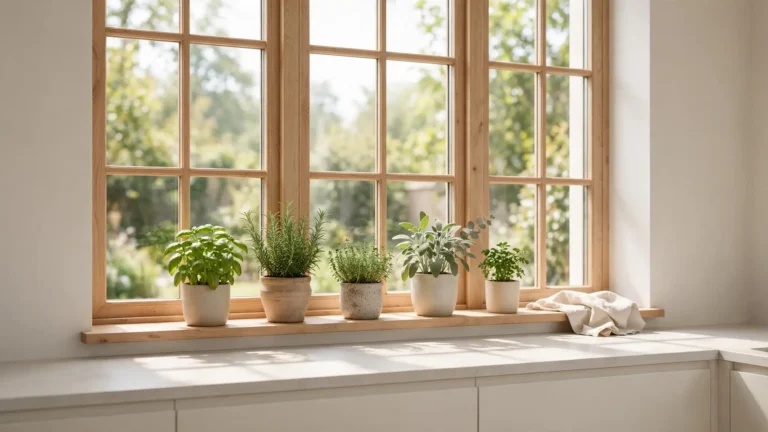
Small terracotta pots of basil, rosemary, and thyme turn dead space into a working garden. In my experience, fresh herbs survive above cabinets only with strong light, so place a small grow light on a timer nearby. Water weekly with a long spout can and rotate the pots monthly so they grow evenly. Start with hardy herbs like rosemary and thyme, which forgive a missed watering better than basil does. Snip from the tops regularly to keep plants bushy and productive. The scent drifting down while you cook is worth the extra step stool trips.
Framed Vintage Prints
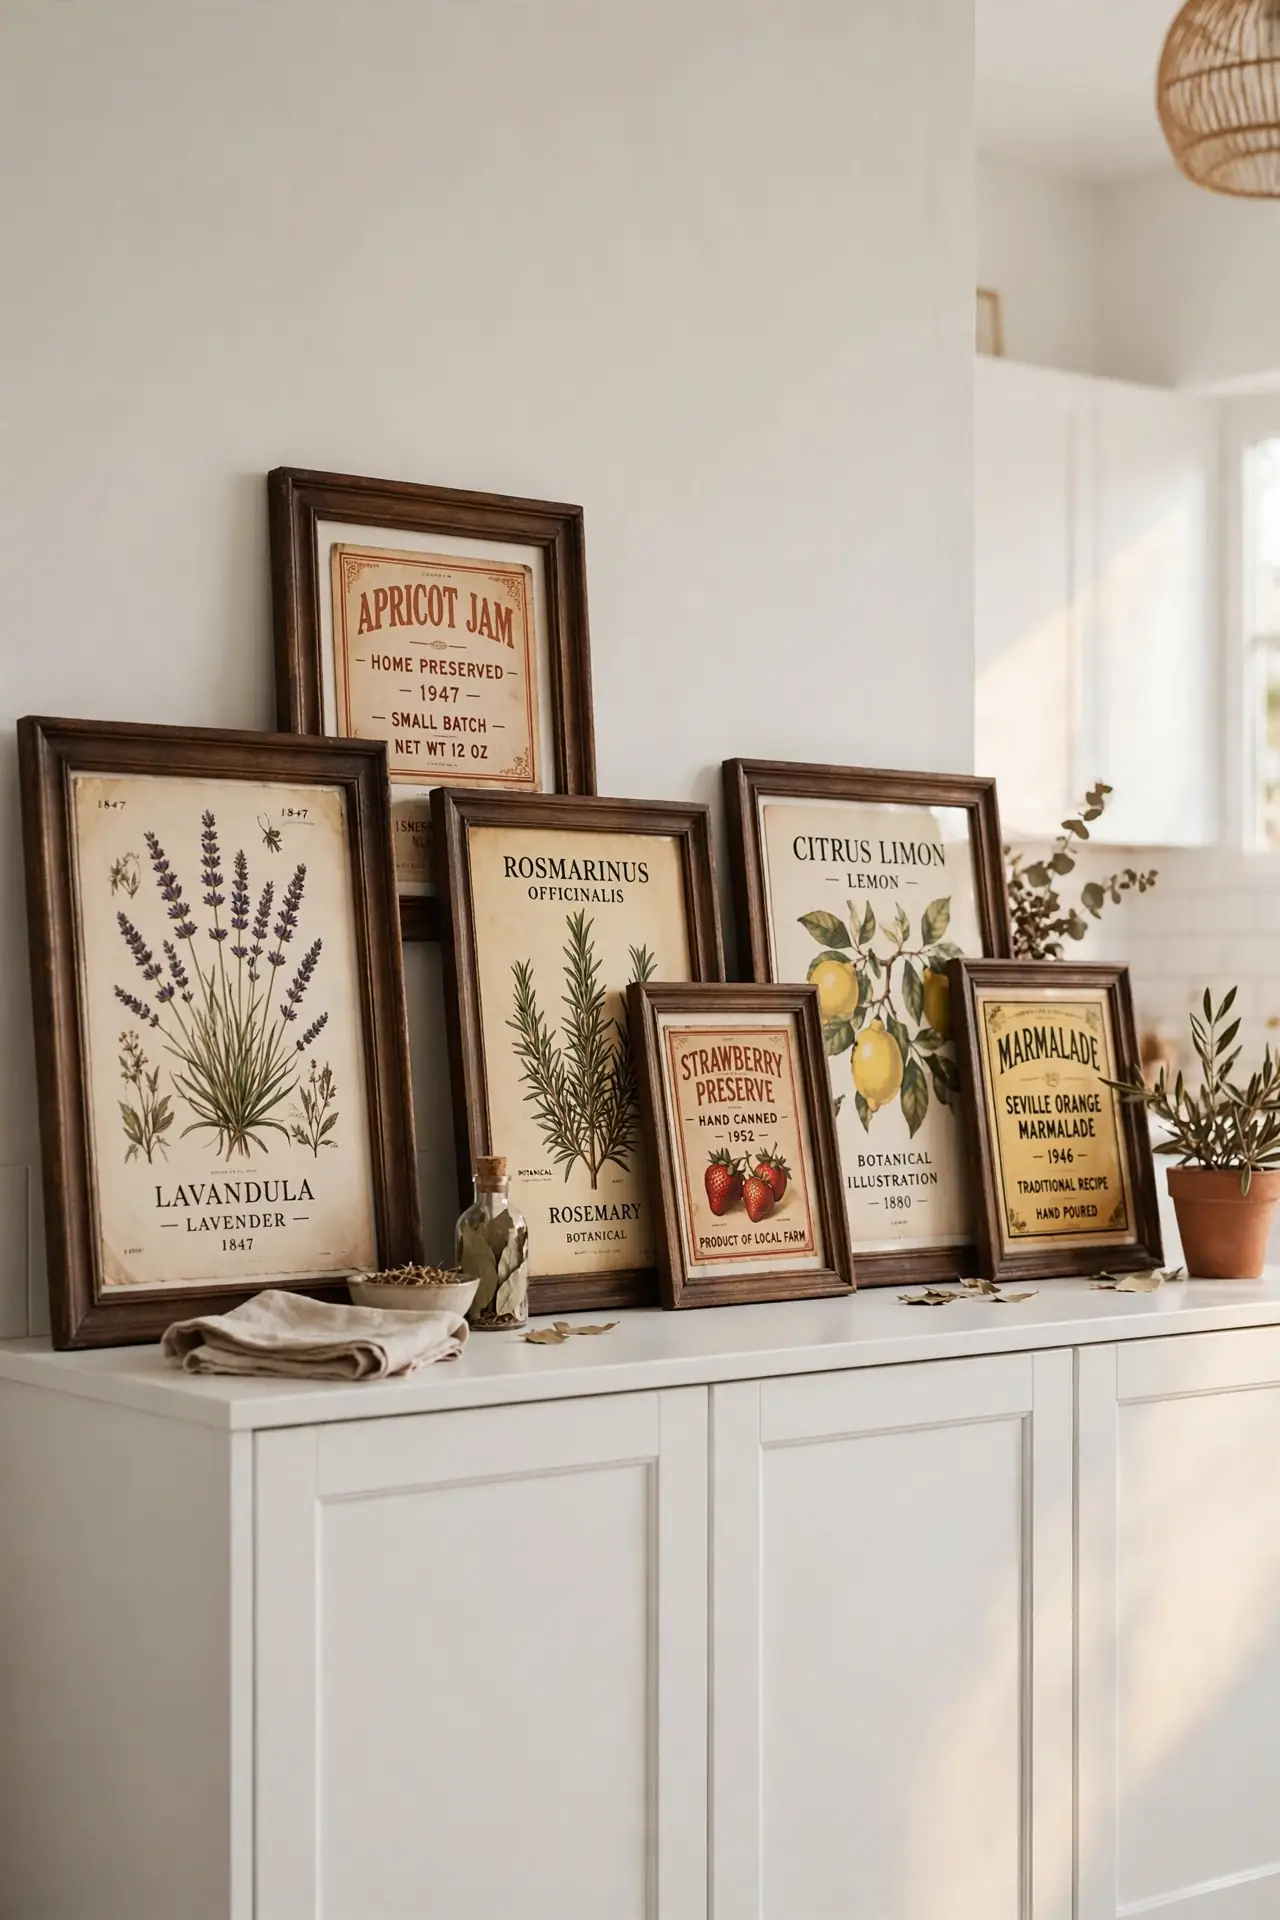
Old botanical prints, vintage food labels, and sepia market scenes give the top of your cabinets a gallery feeling without the gallery budget. Frame everything in the same dark wood or brass for a collected look that reads as one display. Lean frames against the wall rather than hanging them, since the cabinet top acts as a natural shelf.
Vary the frame sizes but keep one common element, either the frame color or the art style, so nothing feels random. Keep the tallest piece at the center and step down toward the ends for a gentle arch shape. Prints above the stove should sit inside glass to protect them from steam and grease. This idea works beautifully in traditional and vintage inspired kitchens.
Soft Glow Candles
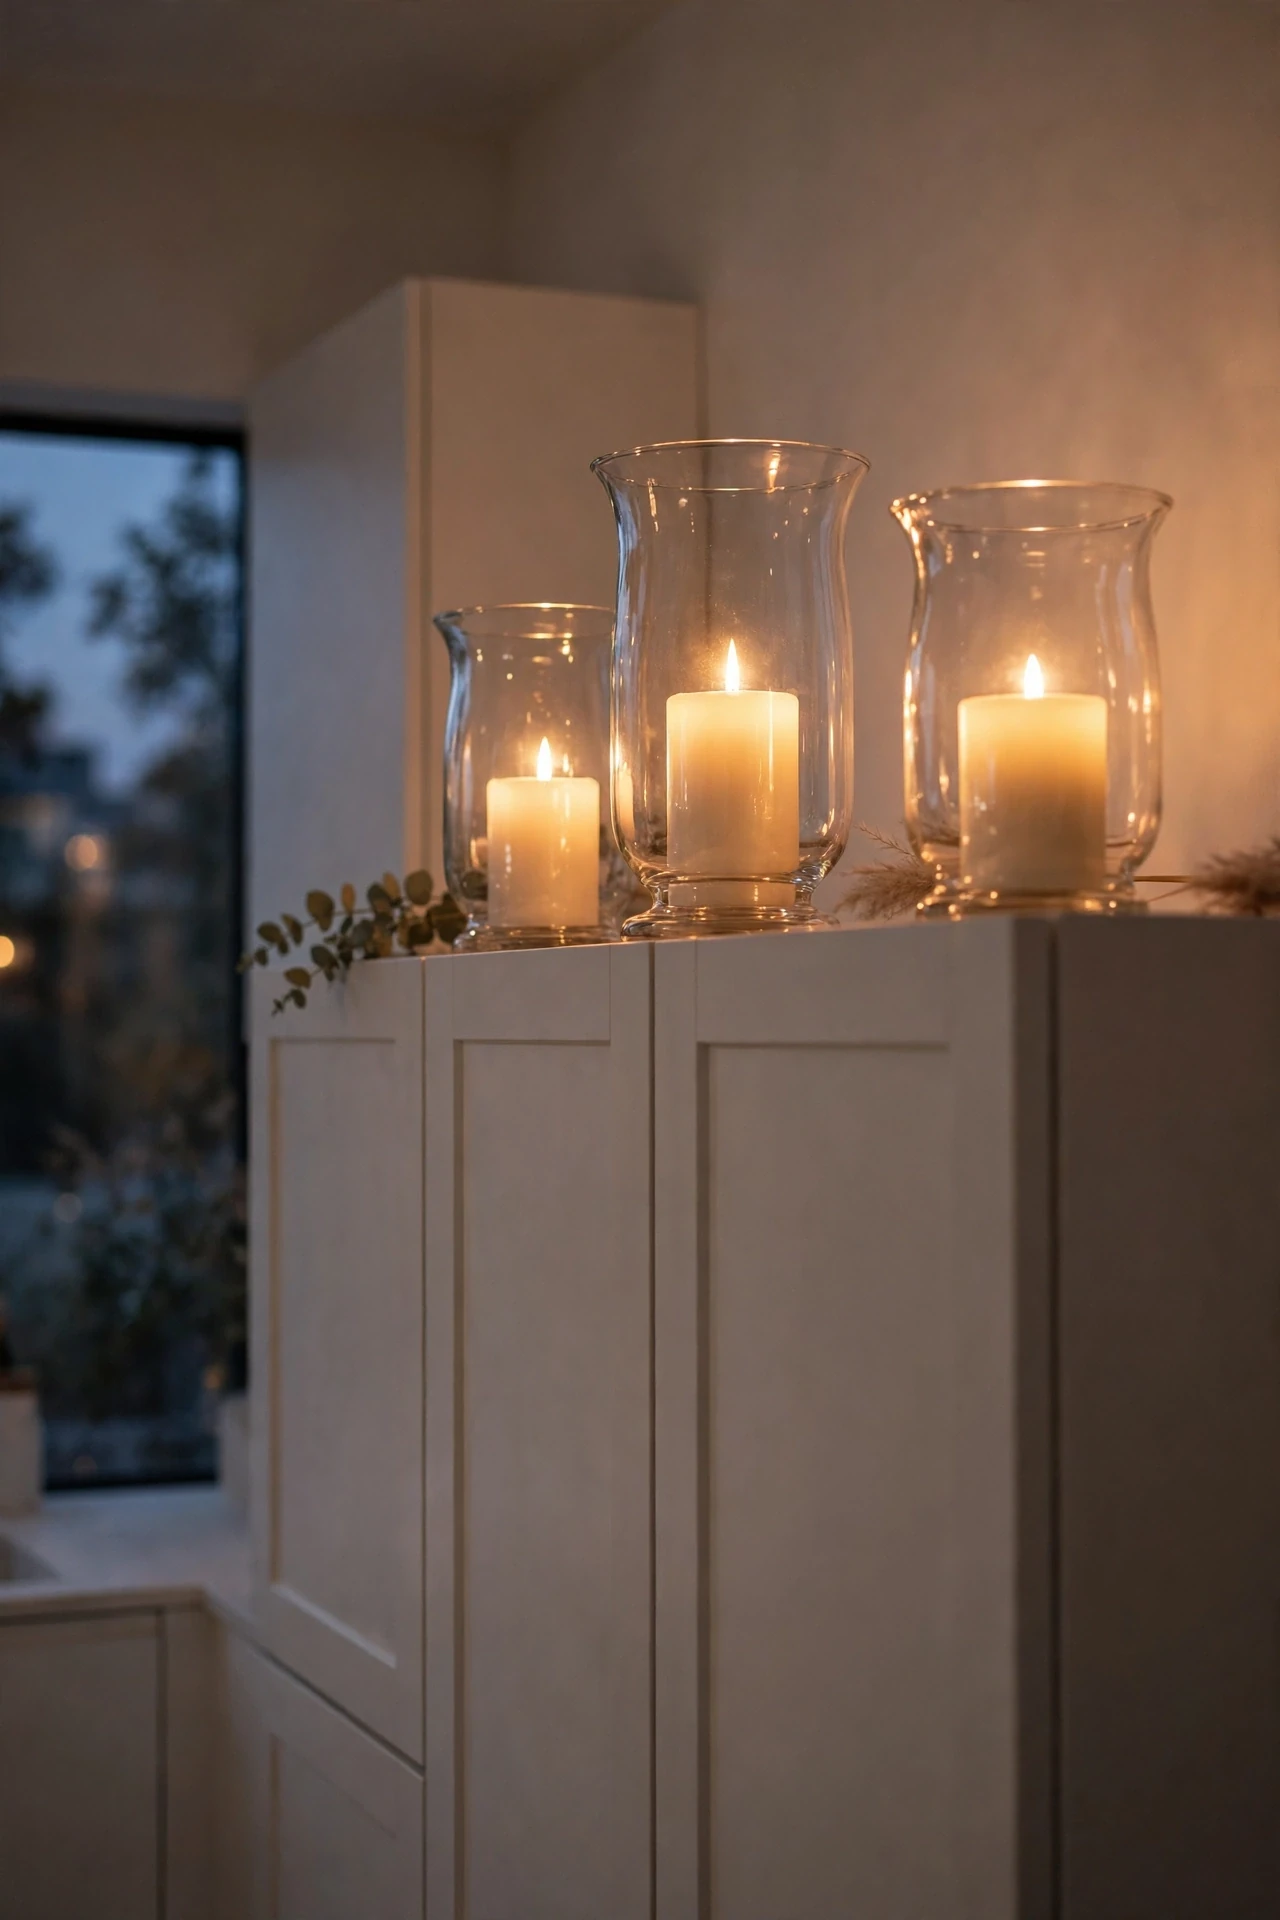
- Battery operated candles with timers switch themselves on every evening, so the display always glows.
- Group pillar candles in threes at different heights for a natural flicker rhythm.
- Choose warm white light, around 2700K, to flatter wood cabinets and wall paint.
- Place candles inside glass hurricanes to keep dust off and make cleaning simple.
- Use only flameless candles up high, never real flames.
A soft glow above the cabinets changes the whole mood of the kitchen after dark. I’ve noticed that candles read best when everything around them stays simple, so skip competing shiny objects nearby. Set the timers for dusk so the light appears just as the room dims. This is one of the cheapest ways to make an evening kitchen feel cozy and inviting.
Oversized Serving Platters
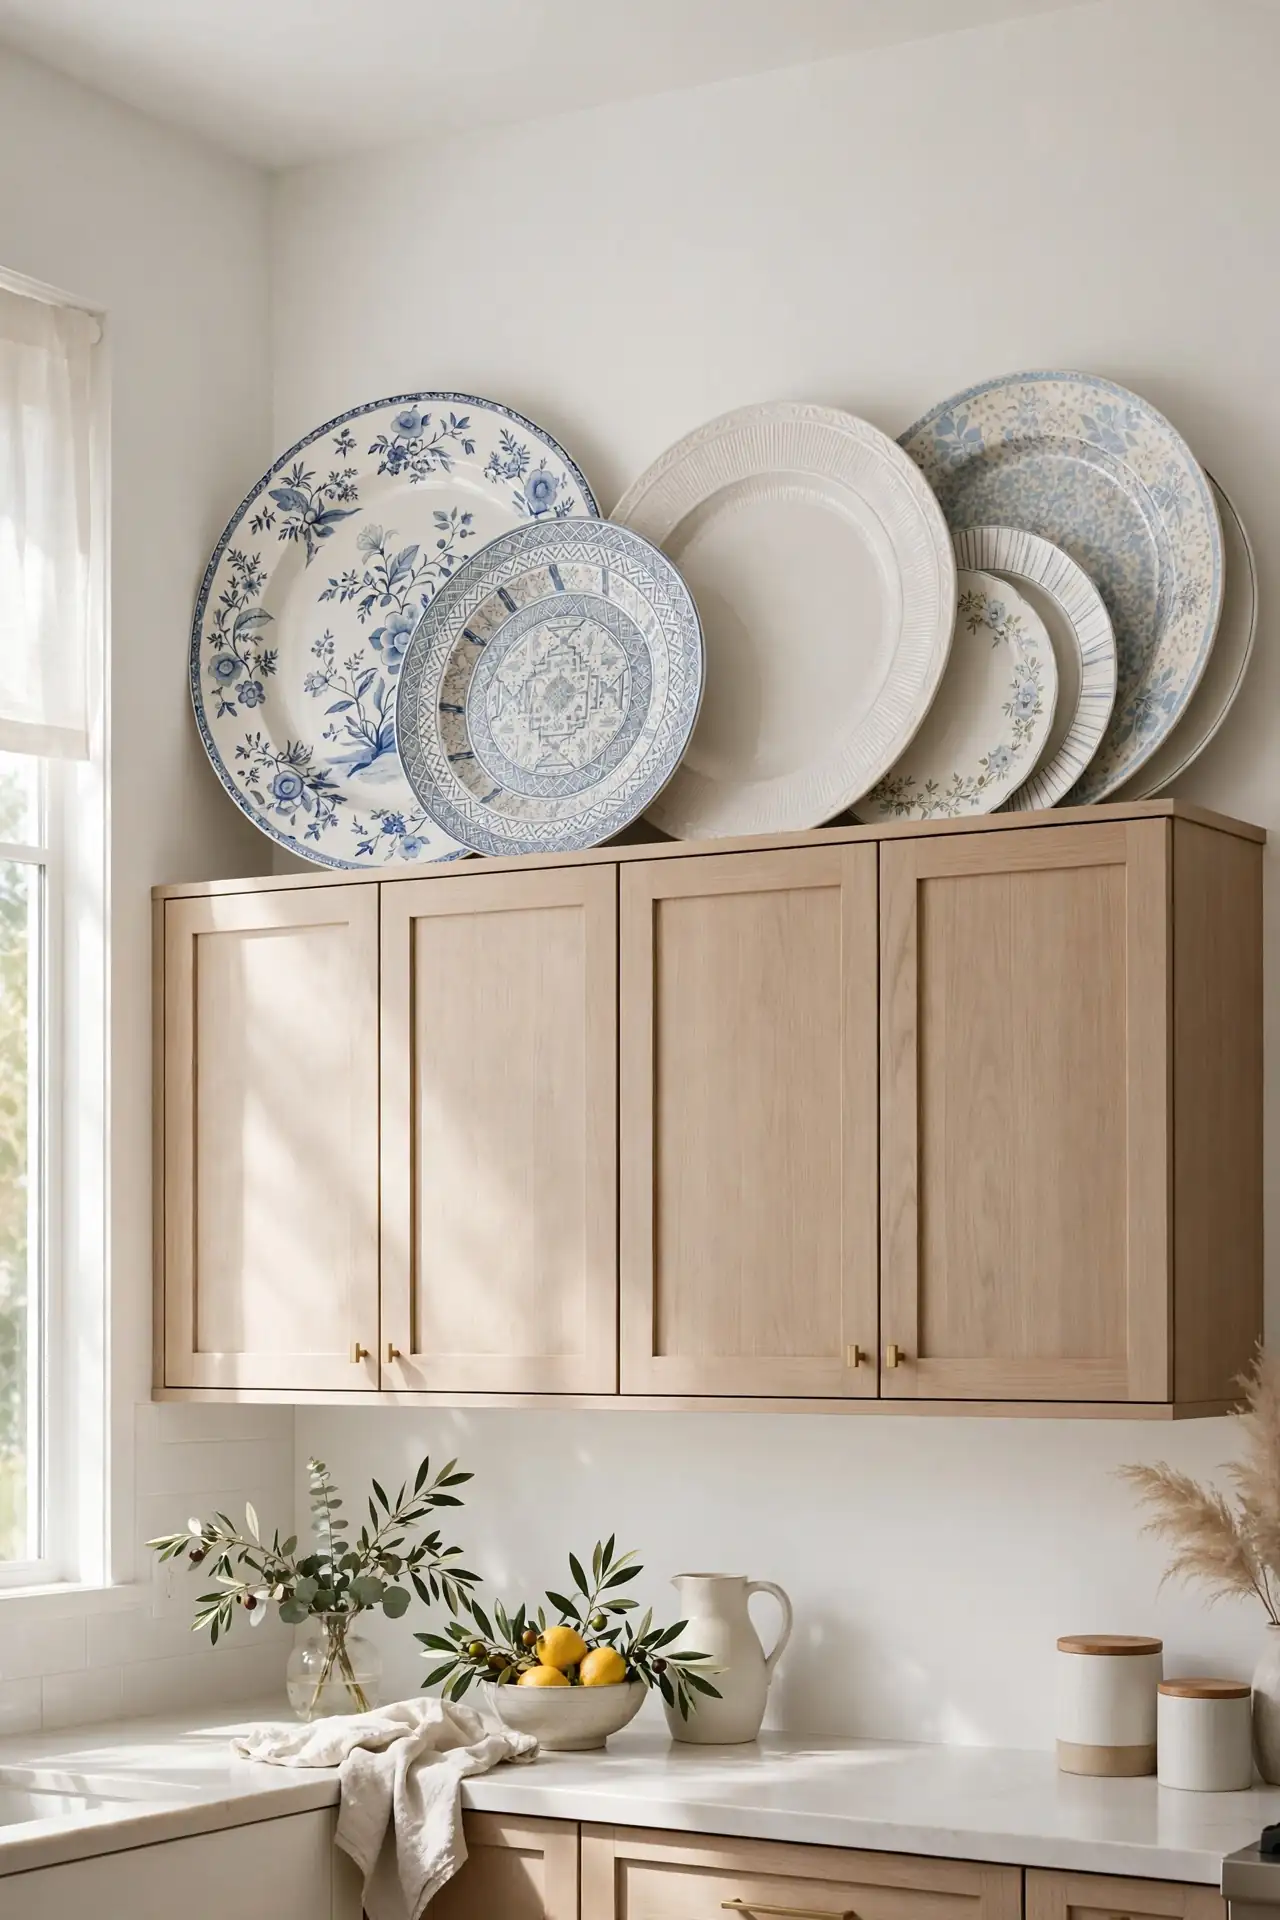
Quick Tip: Choose platters at least eighteen inches wide so they read clearly from the floor. One large platter per cabinet section beats a crowd of small plates every time. Big pieces make the display feel generous instead of fussy.
Big white or patterned platters leaned against the wall turn the cabinet top into a display shelf for pieces you actually use. I’ve seen this work well in many cases because the platters pull double duty as decor and holiday serving pieces. Layer two platters of different sizes with the smaller one in front for depth. Wipe them before guests arrive, since leaned plates collect dust fast.
Colored Glass Bottles
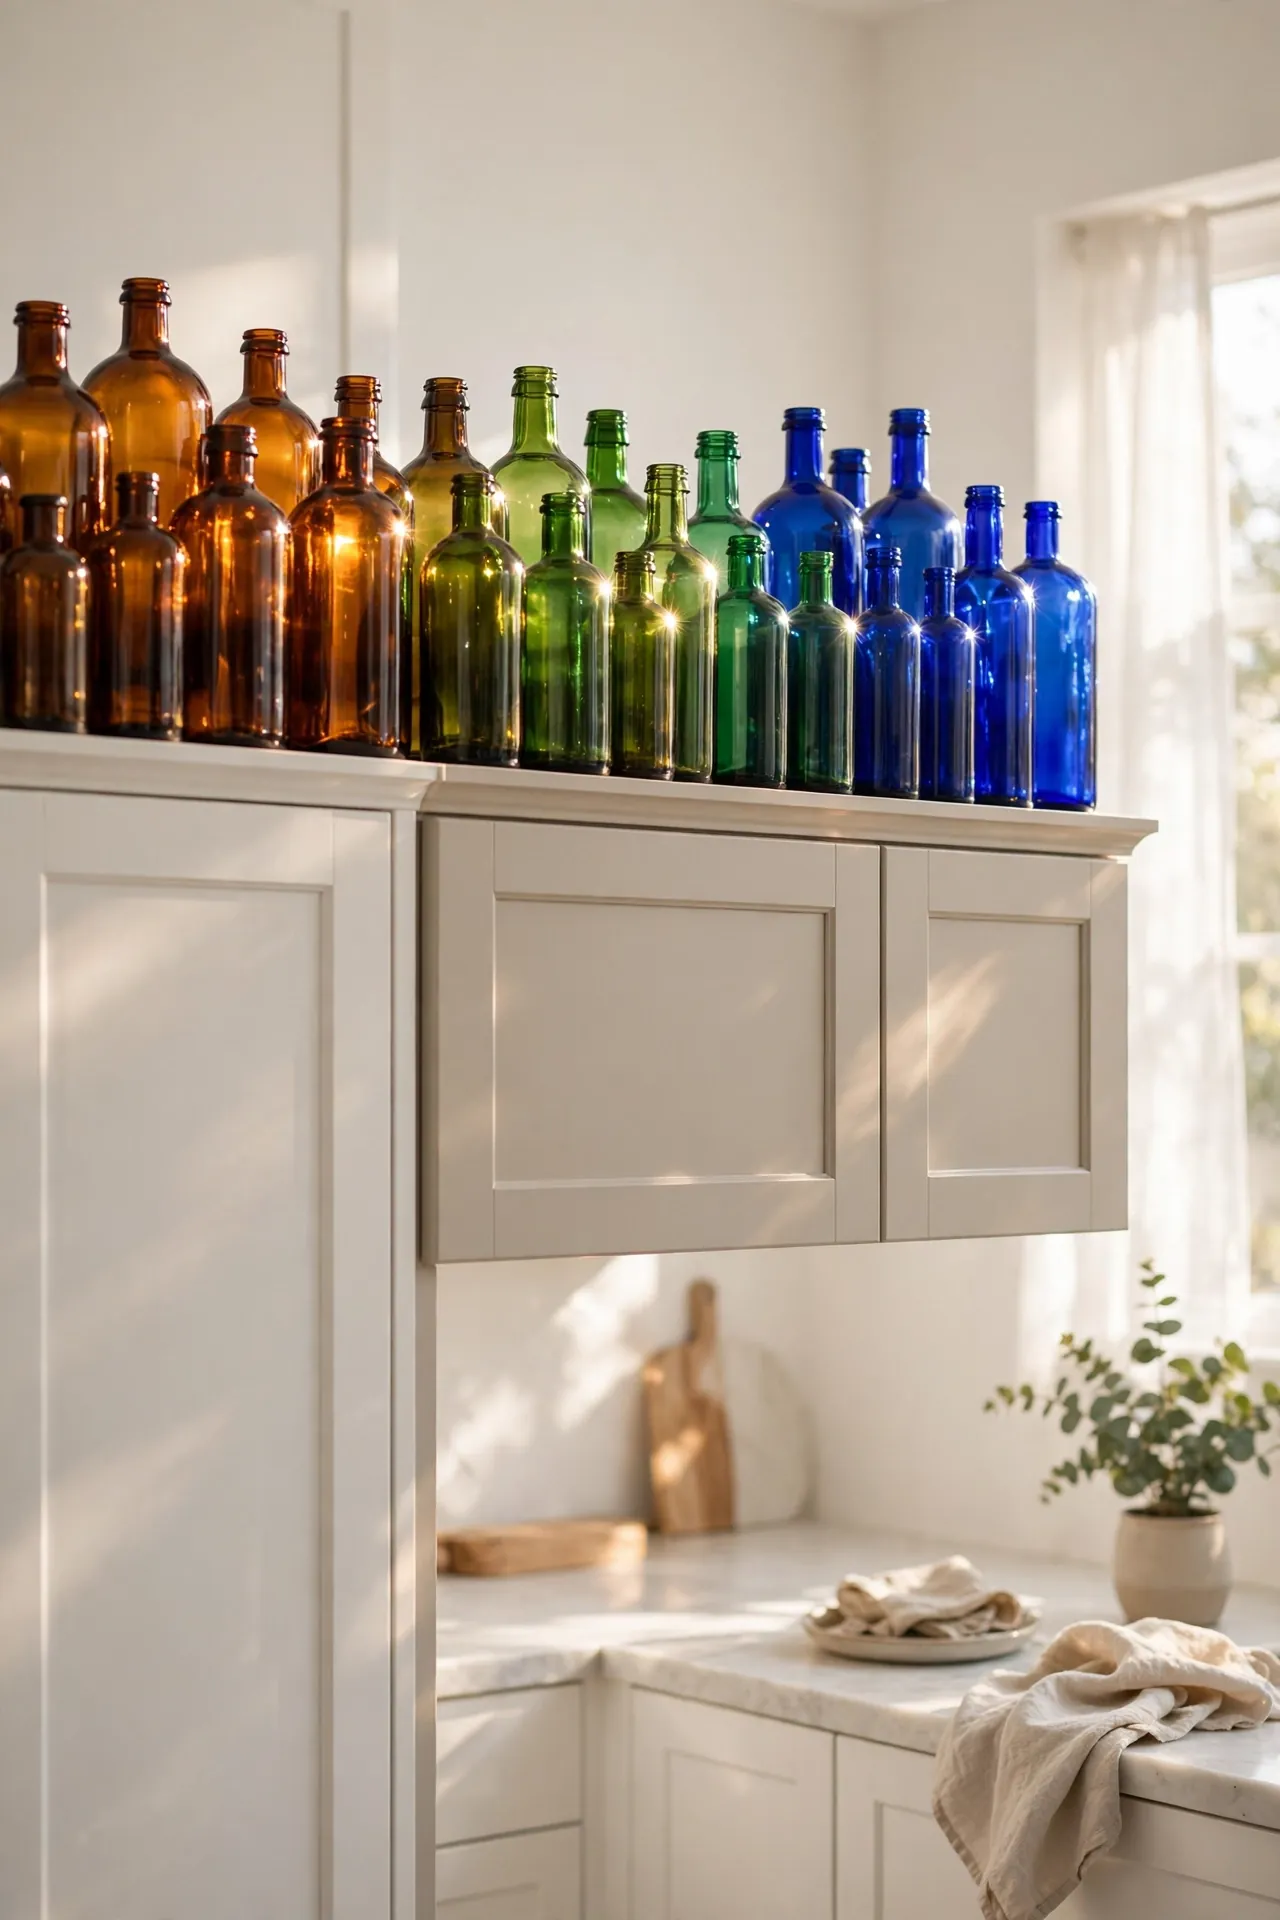
BEFORE: A long run of bare cabinet tops reflected harsh overhead light and made the kitchen feel cold and tall in the wrong way. The emptiness drew attention to dust and uneven paint lines.
AFTER: Rows of amber, green, and cobalt glass bottles now catch the light and scatter soft color across the ceiling. The display cost almost nothing, since most bottles came from flea markets and recycling bins, yet it looks completely intentional.
Group bottles by color for the strongest effect, keeping three to five per cluster. Tall bottles belong at the back of the cabinet top with shorter ones in front so every piece shows. Wipe glass monthly because dust kills the glow that makes this idea work. Colored glass suits eclectic, vintage, and coastal kitchens especially well.
Minimalist Beige Vases
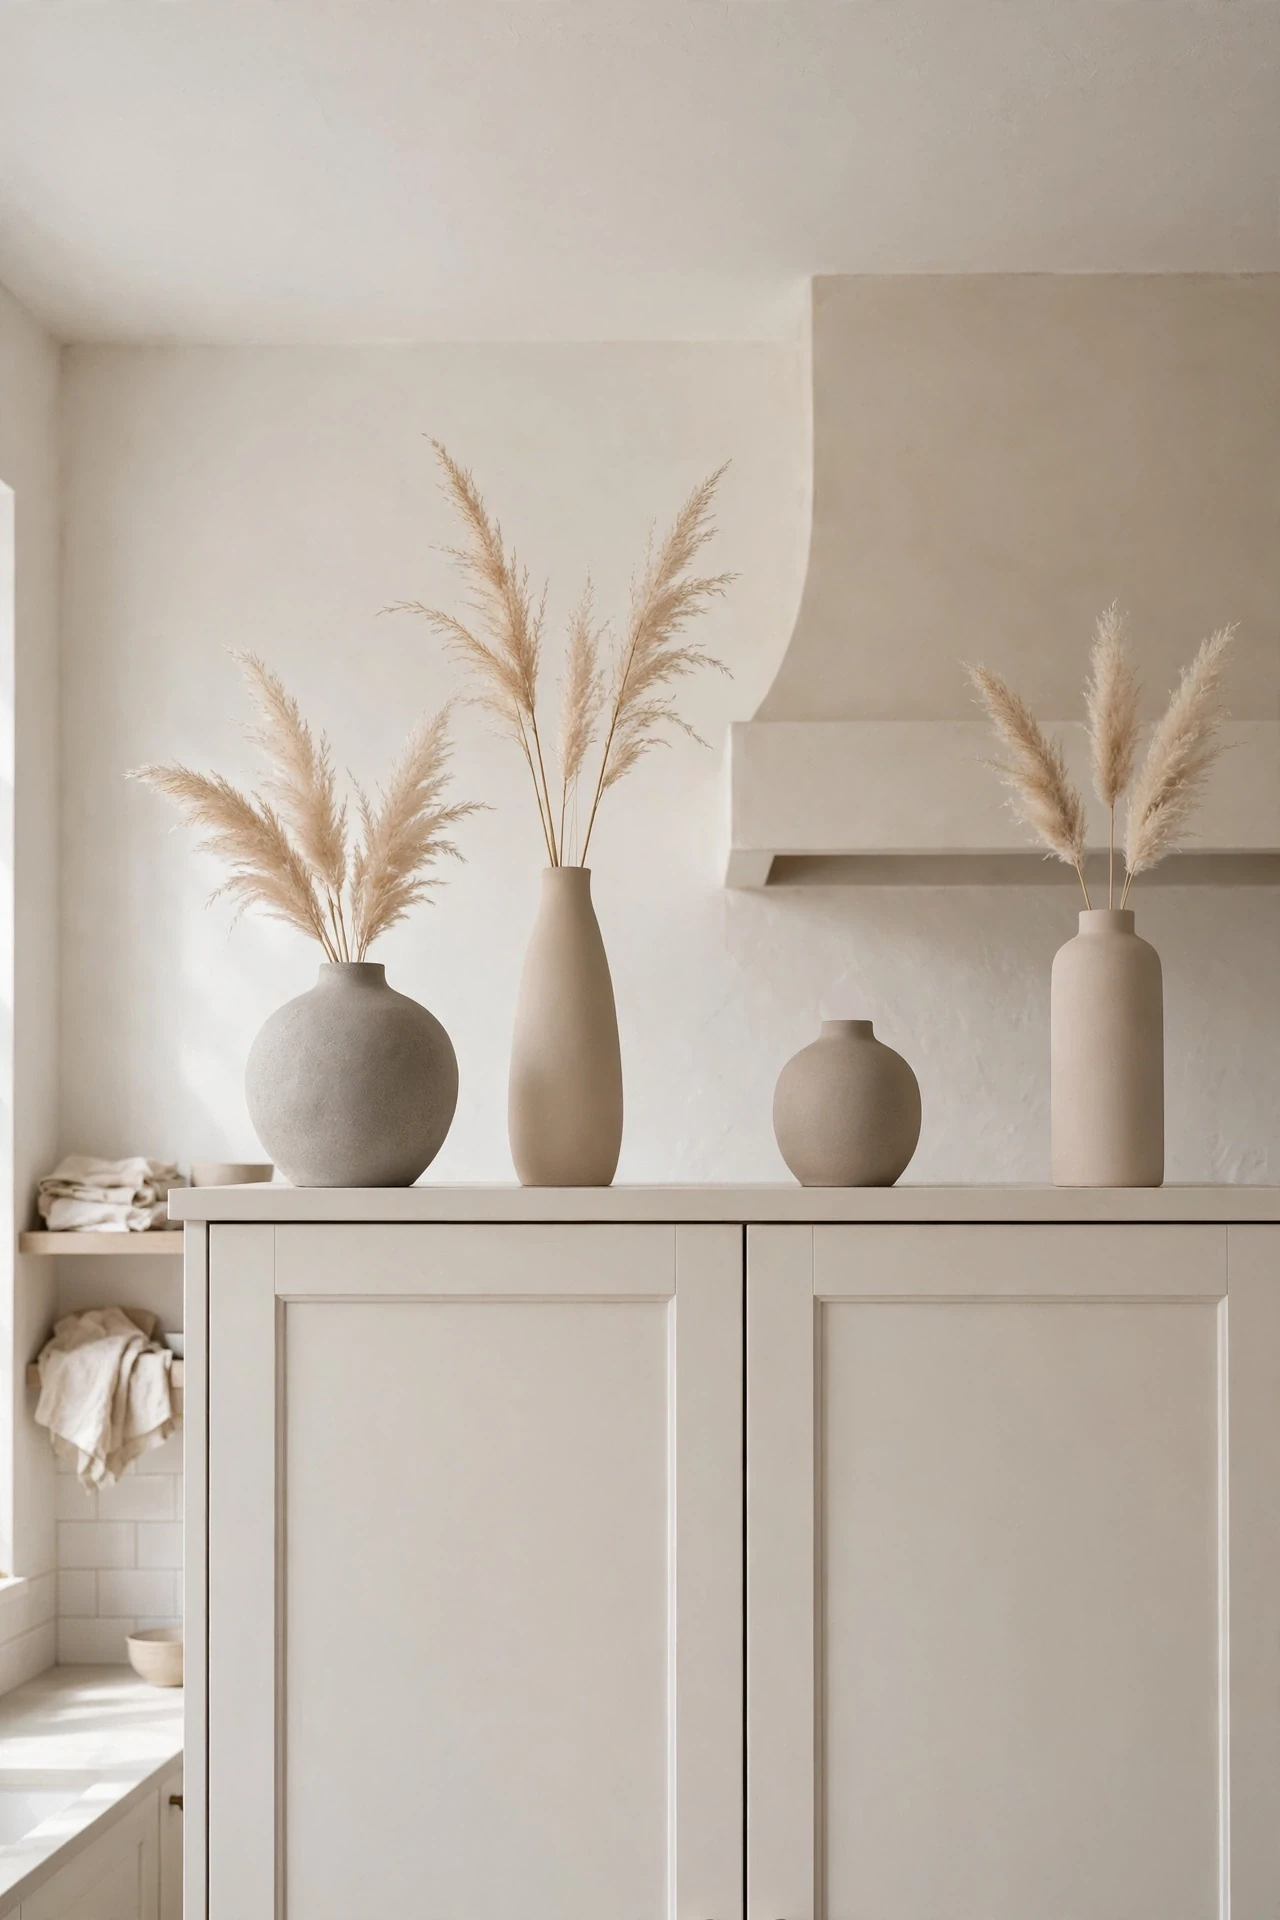
- Choose five to seven vases in sand, oat, and stone tones with matte finishes.
- Vary heights between ten and twenty inches for a gentle wave across the run.
- Leave generous empty space between pieces so each vase breathes.
- Add dried pampas or bunny tails to two or three vases only, keeping the rest empty.
Beige and stone vases create the calm, uncluttered look that minimalist kitchens need up high. In my experience, matte finishes photograph better and show less dust than glossy ones. Resist the urge to fill every vase, since empty space is doing half the work here. This palette blends into white, gray, and warm wood kitchens without fighting the existing decor.
Wooden Crate Storage
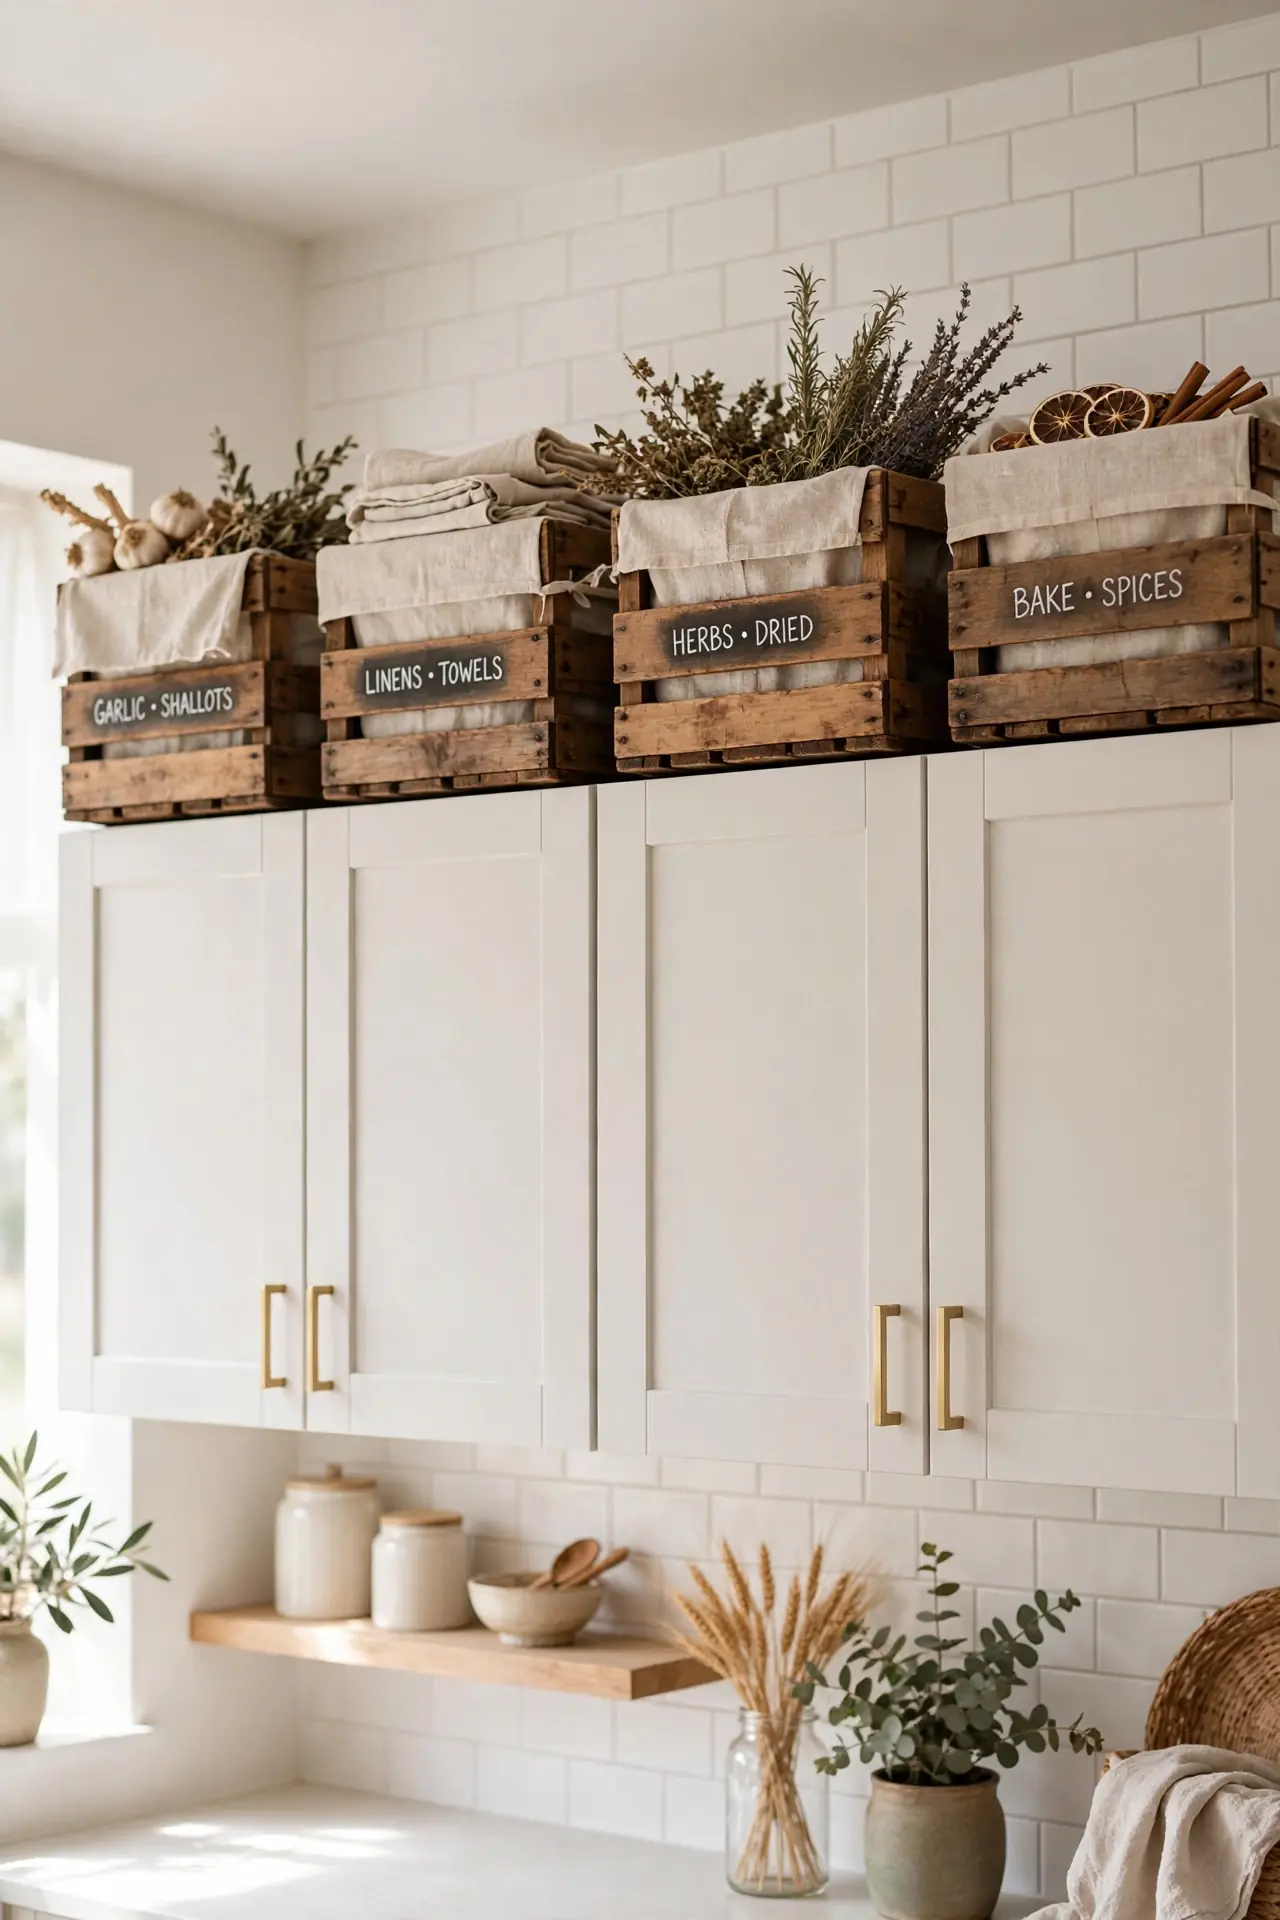
| Style | Decorative crates | Functional storage crates |
| Look | Styled with liners | Plain, pushed to back |
| Holds | Light decor items | Seasonal or rarely used items |
| Best for | Rustic display kitchens | Small kitchens needing storage |
Crates add rustic texture while hiding the clutter nobody wants to see. In my experience, the best setups mix one or two styled crates with plain ones pushed toward the back. Line crates with linen or kraft paper so stored items slide out easily. Label the front of each crate with chalk tags so you remember what lives where without climbing up to check. Anchor the row with a crate on each end so the display looks finished from every angle.
Chalkboard Sign Charm
DO:
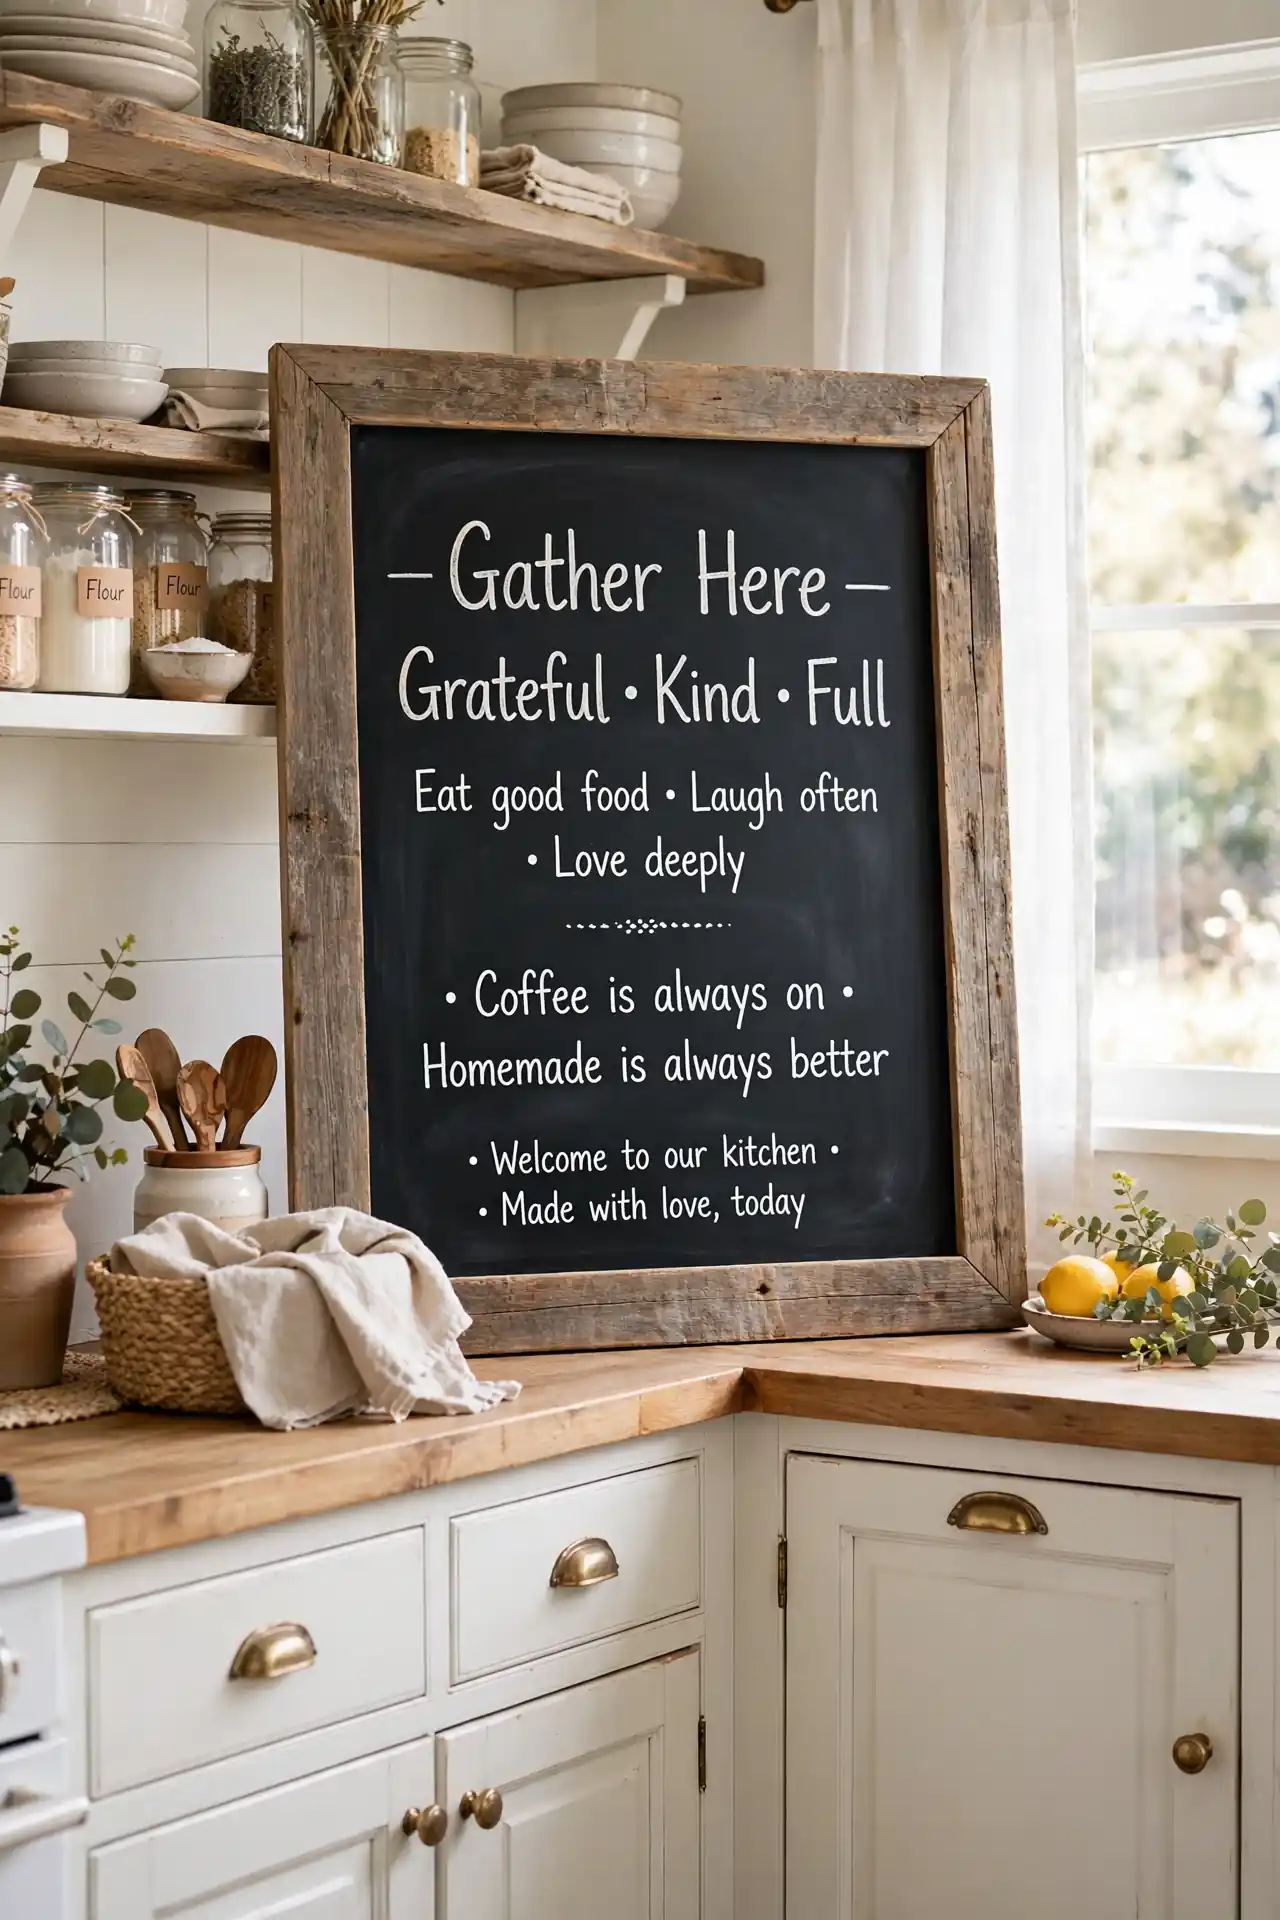
- Write seasonal menus, family names, or simple quotes in neat chalk lettering.
- Frame the board in reclaimed wood to match rustic cabinet styles.
- Lean one large board at the center instead of scattering several small ones.
DON’T:
- Don’t use real chalkboard paint near the stove where grease will stain it.
- Don’t hang the board with nails in the wall above; leaning is safer and simpler.
- Don’t crowd the board with tiny decorations that compete with the lettering.
A chalkboard sign adds personality and a handmade touch above the cabinets. I’ve noticed that simple two or three word messages read best from the floor, so skip long quotes. Chalk markers give crisper lines that survive humidity. This idea fits farmhouse and cottage kitchens best.
Seasonal Wreath Feature
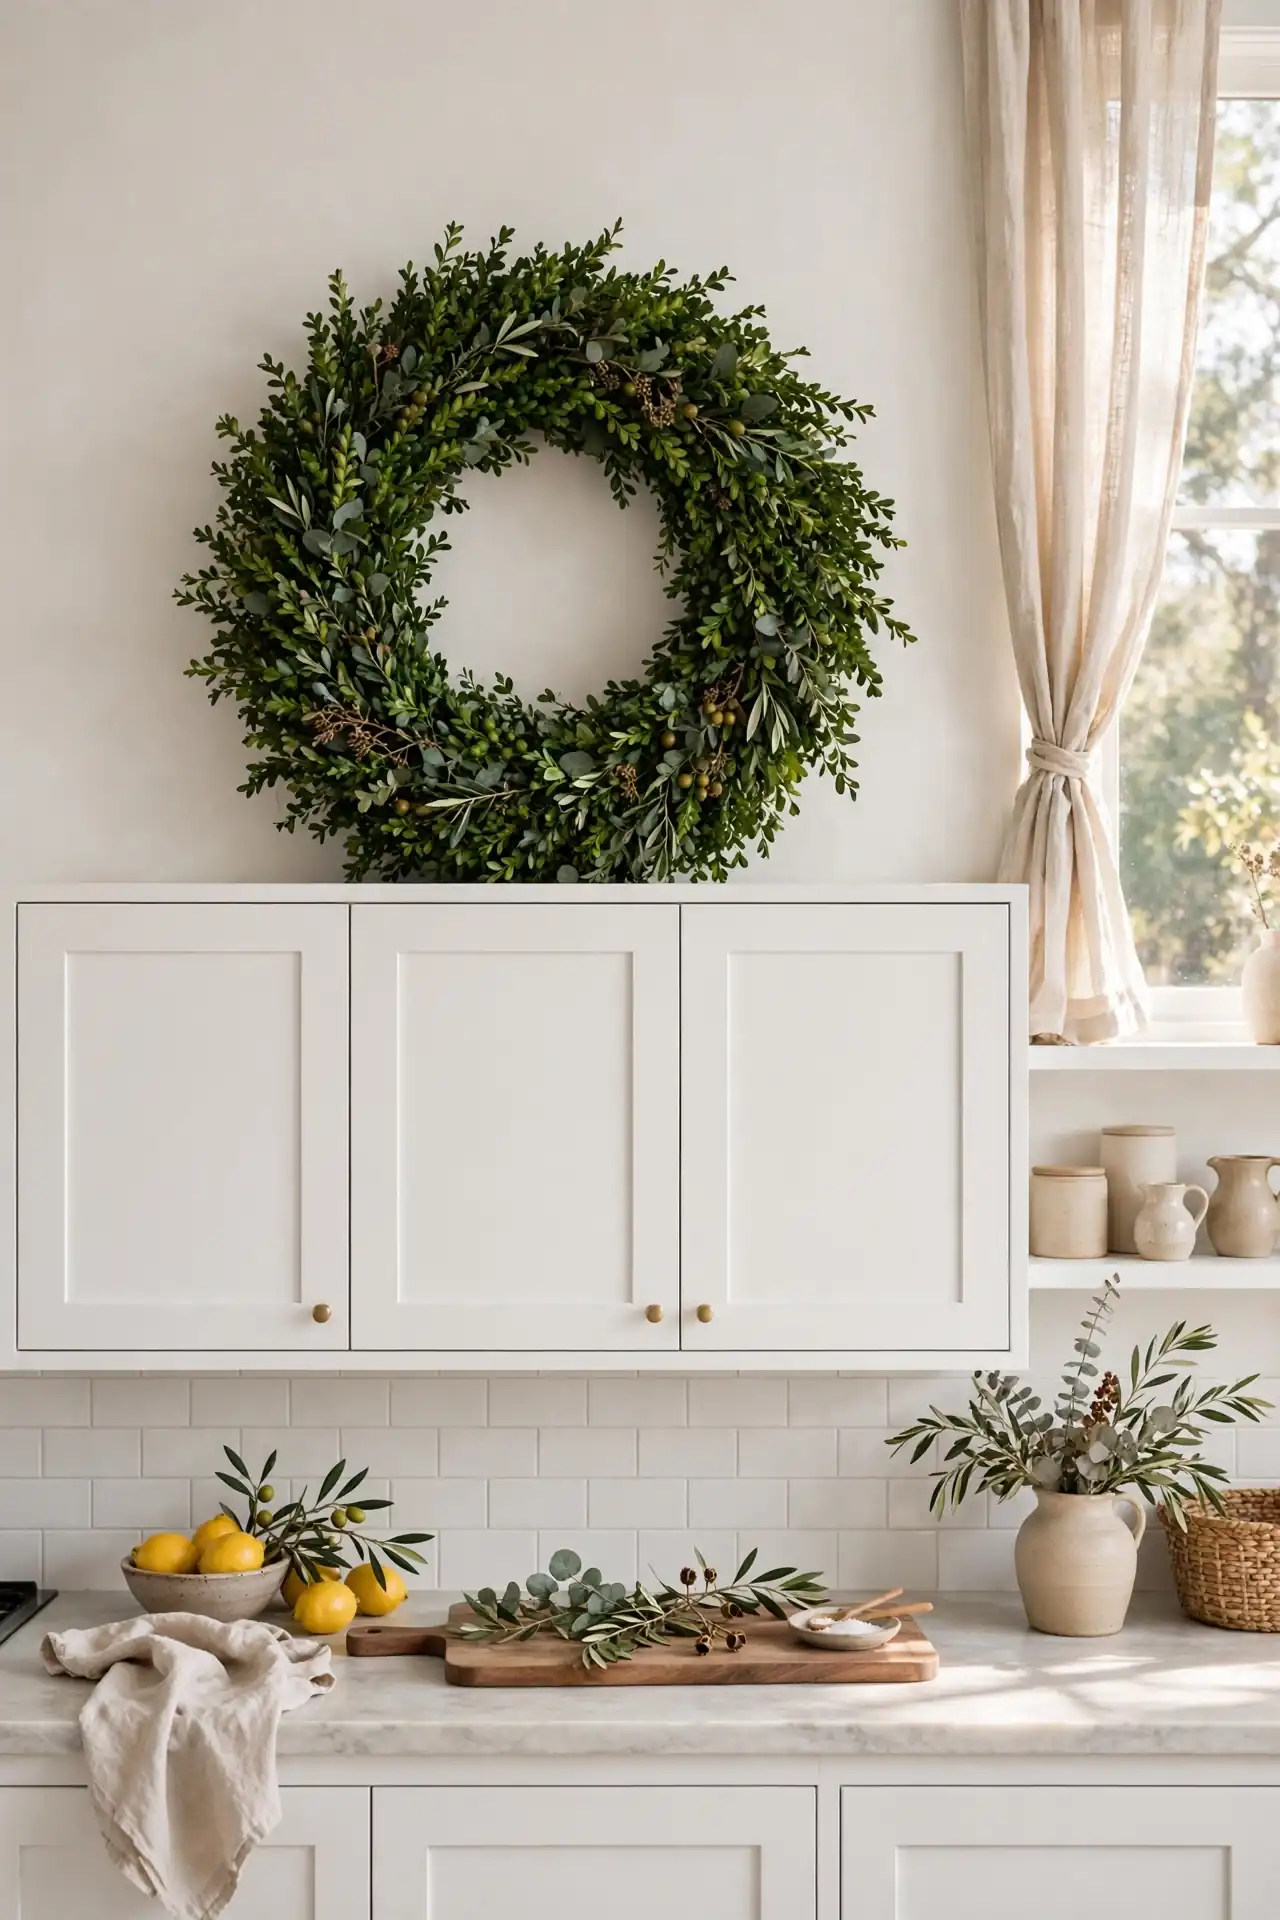
Cost: Medium | Time: One afternoon | Skill Level: Beginner | Works In: Any kitchen style
One large wreath hung or leaned above the center cabinets becomes an instant focal point. I’ve seen this work well in many cases when the wreath measures at least twenty four inches across, so it holds its own against the cabinet scale. Swap it with the seasons: boxwood for spring, dried wheat for fall, pine for winter. For the holidays, pair a pine wreath with these christmas kitchen decor ideas to tie the whole room together. Store off season wreaths in flat boxes to keep their shape year after year.
Layered Cutting Boards
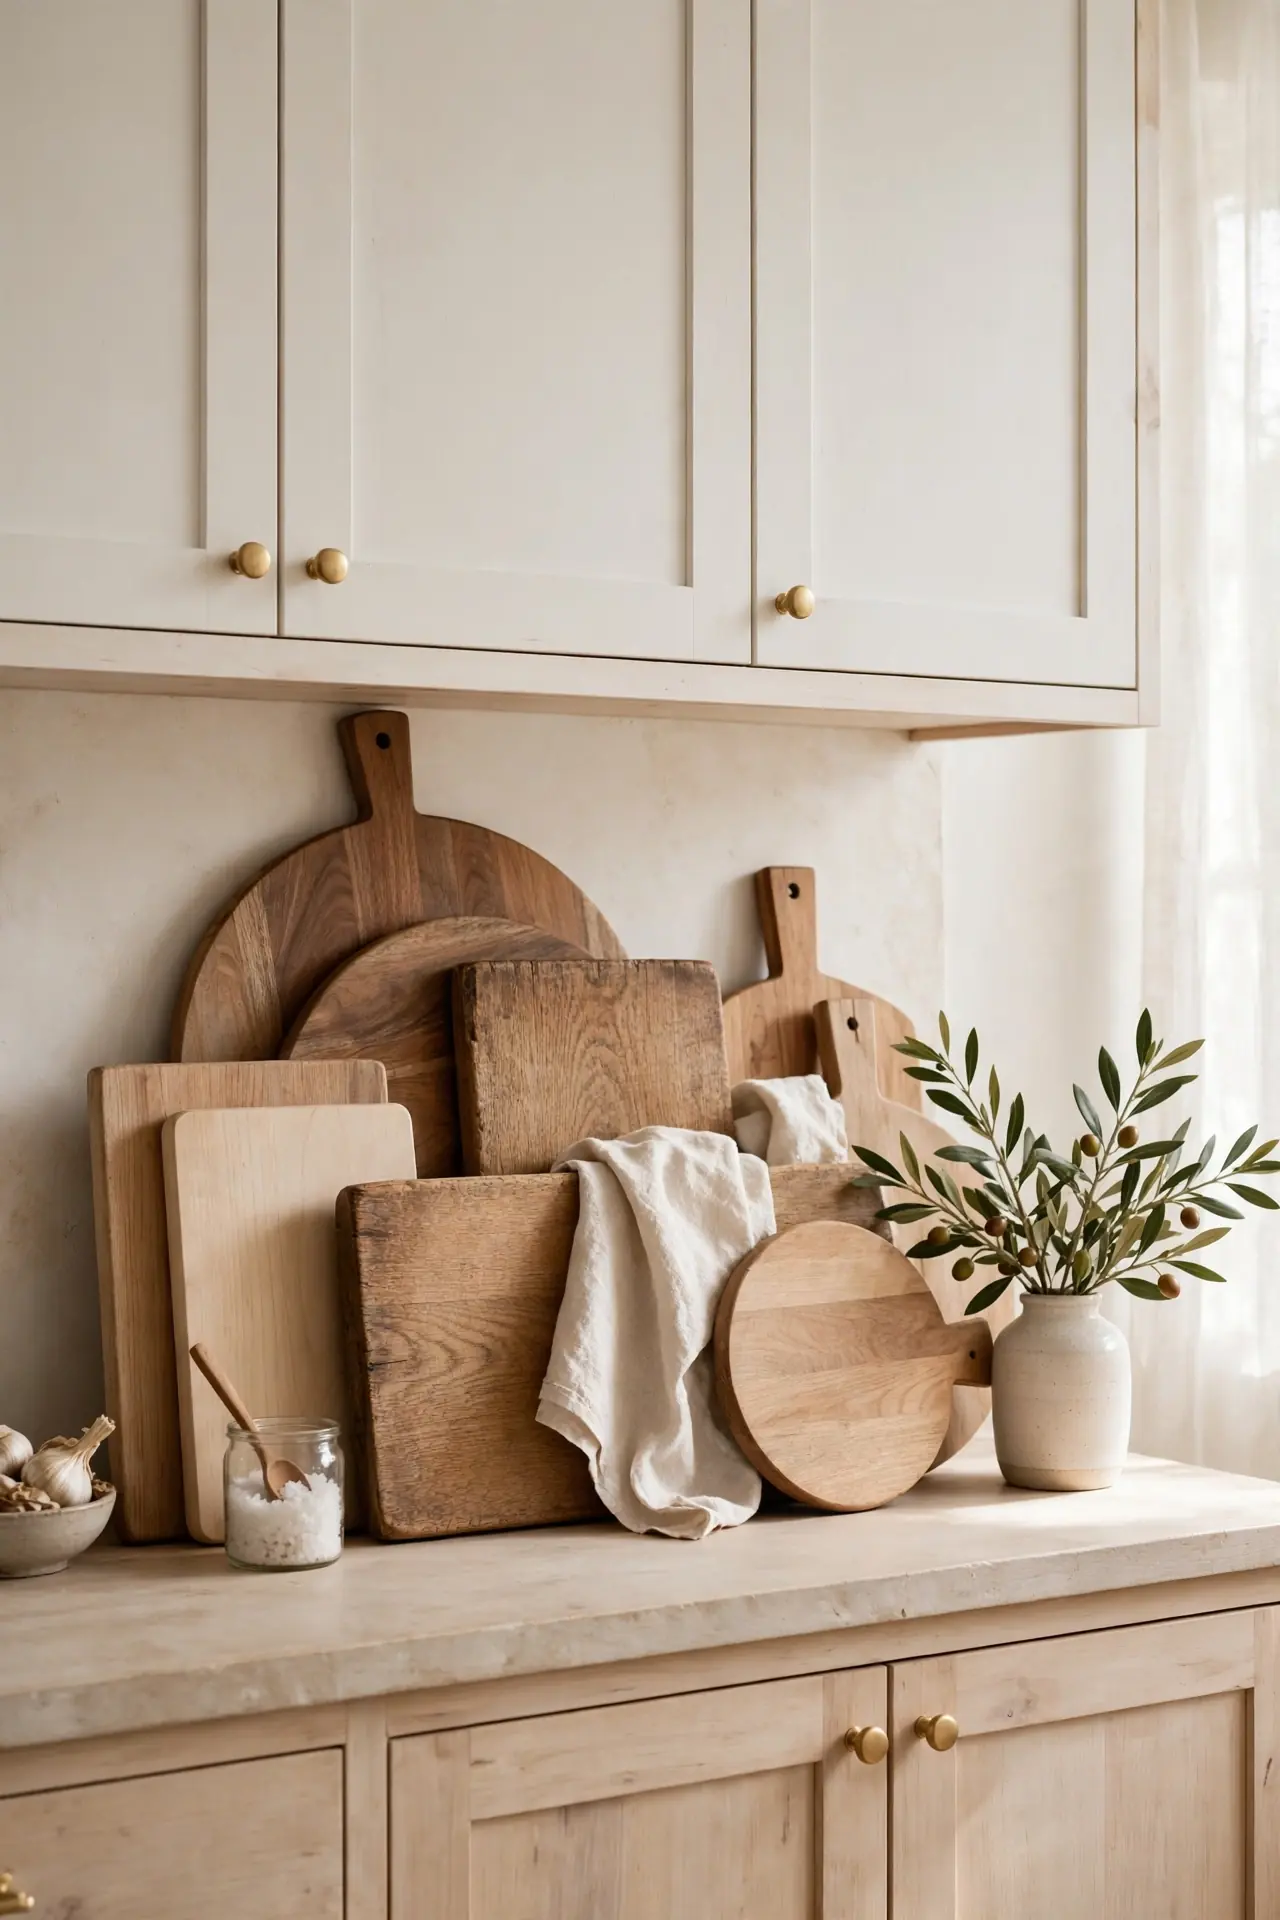
Wooden cutting boards leaned in overlapping layers add warm texture that suits almost every kitchen style. Start with the largest board at the back and step forward with smaller ones so each piece stays visible. Mix round and rectangular shapes for interest, keeping the wood tones within one warm family. Handles, juice grooves, and live edges add the character that plain rectangles lack.
Keep boards away from direct stove heat, and oil the wood twice a year so it never looks dried out. This display doubles as storage, since you can grab a board for prep whenever you need one. It works especially well in kitchens that already lean into natural materials and warm finishes. Guests will notice the texture from across the room.
Small Potted Succulents
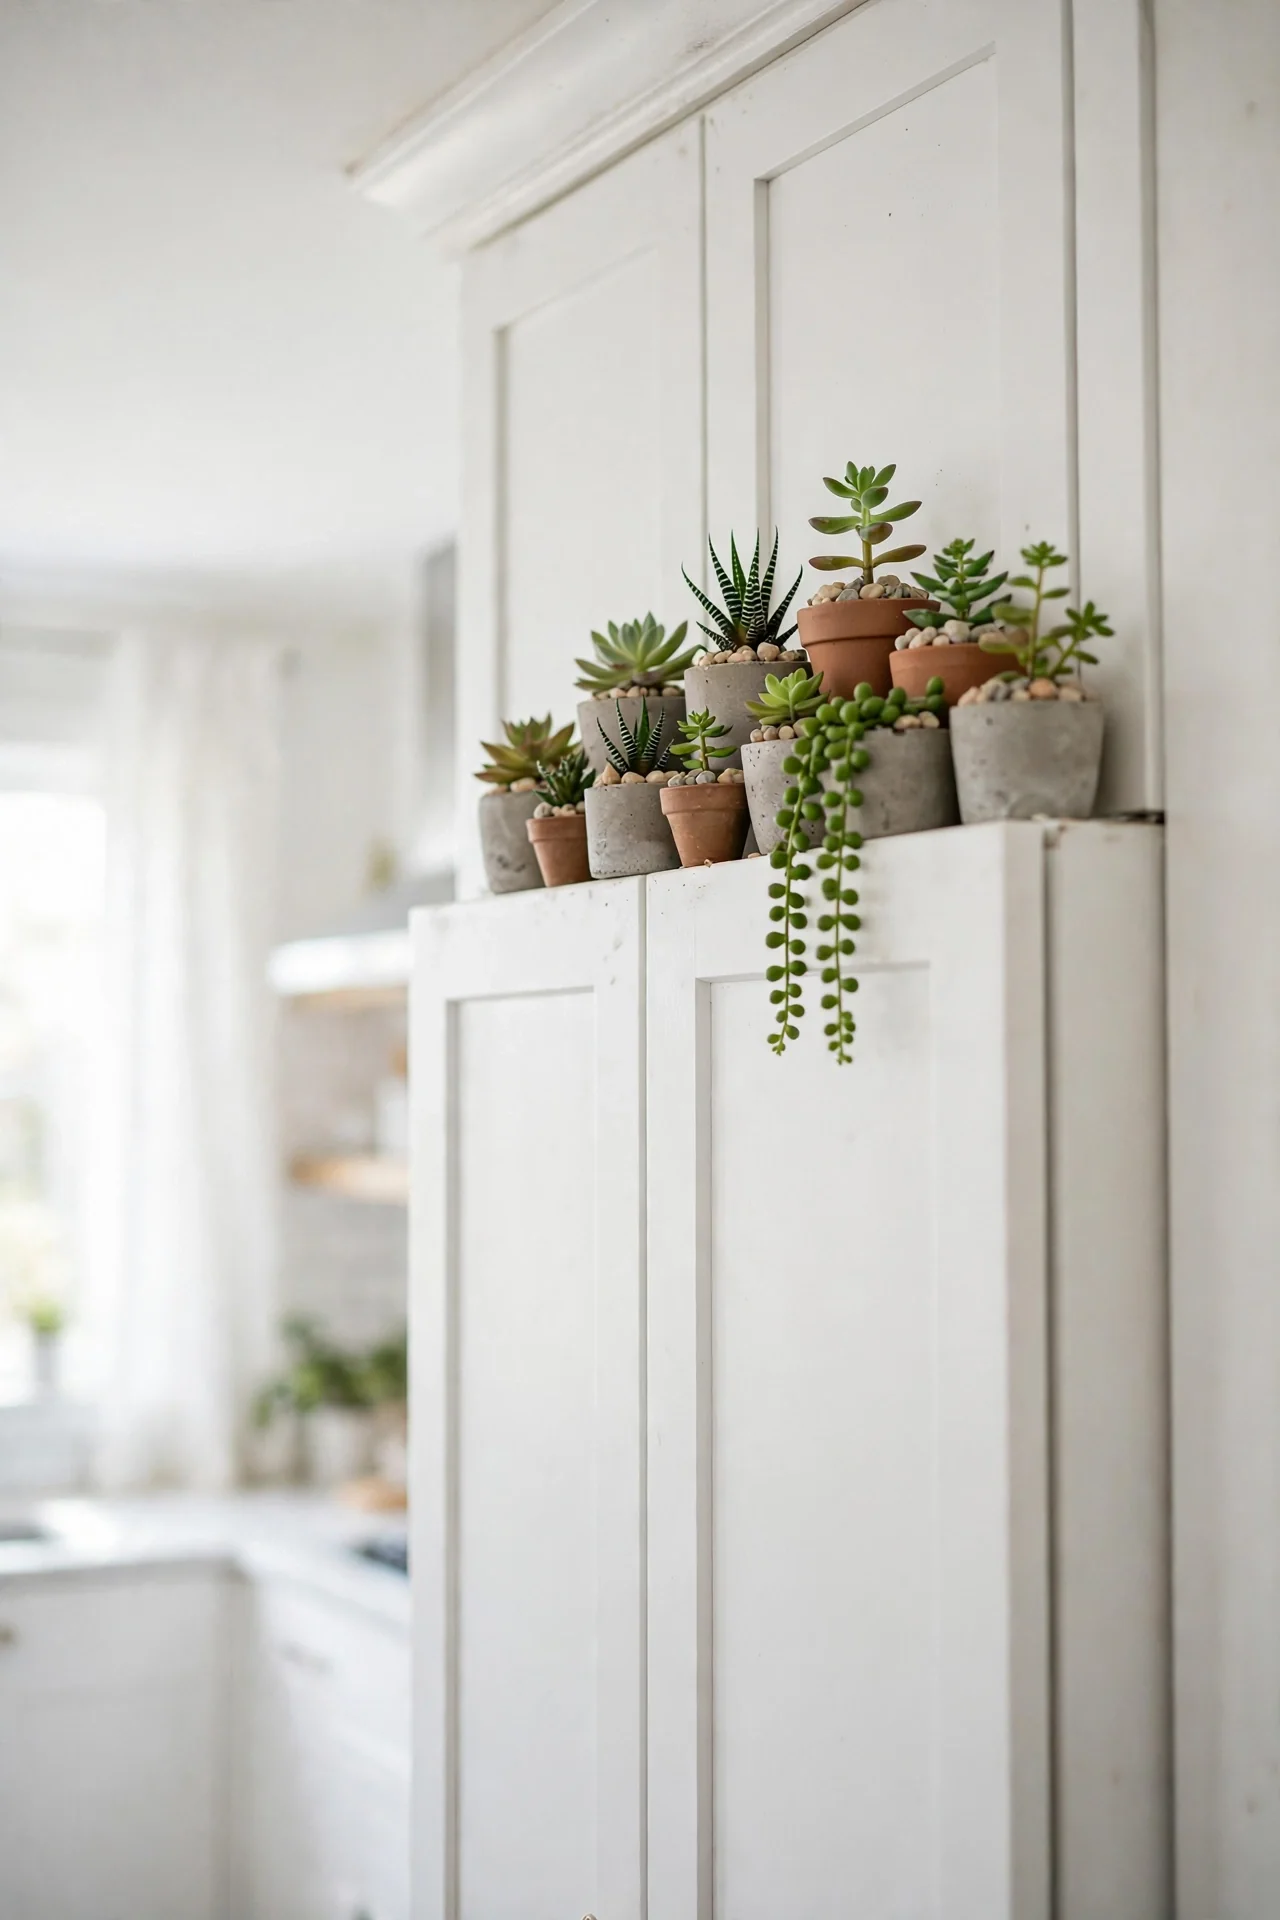
- Faux succulents in tiny concrete or clay pots survive heat and neglect without complaint.
- Cluster five to seven pots in one zone rather than dotting them across the whole run.
- Mix rosette shapes with trailing varieties for a mini garden look.
- Top the soil with faux moss or pebbles for realism.
- Keep pots small, under six inches, so the scale matches the height above cabinets.
Succulents bring a fresh, modern touch to the cabinet top without the watering demands of herbs. I’ve noticed that concrete pots in gray and white tones keep the look current and clean. Dust the leaves with a soft brush every month or two since fake plants show dust fast. This idea fits modern, boho, and Scandinavian kitchens where small details matter most.
Statement Clock Above
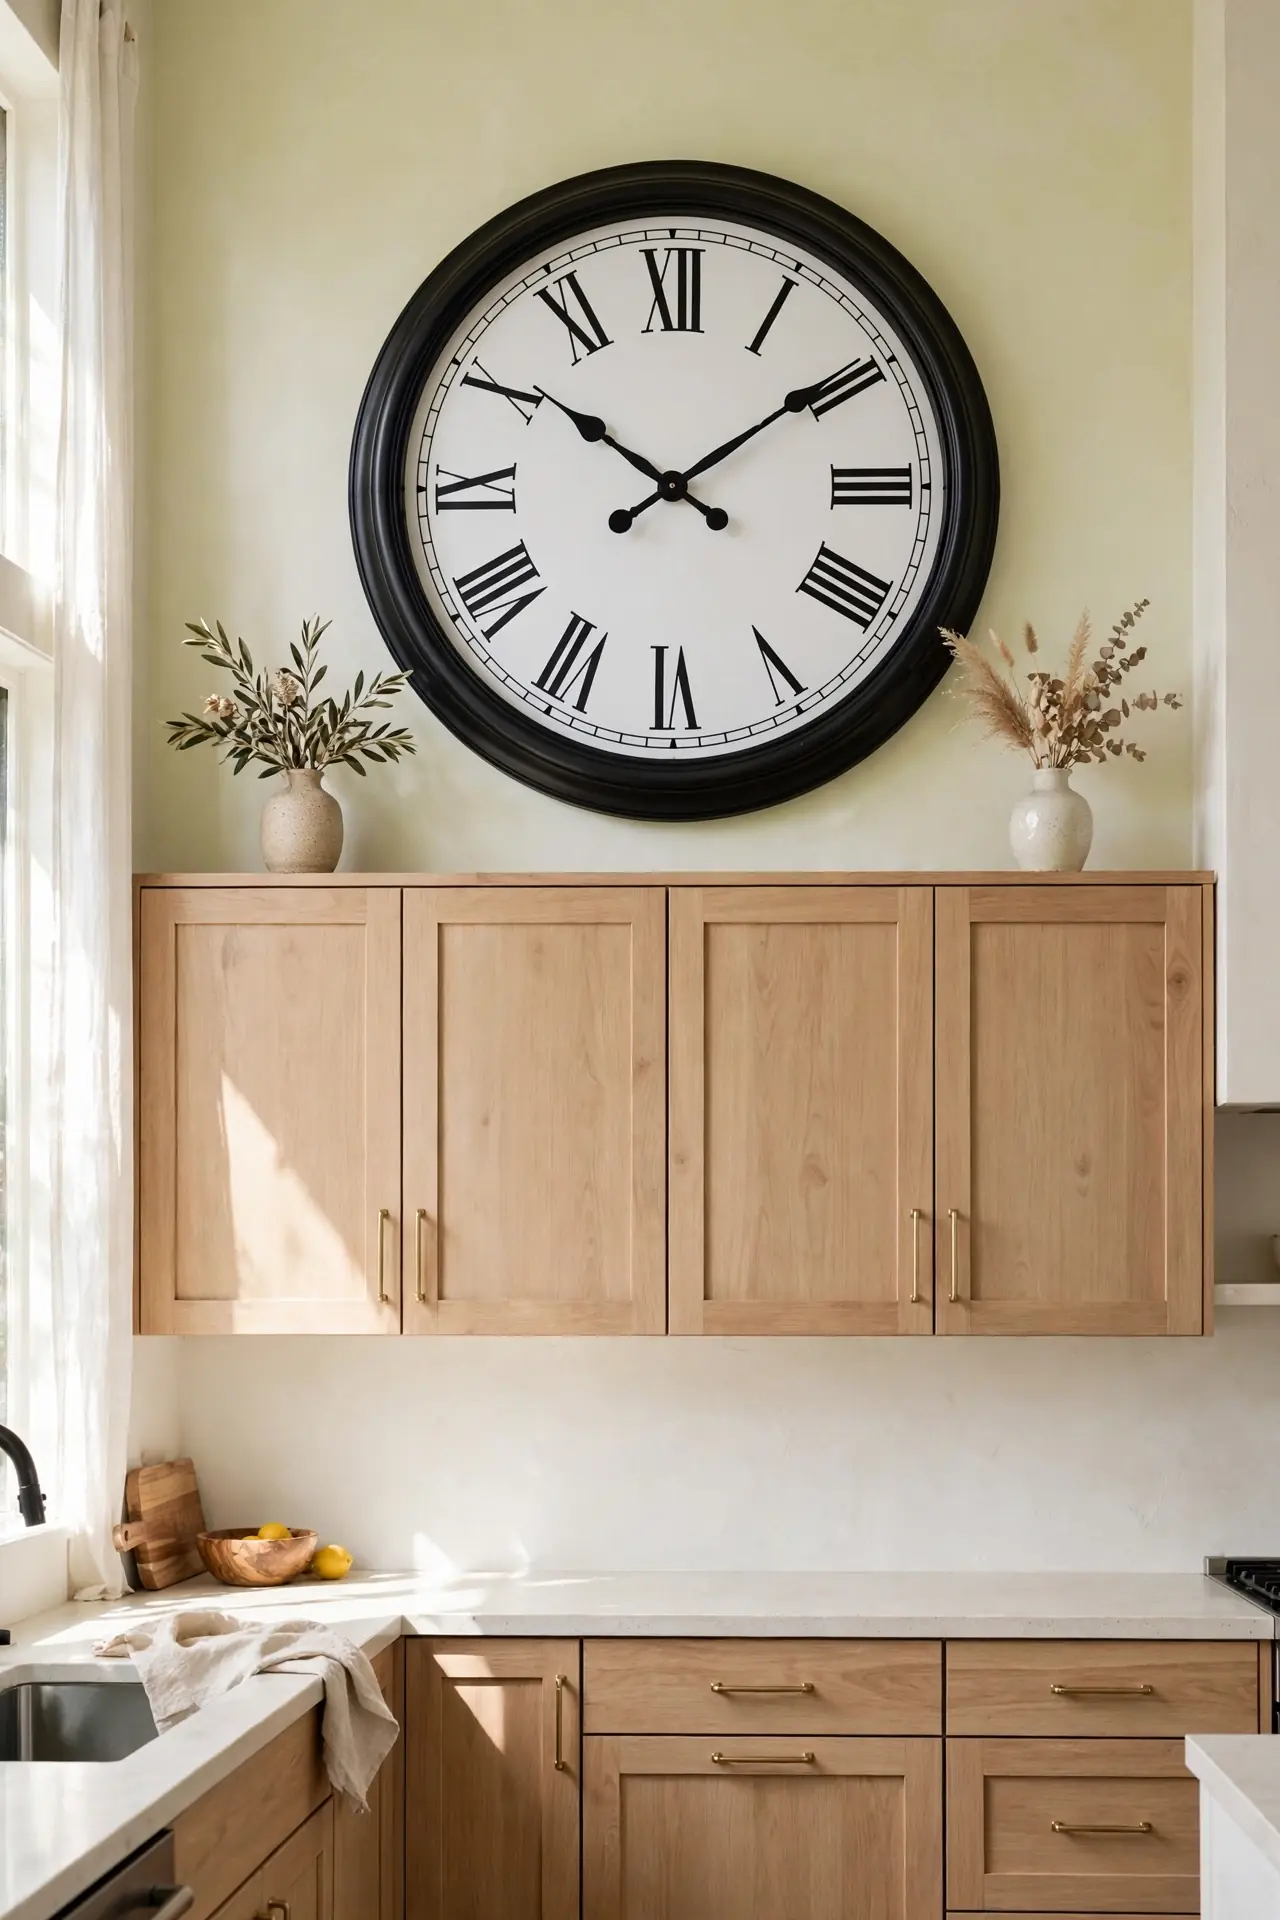
Quick Tip: Hang or lean one oversized clock, at least twenty inches across, centered over the main cabinet run. Make sure the face reads clearly from the kitchen entrance so it works as a real timepiece. One bold clock beats a wall of small frames.
A bold clock turns the cabinet top into a functional focal point instead of just a shelf. I’ve seen this work well in many cases when the clock frame echoes the cabinet hardware, tying the whole wall together. Flank the clock with two matching objects, like small vases or plants, for balance. Battery clocks need a yearly battery swap, so pick a date you will remember.
Neutral Linen Baskets
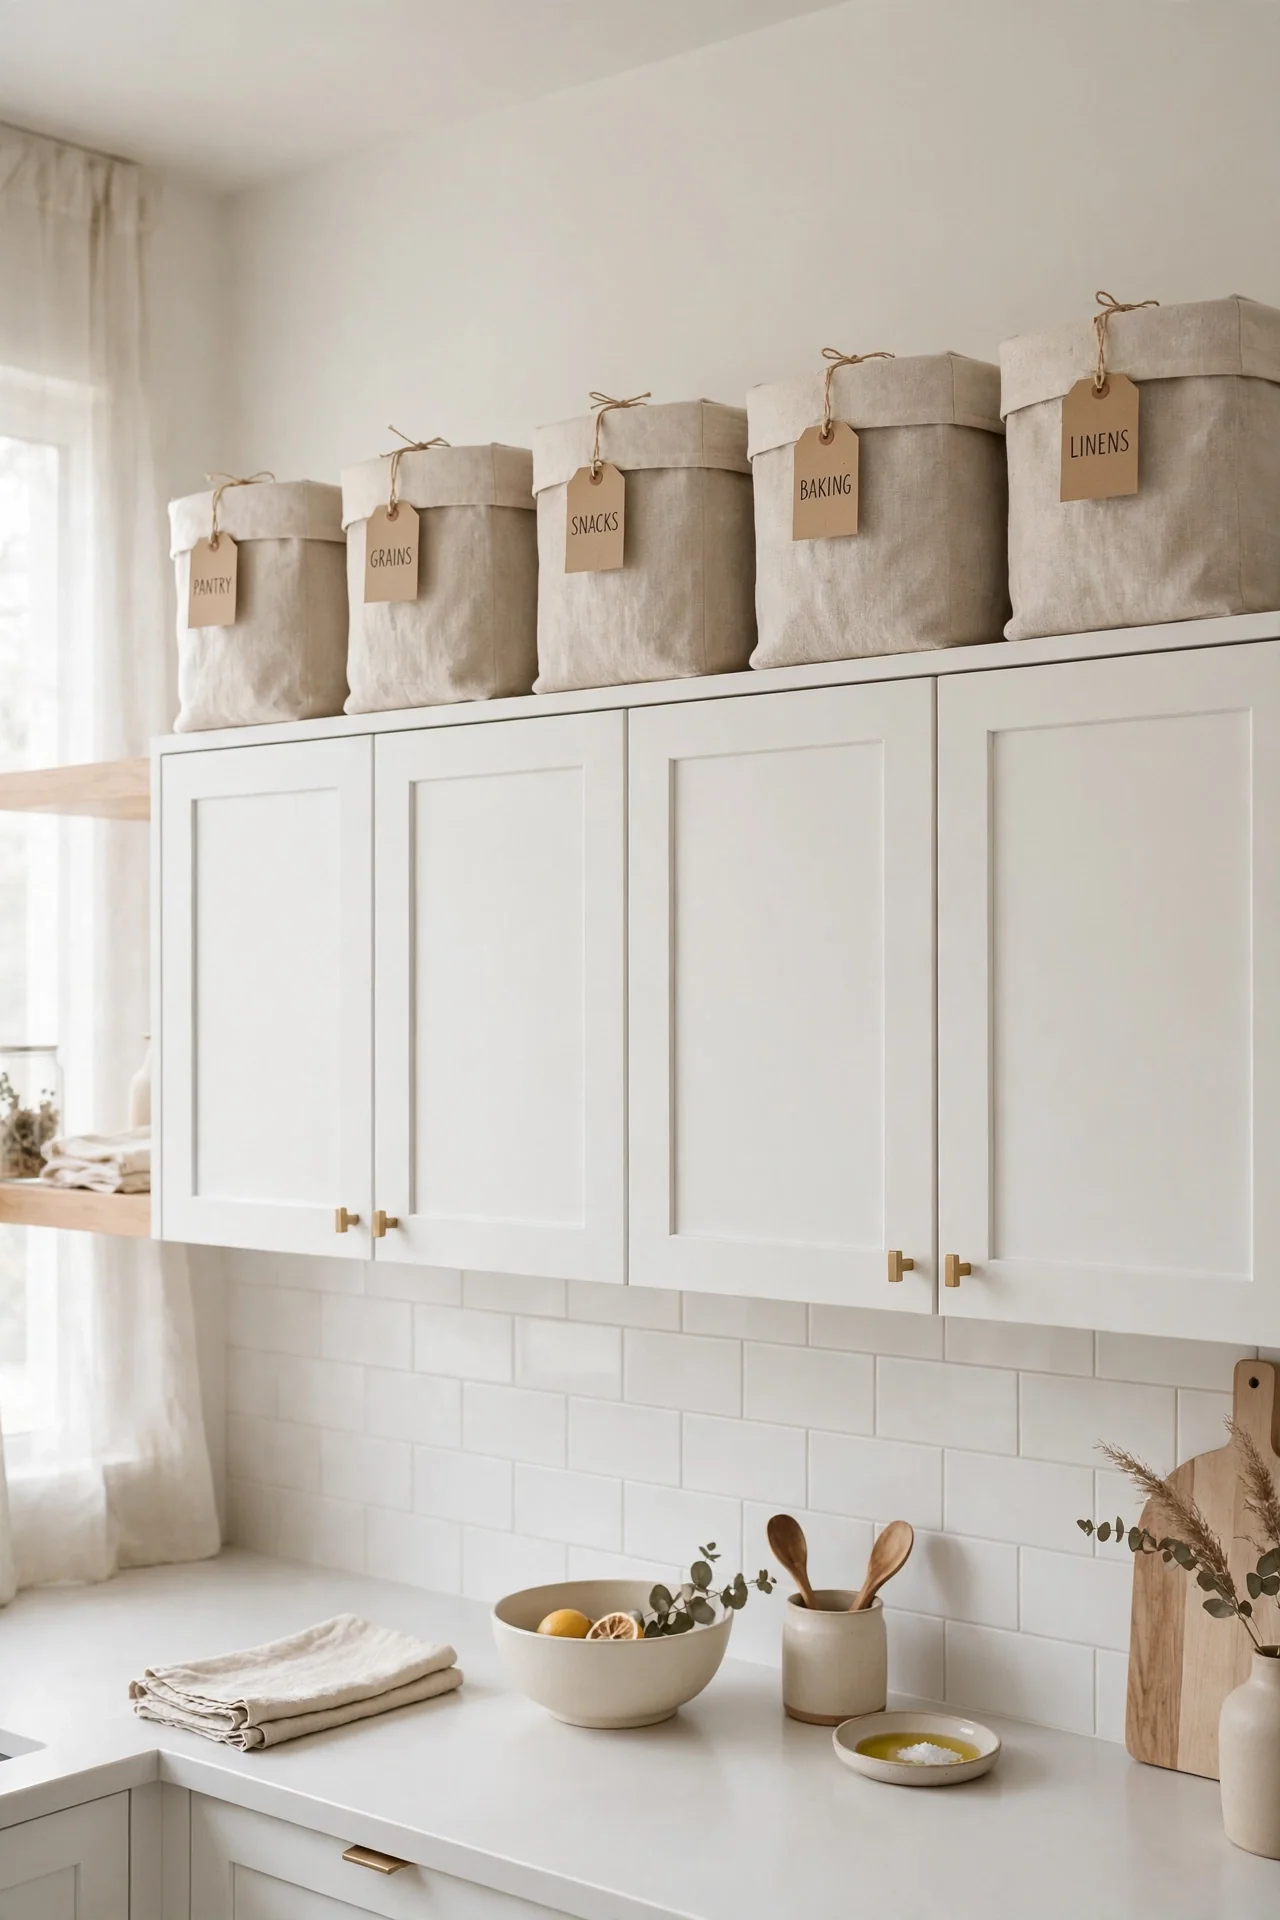
BEFORE: The cabinet tops held a jumble of mismatched boxes and old small appliances that made the kitchen look chaotic from the doorway. Every glance upward added to the visual noise instead of calming it.
AFTER: Matching linen covered baskets now hide all the clutter behind soft, uniform fronts. The tops look tidy and intentional, and grabbing a basket down is easier than digging through loose items.
Linen baskets work hardest in kitchens that need hidden storage more than display. Choose baskets with lids to keep dust out, and keep the lids in matching fabric for a clean line. Label the front with small tags so family members return items to the right spot. Keep everyday items in the baskets closest to the counter edge for easy reach.
Fairy Light Garlands
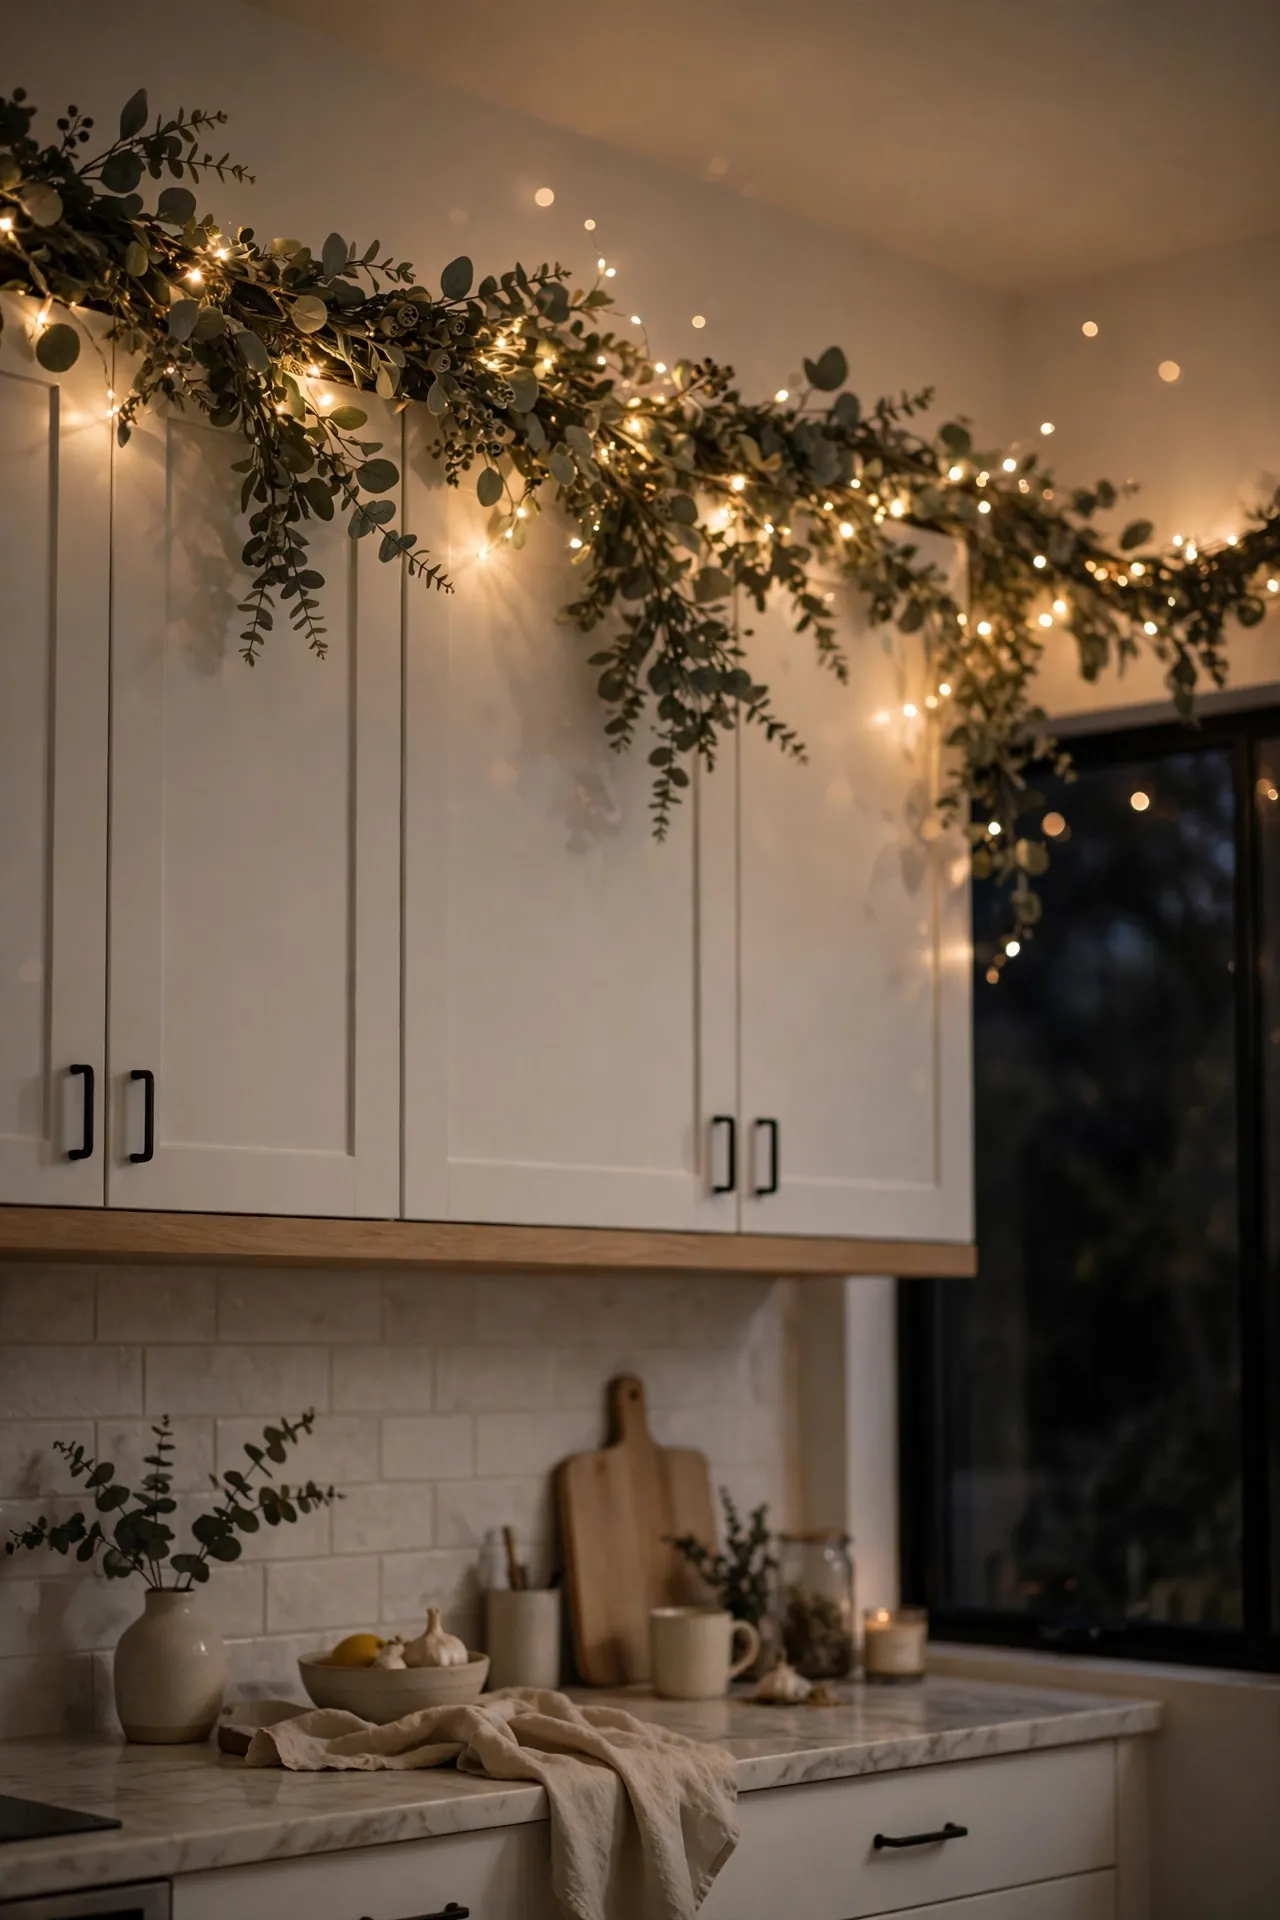
- String one strand of warm white fairy lights along the back of the cabinet top.
- Weave the strand through a simple faux eucalyptus garland for softness.
- Plug the lights into a timer so they glow every evening without a thought.
- Keep the cord hidden behind the garland and secure it with small adhesive clips.
Fairy lights add a magical evening glow that makes the kitchen feel special all year. In my experience, warm white strands beat multicolor ones for everyday use because they flatter every decor style. Choose battery lights if no outlet sits nearby, and keep spare batteries on hand. This finishing touch works in every kitchen from farmhouse to ultra modern.
Conclusion
The space above your kitchen cabinets deserves better than dust and empty air. Each of these 21 ideas gives that forgotten ledge a real job, whether it stores clutter in pretty baskets or glows softly with candles at night. I’ve seen how small changes like these can completely shift the way a space feels. Start with one idea this weekend, and remember that great decorating above kitchen cabinets is simply styling with intention. Save your favorites on Pinterest, share this guide with a friend who needs it, and enjoy your stunning new finish.
One Comment