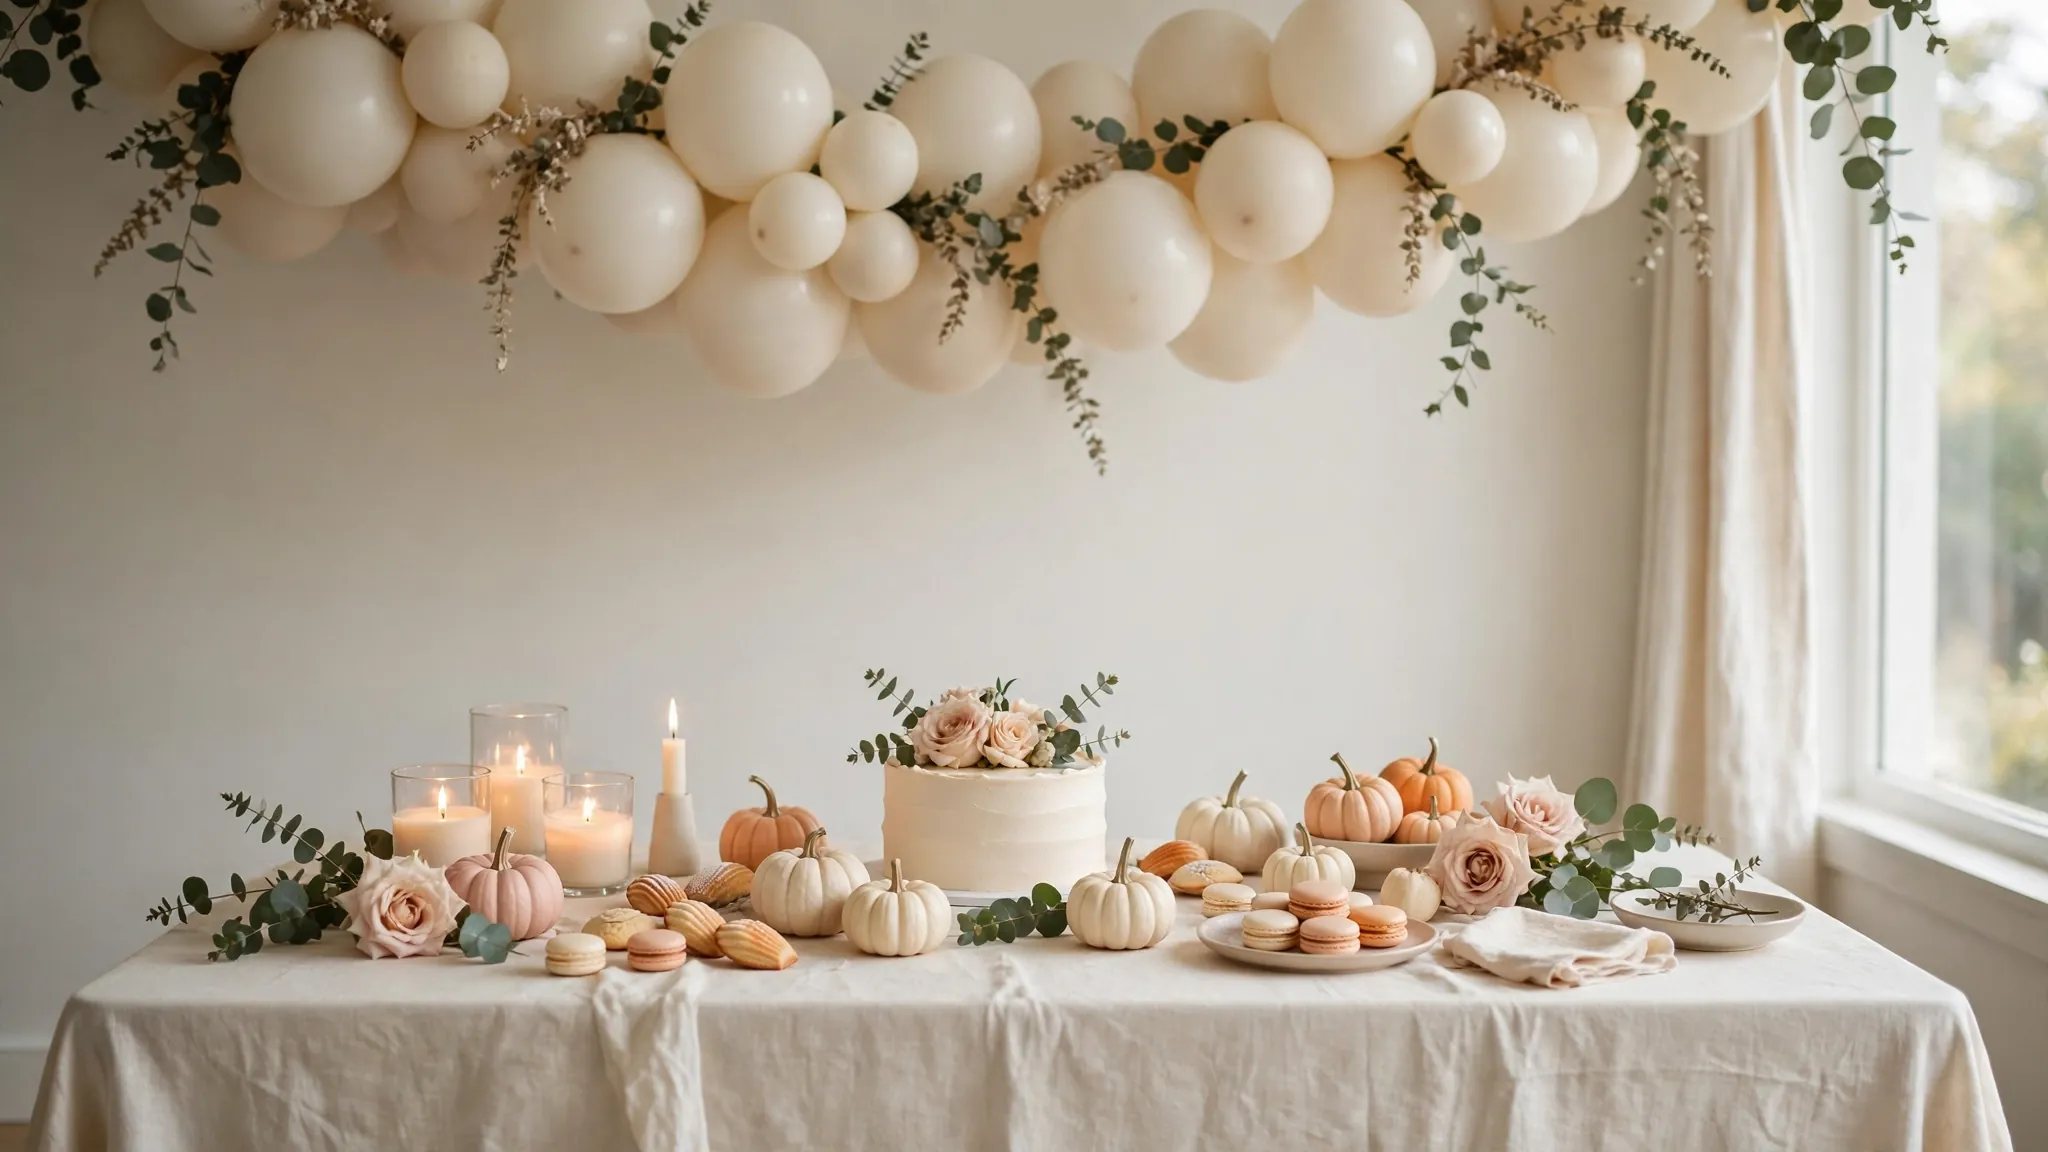
20 Pumpkin Baby Shower Theme Ideas for an Adorable Celebration
Planning a fall baby shower feels extra special, and a pumpkin baby shower theme brings the coziest seasonal charm to the celebration. In my experience, guests light up when they walk into a room filled with soft creams, blush pumpkins, and glowing candlelight. This style works beautifully for autumn due dates, but the neutral palette keeps it elegant rather than over-the-top Halloween. You will find 20 adorable ideas below, from tiny pumpkin centerpieces to a dreamy photo backdrop. Each one is simple to recreate, budget-friendly, and made to photograph beautifully for Pinterest-worthy memories.
Table styling ties everything together, so borrow inspiration from our fall tablescape ideas for layering linens, candles, and natural textures. I have seen hosts mix one standout piece, like a pumpkin arch, with simple repeats across the tables for a pulled-together look. Keep the palette tight: creams, soft blush, sage, and warm gold photograph best. The ideas ahead walk you through every detail, from the welcome sign to the farewell favors, so your celebration feels thoughtful from start to finish.
Tiny Pumpkin Centerpieces
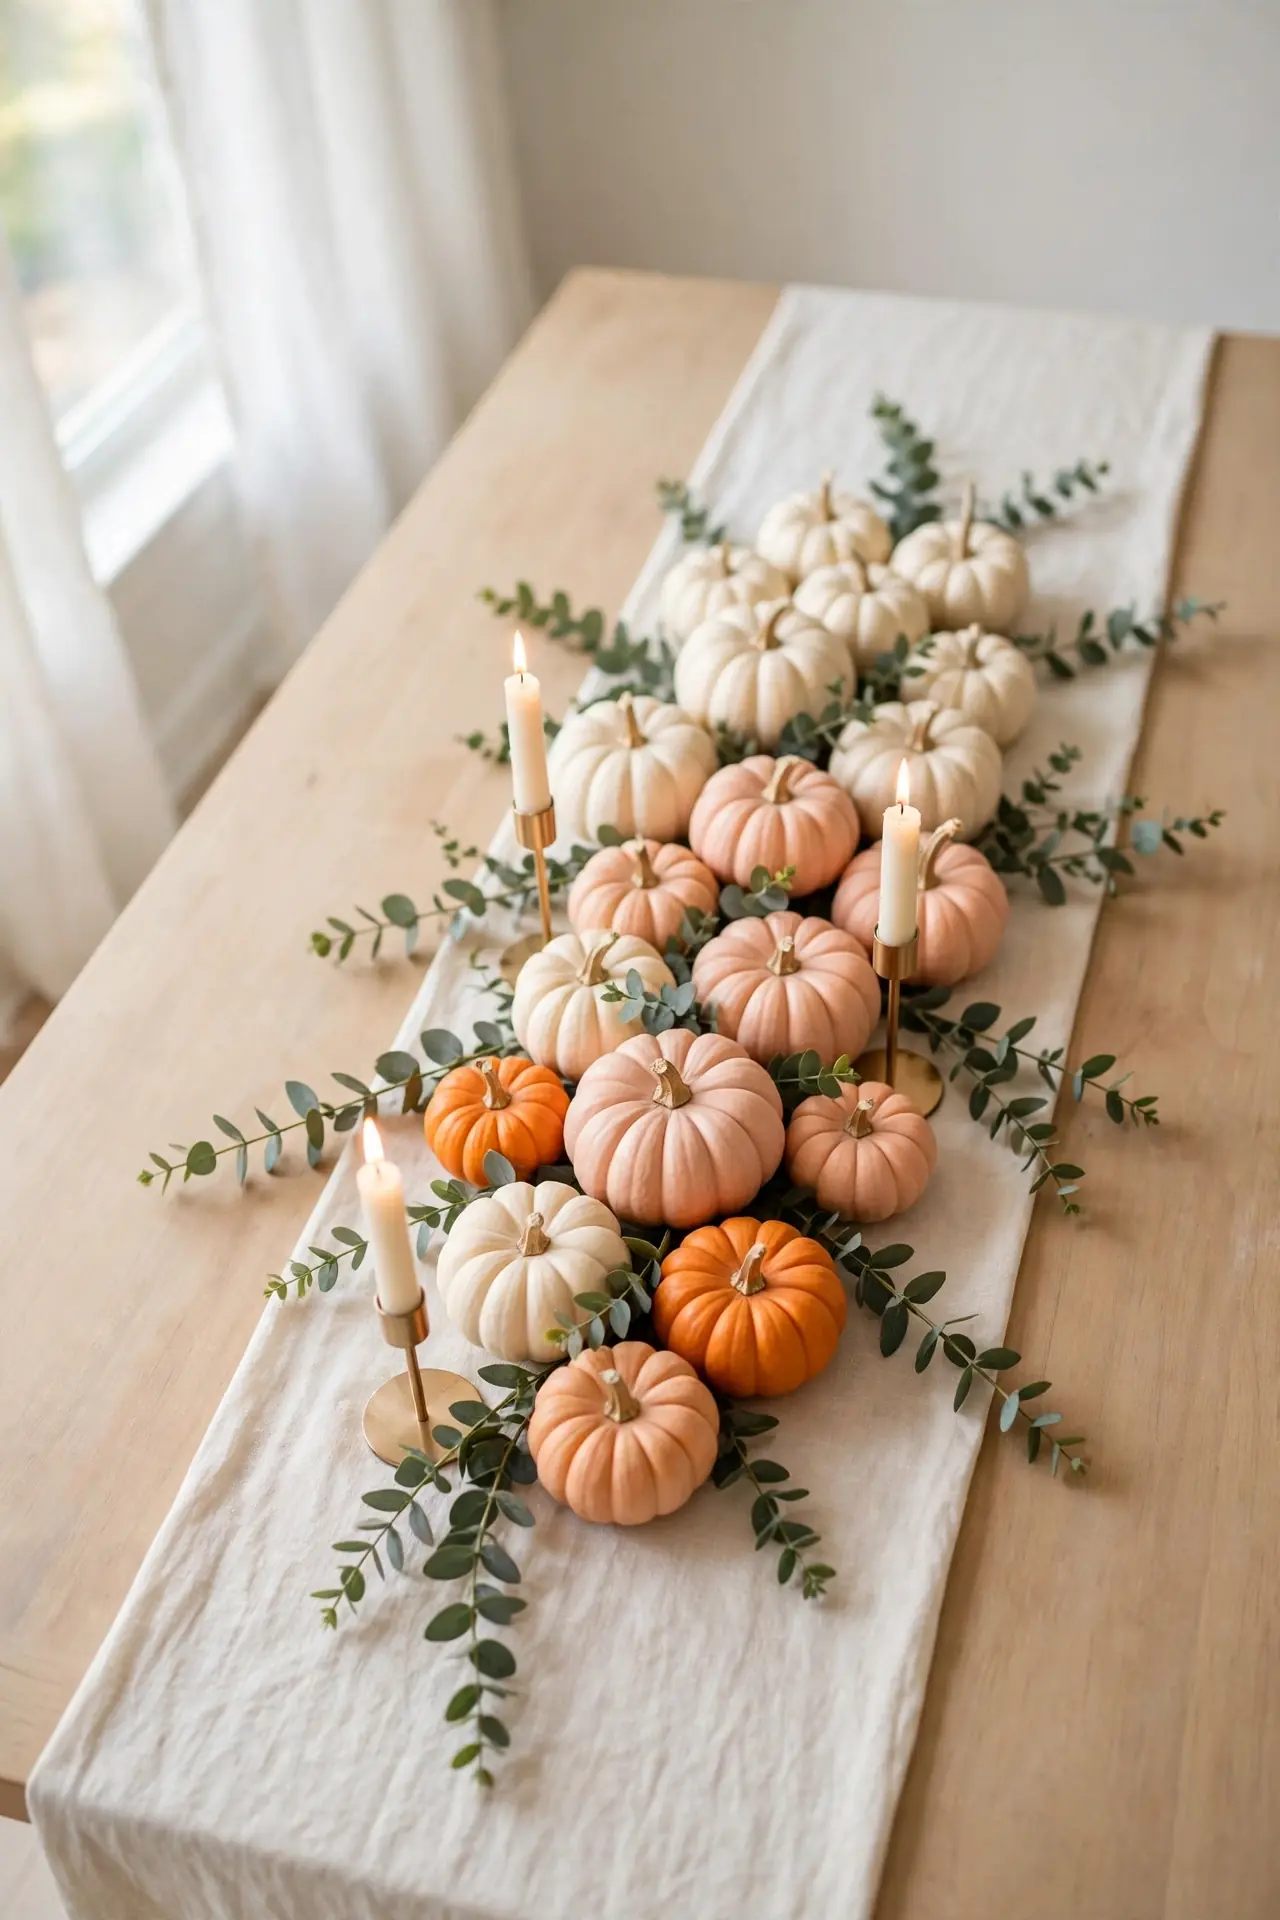
A cluster of tiny pumpkins down the center of each table sets the tone before guests even sit down. Mix white, blush, and soft orange minis with eucalyptus sprigs and a few taper candles for height. Odd numbers look best, so group three or five pumpkins per table and vary their sizes. A linen runner underneath keeps the look soft and pulled together.
Real mini pumpkins cost very little at farm stands and last for weeks indoors. For a longer-lasting option, paint faux pumpkins in matte cream and blush to match your palette exactly. In my experience, mixing real and faux keeps the budget low while the look stays rich. Finish with a few scattered leaves or baby’s breath for a soft, gathered feel.
Blush Welcome Sign
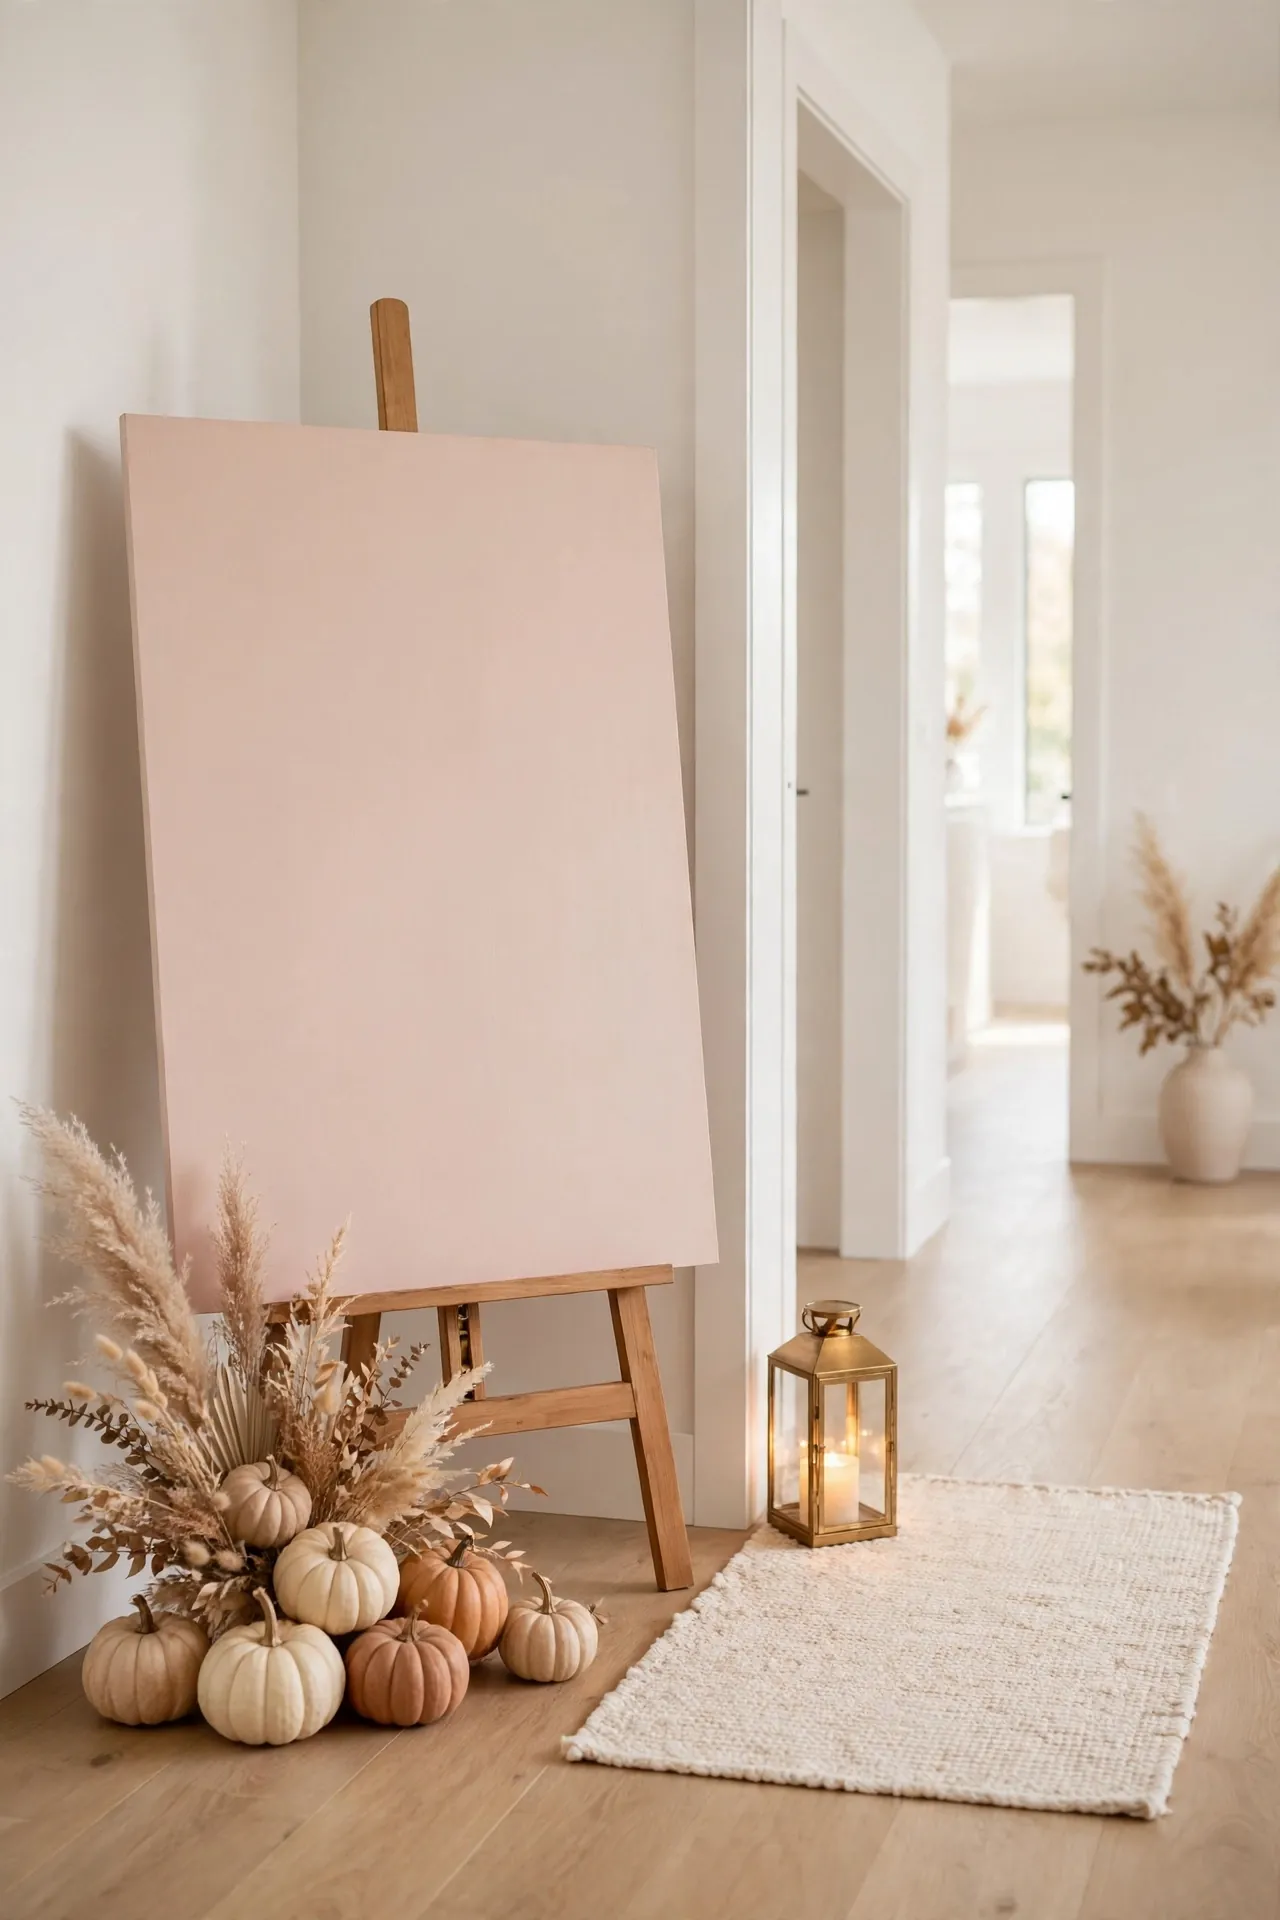
- Place a large wooden or acrylic sign at the entrance with the mama-to-be’s name and shower date in soft script.
- Surround the base with mini pumpkins, pampas grass, and a small lantern for a warm first impression.
- Add a tiny pumpkin with a little tag so guests know they are in the right place.
- Keep the sign readable from a distance: large lettering beats ornate details every time.
A welcome sign doubles as a photo spot when styled well. Set it where natural light hits so arriving guests snap pictures right away. This single touch makes the whole event feel intentional and planned. Choose blush tones to soften the autumn palette.
A Little Pumpkin Patch
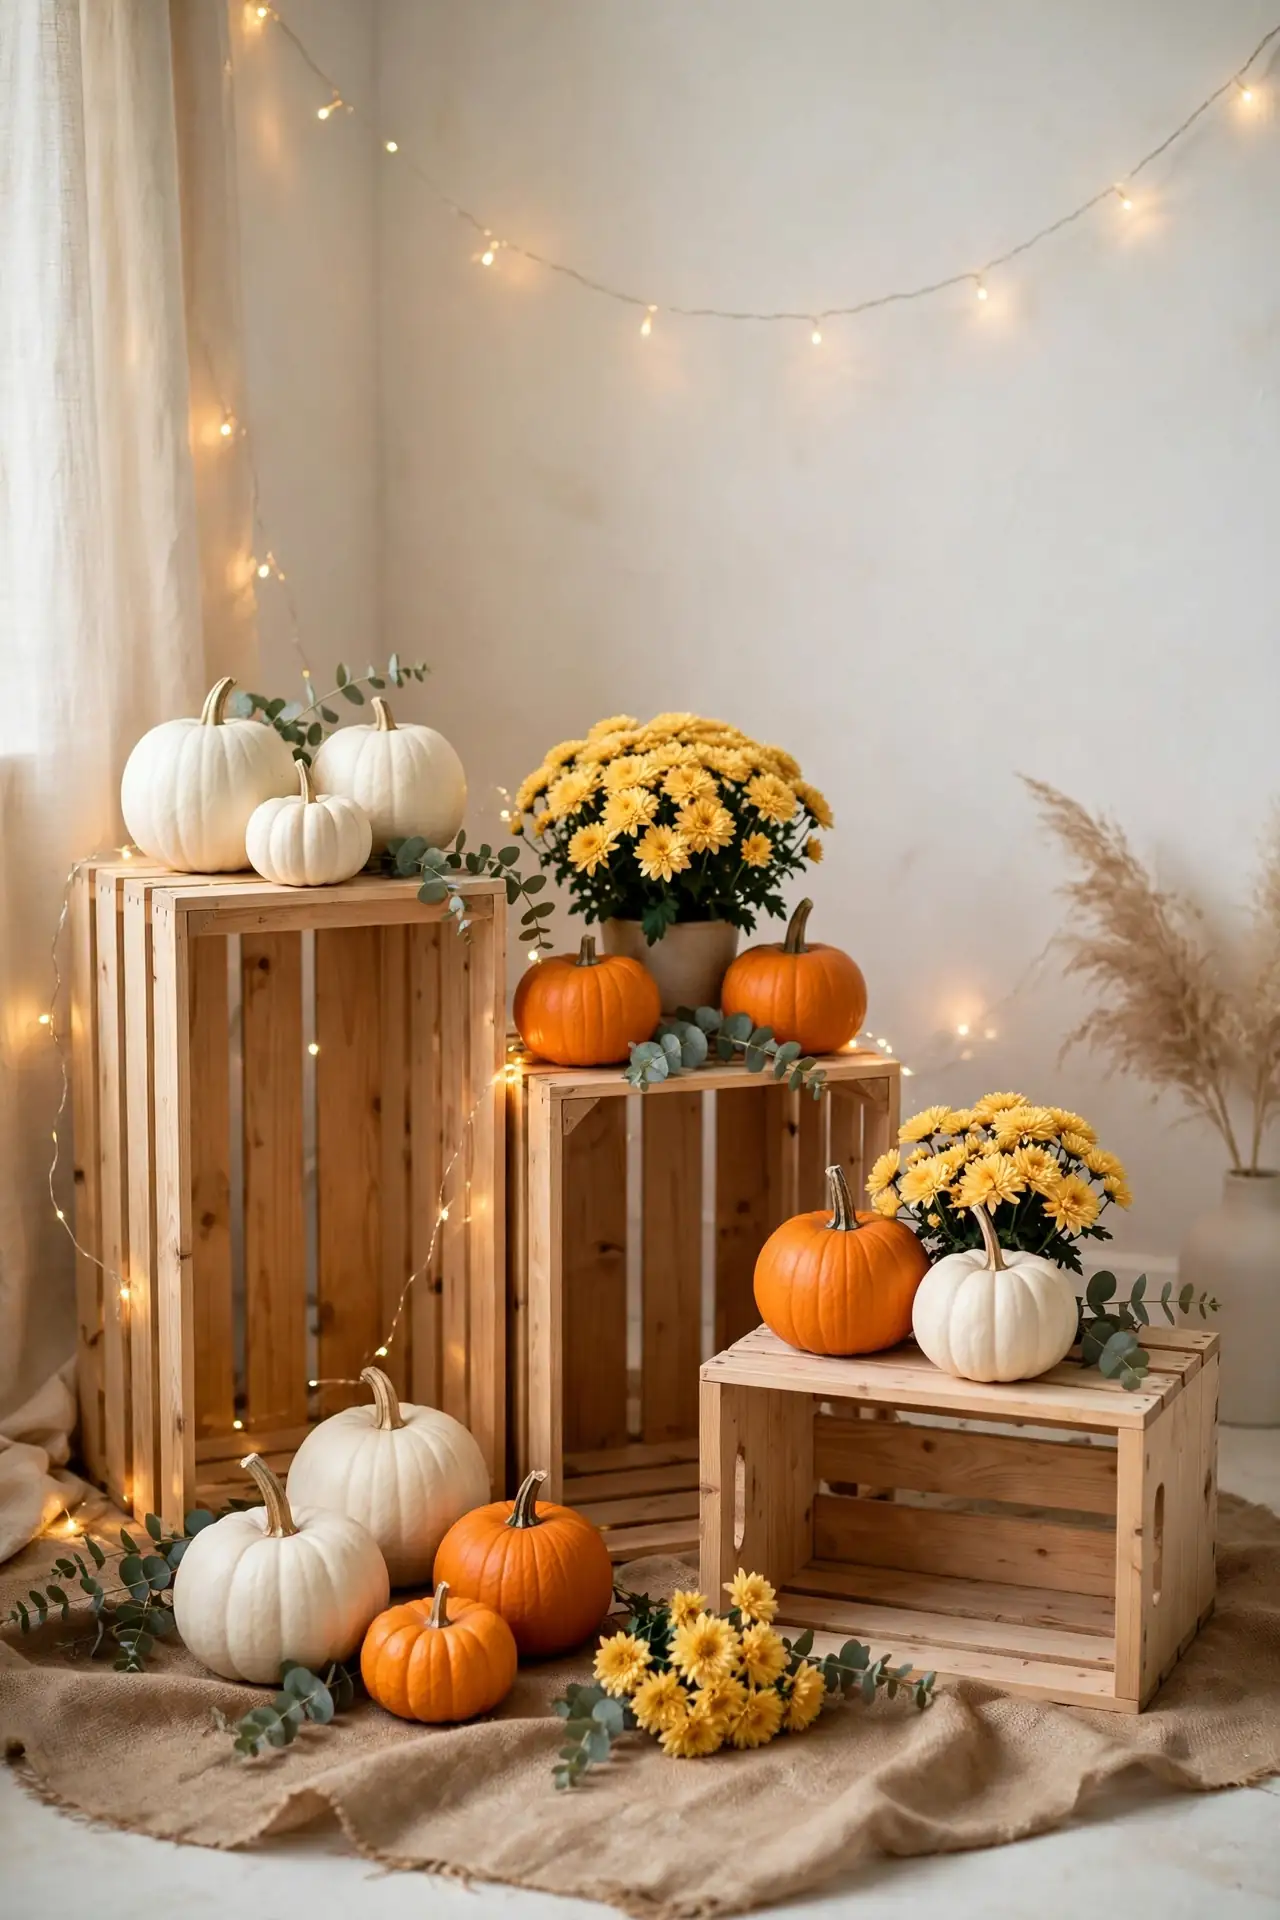
Quick Tip: Build the patch in a corner or along one wall so it reads as a styled vignette, not clutter. Layer hay bales or wooden crates at different heights, then fill gaps with pumpkins, mums, and fairy lights.
Guests love a dedicated spot to take photos, and a mini pumpkin patch delivers it. Start with a neutral base like a cream rug or burlap cloth so the pumpkins pop. Stack crates at the back for height, place the largest pumpkins low and forward, and tuck mums between them for color. Add a small sign reading “our little pumpkin is on the way” to personalize the scene.
Cream and Sage Palette
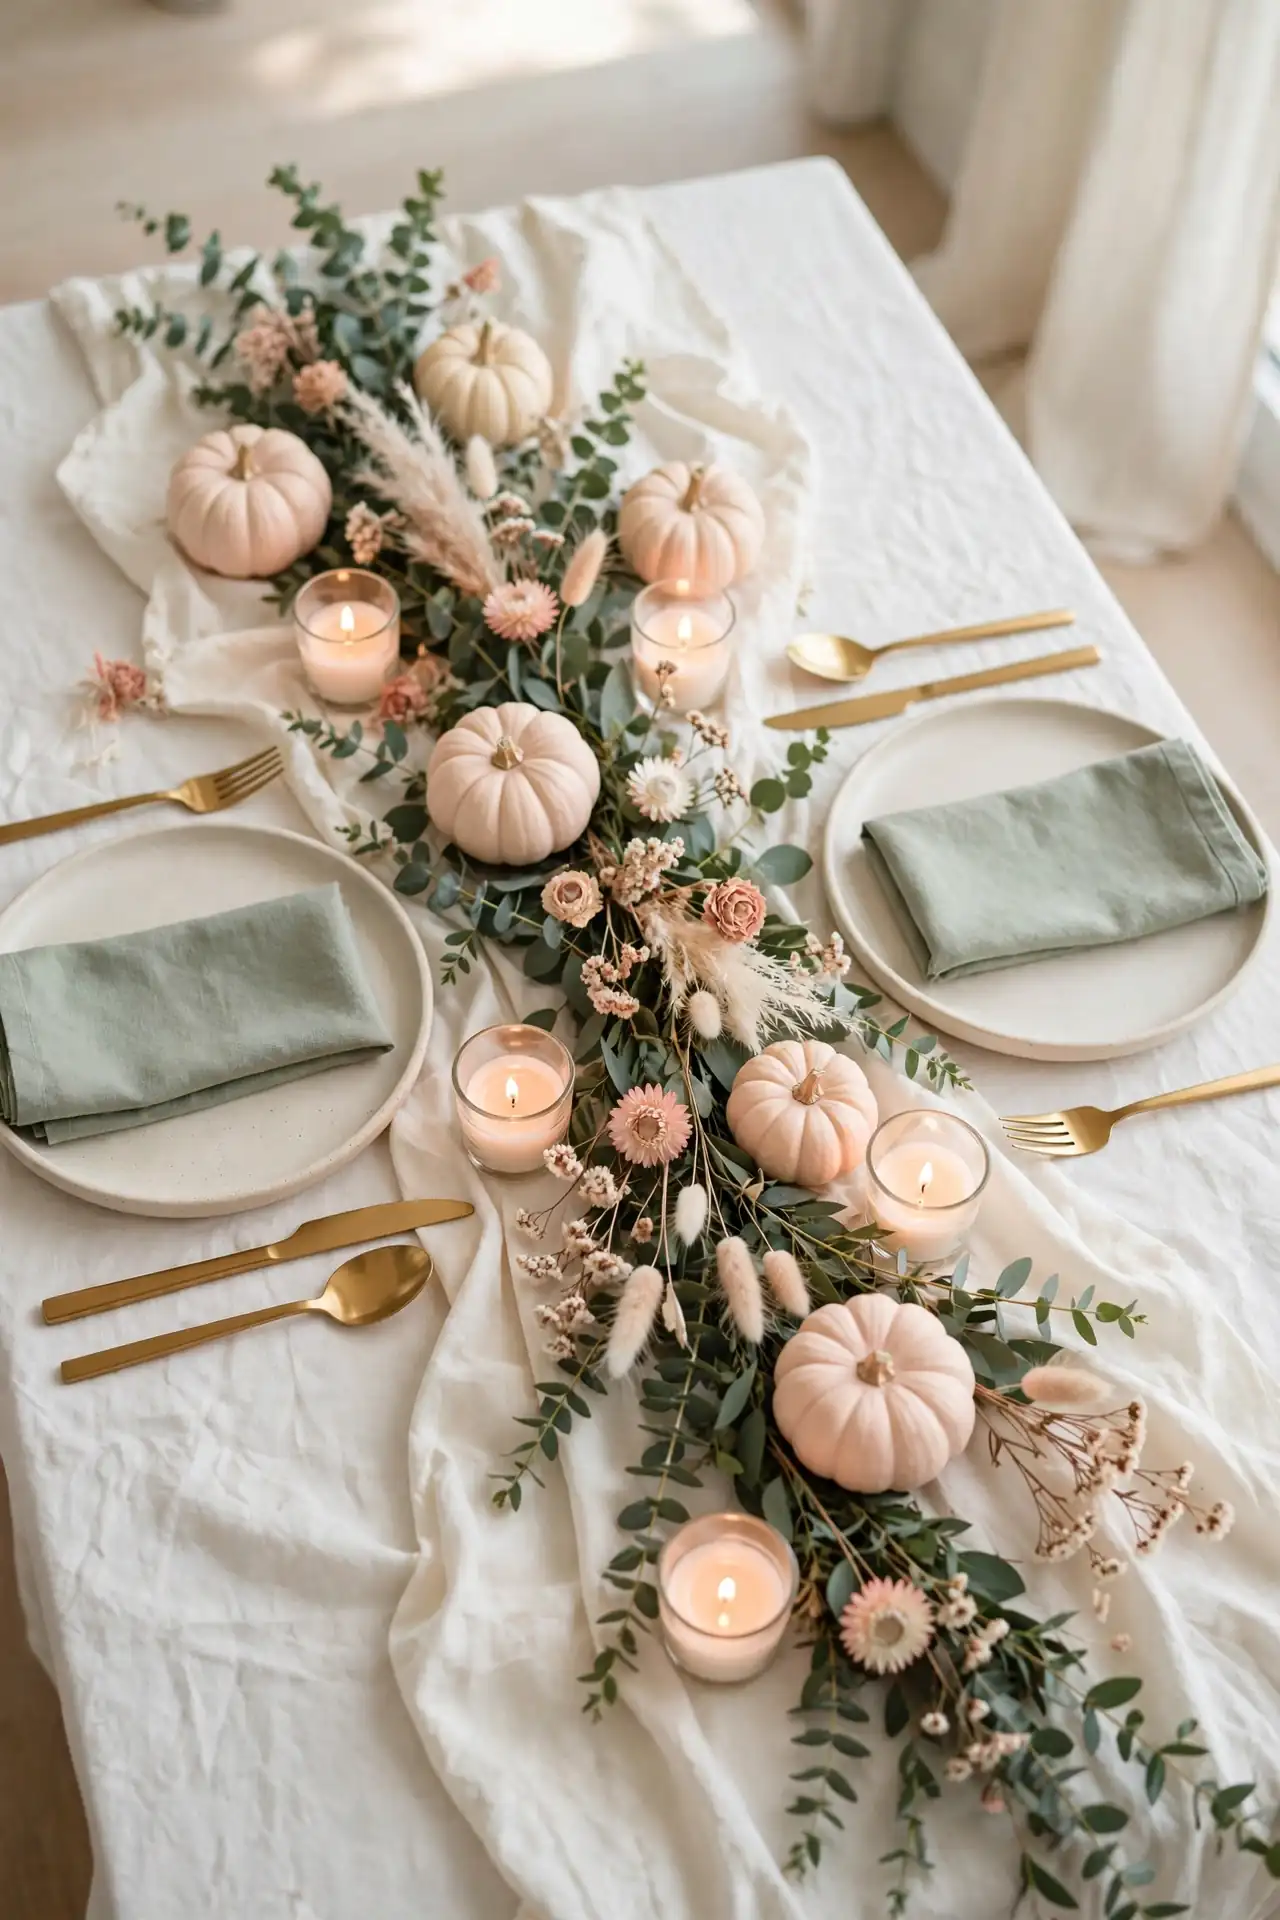
BEFORE: A rainbow of fall colors can make the room feel busy and more Halloween than baby shower. Bright orange everywhere overwhelms the soft, sweet mood you want for the mama-to-be.
AFTER: Cream, sage, blush, and warm gold create a calm, elegant autumn look that photographs beautifully. Tiny pops of soft orange keep the pumpkin spirit alive without taking over.
Stick to three main colors plus one metallic for a pulled-together feel. In my experience, cream tablecloths with sage napkins and blush pumpkins strike the perfect balance. Use the same palette on the sign, favors, and backdrop so everything coordinates. A limited palette also makes shopping easier because every piece naturally matches.
Pumpkin Place Cards
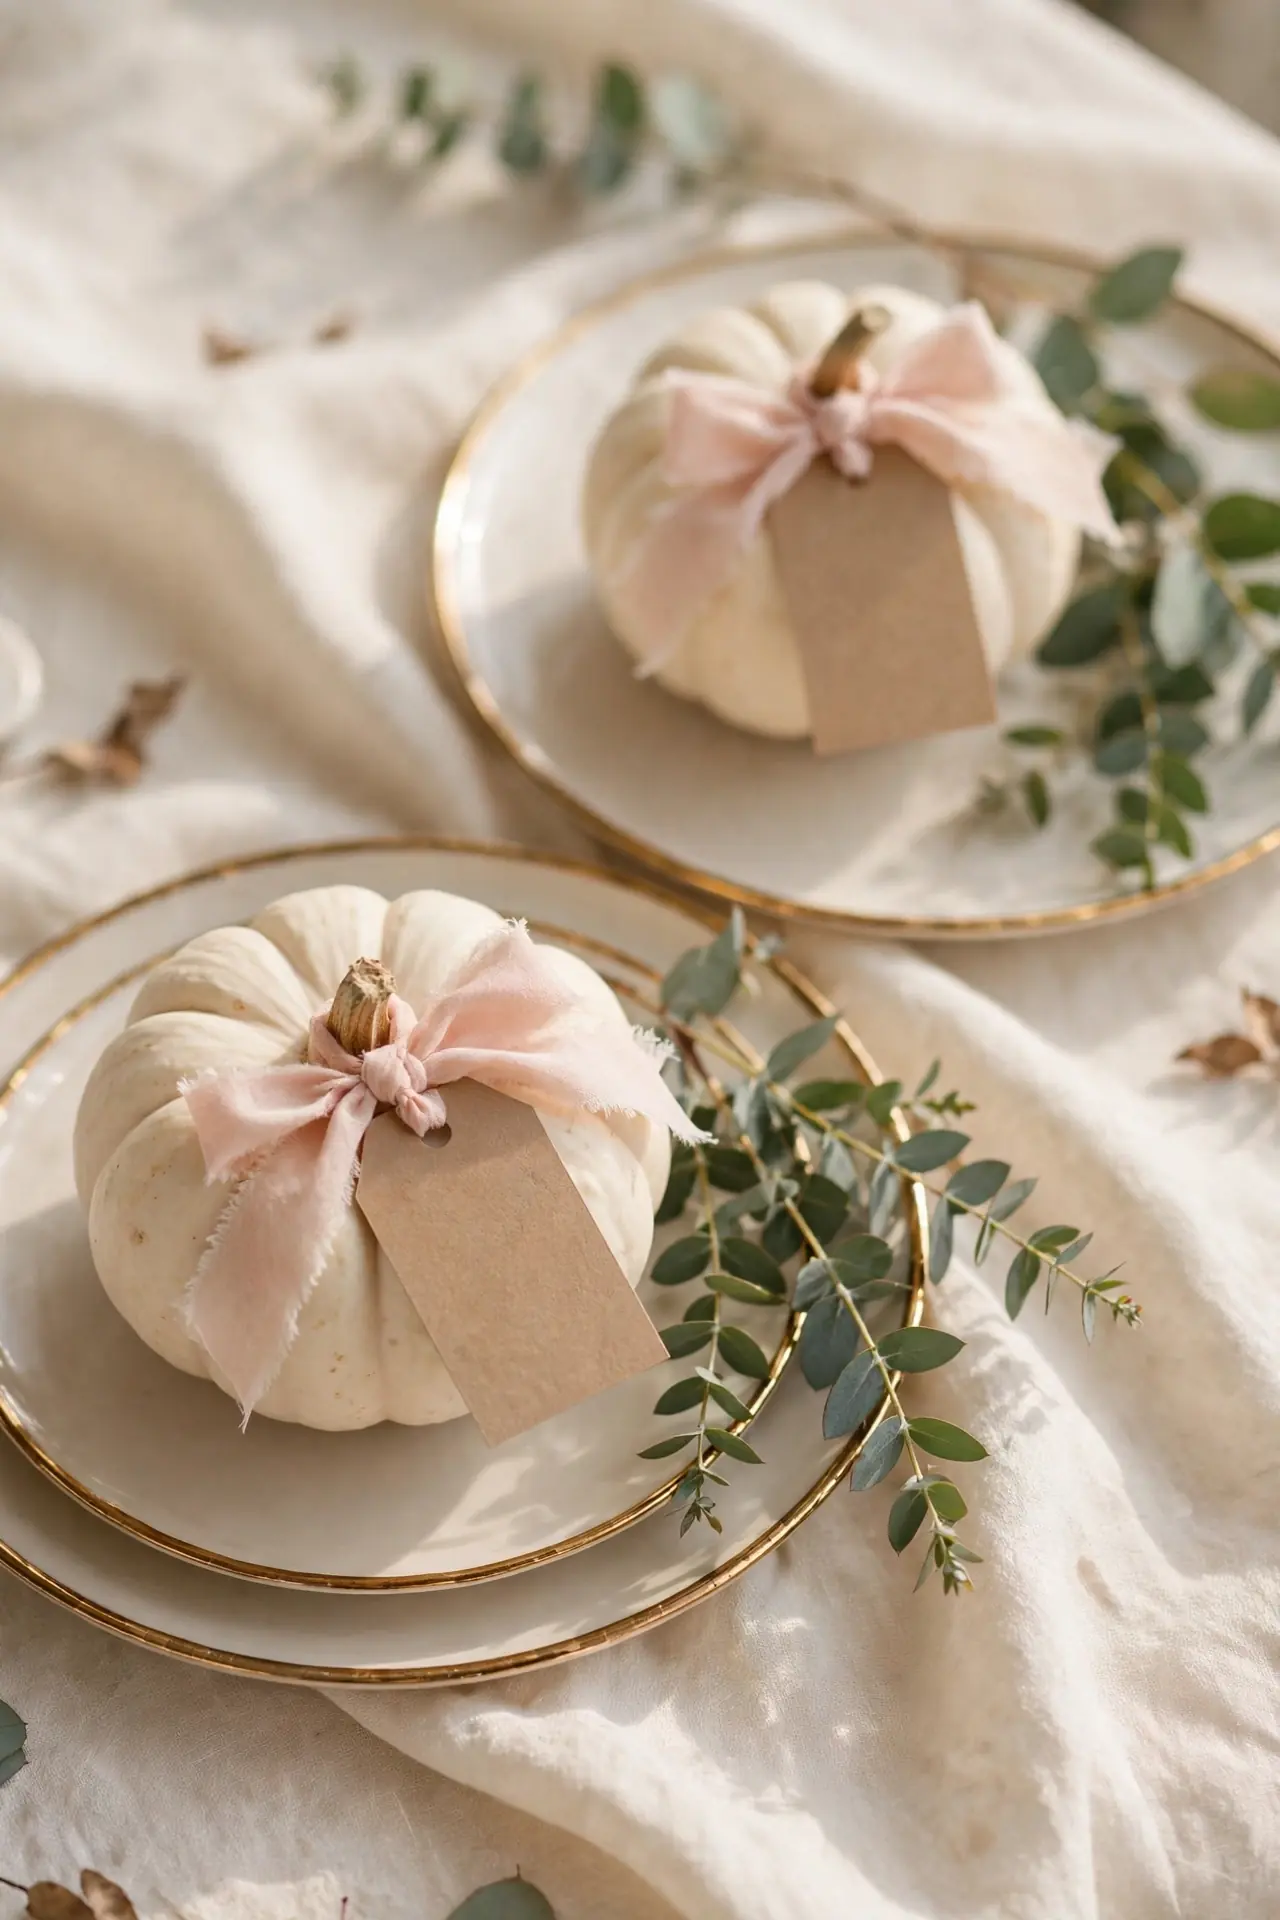
- Choose small white or blush pumpkins with flat, stable bottoms so they sit upright on the table.
- Write each guest’s name on a kraft paper tag with a gold pen, keeping lettering large and clear.
- Tie the tag to the pumpkin stem with twine or blush ribbon, trimming the ends at an angle.
- Set one pumpkin at each place setting, angled so the name faces the chair.
Place cards double as tiny decor pieces, so they earn their spot twice. Guests love taking their pumpkin home as a mini keepsake after the meal. If handwriting is not your strength, print the tags on cardstock and punch a hole for the twine. This detail costs almost nothing yet makes the table feel personal and thoughtfully planned.
Harvest Dessert Table
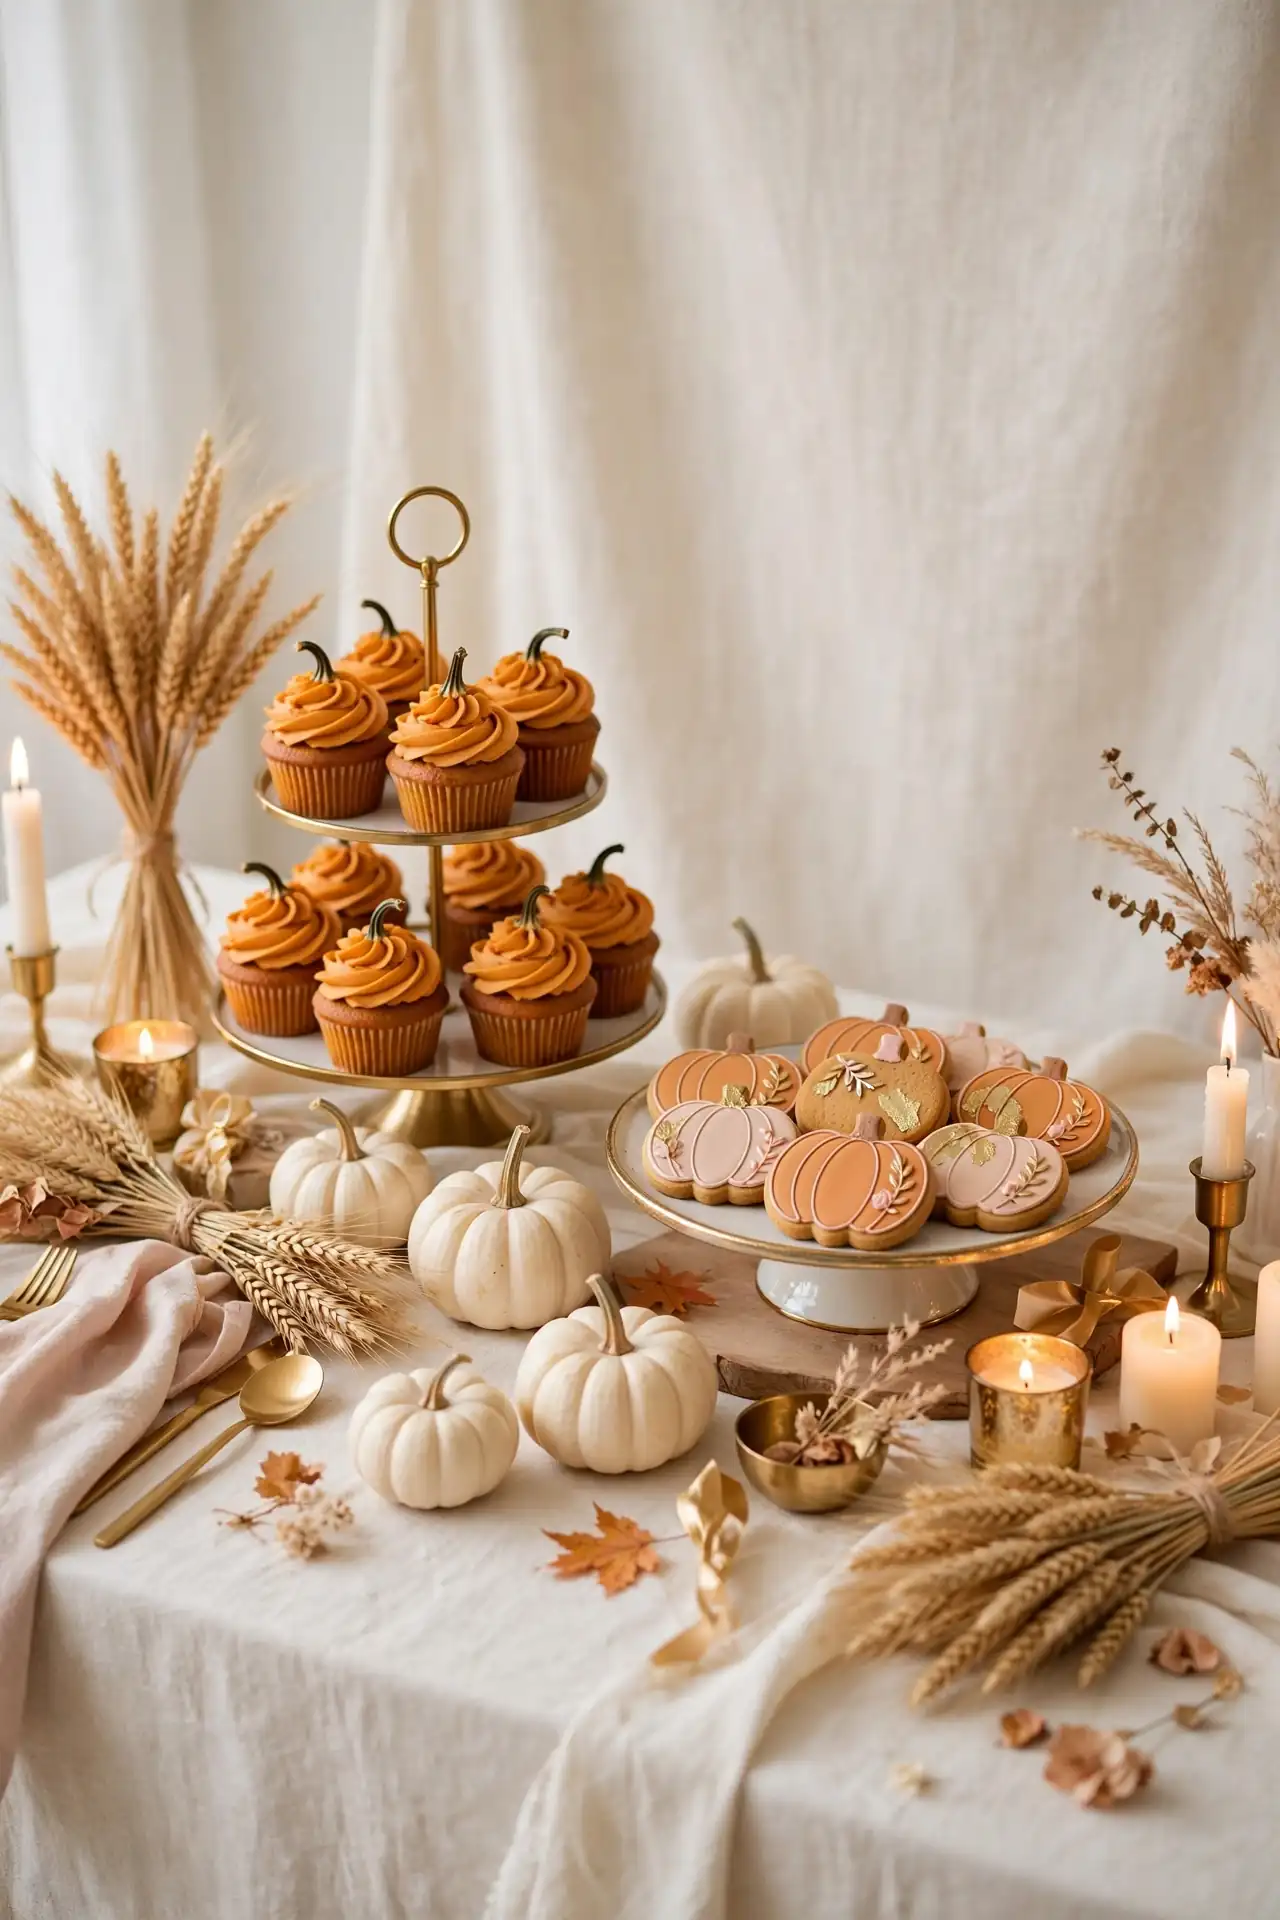
| Keep It Simple | Go All Out | |
|---|---|---|
| Backdrop | Cream linen curtain | Balloon garland with pampas |
| Sweets | Pumpkin cupcakes and cookies | Tiered cake plus pie bar |
| Pumpkins | Three mini pumpkins | Velvet pumpkins in three sizes |
| Signage | One “sweet baby” sign | Framed menu of every treat |
The dessert table anchors the room, so give it the best light and the fullest styling. I have noticed that grouping sweets at different heights, with cake stands and stacked crates, makes even store-bought treats look impressive. Keep the pumpkin accents small here so the desserts stay the stars. Add a framed sign with the baby’s name or shower date for a personal touch guests will remember.
Mini Pumpkin Favors
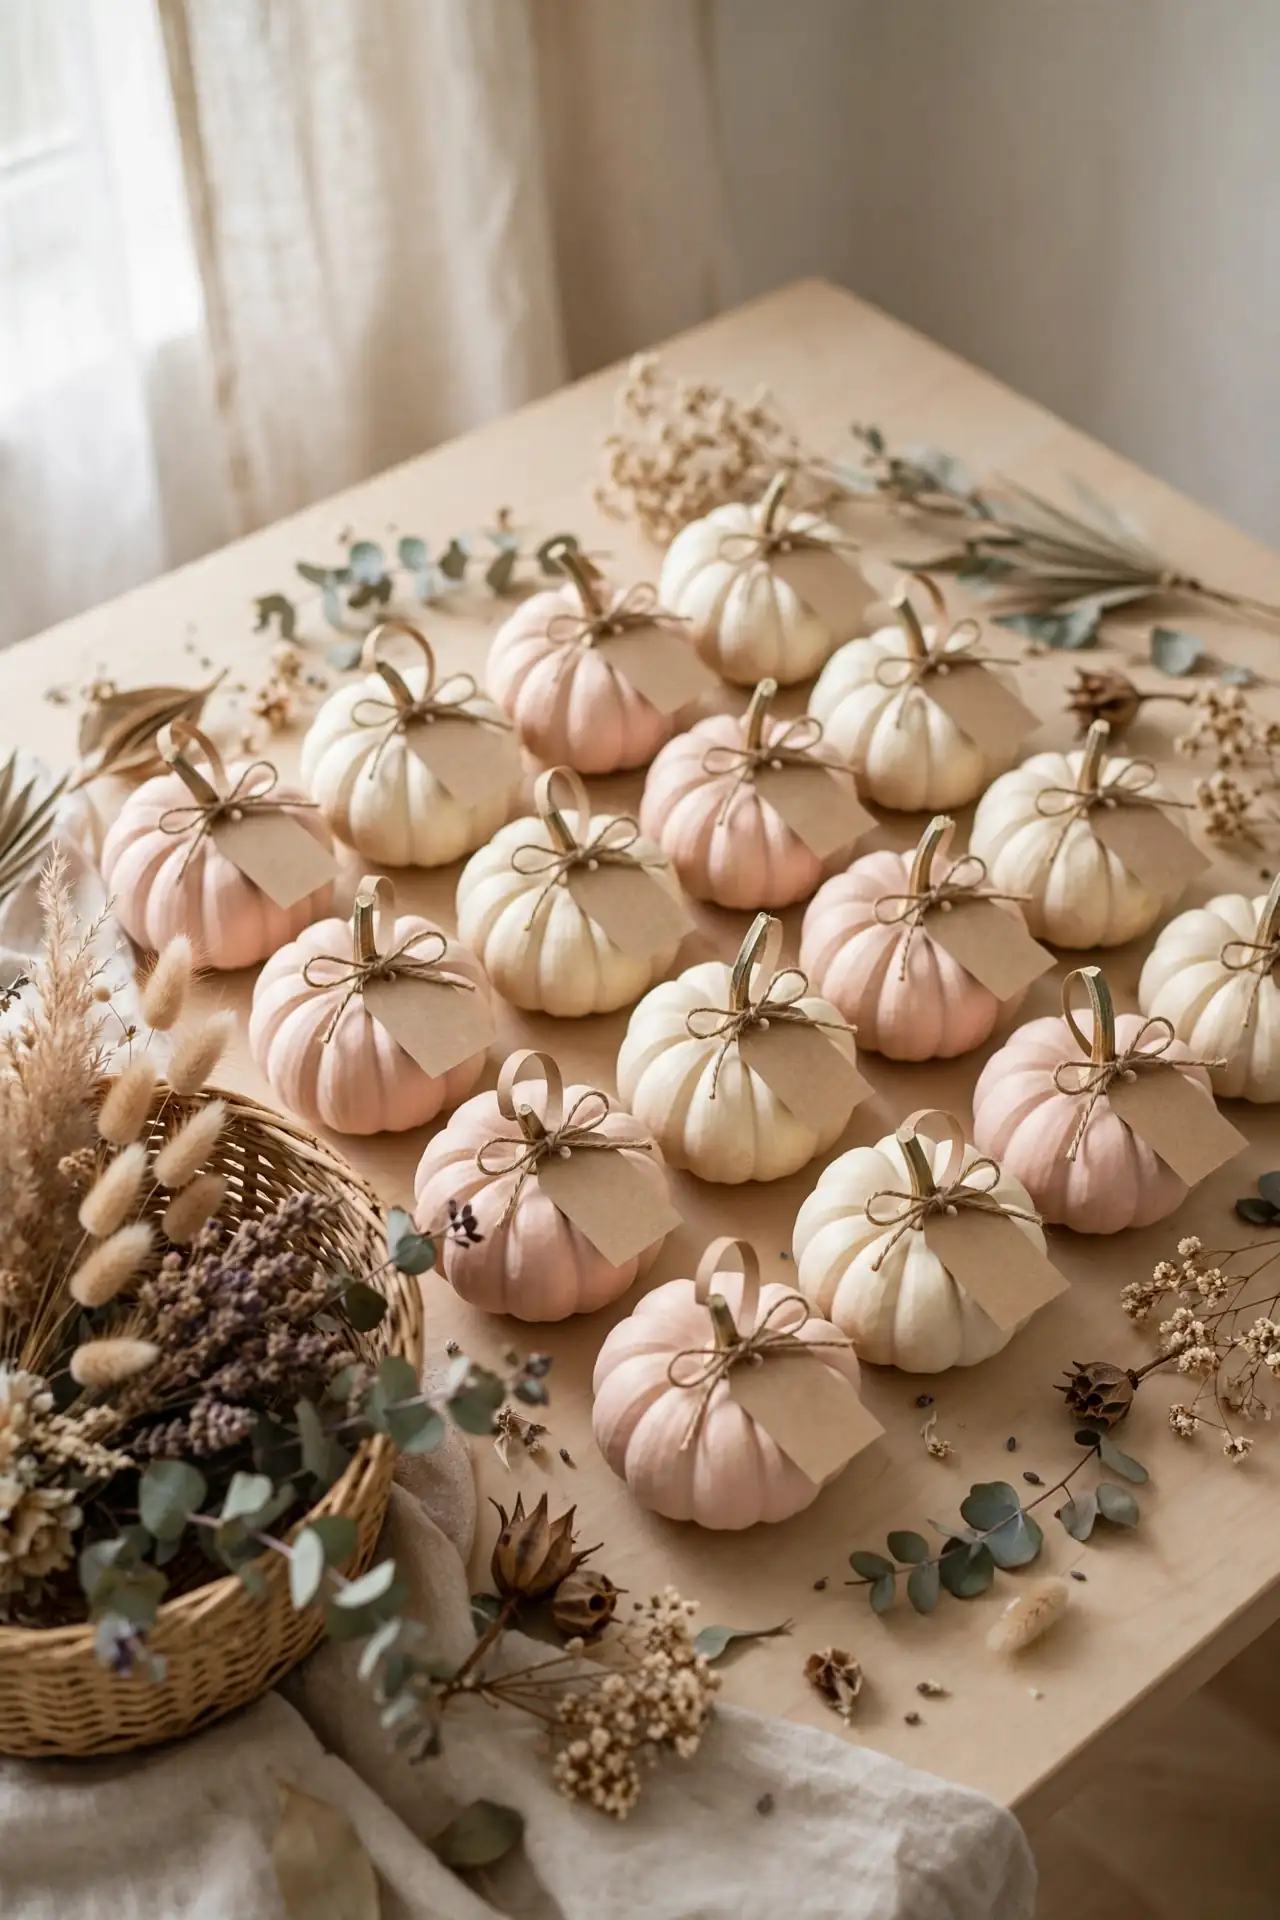
- DO: Pick pumpkins small enough to fit in a gift bag.
- DO: Attach a thank-you tag in pretty script.
- DO: Buy a dozen extra for surprise guests.
- DO: Wipe pumpkins clean so they look fresh on the table.
- DON’T: Choose pumpkins with soft spots or cracks.
- DON’T: Use glitter paint that flakes onto hands.
- DON’T: Shop last minute; the best minis sell out.
- DON’T: Forget a basket by the door for easy grab-and-go.
Favors work best when they double as table decor during the party. Scatter tagged pumpkins across the tables and invite guests to take one home. This saves a separate favor table and keeps costs down. Guests genuinely love a real pumpkin keepsake.
Ivory Balloon Garland
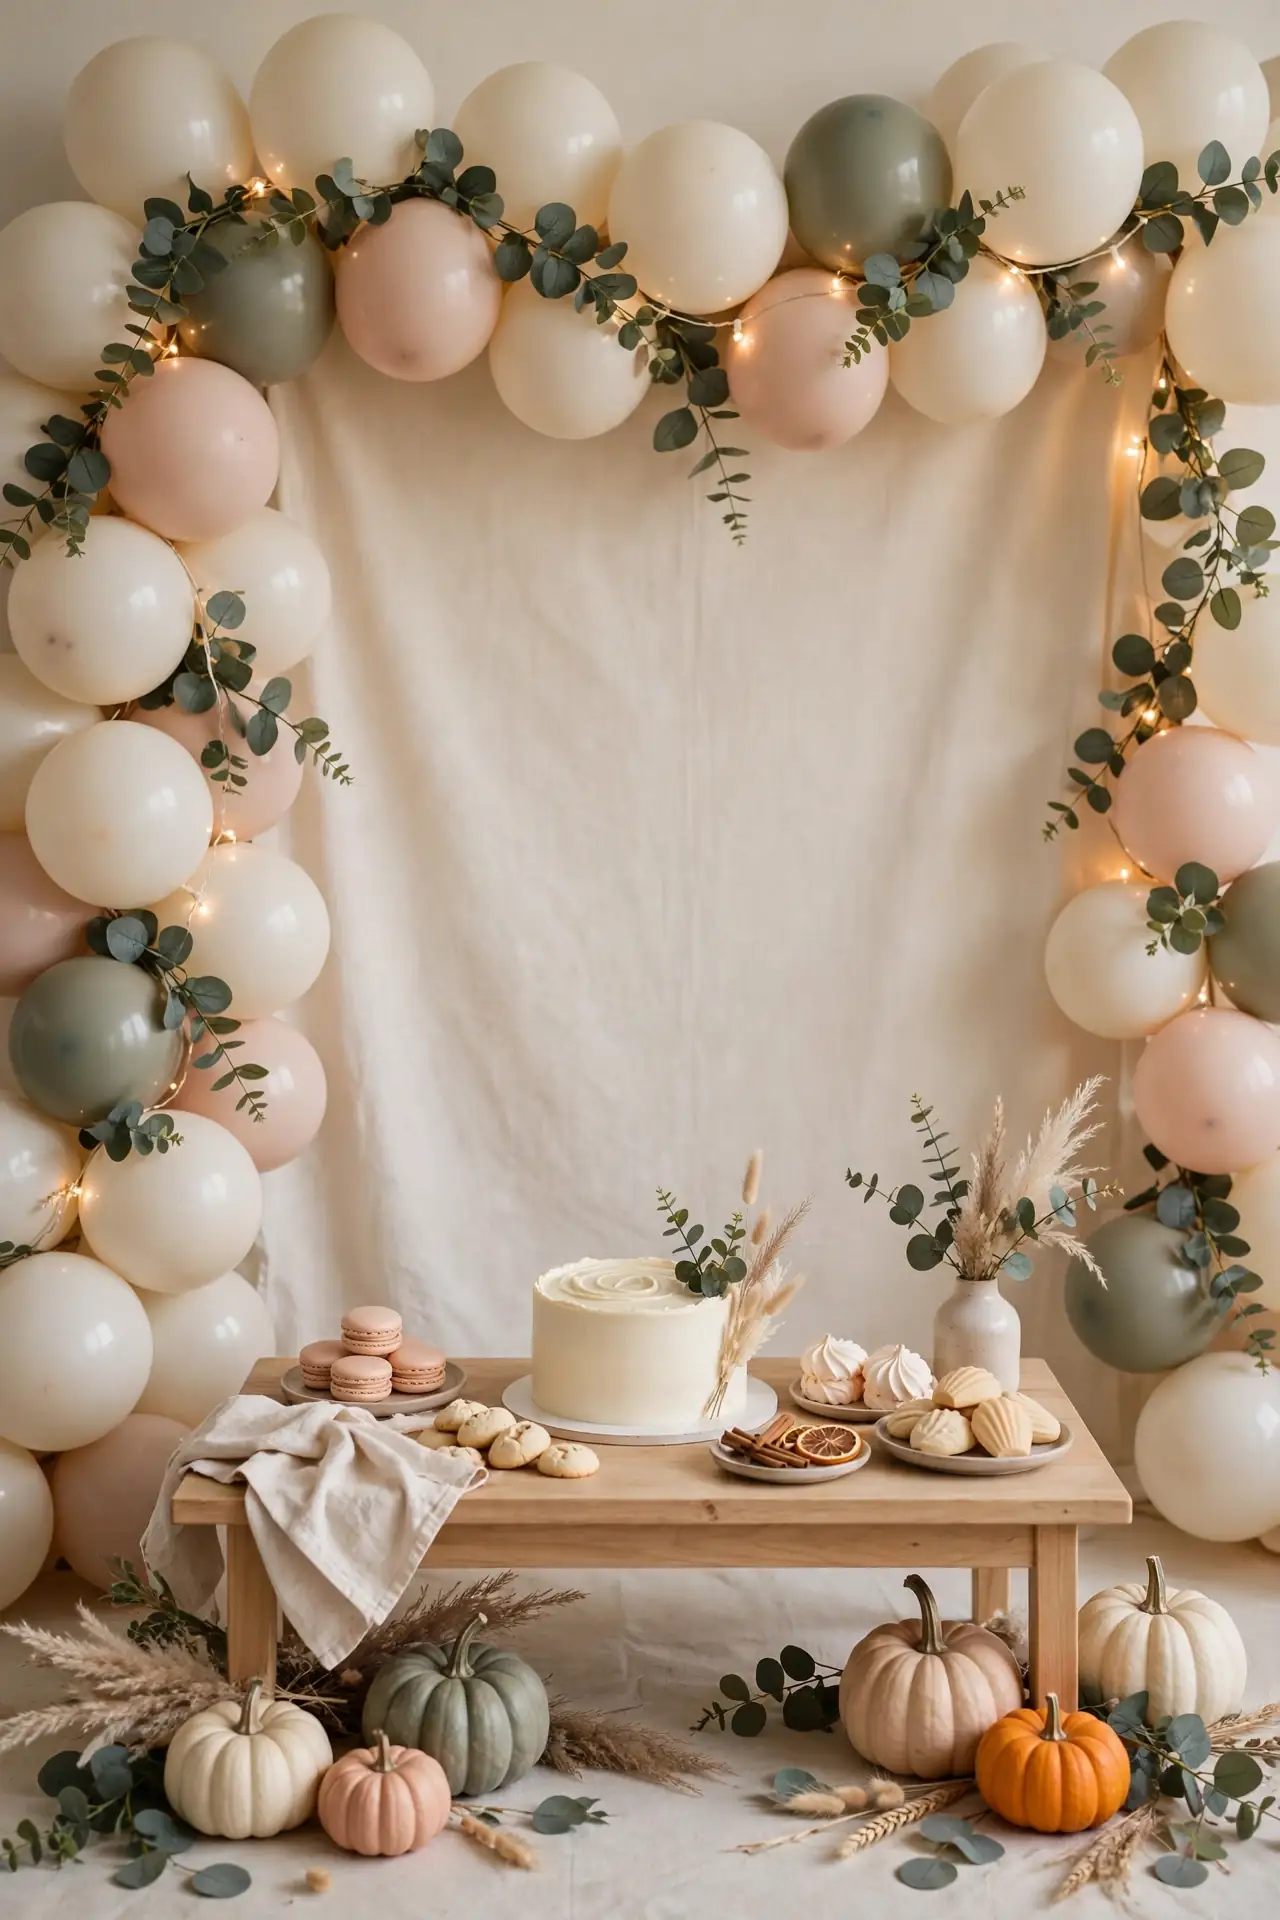
Cost: Low, one garland kit covers the whole arch.
Time: About 90 minutes with two people helping.
Skill Level: Beginner friendly, no special tools needed.
Best For: Framing the dessert table or photo backdrop.
An ivory balloon garland softens the whole room and makes every photo look professionally styled. Drape it over the dessert table or the photo backdrop for maximum impact. Mix matte ivory balloons with a few blush and sage ones to tie in your palette. Tuck in faux eucalyptus sprigs and tiny dried flowers between balloons for texture. Assemble the garland the morning of the party to keep it fresh and perky. A handheld pump saves your lungs and speeds the whole job along nicely.
Little Onesie Bunting
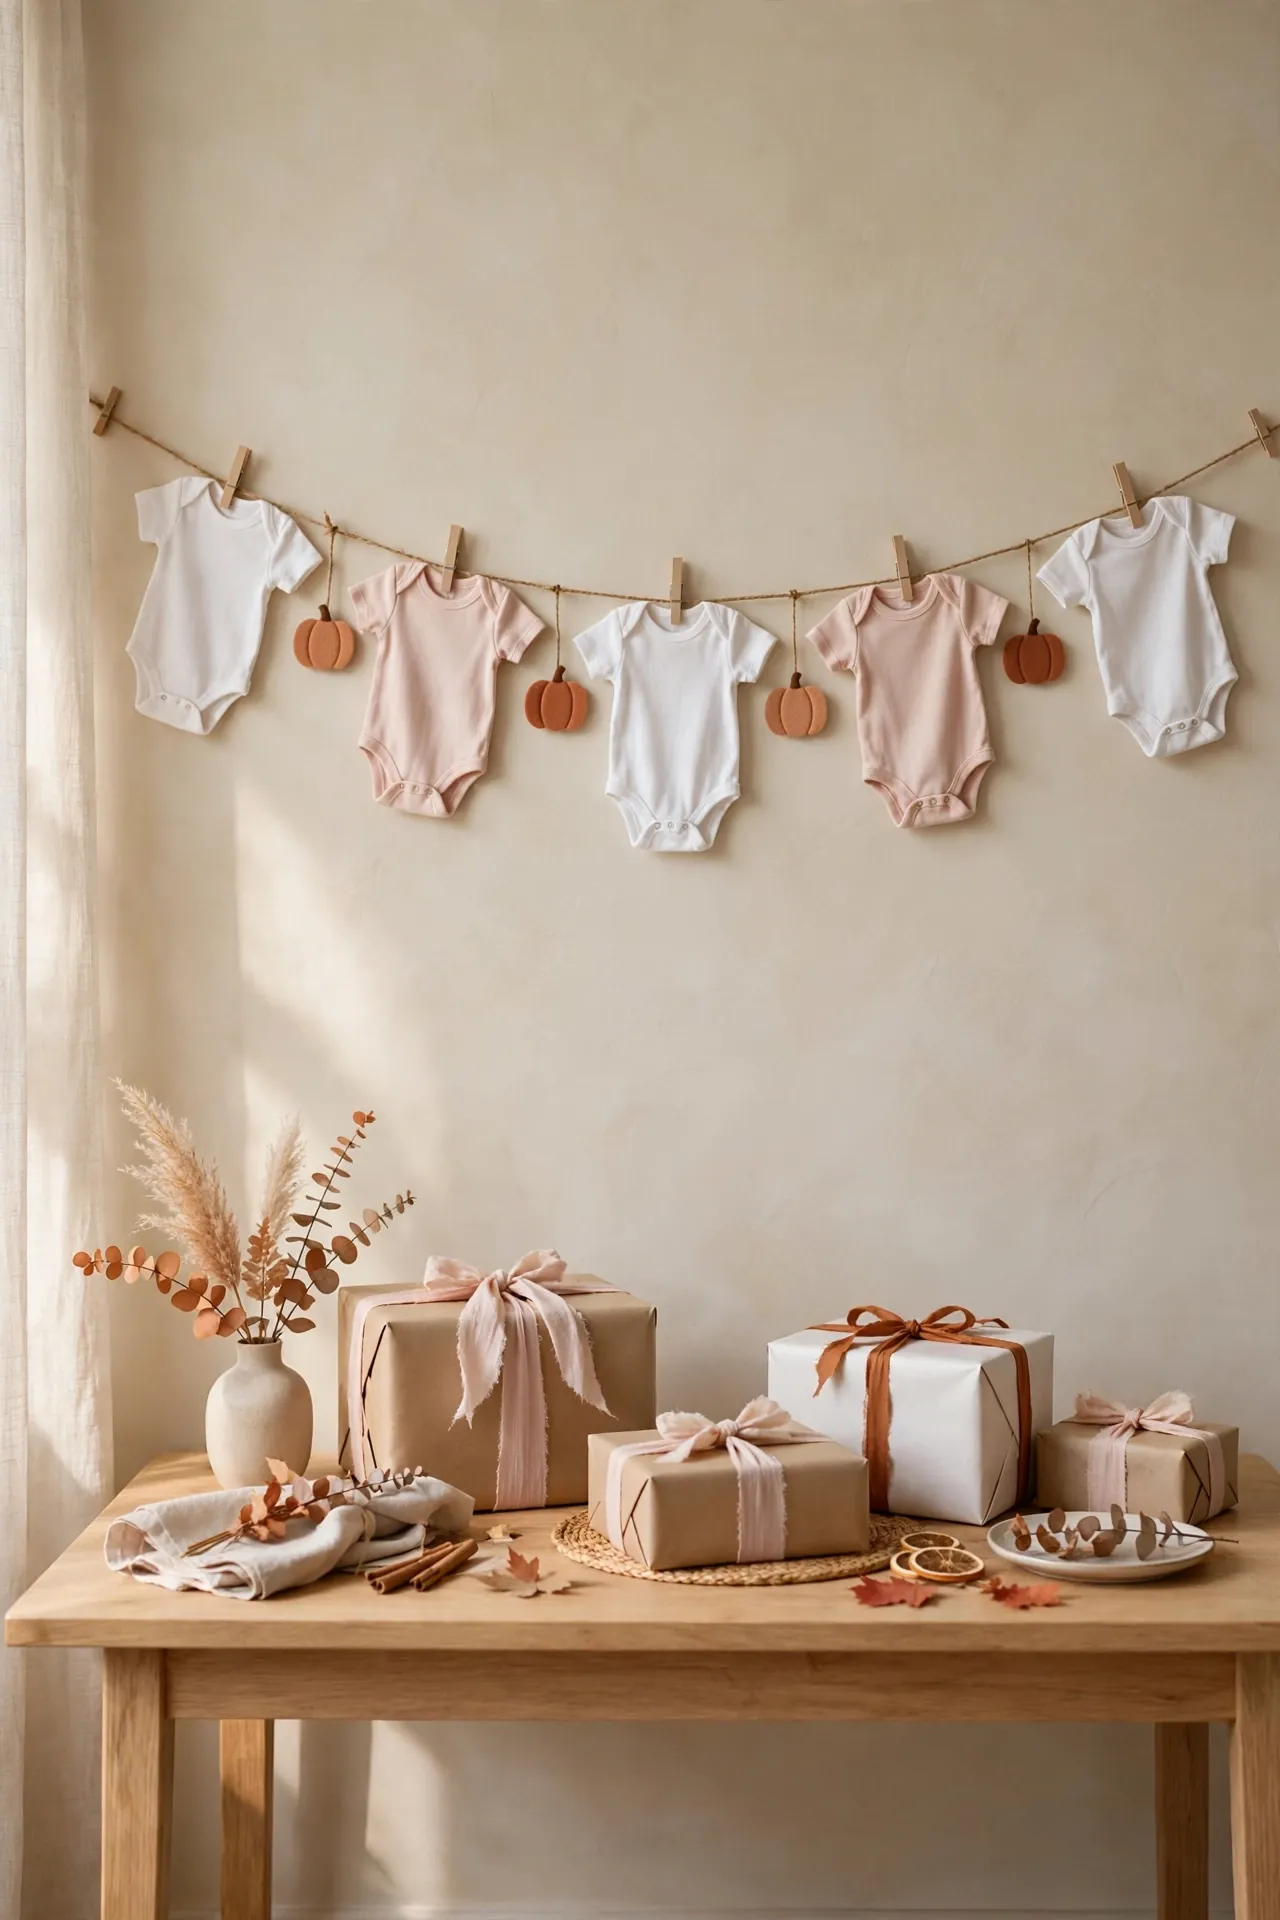
A string of tiny onesies adds instant baby-shower charm to any blank wall. Clip white and blush onesies to twine with wooden clothespins, alternating with mini pumpkin cutouts. Hang the bunting over the gift table or across a window for a sweet focal point. Iron-on letters can spell “oh baby” across the onesies for extra personality.
This project costs very little but delivers big visual payoff. Buy a multi-pack of plain onesies and decorate only the fronts so the backs stay simple. After the shower, the mama-to-be keeps the onesies as a practical gift. Guests always comment on this detail, and it photographs beautifully against a neutral wall.
Gold Foil Accents
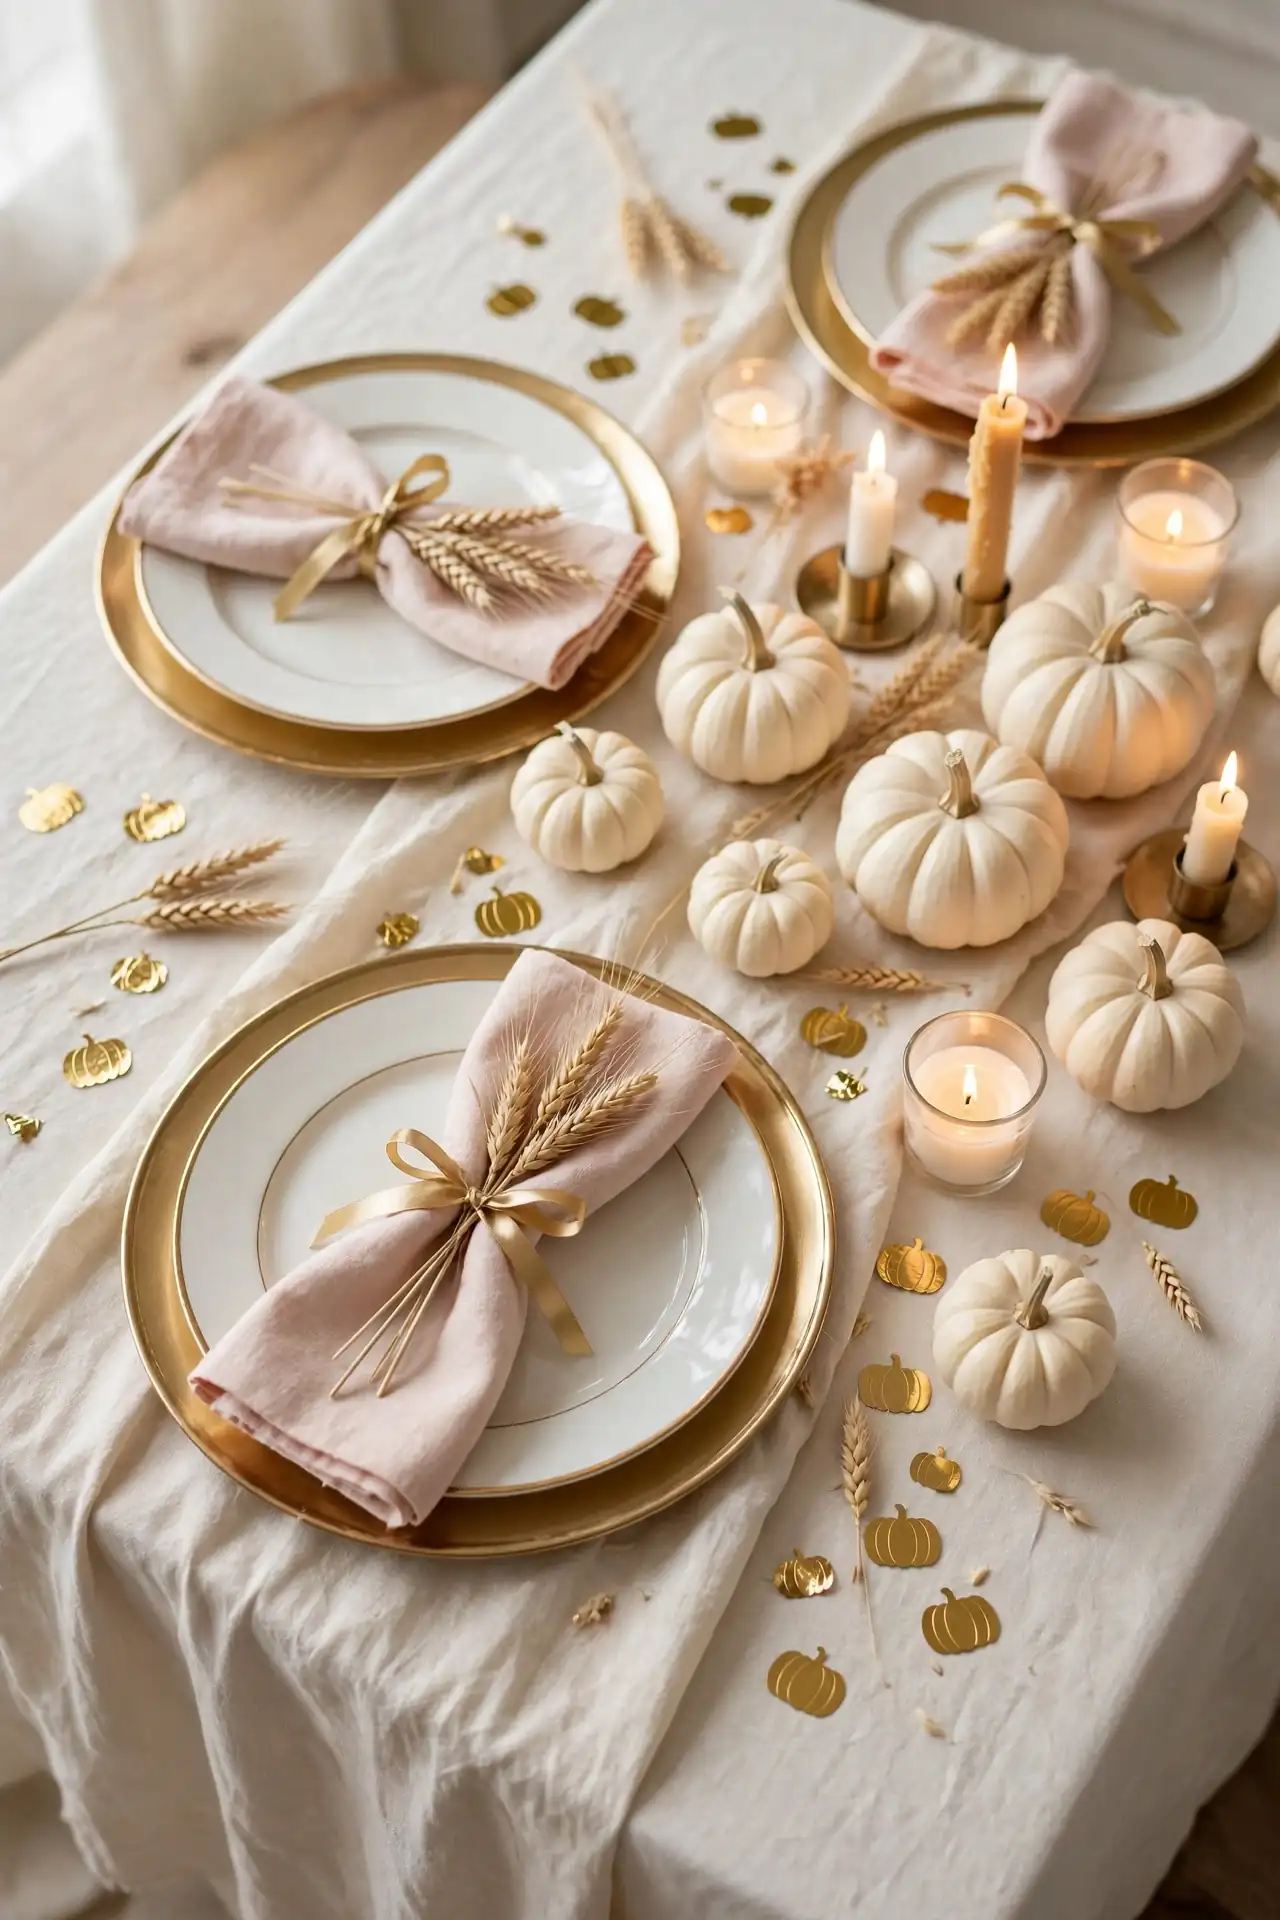
- Scatter gold foil confetti pumpkins on tables for instant sparkle without the mess of loose glitter.
- Use gold-rimmed plates and cups to lift simple white tableware into party territory.
- Tie gold ribbon around napkins and tuck in a sprig of dried wheat.
- Choose a gold “oh baby” cake topper as the dessert table’s shining centerpiece.
Gold accents warm up a neutral palette and catch candlelight beautifully. The trick is restraint: pick three gold moments and repeat them, rather than gilding everything. That balance keeps the look warm rather than cold or fussy. A little metallic shine makes the whole shower feel celebratory and special.
Pumpkin Spice Drink Bar
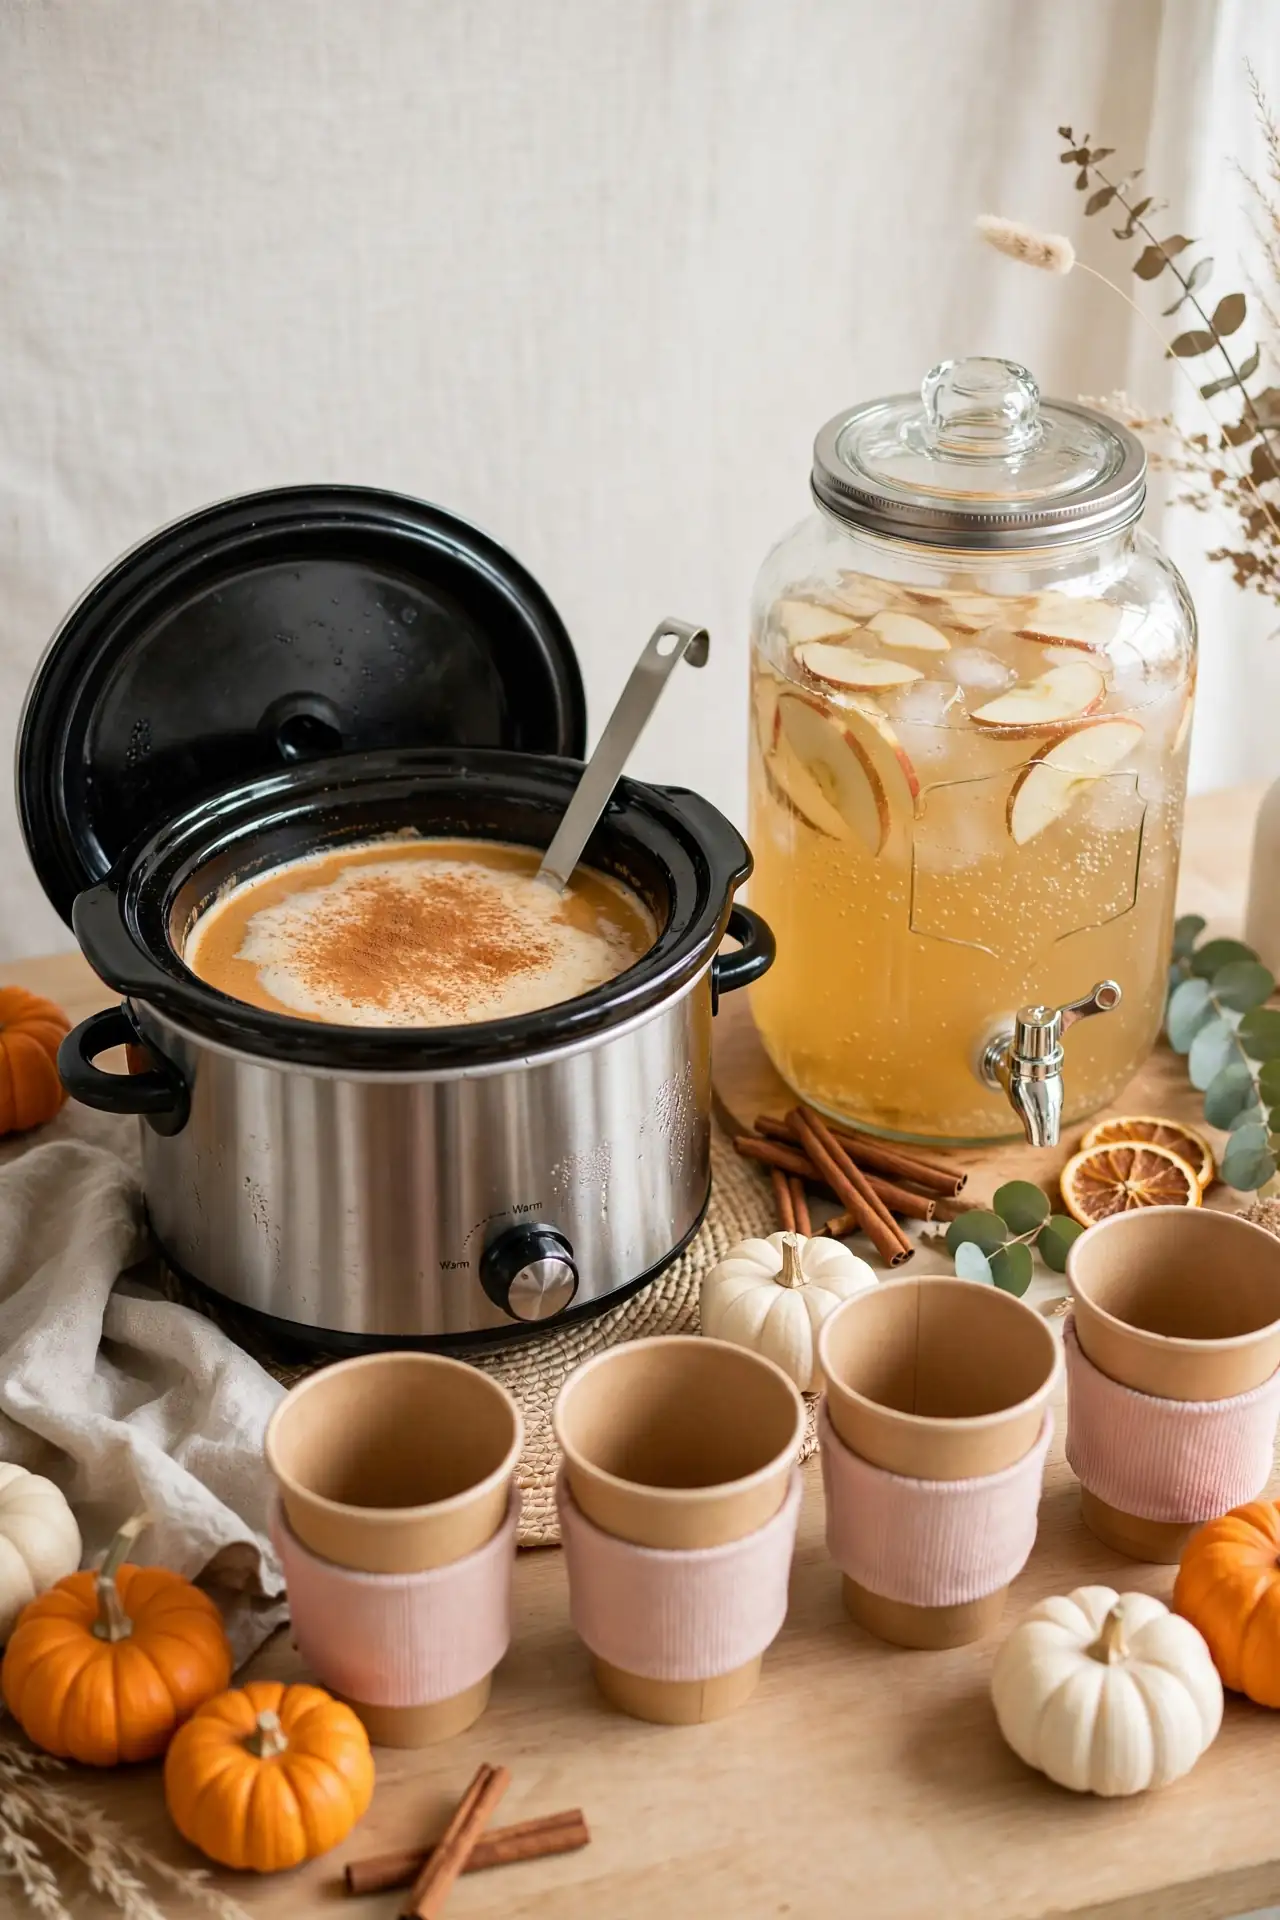
Quick Tip: Set out a small chalkboard menu listing each drink so guests serve themselves. Label one pumpkin spice latte, one apple cider, and one sparkling option for variety.
A self-serve drink bar keeps guests happy and frees the host from pouring all afternoon. Brew a big batch of pumpkin spice latte in a slow cooker and keep it warm on low. Fill a glass dispenser with sparkling apple cider and surround it with cinnamon sticks for stirring. Offer whipped cream, caramel drizzle, and nutmeg in small bowls so everyone customizes their cup. Use kraft cups with blush sleeves to match the theme colors. This station doubles as decor when styled with mini pumpkins and a garland.
Guest Book Pumpkin
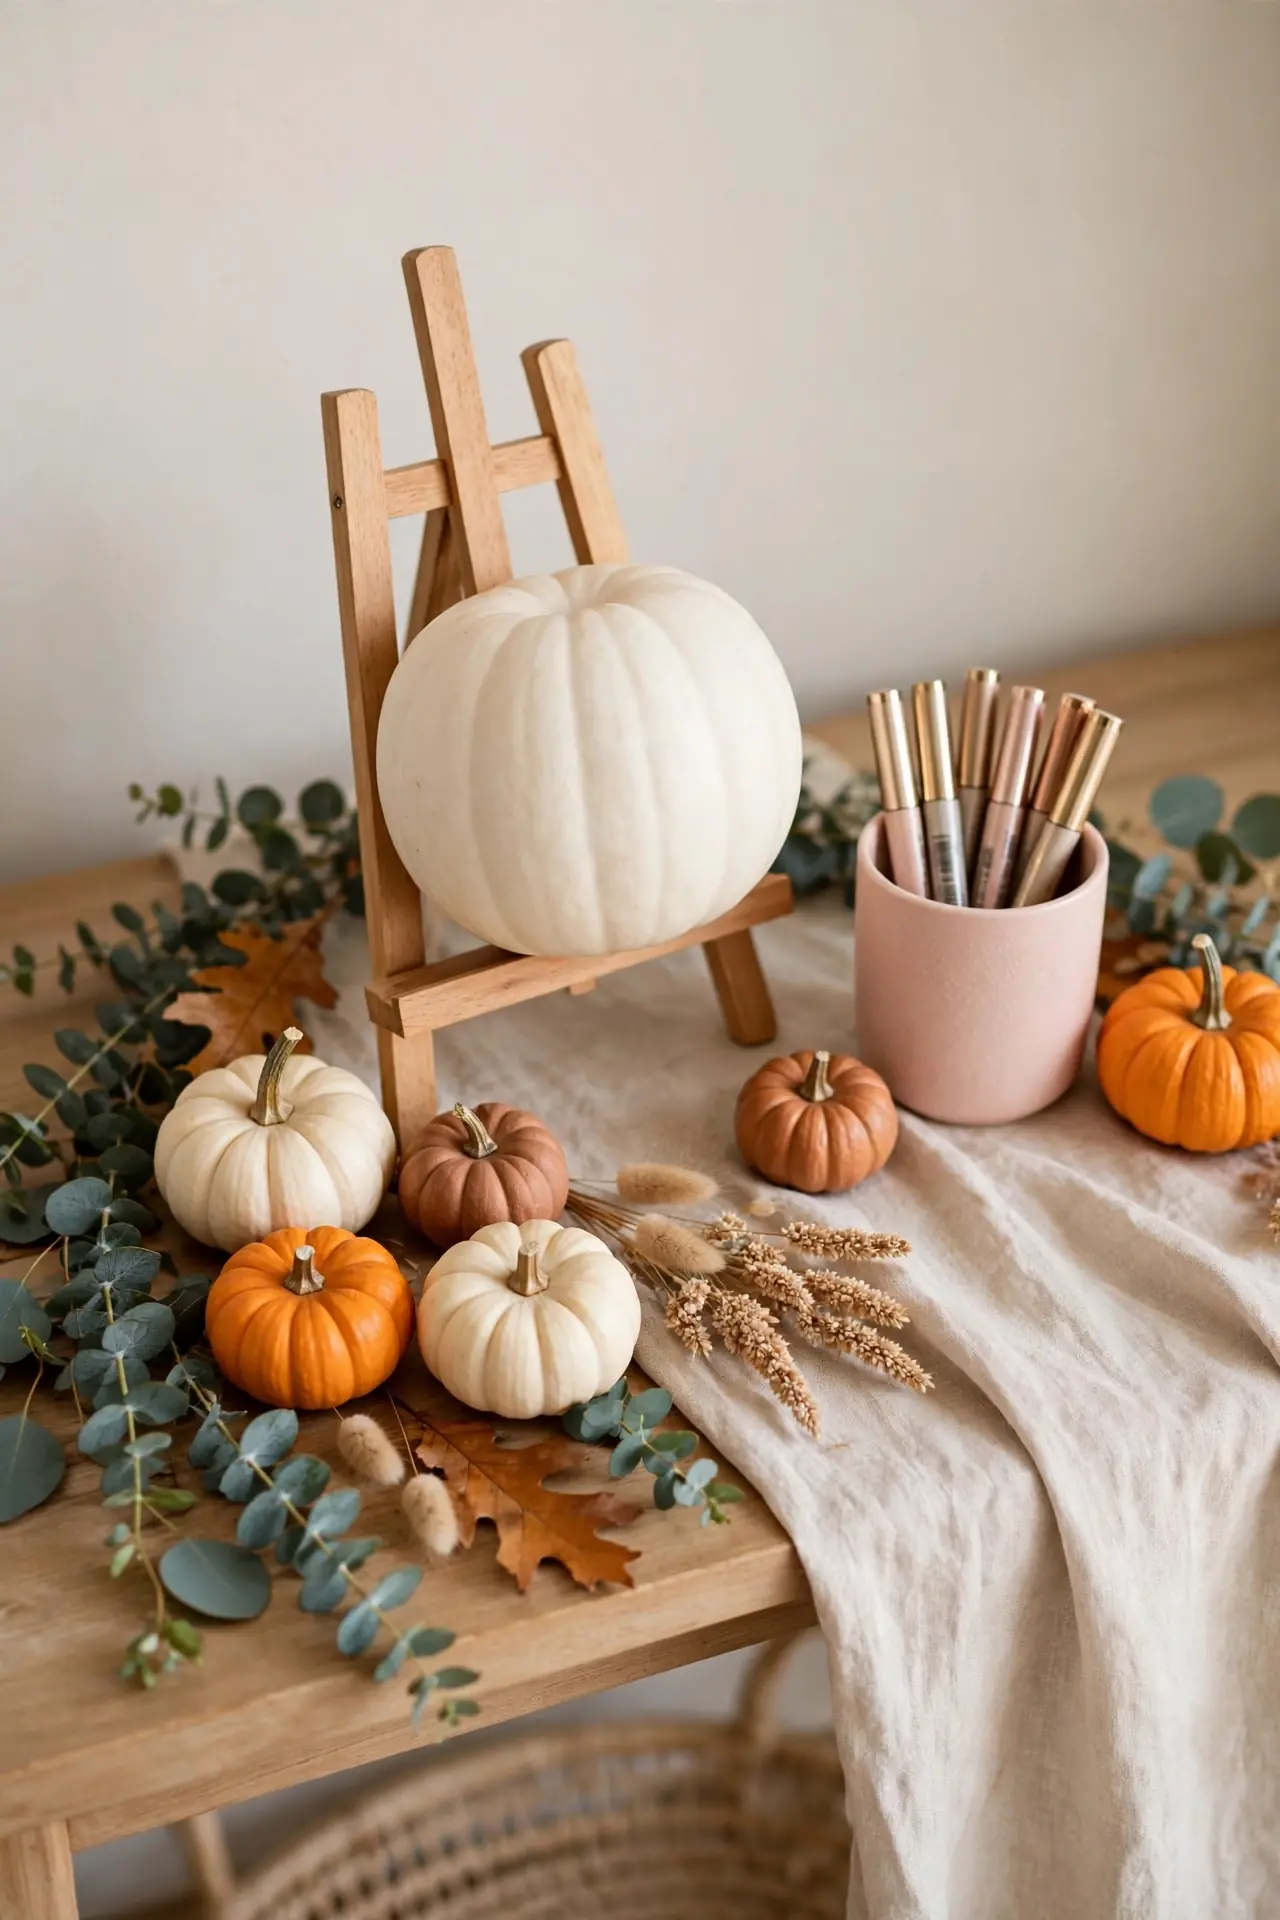
BEFORE: A traditional guest book often sits untouched on a side table, collecting only a few signatures. Guests walk past it without noticing because it blends into the background.
AFTER: A large white pumpkin with metallic markers invites everyone to sign their name and a short wish. It becomes a keepsake the parents display every fall for years.
Place the pumpkin on a small easel near the entrance with a sign explaining the idea. Our Halloween centerpieces post has more pumpkin display tricks that adapt beautifully here. Choose a faux pumpkin so the signatures last forever without rotting. After the party, seal the writing with clear spray so the keepsake survives many autumns.
Floral Pumpkin Arrangements
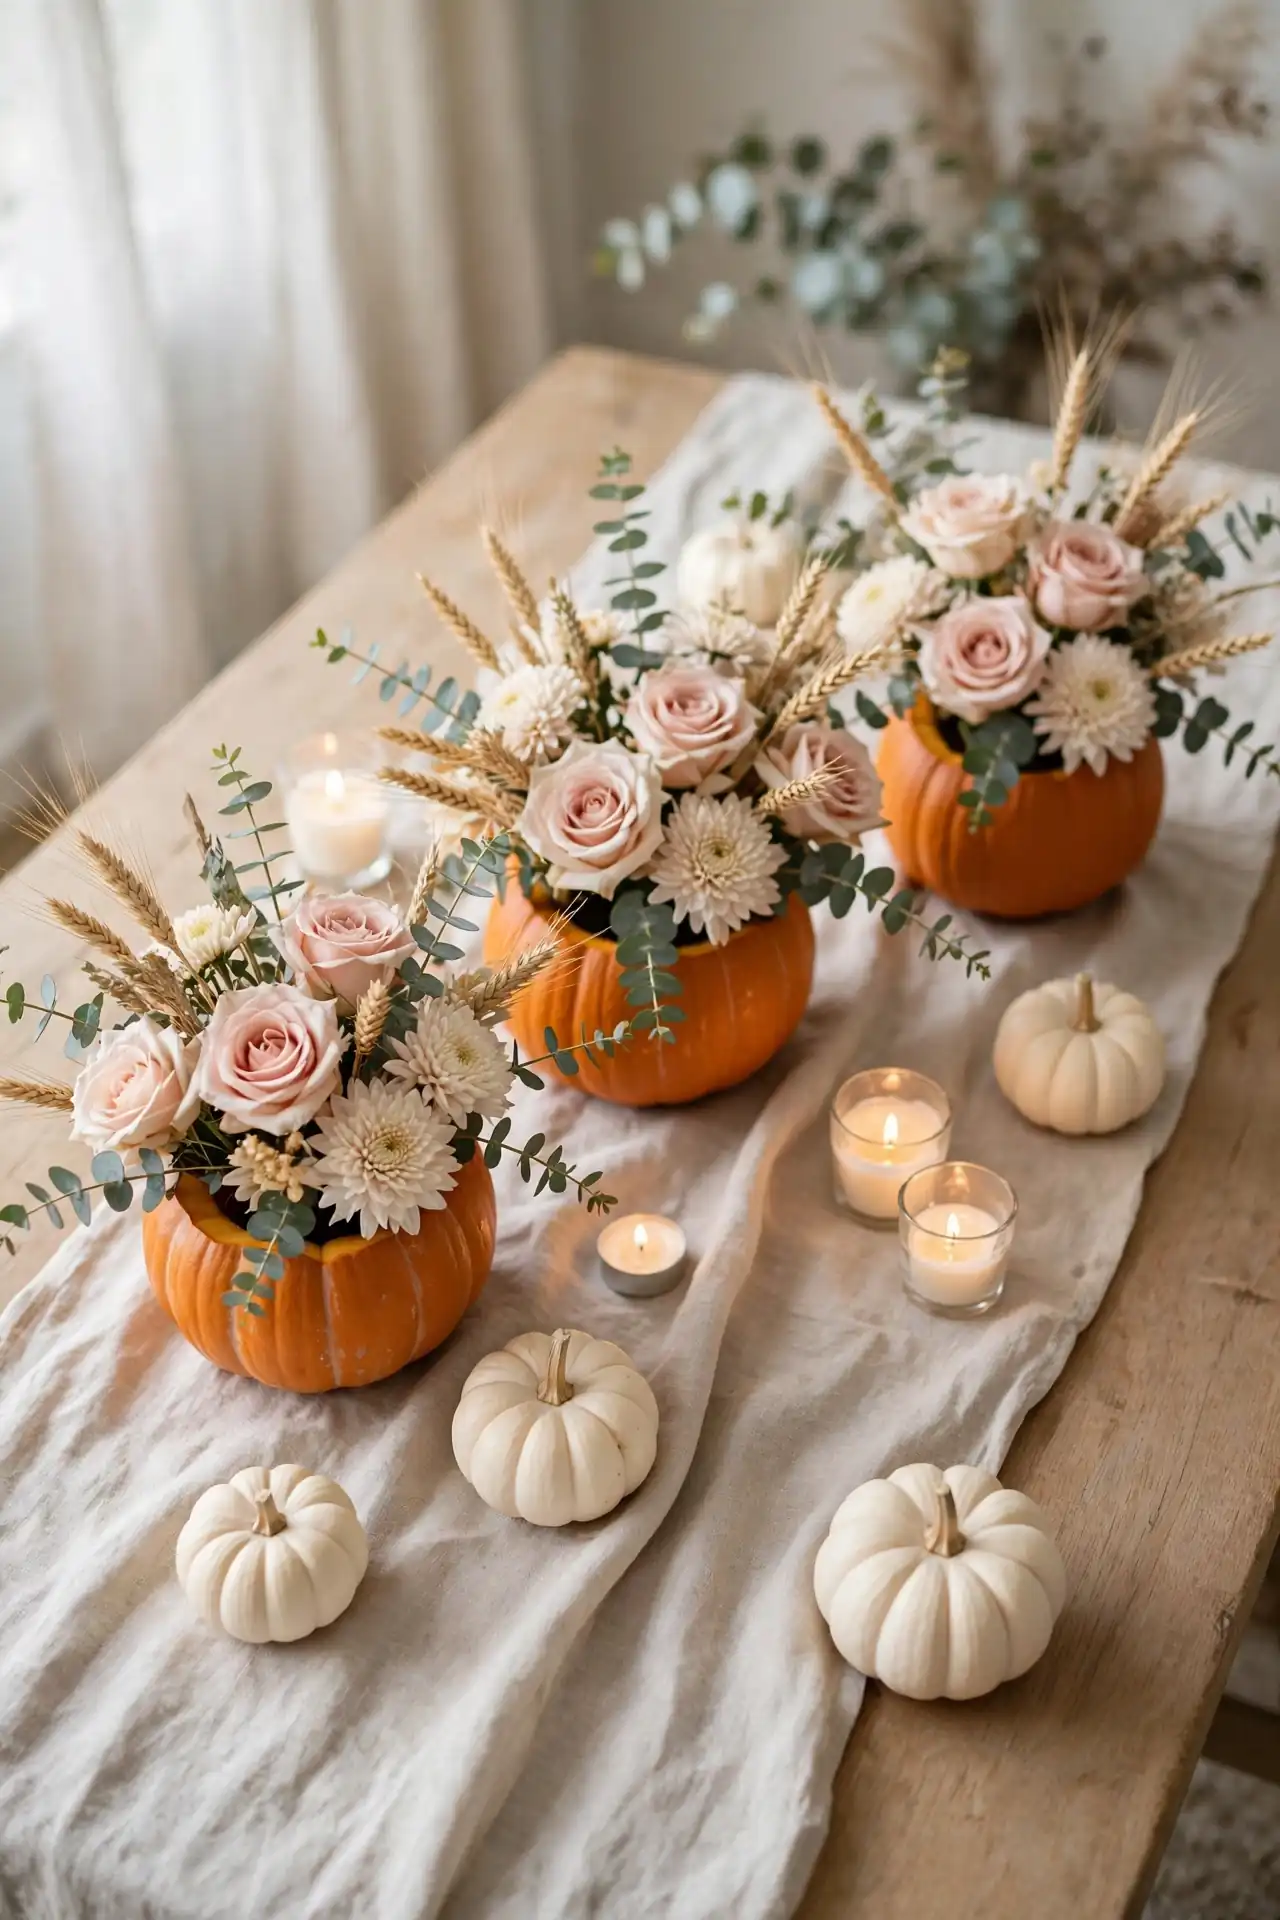
- Cut the top off a medium pumpkin and scoop out the seeds, leaving thick walls for support.
- Place a small jar of water inside so fresh flowers stay hydrated for days.
- Arrange mums, roses, and eucalyptus at varied heights, starting with greenery as a base.
- Tuck in dried wheat and mini pinecones to fill gaps with autumn texture.
Flower-filled pumpkins look far more expensive than they are. Use grocery store blooms in blush and cream to keep costs reasonable. I have noticed these arrangements photograph especially well because the pumpkin vessel hides all the mechanics. Make one large arrangement for the entry table and smaller versions for side tables. Guests will ask where you ordered them, and you can smile and say you made them yourself.
Sweet Baby Backdrop
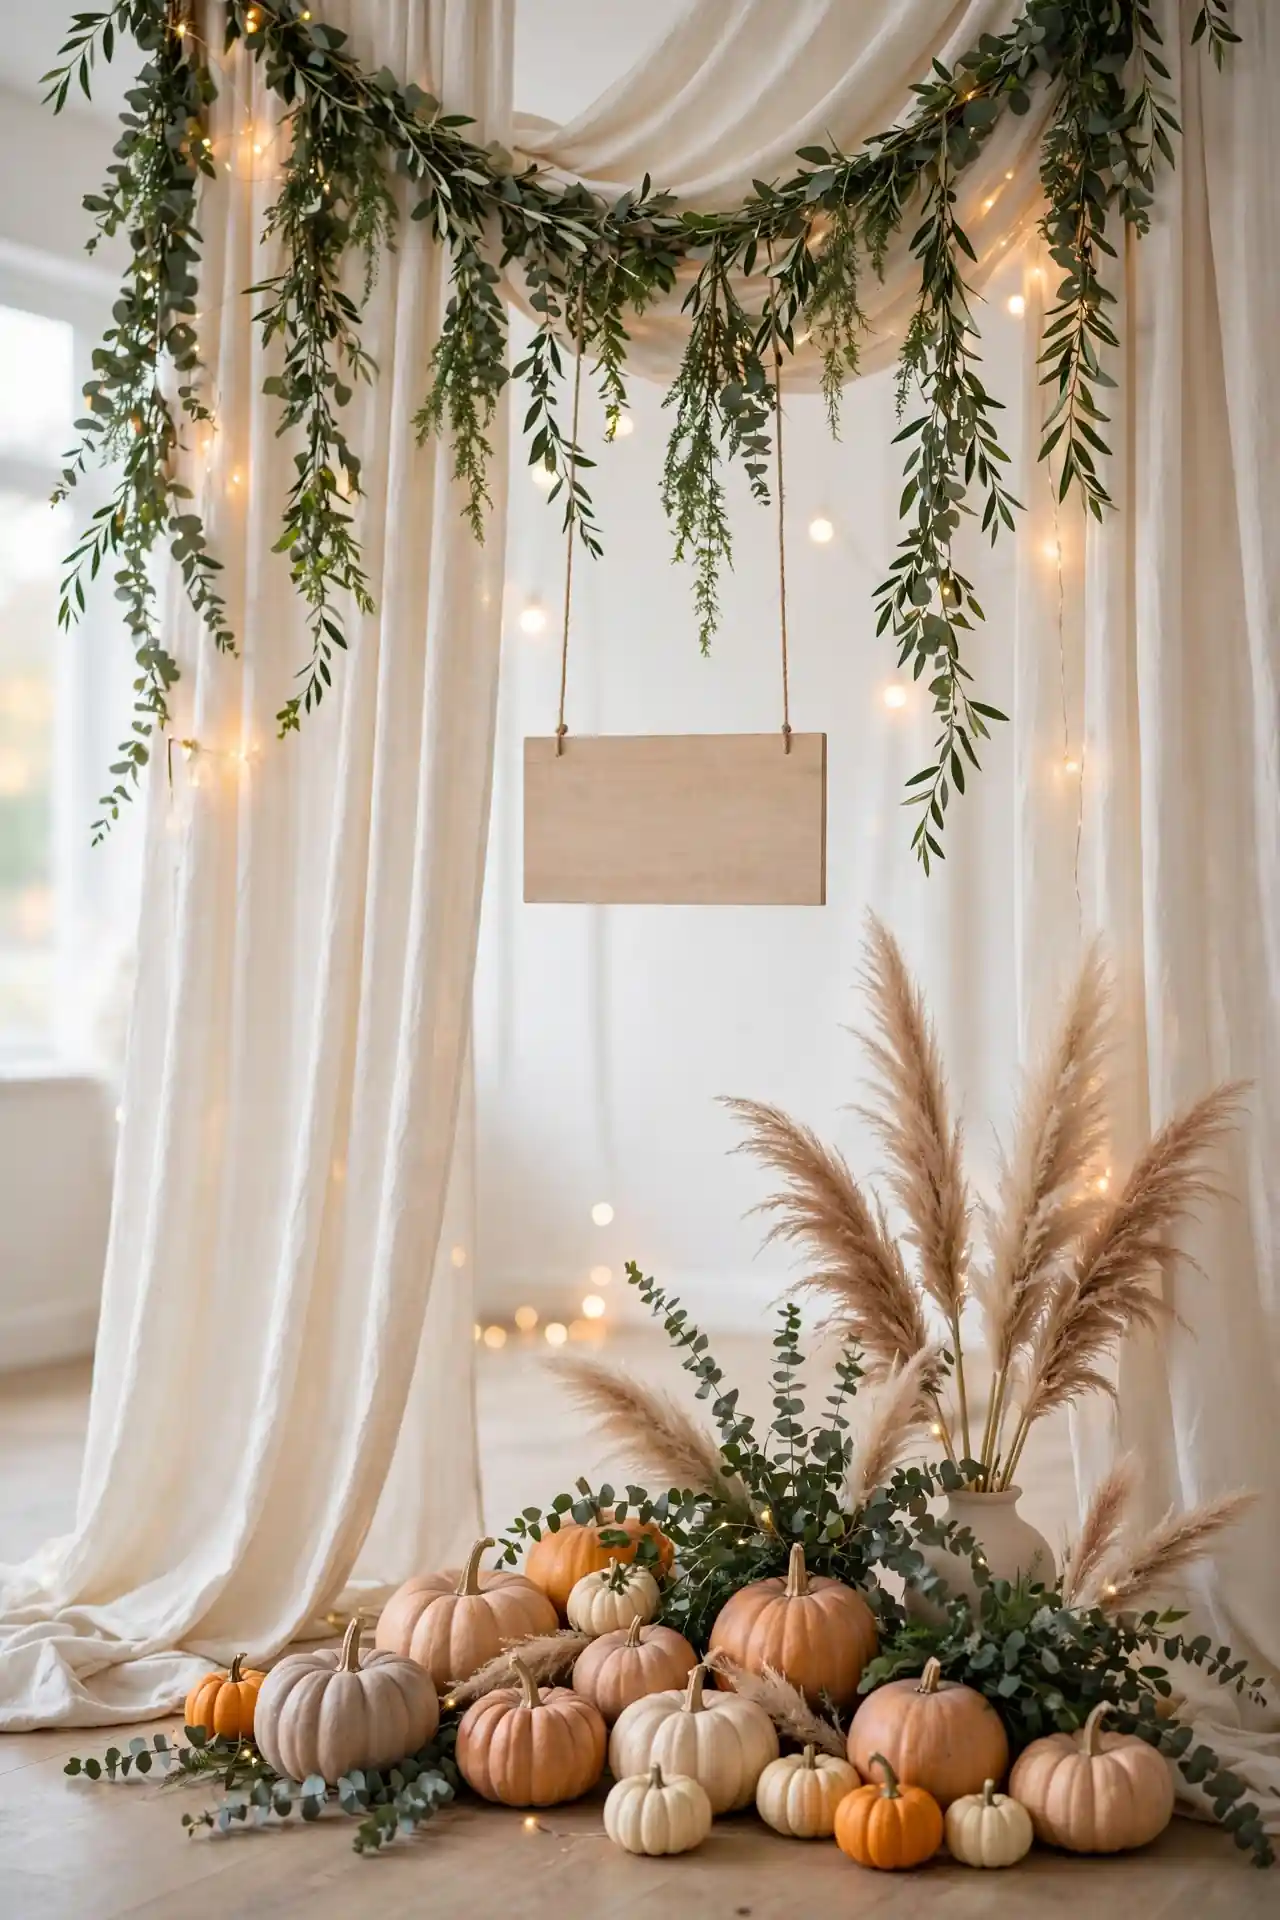
| Fabric Backdrop | Balloon Backdrop | |
|---|---|---|
| Material | Flowing cream curtains | Ivory and blush balloons |
| Decor | Hanging greenery strands | Dried flower clusters |
| Sign | Wooden “oh baby” script | Neon-style baby sign |
| Pumpkins | Floor cluster of minis | Velvet pumpkin stack |
Every shower needs one photo-ready wall, and this backdrop delivers it. Hang your chosen base the night before so it settles without wrinkles. Layer the decor in front, keeping the center clear for the mama-to-be’s chair. Add soft lighting, like a floor lamp or string lights, so photos glow even indoors. Test the setup with a phone photo before guests arrive and adjust anything that looks flat. A great backdrop gets used all party long.
Thank You Treat Bags
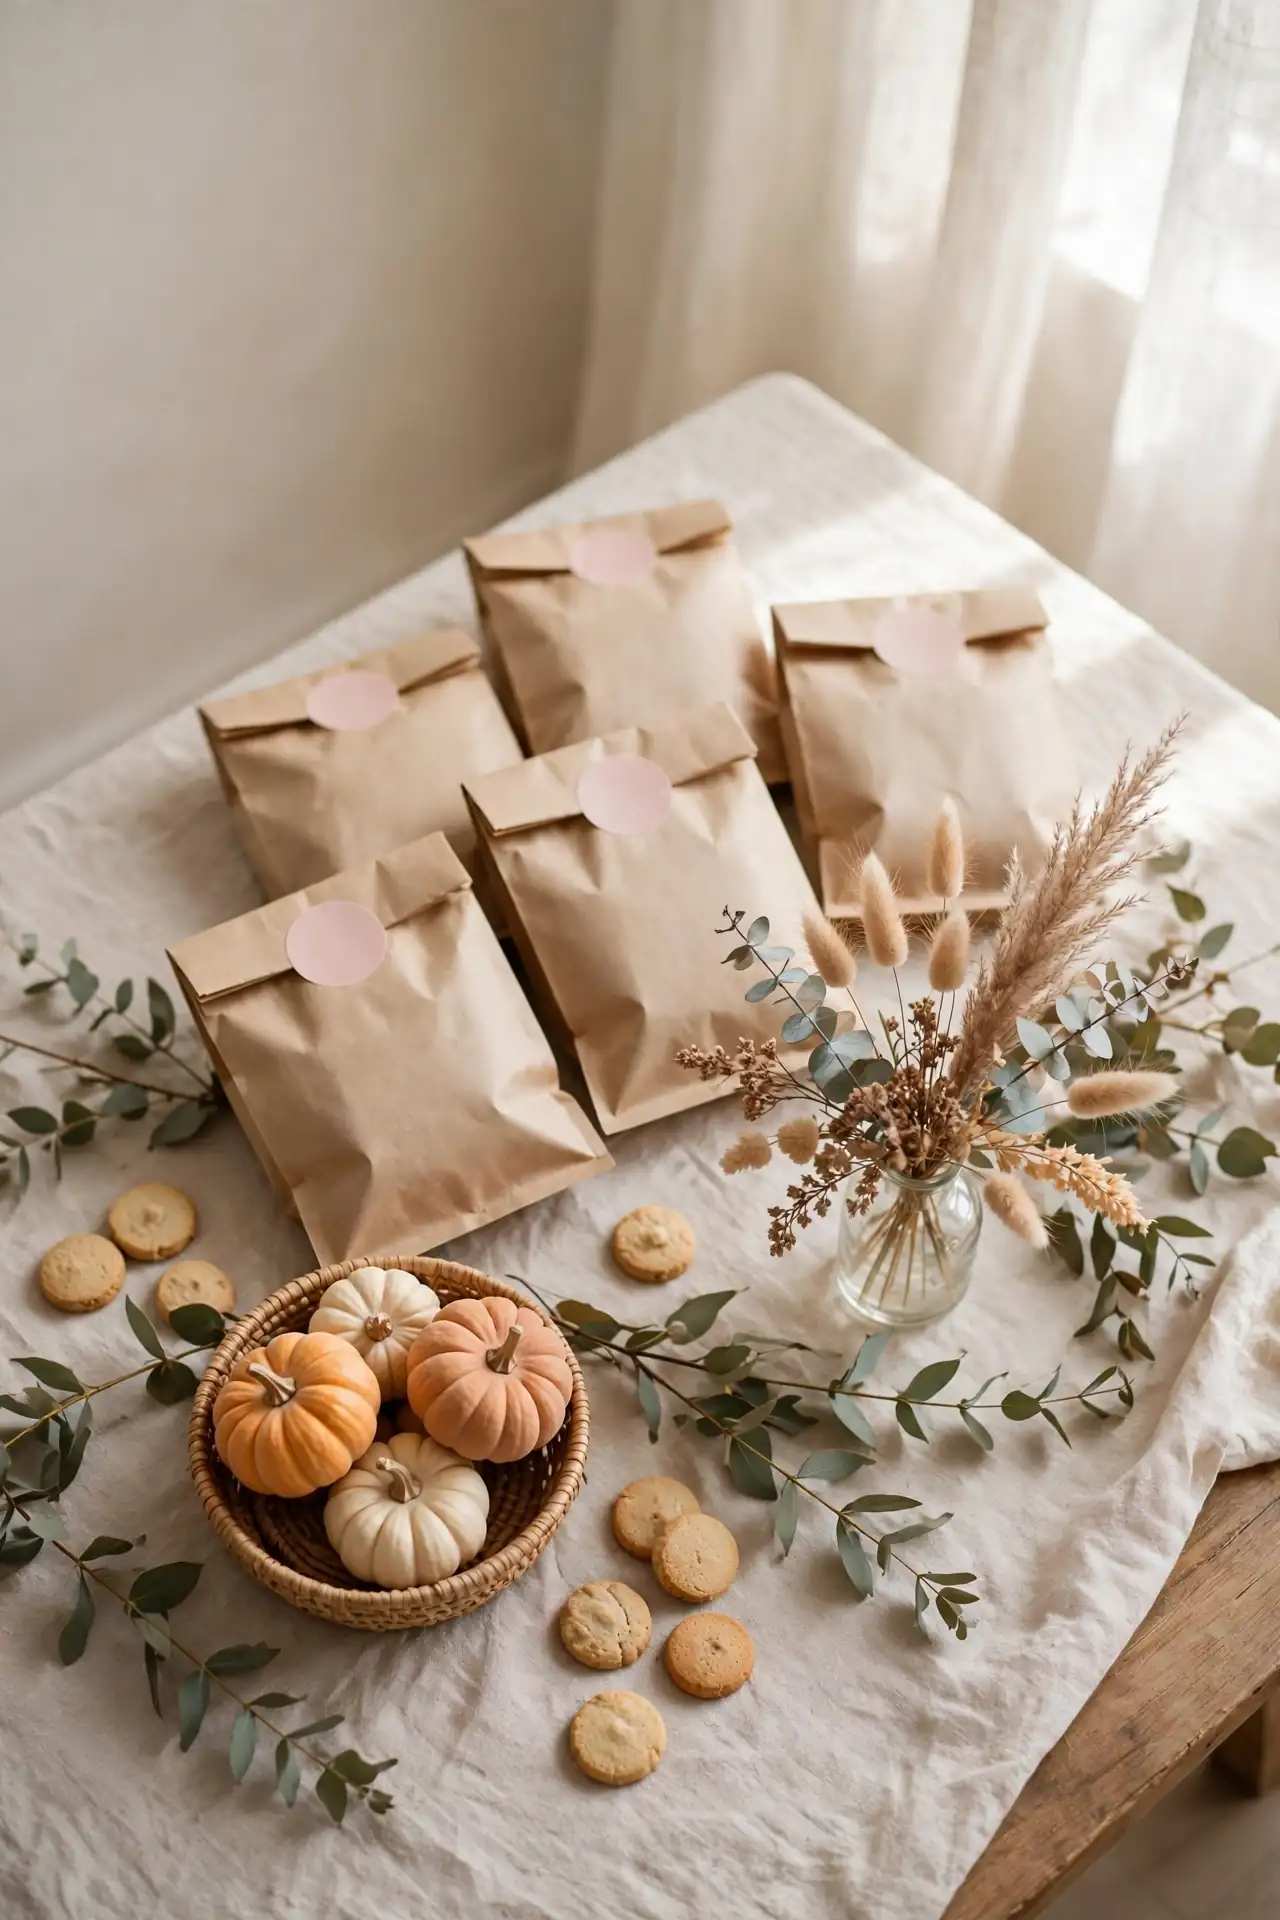
- DO: Fill kraft bags with pumpkin spice cookies or candy corn mix.
- DO: Seal each bag with a blush sticker showing the shower date.
- DO: Set the bags by the door so guests grab one on the way out.
- DON’T: Overfill bags; a small treat feels more elegant than a heavy sack.
- DON’T: Use plastic bags that clash with the soft natural styling.
- DON’T: Forget a few nut-free options for guests with allergies.
Treat bags send guests home with a sweet final memory. Assemble them the week before so party day stays calm. Homemade-look packaging impresses more than expensive contents. A simple kraft bag with a pretty sticker beats a fancy box every time.
Soft Neutral Linens
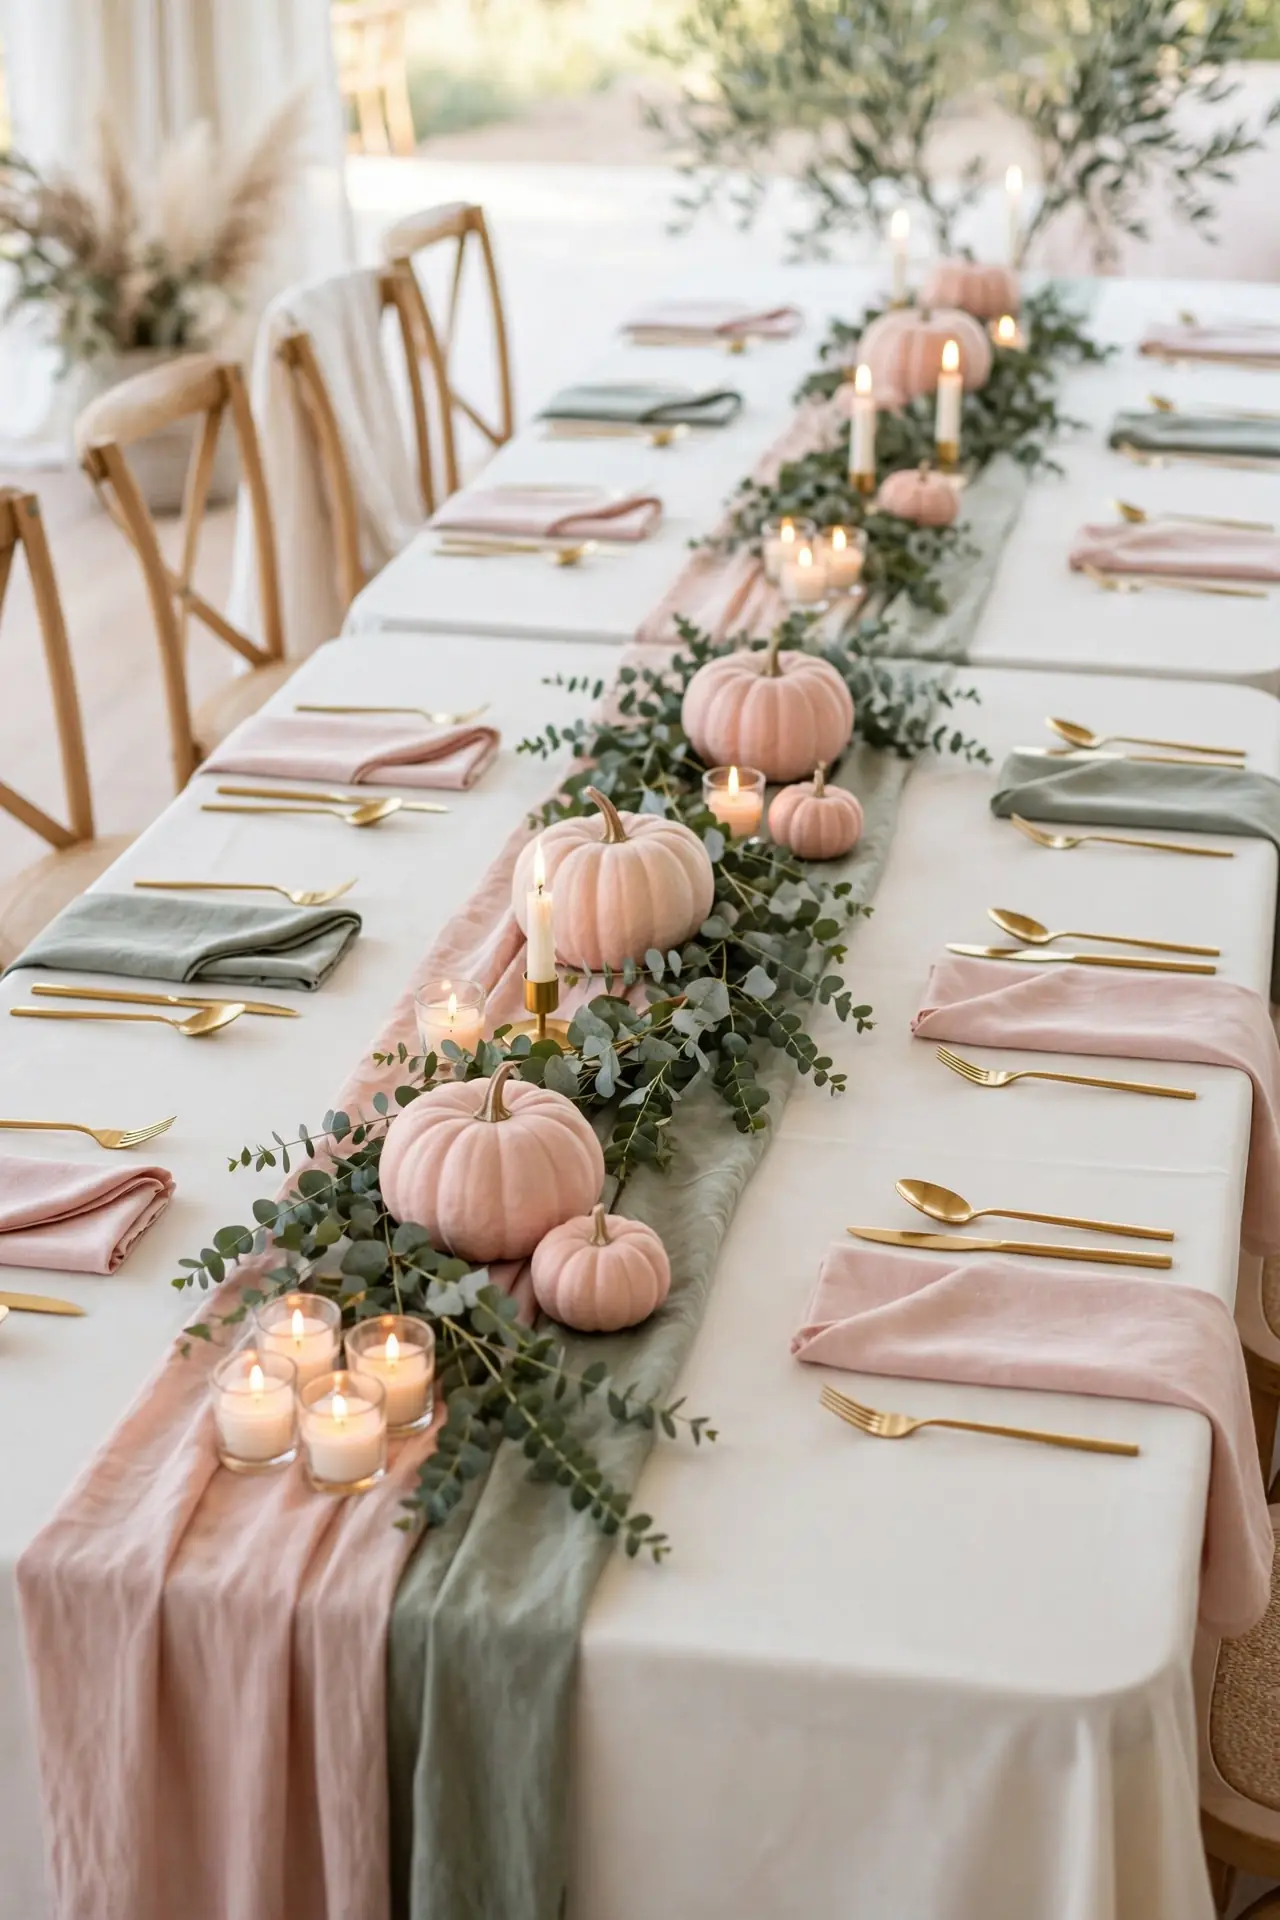
Cost: Medium, rentals beat buying for large guest lists.
Time: One afternoon to source and steam everything.
Best For: Unifying mismatched tables into one cohesive look.
Result: Instant elegance that makes simple decor shine.
Linens set the foundation for every table, so choose them before buying anything else. Cream or ivory tablecloths brighten the room and let your pumpkin accents stand out. Layer blush or sage runners down the center for soft color without commitment. Cloth napkins in a matching tone feel far more special than paper ones. Steam or iron everything the day before, because wrinkles show up in photos. Simple linens plus thoughtful details always beat fussy decor on bare tables.
Baby Name Pumpkins
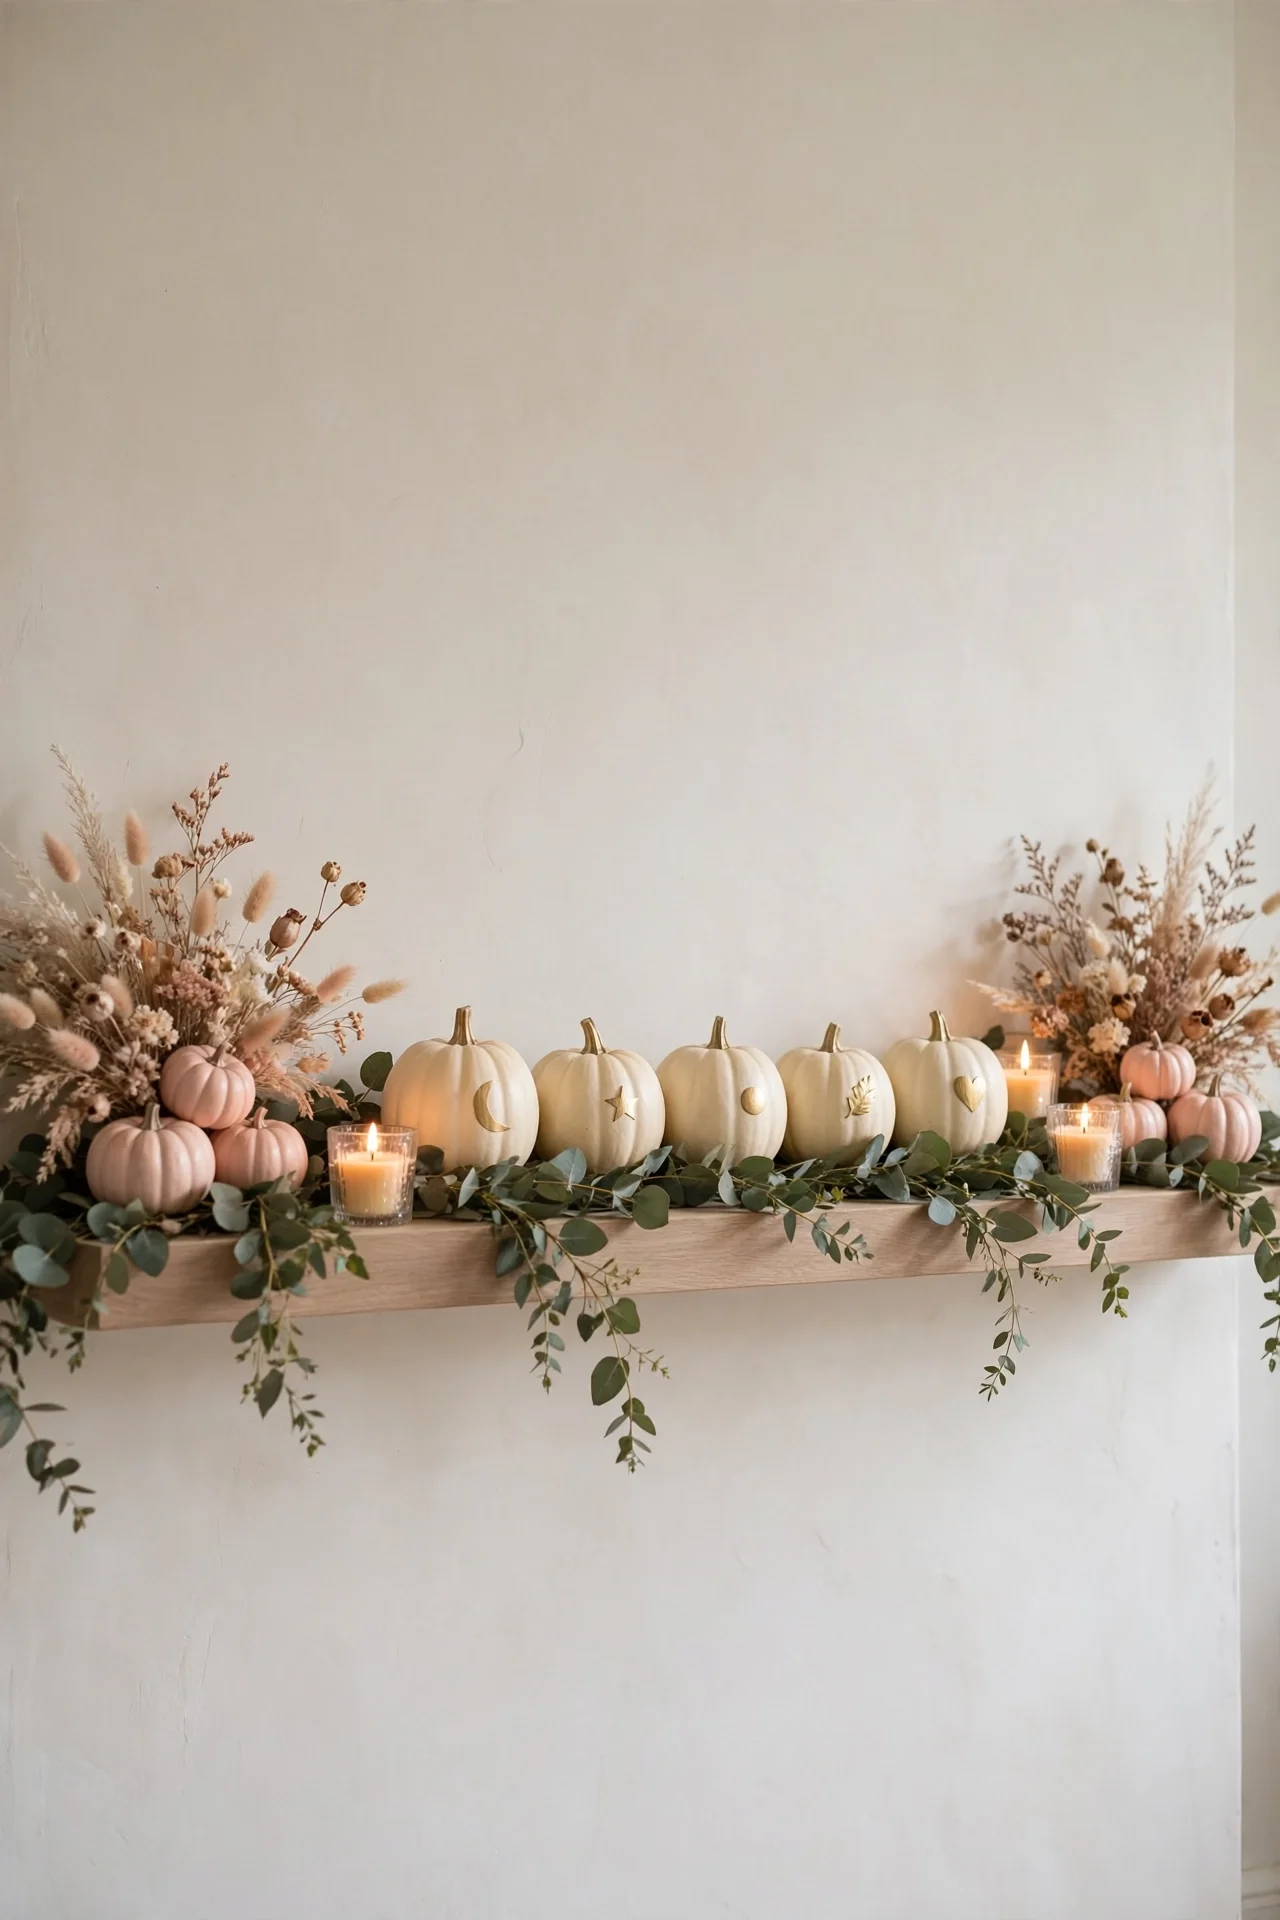
Spell out the baby’s name across a row of small pumpkins for a personal touch everyone notices. Paint each pumpkin cream, then add one gold letter per pumpkin with a paint pen. Line them along the mantel, entry table, or dessert table edge. This detail turns generic fall decor into something made just for this little one.
If the name is still a surprise, spell “oh baby” or “little pumpkin” instead. Faux pumpkins work best here since paint adheres smoothly to their surface. Keep the lettering large and centered so it reads from across the room. After the shower, the parents can display the name pumpkins in the nursery all season long.
Wishes for Baby
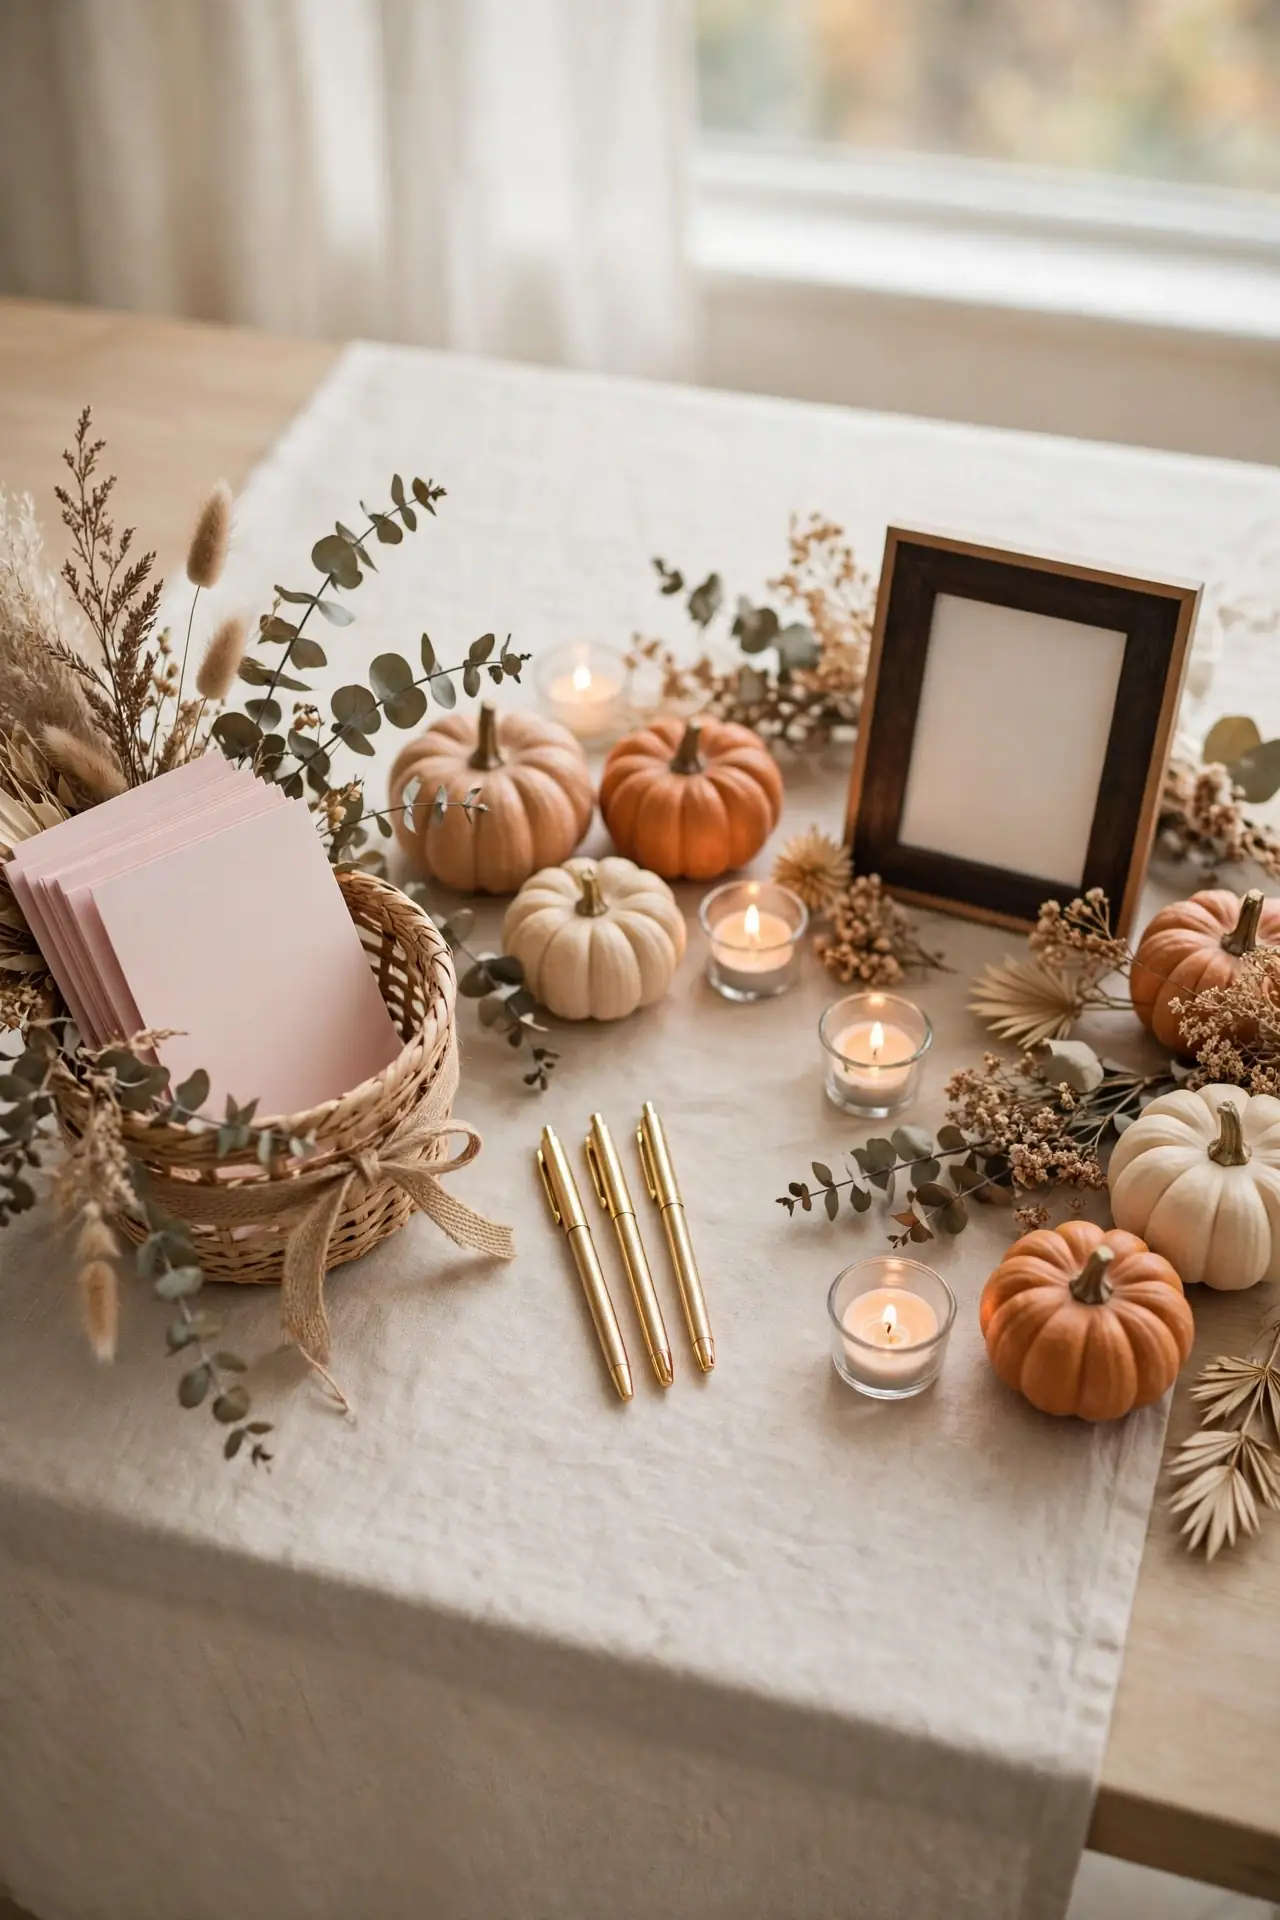
- Set out blush cards and gold pens at a small table with a framed instruction sign.
- Ask guests to write a wish, advice, or funny prediction for the baby.
- Provide a decorated box or basket where guests drop their finished cards.
- Read a few aloud during the party for laughs, then gift the rest to the parents.
Wishes cards create a keepsake far more meaningful than any store-bought gift. The mama-to-be will reread these notes during late-night feedings and smile. Keep the prompts simple so even shy guests participate. In my experience, funny predictions get the biggest laughs and become favorite memories. Bundle the cards with ribbon afterward for a gift that keeps on giving.
Photoshoot Corner Setup
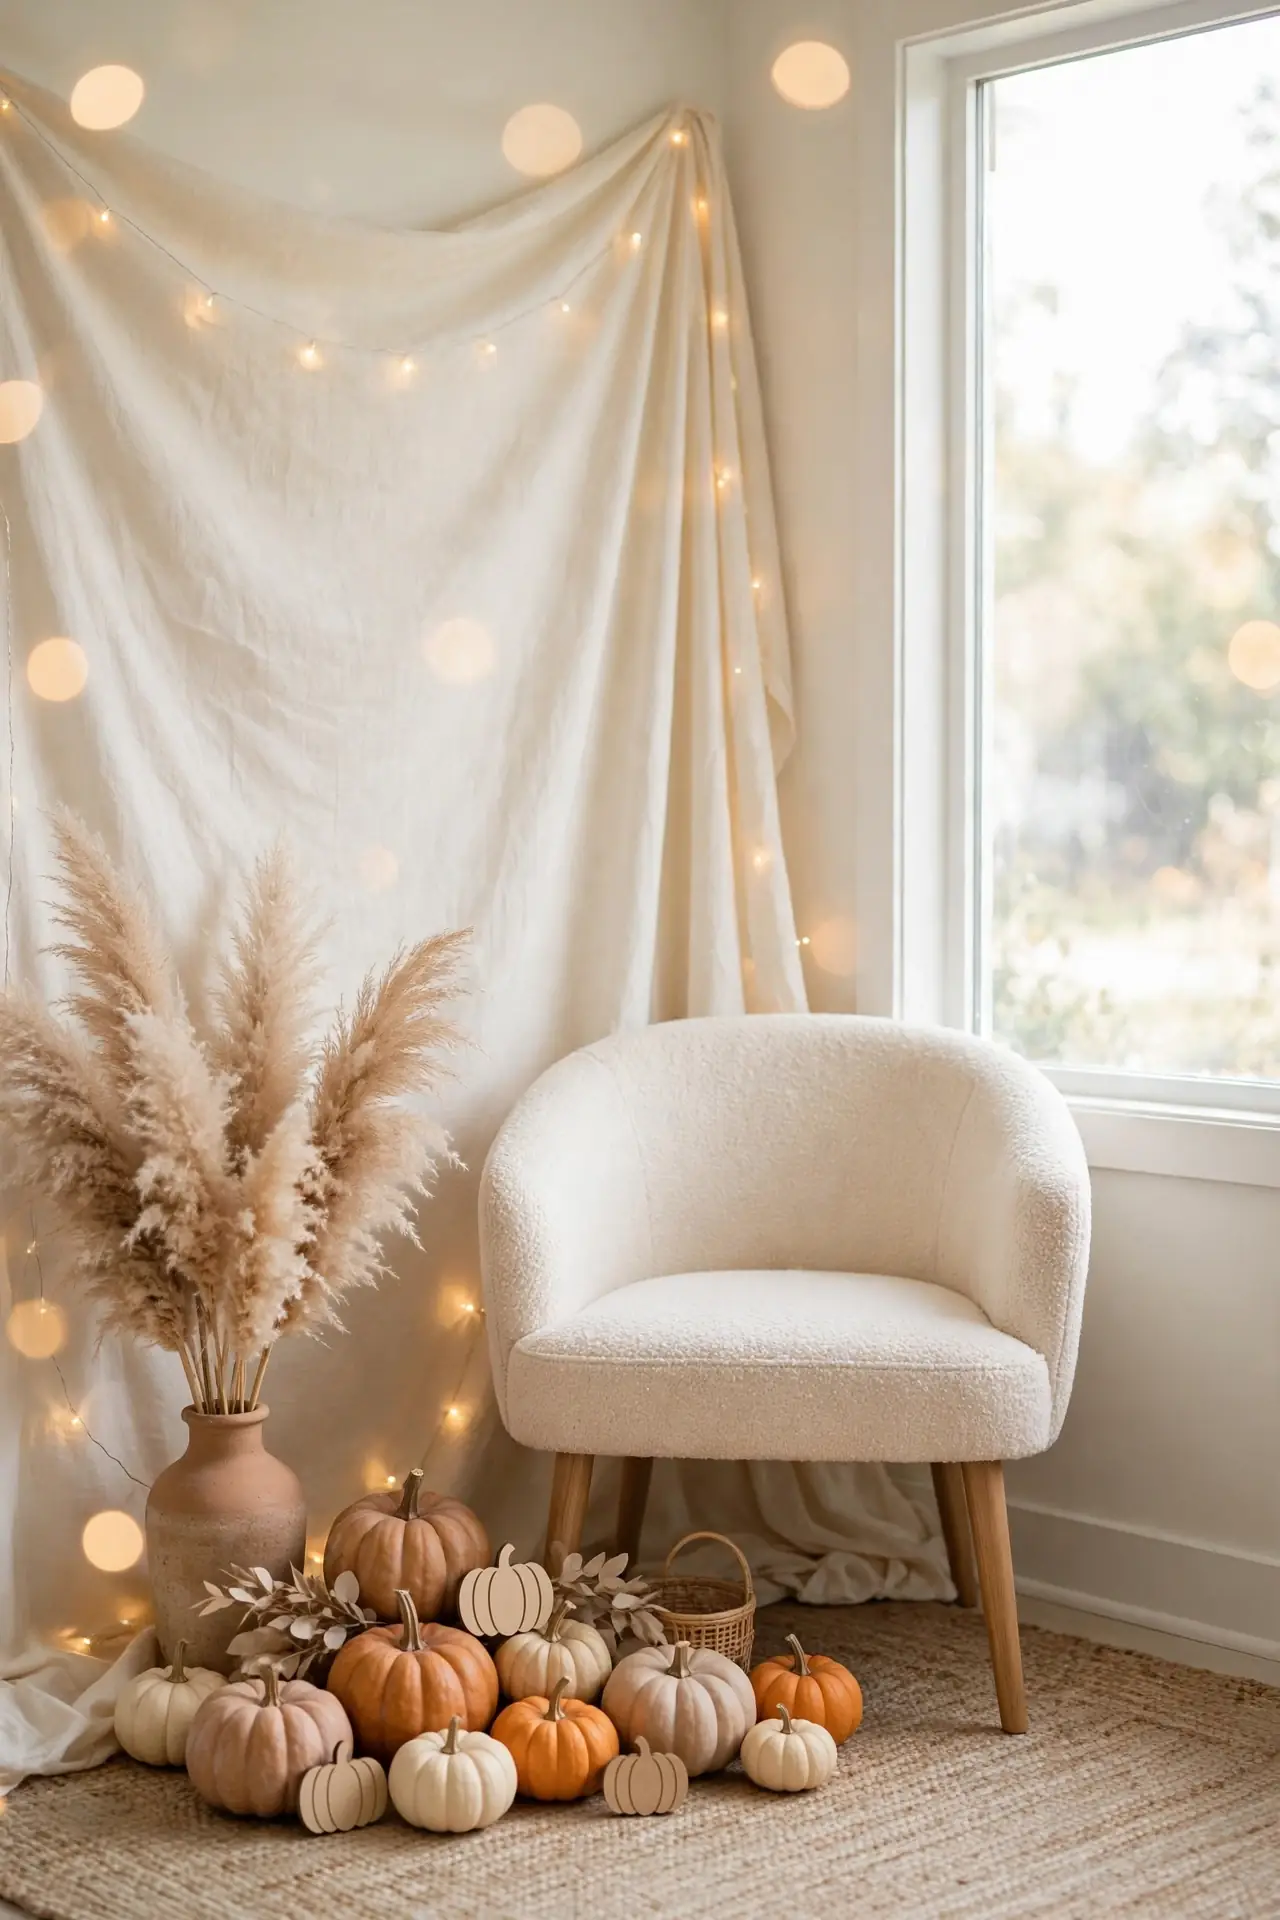
Quick Tip: Face the corner toward a window so natural light flatters every photo. Add a small stool or chair draped with a cream throw for seated poses.
A dedicated photoshoot corner guarantees beautiful pictures of the mama-to-be. Start with a photo backdrop like the one described earlier, or hang a simple curtain of cream fabric. Place a comfortable chair in the center with mini pumpkins clustered at its base. Hand guests a few props like “mommy to be” sashes or tiny pumpkin signs. Assign one friend as the unofficial photographer so nobody misses the moment. These photos become treasured keepsakes long after the decorations come down.
Sweet Dreams Send-Off
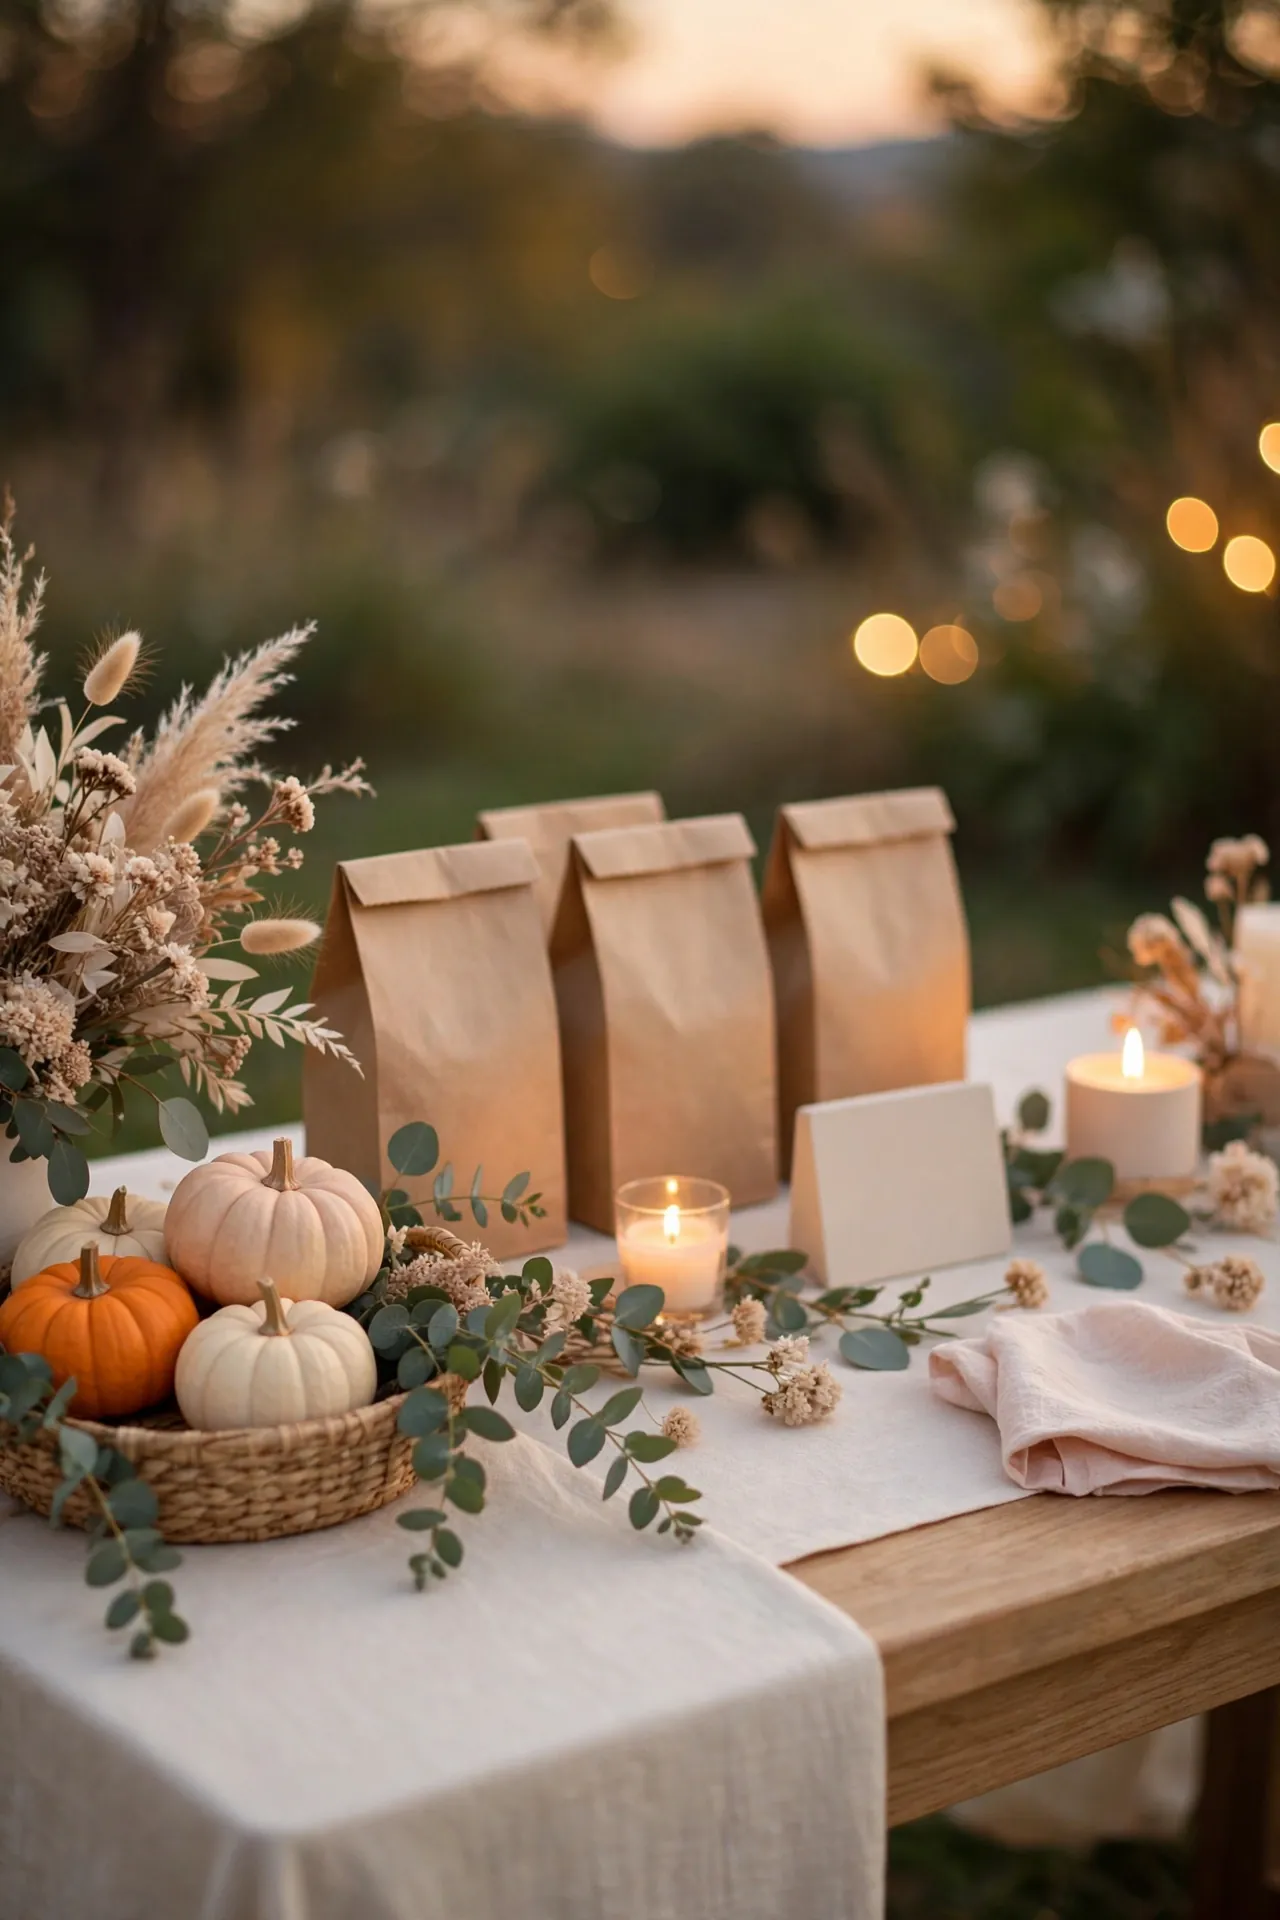
BEFORE: Parties that just fizzle out leave guests hovering by the door, unsure whether to stay or go. The lovely mood you built all afternoon quietly evaporates.
AFTER: A sweet send-off station with favors and a thank-you sign gives the ending purpose. Guests leave smiling with a treat in hand and the host gets a graceful exit moment.
Set up the farewell table near the exit with treat bags and a basket of mini pumpkins. Add a small sign thanking guests for celebrating the little pumpkin on the way. Play soft music as the party winds down to signal the gentle ending. This thoughtful goodbye leaves everyone with warm feelings and a final photo opportunity by the door.
Conclusion
Your pumpkin baby shower theme celebration is ready to shine. These 20 ideas prove that a few tiny pumpkins, soft neutral layers, and thoughtful details create a party guests will talk about long after the last slice of pie. I have seen how small changes like these can completely shift the way a space feels, turning a simple room into a warm autumn welcome for the little one. Save your favorites on Pinterest, gather your pumpkins this weekend, and enjoy every sweet moment. Share your photos with friends who are planning fall showers too, and happy celebrating to the mama-to-be.
One Comment