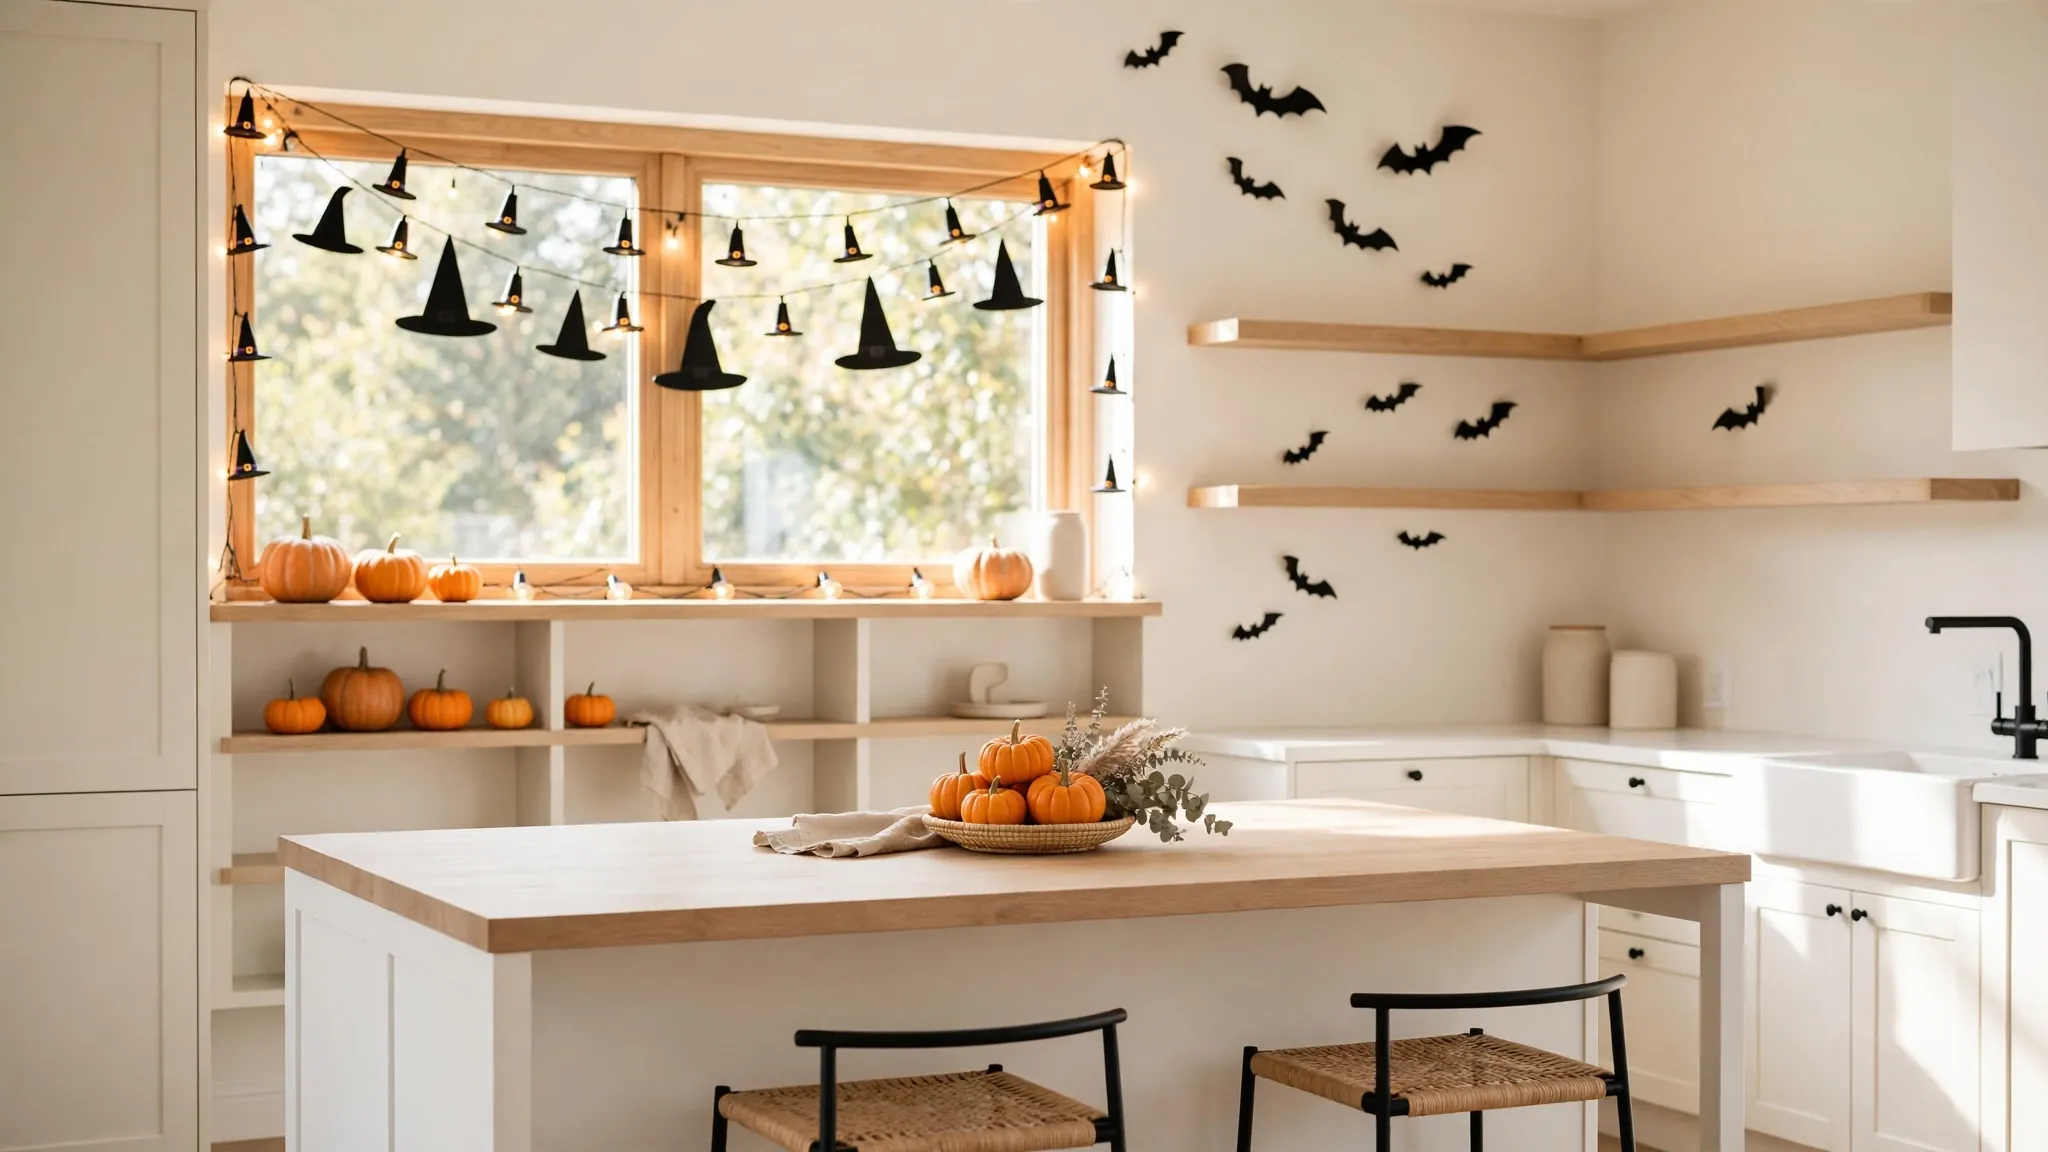
21 Halloween Kitchen Decor Ideas for a Spooky Seasonal Look
October turns the kitchen into the busiest room of the house, from baking treats to hosting costume parties, so it deserves a seasonal makeover too. These halloween kitchen decor ideas bring just the right amount of spooky charm without turning your cooking space into a haunted house. Think mini pumpkins on open shelves, playful bat decals on pale walls, and warm candlelight that makes every evening feel festive. In my experience, the best seasonal styling looks effortless because it layers small, thoughtful touches rather than one big theme. Let us make your kitchen the coziest spooky spot in the house.
Before you start shopping for pumpkins and potion bottles, take a quick look at how you style other seasons. Our christmas planter ideas guide shows the same layering tricks that work at Halloween, just with warmer colors and cozier textures. Keep your everyday kitchen base clean and neutral, then add spooky accents you can swap out in November. The 21 ideas below start simple and build up, so pick your favorites and have fun.
Mini Pumpkin Centerpiece
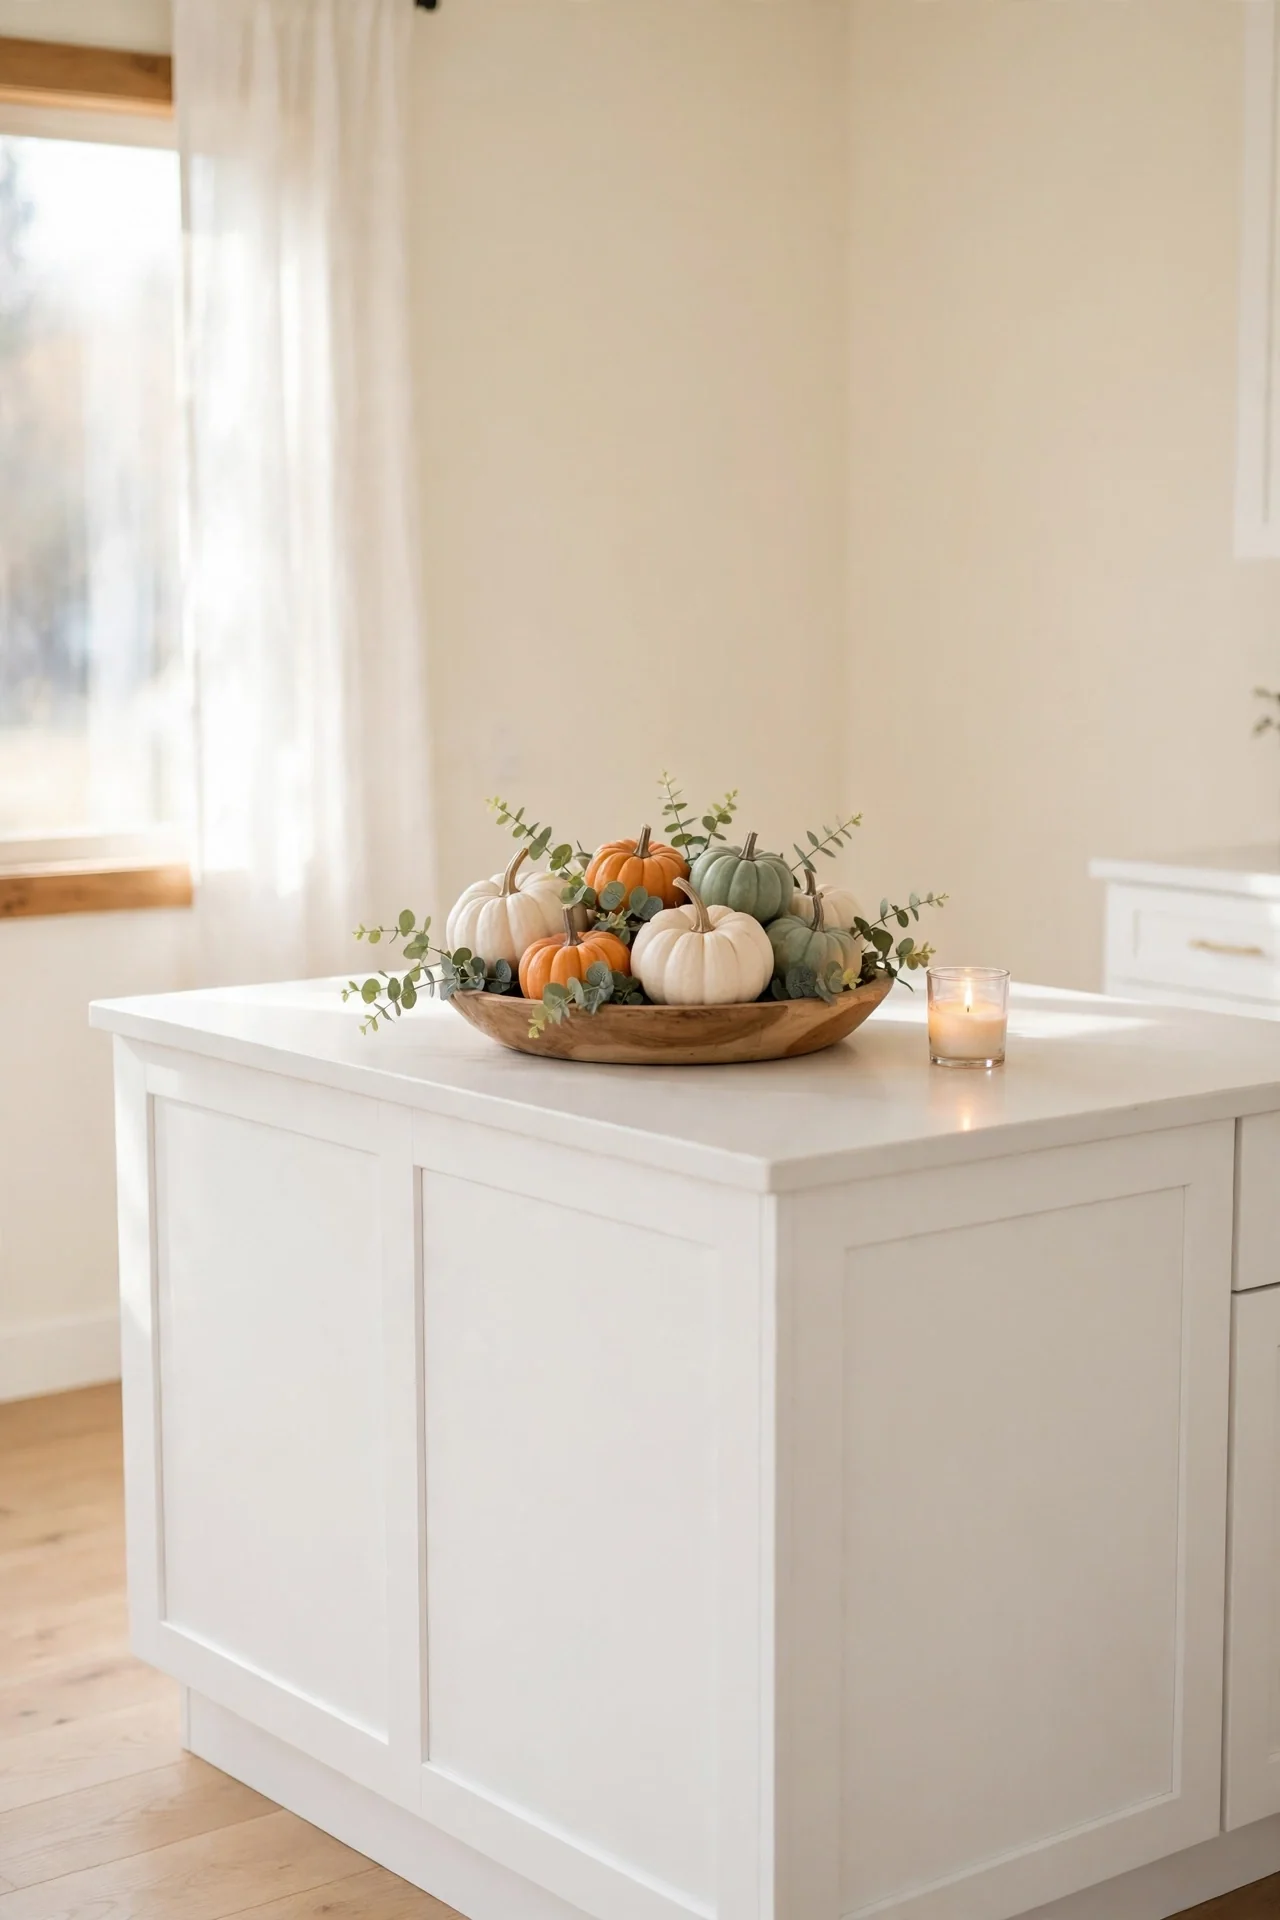
A cluster of tiny pumpkins on the kitchen island sets the Halloween mood in seconds. Mix white, orange, and pale green minis in a low wooden bowl, then tuck in sprigs of eucalyptus or wheat for texture. The whole arrangement costs very little and takes five minutes to build. Keep the bowl low so it never blocks conversation across the island.
Swap in fresh sprigs each week to keep the display lively through October. Real mini pumpkins last for weeks indoors, so you can build this once and enjoy it all month. Add a small battery candle nearby for a soft evening glow. When November arrives, replace the pumpkins with pinecones and keep the bowl.
Bat Wall Decals
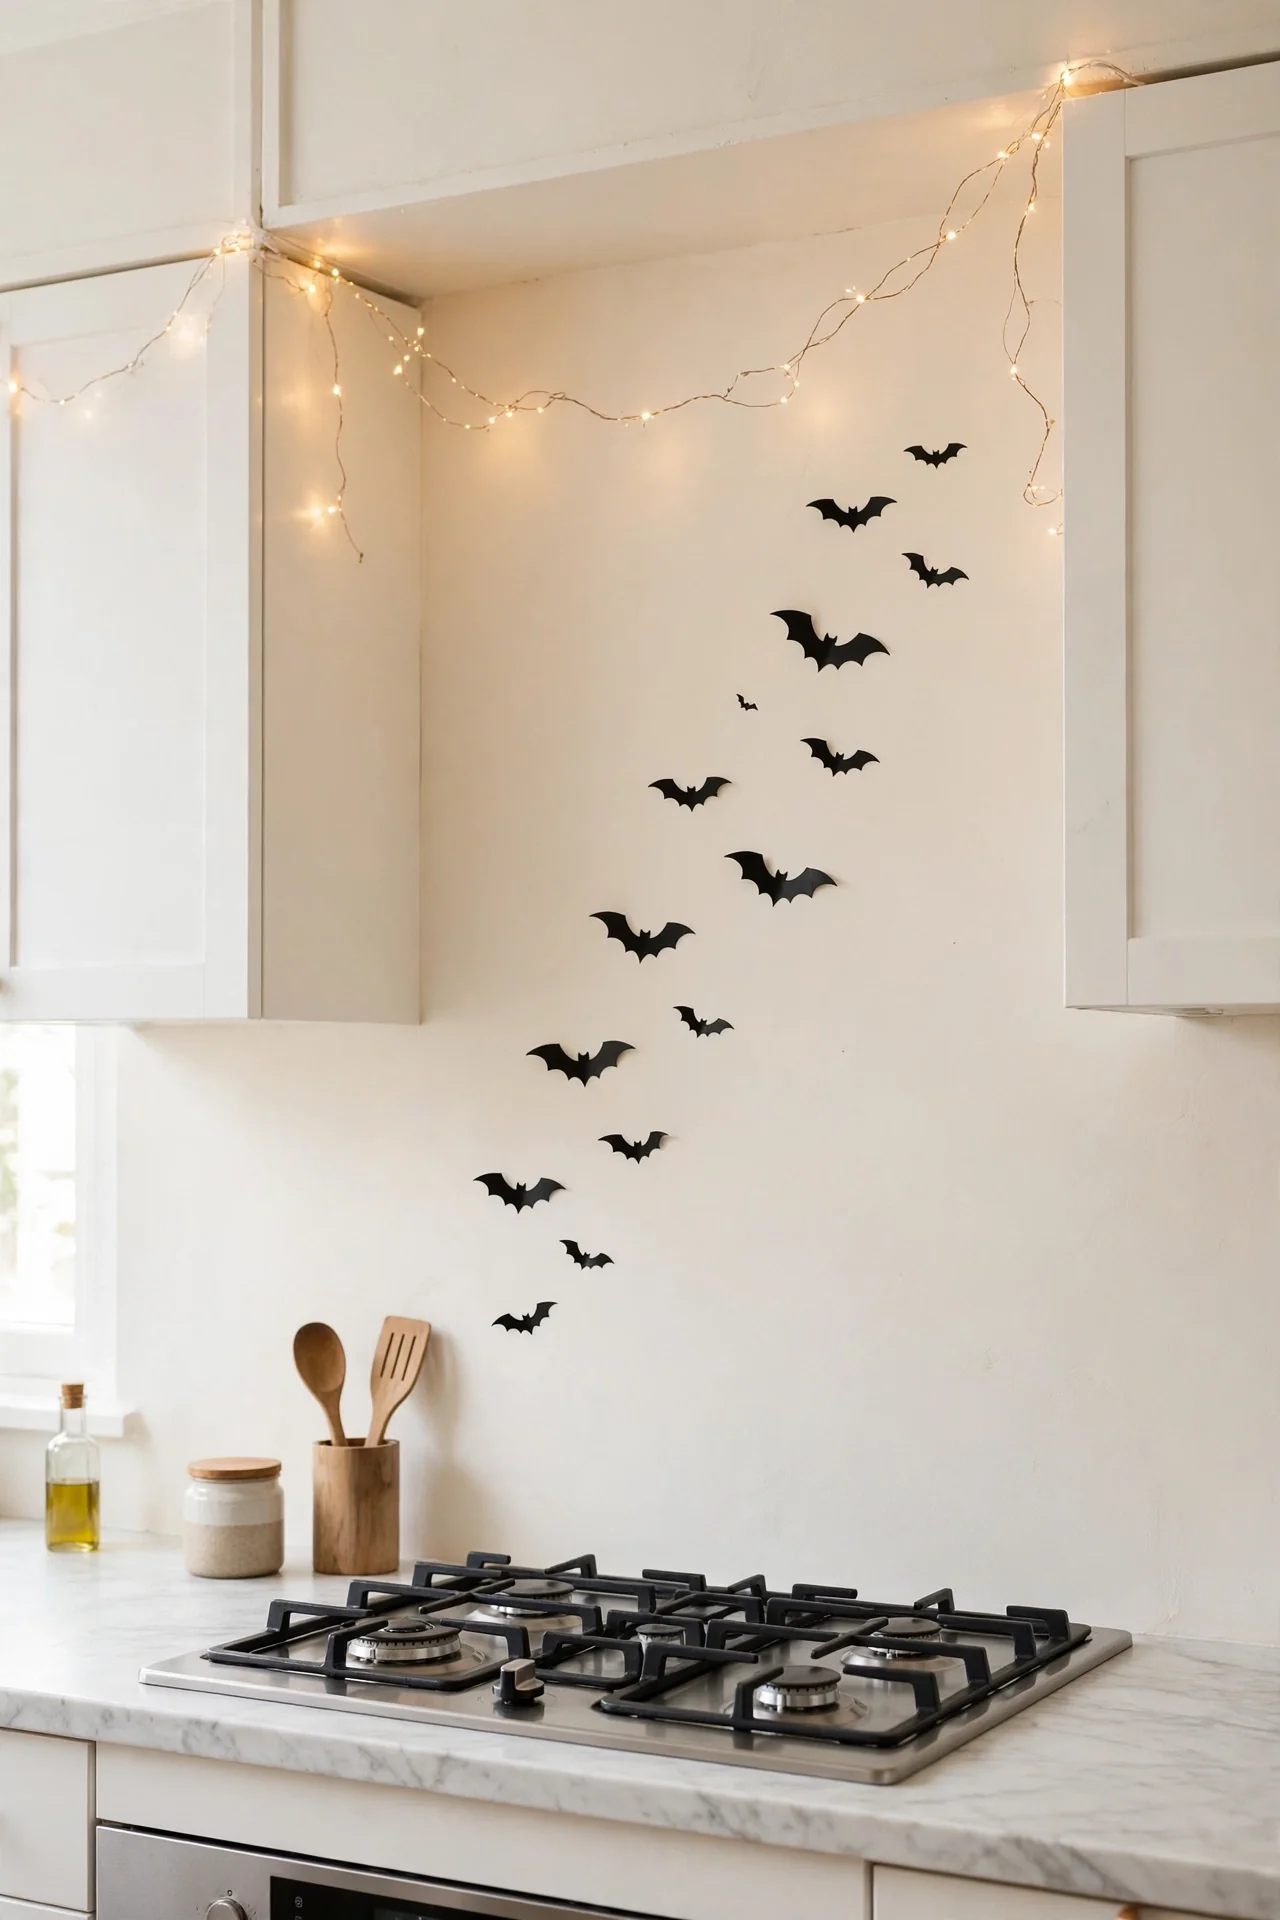
- Stick black bat decals in a loose flight path above the stove or across a blank wall.
- Choose removable vinyl so the decals peel off cleanly in November with no paint damage.
- Vary the bat sizes from small to large for a natural, scattered look.
- Pair them with a string of warm fairy lights for a cozy evening glow.
Bats add instant Halloween energy without any real effort. I have noticed they work best on light walls, where the dark shapes stand out crisply. Arrange them in an upward swoosh, as if the colony is taking flight. Remove and reuse them next year to get even more value.
Ghostly Garland Strands
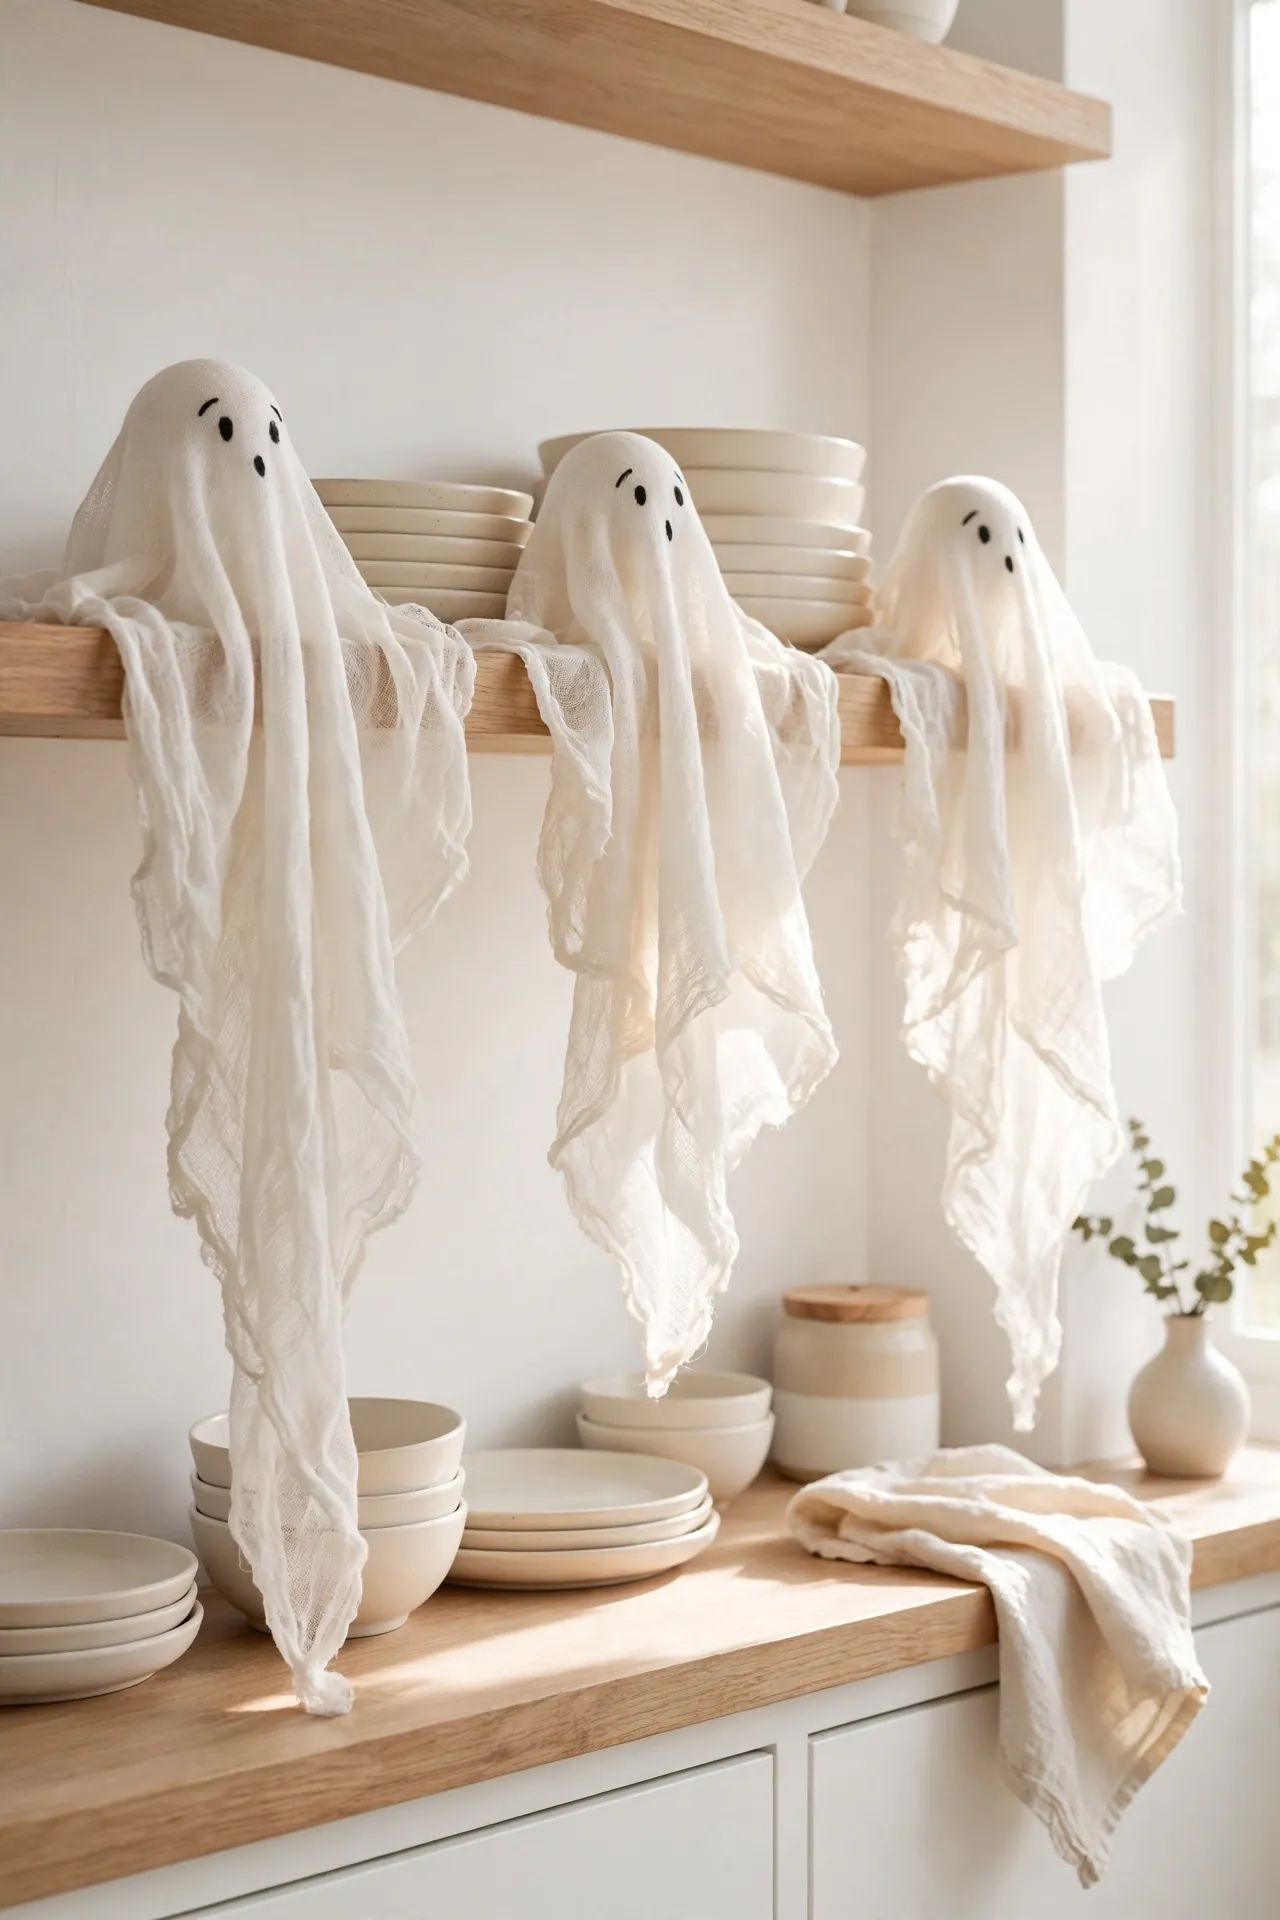
Quick Tip: Drape cheesecloth ghosts along your open shelves for a spooky look that costs almost nothing. Cut white cheesecloth into strips, drape them over small foam balls, and tie the neck with twine. Dot on simple eyes with a black marker. Hang two or three along a shelf edge and let the fabric trail down softly.
Handmade ghosts feel personal in a way store-bought garlands never do. The cheesecloth catches kitchen light beautifully, glowing softly in the evening. Make a few extras with the kids on a rainy afternoon. When Halloween ends, the ghosts pack flat for easy storage until next year.
Pumpkin Spice Bar
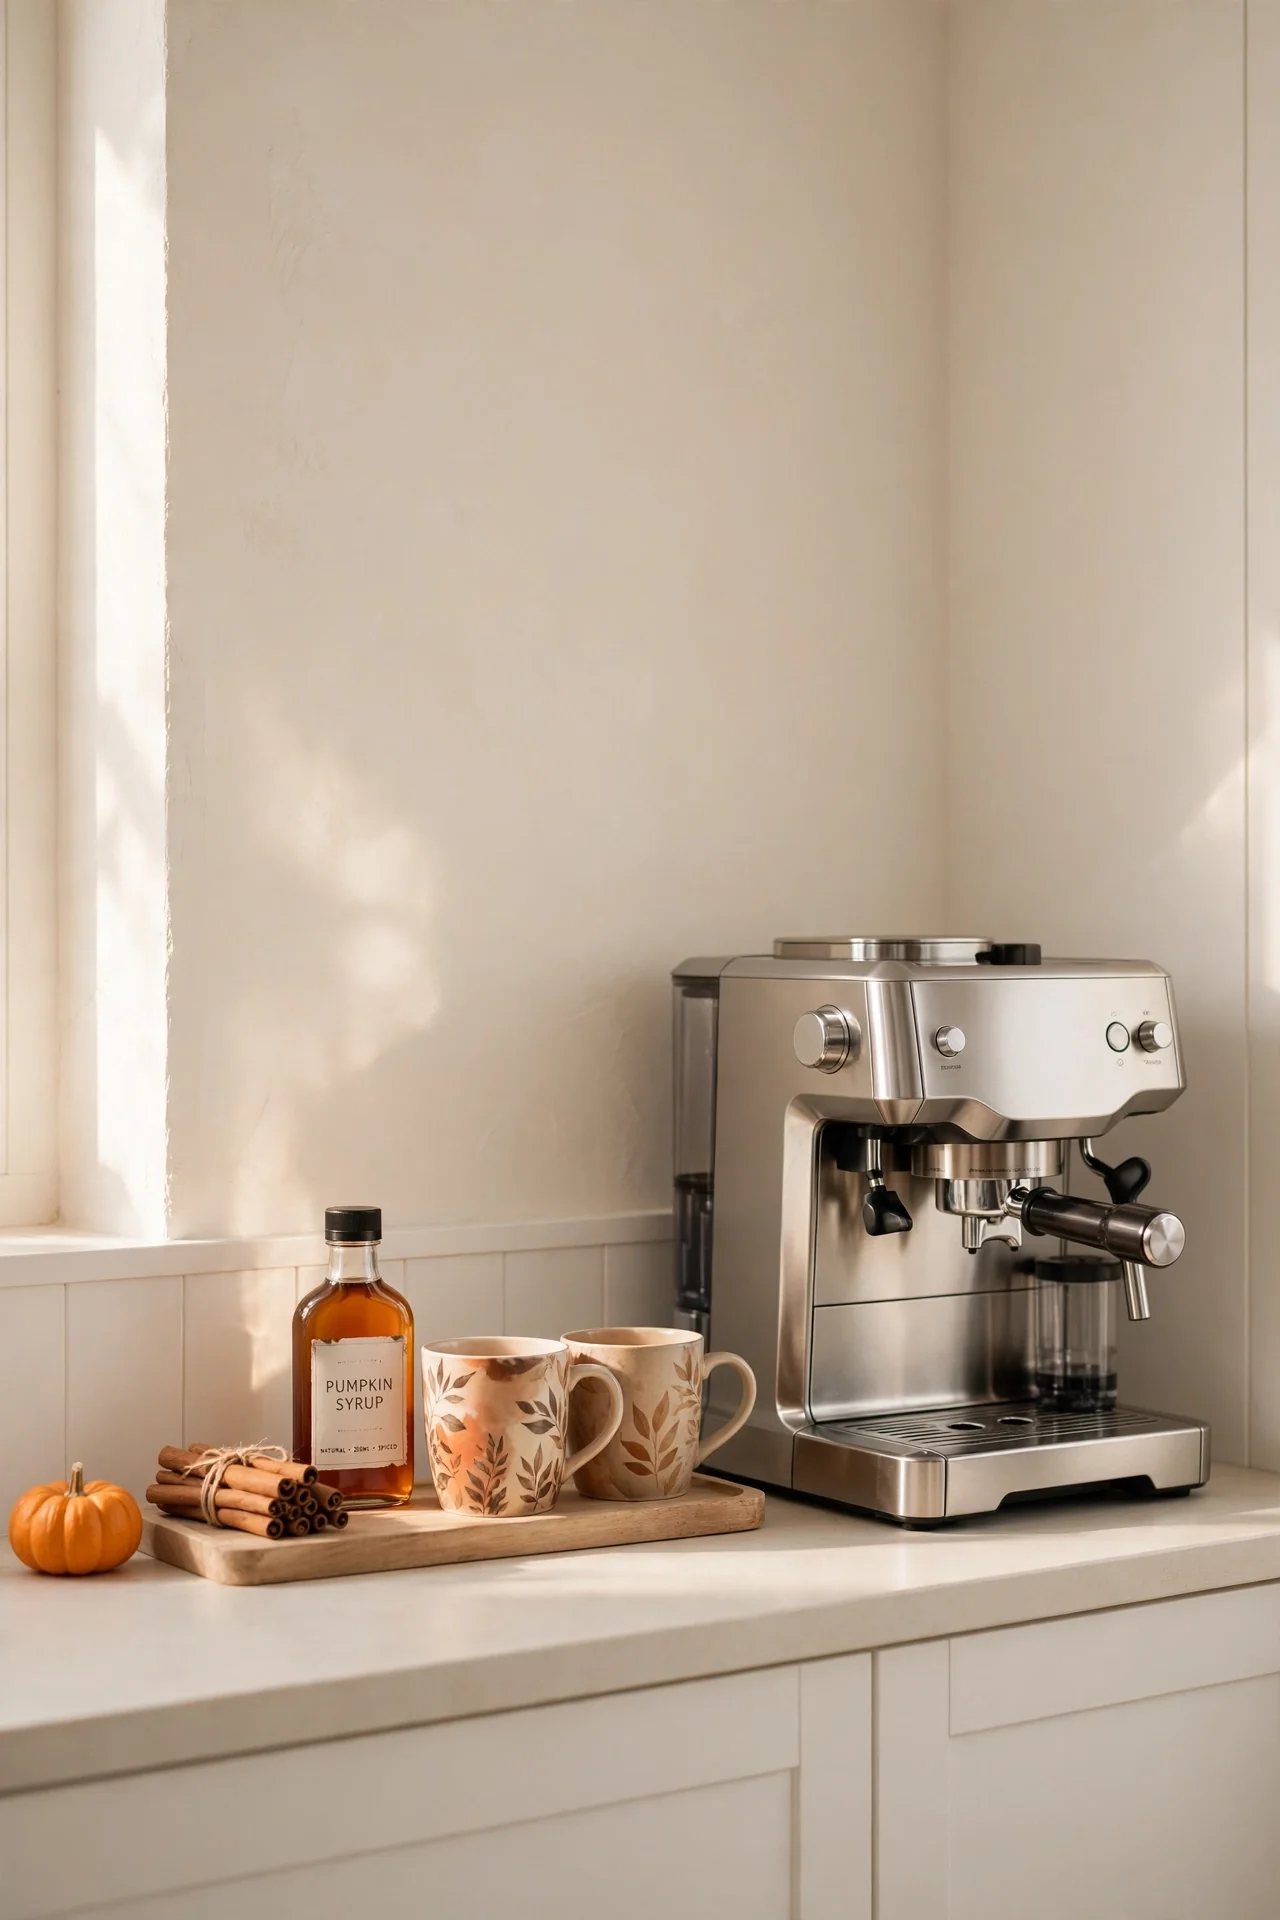
BEFORE: Before, the coffee corner held a lonely machine and a cluttered mug shelf. Mornings felt rushed and plain, with nothing to signal the season. The space worked fine but never sparked any joy.
AFTER: After, a small tray holds cinnamon sticks, a pumpkin syrup bottle, and two autumn mugs beside the machine. The corner now smells like a bakery and looks like a cafe. Guests help themselves and linger a little longer.
A dedicated coffee spot turns busy mornings into small rituals. Corral everything on one tray so the counter stays tidy around it. Restock the syrup and sticks weekly through October. This little station earns its keep from the first chilly morning.
Spiderweb Table Runner
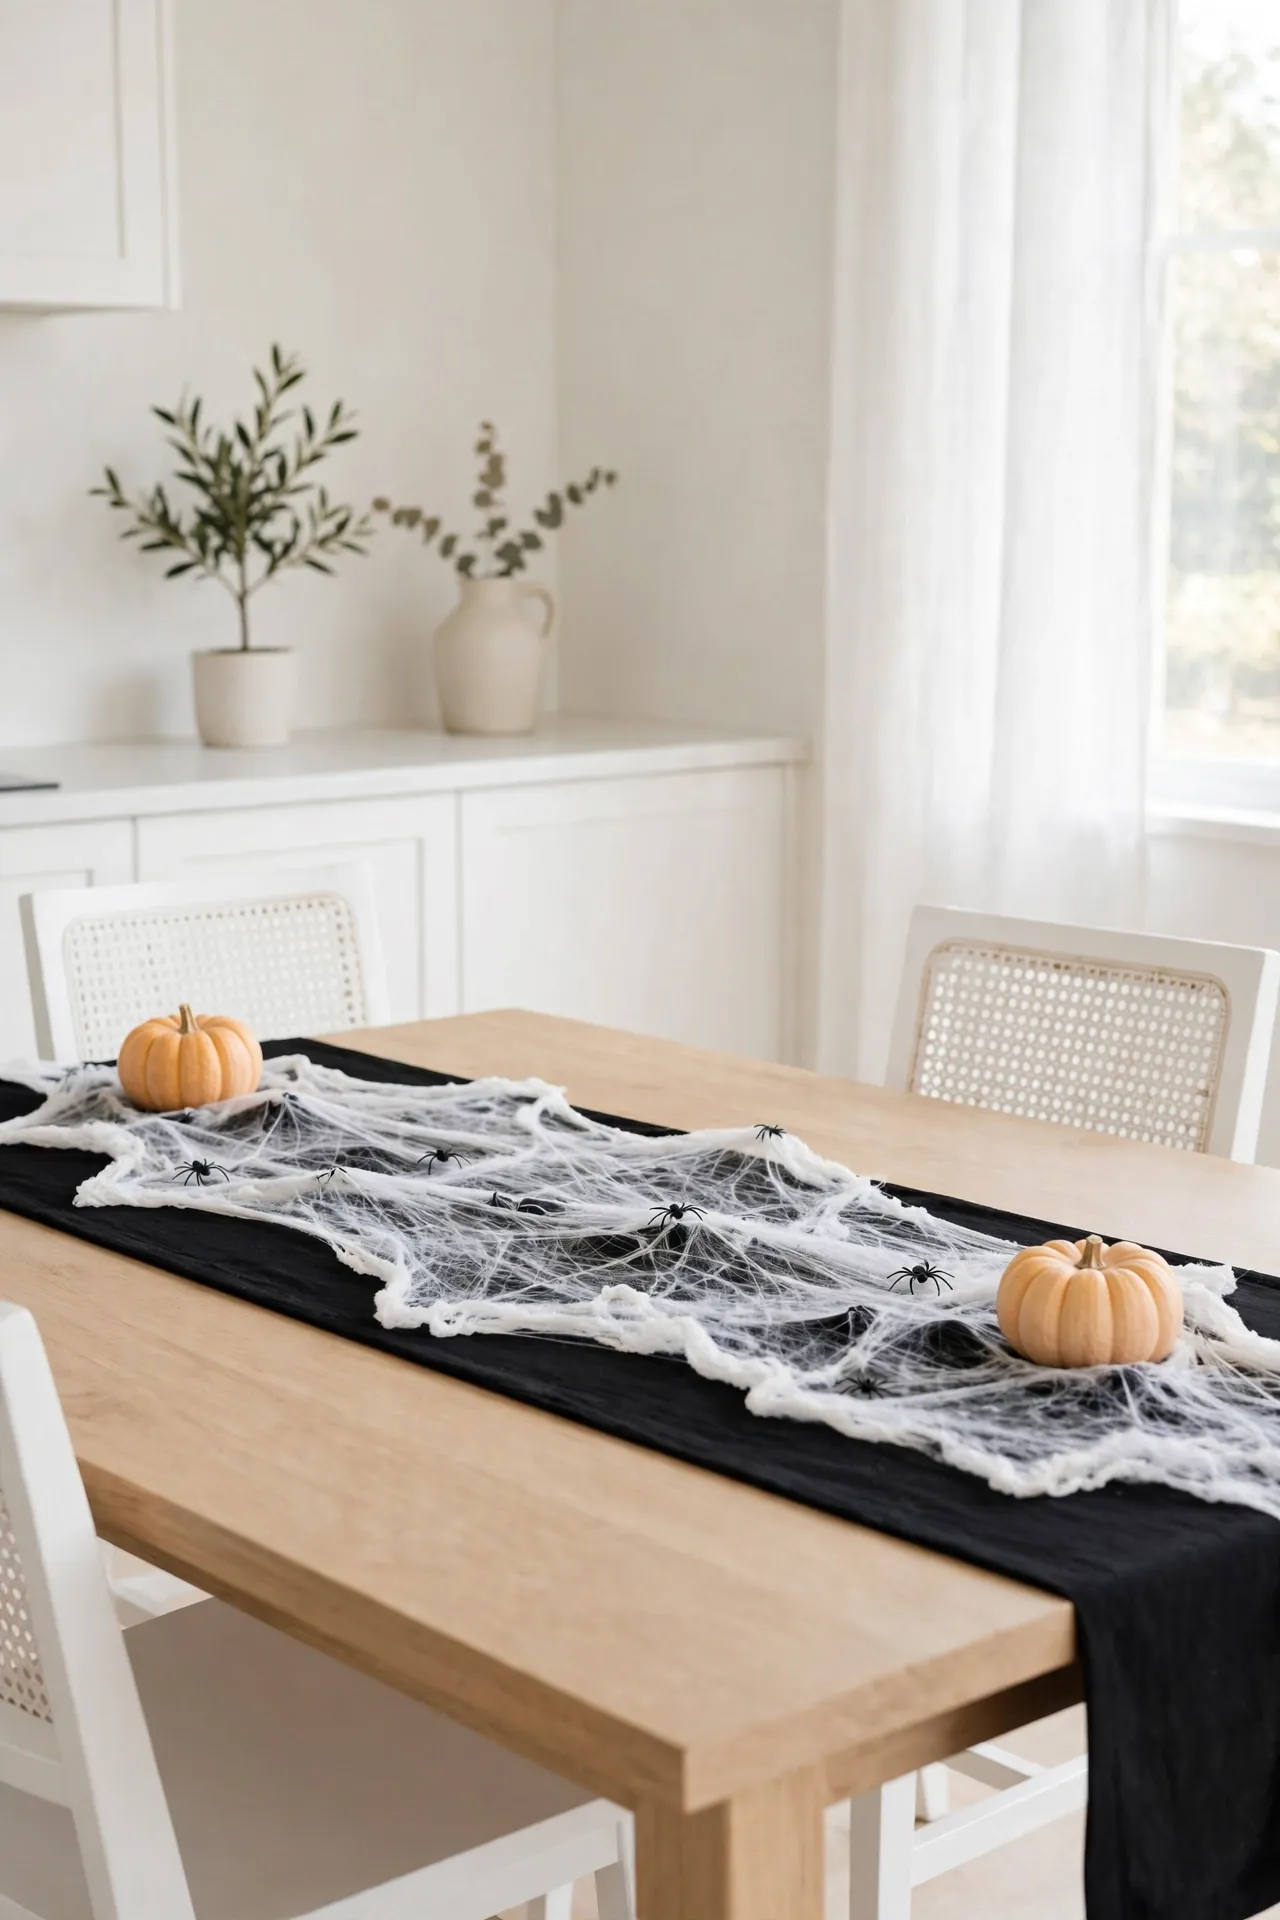
- Lay a black or cream table runner down the center of your kitchen table.
- Stretch white cotton spiderweb fabric gently over the runner and let the edges drape.
- Tuck small black plastic spiders into the web folds, spacing them unevenly for realism.
- Set a small pumpkin or candle cluster at each end to anchor the look.
Spiderwebs bring drama to the table without blocking plates or conversation. The stretchy web fabric costs a few dollars and covers a long table easily. Pull it slightly off-center for a natural, tangled feel. Brush the web smooth after the party for another year of use.
Black Cat Figurines
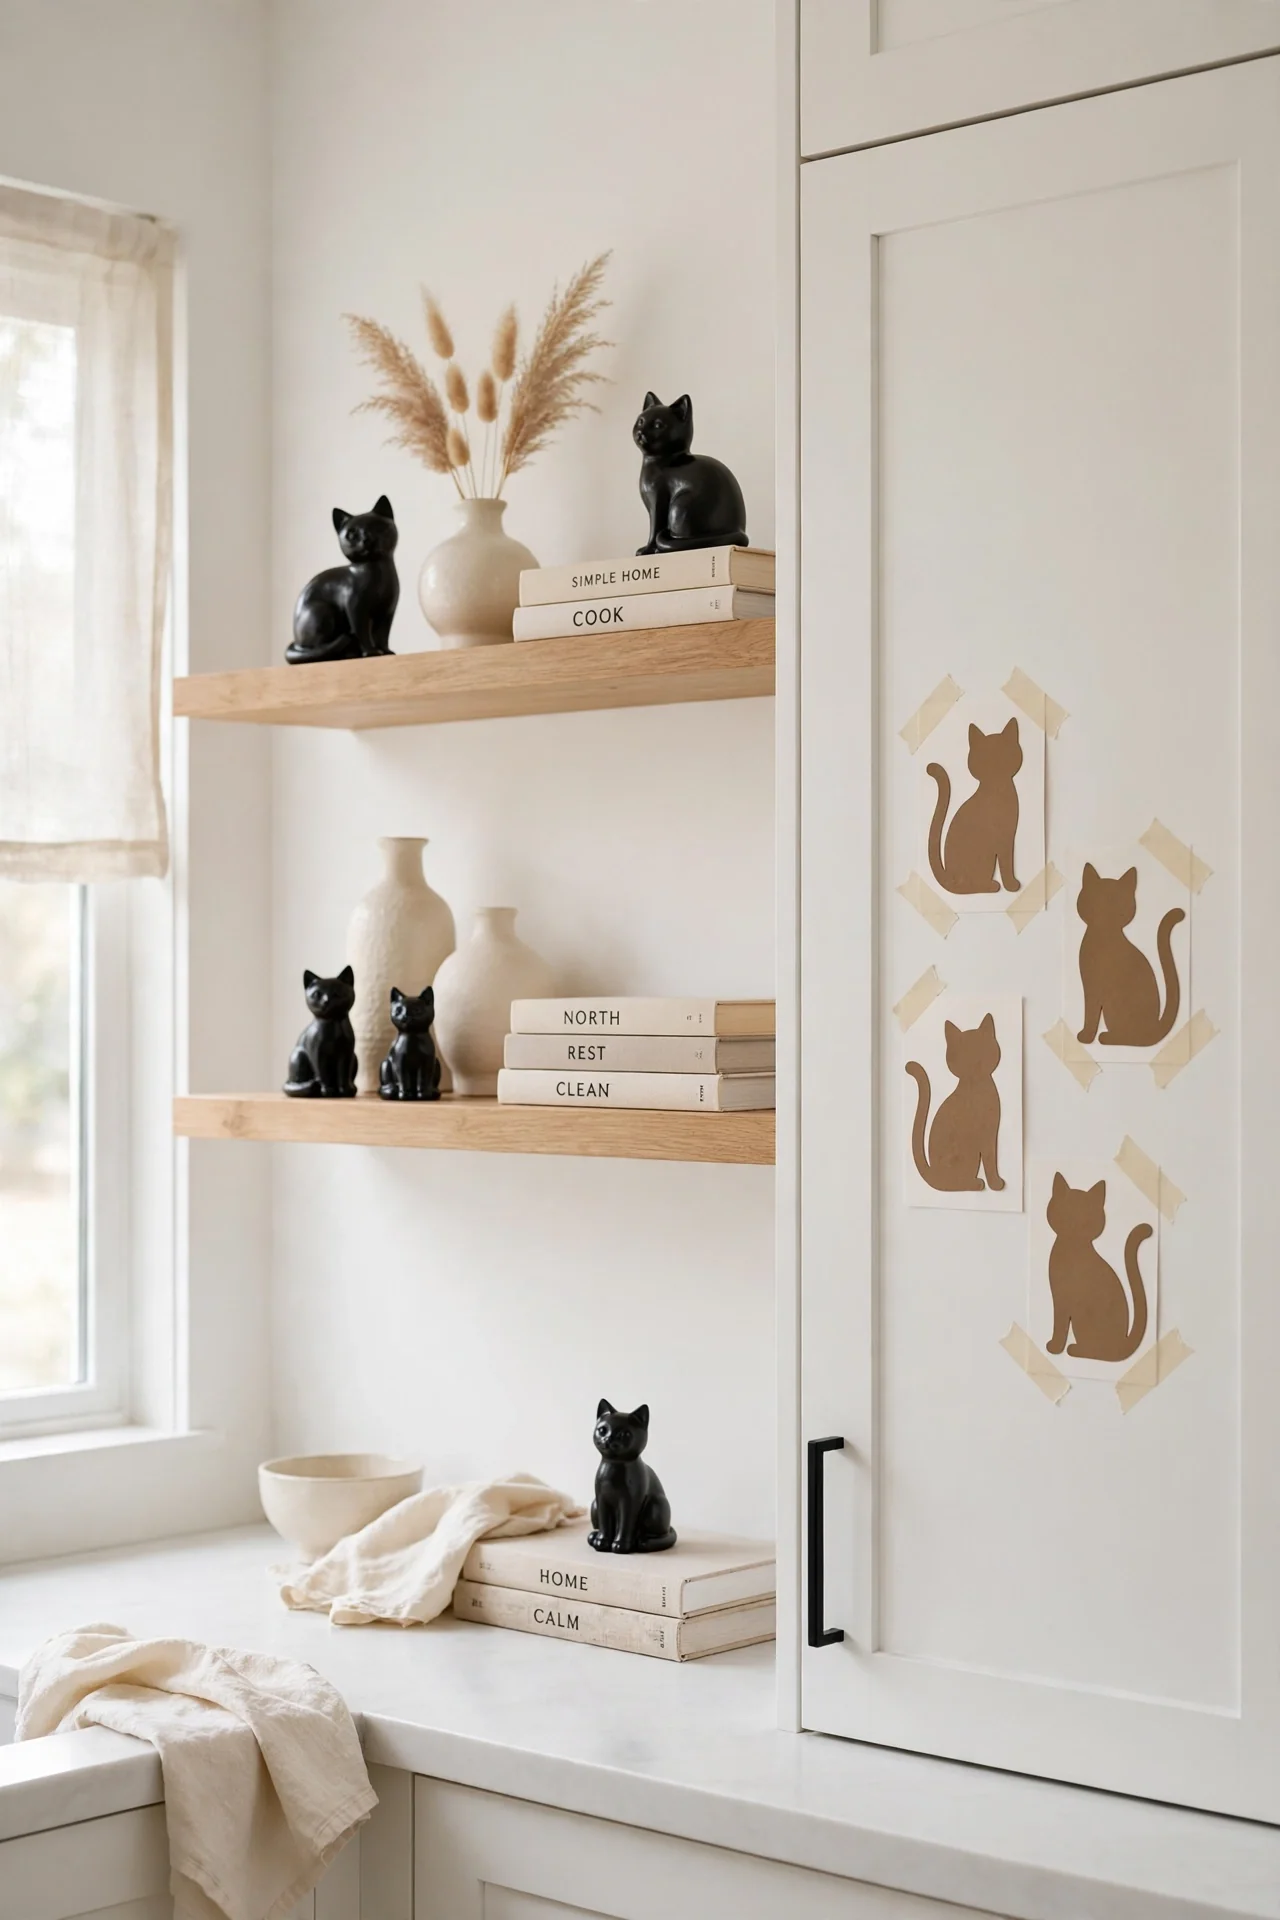
| Ceramic Black Cats | Paper Cat Cutouts | |
|---|---|---|
| Cost | A few dollars each at craft stores | Pennies from black cardstock |
| Placement | On open shelves and windowsills for a watchful gaze | Taped to cabinets and walls where kids love them |
| Vibe | Elegant, mysterious, and slightly spooky | Playful, kid-friendly, and full of fun |
| Reuse | Boxed carefully, they last for many Halloweens | Recycled after the season with no storage needed |
Black cats are the classic Halloween mascot, and they fit kitchens beautifully. Ceramic cats add a touch of mystery to open shelves, while paper cutouts let kids join the decorating fun. Mix both styles across different spots for a layered look. Either choice brings instant Halloween charm.
Candy Corn Jars
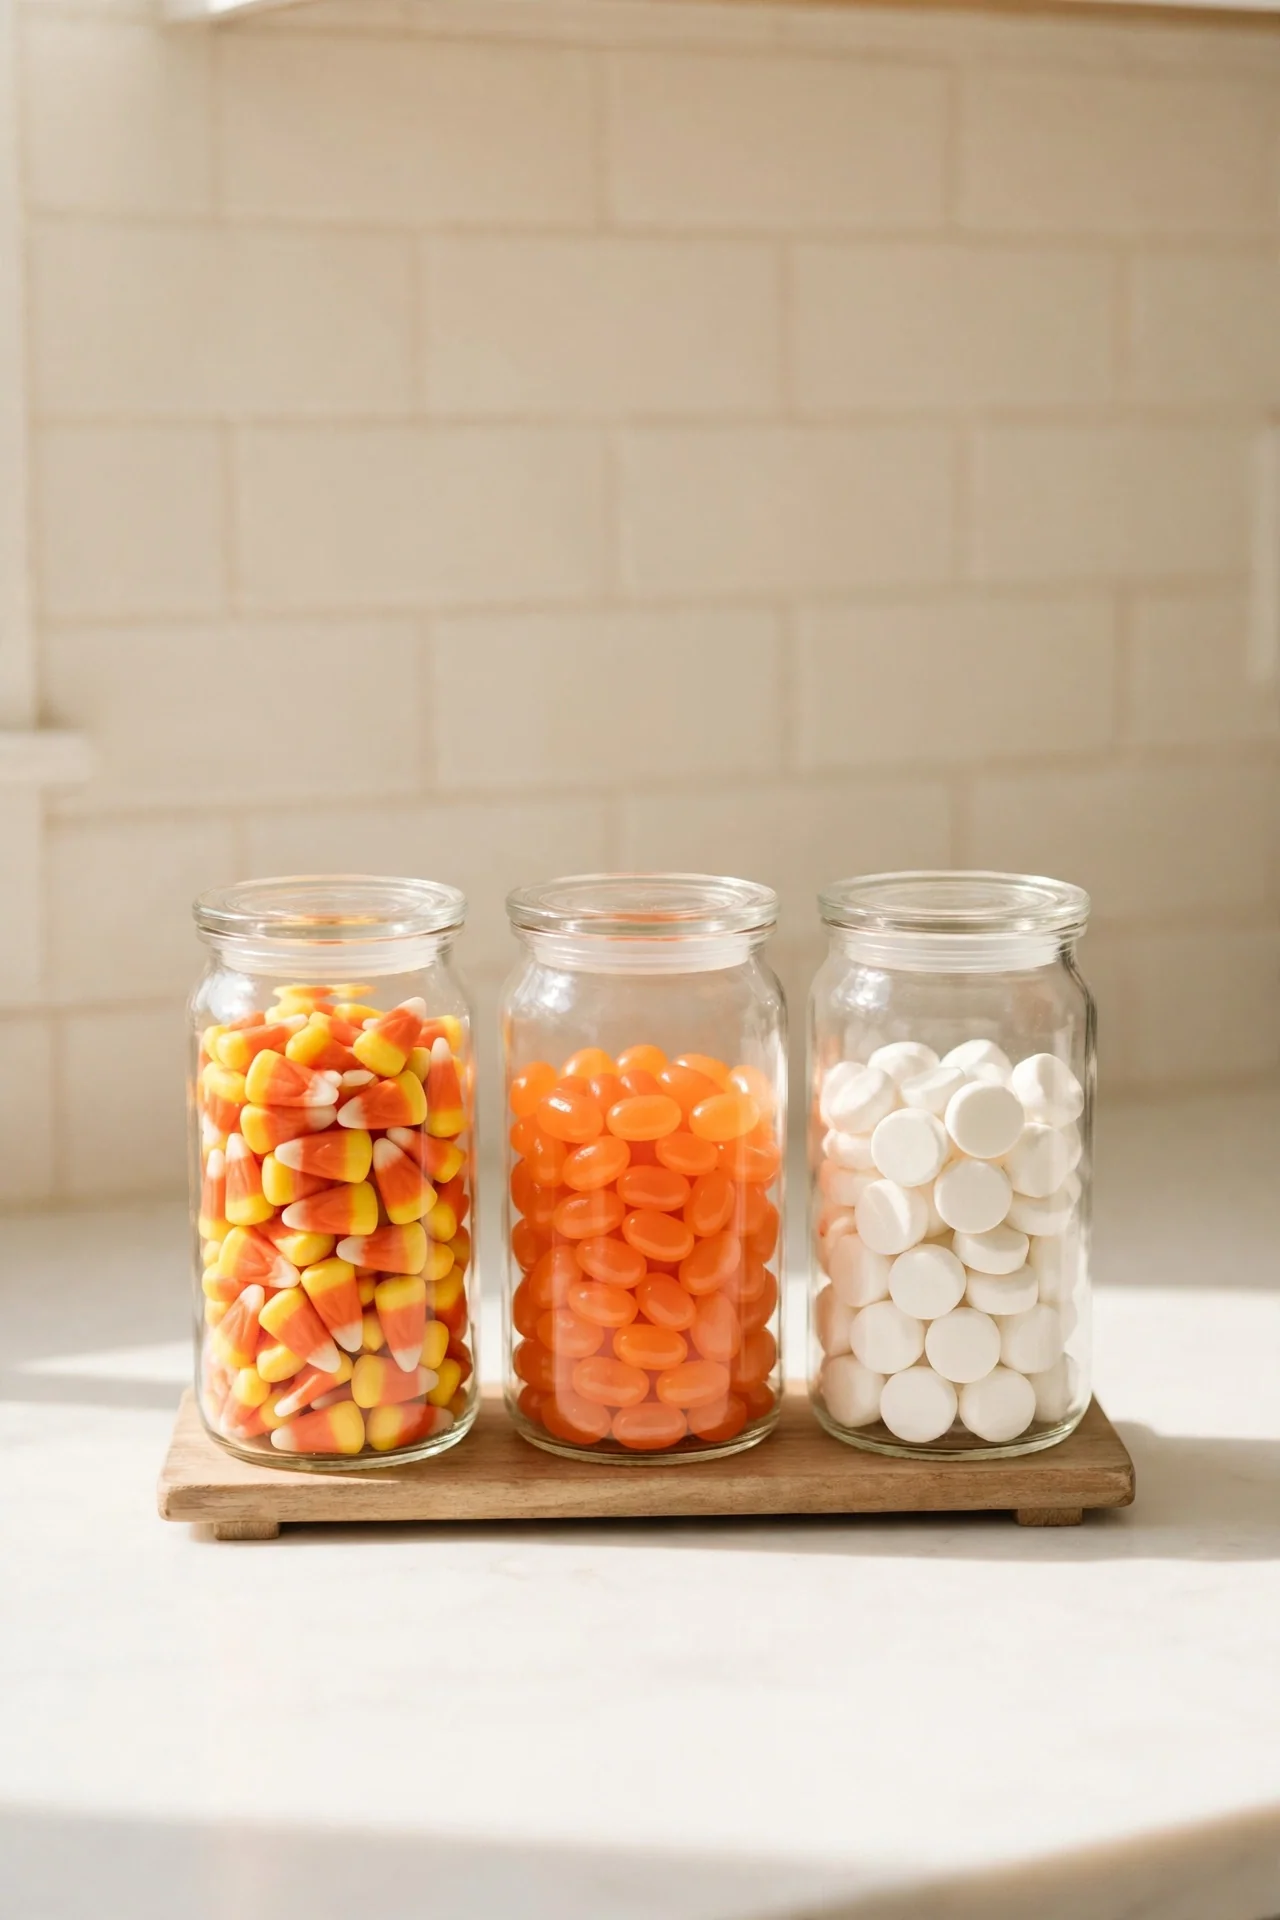
- Do layer candy corn, orange jelly beans, and white mints in clear glass jars.
- Do group jars in odd numbers for a natural, pleasing arrangement.
- Do place jars where guests can see them but kids cannot reach them easily.
- Do not mix candy with real food storage; keep treats separate from pantry staples.
- Do not leave jars in direct sun or the candy will melt and fade.
- Do not overfill every shelf; leave breathing room around each jar.
Candy jars double as decor and a sweet station for visitors. Layered candy in glass looks like stained glass when light hits it. Seal jars tightly so everything stays fresh through October. Refill the jars weekly because guests will definitely help themselves.
Witch Hat Lights
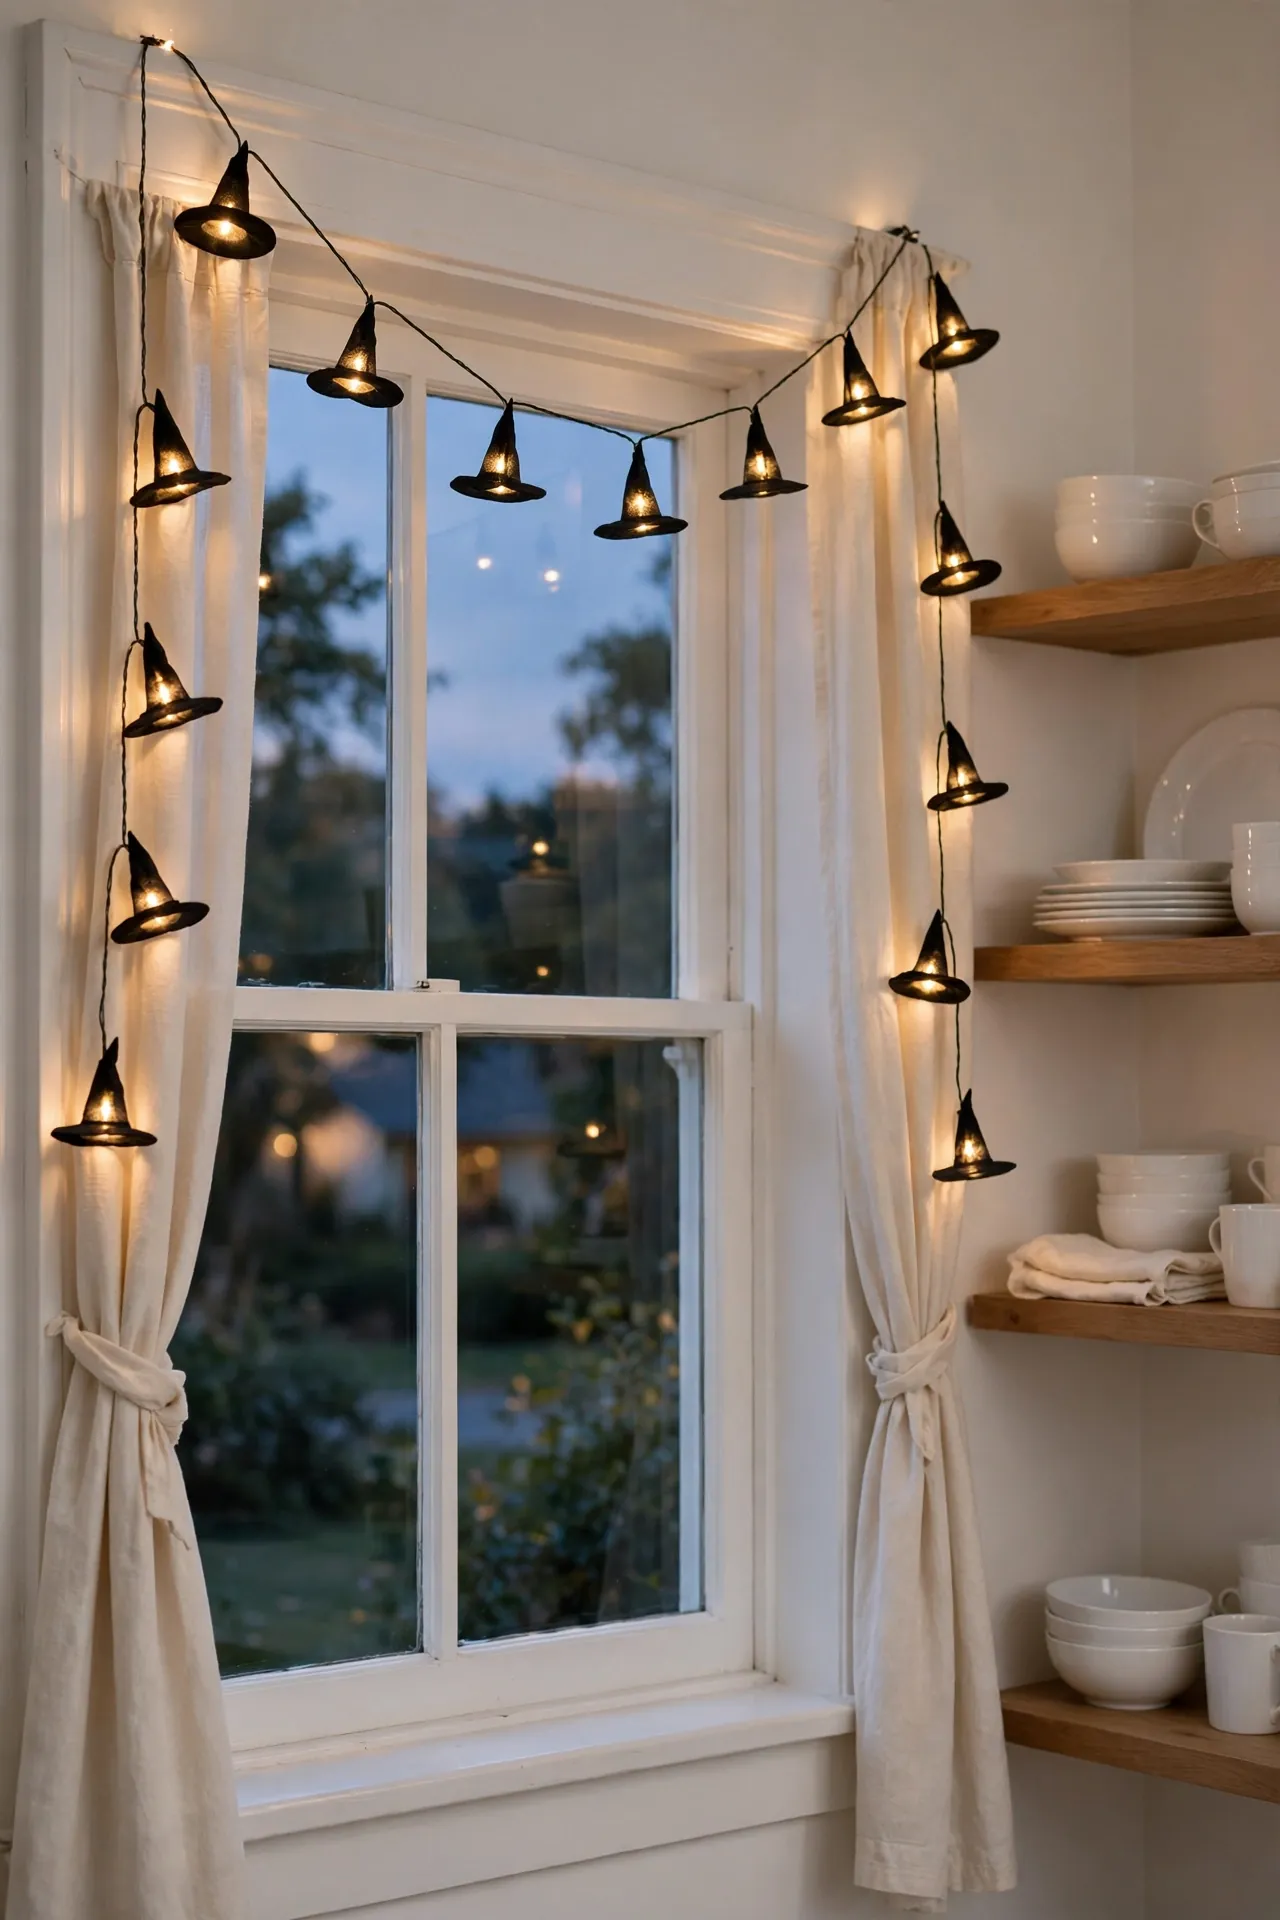
Cost: Low, usually under twenty dollars for a full string.
Time: About fifteen minutes to hang.
Skill Level: Beginner, no tools needed.
Best For: Open shelves, mantels, and window frames.
Result: A warm, playful glow that suits all ages.
Works In: Kitchens with open shelves or deep windowsills.
Witch hat string lights cast the friendliest spooky glow in the kitchen. Drape them along open shelving or across a window frame for instant atmosphere. The tiny hats read as Halloween without any scare factor. I have seen this work well in family kitchens where little ones roam. Unplug them each night to keep things safe.
Haunted Window Clings
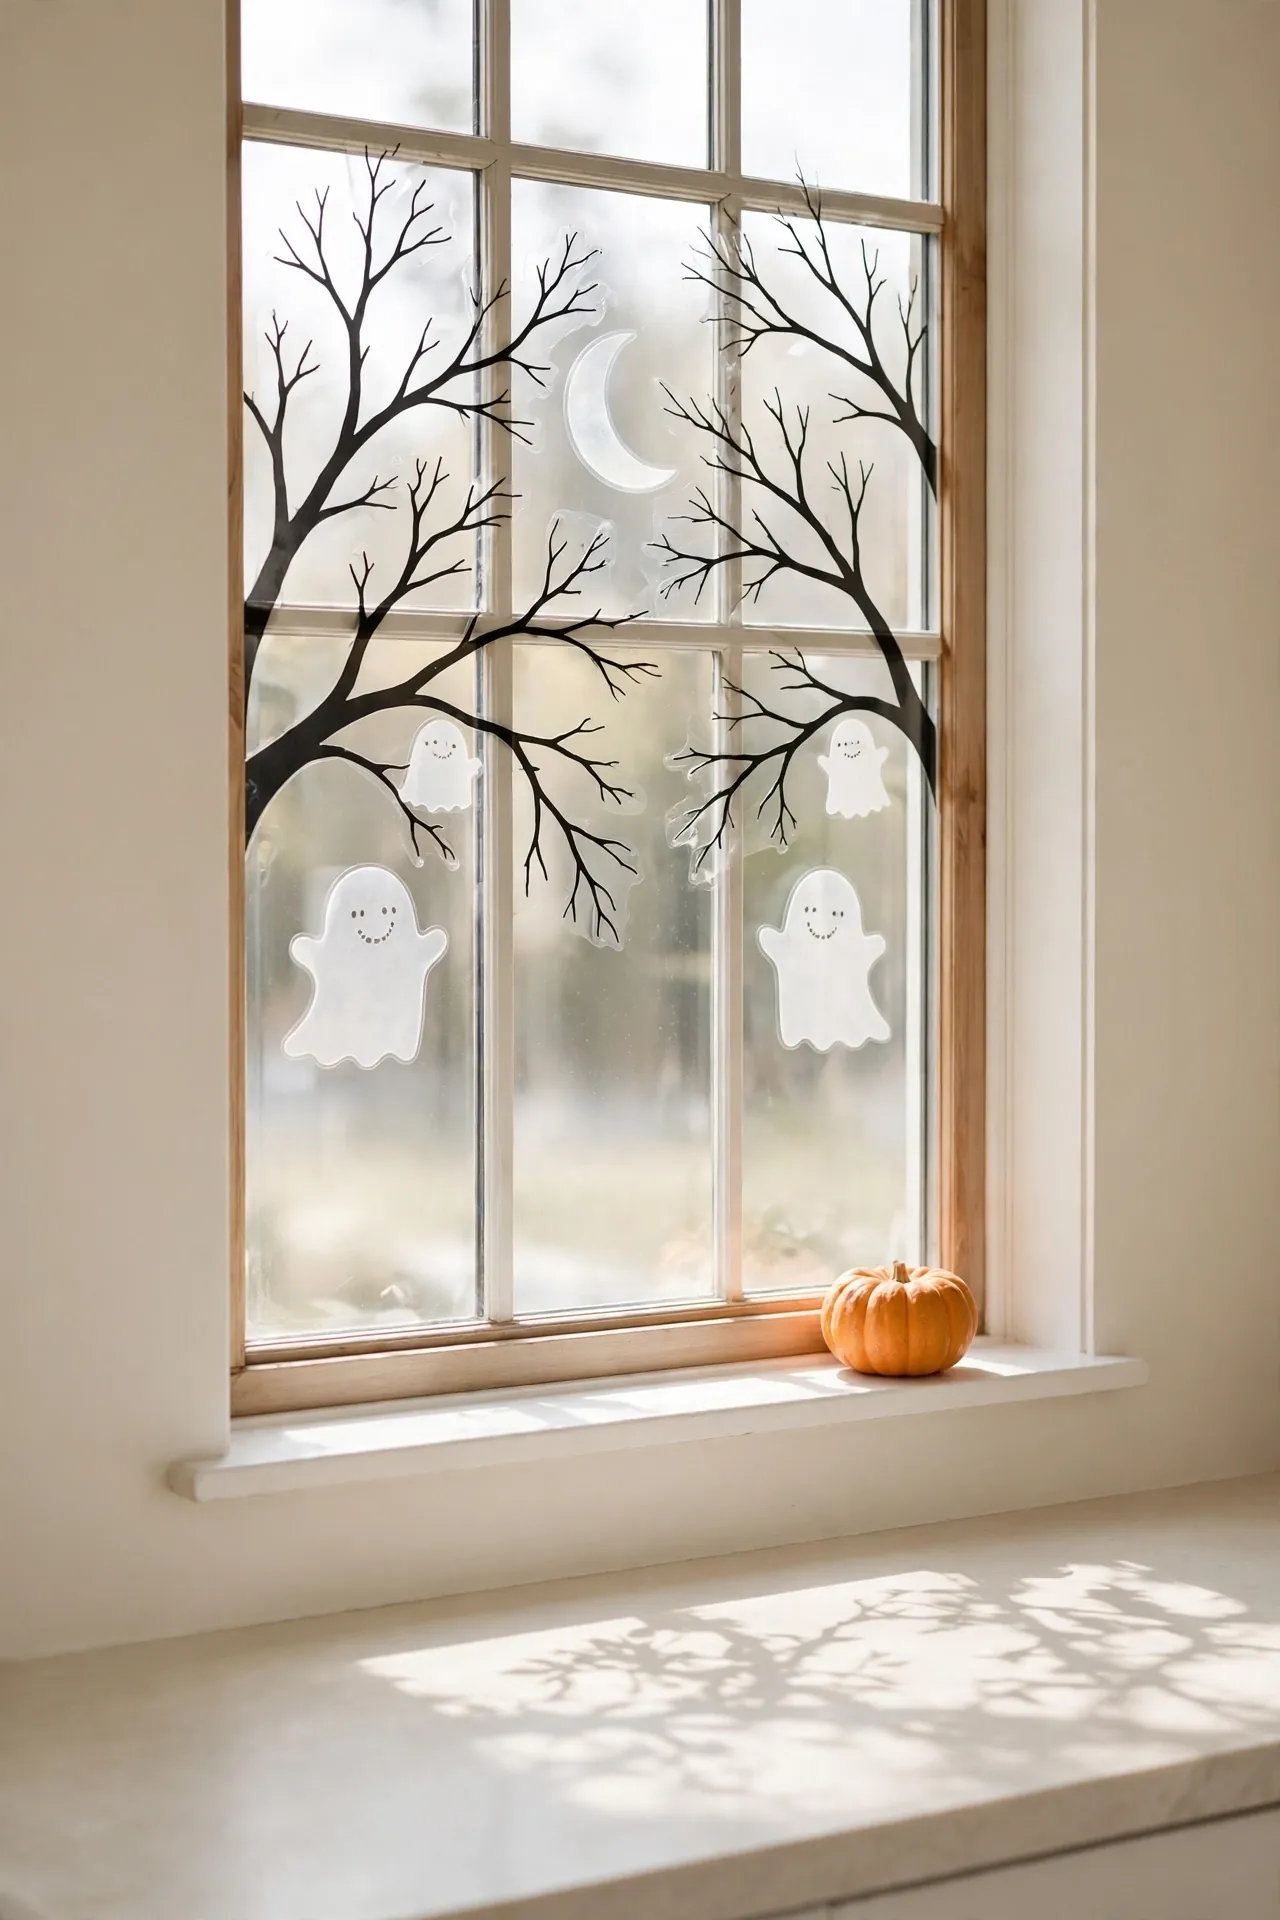
For the easiest window makeover of the season, press static-cling shapes onto your kitchen glass. Ghost, moon, and bare-tree designs catch daylight beautifully and look almost stained glass from outside. The clings cost little and lift off cleanly in November. Choose static-cling versions so they never damage the glass.
Layer small clings around a larger moon for a composition that reads from the street. Kids love placing their own shapes, so hand them a sheet and let them create. Wipe the glass first so every edge sticks flat. Store the backing sheets to reuse the clings next Halloween. This project suits renters perfectly, since nothing is permanent.
Skeleton Mug Set
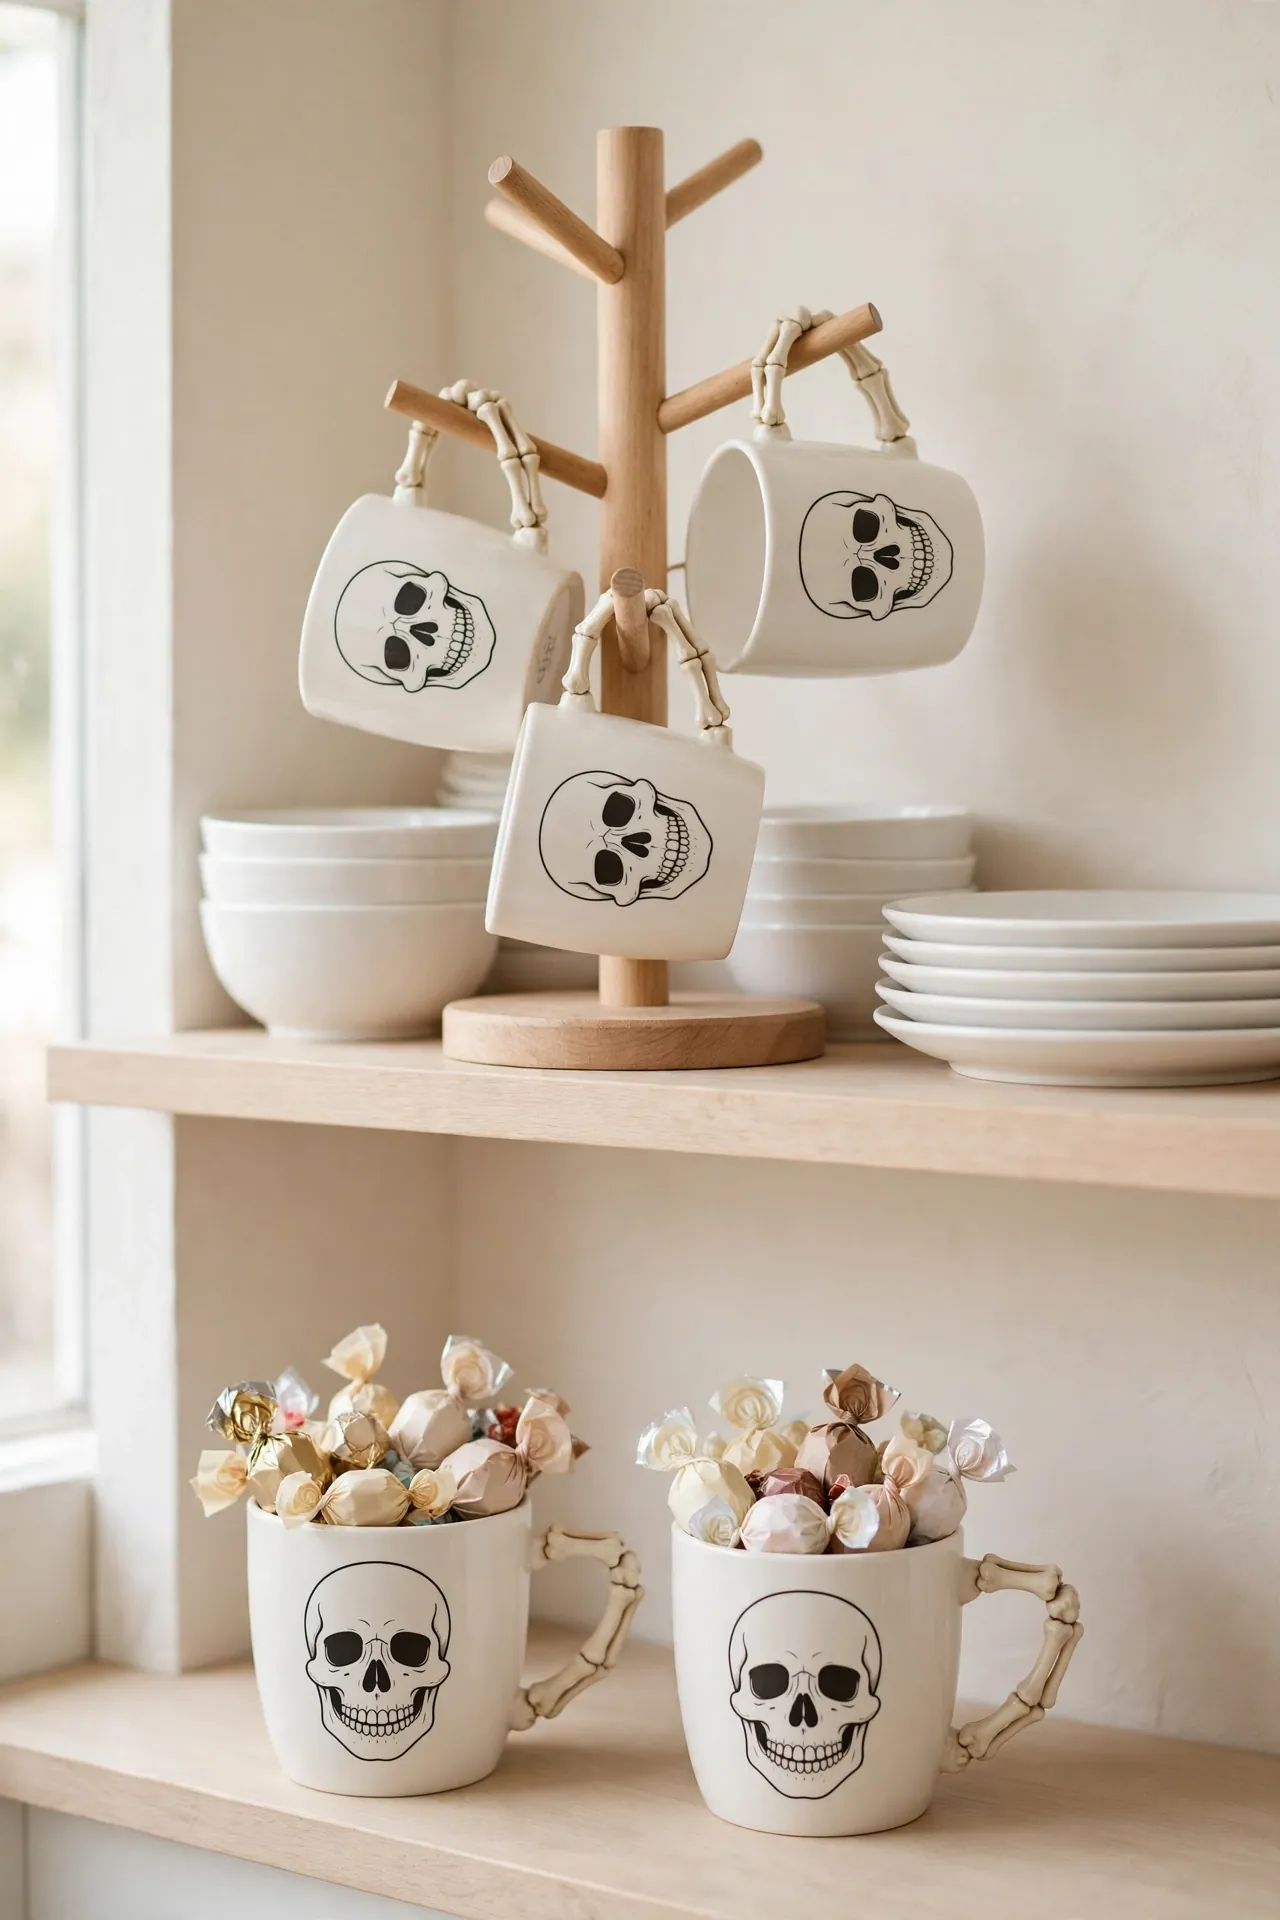
- Set out skeleton-handled mugs on a mug tree or open shelf for daily use.
- Fill two with candy or small succulents when guests are not drinking from them.
- Pair the mugs with plain black or white dishes so they stand out.
- Choose dishwasher-safe designs so the fun survives real kitchen life.
- Display them handle-out so the skeleton details face the room.
Skeleton mugs make every coffee break a little more festive. The bone handles and grinning faces spark conversation without any setup time. I have noticed guests always reach for the spookiest mug first. Keep the set to four or six so storage stays simple after October.
Pumpkin Tea Towels
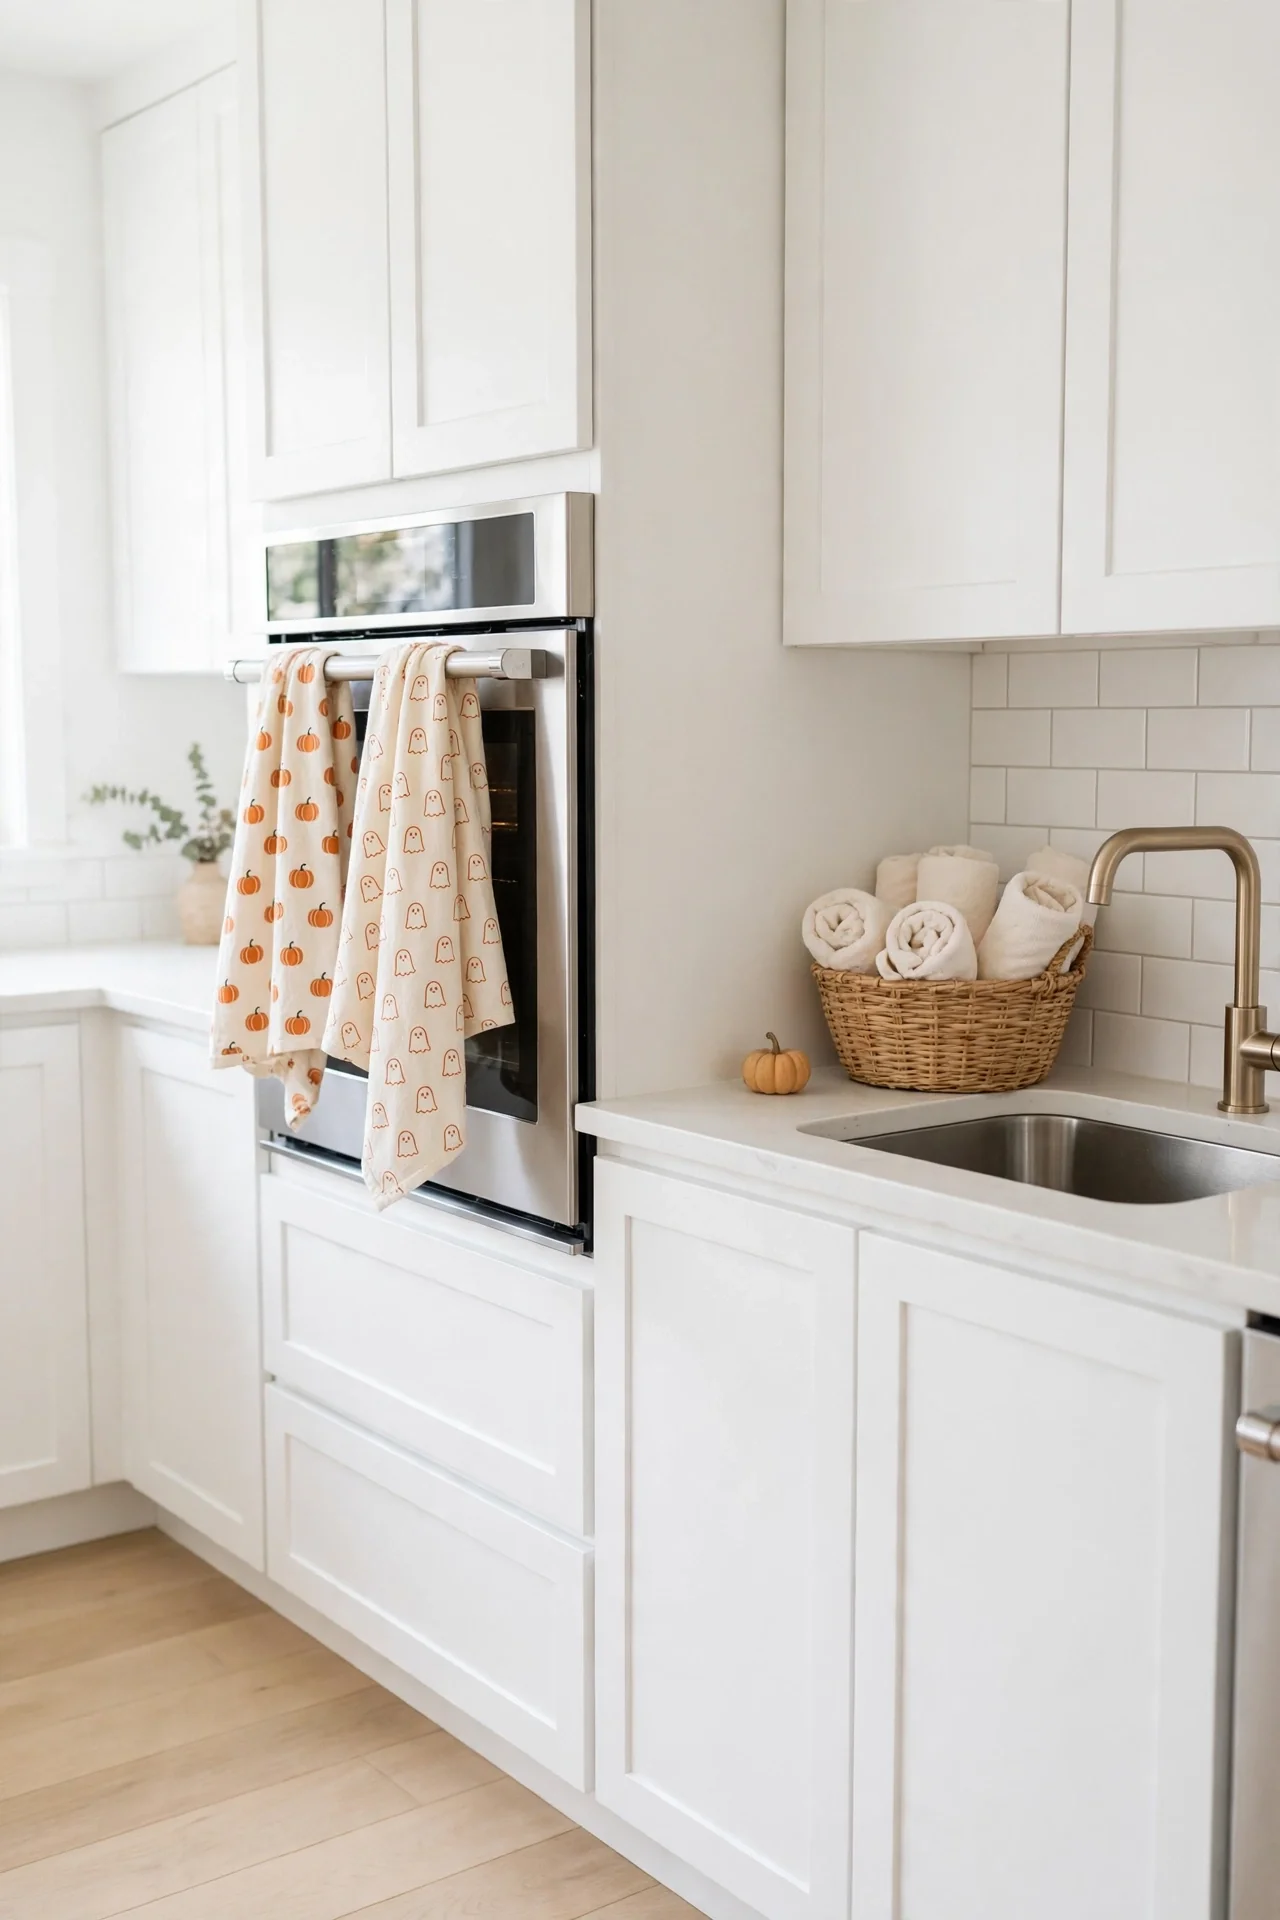
Quick Tip: Swap your everyday tea towels for pumpkin and ghost prints the first week of October. Pick cotton towels in cream with small orange motifs so they still look neat while in use. Roll two spare towels in a basket near the sink for easy grabbing. Wash them weekly to keep the prints crisp all month.
Tea towels are the easiest seasonal swap in the whole kitchen. They cost little, store flat, and touch every part of your daily routine. Hang the prettiest one on the oven handle where everyone sees it. Keep everyday plain towels in a drawer for messy jobs.
Boo Bunting Banner
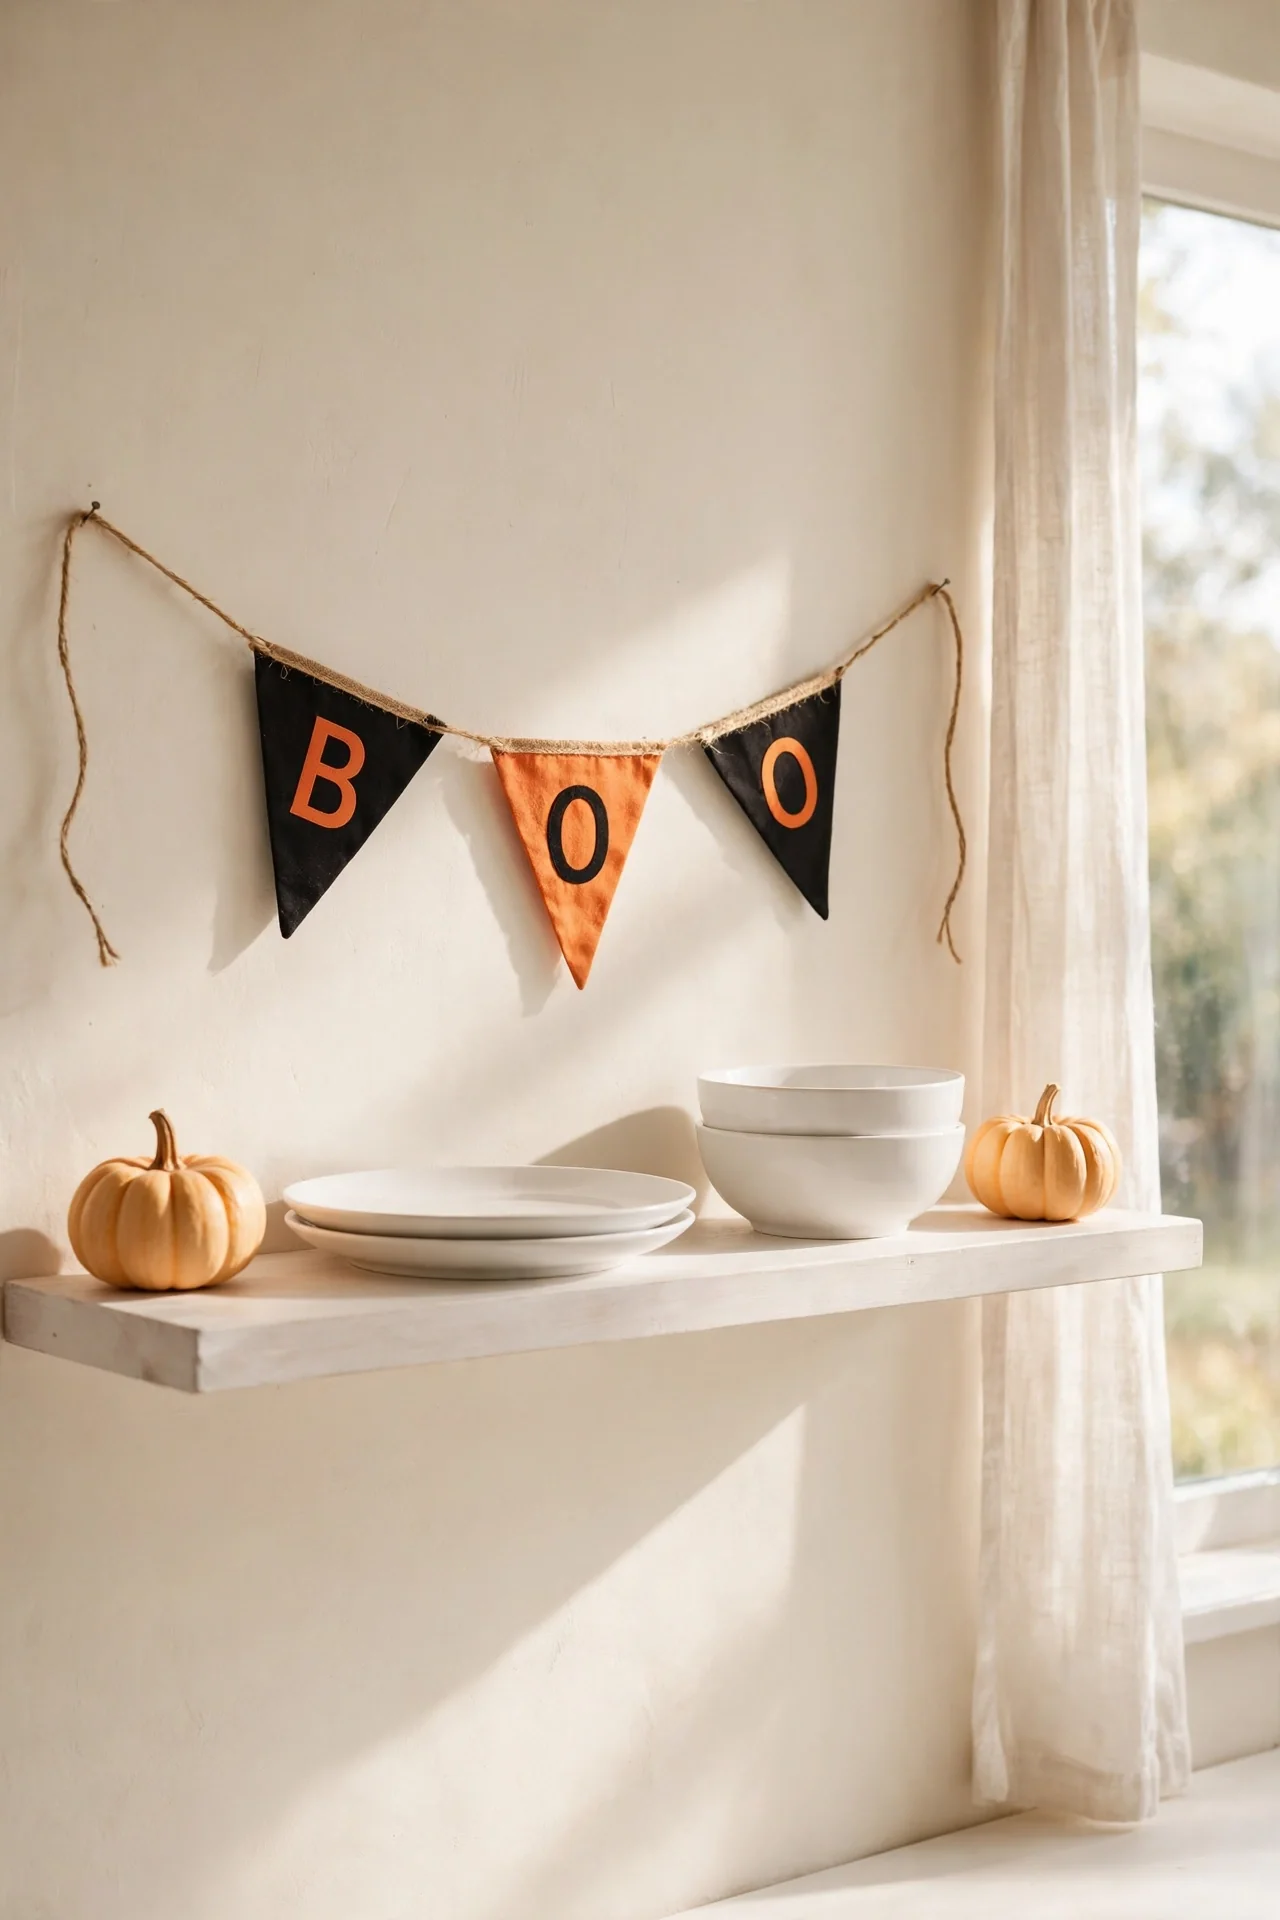
BEFORE: Before, the open shelf above the counter held plain white dishes and nothing else. The wall felt blank and unfinished, especially in the evenings. The kitchen worked well but showed no personality.
AFTER: After, a simple BOO banner stretches across the shelf in black and orange letters. The shelf suddenly feels festive and intentional. The whole corner perks up, and the banner costs almost nothing to make.
Bunting banners fill empty wall space faster than almost anything else. Cut felt letters or print them on cardstock, then string them on twine. Hang the banner with small removable hooks to protect your walls. Take it down in one piece for easy reuse next year.
Spooky Cabinet Knobs
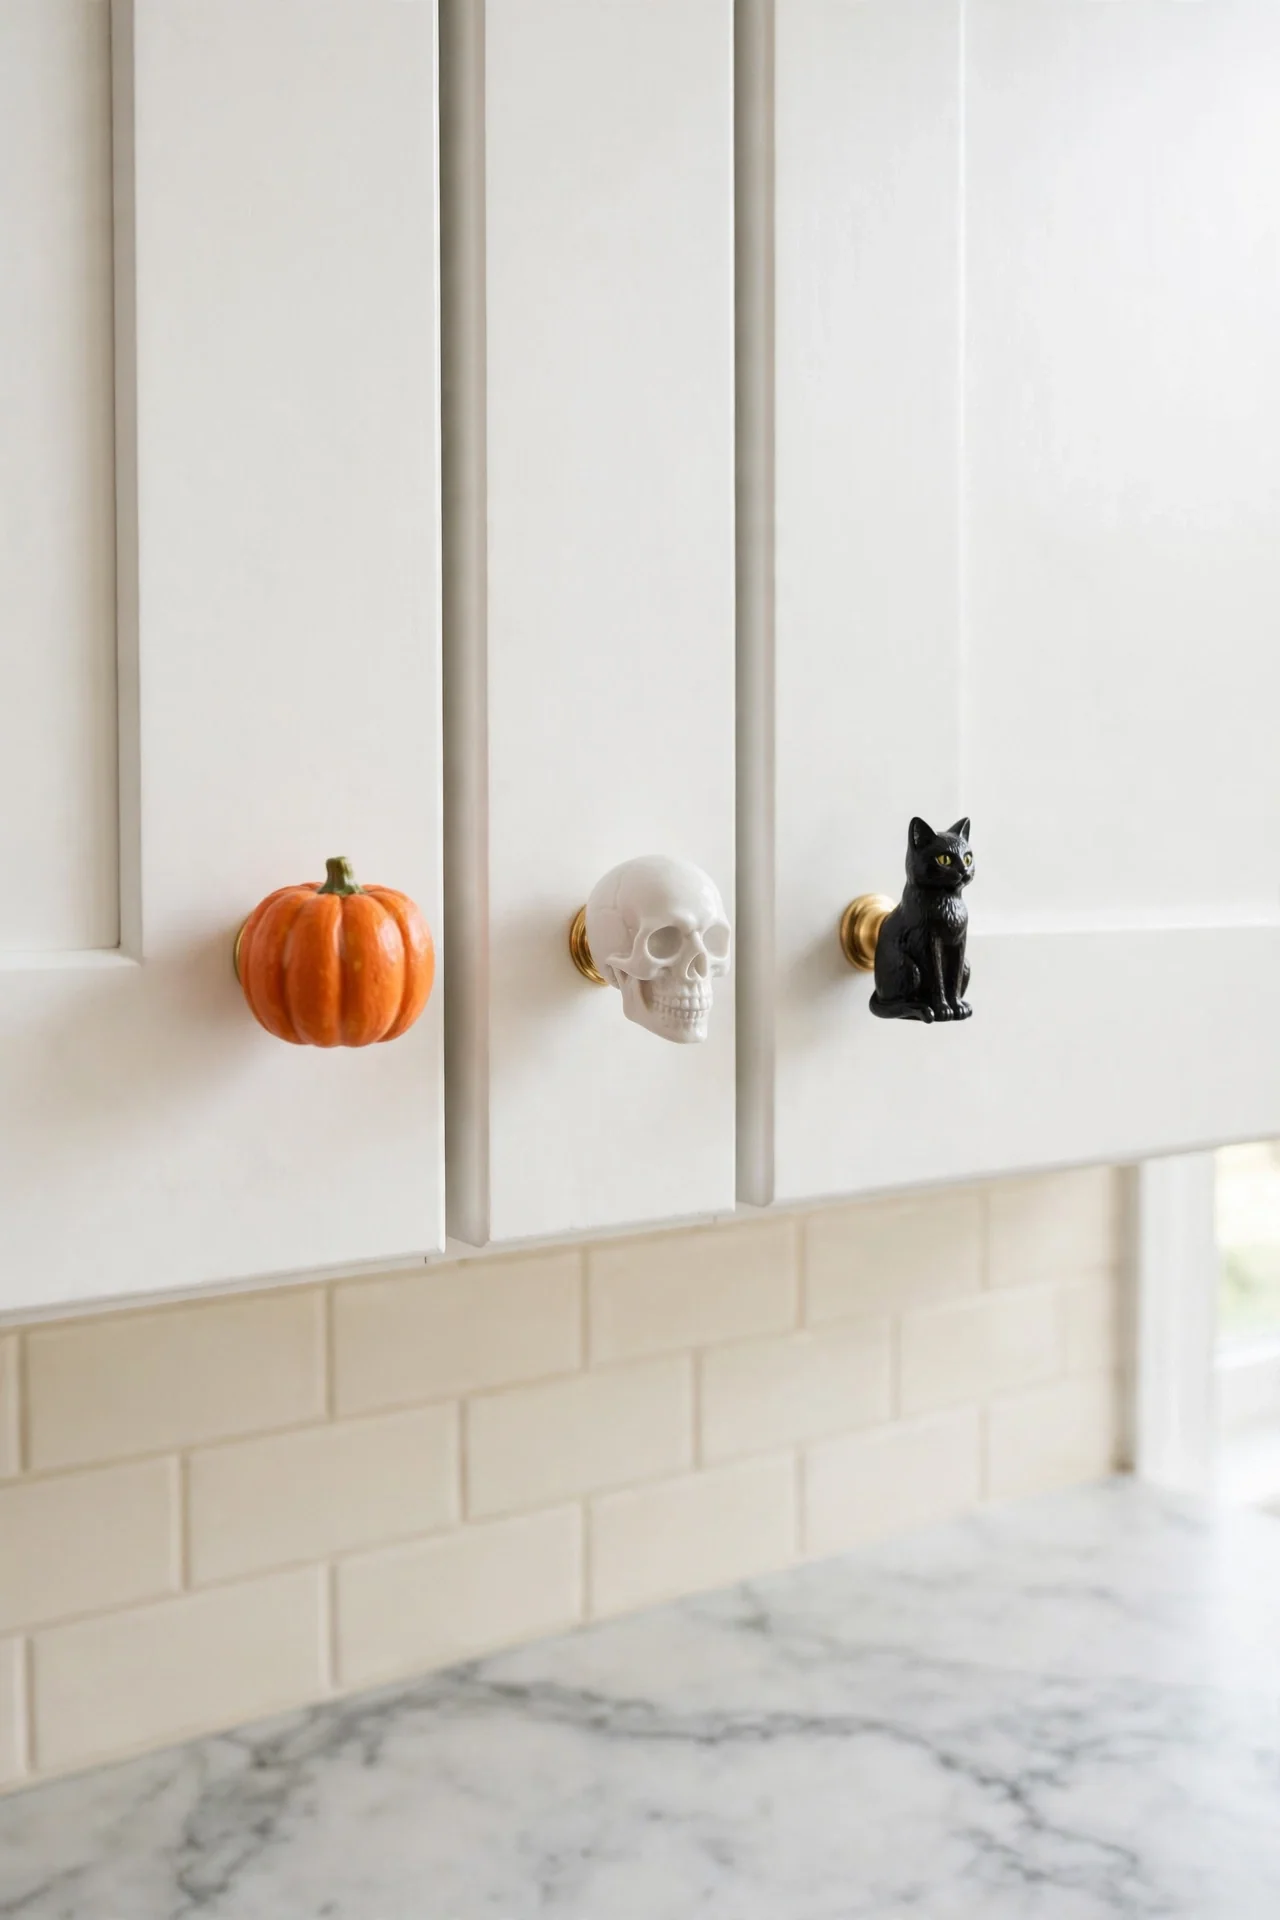
- Unscrew one existing cabinet knob to check the size and screw length.
- Pick Halloween knobs like mini pumpkins, skulls, or black cats in matching sizes.
- Screw the new knobs in by hand, tightening gently to avoid cracking the finish.
- Store the original knobs in a labeled bag for a quick swap in November.
New knobs change the whole kitchen personality in under an hour. Every cabinet and drawer gets a small surprise that guests notice when they open them. This swap works in rentals since it leaves no trace behind. I have seen this work well in kitchens of every style.
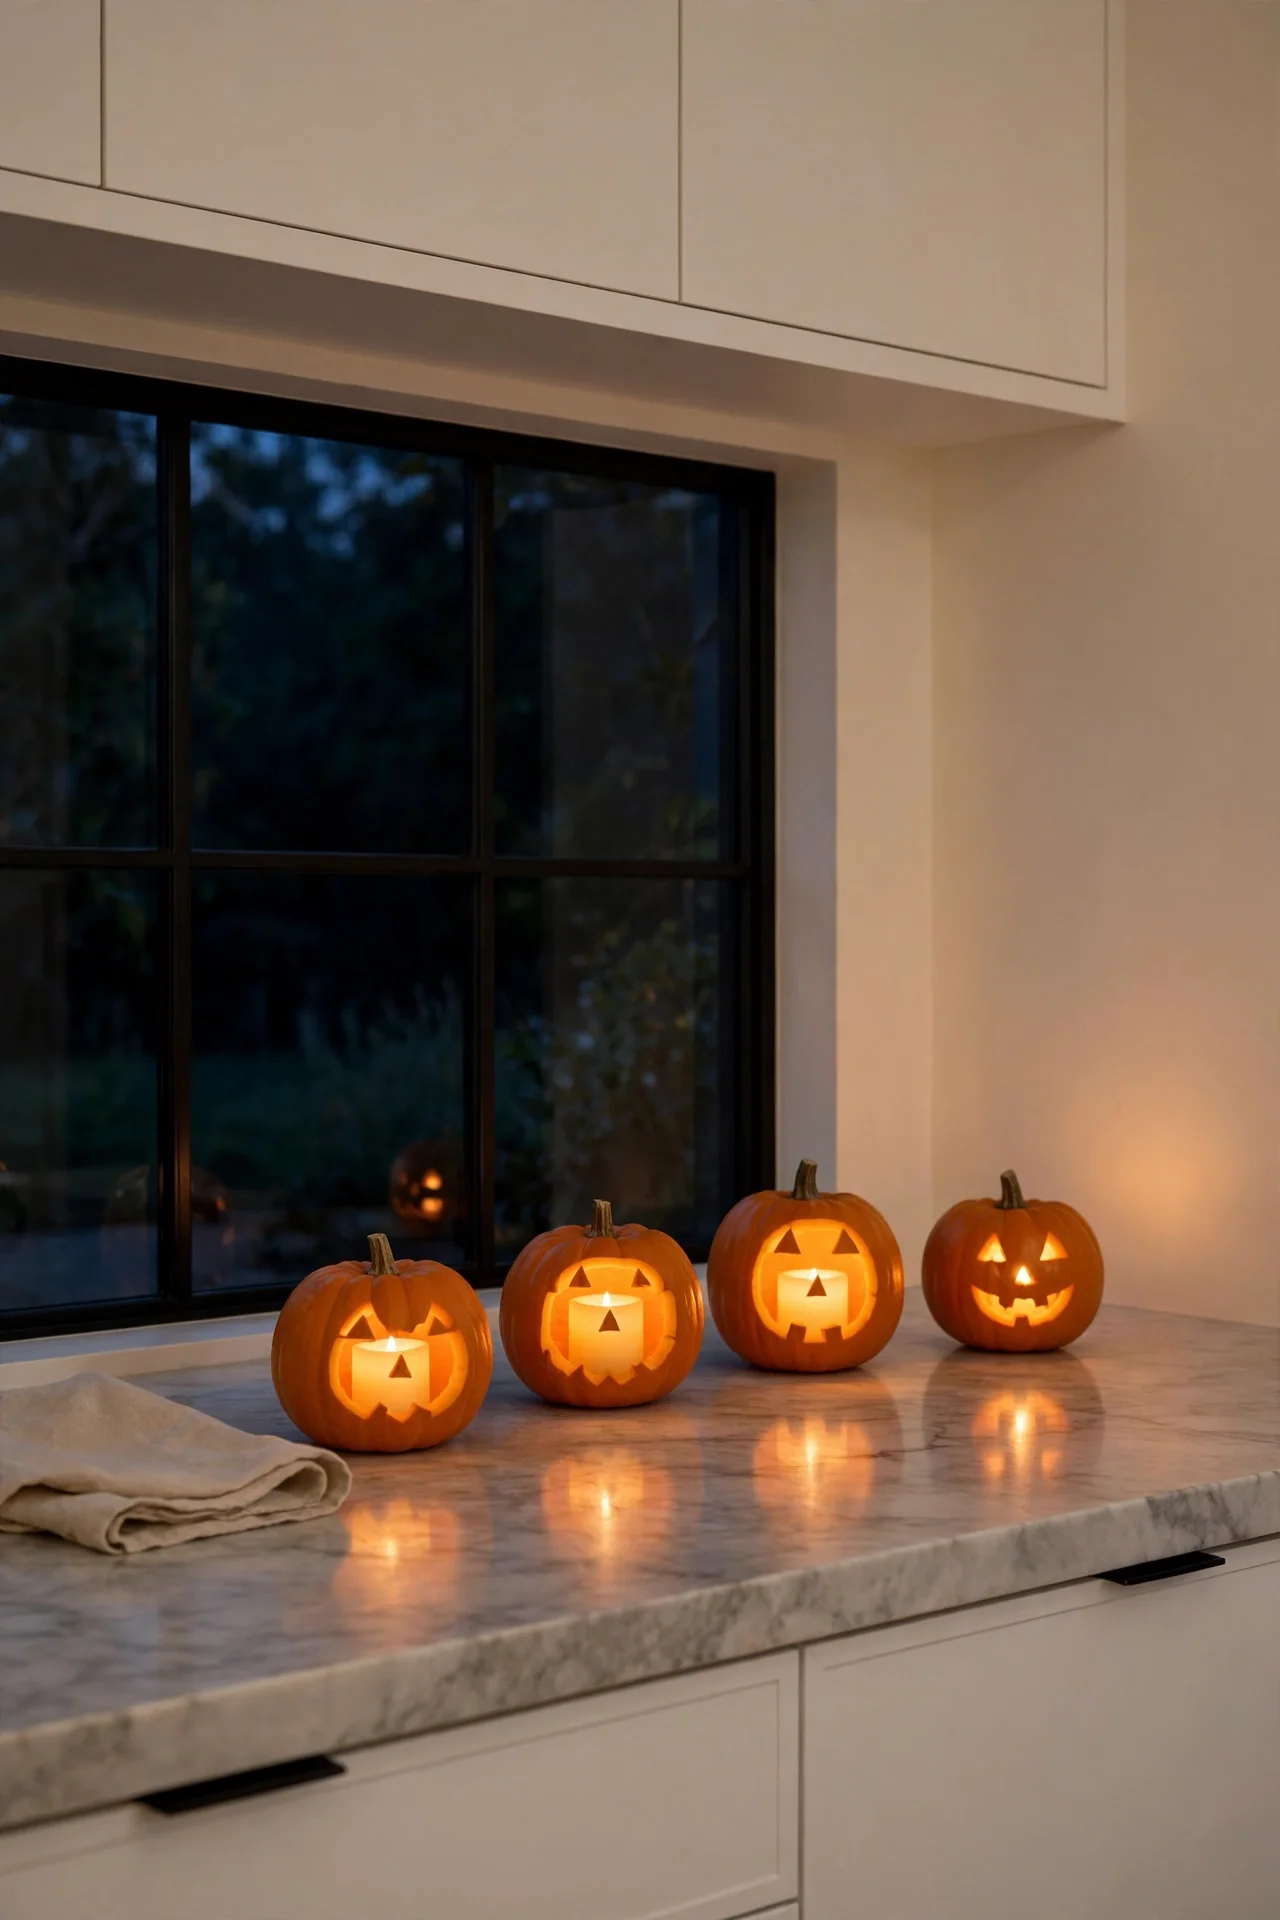
Amber Glow Candles
| LED Pillar Candles | Real Wax Candles | |
|---|---|---|
| Safety | Cool to touch, safe near curtains | Keep away from fabric and kids |
| Glow | Flickers on a timer each evening | Real flame with natural scent |
| Cost | Higher upfront, reusable for years | Cheap per candle, replaced often |
| Placement | On high shelves and in pumpkins | On sturdy tables, never unattended |
Amber candles give the kitchen its Halloween warmth after dark. LED versions glow safely inside carved pumpkins and up on high shelves where flames cannot go. Real candles bring scent and a living flicker to the dinner table. Whichever you choose, group candles in odd numbers for the prettiest effect.
Harvest Tiered Tray
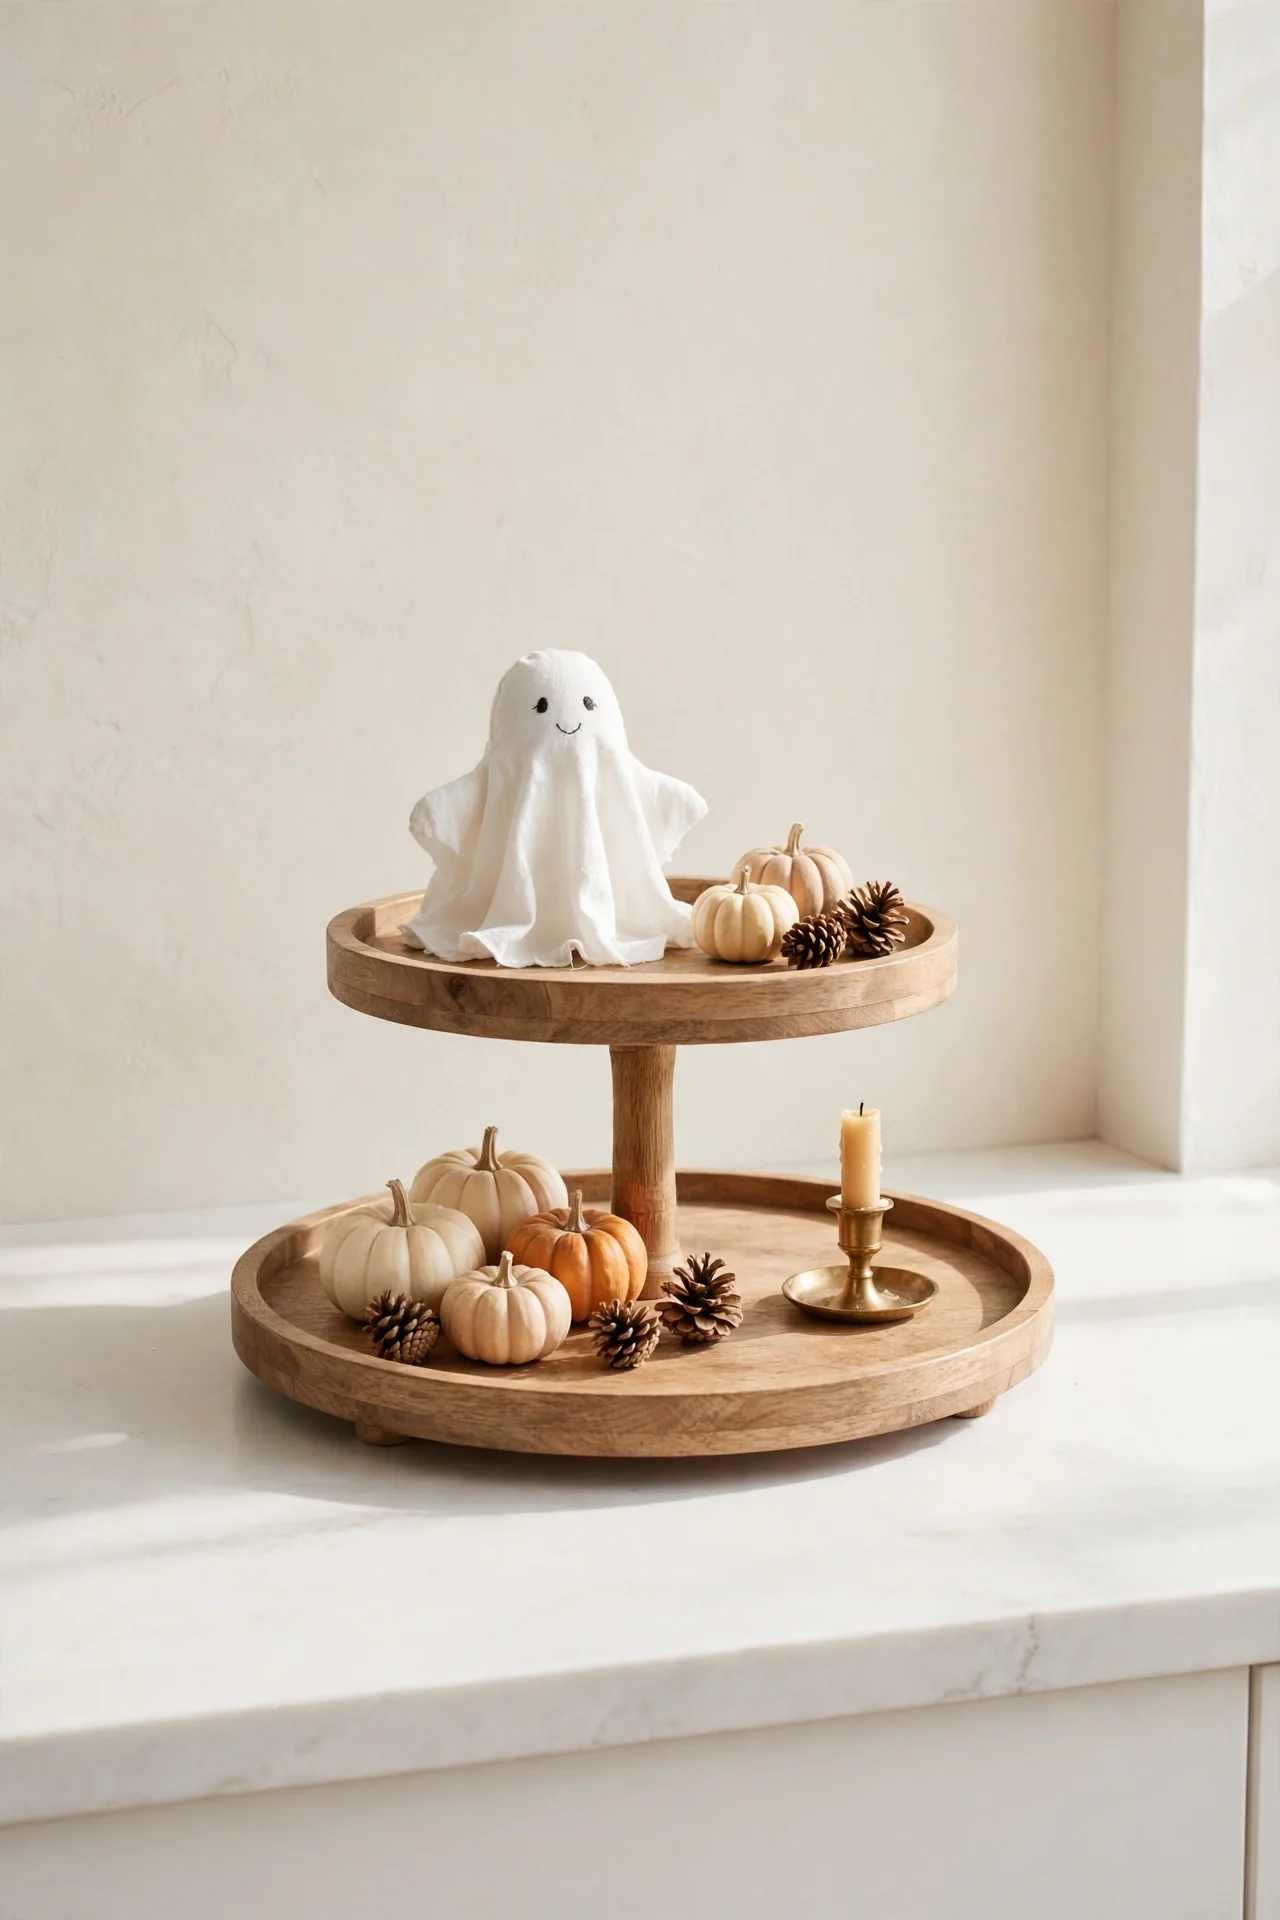
- Do start with a neutral tray so the Halloween pieces pop against it.
- Do mix heights: tall candlesticks beside tiny pumpkins and pinecones.
- Do add one handmade piece for a personal, crafted feel.
- Do not cram every inch; leave space so each item gets noticed.
- Do not use real candles on a crowded tray; stick to LED lights.
- Do not forget the back side; style it for viewing from all angles.
Tiered trays pack a whole Halloween scene into one small footprint. Restyle the levels weekly to keep the display feeling fresh. Our halloween crafts for adults guide has easy handmade pieces that fit these trays perfectly. Move the tray to the dining table when guests arrive.
Spooky Fridge Magnets
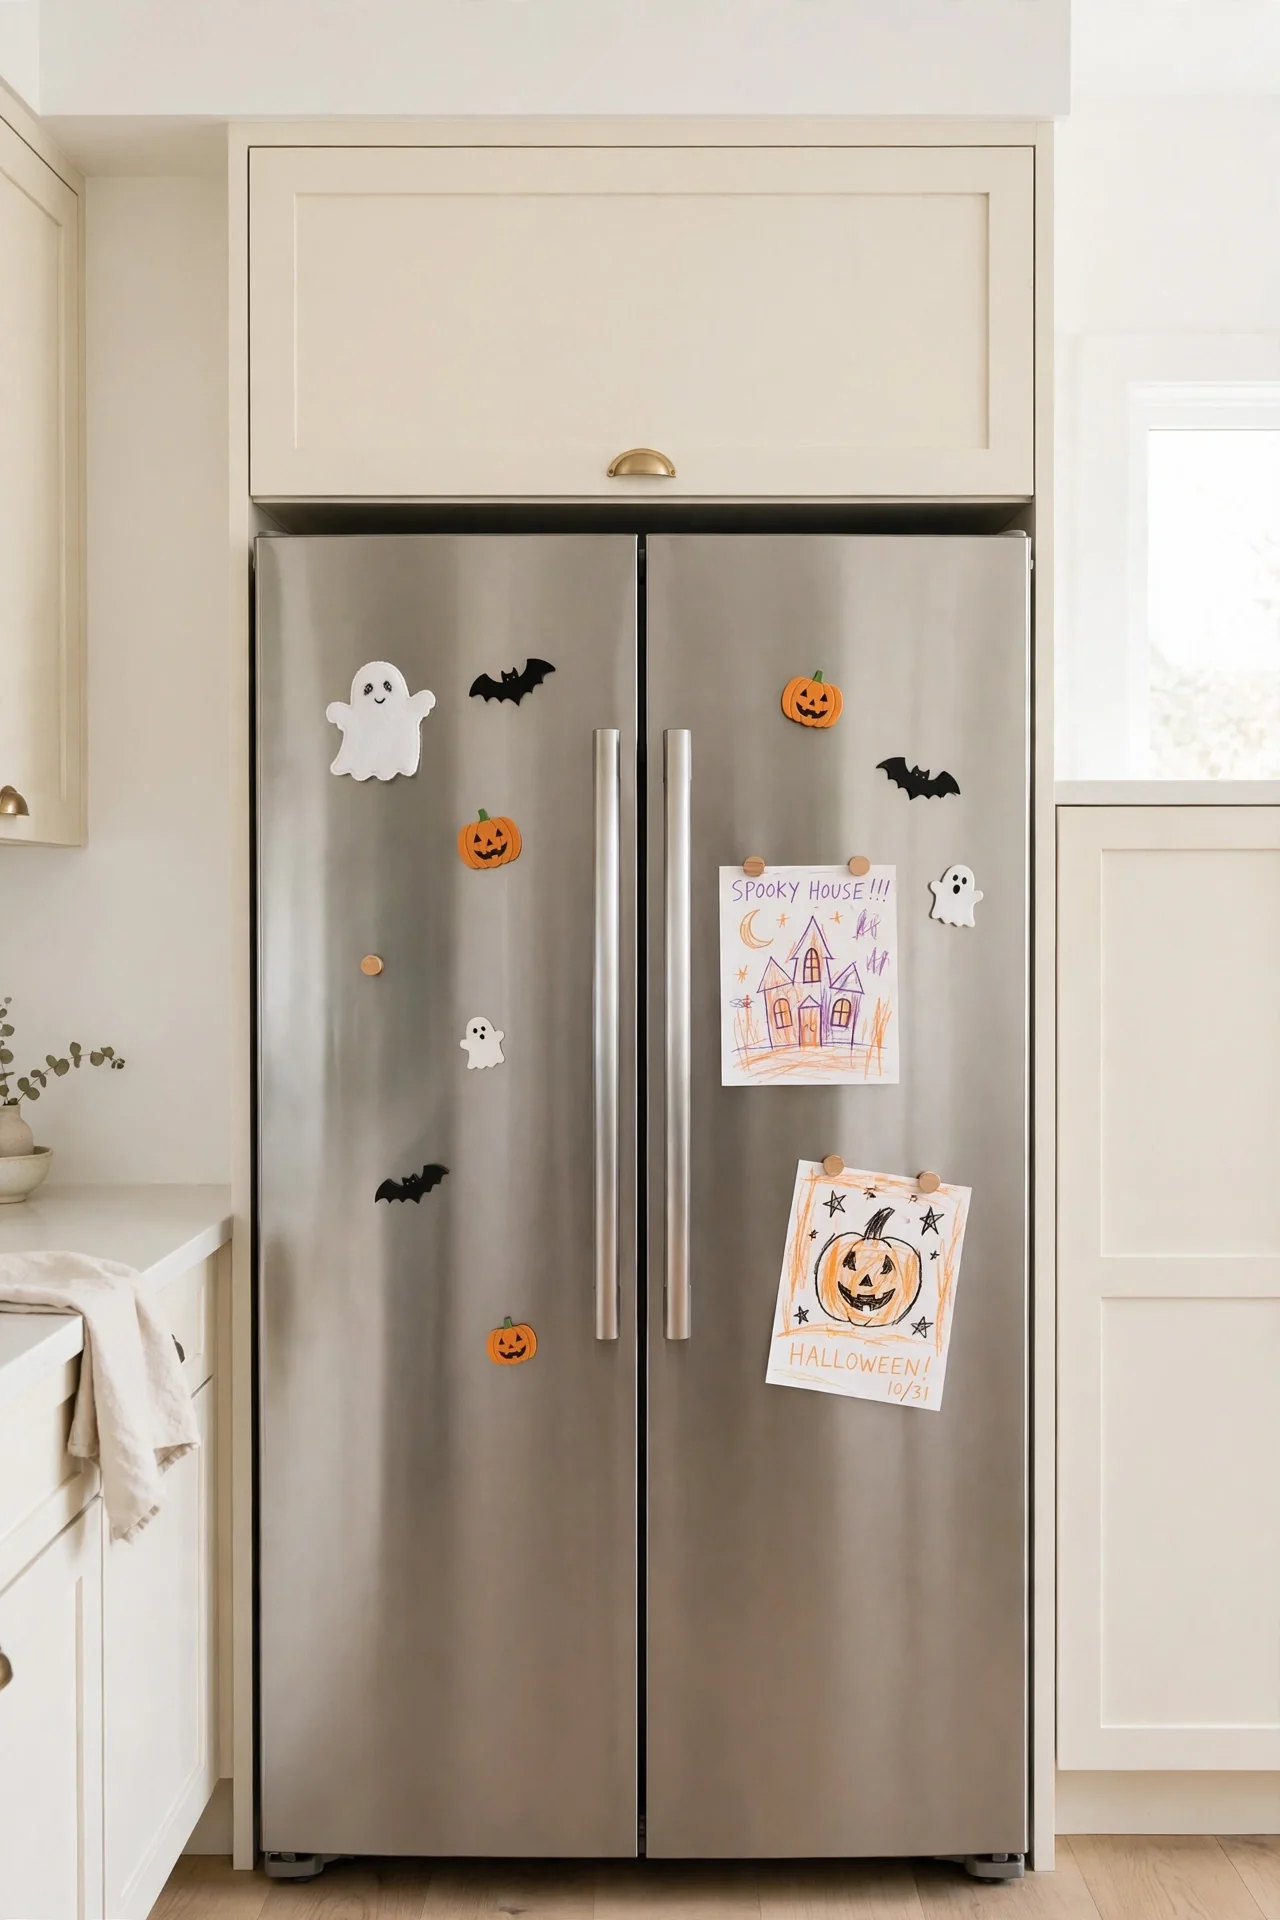
Cost: Low, a full set runs under fifteen dollars.
Time: Minutes to arrange on the fridge.
Skill Level: Beginner, fun for kids too.
Best For: Renters and anyone who loves easy seasonal swaps.
Result: Instant spooky style with zero tools or damage.
Works In: Any kitchen with a magnetic fridge or dishwasher.
Fridge magnets turn the biggest appliance in the kitchen into a Halloween canvas. Scatter ghost, bat, and pumpkin magnets across the doors in a loose pattern. Kids love rearranging them daily, which keeps the display fresh. Pull them off in November and store the set in an envelope. Swap in new designs each year to keep the collection growing.
Phantom Dishware Display
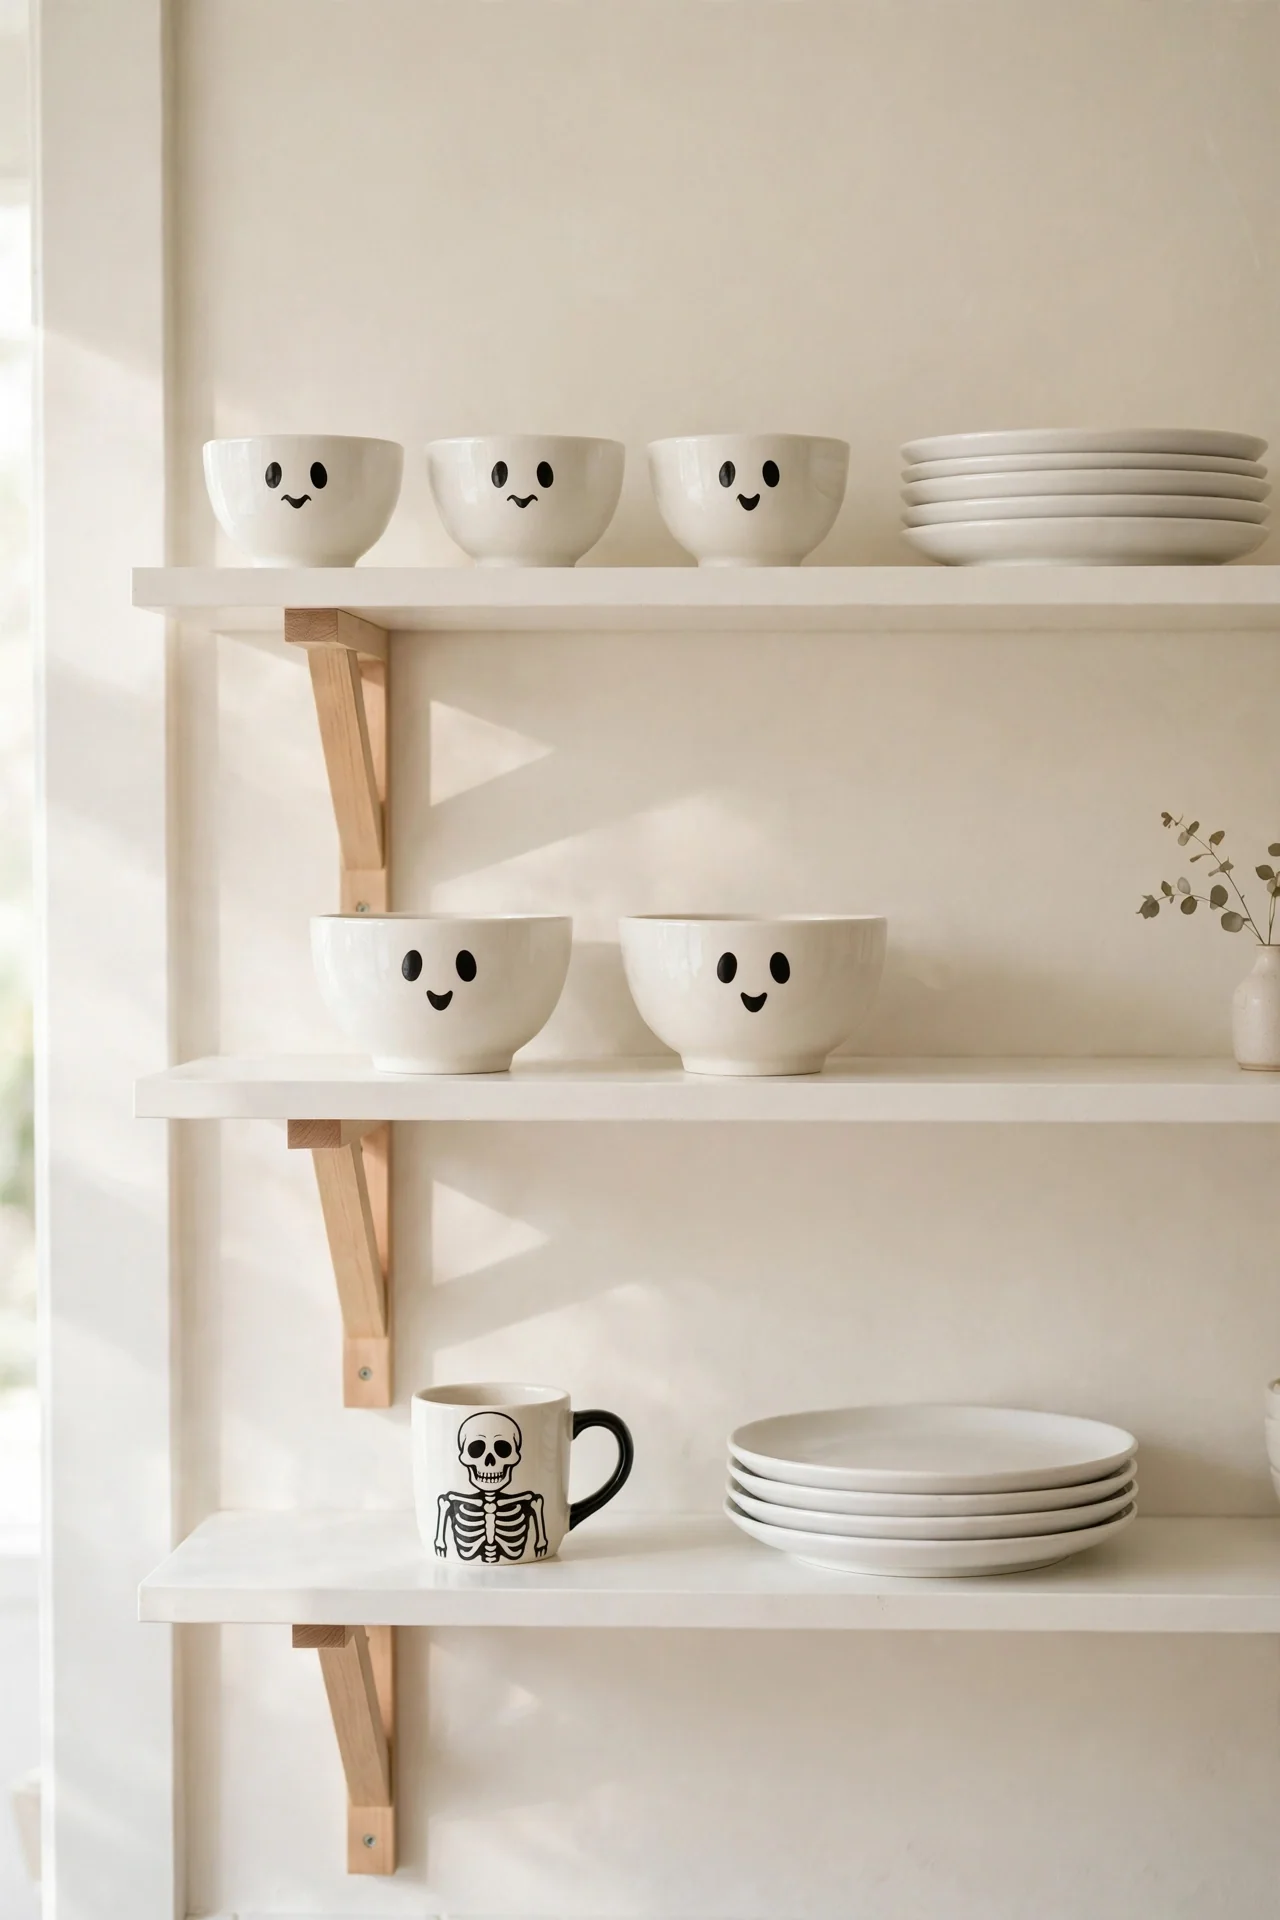
There is something delightful about ghost-faced dishes peeking from open shelves. Stack plain white bowls and plates, then add a few ghost-print pieces facing outward. The monochrome look stays elegant while still reading festive. Guests always smile when they spot the little faces. Keep the arrangement simple so the shelf still functions for daily use.
Hunt thrift stores for ghost and skeleton dishes at tiny prices. Mix the special pieces with your everyday whites so the shelf feels styled, not staged. Rotate the faced pieces forward each week. Pack them with tissue in November to protect the prints. This look suits farmhouse and modern kitchens alike, since white goes with everything.
Pumpkin Stack Corner
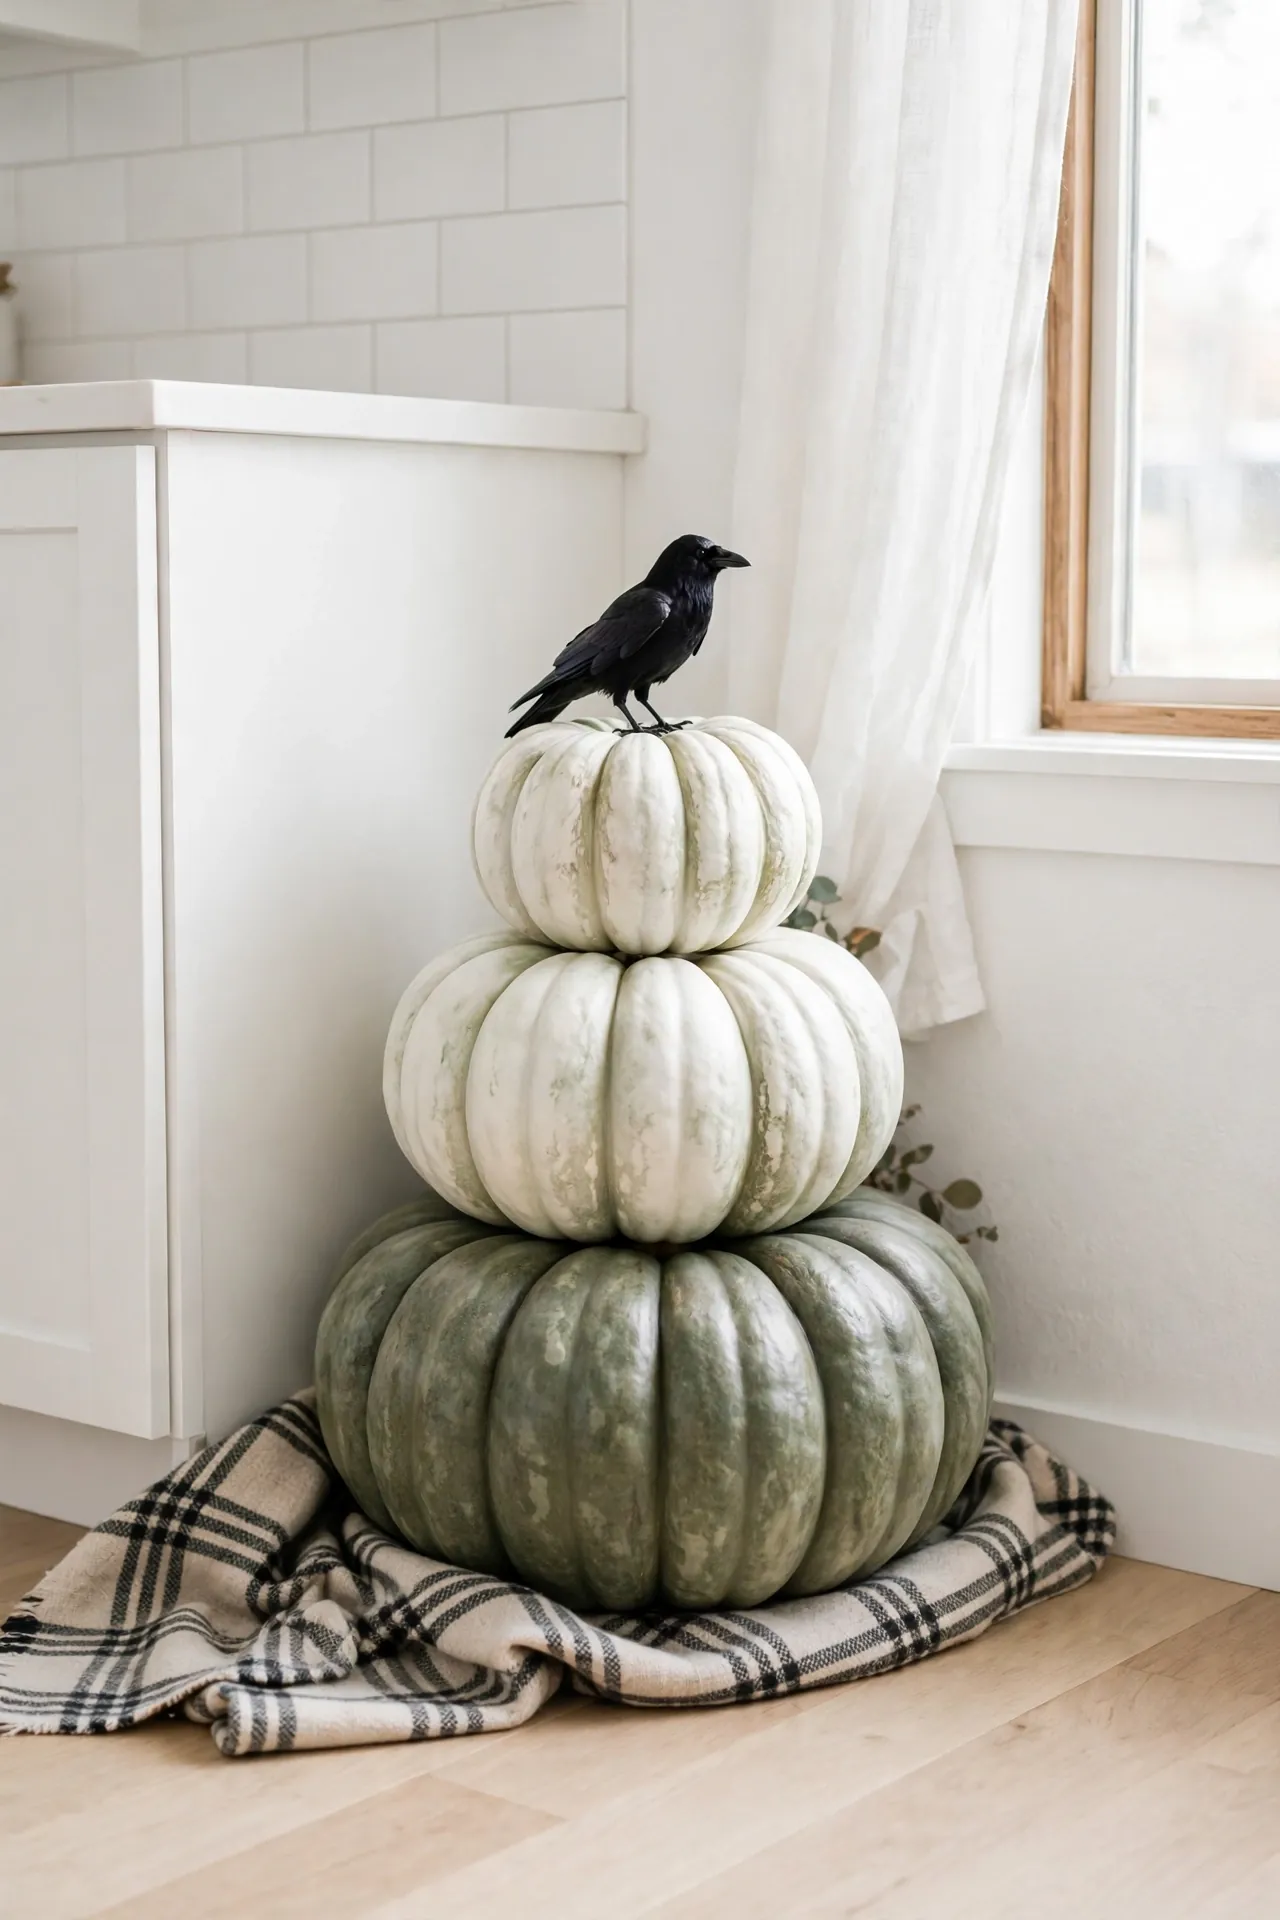
- Stack three faux pumpkins in graduating sizes in an empty kitchen corner.
- Top the stack with a small black crow or a sprig of dried wheat.
- Add a plaid throw or basket at the base for a cozy harvest feel.
- Keep the stack away from walkways so nobody bumps it.
- Dust the pumpkins weekly to keep them looking fresh.
A pumpkin tower fills dead corner space with instant fall charm. Faux pumpkins look real these days and survive the whole season indoors. I have noticed white and green heirloom styles look the most elegant. Break the stack down in November and store the pieces nested together.
Eerie Backsplash Decals
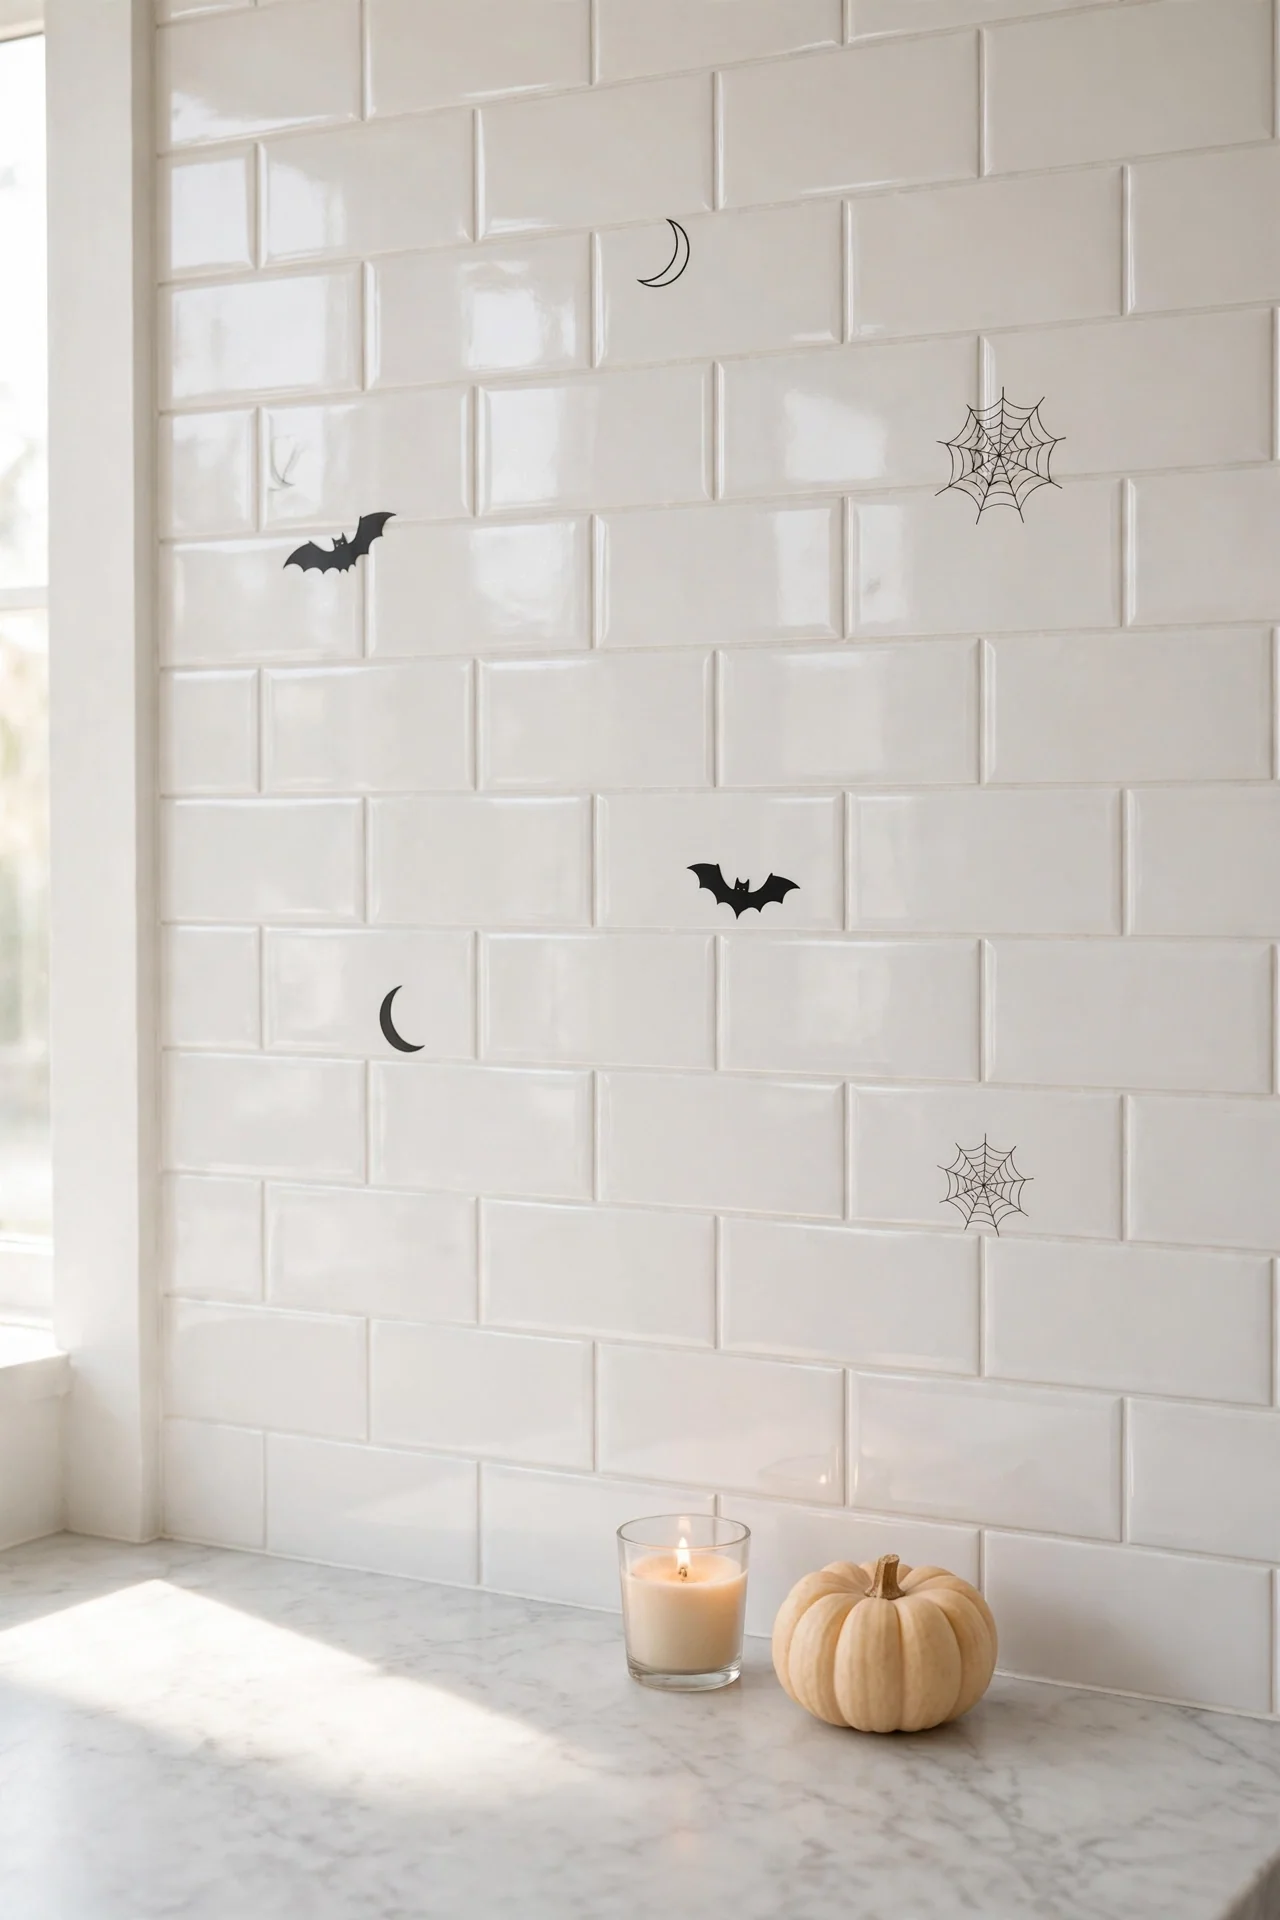
Quick Tip: Apply removable Halloween decals to your backsplash for a surprise guests never expect. Pick thin vinyl shapes like bats, moons, or spiderwebs that sit flat against tile. Press out air bubbles with a credit card for a smooth finish. Peel them off slowly in November to protect the grout. Test one decal behind the stove first to check the adhesive.
The backsplash is prime decorating real estate most people ignore. Decals there catch the eye while you cook and photograph beautifully for Pinterest. Keep the design to one area so the tile still shows through. This trick works best on smooth, glossy tiles.
Monster Snack Station
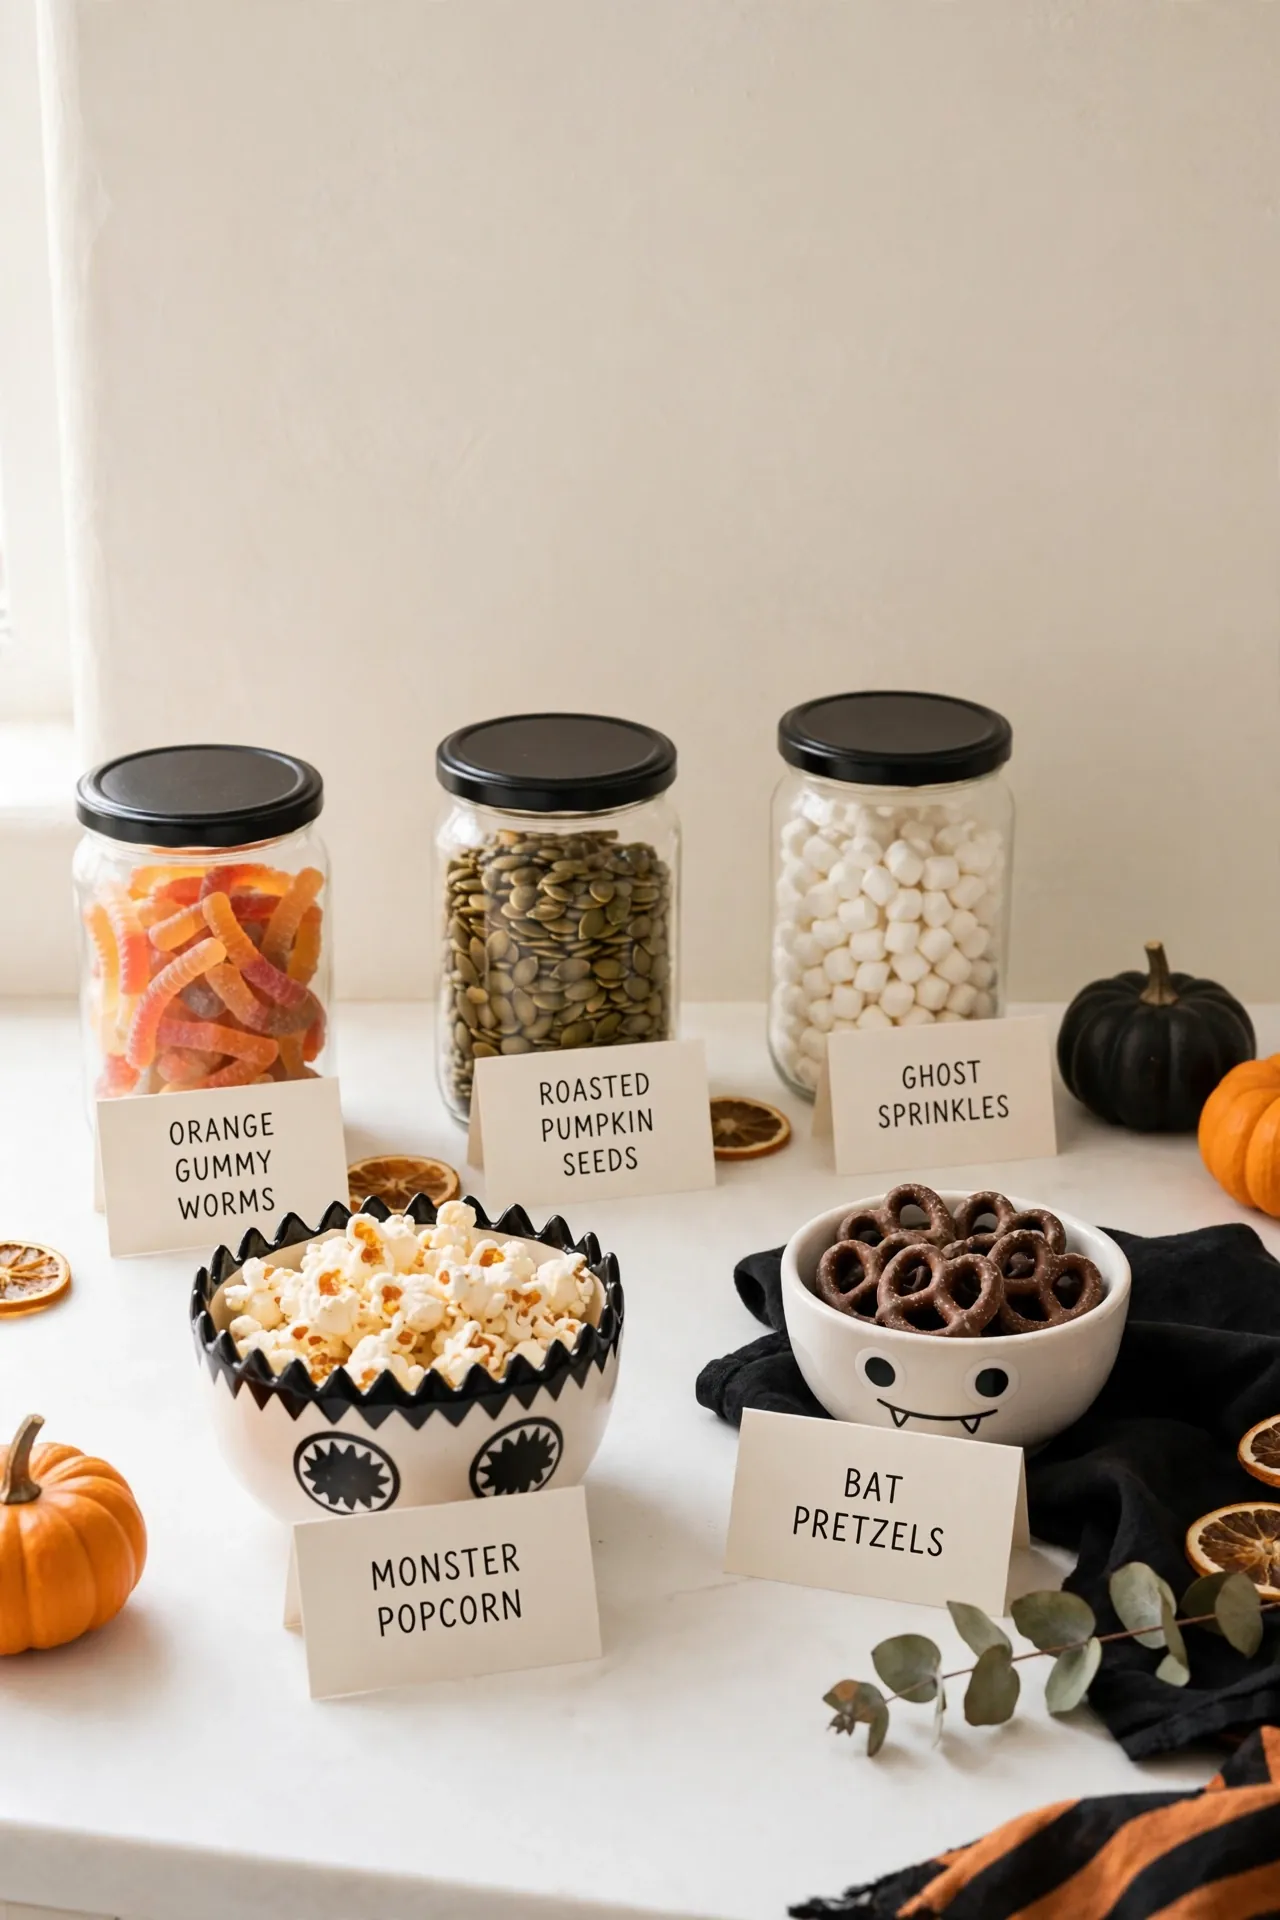
BEFORE: Before, party snacks sat in their store packaging on the counter. The spread looked thrown together and took up too much space. Guests hovered awkwardly, unsure where to start.
AFTER: After, labeled jars and monster-faced bowls turn the same counter into a snack station. Little signs name each treat, and the bowls add playful character. The setup invites guests to dig in right away.
A snack station keeps party food organized and on theme. Use small bowls so treats look abundant even in modest amounts. Label everything with tent cards for a polished touch. Refill the popular bowls early because they empty fast.
Moonlit Shelf Vignette
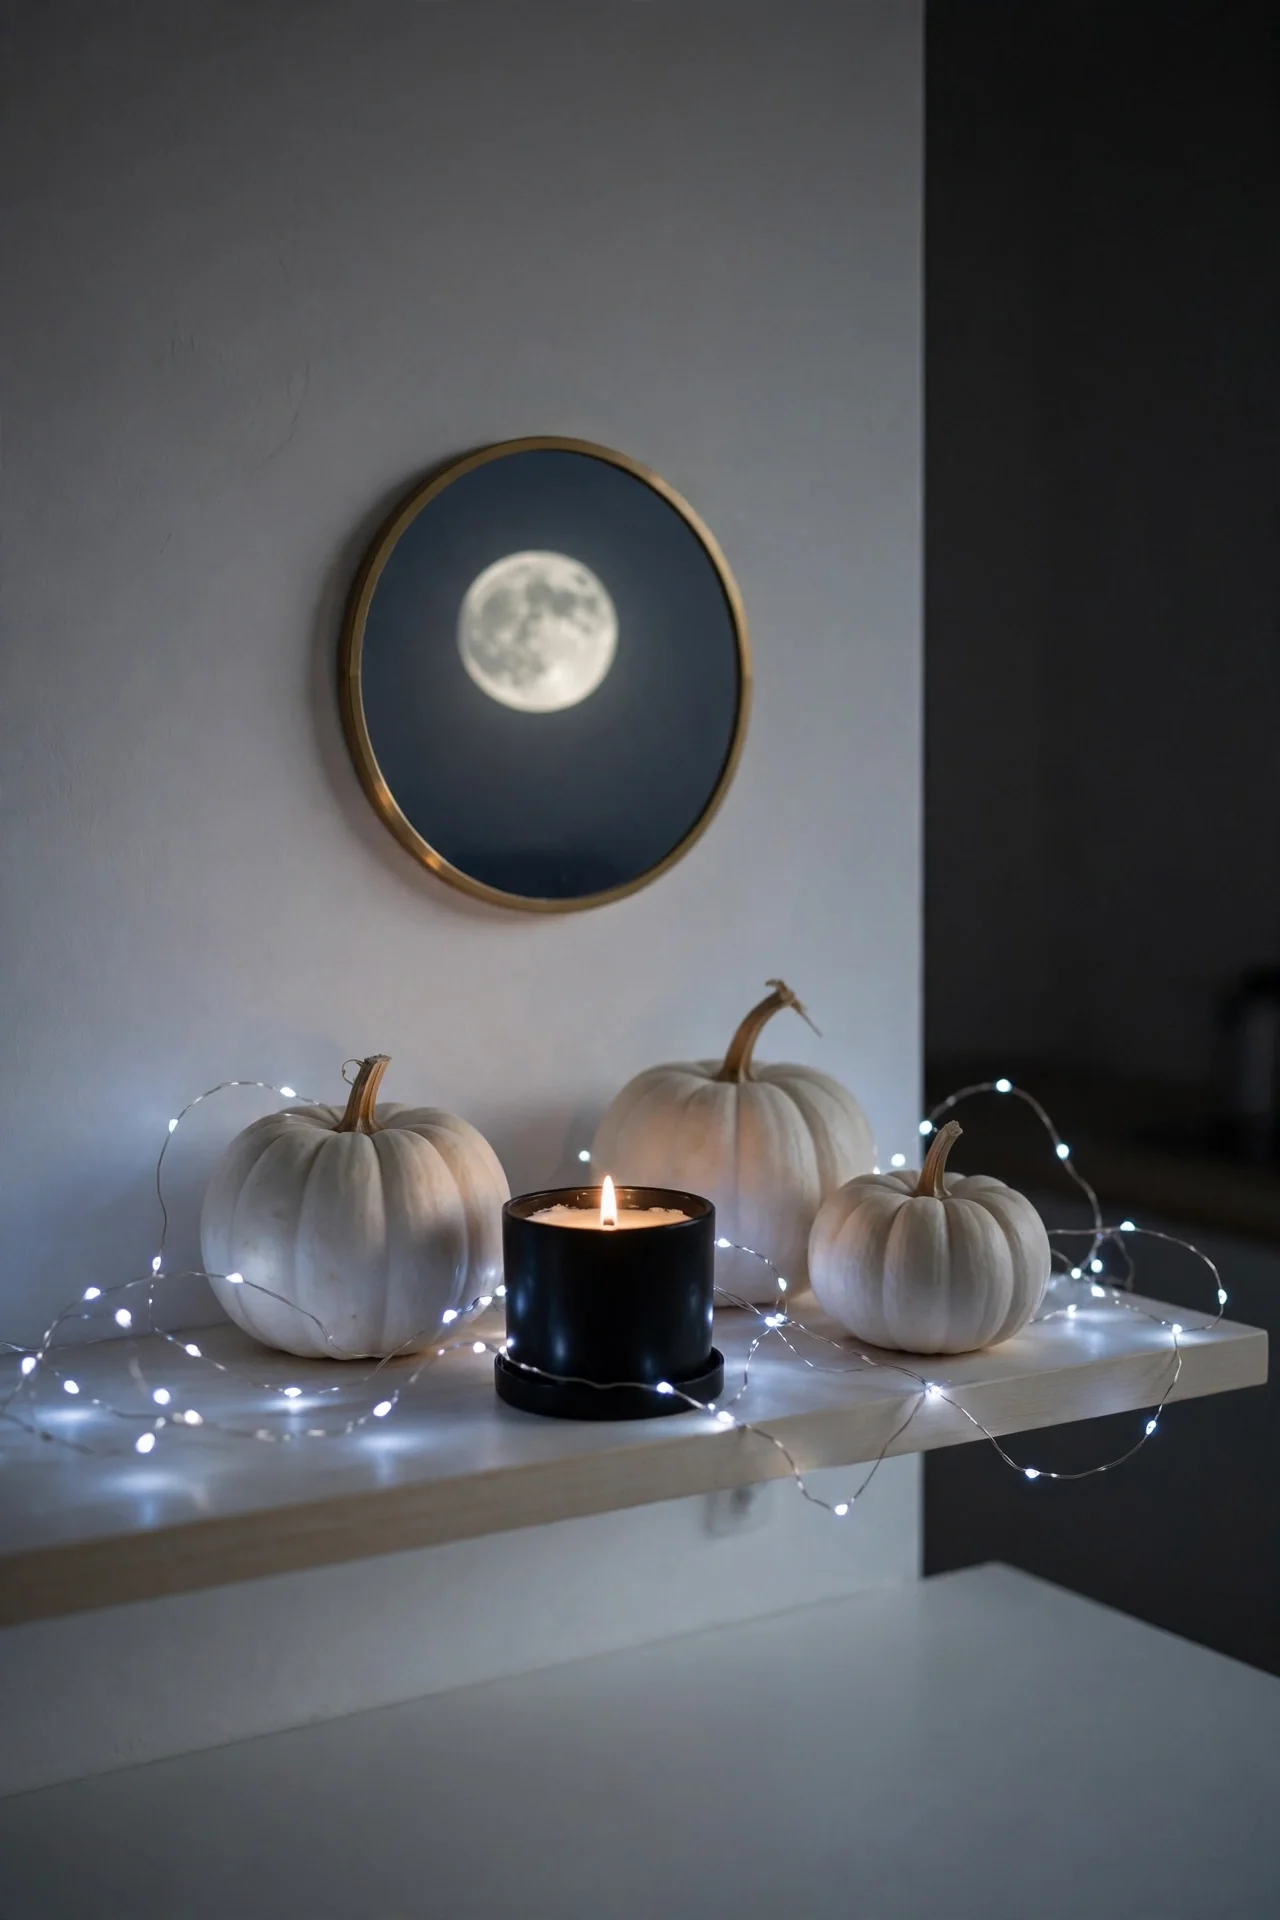
- Clear one open shelf completely to start with a blank canvas.
- Place a small round mirror as a moon at the back of the shelf.
- Arrange white pumpkins and a black candle in front of the mirror.
- Add a string of cool white fairy lights for a moonlit glow.
- Step back and adjust spacing until the composition feels balanced.
A moonlit shelf brings quiet magic to the kitchen after dark. The mirror doubles the fairy light glow and makes the small shelf feel deeper. Keep the palette to white, silver, and black for a calm night-sky feel. This vignette photographs beautifully for your Pinterest boards.
Conclusion
Your kitchen is ready for its spookiest season yet. These halloween kitchen decor ideas prove that a few thoughtful touches, like glowing candles, playful garlands, and pumpkin clusters, bring the whole room to life. Start with one or two favorites, then layer in more as October unfolds. I have seen how small changes like these can completely shift the way a space feels. Save this guide to your Halloween Pinterest board so every idea is handy when decorating day arrives. Share your favorite setups with friends for extra inspiration. Then pour something warm, light the candles, and enjoy your beautifully haunted kitchen.
2 Comments