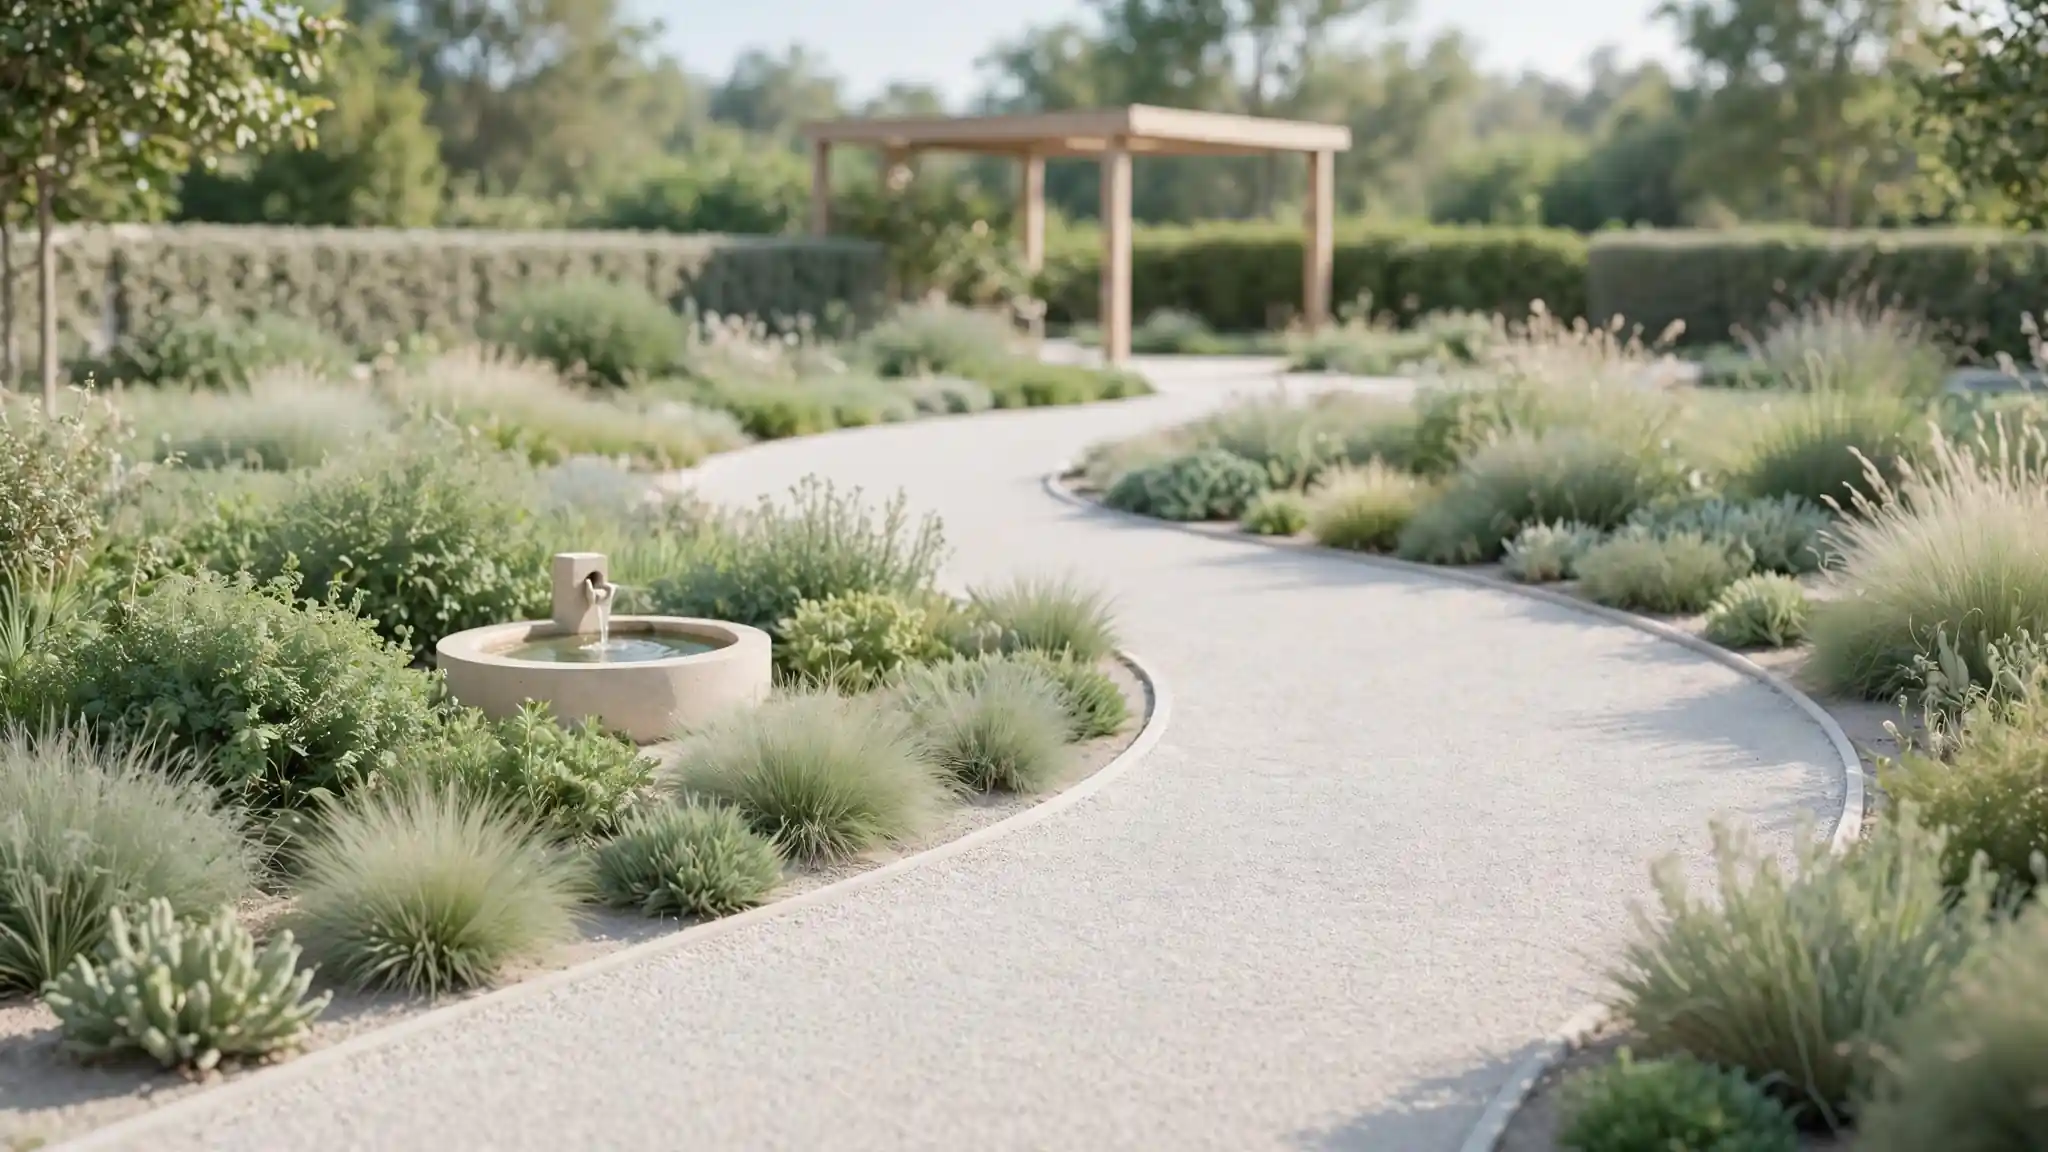
21 Backyard Landscaping Ideas for Stunning Outdoor Charm
Smart backyard landscaping ideas can turn an ordinary patch of grass into an outdoor space your family actually uses every day. Most yards fail not from lack of money but from lack of a plan, so beds sprawl, paths lead nowhere, and corners collect clutter. I have learned that a few clear decisions about shape, structure, and light make the biggest difference. This collection gathers 21 practical designs that work for real homes and real budgets.
You do not need a professional crew or a huge budget to get these results. Each idea below breaks the work into simple steps you can tackle on weekends, starting with the changes that give the most impact for the least effort. Once your yard feels this pulled together, these christmas tree decorating ideas will help you carry the same polished style indoors for the holidays.
Curved Garden Beds
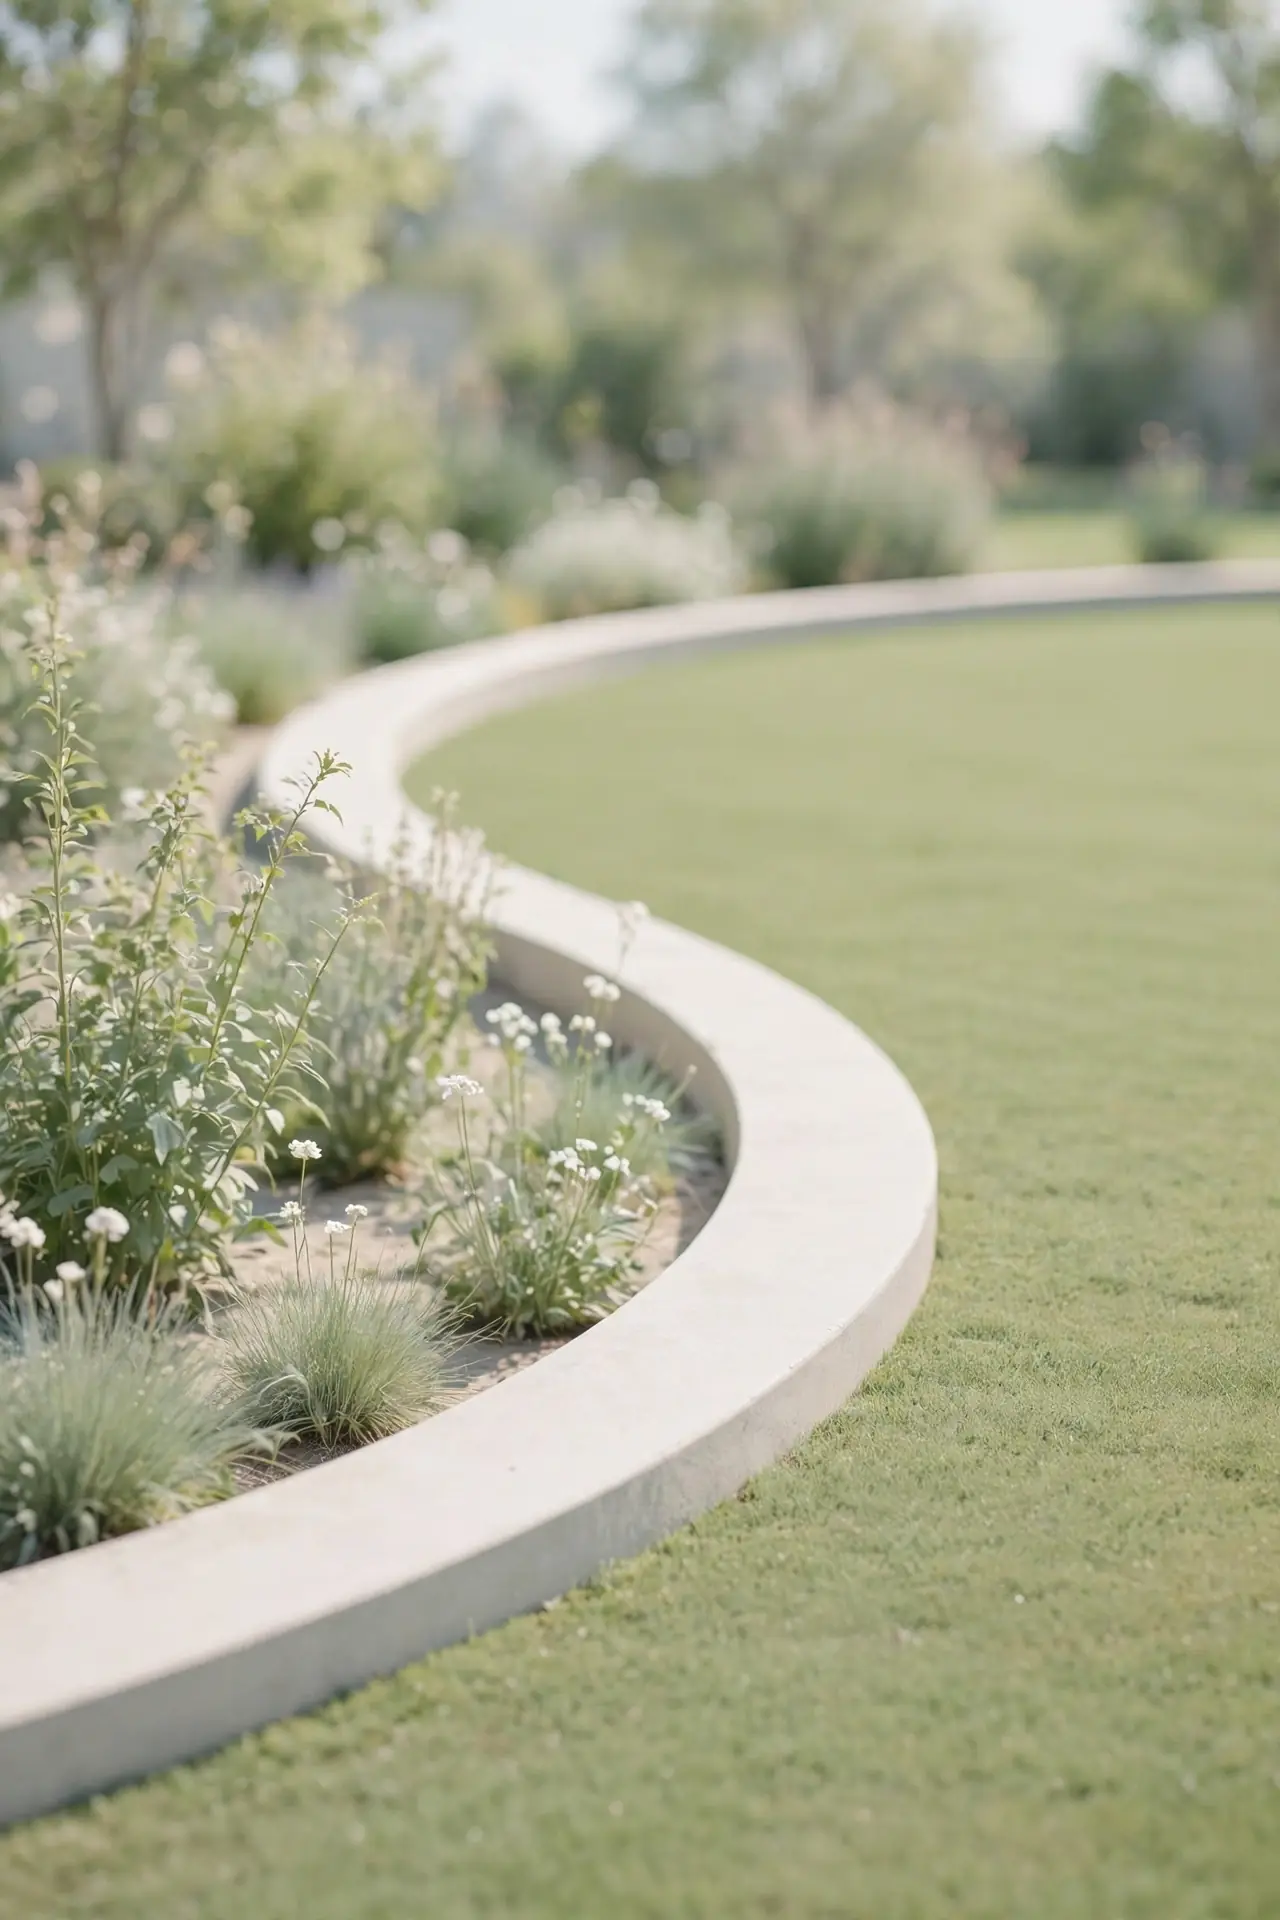
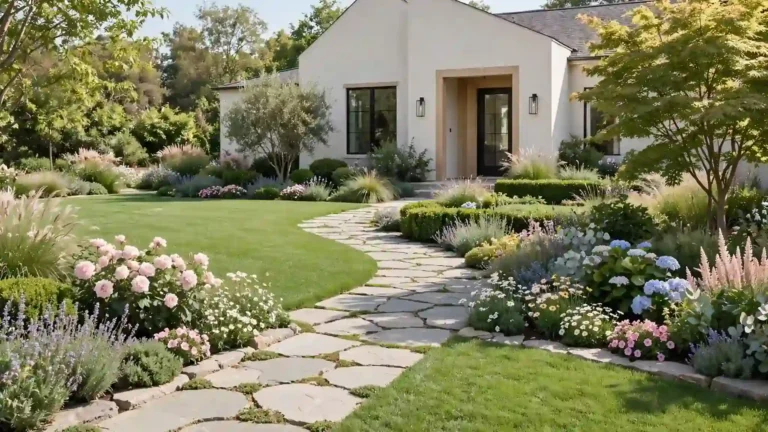
Straight lines make small yards feel boxed in, while gentle curves instantly add movement and softness. Swap a rectangular flower border for a sweeping arc that flows around a corner or hugs a seating area. The curved edge tricks the eye into seeing more depth, which makes the whole yard feel larger and more relaxed.
Mark the curve with a garden hose before you dig, then step back and adjust until the shape looks natural from every window. Fill the bed with layered plants, tall in back and short in front, to emphasize the sweep. I have seen this one change lift a plain lawn into something that feels designed in a single weekend.
Layered Plant Heights
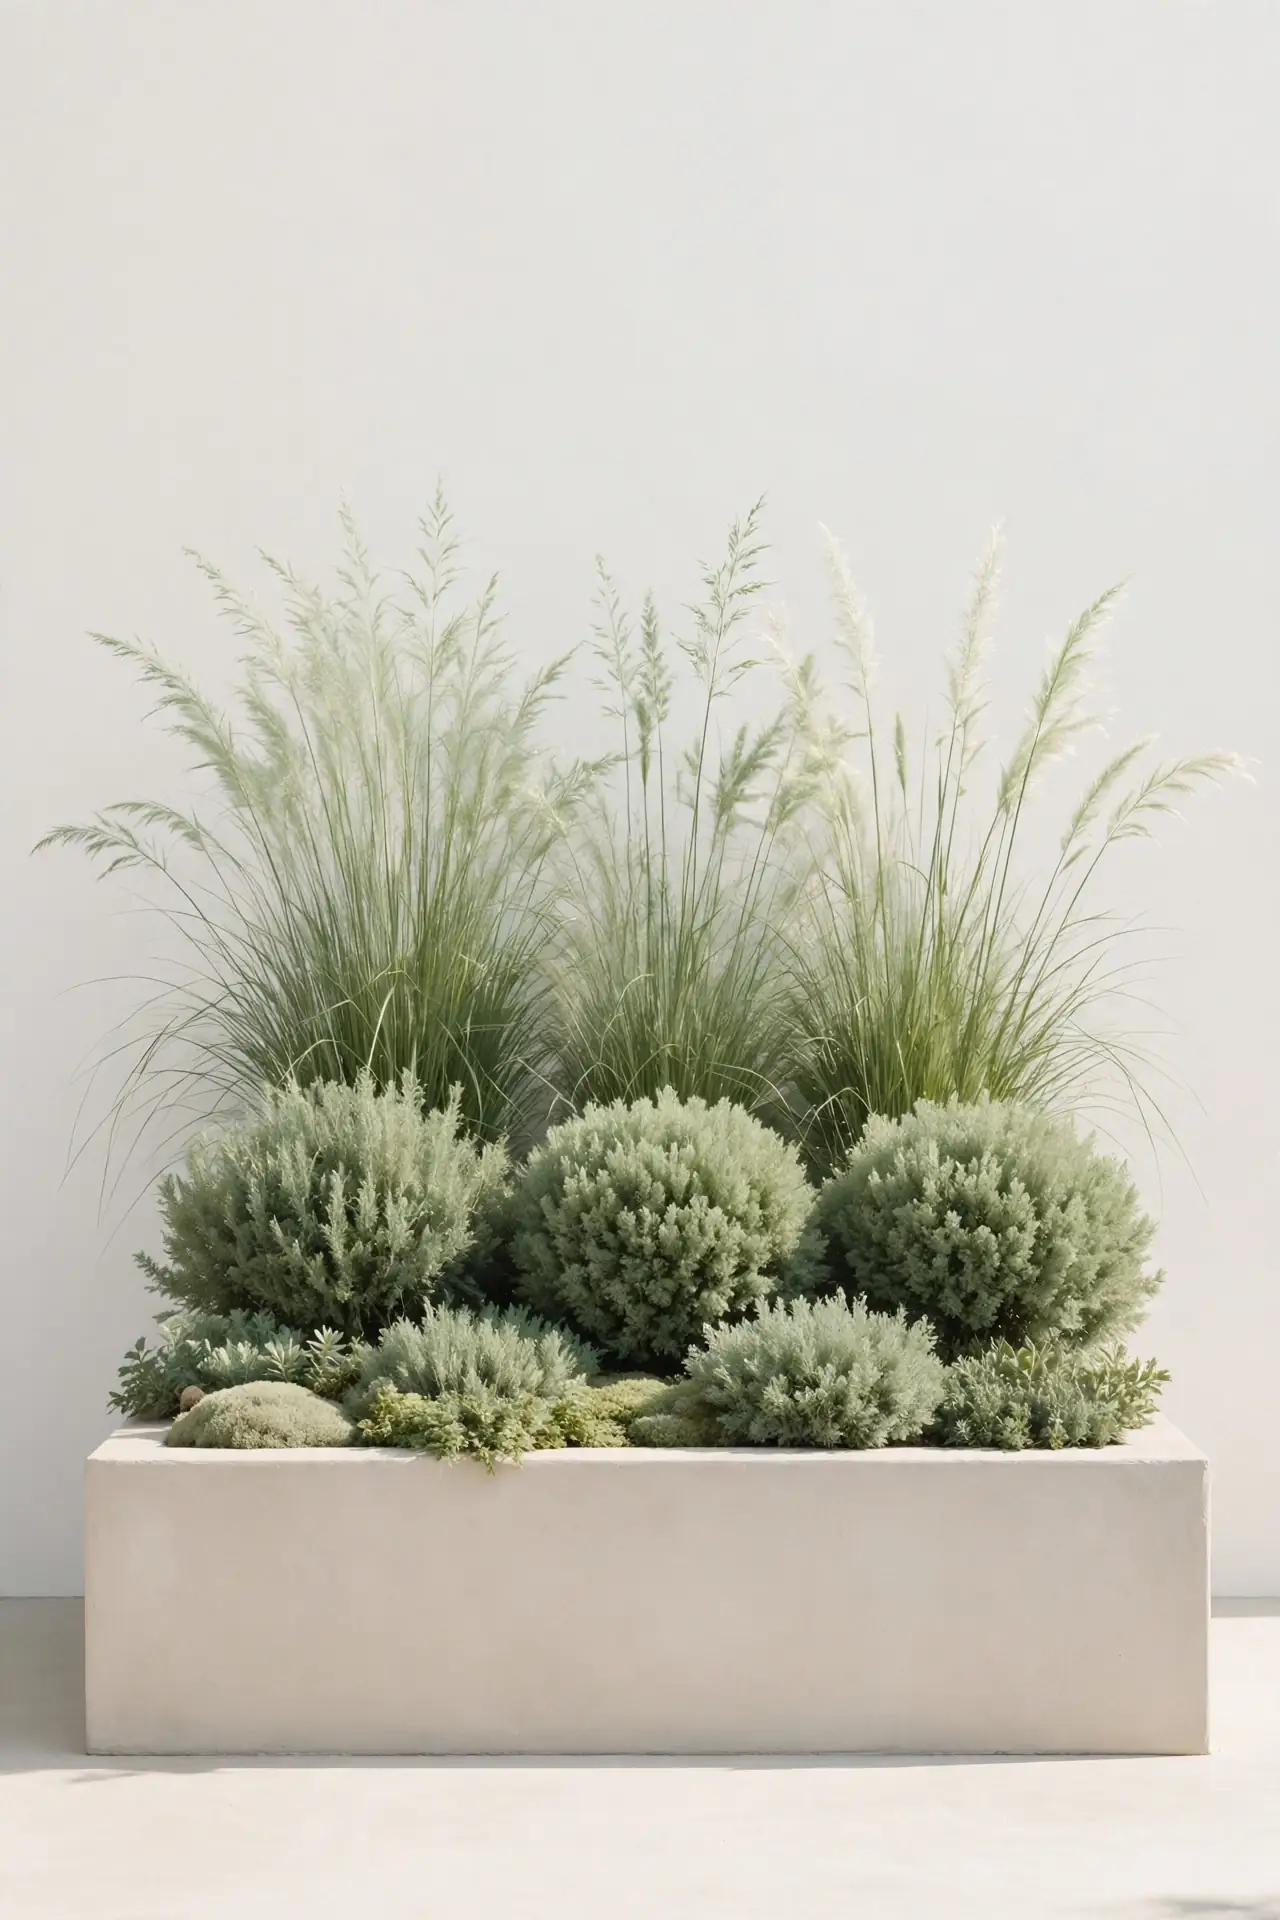
- Place the tallest plants at the back of the bed, where they create a green backdrop without hiding smaller flowers.
- Use medium shrubs in the middle layer to bridge the gap between tall focal plants and low ground covers.
- Let trailing plants spill over edges, since the soft overflow makes borders look lush and full.
- Repeat the same layering in containers, with a tall center, medium fillers, and trailing edges.
Step back after planting and look for flat spots where one height dominates. A missing middle layer is the most common gap, so tuck in a few mid-size shrubs to smooth the transition. In my experience, three clear layers make even a small bed look professionally designed.
Stone Border Edging
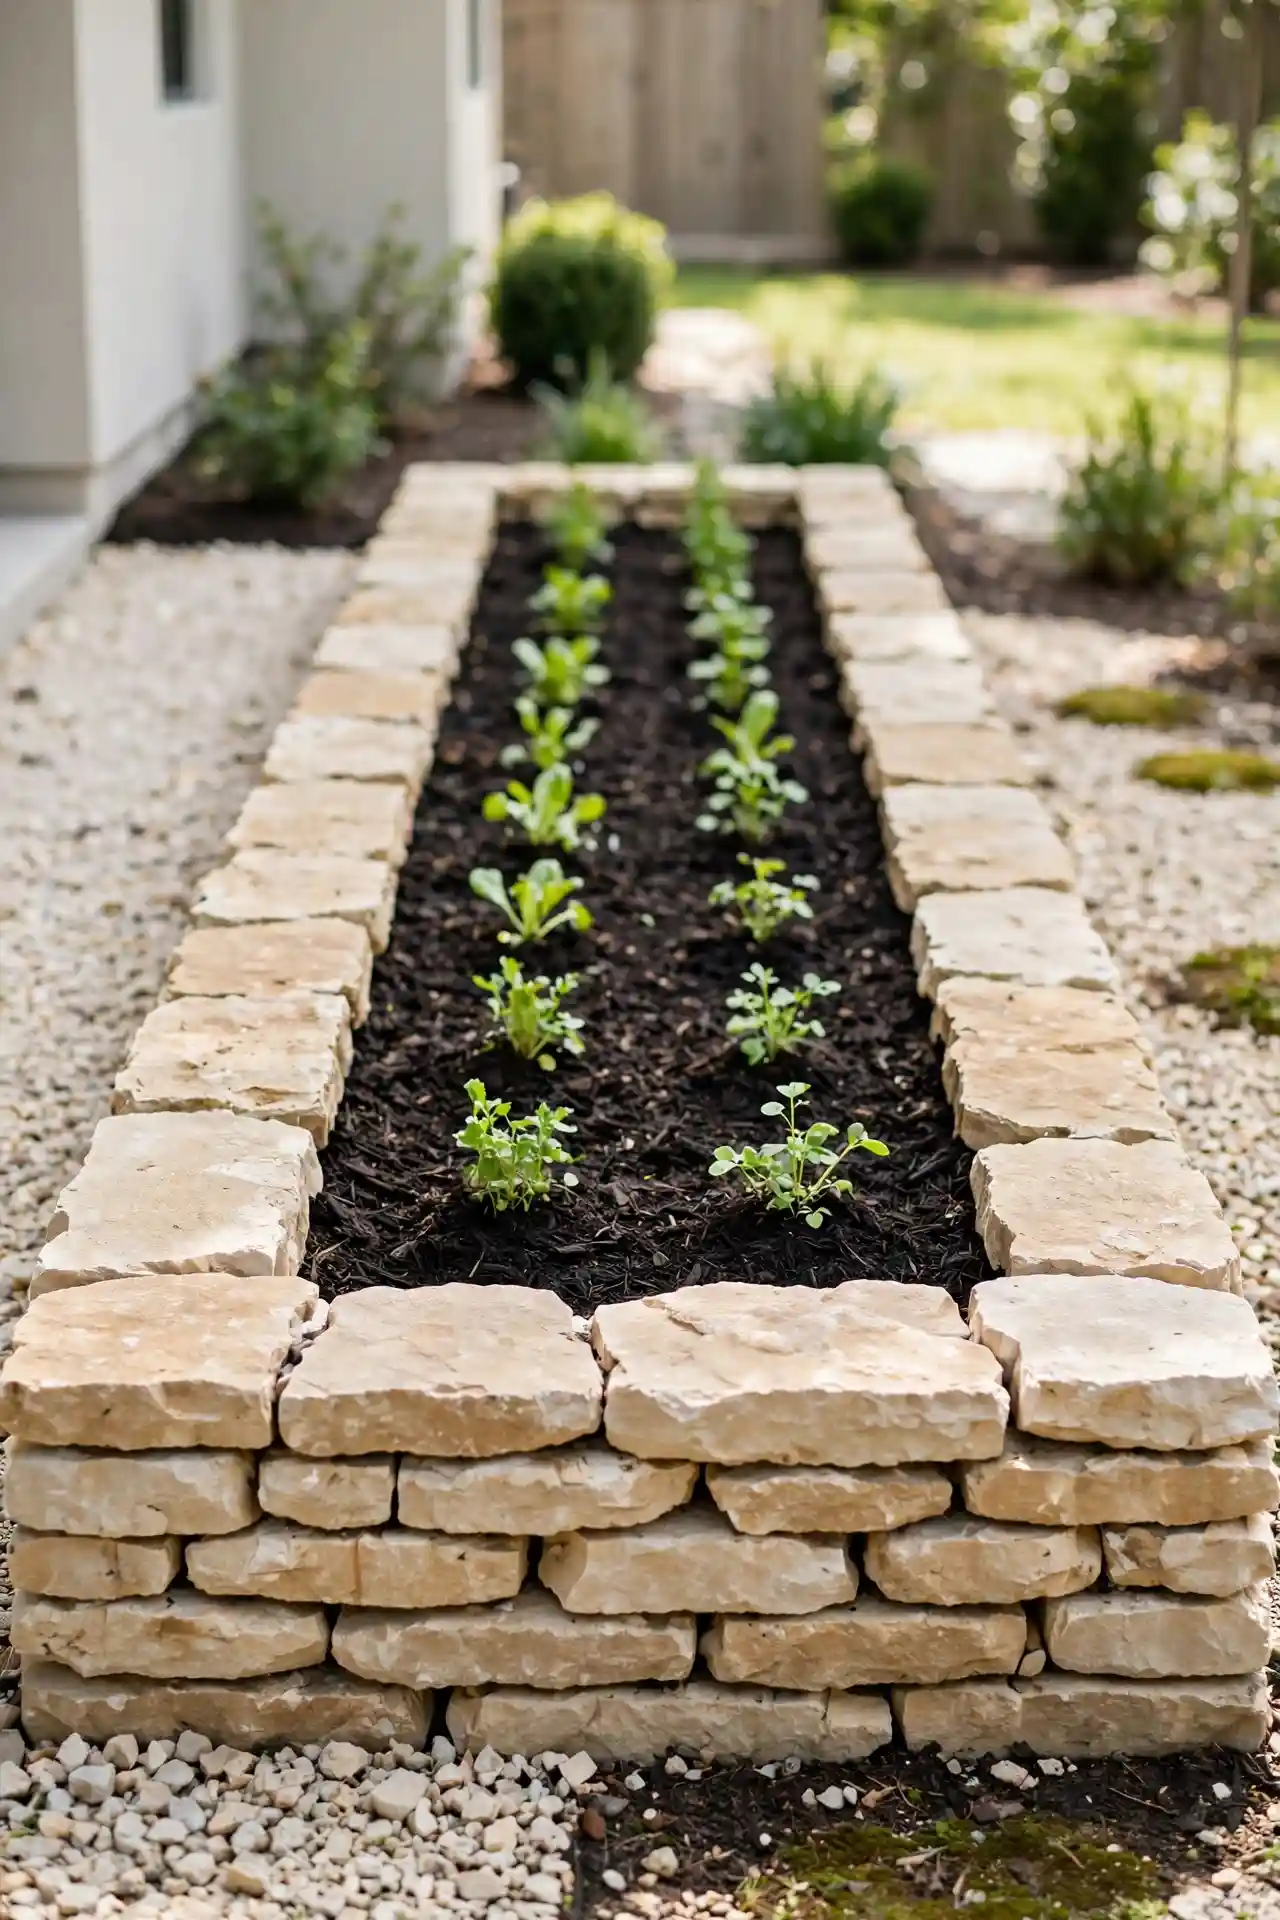
Quick Tip: Choose one stone type and use it along every bed for a unified, calm look. Dry-stack the stones two courses high with no mortar, and bury the first course halfway underground so the edge survives heavy rain. Keep the top edge level with a string line stretched between two stakes.
Mixing random stone types is the fastest way to make a yard look busy and unfinished. Pick a single material, like limestone or river rock, and repeat it around every bed for rhythm. The repetition ties separate areas together into one calm, clean, finished design. I have seen this one move lift an ordinary yard into something that feels planned.
Mulch Color Pop
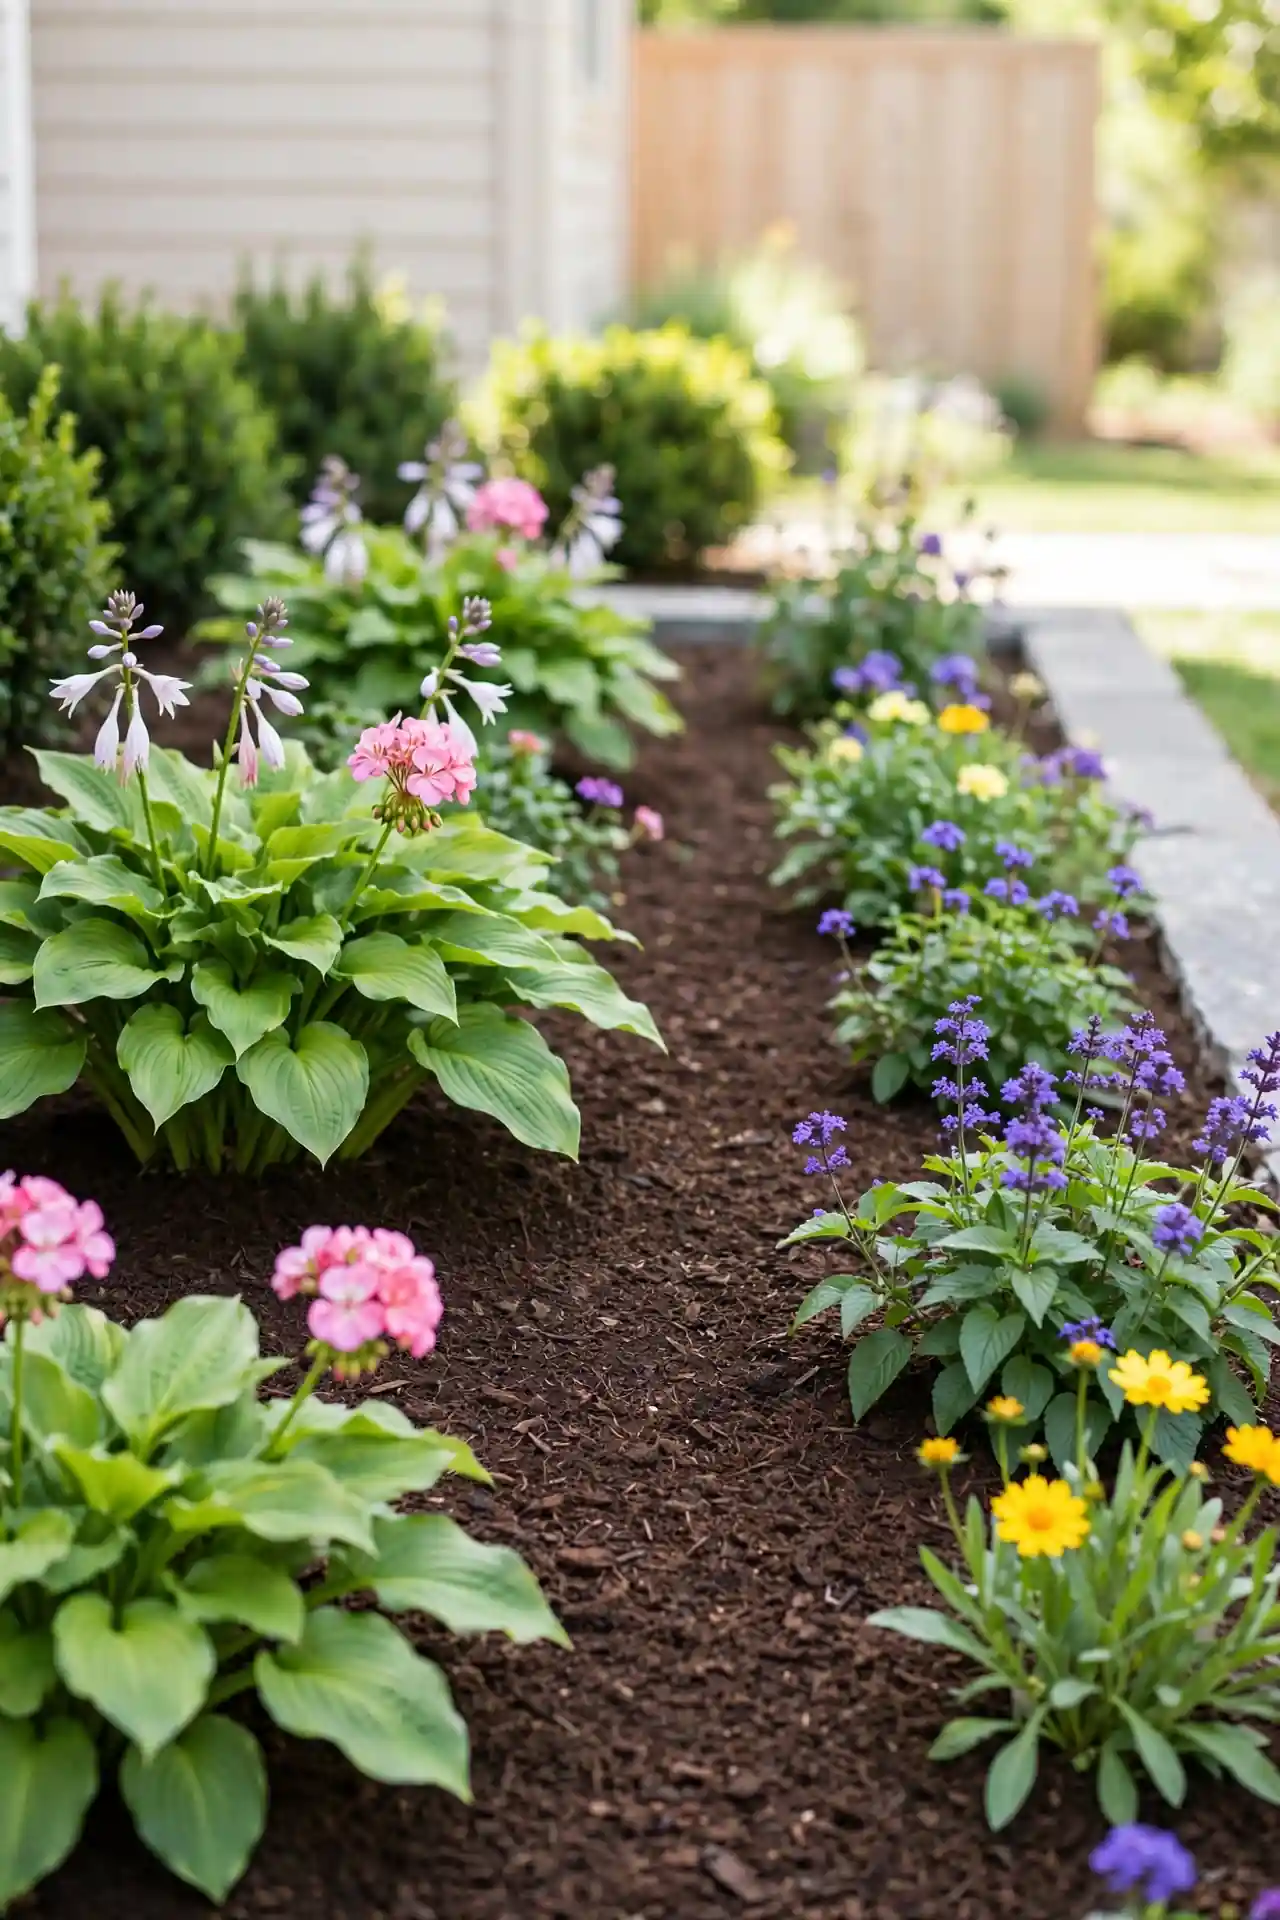
BEFORE: Bare soil between plants makes even healthy flowers look scruffy and half-finished. Weeds pop up fast, and every rainstorm splashes mud onto leaves and petals.
AFTER: A fresh two-inch layer of dark brown mulch makes every leaf and petal stand out crisply. Weeds stay smothered, moisture stays in the soil, and the whole bed reads clean and intentional.
Keep mulch two to three inches deep, and pull it back a few inches from every stem to prevent rot. I have noticed that dark mulch photographs especially well, so beds look richer in pictures too. Refresh the top inch each spring instead of replacing it all.
Path Light Plan
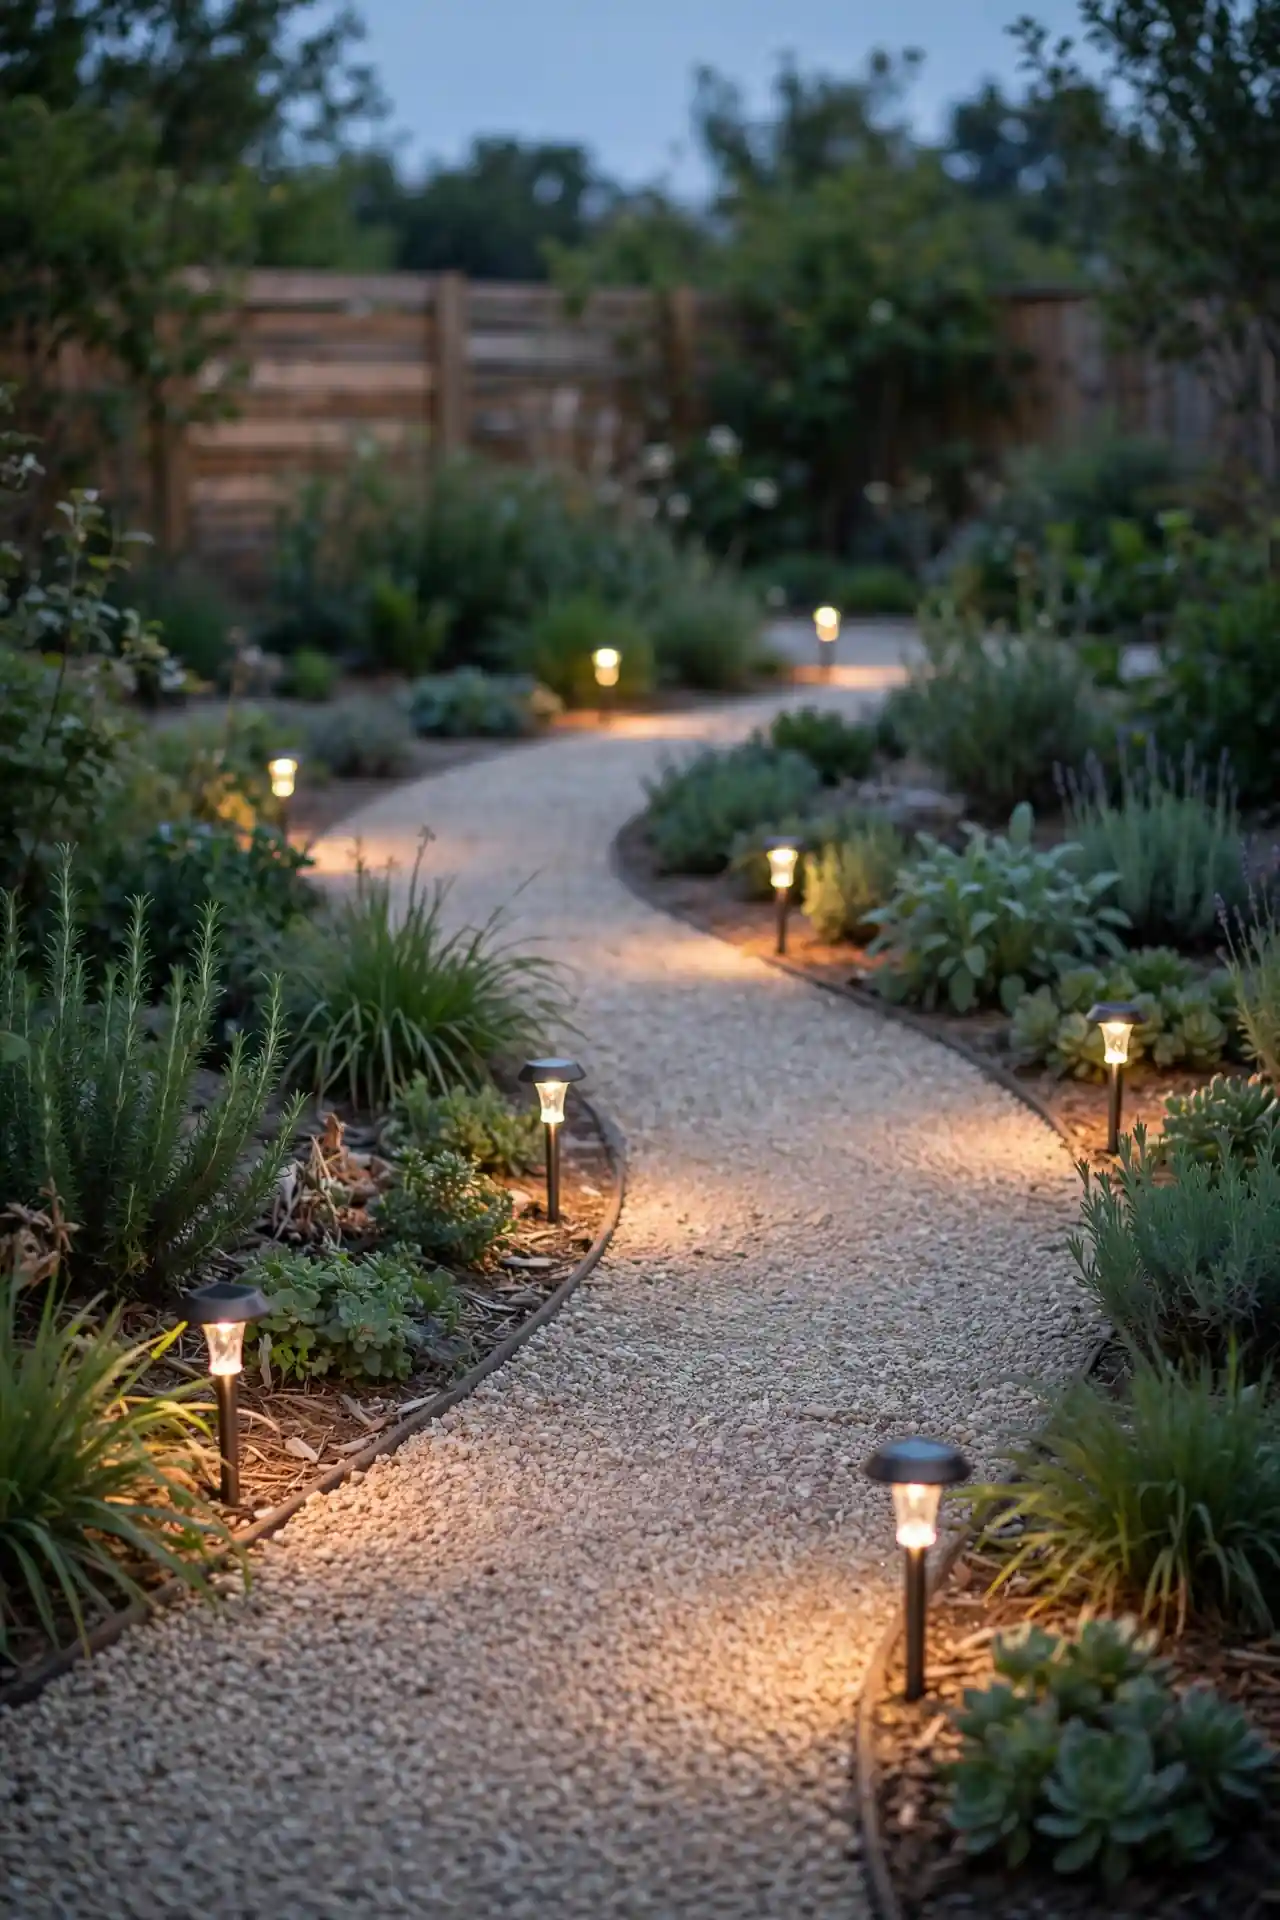
- Walk your yard after dark and note where paths feel unsafe or disappear into blackness; those spots need light first.
- Space solar path lights six to eight feet apart along walkways so pools of light overlap without harsh glare.
- Add one uplight at the base of a favorite tree or statue to create a glowing focal point after sunset.
- Point all fixtures downward or shielded so light lands on paths, not in your neighbors’ windows.
Warm white light feels welcoming, while cool blue light makes gardens feel cold and stark. Stick to one color temperature across every fixture for a calm glow. I have seen a handful of well-placed lights change a yard from unusable to magical after dark, so start small and add more later.
Gravel Walkway Mix
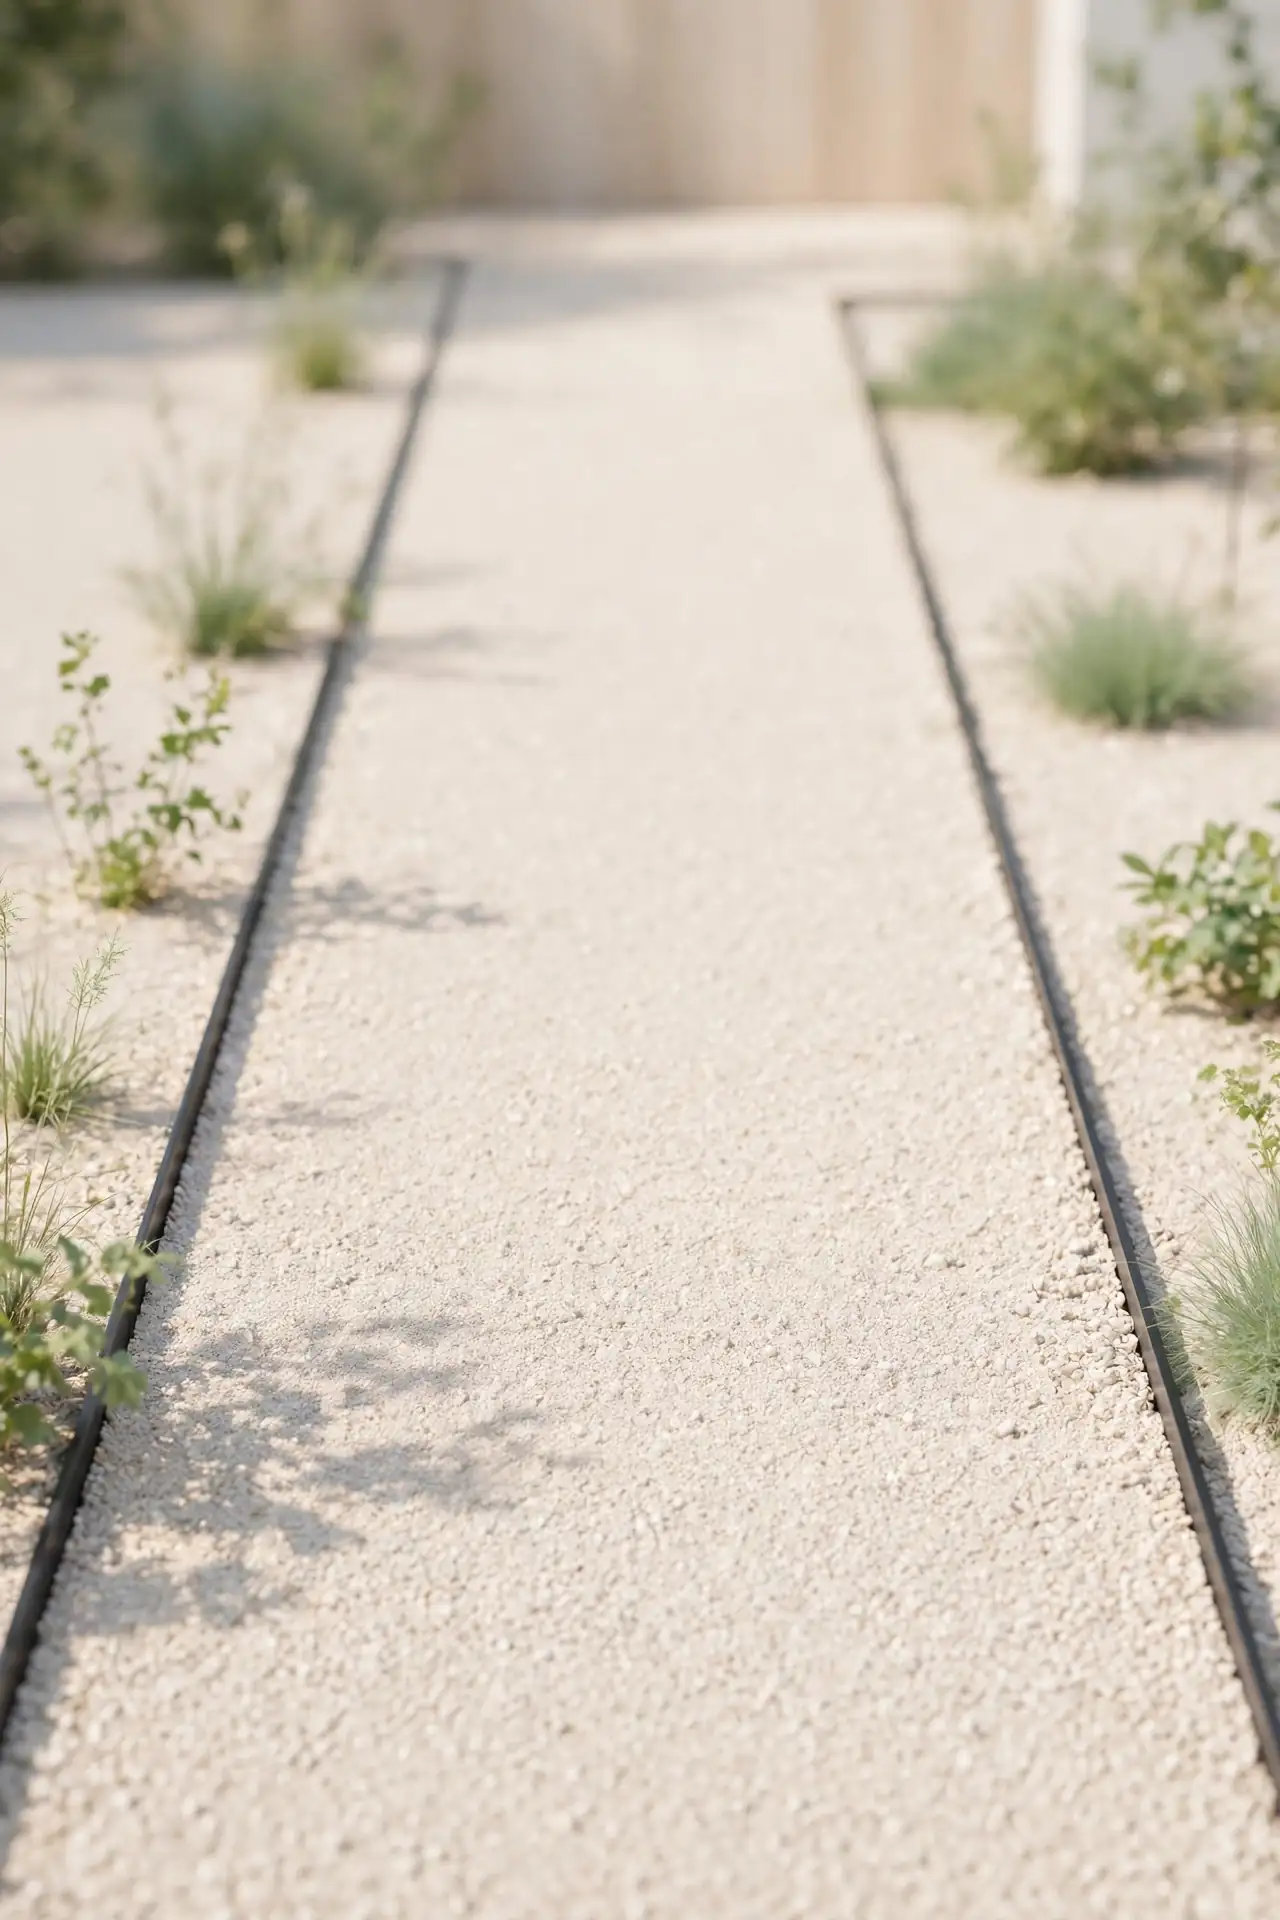
| Pea Gravel | Decomposed Granite | |
| Cost | Pea gravel costs little per bag and covers wide areas cheaply. | Decomposed granite costs more but locks together into a firm path. |
| Look | Rounded pebbles give a soft, cottage-garden feel underfoot. | Crushed stone looks crisp and modern, holding sharp path edges. |
| Upkeep | Gravel scatters and needs raking back into place each season. | Granite compacts firmly and rarely needs more than occasional sweeping. |
| Best for | Winding, informal garden paths and casual beds. | Straight, structured walkways that must stay smooth and level. |
Lay landscape fabric under either option to block weeds without blocking drainage. Pour gravel three inches deep, then rake it level and water it in to settle the pieces. I have noticed that a metal edging strip keeps both materials exactly where you want them.
Native Plant Pockets
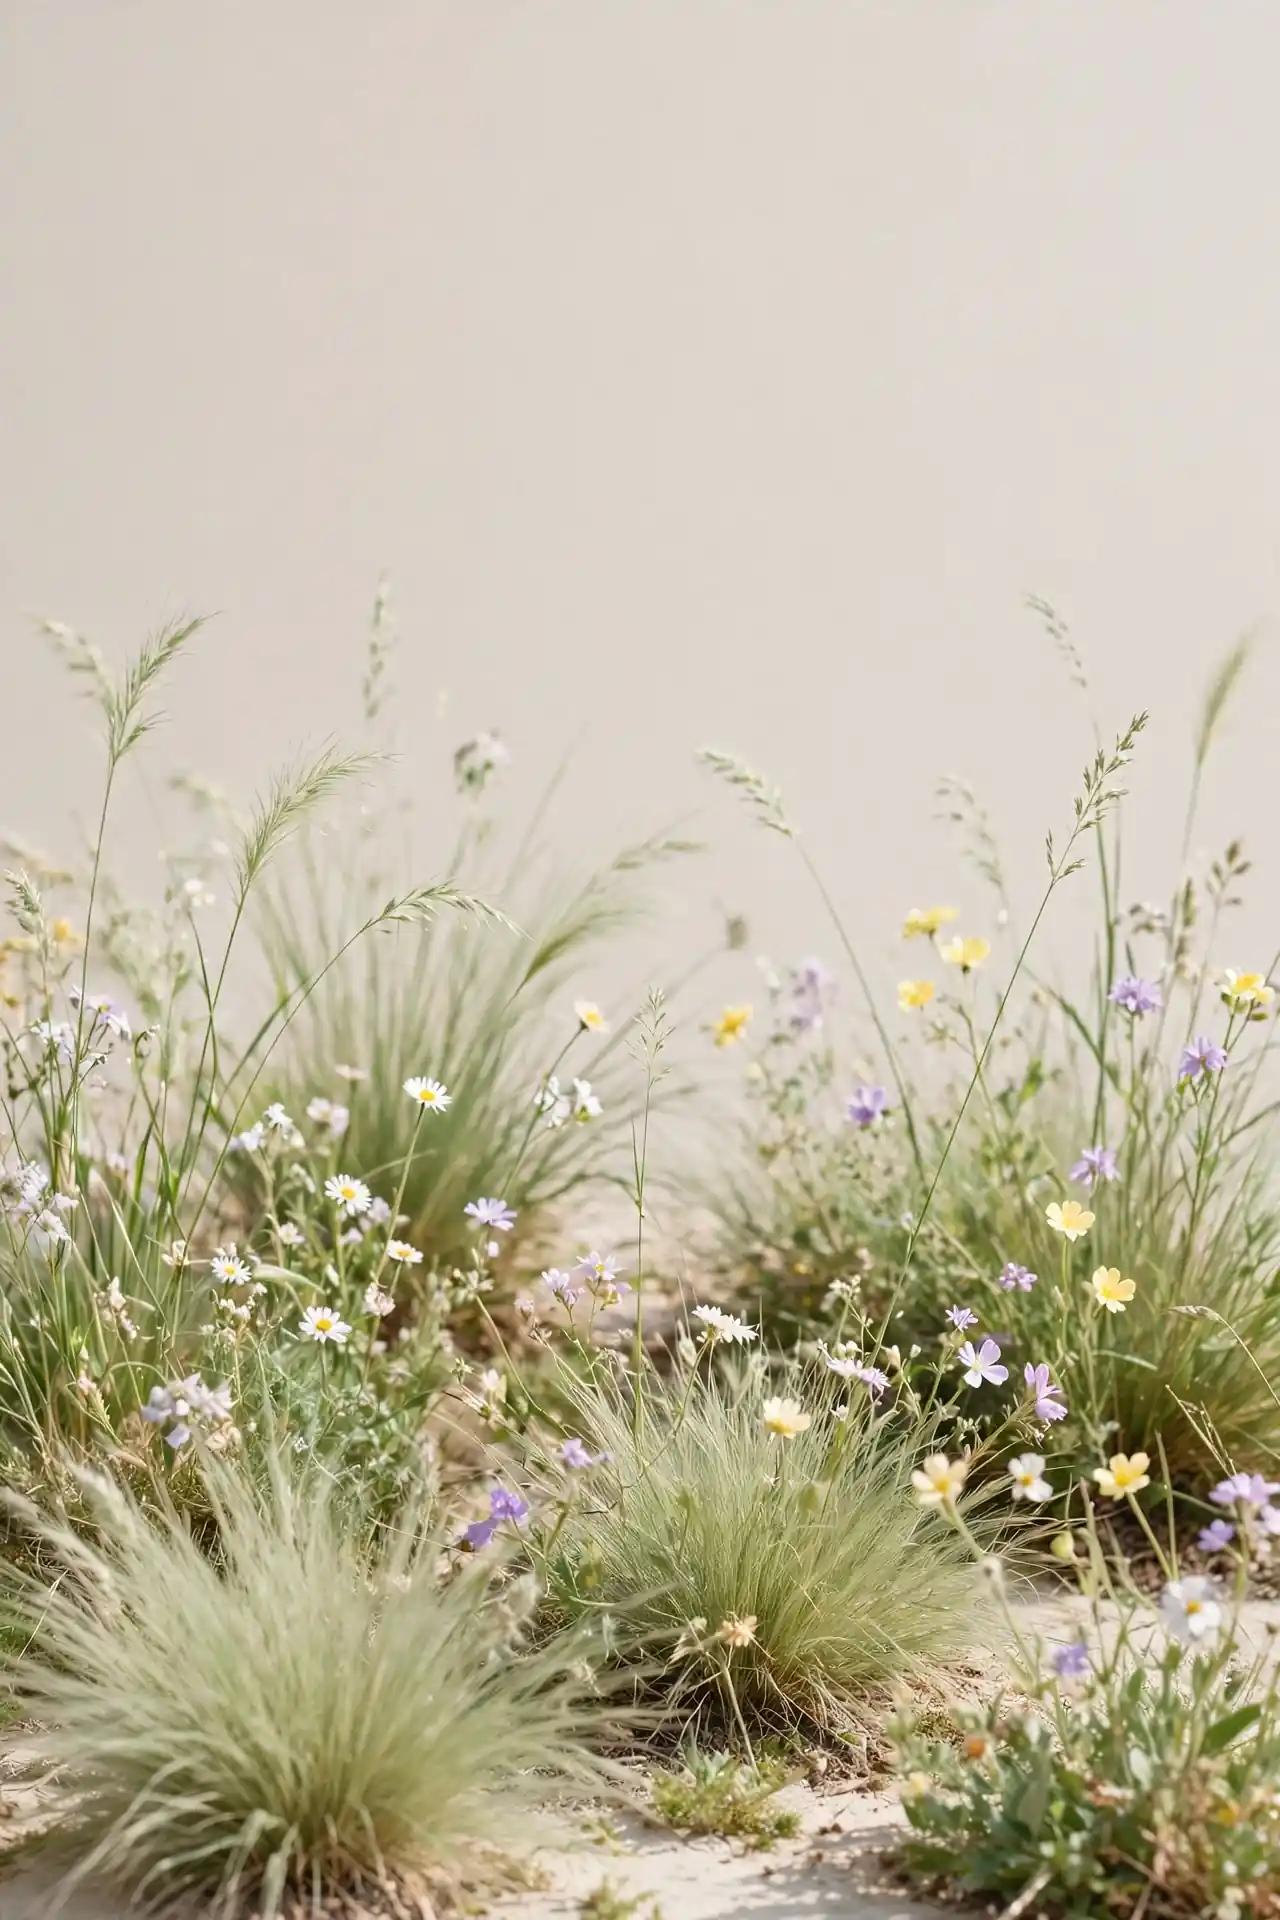
DO:
- Native species from your region already thrive in local soil and rainfall, so start there.
- Group natives in clusters of three or five for a natural drift effect.
- Leave seed heads standing through winter to feed birds.
DON’T:
- Don’t plant thirsty exotics beside drought-tolerant natives, since one will always suffer.
- Don’t over-fertilize native beds, since most natives bloom better in lean soil.
- Don’t deadhead everything in fall, since seed heads feed winter wildlife.
Start with one pocket bed and expand once you see what thrives. Local garden clubs often give away native seedlings for free each spring. In my experience, native pockets become the lowest-effort, highest-reward beds in the whole yard, asking almost no water once established each summer.
Blooming Flower Waves

Cost: Low | Time: One weekend | Skill Level: Beginner | Best For: Sunny beds
Waves of a single flower color flowing through a bed create more impact than a scattered mix of every color. Plant drifts of one annual, like white alyssum or red salvia, in wide ribbons that weave between shrubs. The repetition calms the eye and makes the whole yard look professionally designed. Tuck the drifts along paths where you will see them daily. Deadhead spent blooms every few days to keep new flowers coming strong. In my experience, one color repeated boldly beats ten colors competing every time.
Raised Bed Zones
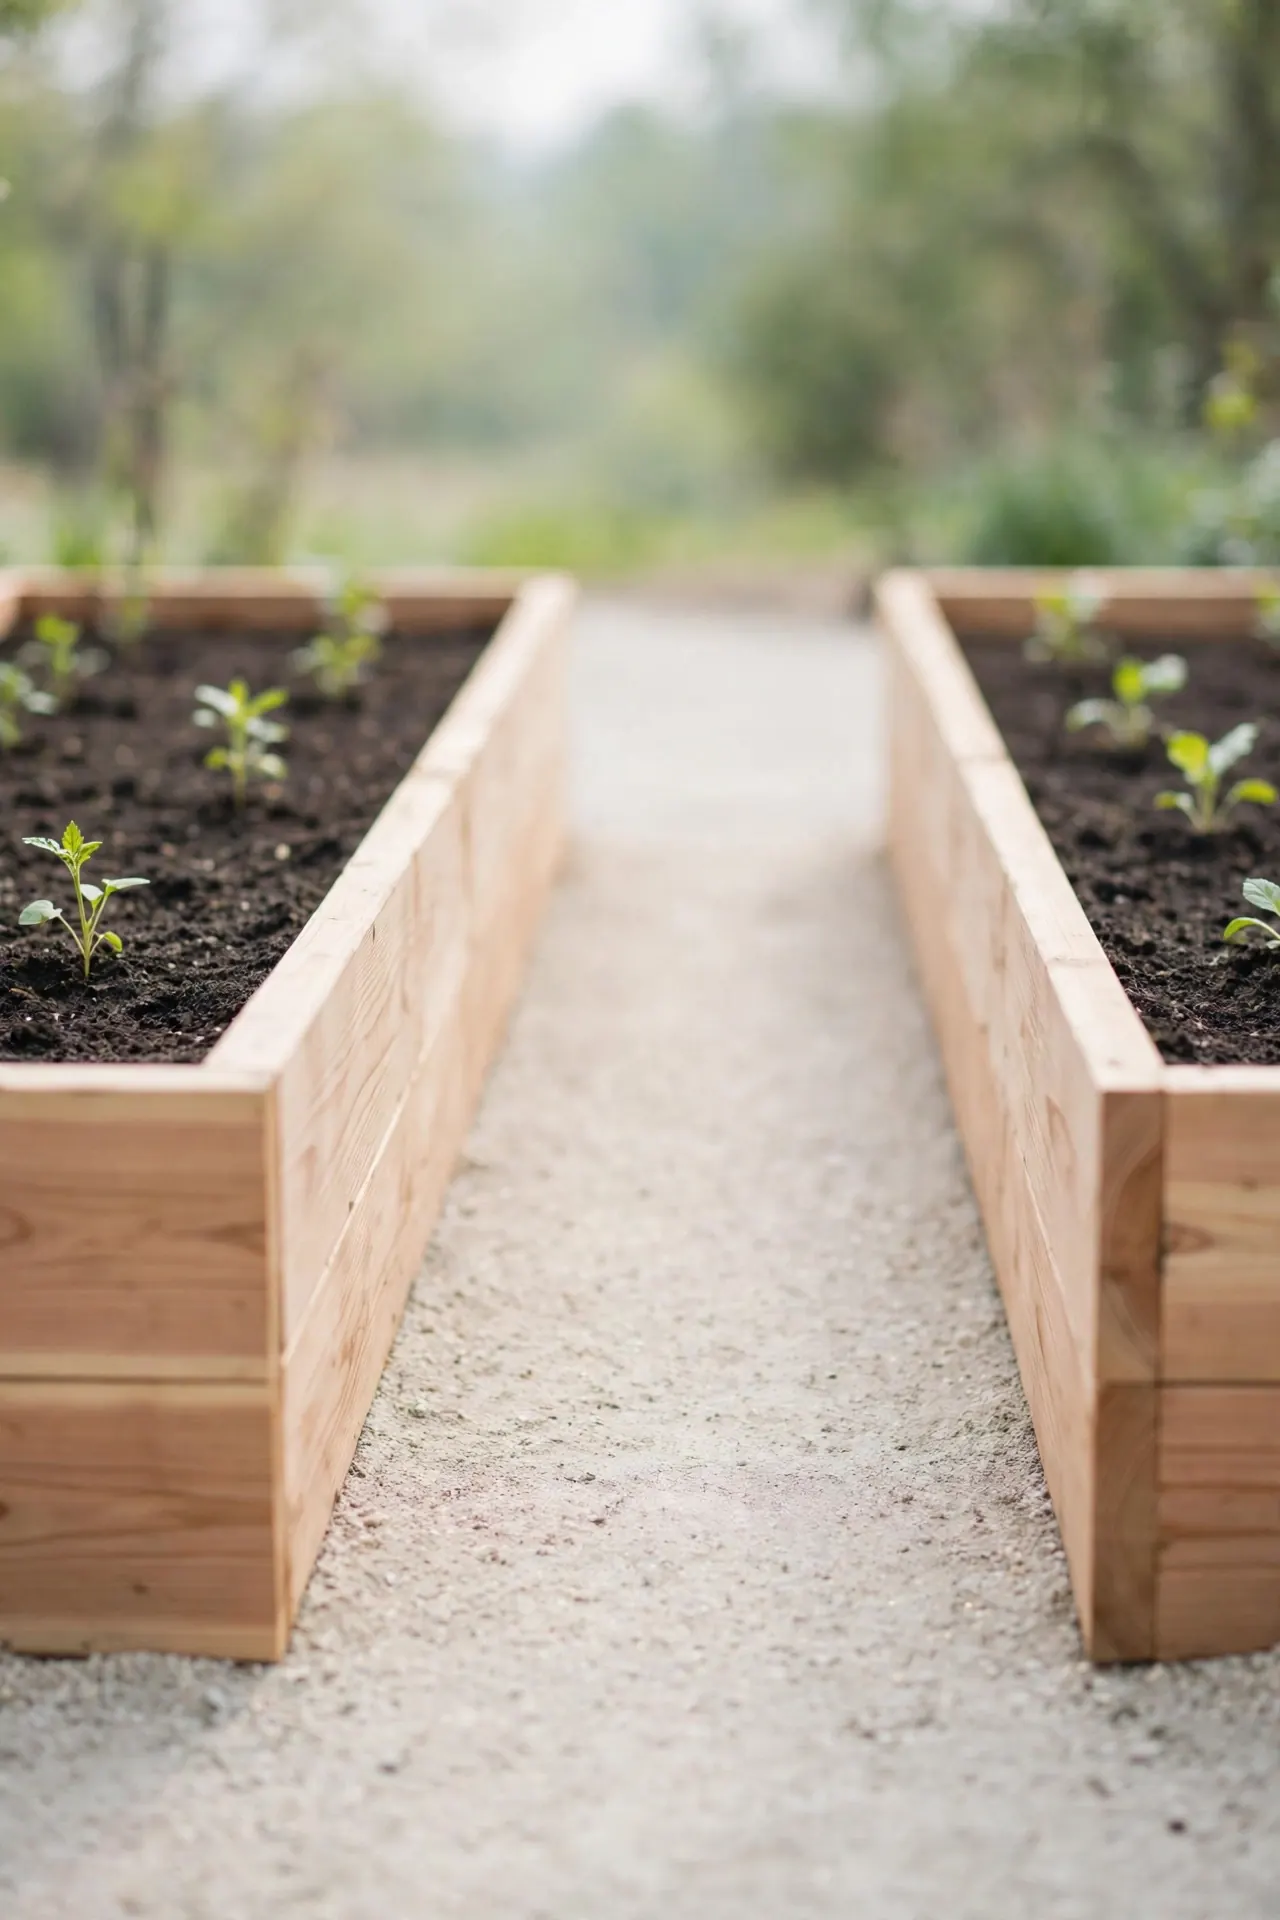
Raised beds bring order to a sprawling yard by carving out clear zones for growing. Build simple cedar frames eighteen inches high, fill them with rich compost, and suddenly vegetables, herbs, and cut flowers each have their own home. The crisp rectangles also look tidy year round, even when a bed rests empty between seasons.
Place the beds where they catch at least six hours of sun, and leave wide paths between them for a wheelbarrow. I have seen gardeners double their harvest just by moving beds out of a shady corner. Line the bottoms with hardware cloth to stop burrowing pests before they ever start.
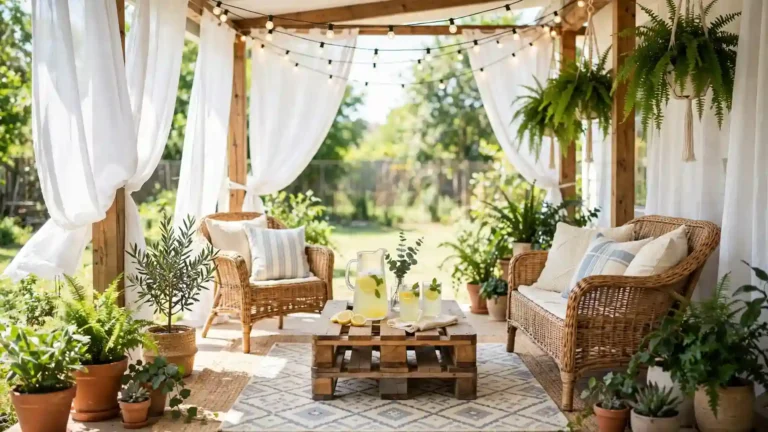
Cozy Seating Corner
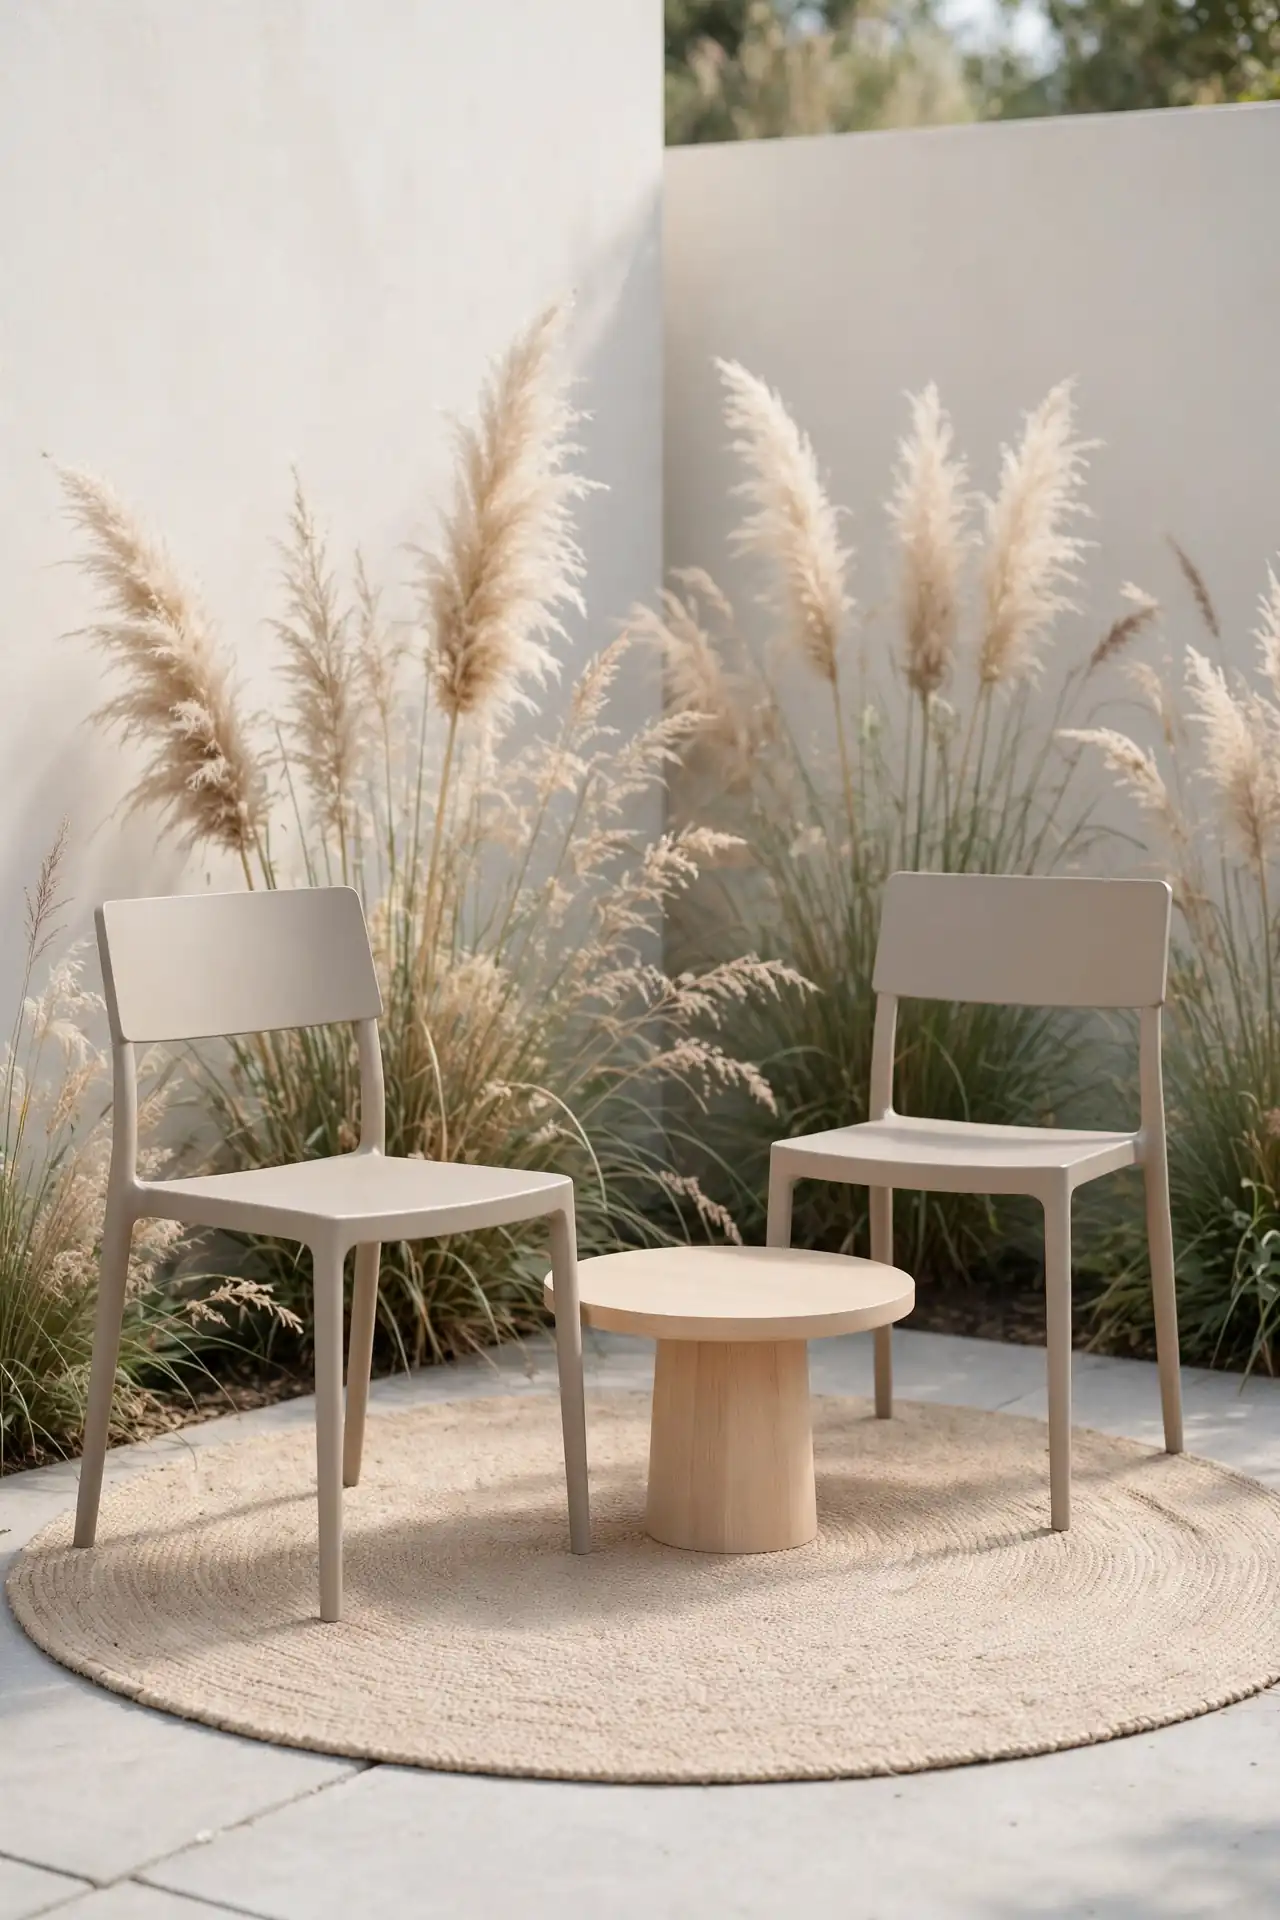
- Tuck a weatherproof bench or two chairs into a quiet corner framed by tall plants for instant privacy.
- Lay a round outdoor rug underfoot to define the space and soften hard patio stone.
- Add a small side table for drinks and a book, since a corner nobody can use stays empty.
- String a few warm lights overhead to make the corner glow invitingly after sunset.
Corners collect clutter fast, so keep this one simple and edit it each season. A single throw pillow in a weatherproof fabric adds comfort without fuss. I have noticed that the coziest corners always have something to rest a drink on, so never skip the table.
Evergreen Backbone
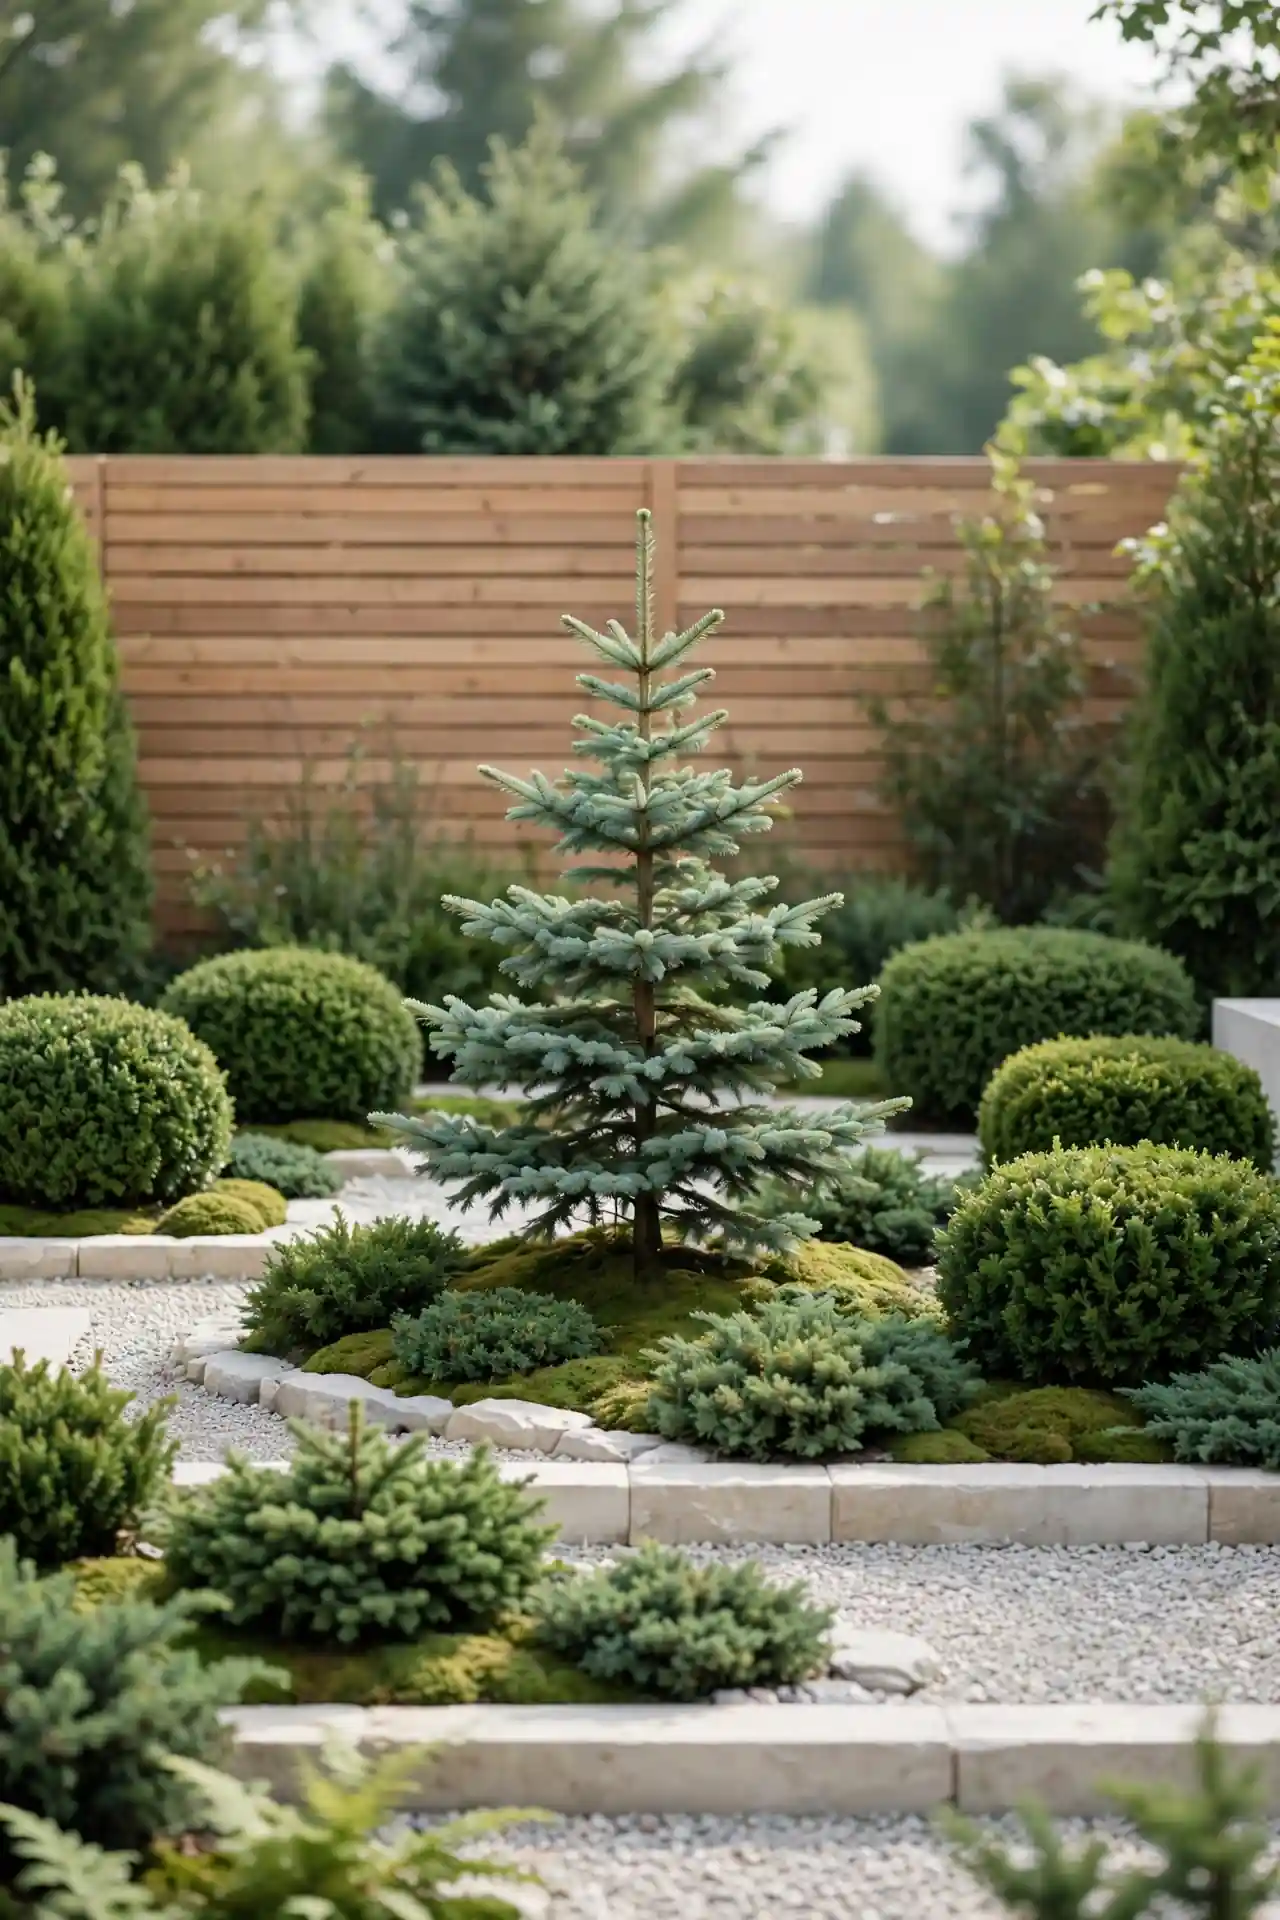
Quick Tip: Plant evergreens first, then design the rest of the garden around them. Space them with their mature width in mind, since crowded evergreens lose their shape fast. Choose two or three varieties with different textures, like needle, broadleaf, and weeping forms, for year-round interest.
Deciduous plants shine for a season, but evergreens carry the yard through winter. They also give birds shelter when bare branches offer none. Without this backbone, gardens collapse into empty beds from December to March. I have seen a few well-placed conifers make a winter yard look intentional instead of abandoned. Mix sizes, from low mounding junipers to tall arborvitae screens.
Fountain Focal Point
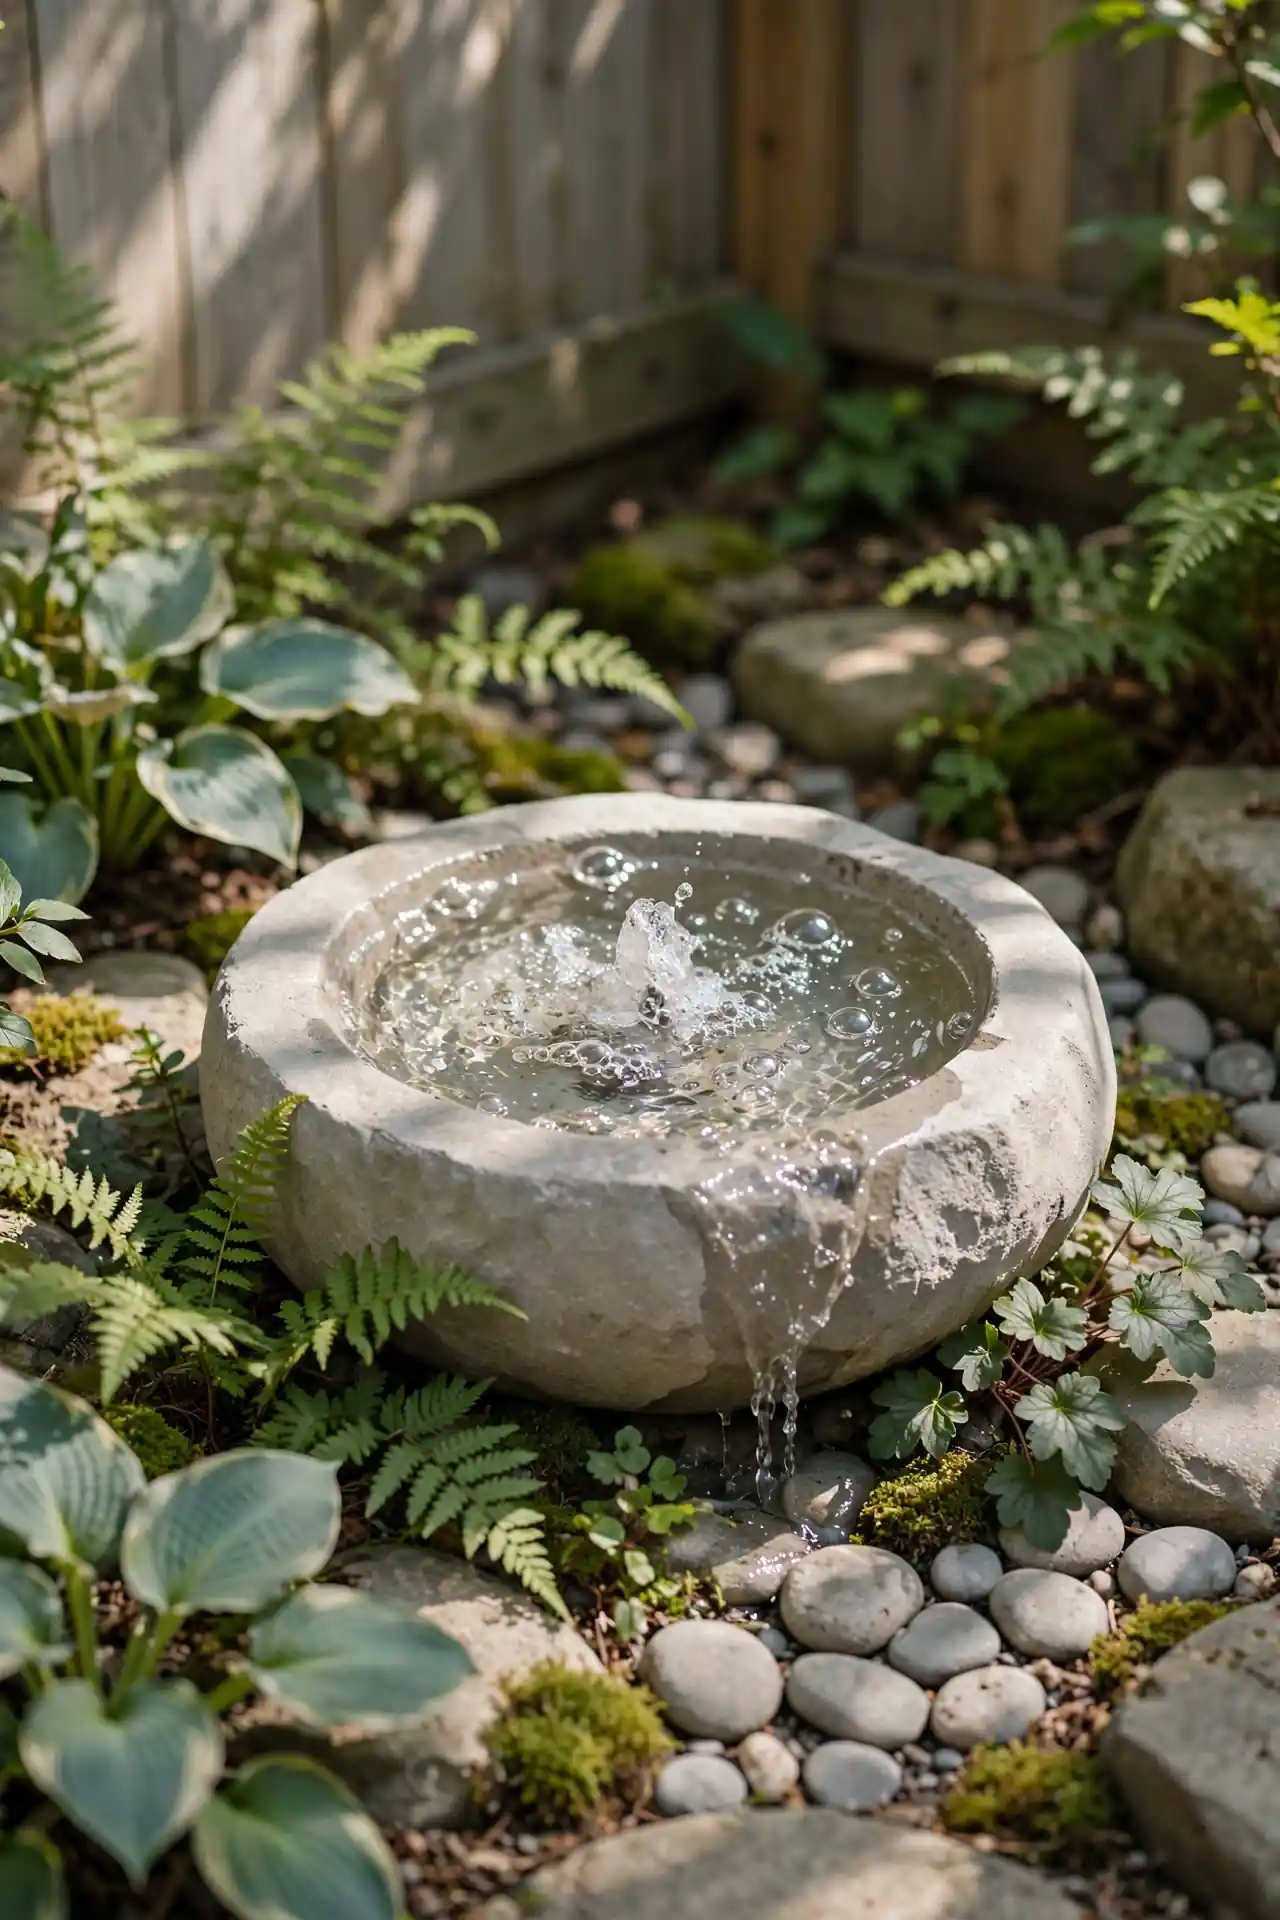
BEFORE: A flat, quiet yard can feel lifeless on calm days, with nothing to catch the ear or the eye. Guests sit, chat, and leave without remembering anything about the space.
AFTER: A small bubbling fountain fills the air with soft sound and draws every eye to one glowing spot. Birds arrive within days, and the whole corner suddenly feels alive and finished.
Place the fountain where you can hear it from your favorite seat, not hidden at the far fence. Solar models work well in full sun and skip the wiring hassle. Pair it with shade plants and a stone edge, or explore these landscaping along fence ideas to dress up the boundary behind it.
Stepping Stone Trails
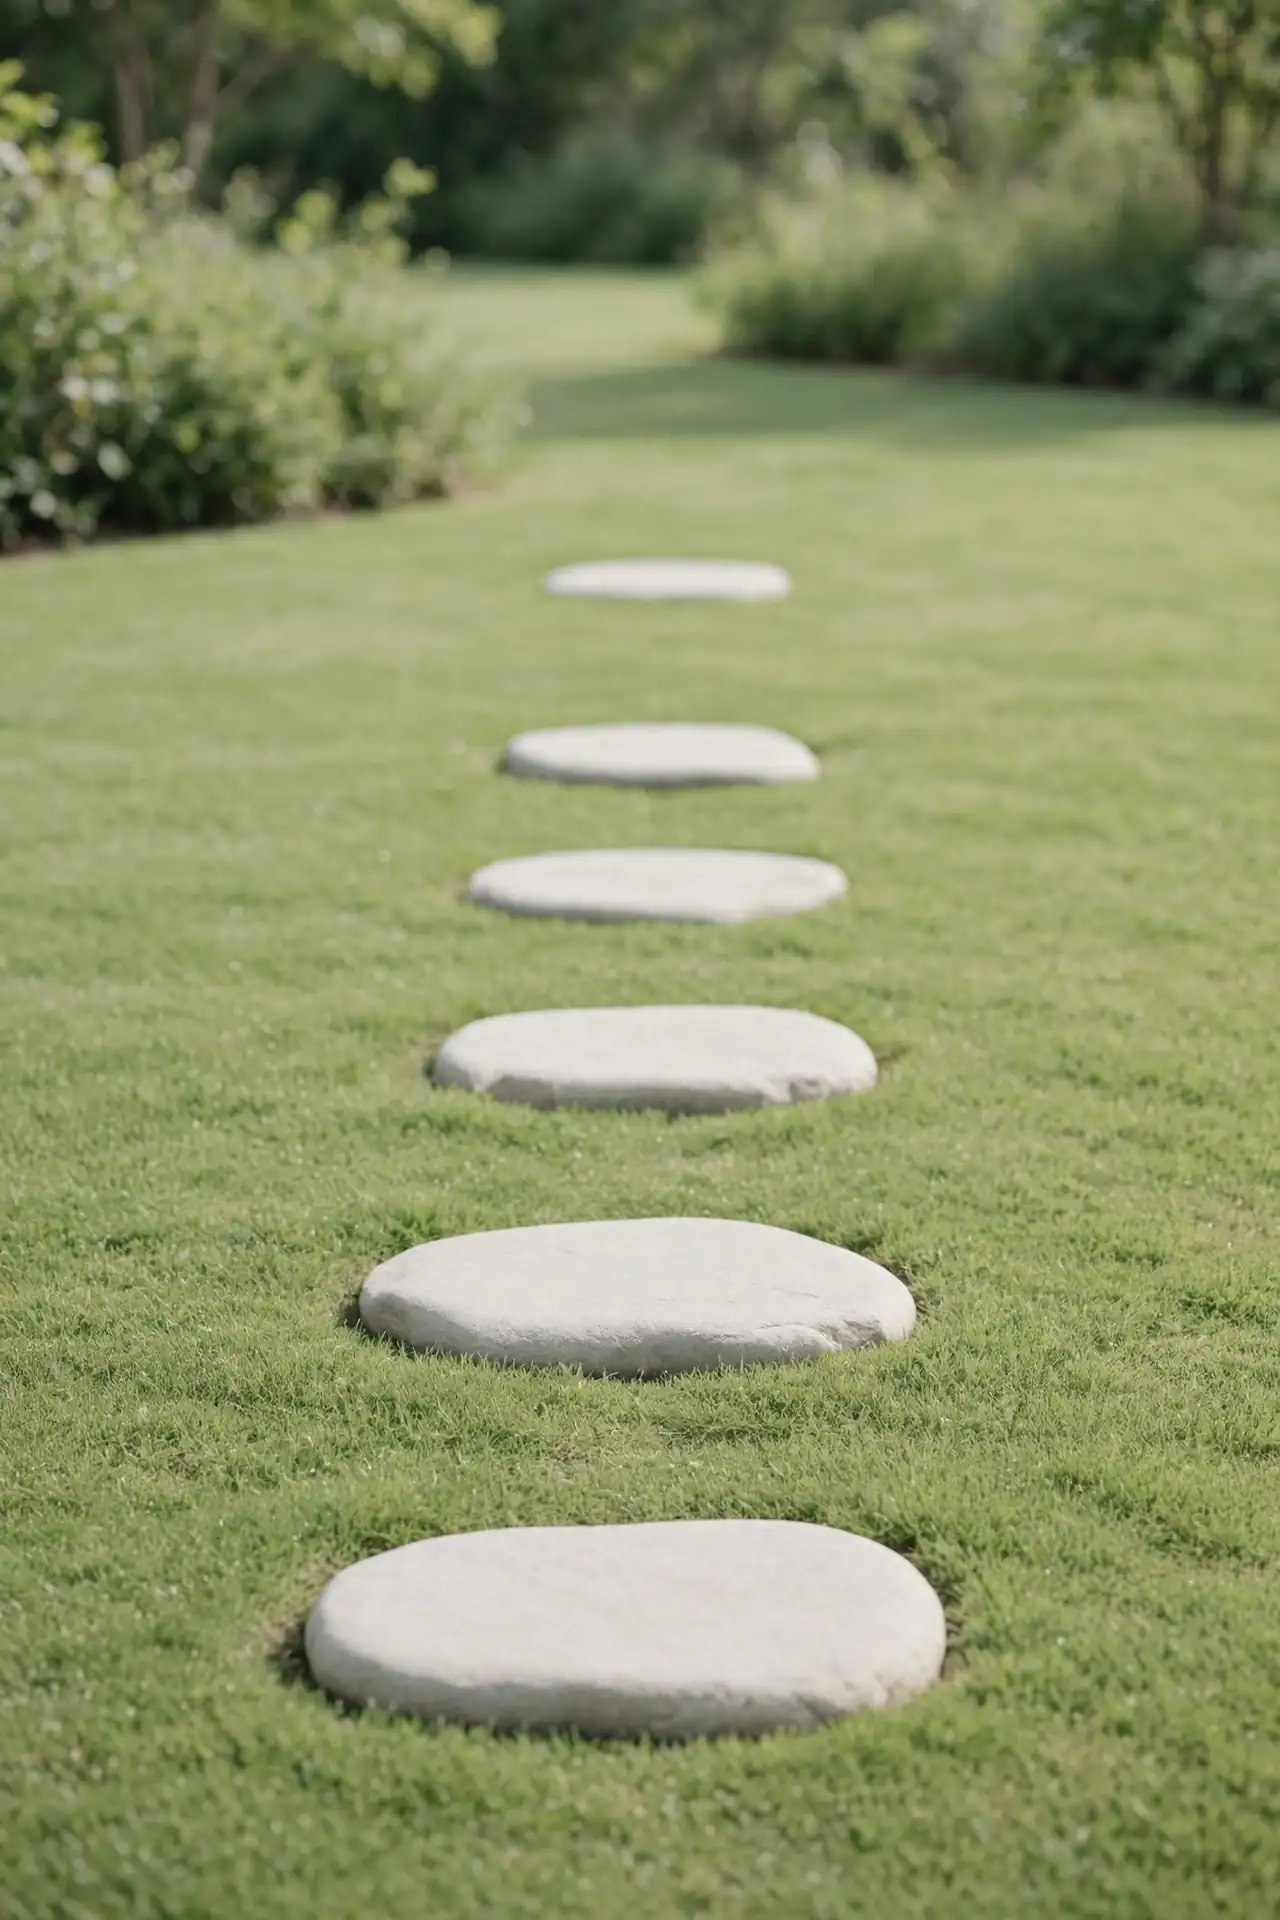
- Lay the stones on the grass first and walk the route, adjusting spacing until each step lands naturally underfoot.
- Dig each stone in so its top sits level with the soil, which keeps the mower blade safely above it.
- Fill the gaps with creeping thyme or low moss so the path looks soft and settled within one season.
Irregular natural stones suit cottage gardens, while square pavers fit modern yards better. Match the stone to your home’s exterior for a pulled-together look. I have seen trails like this turn a plain lawn into a garden that invites wandering. Keep the path wide enough for two people to stroll side by side.
Pergola Shade Spot
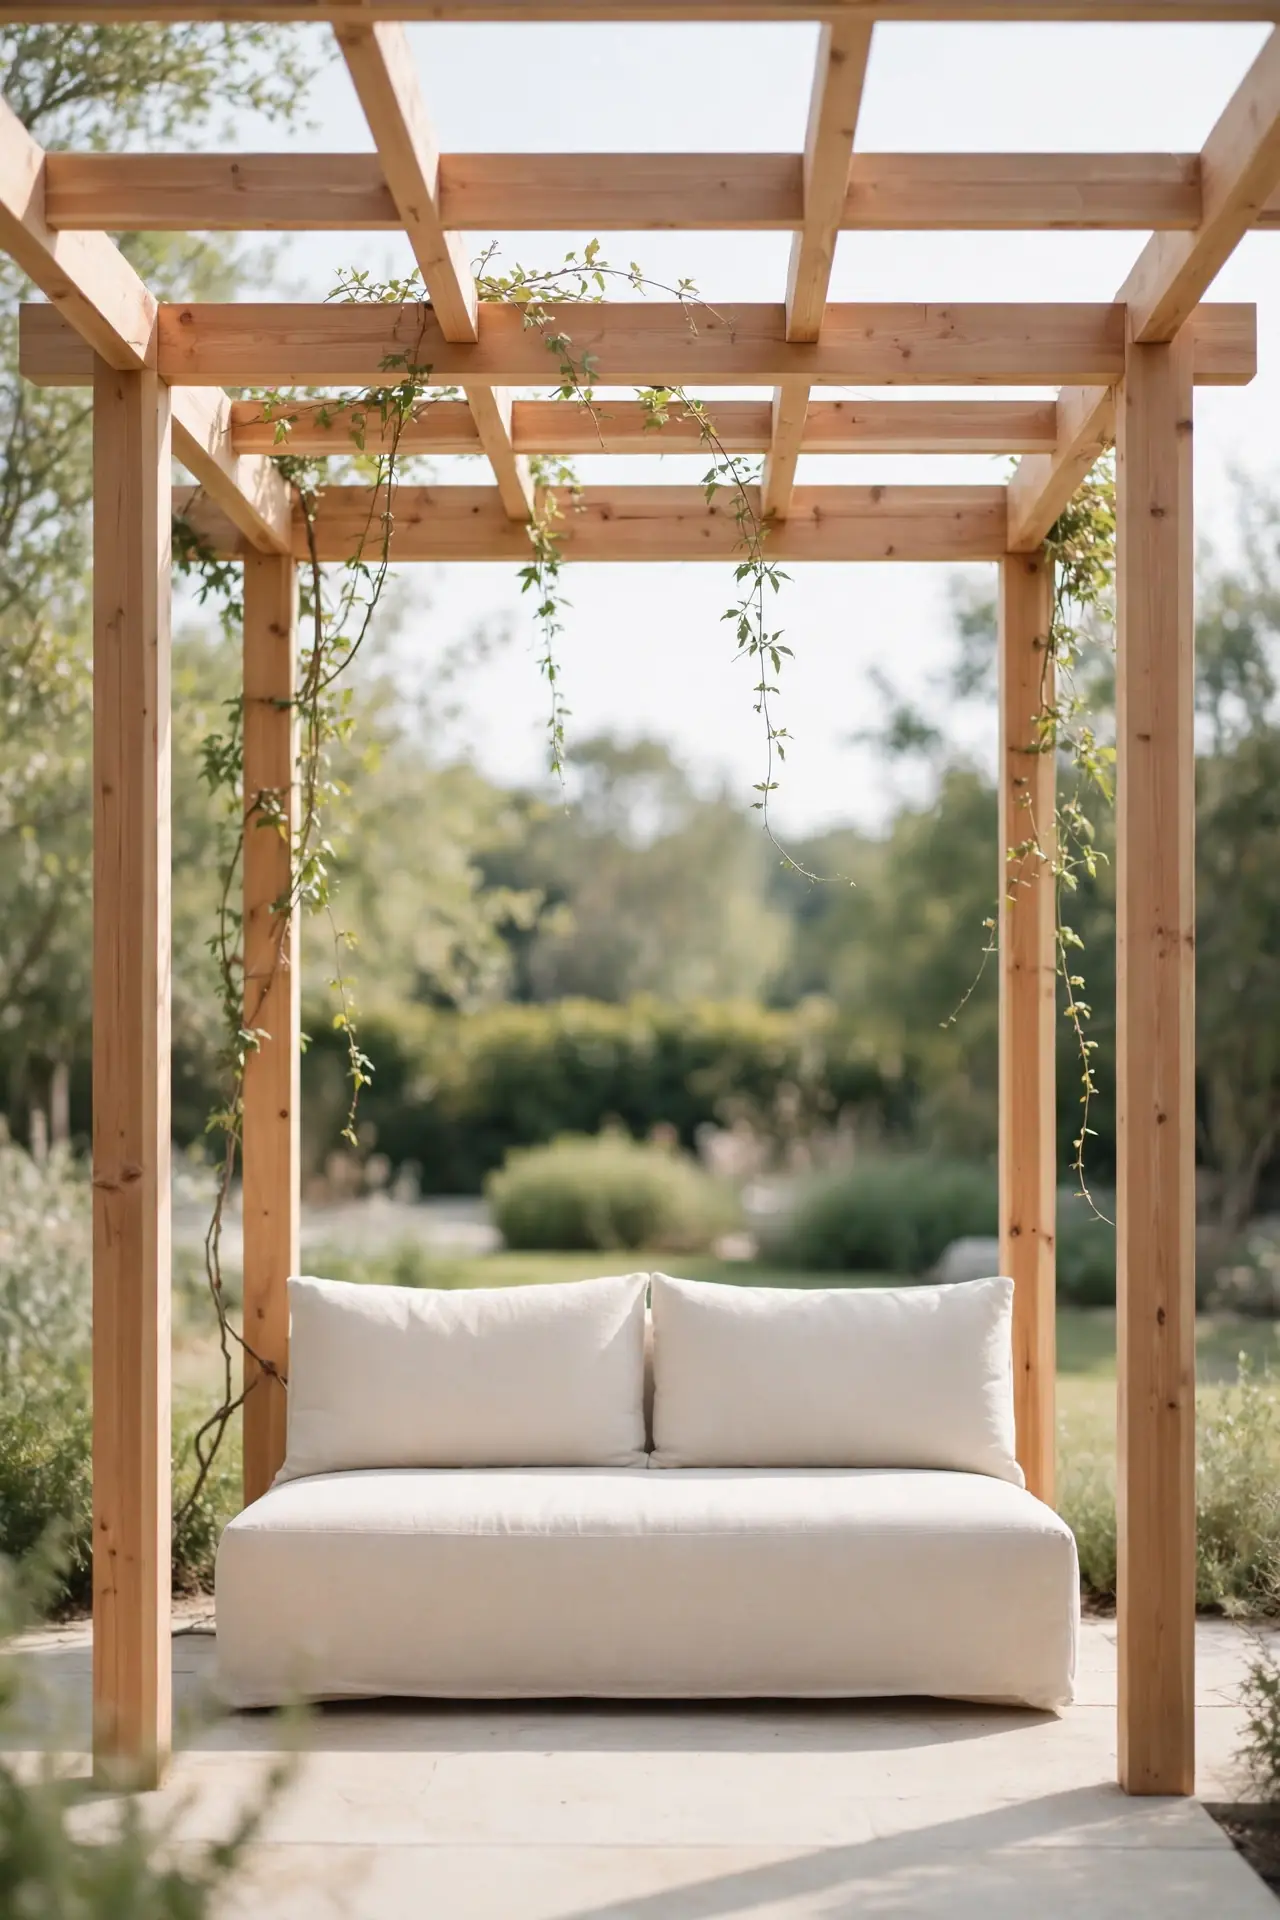
| Kit Pergola | Custom Pergola | |
| Cost | Cedar kits cost little and assemble in a weekend. | Custom builds cost more but fit odd corners. |
| Cover | Train wisteria overhead for living shade that cools naturally. | Stretch a canvas sail beneath beams for instant shade. |
| Seating | A weatherproof sofa makes it an outdoor living room. | A dining set hosts summer dinners in style. |
| Lighting | Warm string lights woven through beams glow at night. | Solar lanterns hung from hooks need no wiring. |
Anchor the posts in concrete so summer storms cannot shift them. Stain the wood every two years to keep it rich and protected. I have noticed that a pergola becomes the most-used spot in the yard within weeks of going up. Add curtains on one side for wind protection and extra privacy.
Hedge Privacy Walls
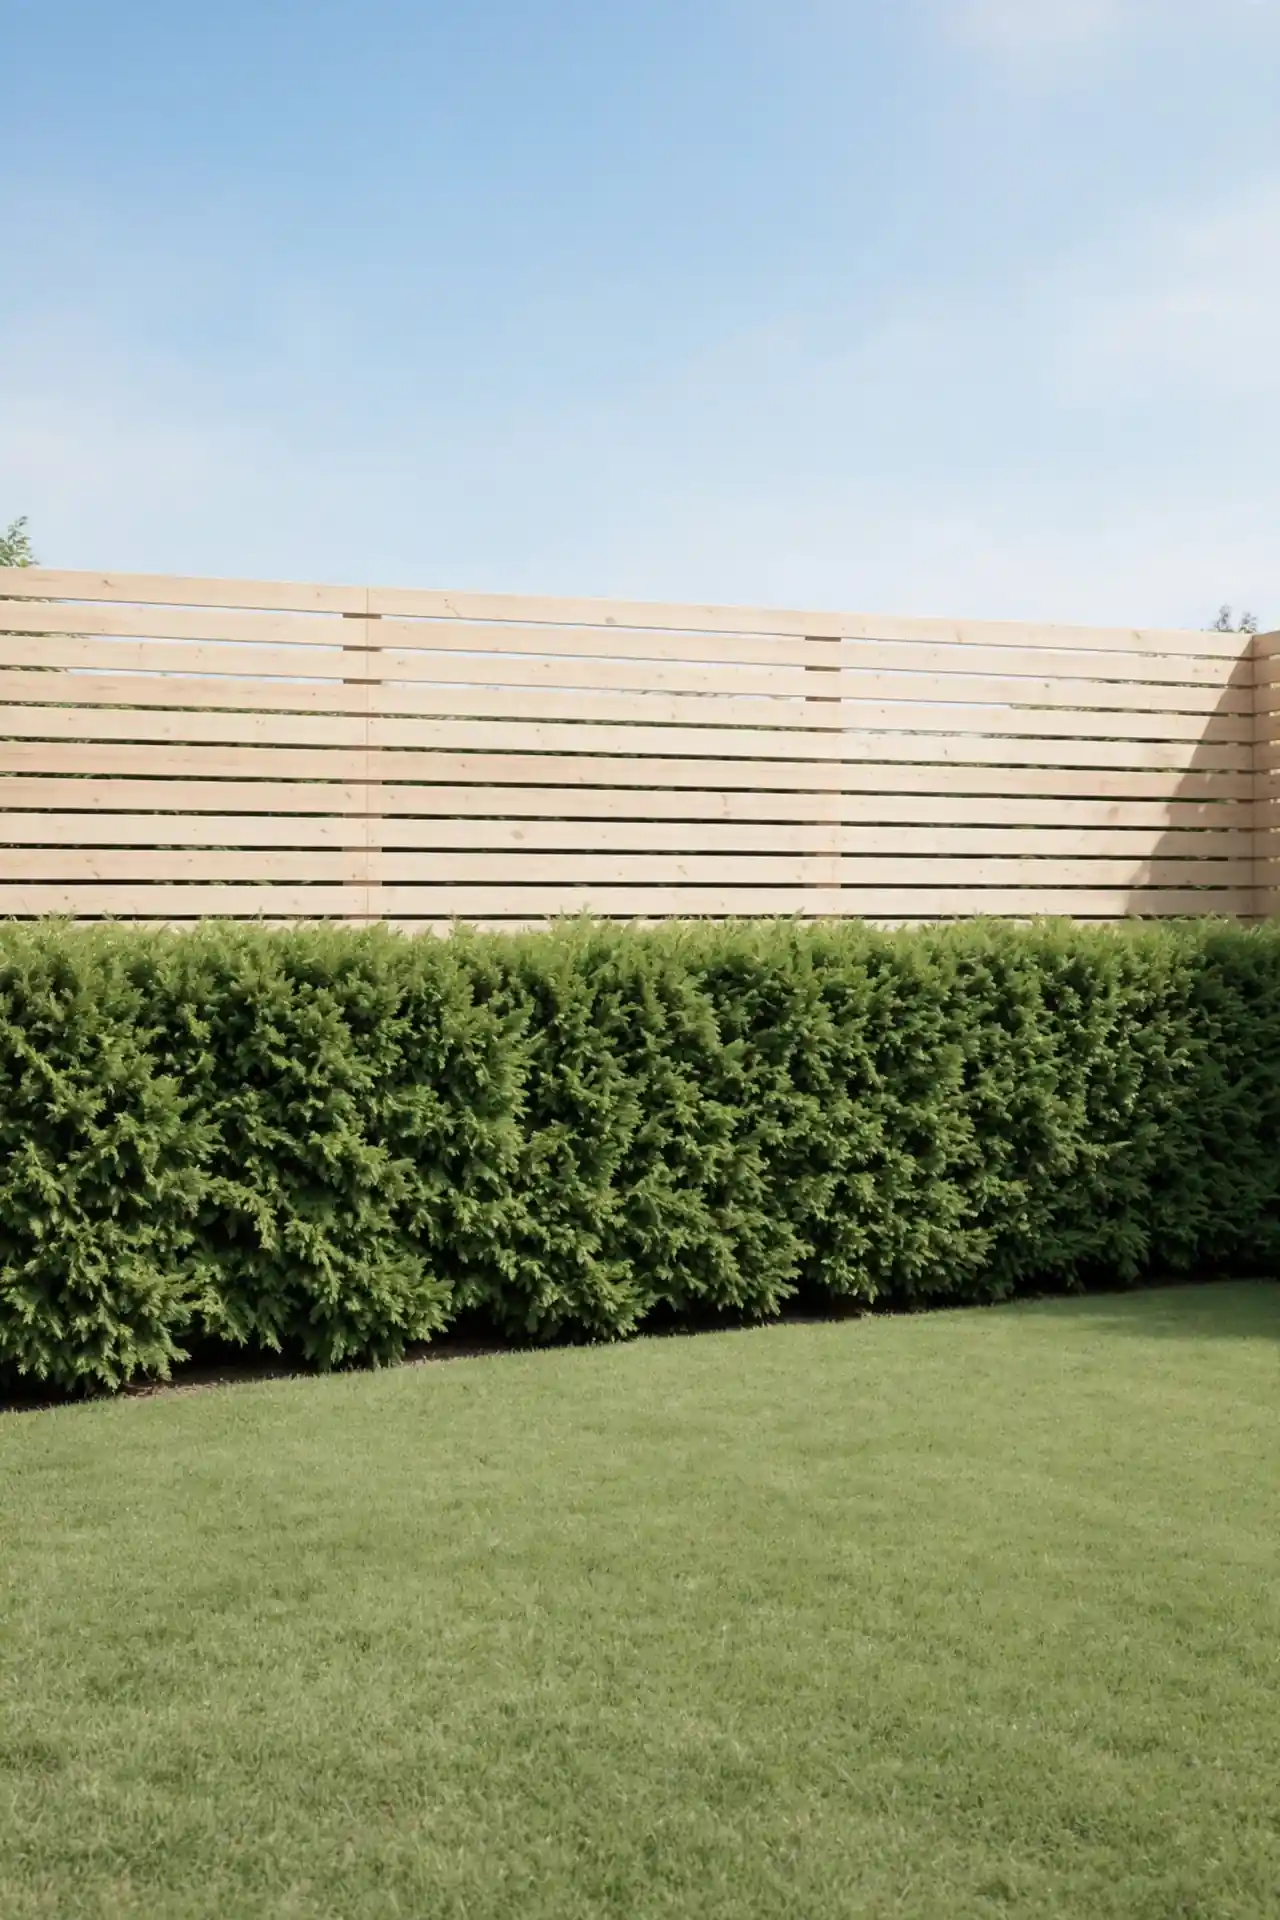
DO:
- Evergreens that hold their leaves all year give true privacy in every season.
- Plant at the spacing the tag recommends so hedges fill in without crowding.
- Shear lightly twice a year, keeping the top narrower than the base.
DON’T:
- Don’t plant tropical shrubs in cold climates just because they grow fast.
- Don’t let hedges touch siding, since trapped moisture invites rot.
- Don’t shear in late fall, since fresh cuts suffer winter damage.
A mixed hedge of two species looks more natural and resists disease better than a single row of clones. I have seen mixed plantings survive pests that wiped out uniform hedges nearby. Give new hedges deep weekly waterings for the first full year. Mulch the base well to hold that moisture in.
Potted Plant Clusters
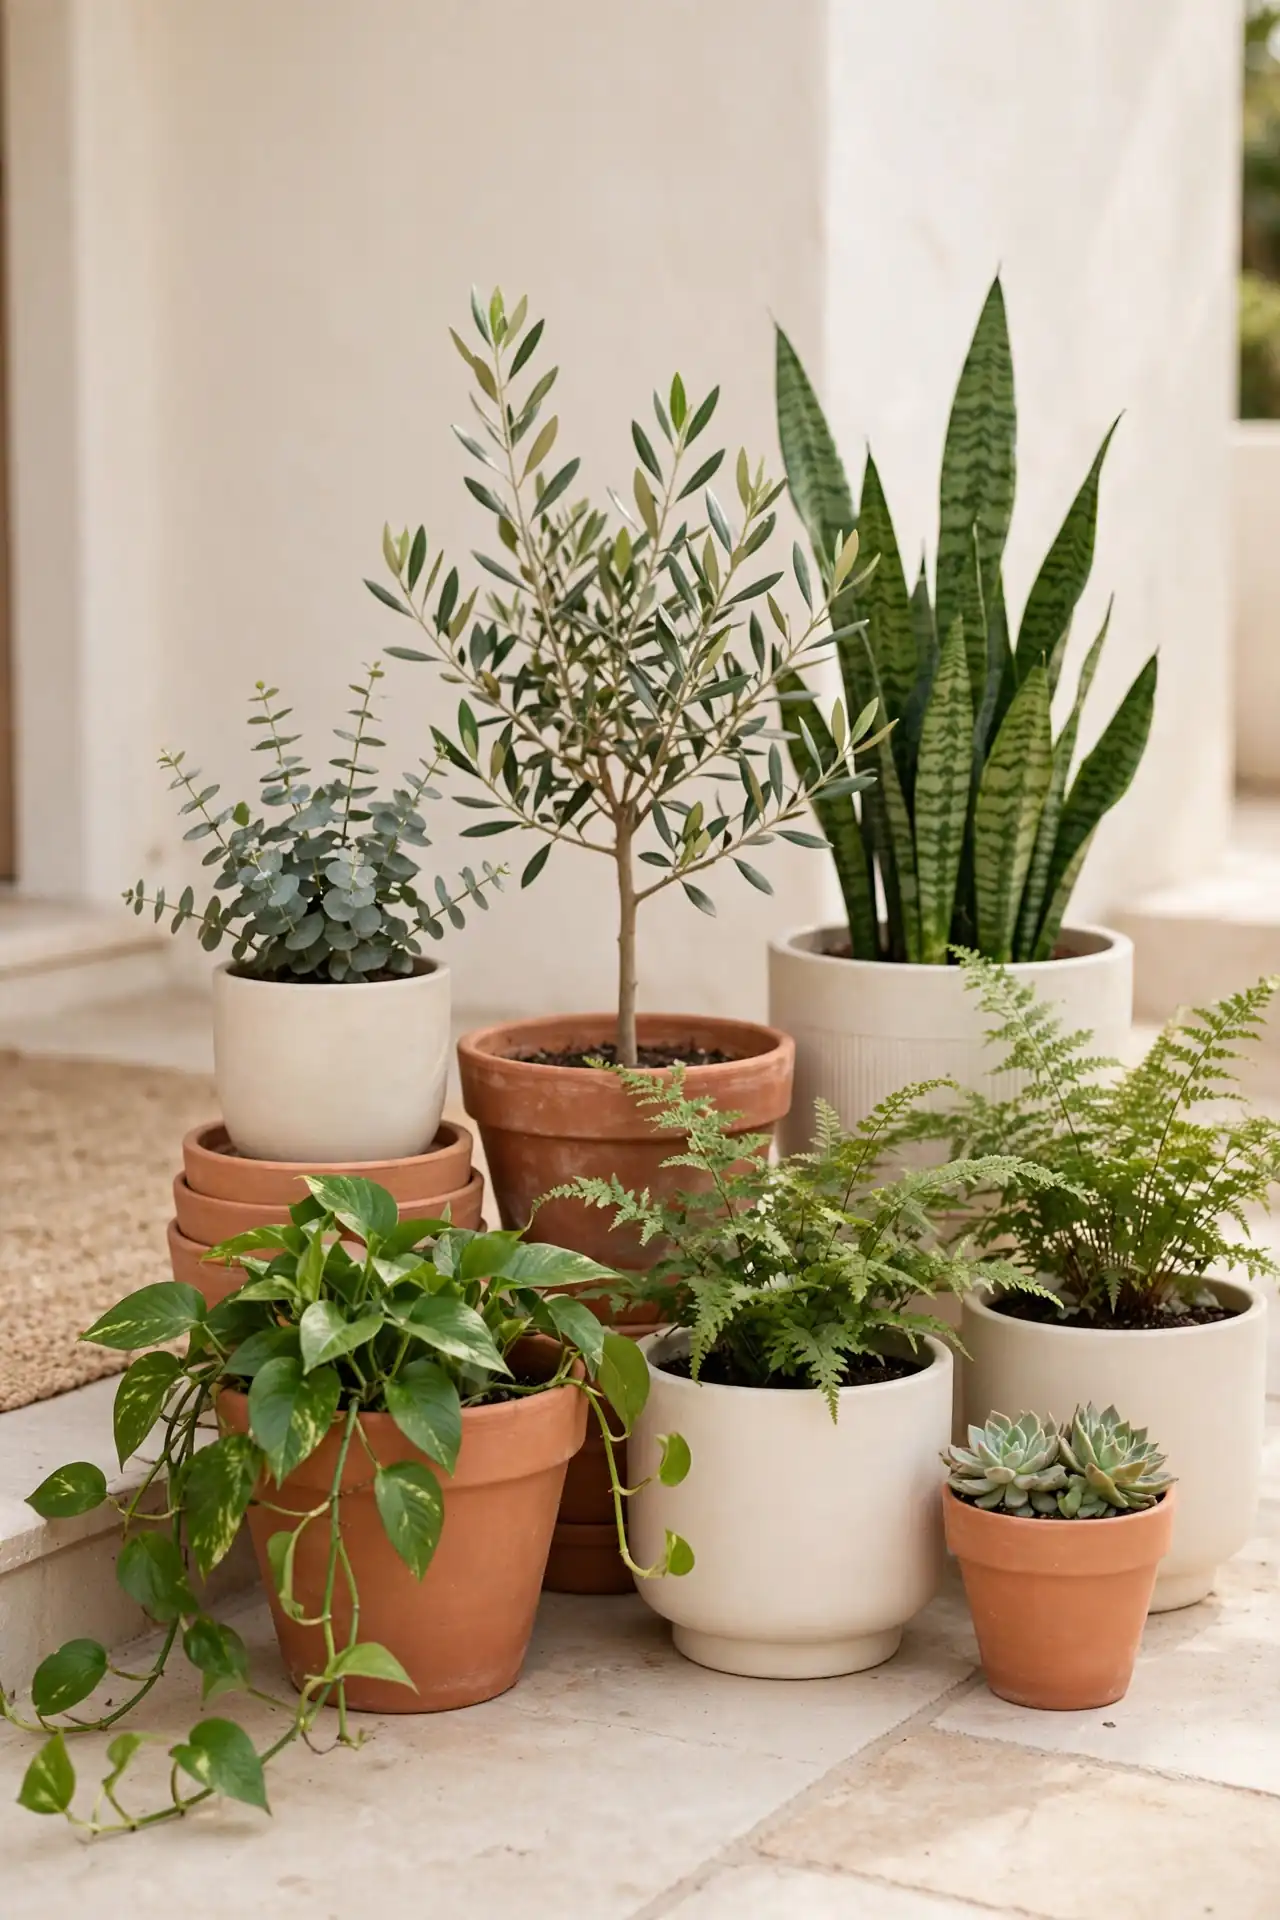
Cost: Low | Time: One afternoon | Skill Level: Beginner | Best For: Patios and rentals
Grouping pots in odd numbers turns scattered containers into a real arrangement. Cluster three or five pots of different heights together, then fill them with one shared color story so the group reads as one design. Tall grasses in the back pots add height without blocking the view. Renters love this idea because every pot moves on moving day. I have noticed that clustered pots always look richer than the same pots spread thin across a yard. Water the group together each morning, since pots dry out faster than beds.
Lawn Shape Refresh
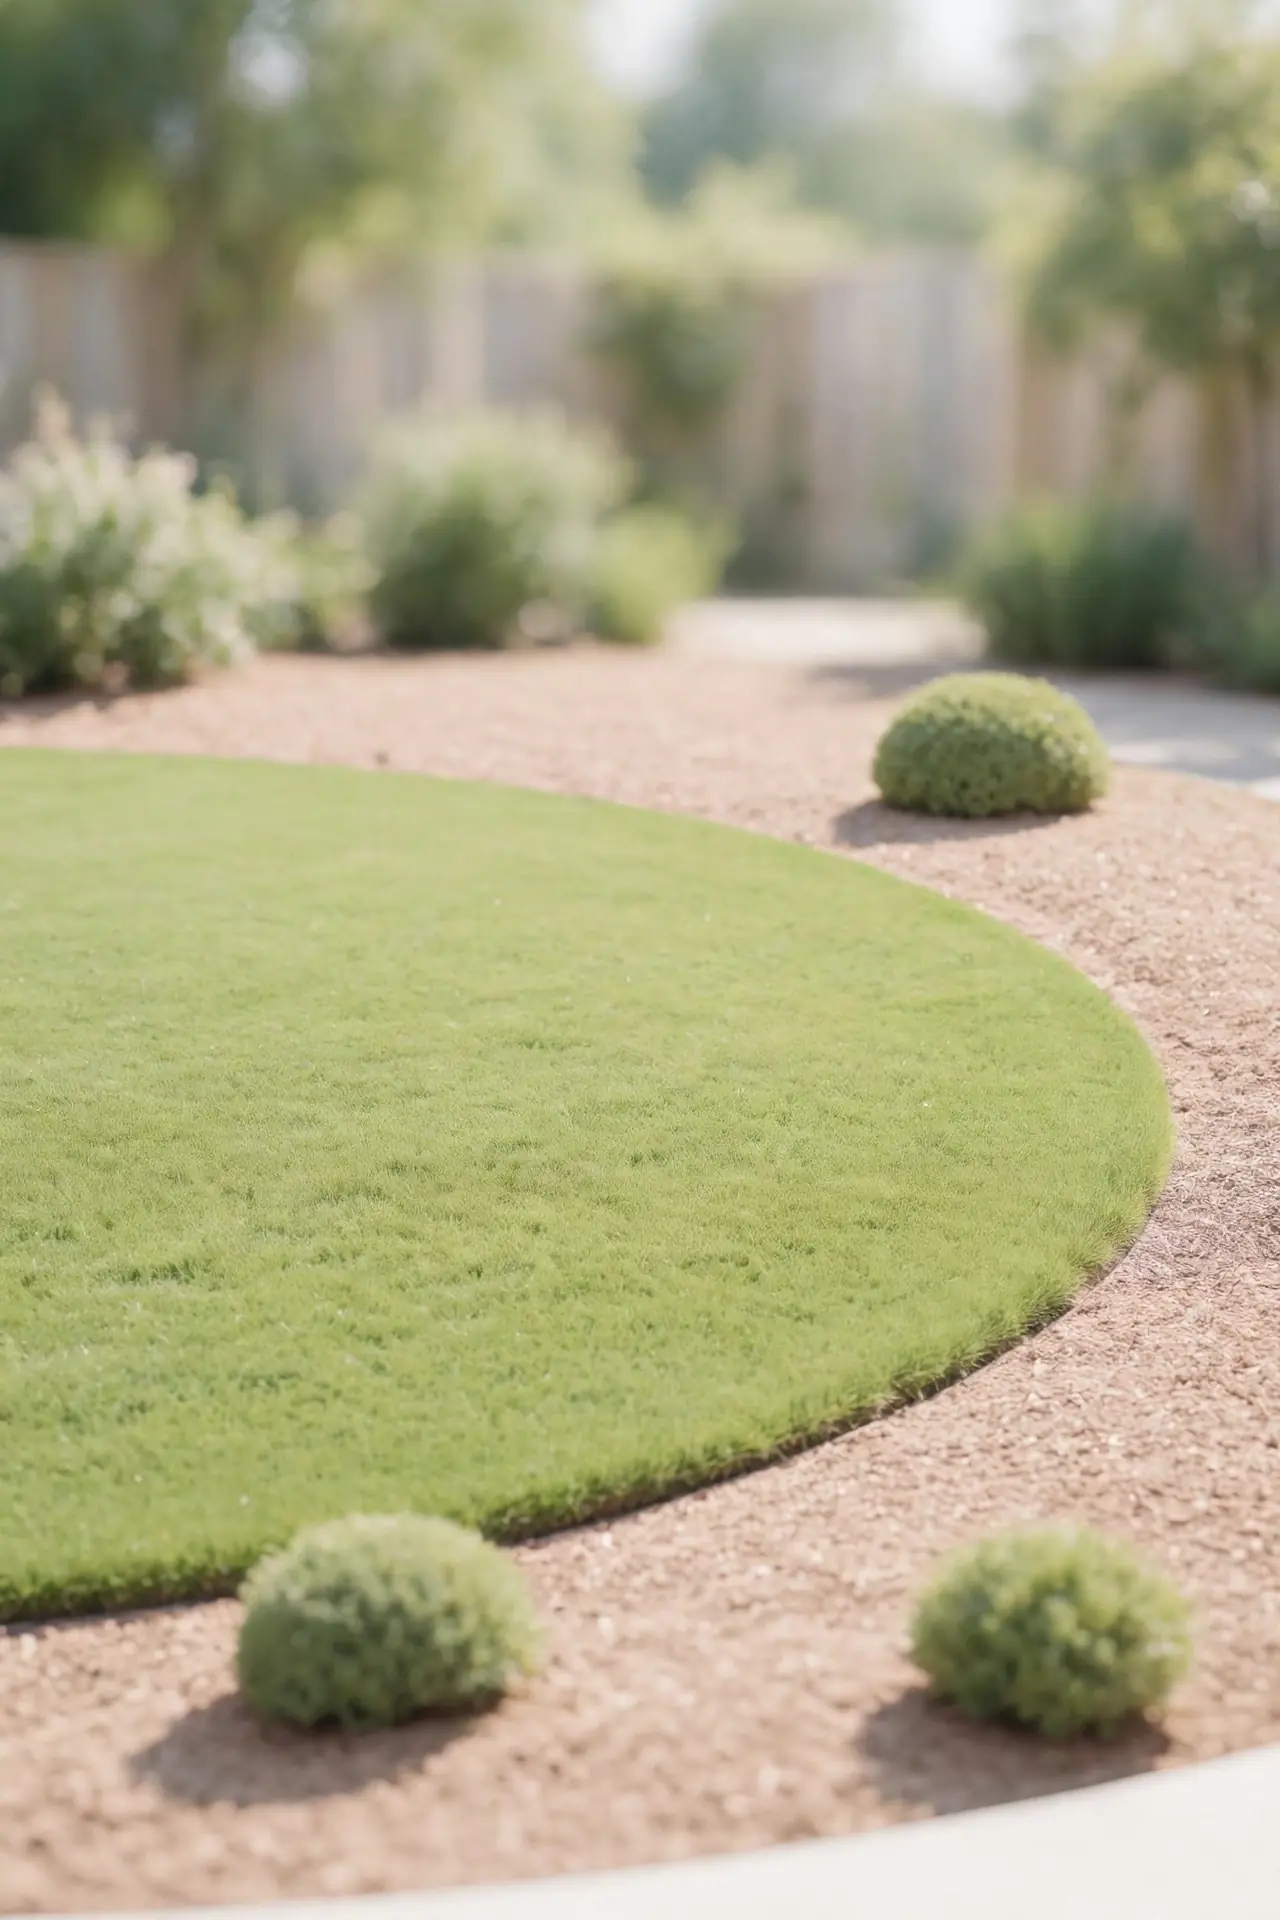
A tired rectangle of lawn drags down even the prettiest beds around it. Reshape the edges into soft kidney or oval forms, and the same grass suddenly looks intentional and fresh. The new curves also create planting pockets where bare corners used to sit. Edge the new shape with steel or stone so grass never creeps back.
Use a half-moon edger to cut the new line cleanly, then lift the sod and replant it where the lawn thins. I have seen this free project change a yard more than any purchase. Keep the mower deck high afterward so the reshaped lawn stays thick and green. Overseed any thin patches in fall for the fullest spring green.
Rock Corner Features
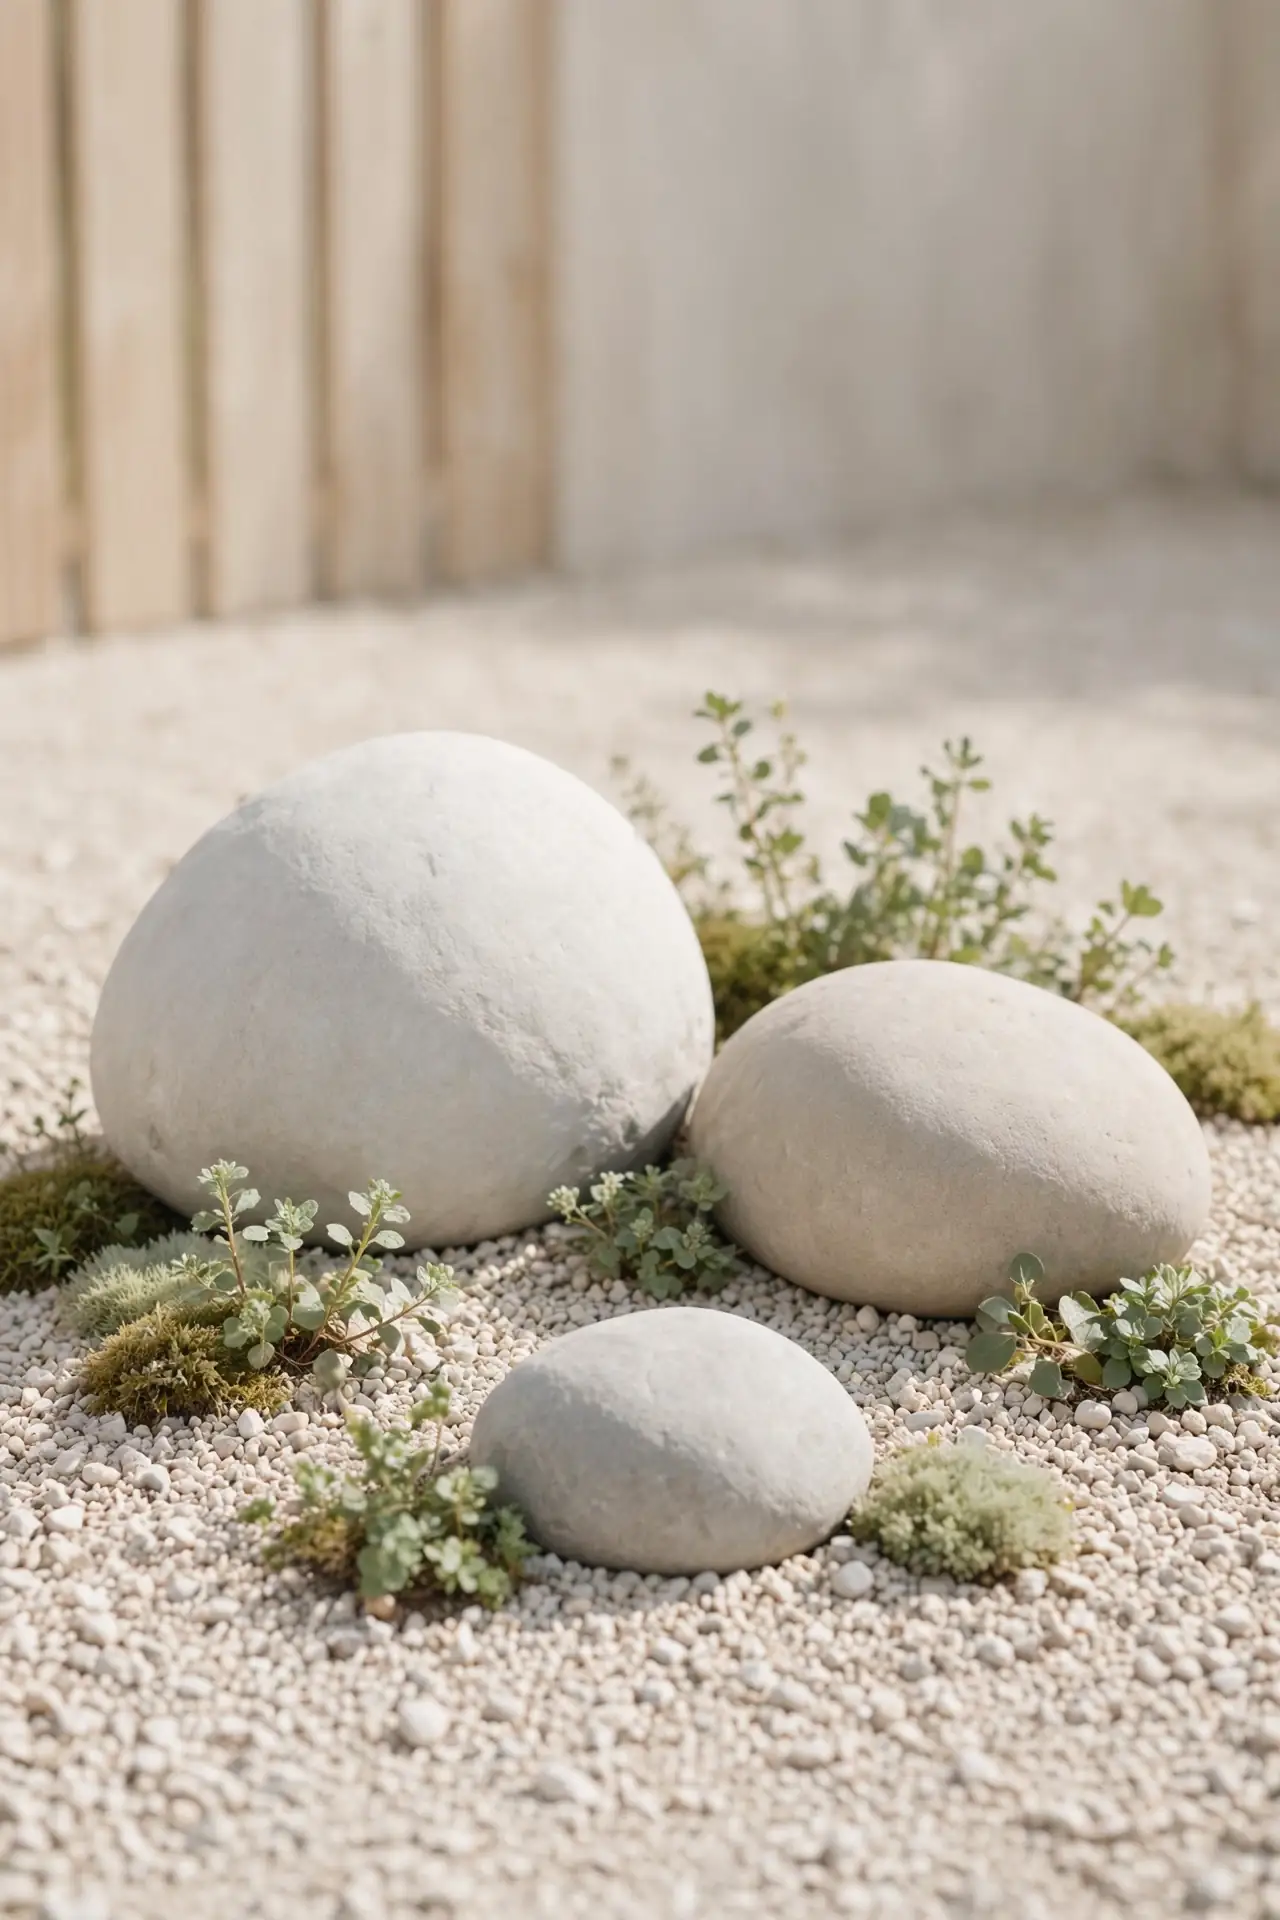
- Pile three boulders of different sizes together, burying each one-third deep so they look naturally settled.
- Tuck alpine plants and creeping sedums into the crevices for softness against hard stone.
- Add a small gravel apron around the base to keep weeds out and make mowing easy.
- Light one boulder from below with a small uplight for drama after dark.
Local stone always looks more natural than rock trucked in from far away. Visit a nearby quarry and pick pieces with character instead of perfect shapes. I have noticed that one bold cluster beats a scattered ring of small pebbles every time. Keep the design simple, since rocks need no watering or pruning.
Year Round Structure

Quick Tip: Plan your yard for winter first, since that is when most gardens look their worst. Choose plants with interesting bark, persistent berries, and strong shapes that hold snow beautifully. A garden that looks good in January will look great all year. Walk your yard on a gray February day and photograph the bare spots that need help.
Red twig dogwood glows against snow, while ornamental grasses turn gold and sway in winter wind. Add one evergreen anchor near the house so something green always shows from the windows. I have seen winter interest alone convince families to use their yard in every season. Structure costs nothing extra once you plant with all four seasons in mind.
Small Fruit Trees
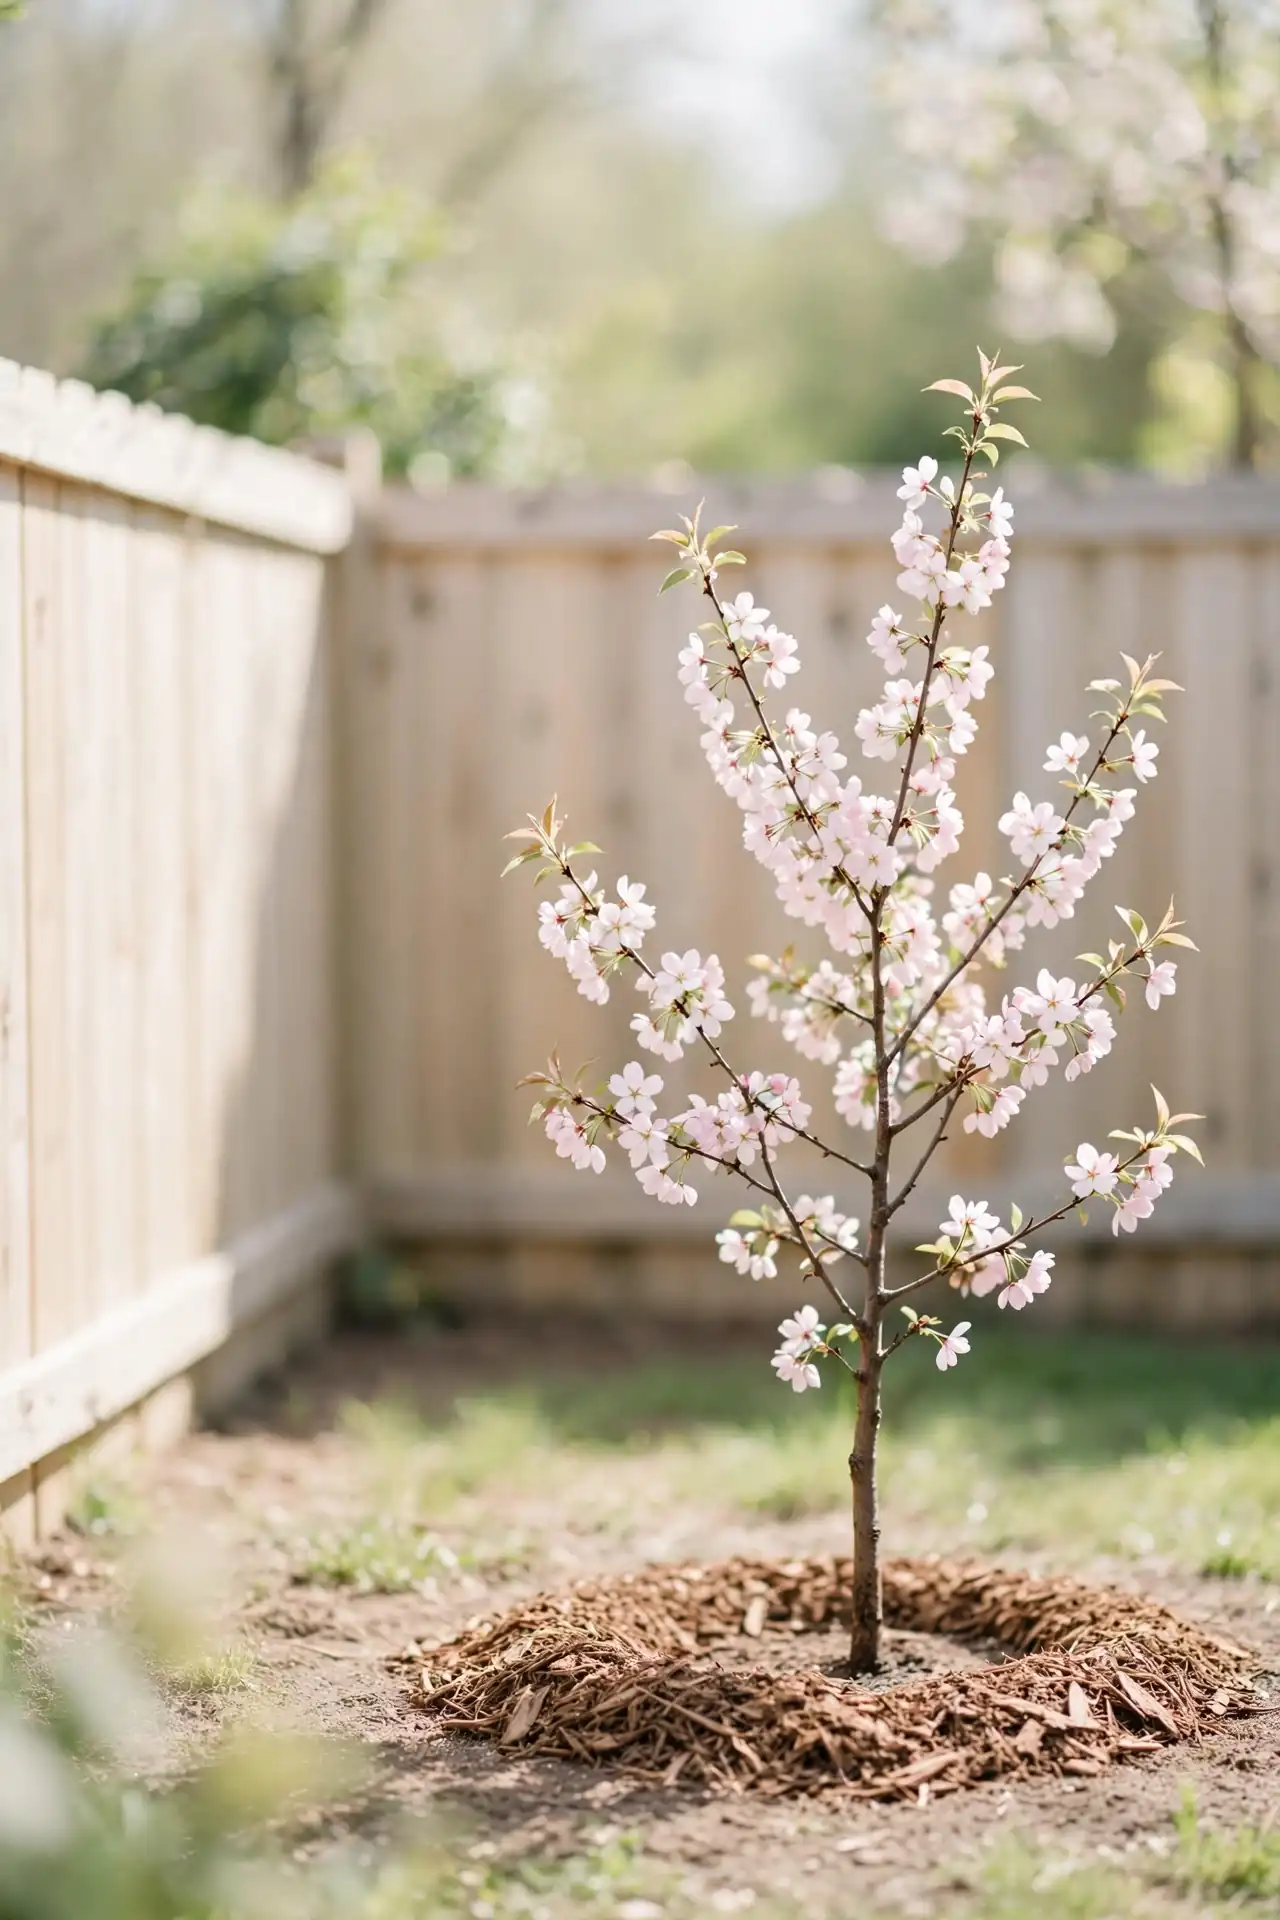
BEFORE: An empty corner of the yard sits unused year after year, growing nothing but weeds and regret. The space feels like a missed chance every time you walk past it.
AFTER: A dwarf apple or fig tree fills that corner with spring blossoms, summer shade, and fruit you picked yourself. Kids remember the tree they harvested from far longer than any store-bought swing.
Dwarf varieties stay under ten feet and fit easily into small yards. Plant in full sun with rich, well-drained soil for the sweetest fruit. I have seen one small tree produce enough figs for a whole neighborhood to share. Prune lightly each winter to keep the shape open and the harvest within reach.
Pollinator Planting Strips
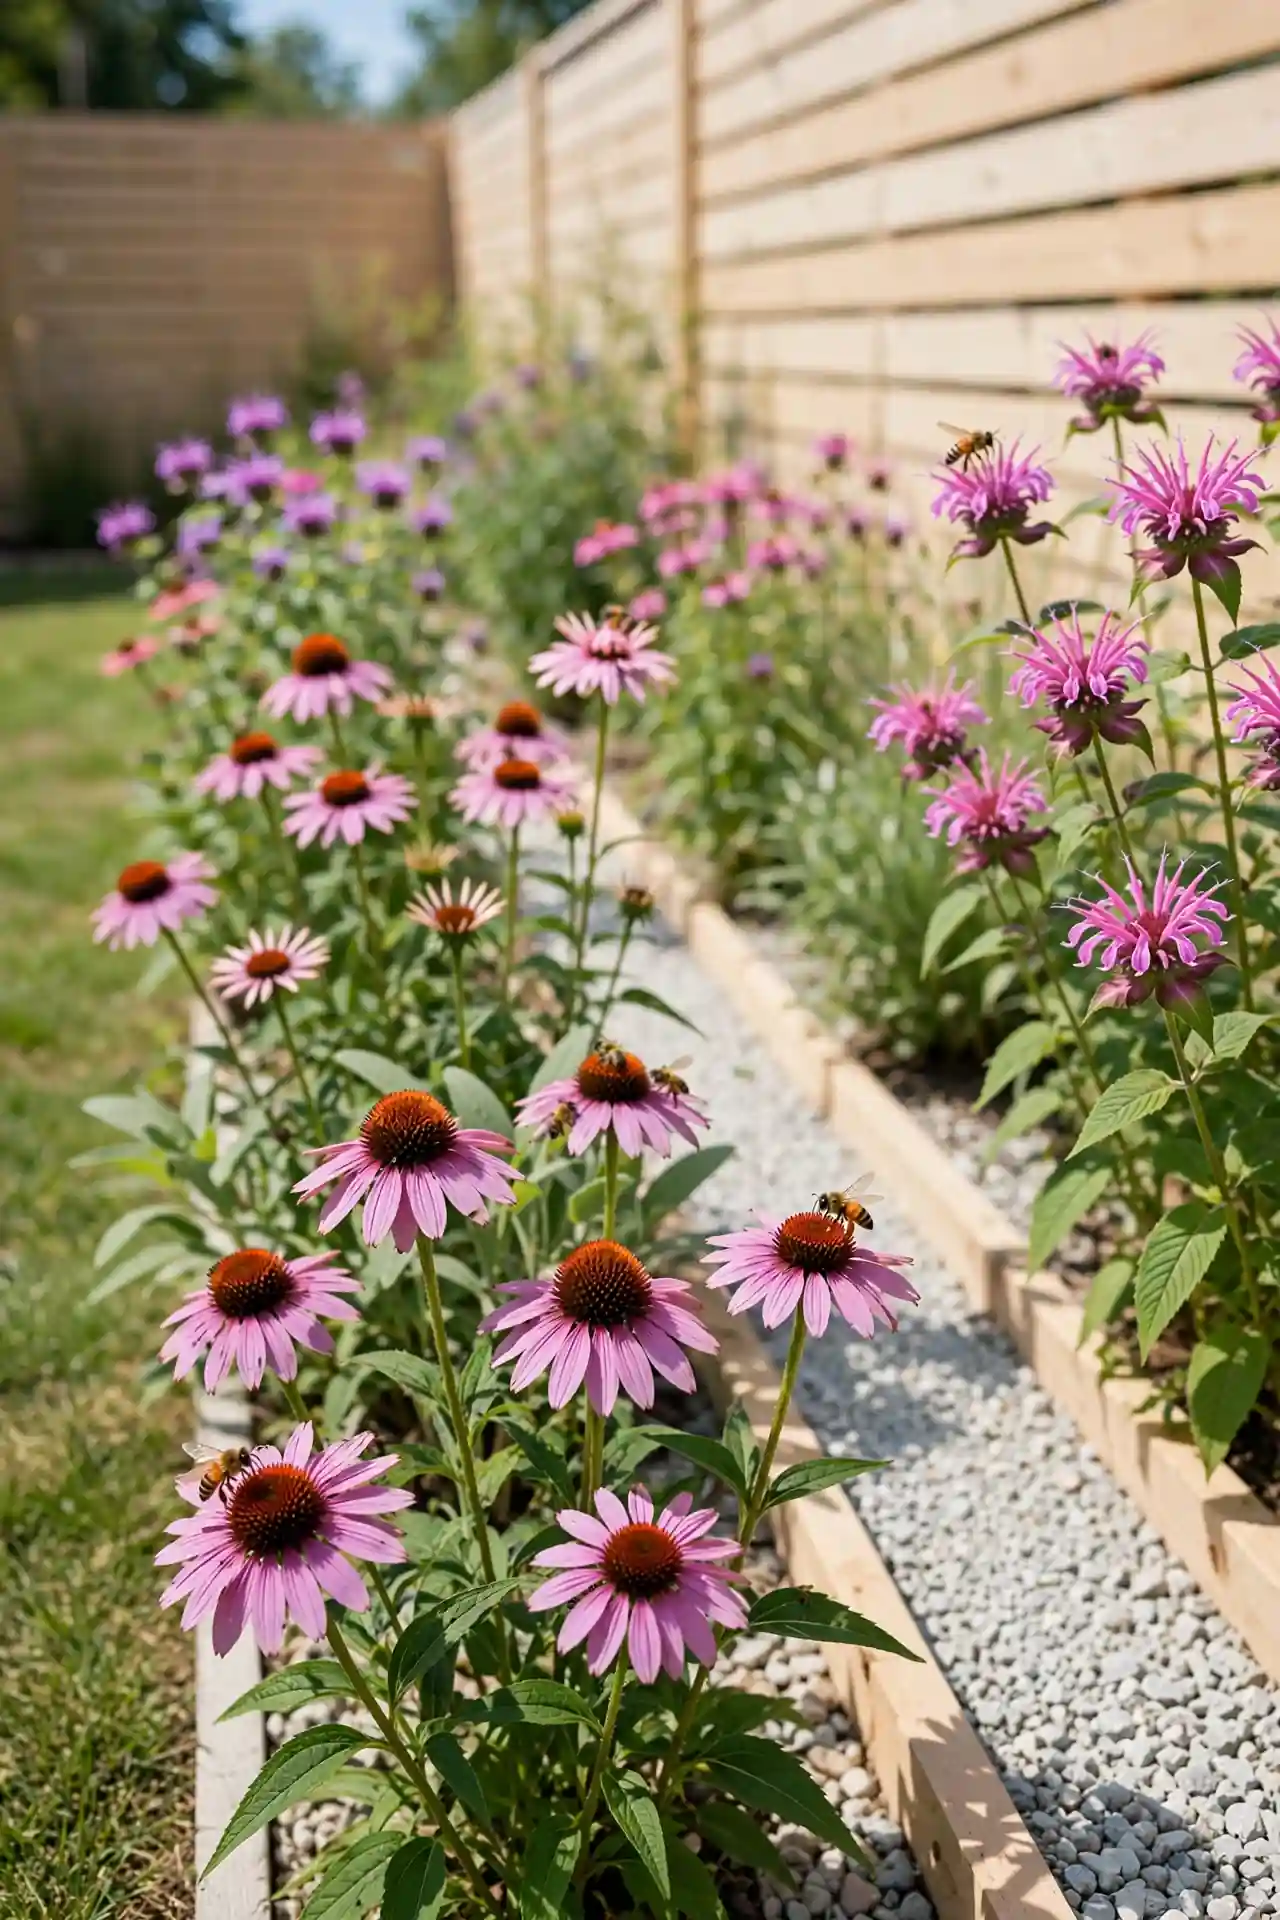
- The sunniest strip of bed works best, since most pollinator flowers need at least six hours of direct sun.
- Sow a mix of coneflower, black-eyed Susan, and bee balm seeds directly in spring after frost danger passes.
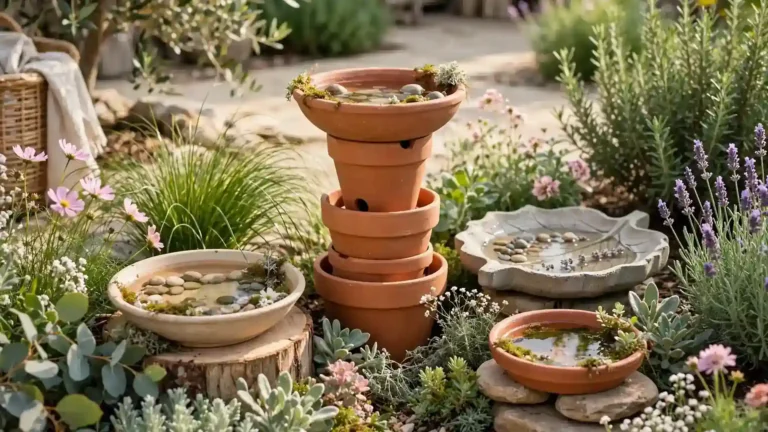
- Leave a shallow dish of water with pebbles nearby so bees can drink without drowning.
- Skip all pesticides in this strip, since even organic sprays can harm visiting bees and butterflies.
Blooms from spring through fall keep pollinators returning all season. Let a few flowers go to seed for goldfinches in autumn. I have seen these small strips buzz with life within weeks of the first blooms opening. A simple plant label or two turns the strip into a talking point for visitors.
Conclusion
Your yard does not need a total makeover to feel completely new. These backyard landscaping ideas prove that small, smart changes, a curved bed here, better light there, add up to a space you will love. Pick the three ideas that excited you most and start this weekend. I have seen how small changes like these can completely shift the way a space feels. Save your favorites to Pinterest so you can find them when planting season arrives, then share your results with friends who need the same nudge. Start small, enjoy the process, and watch your outdoor space become your favorite room of the house.
One Comment