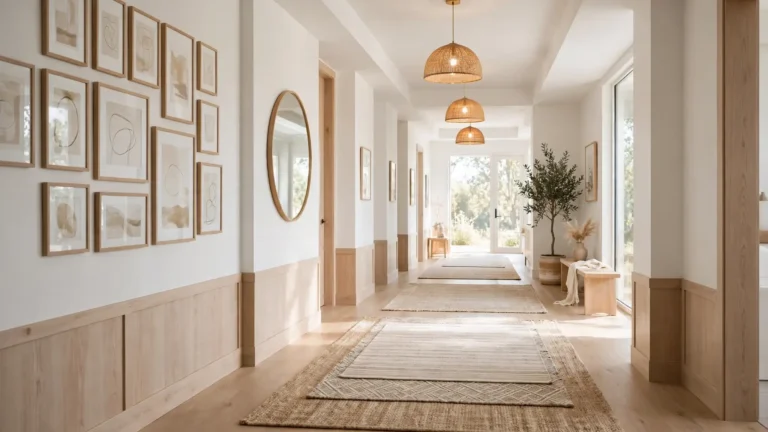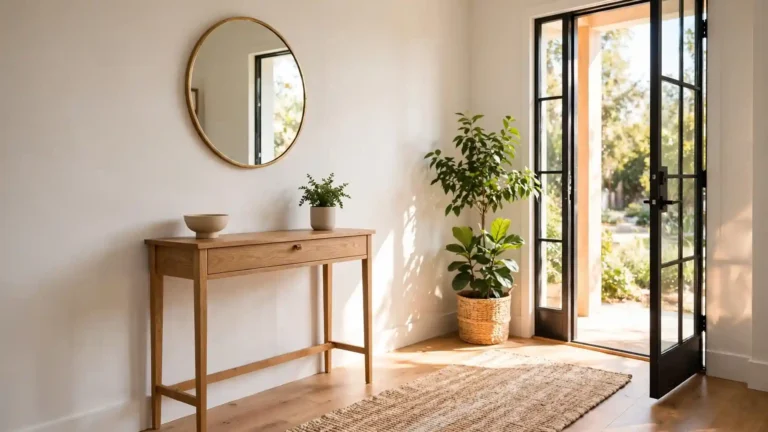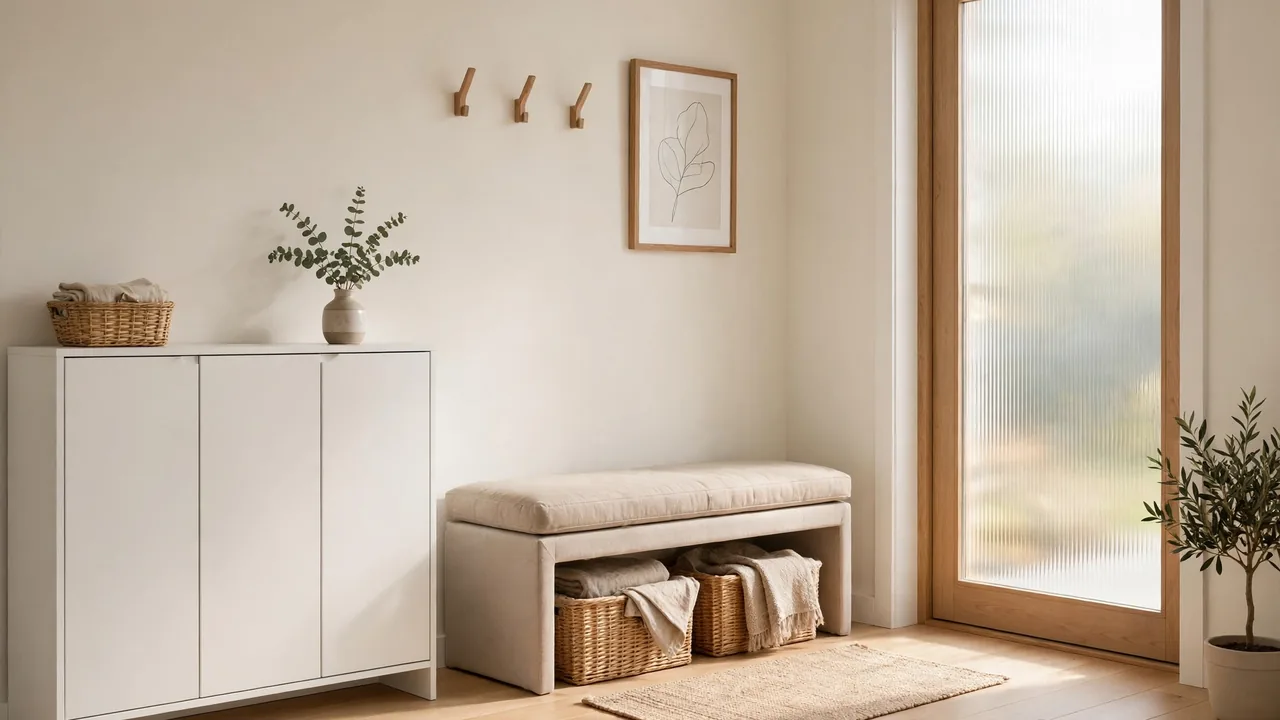
How to Store Shoes in Small Entryways
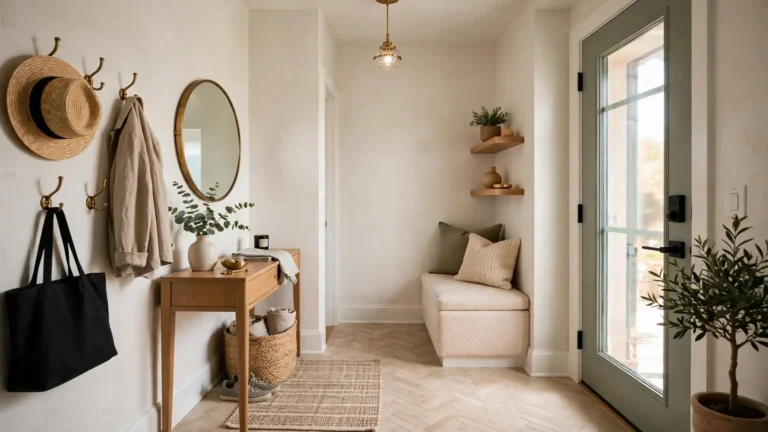
Shoes pile up by the front door faster than anything else in a small home. If your entryway feels like a shoe graveyard, learning how to store shoes in small entryways will change your daily routine for the better. In my experience, the fix is rarely more space, it is smarter storage.
In this guide, you will learn to count the shoes you actually need at the door, pick storage for tight spaces, and set up a system that stays tidy. To keep the rest of your footwear in order, read how to organize small bedroom closets next.
You do not need a big budget or a carpenter. With a few clever pieces and a plan, your entryway can look calm and welcoming again. Let us get started.
Why Shoes Take Over Small Entryways
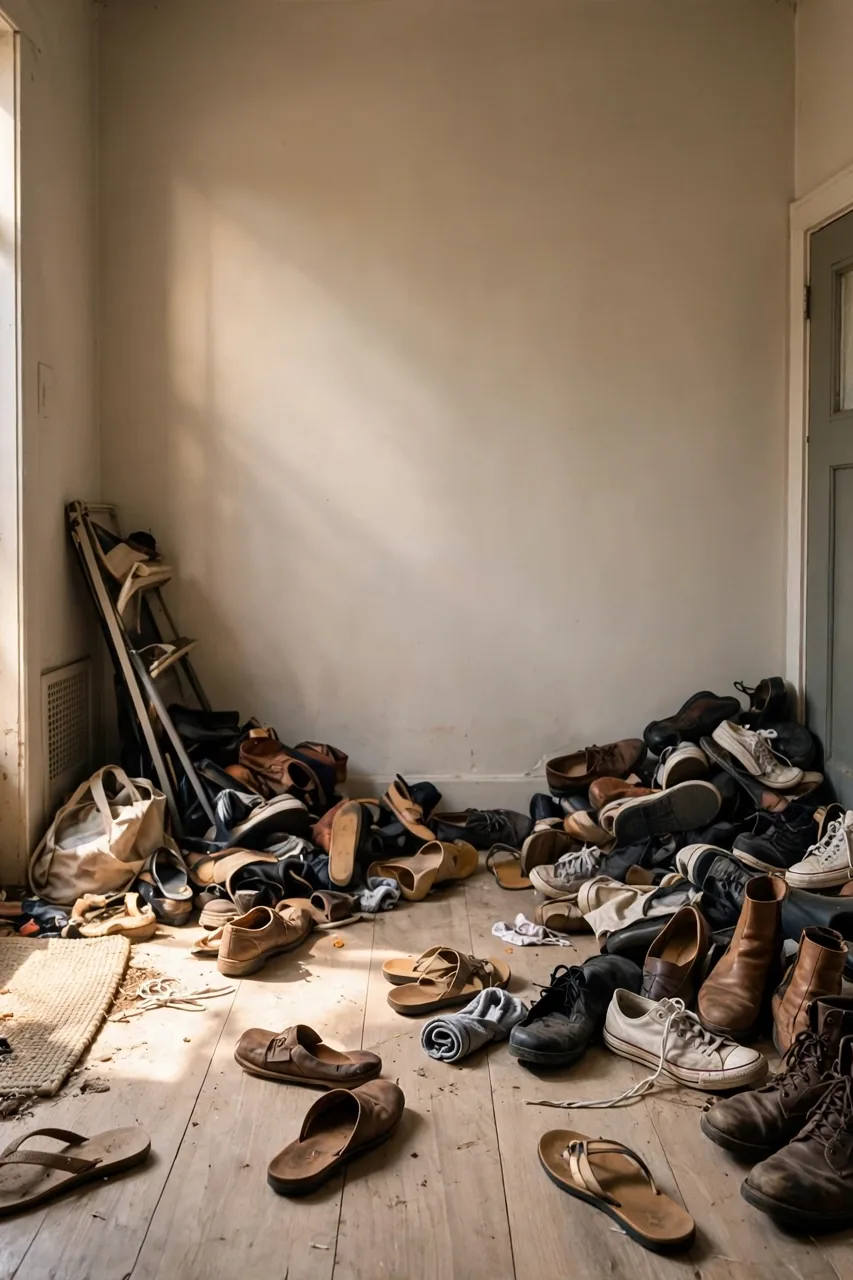
Entryways are the busiest square meters in your home, and shoes are the first thing everyone drops there. Most small entryways were never designed with storage in mind, so there is simply no assigned place for footwear. Without a home for each pair, shoes spread across the floor and the pile grows every single day.
The real culprit is usually too many pairs, not too little space. Guests add extras, kids kick theirs off in a hurry, and out-of-season boots linger for months. Once you see the problem clearly, the solution becomes obvious: every shoe needs a designated spot.
Count Your Real Shoe Needs
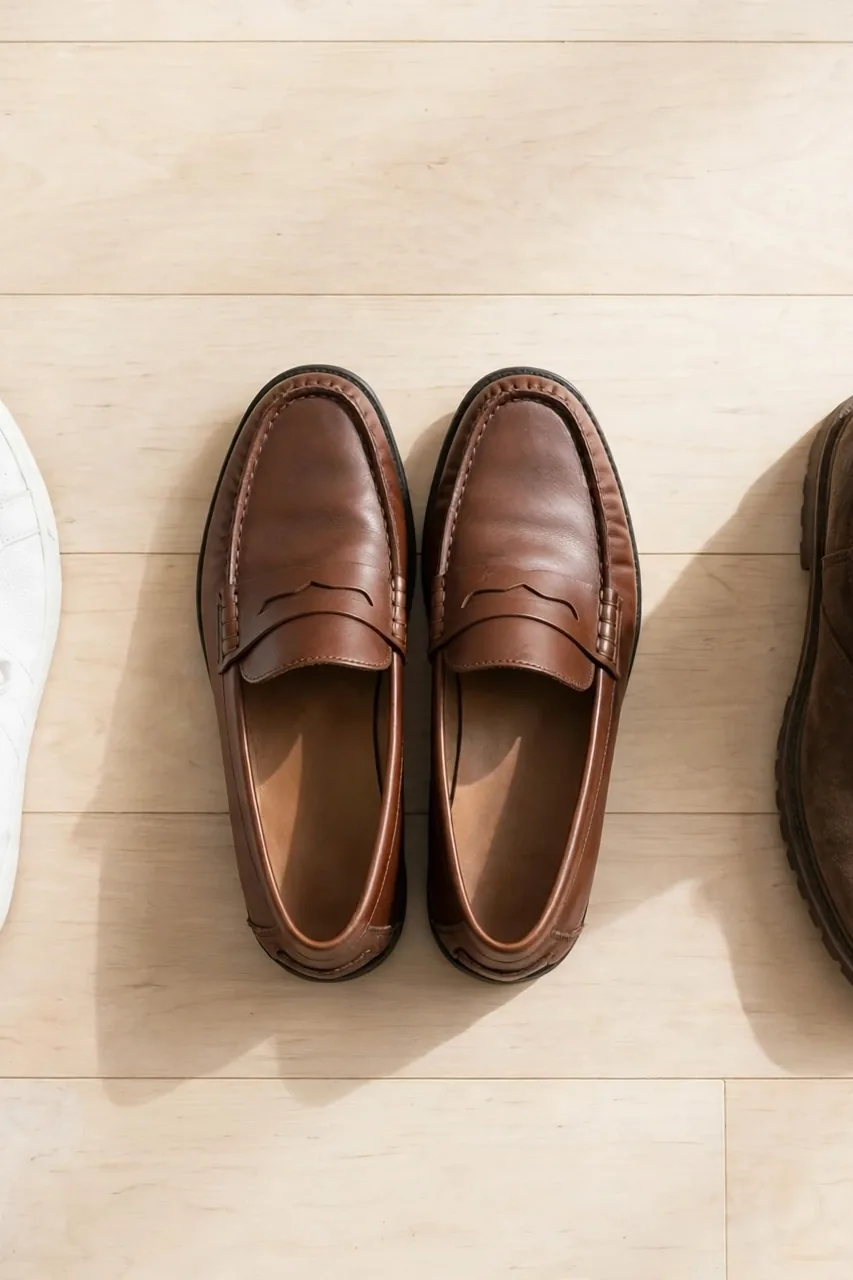
Before buying any organizer, figure out exactly how many pairs actually live by your door. This quick count stops you from buying storage that is too big, too small, or just wrong for your household. It takes ten minutes and saves you from a return trip to the store.
- Gather every shoe currently in the entryway into one pile so you can see the true total.
- Sort into daily wear, weekly wear, and rarely worn, then move rarely worn pairs to a closet or bedroom.
- Count the remaining daily and weekly pairs and add two extra slots for guests.
- Measure your available wall or floor space so the storage you choose actually fits.
Use Slim Shoe Cabinets
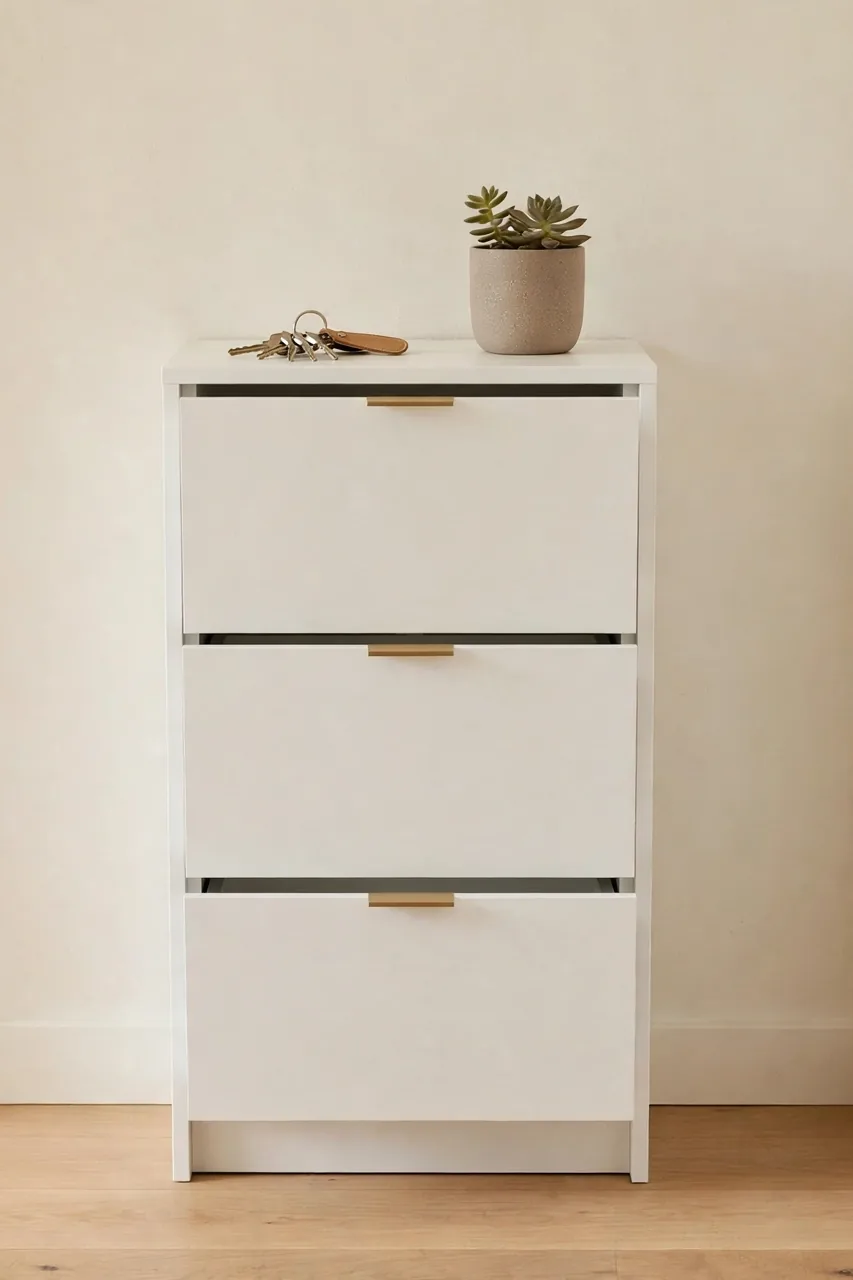
Quick Tip: Slim shoe cabinets are only about 20 centimeters deep, so they hold several pairs while barely sticking out from the wall. Choose one with tilt-out doors for a clean look that hides the clutter completely.
Place the cabinet right where you naturally stop to take shoes off. Most models hold 6 to 12 pairs across two or three tilted compartments. Look for a top surface you can use as a landing spot for keys and mail, which doubles the furniture’s value in a tight entry.
Try Over-Door Shoe Racks
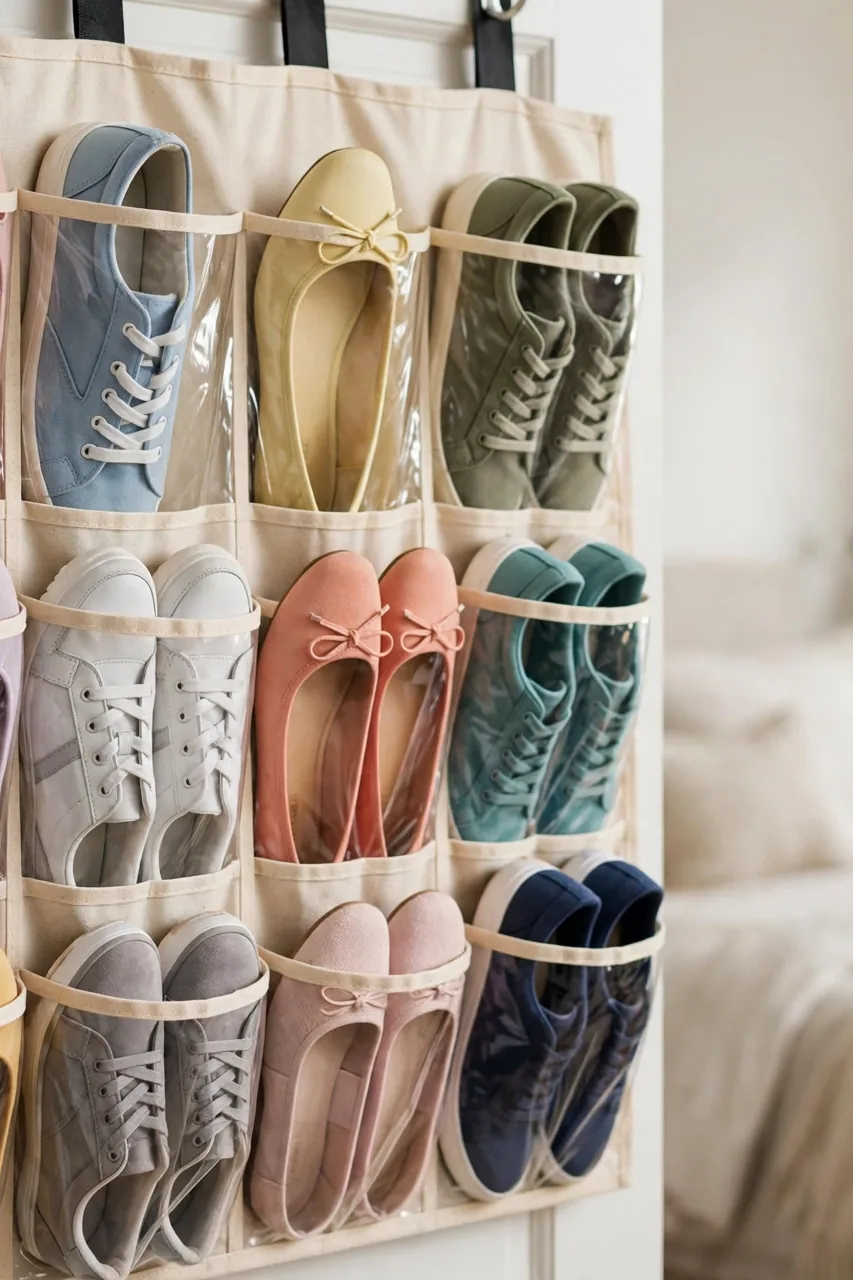
Common Mistake: Many people hang an over-door rack and then overload it with heavy boots, which strains the hinges and scratches the door. Others pick racks with deep pockets that bump against the frame every time the door moves.
The Fix: Choose a slim pocket organizer with clear or fabric pockets and reserve it for light shoes like flats, sneakers, and sandals. Hang it on a door that opens fully without hitting walls or furniture.
Over-door racks are perfect for renters because they need no drilling and come down without a trace. Each pocket keeps one pair visible and off the floor. I have seen this single change free up an entire corner of a cramped hallway. Just remember to keep heavier pairs on a sturdier rack instead.
Stack With Tiered Racks
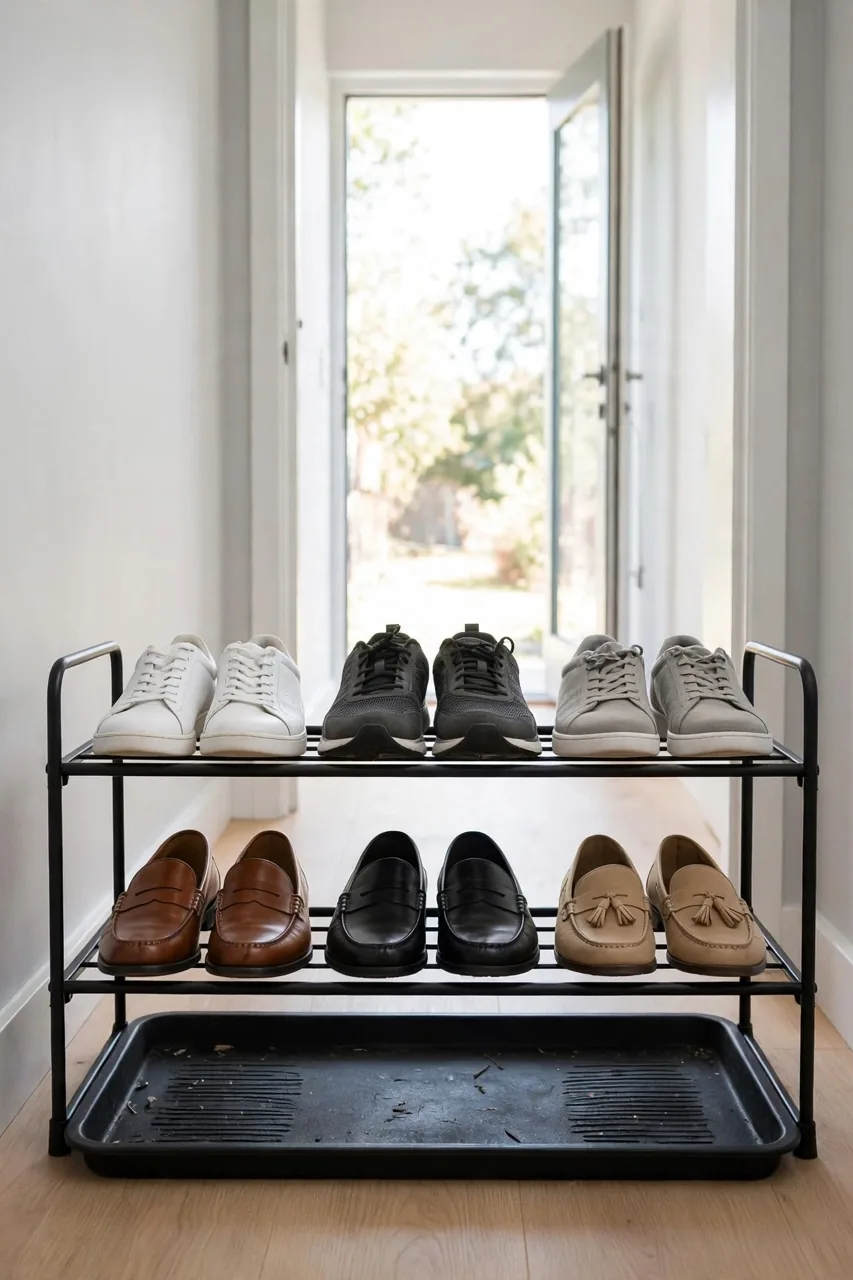
What You Need:
- A 2 or 3 tier metal rack: holds 6 to 9 pairs in under 30 centimeters of depth.
- A small boot tray: catches dirt and water under the bottom tier.
- Adhesive felt pads: stop the rack from scratching floors when you slide it.
- A measuring tape: confirms the rack fits your exact wall gap.
- Label clips (optional): mark tiers by family member so everyone knows their spot.
Tiered racks work best against the narrowest wall in your entryway. Shoes stay visible, so you grab the right pair fast on busy mornings. Keep the bottom tier for the muddiest shoes and the top for clean indoor pairs. A quick wipe of the trays each week keeps everything looking fresh.
Hide Shoes in Benches
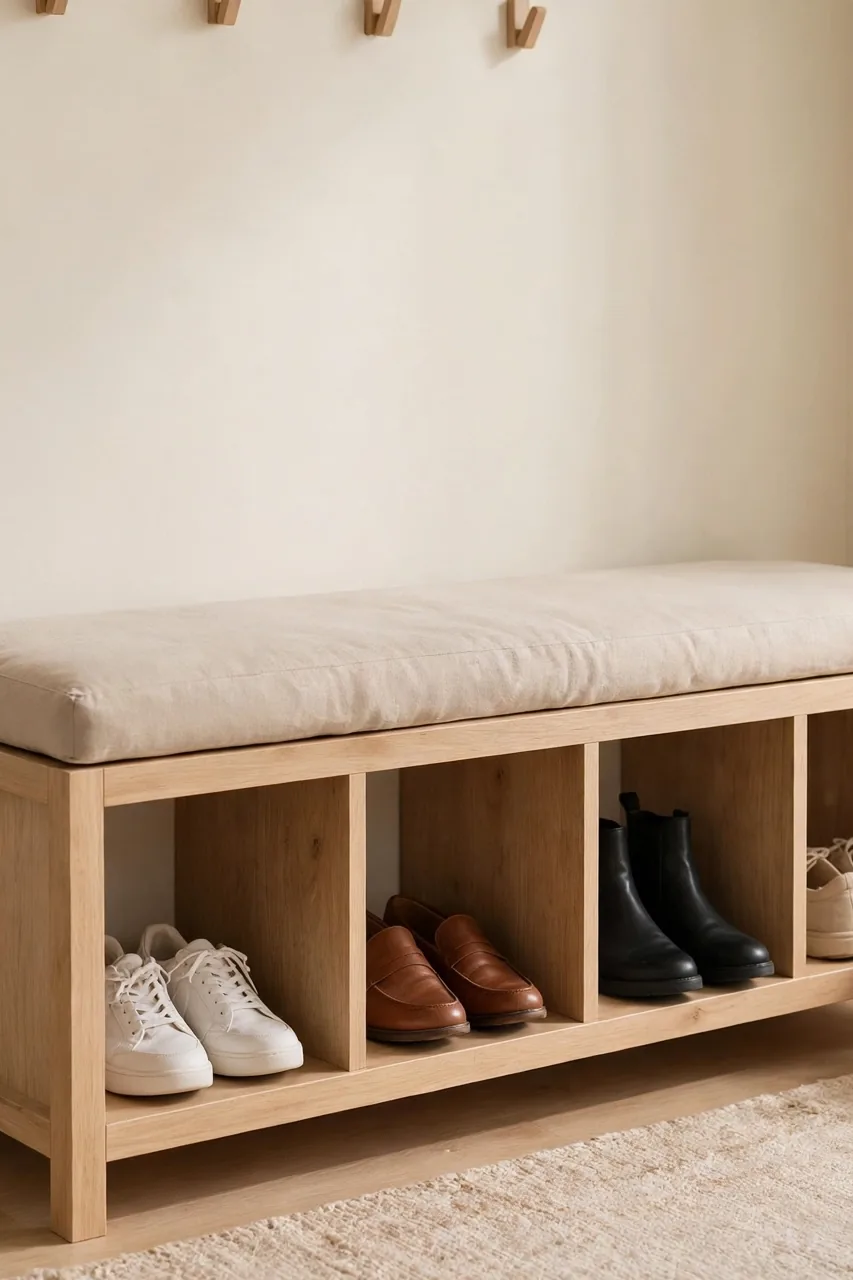
Before: A plain entryway bench looks nice but does nothing for shoe chaos. Pairs still pile beside it, and the floor around it stays messy no matter how often you tidy up.
After: Swap it for a bench with cubbies or a lift-up seat, and shoes disappear inside in seconds. The bench still gives you a place to sit while lacing up, but now it works twice as hard.
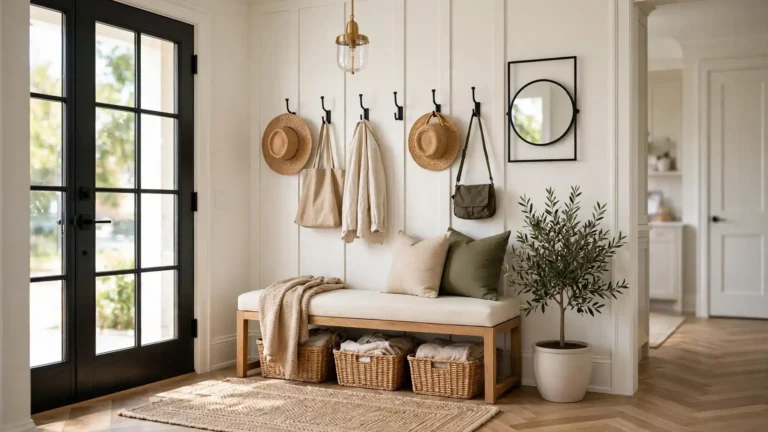
Storage benches are the best two-in-one answer I know for how to store shoes in small entryways when floor space is truly limited. Each cubby or compartment holds one to two pairs. Top it with a cushion in a washable fabric, and you have seating plus hidden storage in one footprint.
Use Wall-Mounted Shelves
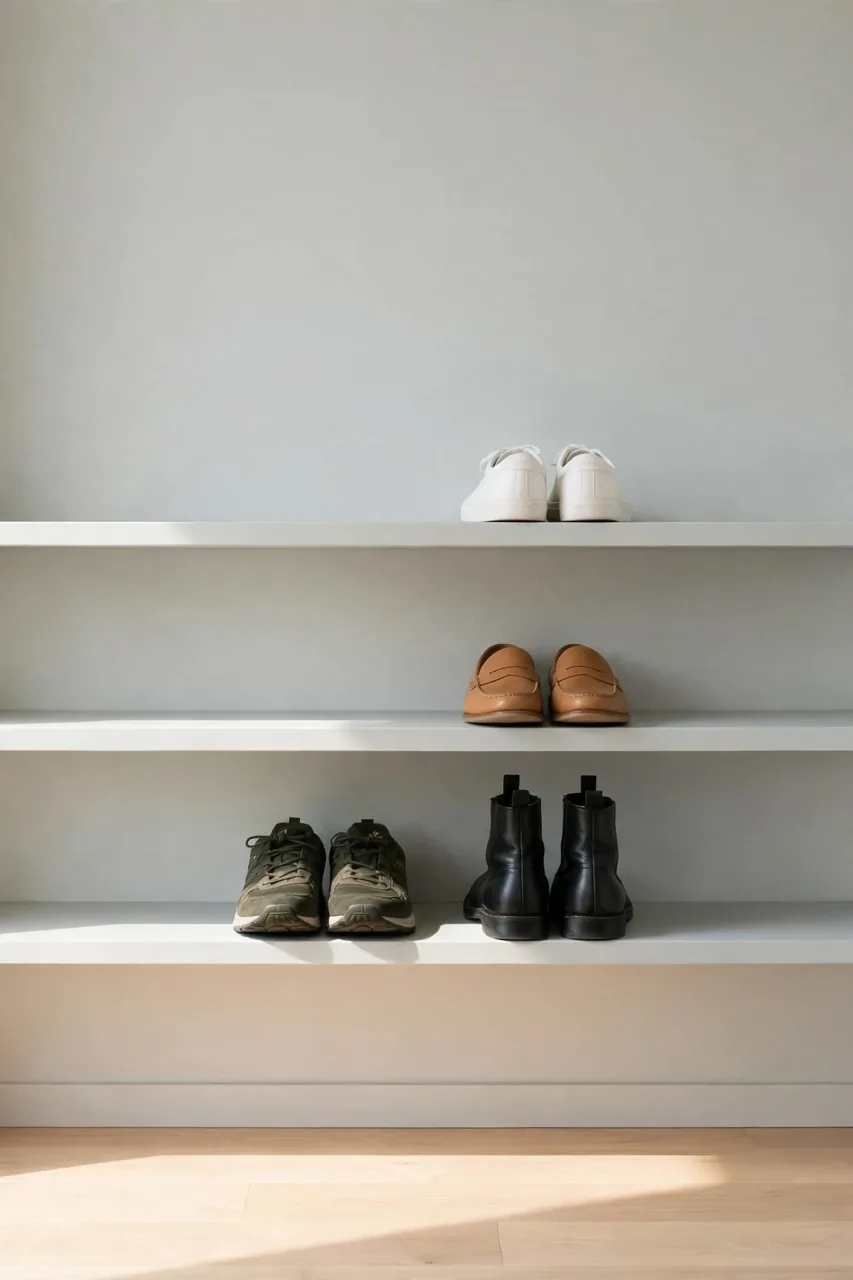
Do This:
- Mount shelves at ankle height so shoes slide in and out without bending far.
- Leave 15 to 20 centimeters between shelves for boots and high tops.
- Use sturdy brackets rated for the weight of several pairs.
- Add a small lip or rail so shoes cannot slide off.
Avoid This:
- Do not mount shelves above eye level, since shoes become hard to reach.
- Do not skip the stud finder; heavy shoes pull weak anchors out of drywall.
- Do not crowd shelves so tight that pairs overlap and look messy.
- Do not forget a drip tray underneath for wet-weather days.
Wall-mounted shelves turn dead vertical space into a mini shoe library. They keep the floor completely clear, which makes a small entryway feel twice as big. Paint them the same color as the wall and they nearly disappear. This is one of my favorite tricks for narrow hallways with zero floor to spare.
If your walls feel bare once the shoes are sorted, read how to decorate large blank walls for ideas that keep the space stylish.
Rotate by Season
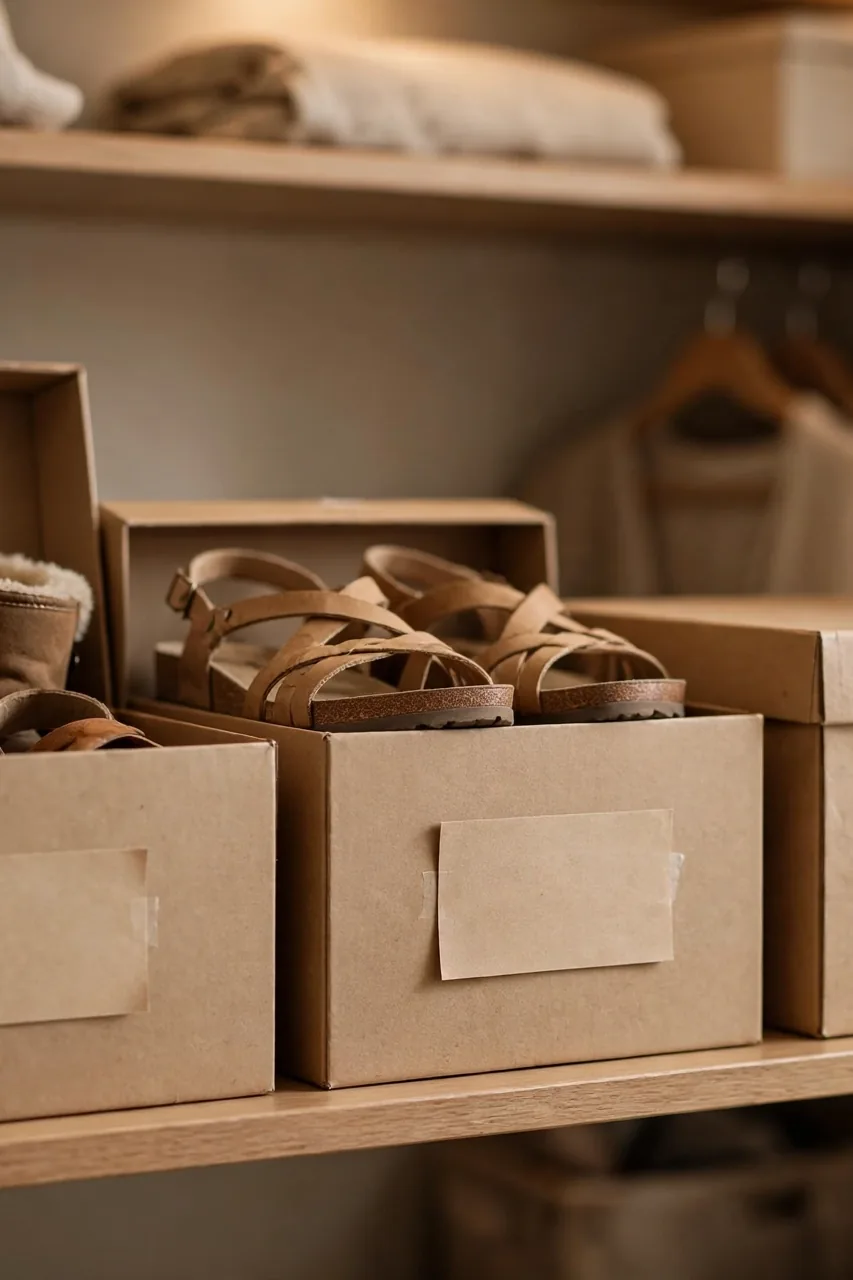
Time Needed: 20 minutes per season | Difficulty: Easy | Cost: Free | Best For: households with more than 8 pairs per person
Store off-season shoes in labeled boxes on a closet shelf or under the bed. Keep only current-season footwear at the door. This simple rotation cuts your entryway shoe count in half and makes daily choices faster. Set a phone reminder for the first weekend of each new season.
Common Shoe Storage Mistakes
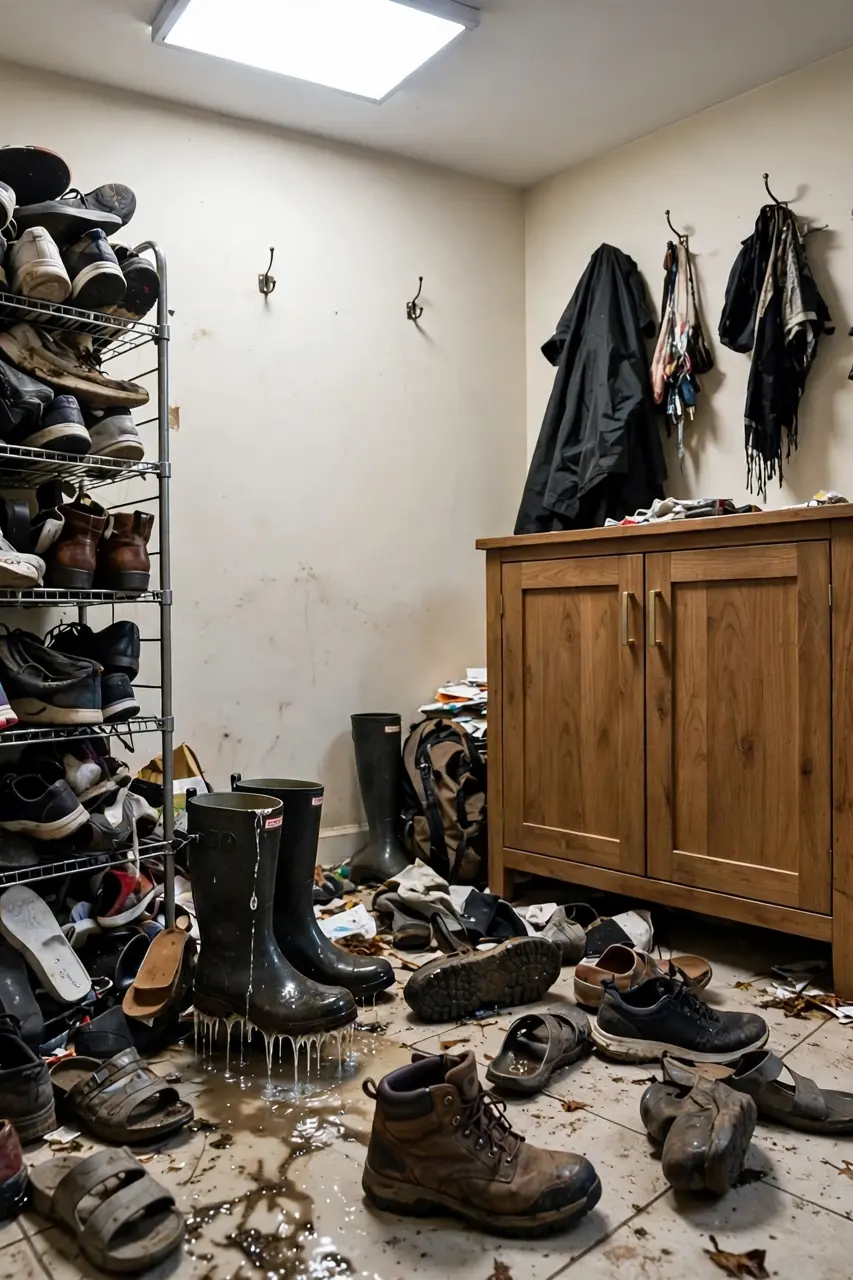
The biggest mistake is buying storage before counting shoes, which leads to organizers that overflow within a week. Another common error is choosing open racks for a household with pets or toddlers, since shoes end up scattered again. Skipping measurements is equally costly, as furniture that blocks the door swing creates a daily annoyance.
People also forget about wet and muddy shoes, placing nice cabinets right where rain boots drip. Always plan a tray or washable zone for bad-weather days. Finally, do not let guests’ shoes pile up; keep two spare slots ready so visitors have a clear place too.
Pro Tips for Clutter-Free Floors
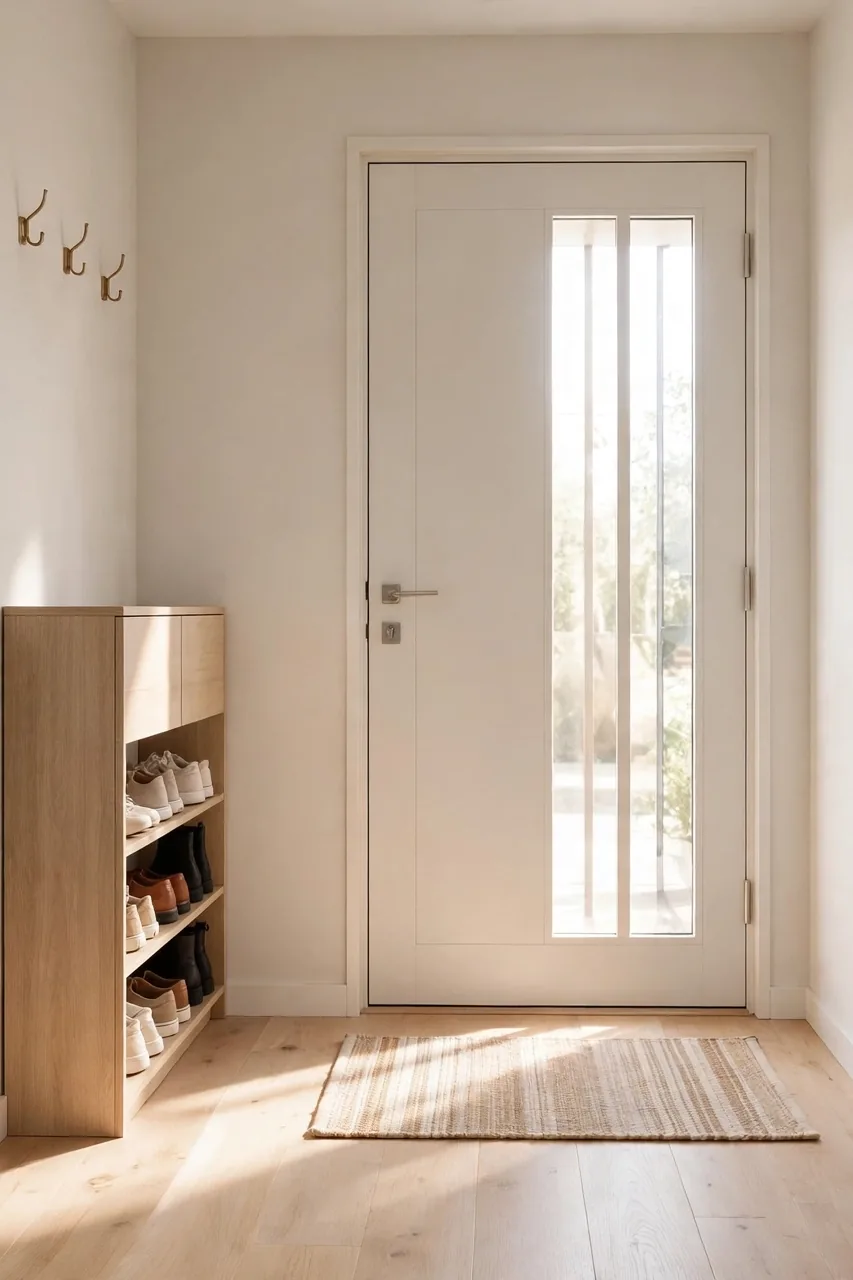
Once your storage is in place, these small habits keep the floor clear for good. Each one takes less than a minute but protects all the organizing work you just did. Think of them as tiny daily insurance for your tidy entryway.
- Adopt a one-in, one-out rule: a new pair means an old pair moves to the closet.
- Do a 30-second reset each night, returning stray shoes to their slots.
- Keep a small basket for items that do not belong, and empty it weekly.
- Wipe shelves and trays monthly so dust never builds up.
Conclusion
A calm entryway starts with giving every shoe a real home. Once you know how to store shoes in small entryways, the daily pile-up stops and your front door becomes a welcoming space again. I have seen how making this one change can completely shift how a small home feels.
Save this guide on Pinterest so you can find it when you are ready to shop for organizers, and share it with anyone whose entryway needs the same rescue. Start with just one corner this weekend, and your future self will thank you every single morning.