24 Under Sink Storage Ideas for a Clutter-Free Home
The cabinet under your sink is probably the most chaotic spot in your whole home. When under sink storage actually works, though, everything has a place and cleaning day feels less like a chore. I have spent years testing organizers in my own kitchen and bathrooms, and I keep coming back to simple systems that respect the plumbing instead of fighting it.
This guide shares 24 practical ideas that fit around pipes, valves, and garbage disposals without any major renovation. You will find pull out drawers, door mounted baskets, and clever tricks that use every inch. If you love organized spaces, our linen closet organization ideas use the same simple principles. Let us turn that dark cabinet into one of the tidiest spots in your home.
Pull Out Drawers
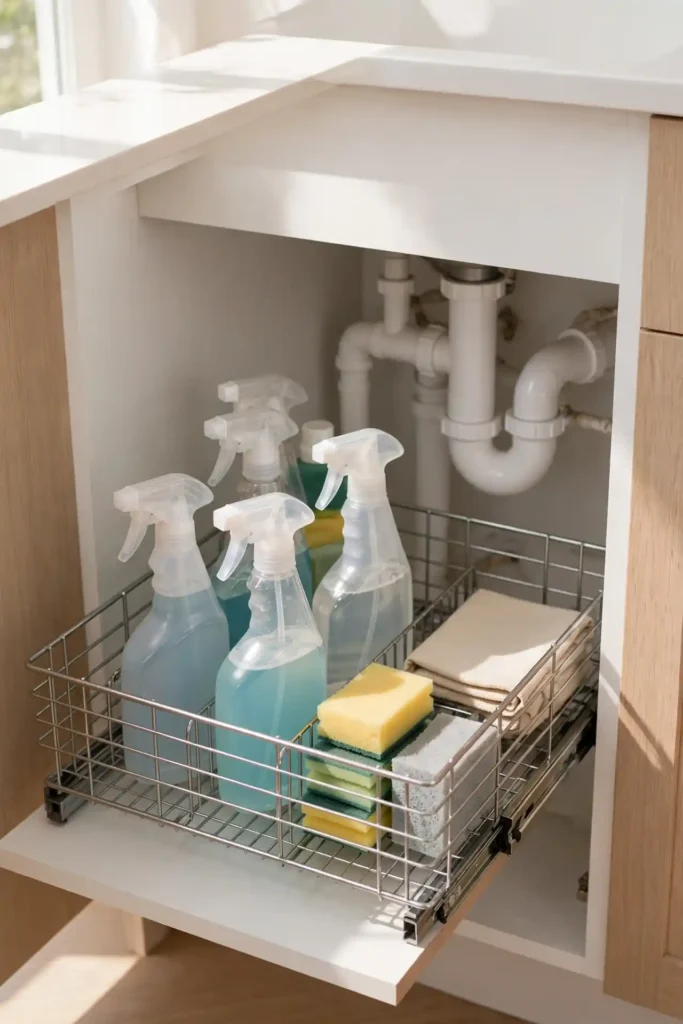
Most under sink cabinets are dark caves where cleaning supplies go to disappear. A simple pull out drawer changes everything because it brings the whole contents sliding toward you in one smooth motion. No more kneeling on the kitchen floor or shoving bottles aside to reach the back.
Measure the cabinet opening before you buy, then choose a drawer that fits around the plumbing with room to spare. I have noticed that metal wire drawers handle damp items better than wood ones in this spot. Once installed, group everyday cleaners up front and rarely used items in back for a setup that stays tidy.
Tension Rod Trick
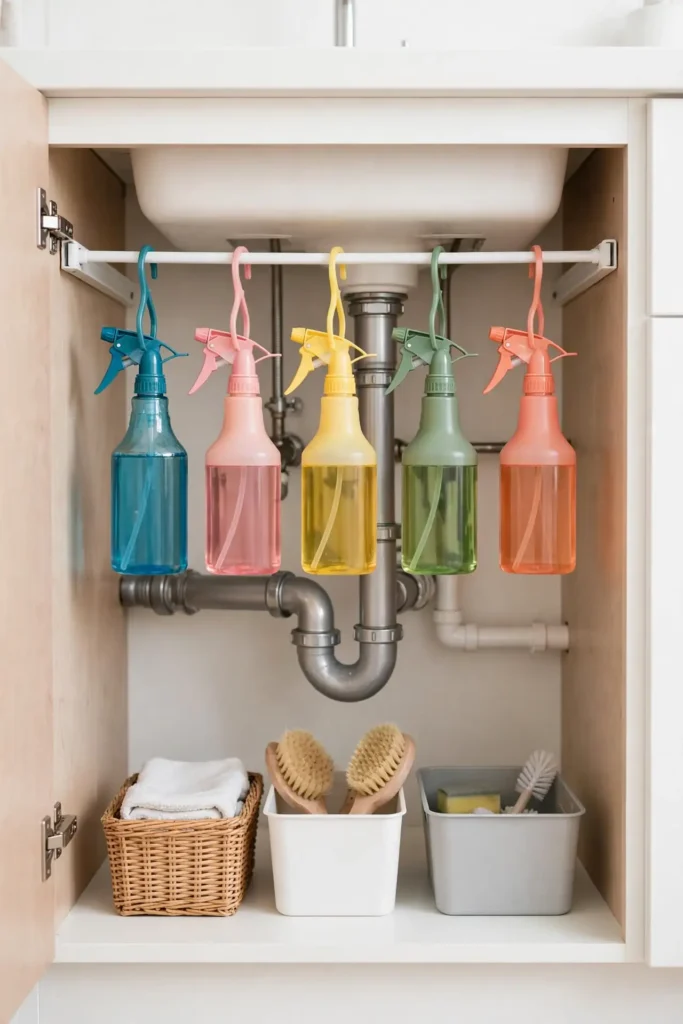
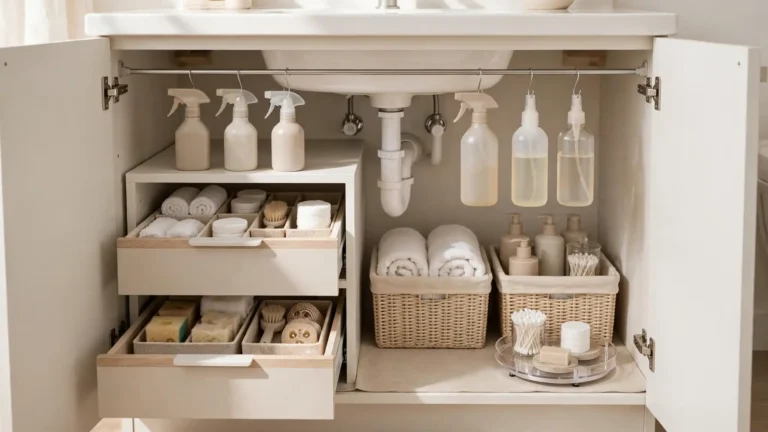
- Stretch a tension rod across the cabinet to hang spray bottles by their triggers.
- Pick a rod that extends from wall to wall so it stays put without screws.
- Line up bottles in a row so every label faces forward.
- Leave space at the bottom for bins or a small caddy underneath.
- Wipe the rod clean once a month to stop it from slipping.
This trick costs almost nothing and installs in seconds, which makes it perfect for renters. I have seen this work well in many cases because it uses dead air space above the pipe. Keep heavier bottles toward the ends where the rod has the most support. It is one of the fastest wins for a cluttered cabinet.
Stackable Bins
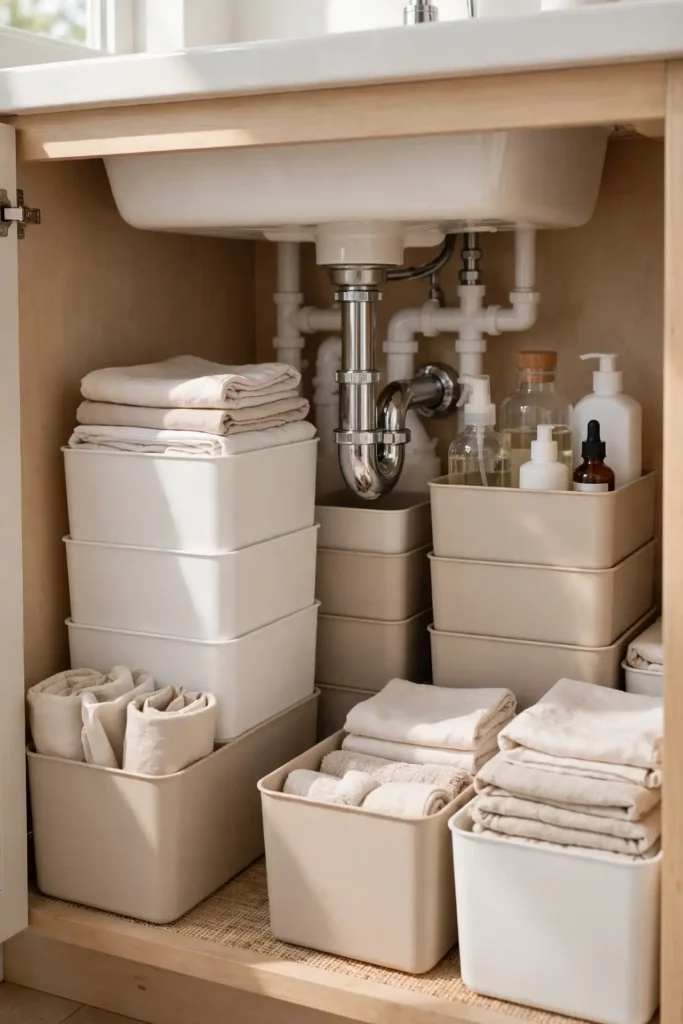
Quick Tip: Stackable bins turn the awkward space around pipes into neat vertical storage that actually stays organized. Choose square bins that nest together without wobbling, and pick a size that clears the drain pipe by an inch. Keep daily items in the top bin and back stock below so you always know what needs replacing.
Good under sink storage starts with using vertical space instead of letting it go to waste. Bins corral small items like sponges and scrub brushes that otherwise roll loose. I have noticed that clear bins work best because you can spot supplies without digging. Label the front of each bin so the whole household puts things back correctly.
Door Mounted Baskets
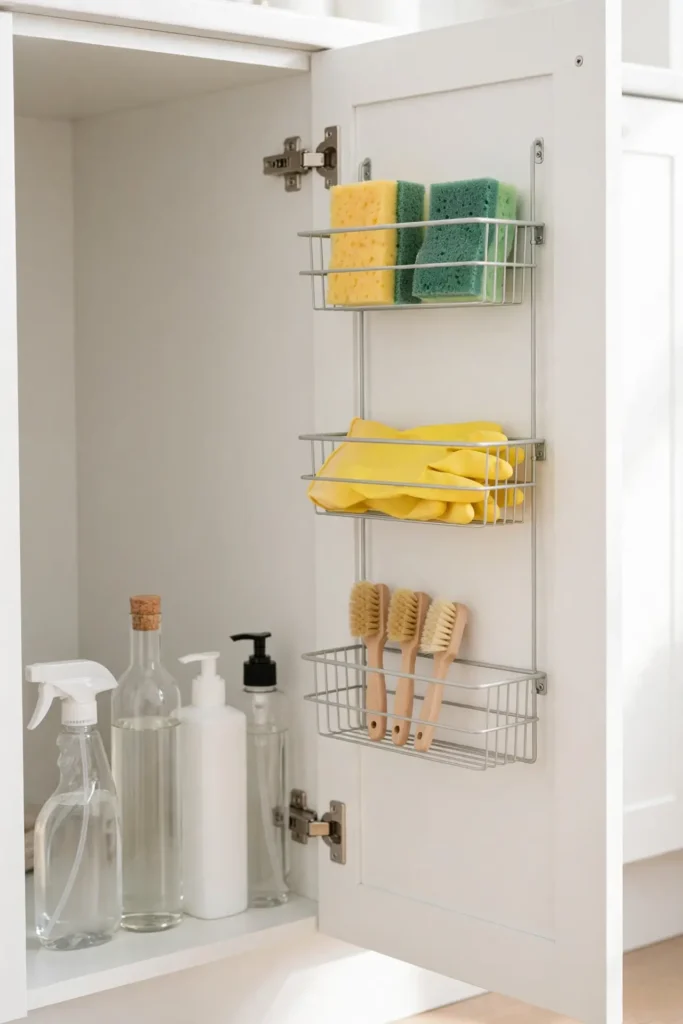
BEFORE: Bottles crowd the cabinet door and everything tips over when you grab one item. The space under the pipe sits empty because nothing fits neatly around it. Cleaning day means pulling everything out onto the floor first.
AFTER: Slim baskets mounted on the inside of the door hold sponges, gloves, and small brushes. The cabinet floor stays clear for tall bottles and the whole space feels twice as big. You can see everything the moment you open the door.
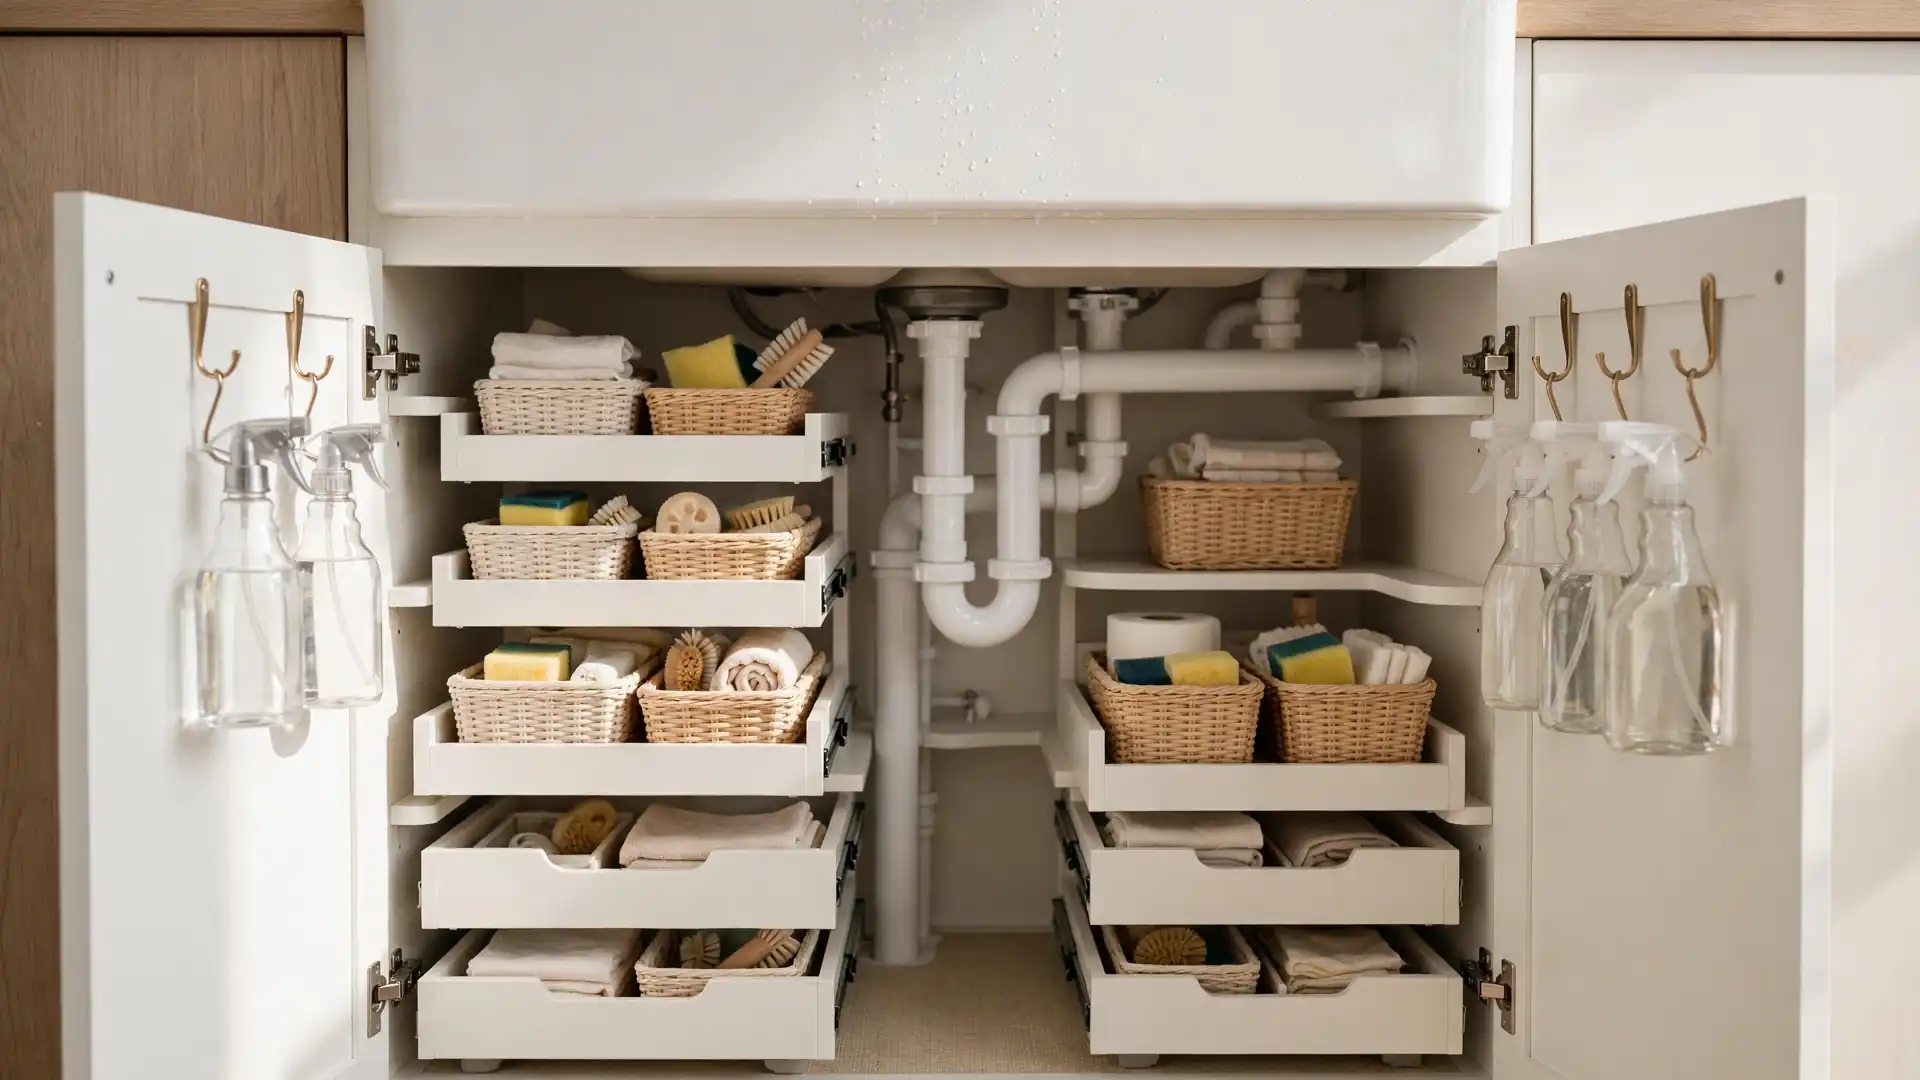
Door mounted baskets use space that usually goes unused. Pick baskets with a low profile so the door closes. I have seen this work well in cases where floor space was limited by bulky pipes. Attach them with over the door hooks or adhesive strips for a renter friendly fix.
Lazy Susan Spinners
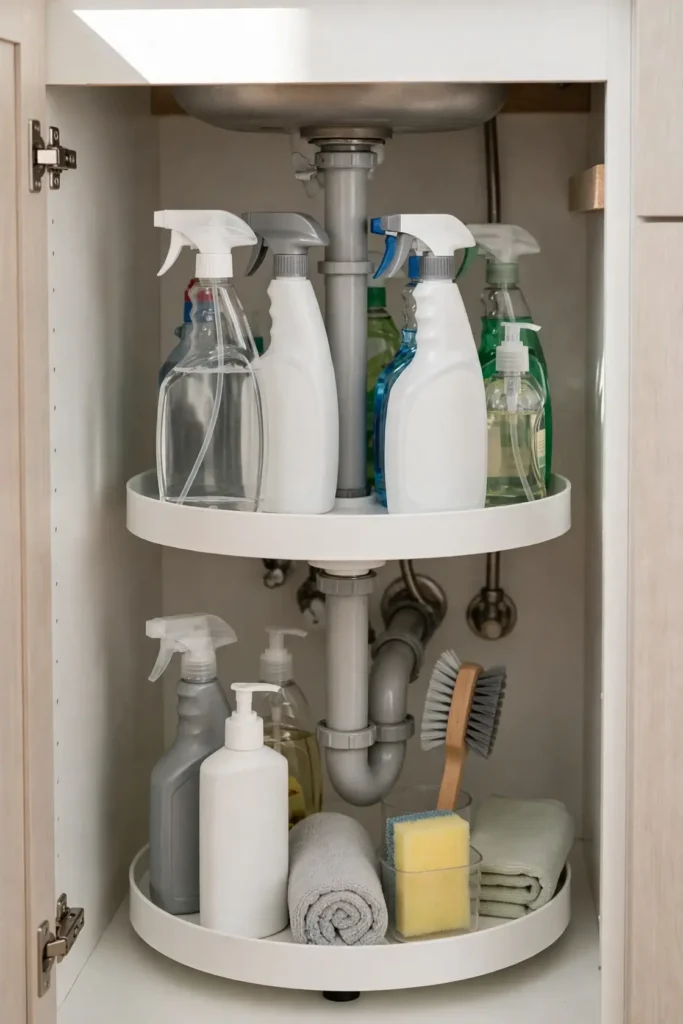
- Clear the cabinet completely and wipe every surface dry before you start.
- Measure the space around the pipes so the spinner clears them when turning.
- Place a two tier lazy susan in the center and load tall bottles on the bottom.
- Spin it once to test clearance, then group items by task on each tier.
Lazy susans end the era of knocking over bottles to reach the back row. A quick spin brings any cleaner to the front without moving a single thing. I keep dish soap and surface spray on the top tier for daily grabs. The bottom tier holds back stock and specialty cleaners.
Charming under sink storage
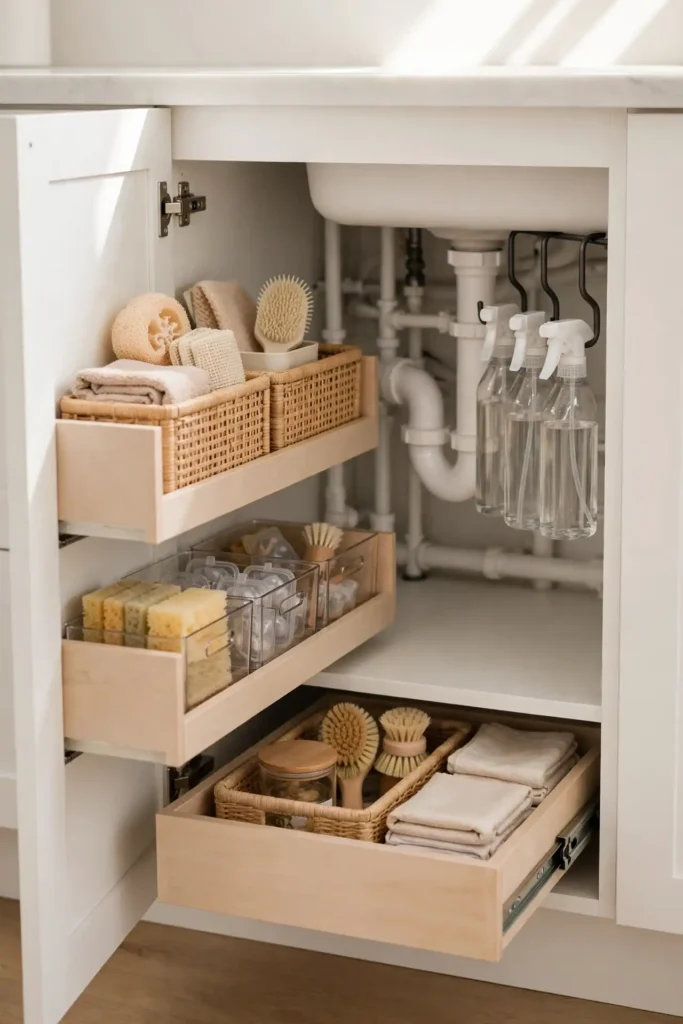
Some cabinets need custom solutions while others work fine with simple add ons. Here is how the two approaches compare for a typical under sink space.
| Feature | Custom Pull-Outs | Simple Add-Ons |
|---|---|---|
| Cost | Higher upfront | Budget friendly |
| Install | Tools needed | No tools needed |
| Fit | Made to measure | Adjustable sizes |
| Durability | Solid wood build | Plastic and wire |
| Best for | Odd plumbing | Standard cabinets |
Custom pull outs win when pipes sit in odd spots that standard organizers cannot handle. Simple add ons suit most renters and anyone who wants results today. Either way, measure first and buy once. The right choice is the one you will actually maintain.
Storage Safety Rules
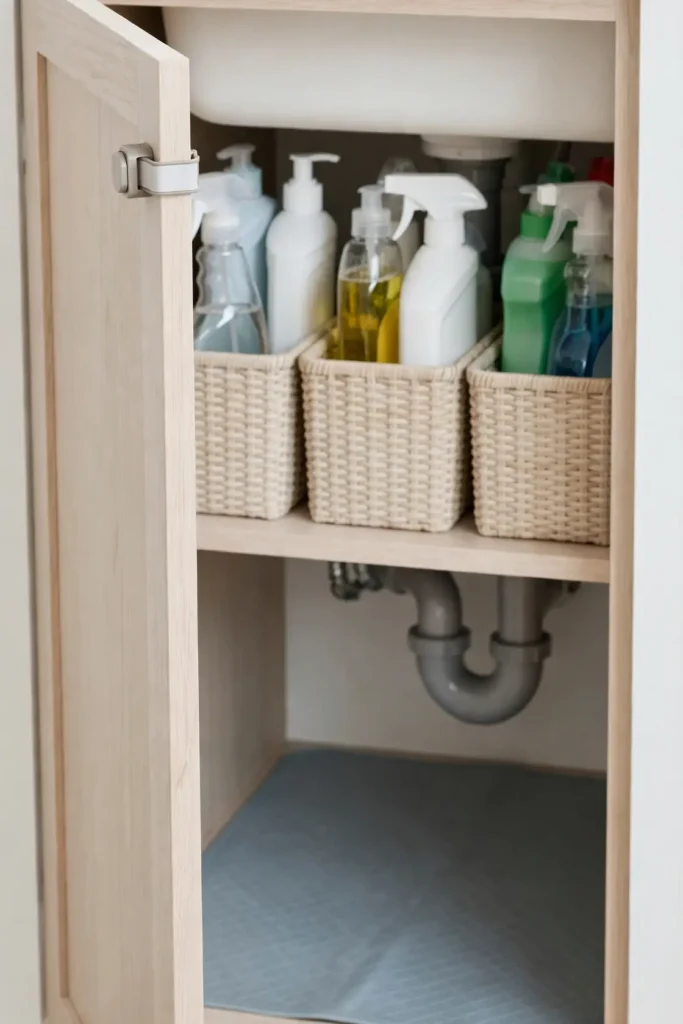
DO:
- Measure around pipes before buying any organizer.
- Use waterproof mats under every bin and bottle.
- Store chemicals upright with caps tightly closed.
- Keep a small flashlight inside for dark cabinets.
DON’T:
- Do not cram bottles so tight that nothing slides.
- Do not store paper towels where leaks can reach them.
- Do not ignore small drips under the drain.
- Do not mix bleach and ammonia cleaners together.
These simple rules keep the cabinet safe and functional for years. Waterproof mats catch drips before they damage the cabinet floor. I have noticed that a quick monthly check stops small leaks from becoming big repairs. Treat this space like any other storage zone and it will stay organized.
Pipe Shelf Risers
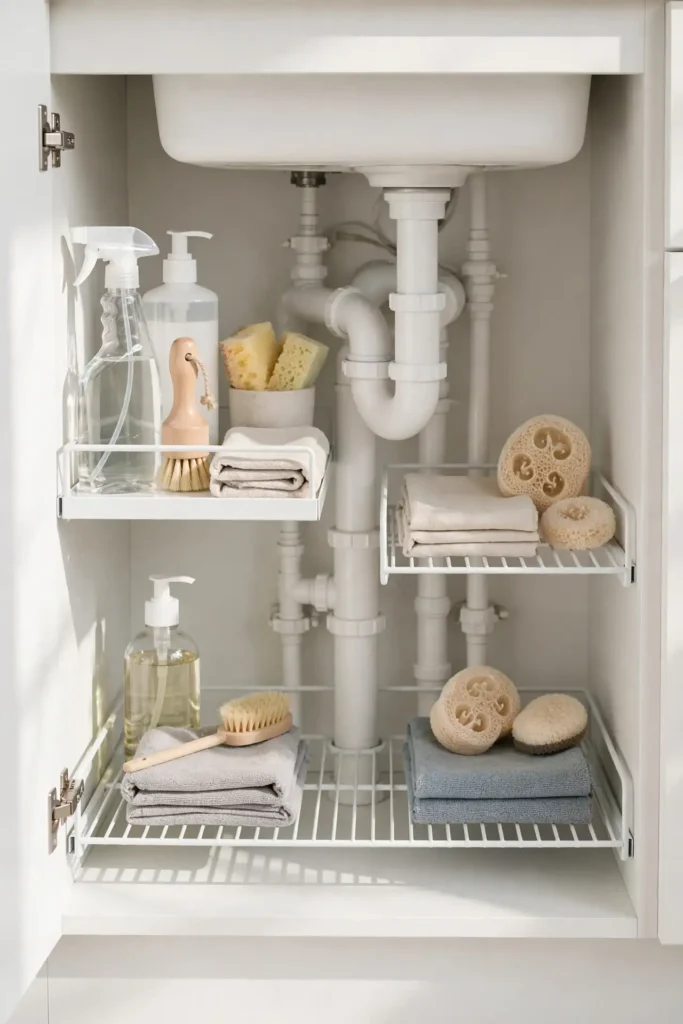
This upgrade suits almost every home, and the basics are refreshingly simple.
Cost: Low, most risers cost under twenty dollars. Time: Fifteen minutes to arrange. Skill Level: Beginner, no tools required. Best For: Cabinets with bulky center pipes.
Pipe shelf risers lift supplies above the clutter line so you can see every item at a glance. They slot around plumbing without any drilling or hardware. I have seen this work well in cases where the pipe ate up most of the floor space. Pair risers with a narrow bin on top for a two level system that doubles usable space.
Hanging Spray Bottles
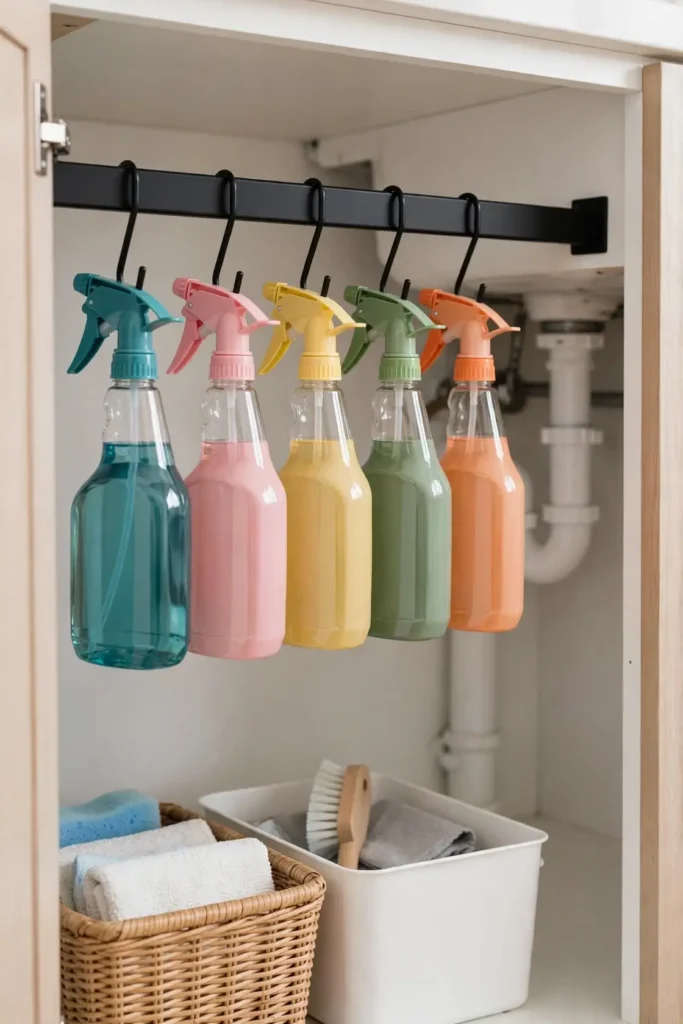
Spray bottles tangle together and waste the tall space at the front of the cabinet. Hanging them from a mounted bar or sturdy hook keeps every trigger within easy reach. The bottles swing freely instead of tipping over each other when you grab one. You can spot the right label instantly without shifting anything around.
Mount the bar high enough that bottle bottoms clear the bins below. I have noticed that metal hooks hold up better than plastic in damp cabinets. Space the hooks a few inches apart so triggers do not catch on each other. This setup turns wasted air into prime storage real estate.
Clear Container Sets
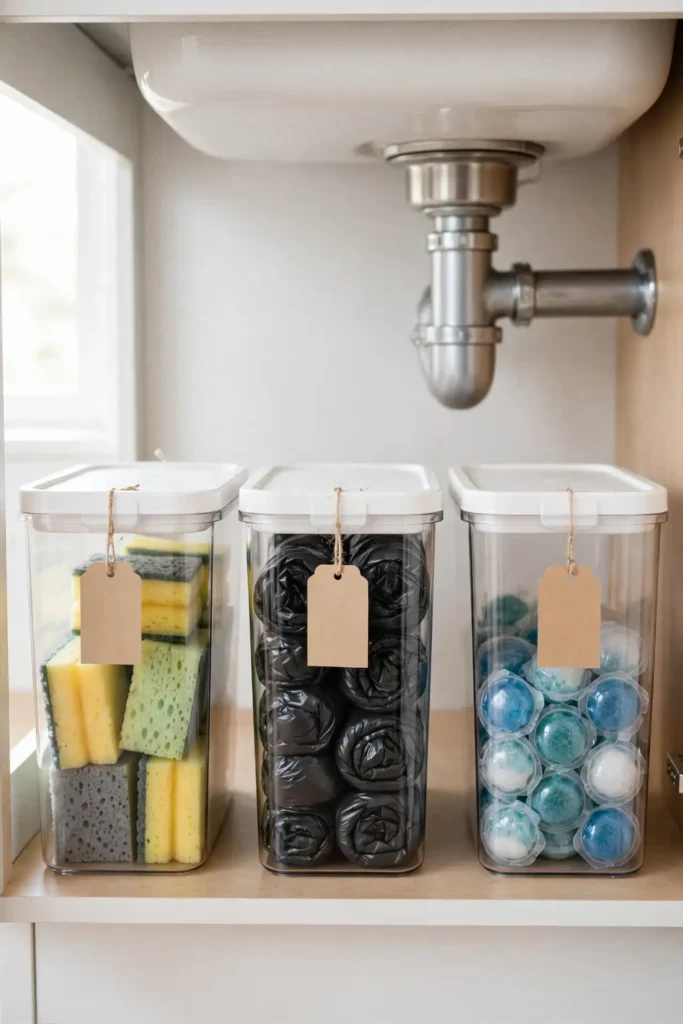
- Choose clear containers so you can see supplies without opening lids.
- Pick one size for small items and a larger size for bulky bottles.
- Add a small label to each container with its contents.
- Stack containers two high at most to keep them stable.
- Keep daily cleaners in front and refills toward the back.
Clear containers turn a jumble of bottles into a tidy little system. Everything has a home, and restocking takes seconds when you can see what is low. I keep a spare set of sponges in one container and trash bags in another. The uniform look alone makes the cabinet feel calmer.
Tiered Shelving Unit
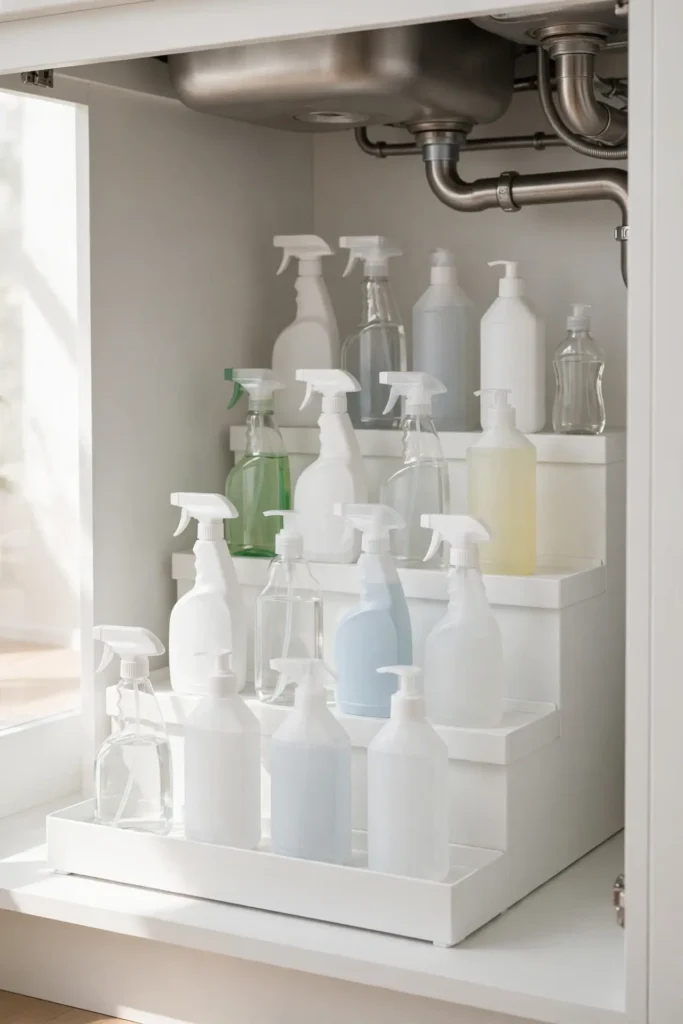
Quick Tip: A tiered shelving unit lifts back row items into view so nothing hides behind the pipes. Look for a unit with adjustable feet that fits your cabinet height. Load heavy cleaners on the bottom tier and lighter sprays up top for stability. Check that the insert clears the pipe before you load it up with heavy bottles.
Tiered units work like stadium seating for your cleaning supplies. Every bottle gets a clear sightline, and you stop buying duplicates of things you already own. I have noticed they fit best when centered on the pipe. Pair one with a door mounted basket for a complete system.
Command Hook Rows
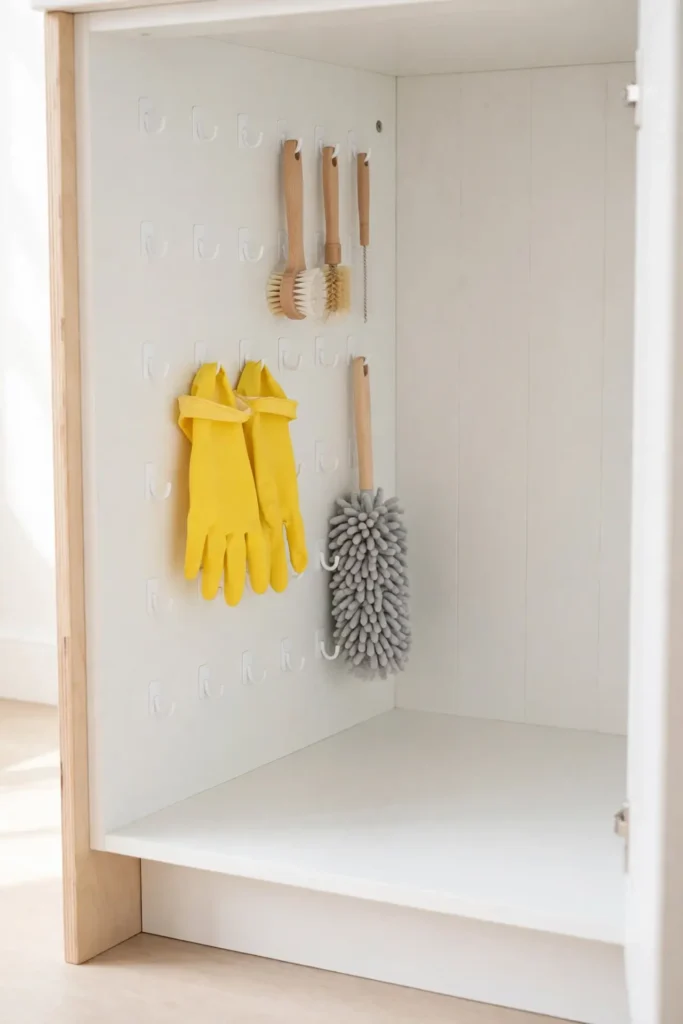
BEFORE: Hooks stuck randomly on the cabinet walls hold one lonely sponge. The rest of the wall space sits bare while bottles crowd the floor below. Nothing has a real home.
AFTER: Rows of sturdy command hooks line both walls at two heights. Brushes, gloves, and dusters hang in neat rows with room to breathe. The floor stays clear for bins and large bottles.
Smart under sink storage uses every wall, not just the floor. Command hooks hold surprising weight when you press them on firmly and wait an hour. I space mine in rows so each tool has its own spot. Map out your rows with painter’s tape first to avoid a crooked result.
Slide Out Caddies
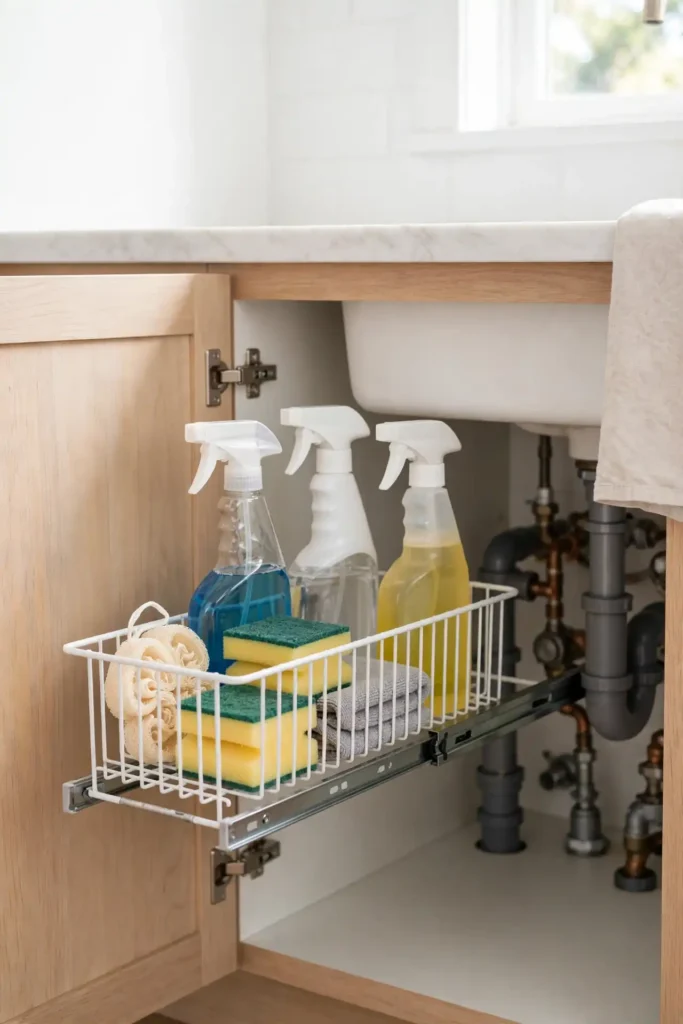
- Pull out a narrow caddy that fits beside the pipes.
- Load it with the cleaners you reach for every day.
- Slide it back and test that it clears the door.
- Refill it monthly so it never runs empty.
- Wipe the caddy clean each time you refill it.
Slide out caddies bring daily supplies to you instead of making you dig around. The narrow shape slips into gaps that wider organizers cannot use. I keep one under the kitchen sink and one in the bathroom. When a caddy empties, that is your signal to restock before you definitely run out completely.
Over Cabinet Baskets
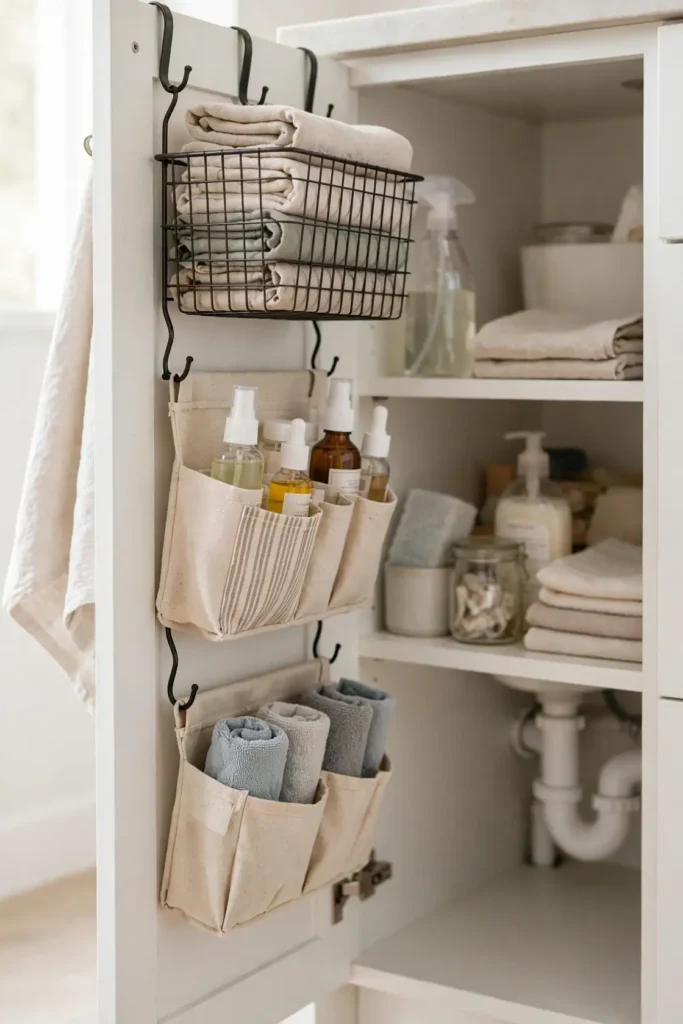
Over cabinet baskets hook onto the door and add instant pockets. Here is how different basket styles stack up for everyday use.
| Feature | Wire Baskets | Fabric Pockets |
|---|---|---|
| Visibility | See through | Hidden look |
| Cleaning | Wipe clean | Machine wash |
| Strength | Holds heavy items | Light items only |
| Best for | Tools and bottles | Cloths and sponges |
Wire baskets suit heavy bottles that need airflow around them. Fabric pockets hide clutter and work well for soft items like cloths. I have noticed that a mix of both covers every need. Hang one of each on the door and the whole cabinet feels definitely more intentional.
Label Every Shelf
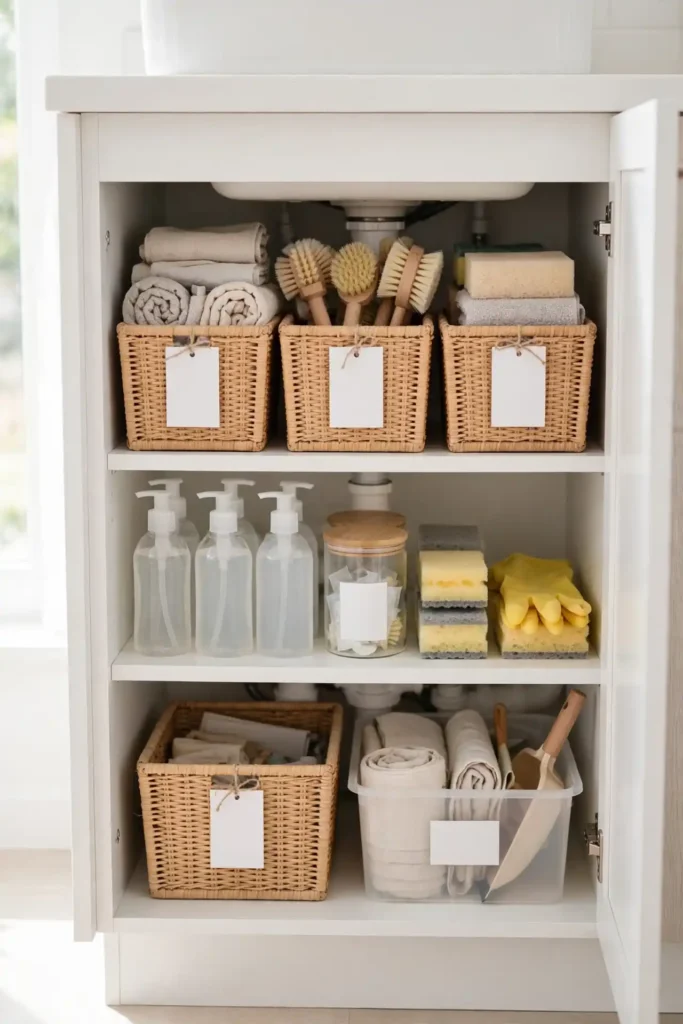
DO:
- Label shelves so everyone knows where things belong.
- Use a label maker for crisp, readable tags.
- Put the most used items at the front edge.
- Update labels when you rearrange the layout.
DON’T:
- Do not skip labels thinking you will remember.
- Do not use sticky notes that fall off in humidity.
- Do not label the cabinet door where heat warps adhesive.
Labels sound boring until you live with them for a week. The whole family starts putting things back in the right spot without being asked. I relabel twice a year when seasons change my cleaning routine. Clear labels turn a shared cabinet from chaos into calm.
Small Trash Setup
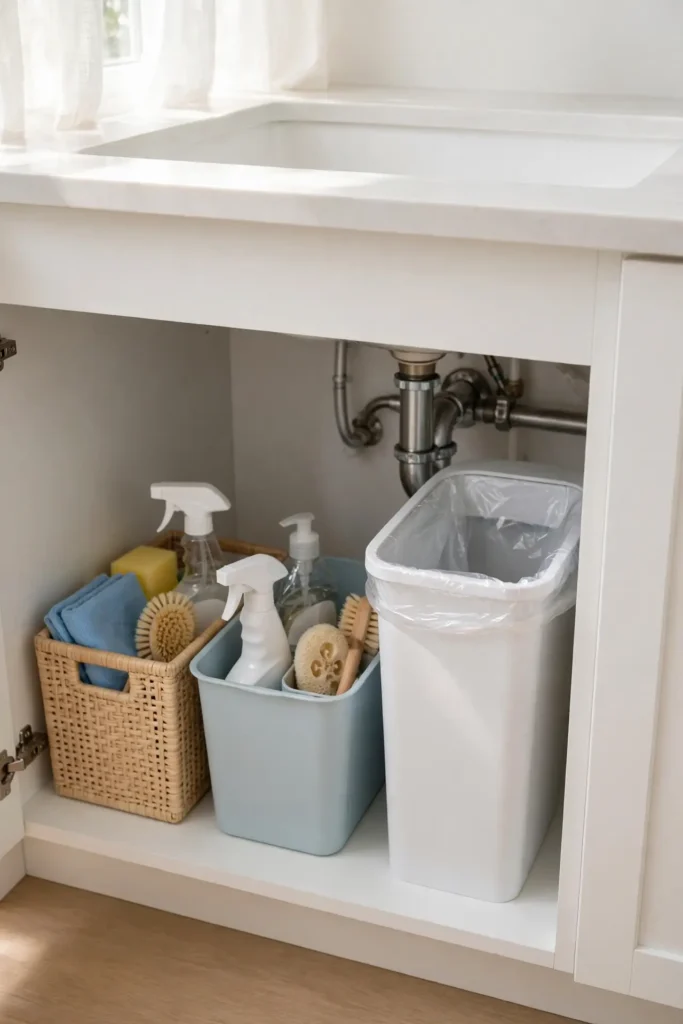
A small trash setup under the sink keeps wrappers and empties from piling on counters.
Cost: Low, a mini bin costs a few dollars. Time: Ten minutes to set up. Skill Level: Beginner, zero tools needed. Best For: Kitchens with limited counter space.
A slim trash can tucked under the sink catches the little daily things that clutter counters. Think empty boxes, used sponges, and worn out gloves. I empty mine every trash day so odors never build up. Line it with a small bag for mess free quick swaps. This tiny addition keeps the whole area definitely feeling fresh.
Waterproof Shelf Liners
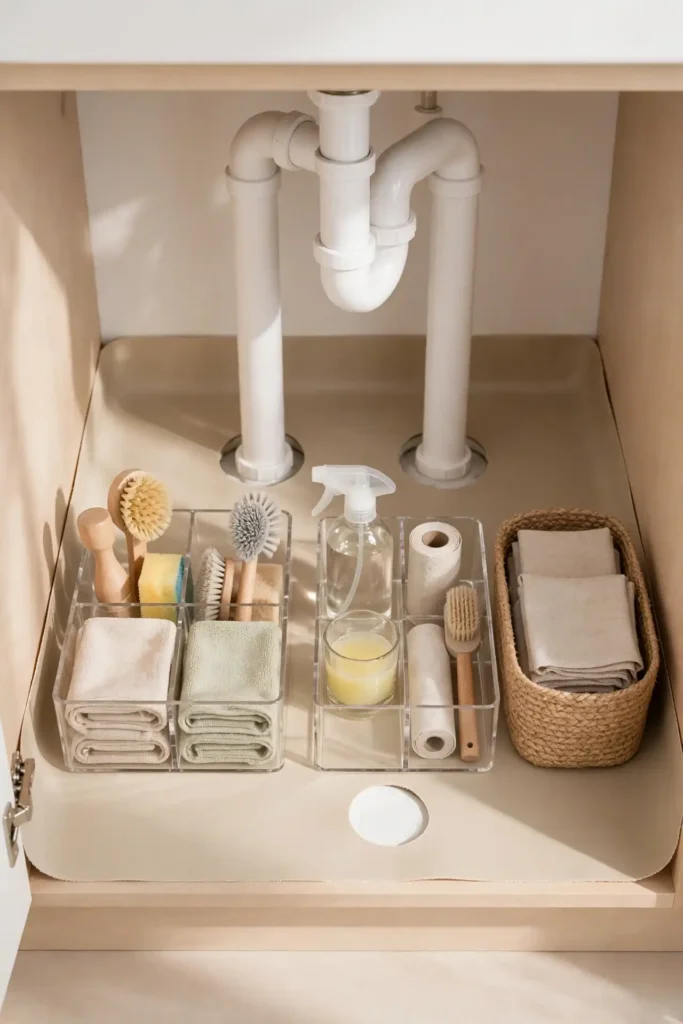
Waterproof shelf liners protect the cabinet floor from the slow drips every sink eventually develops. Cut the liner to fit around the pipes and lay it flat before adding any organizers. The liner catches spills and wipes clean in seconds. I have noticed that cabinets with liners look new years longer than bare ones.
Good under sink storage always starts with protection first and pretty second. A liner costs little but saves the cabinet from water damage that is expensive to fix. Replace it once a year or whenever it starts curling. This quiet layer does more work than almost anything else in the cabinet.
Cleaning Caddy Station
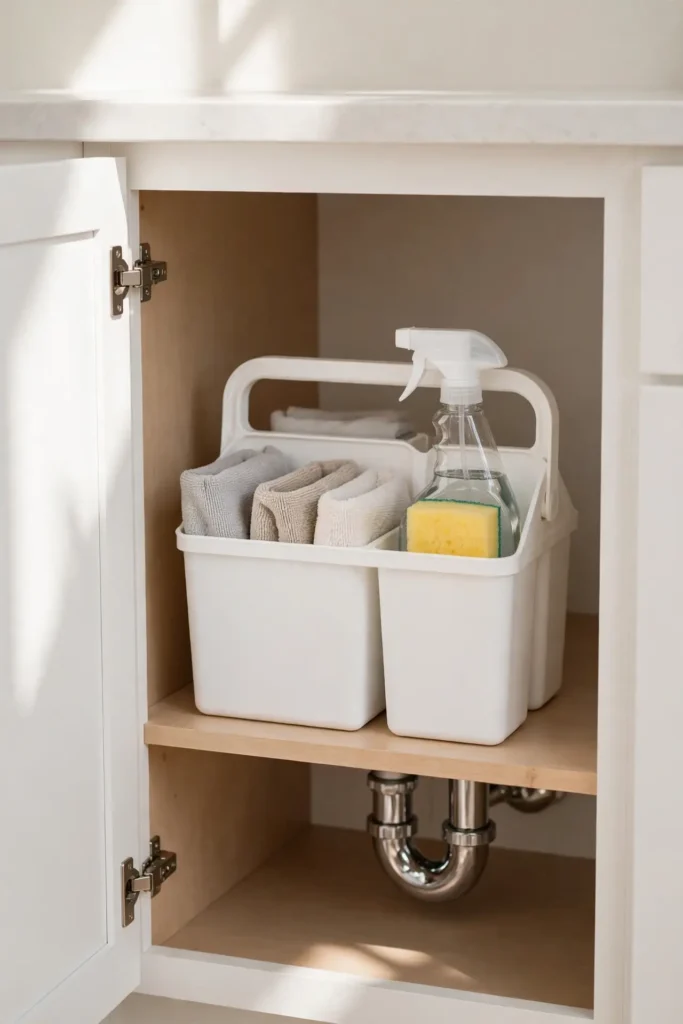
- Dedicate one caddy to the cleaners you use weekly.
- Include an all purpose spray, sponge, and microfiber cloth.
- Store the caddy where you can grab it with one hand.
- Restock it the moment anything runs low.
- Keep a second caddy for bathroom specific products.
A dedicated cleaning caddy turns tidying into a simple grab and go habit you will actually keep. Carry it from room to room instead of hunting for supplies in three places. I keep mine stocked with just the basics so it stays nice and light. When everything lives in one caddy, cleaning actually happens much more often.
Adjustable Shelf Inserts
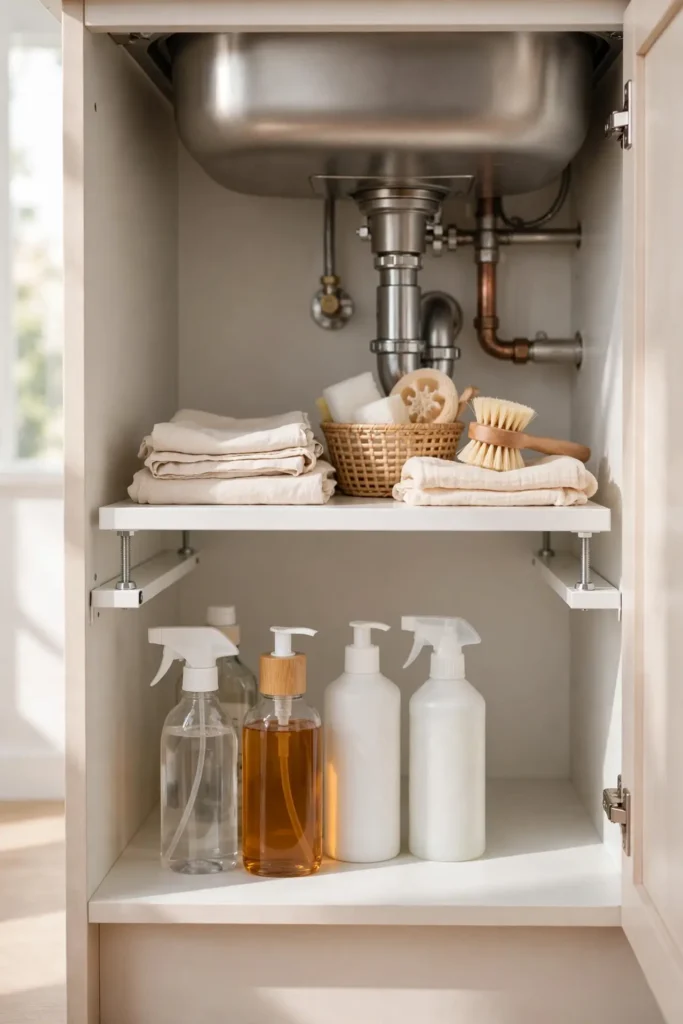
Quick Tip: Adjustable shelf inserts create a second level inside tall cabinets without any drilling. Twist the feet to match your exact cabinet height. Slide cleaning bottles underneath and stack lighter items on the shelf above. Check that the insert clears the pipe before you load it up with heavy bottles.
These inserts adapt to whatever plumbing layout you have, which makes them great for older homes. I have noticed they stay steadier when loaded with weight on the bottom. Wipe the shelf surface monthly since dust settles fast in dark cabinets. One insert can double your usable space overnight.
Sponge Holder Spots
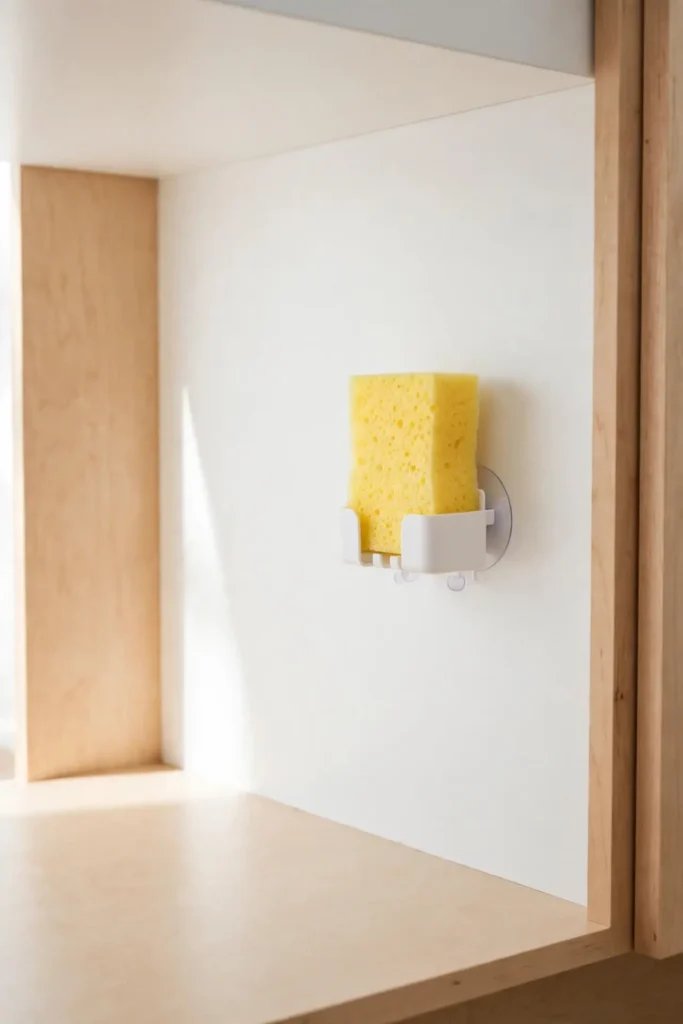
BEFORE: The sponge sits in a puddle on the cabinet floor and starts smelling within days. It slides around every time you reach for something else. Bacteria loves the damp mess.
AFTER: A small suction holder sticks the sponge to the cabinet wall where air flows around it. It dries between uses and stays fresh much longer. The floor stays dry and clean underneath.
Sponge holders are tiny but they solve a real hygiene problem. A dry sponge lasts longer and smells better than one sitting in water. I replace my sponge monthly and clean the holder weekly. This five minute habit keeps the whole cabinet fresher.
Group Like Items
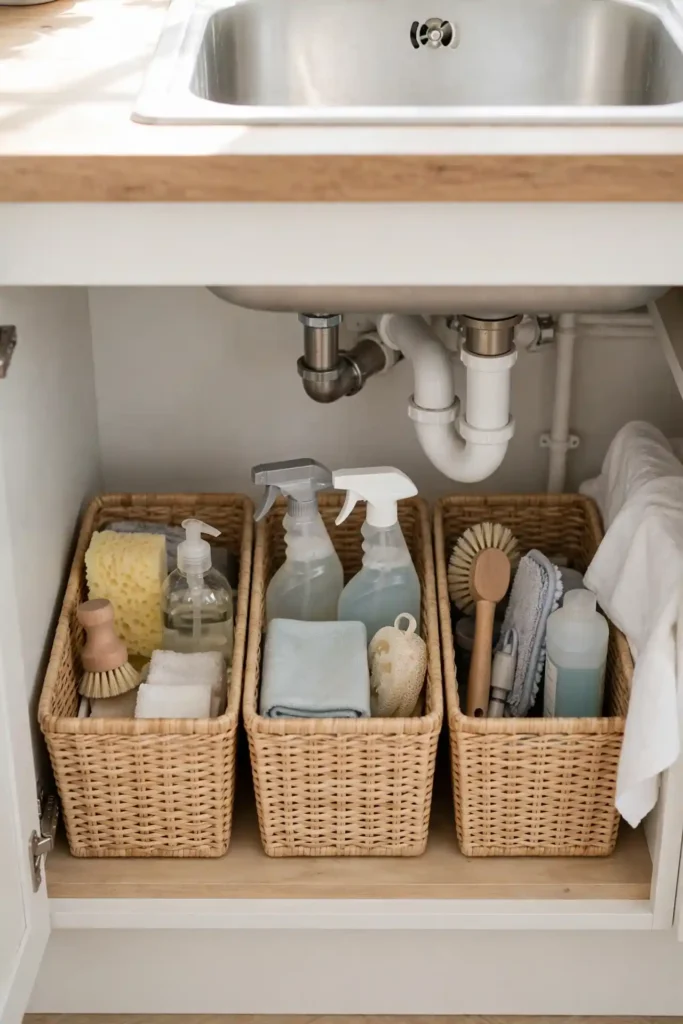
- Pull everything out and sort items into keep, toss, and relocate piles.
- Group the keepers by task like dishes, surfaces, and floors.
- Assign each group its own bin or shelf zone.
- Put daily groups up front and occasional ones in back.
- Label each zone so the system survives busy weeks.
Grouping like items is the heart of good under sink storage because it ends the whole daily hunt. When dish supplies live together, you just grab and go without thinking. Our bathroom vanity ideas use the same grouping trick for toiletries. I regroup twice a year to match changing routines.
Under Pipe Trays
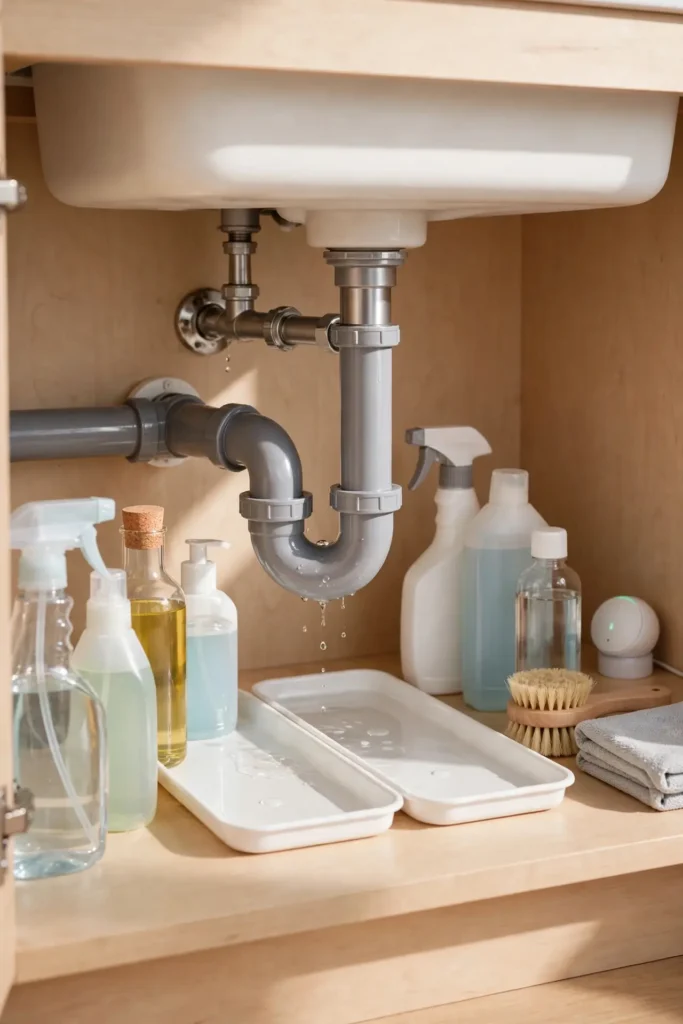
Low clearance should never mean wasted space. Shallow trays slide under low pipes and catch every drip. Here is how tray materials compare for this specific job.
| Feature | Plastic Trays | Metal Trays |
|---|---|---|
| Drip proof | Fully sealed | May rust |
| Cleaning | Rinse quickly | Scrub needed |
| Price | Very cheap | Mid range |
| Best for | Daily drips | Heavy bottles |
Plastic trays win for most homes because they never rust and cost almost nothing. Metal trays suit heavy bottle collections that need a sturdier base. I line my trays with a paper towel for extra absorption. Either choice beats letting drips soak straight into the cabinet floor.
Childproof Lock Latch
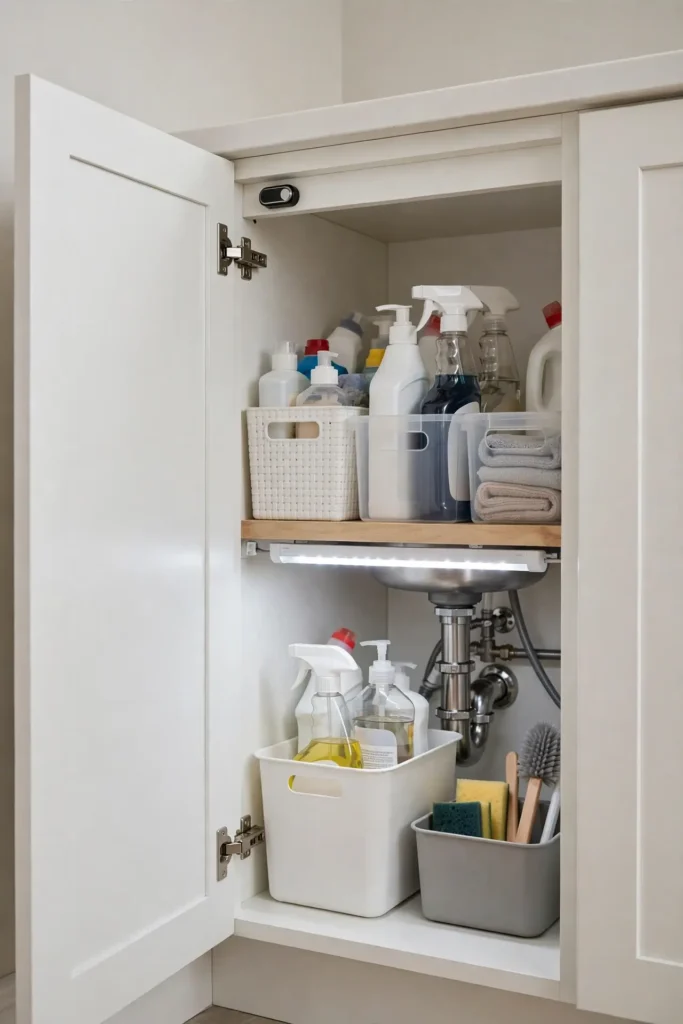
DO:
- Install a magnetic lock high inside the cabinet door.
- Test the lock with kids present to confirm it works.
- Store all chemicals on the highest shelf available.
- Keep the poison control number saved on your phone.
DON’T:
- Do not rely on a simple latch toddlers can figure out.
- Do not store detergent pods where little hands reach.
- Do not leave the cabinet open while you step away.
Childproofing takes minutes and prevents real emergencies. Magnetic locks stay invisible from outside but stop curious hands cold. I installed mine in under ten minutes with no drilling. Peace of mind is worth far more than the small cost.
Seasonal Swap System
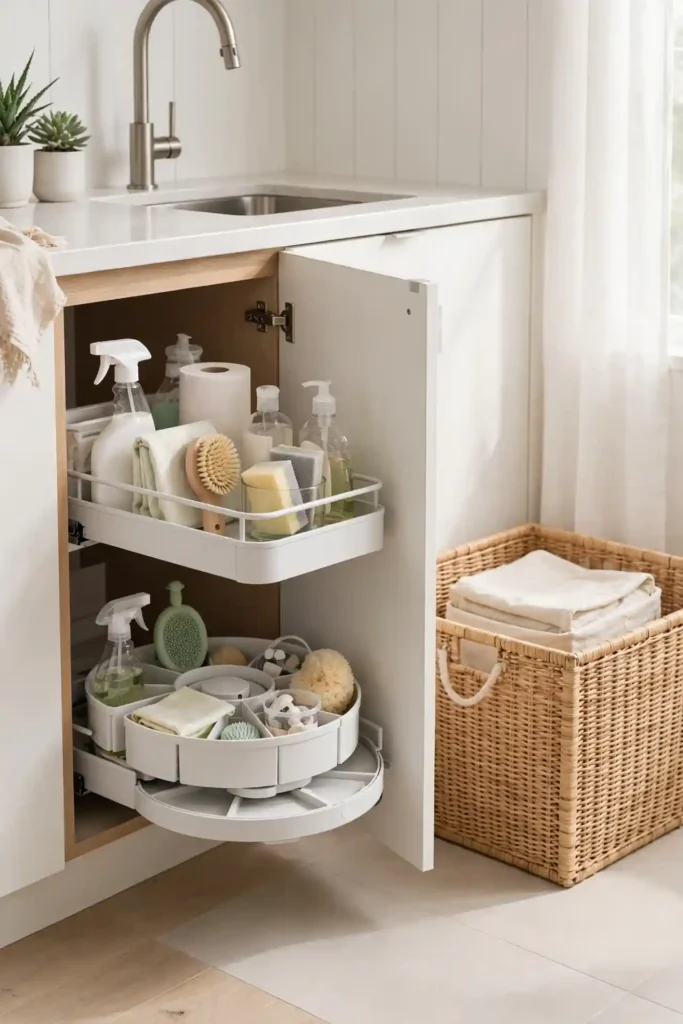
Swapping seasonal items keeps the cabinet relevant all year without growing cluttered.
Cost: Free, you already own the bins. Time: Thirty minutes twice a year. Skill Level: Beginner, just sorting and moving. Best For: Homes with changing seasonal needs.
A seasonal swap system keeps only current supplies under the sink. Move winter de-icer out in spring and bring in extra sunscreen and bug spray. I do my swaps when the clocks change so I never forget. Store off season items in a labeled bin elsewhere. This rhythm stops the cabinet from slowly filling with things you no longer actually use.
Conclusion
Small cabinets can hold a surprising amount once every item has a real home. Pick three or four ideas from this list and tackle one cabinet this weekend. Better under sink storage saves time every single day, and you will feel the difference immediately. Save your favorites on Pinterest, share this guide with someone battling cabinet chaos, and enjoy a space that finally works. Start with the cabinet you open most, then repeat what works in the others. Your future self will thank you every cleaning day. I have seen how small changes like these can completely shift the way a space feels.