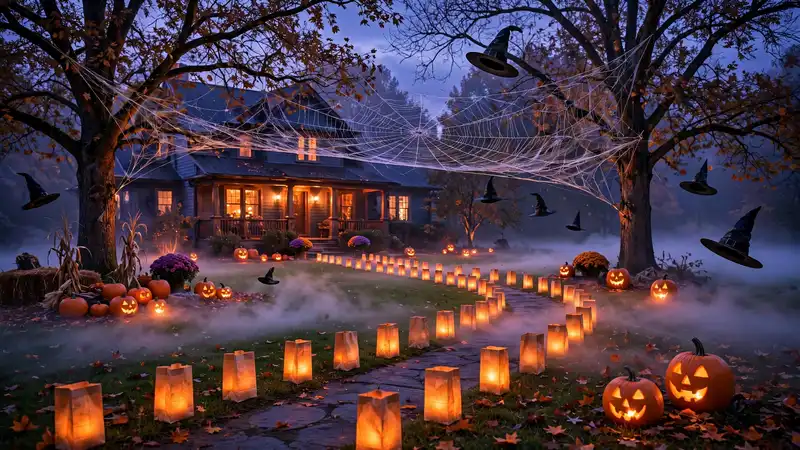
22 DIY Outdoor Halloween Decorations for Spooky Curb Appeal
Your front yard sets the stage for Halloween night, and diy outdoor halloween decorations let you build that spooky curb appeal without spending a fortune. Store-bought displays look fine, but handmade pieces carry personality and charm that neighbors remember long after October ends.
In my experience, the best outdoor setups mix a few statement pieces with simple fillers, so the yard feels full without looking cluttered. These 22 ideas use affordable materials like pallets, cheesecloth, and dollar-store finds, and most come together in a single afternoon. If you loved the closet inspo ideas for organizing indoors, you will enjoy this creative outdoor challenge just as much.
Pallet Ghost Family
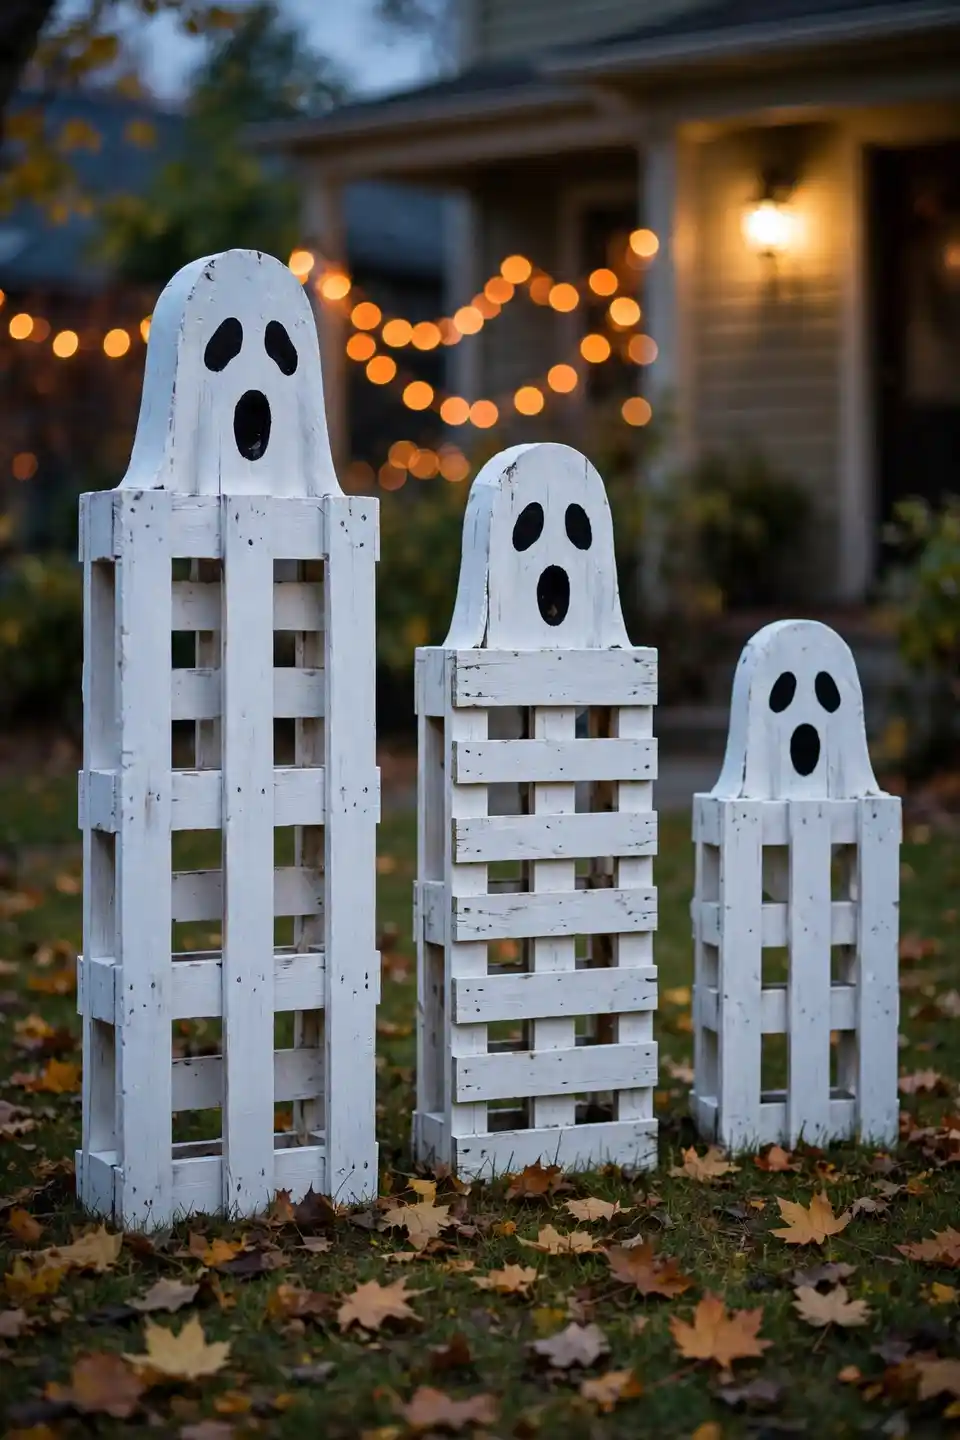
Old shipping pallets become the friendliest ghosts on the block with nothing more than white paint and a jigsaw. Cut each pallet into a rounded ghost silhouette, sand the edges smooth, and paint two coats of exterior white so the wood survives October rain.
Paint simple oval eyes and an open mouth with black outdoor paint, then stake each ghost into the lawn at different depths for a family effect. I’ve seen this work well in many cases when the tallest ghost goes near the walkway and the smaller ones peek from behind bushes, creating depth that flat store-bought cutouts never achieve.
Floating Witch Hats
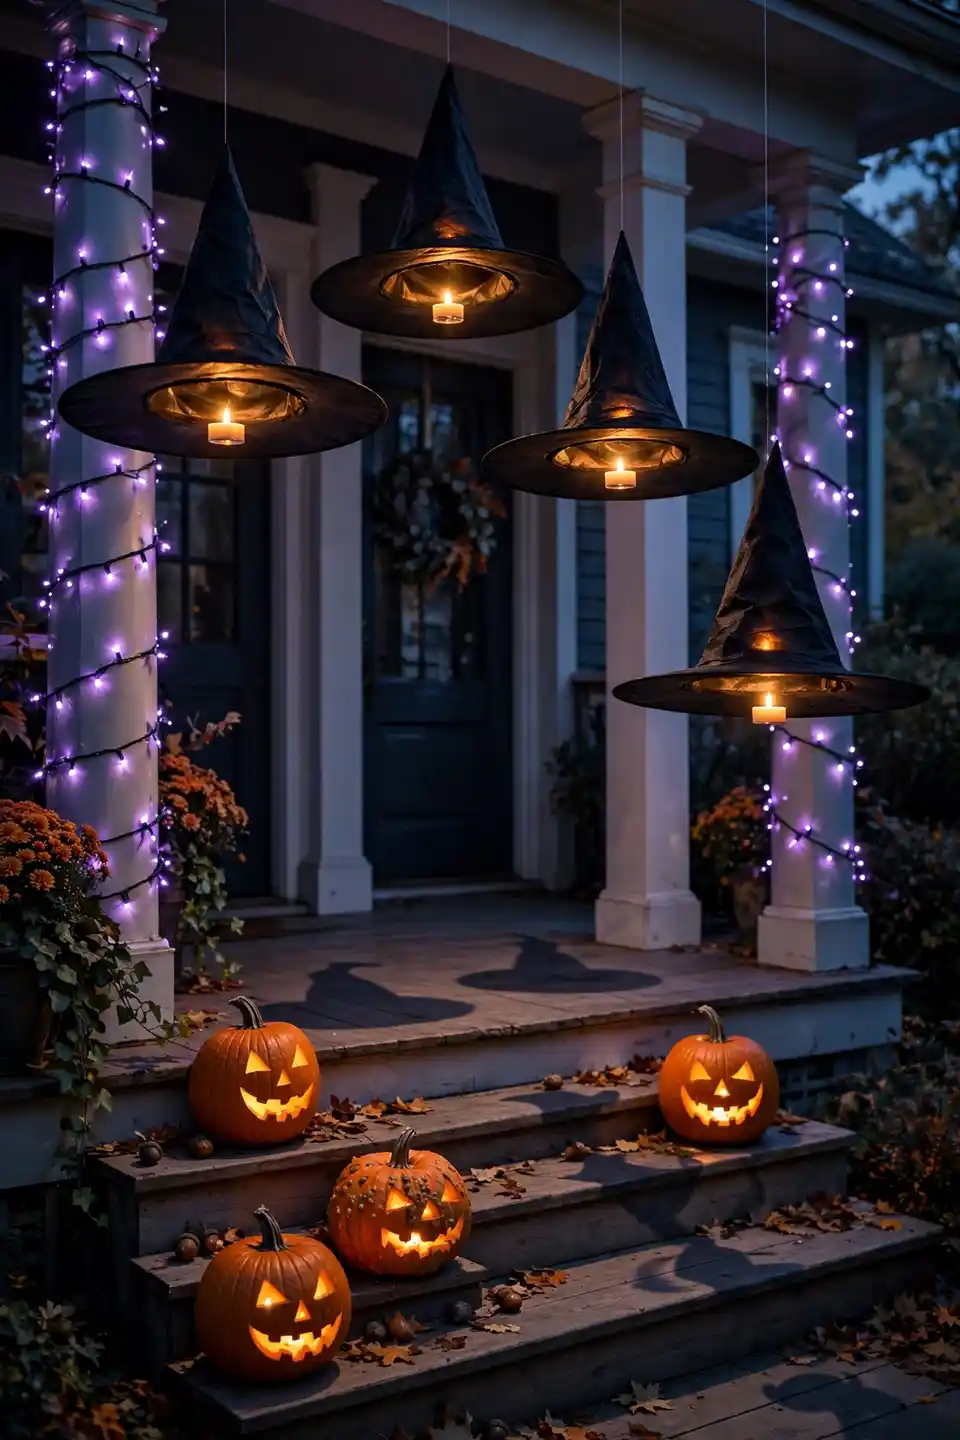
- Buy inexpensive black witch hats from a dollar store, usually three for a few dollars.
- Thread clear fishing line through the tip of each hat and tie a small loop.
- Drop a battery tea light inside each hat before hanging for a magical glow.
- Hang hats at staggered heights from porch beams or a tree branch.
- Add a few plastic spiders on the brims for extra creep factor.
These floating hats catch every breeze, so they sway gently and look alive after dark. Hang them over the walkway where guests pass underneath, and the flickering tea lights will make everyone look up. That’s why many experts recommend grouping them in odd numbers for the most natural, eye-catching arrangement.
Spooky Pathway Lanterns
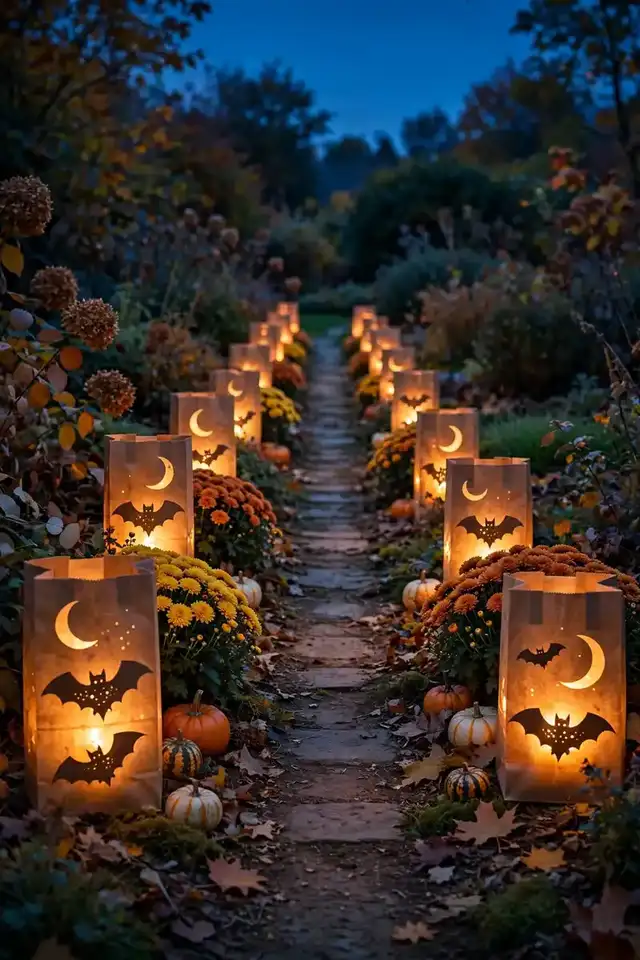
Quick Tip: Cut simple shapes like bats, moons, and cats from the sides of brown paper bags, then place a battery-operated tea light inside each one. Fold the top edge down twice for stability, and anchor each bag with a handful of sand so a gusty October night doesn’t send your lanterns tumbling down the street.
Line both sides of your walkway with these glowing bags, spacing them about three feet apart for an even rhythm. The cut-out shapes project dancing shadows onto the pavement that look far more expensive than the few dollars this project costs. In my experience, guests slow down to admire them, which builds anticipation before they even reach your door.
Giant Spider Web
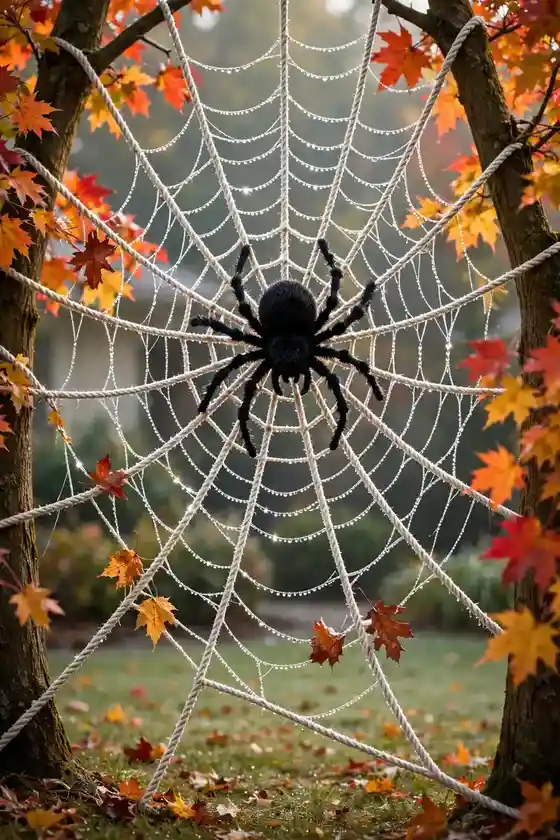
BEFORE: Two plain trees stood in the front yard with nothing between them, just empty space that trick-or-treaters walked past without a second glance. The lawn felt flat and forgettable on Halloween night.
AFTER: A massive rope web now spans the gap, with a three-foot fuzzy spider dangling in the center. Kids stop to stare, parents take photos, and the whole yard suddenly has a focal point that anchors every other decoration around it.
Stretch white clothesline rope in a radial pattern between anchor points, then weave concentric circles to complete the web. This project scales to any size, and the rope stores flat for next year. I’ve noticed that adding a second smaller spider near the ground delights toddlers who might find the big one intimidating.
Pumpkin Archway Entry
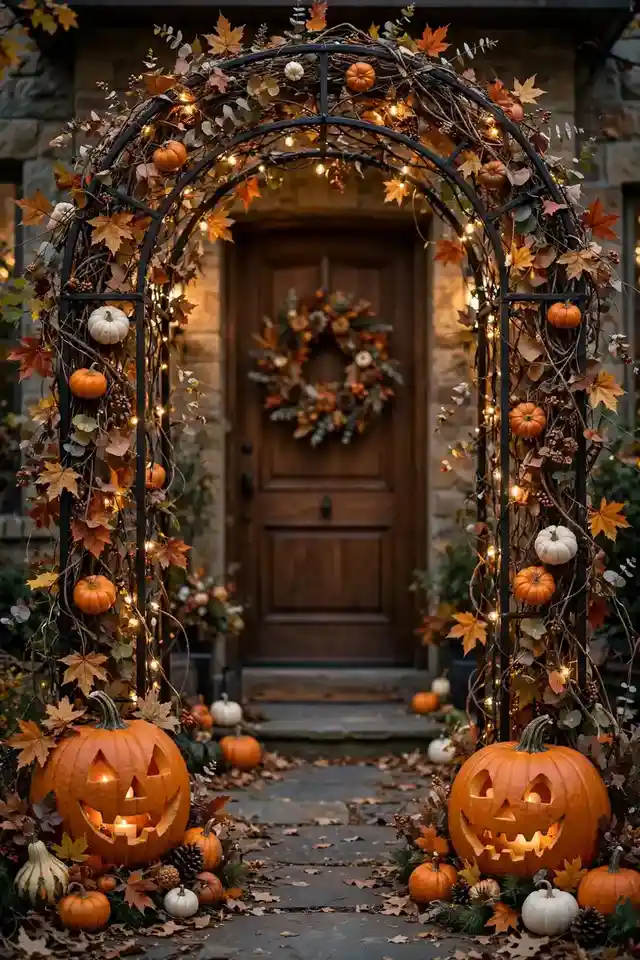
- Assemble a metal garden arch over your walkway and secure the feet with ground stakes.
- Wrap faux fall garland around the frame, securing it with zip ties every foot.
- Attach small foam pumpkins to the garland with hot glue or floral wire.
- Weave warm-white string lights through the vines for nighttime glow.
- Place two large carved pumpkins at the base on each side.
Walking under this arch feels like entering another world, which is exactly the effect you want. The foam pumpkins last for years, so this becomes a reusable investment. Keep the lights on a timer so the arch glows automatically each evening without you remembering to flip a switch.
Haunted Hay Bales
| Option | Best For | Cost |
|---|---|---|
| Real hay bales | Authentic farm look | Medium |
| Straw bale covers | Reusable storage | Low |
| Foam faux bales | Rainy climates | Higher |
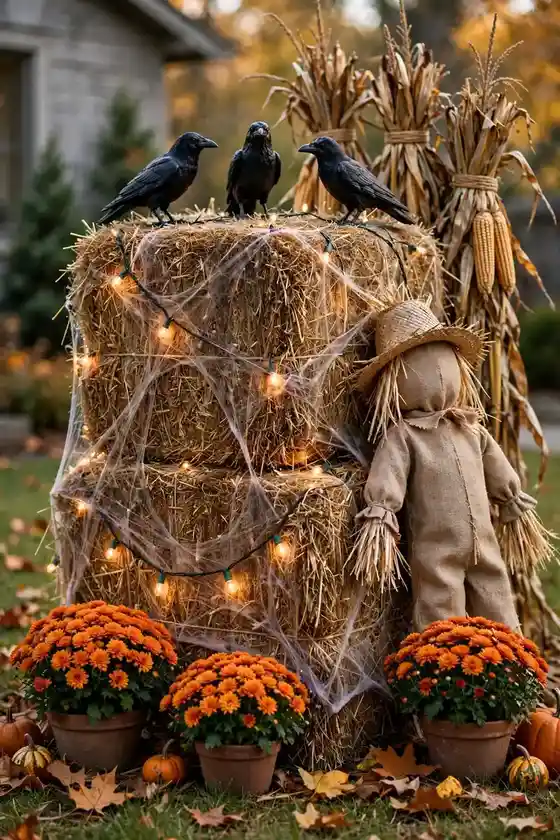
Stack two bales high for a display wall, then drape fake cobwebs and perch plastic crows on top. Real bales smell amazing and photograph beautifully, but they break down in rain, so cover them with a tarp during storms. Tuck small pumpkins and gourds into the gaps between bales for extra color and texture. In my experience, one weekend of dry weather is all you need for maximum impact, and the bales double as seating for your Halloween party guests.
Glowing Eyeball Bushes
DO:
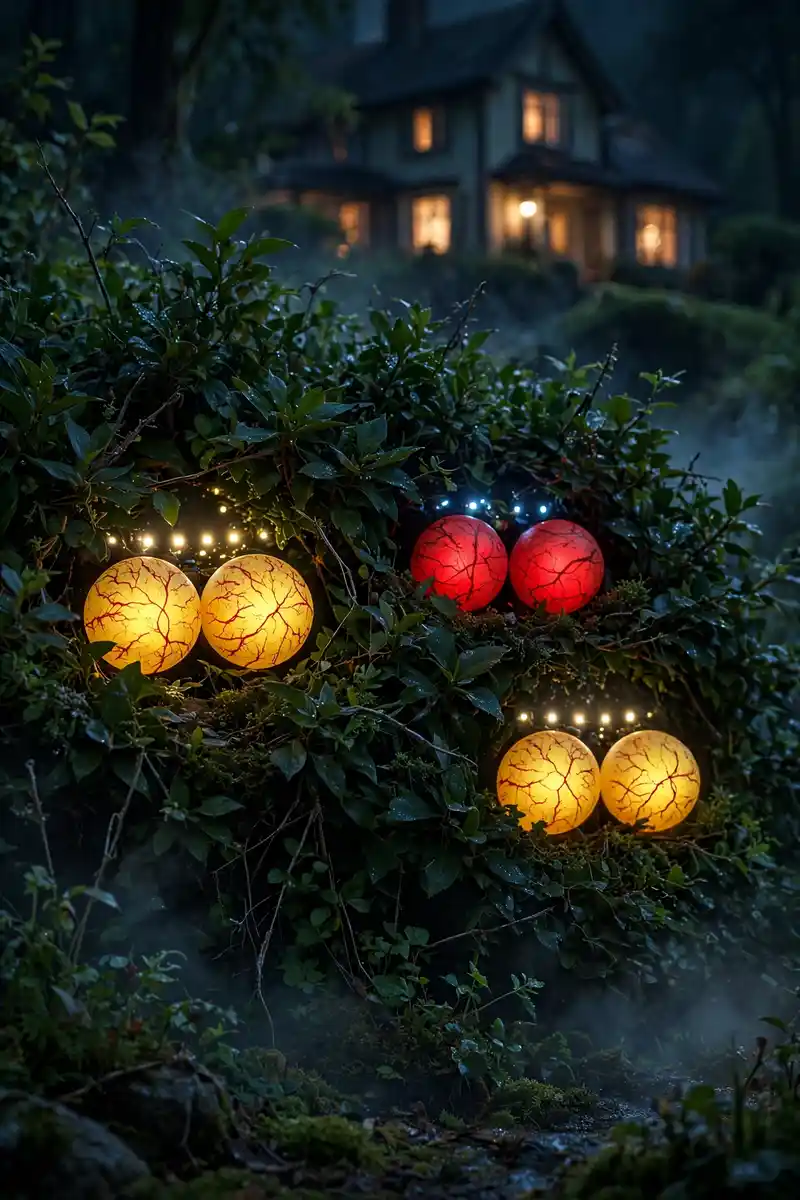
- Use large ping pong balls for eyes that read clearly from the street.
- Paint red veins with a thin brush for a creepy realistic effect.
- Push a small LED light behind each pair for a glowing stare.
- Cluster eyes in groups of three or four per bush.
DON’T:
- Don’t use real candles near dry bushes, which is a serious fire risk.
- Don’t space the eyes too far apart or they won’t read as pairs.
- Don’t forget to remove them before the first frost damages the paint.
These glowing eyes turn ordinary landscaping into something straight out of a haunted forest. The effect works best after full dark, so put the LEDs on a timer. Neighbors will slow their cars to stare.
Skeleton Flamingo Flock
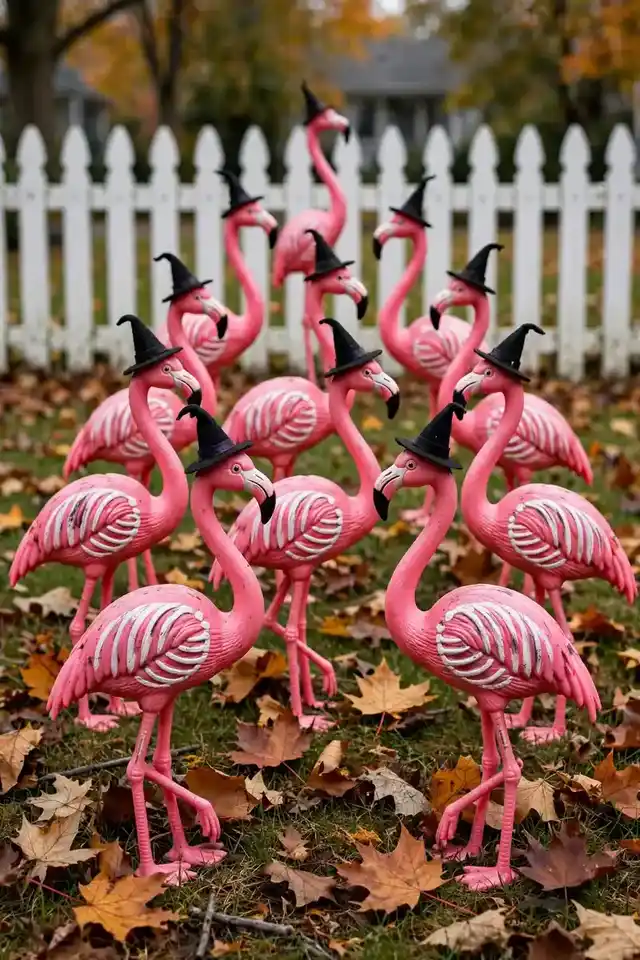
Cost: Low | Time: One afternoon | Skill Level: Beginner | Best For: Yards with a sense of humor
Paint white ribcage bones onto pink lawn flamingos with acrylic paint, then top each one with a miniature witch hat. This mashup of tropical kitsch and Halloween spookiness gets laughs from every passerby. I’ve seen this work well in many cases when the flock is arranged in a loose V formation, as if migrating somewhere delightfully weird. Add a few skeleton flamingo chicks, made from smaller bird figures, trailing behind the adults for a full family scene that kids find hilarious.
Creepy Cloth Ghosts
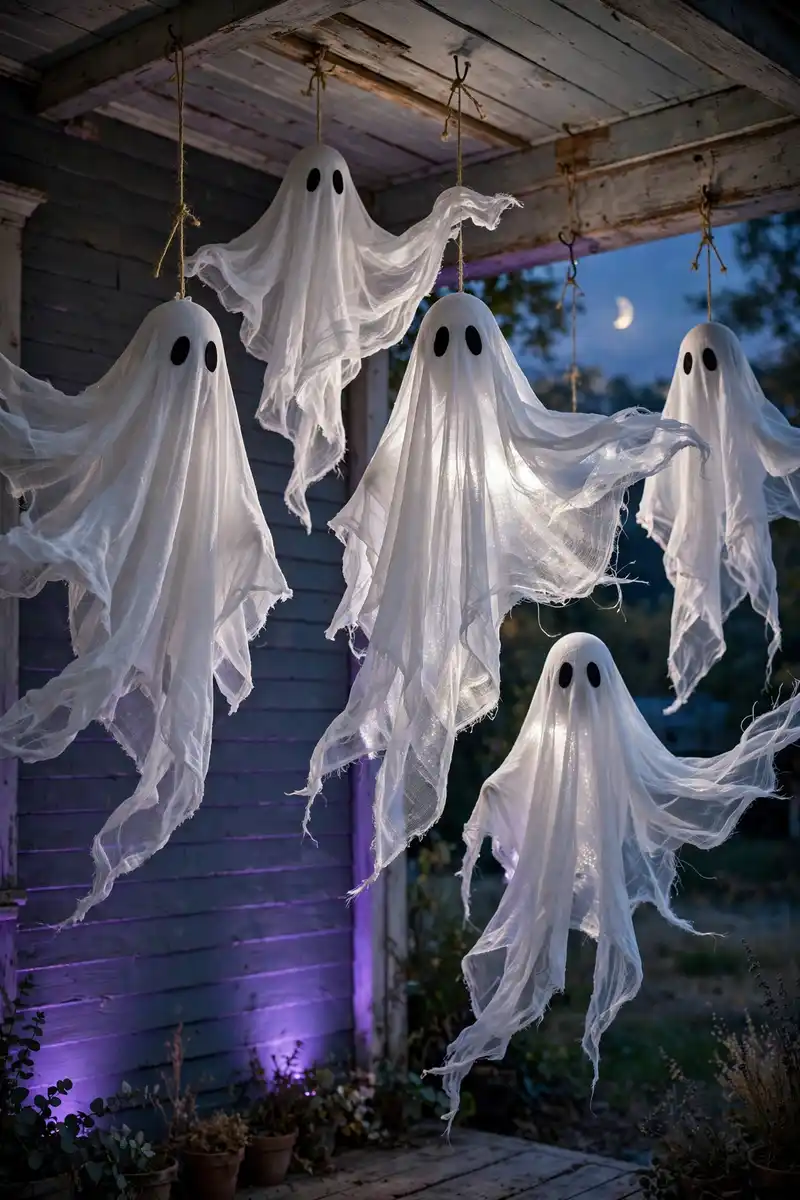
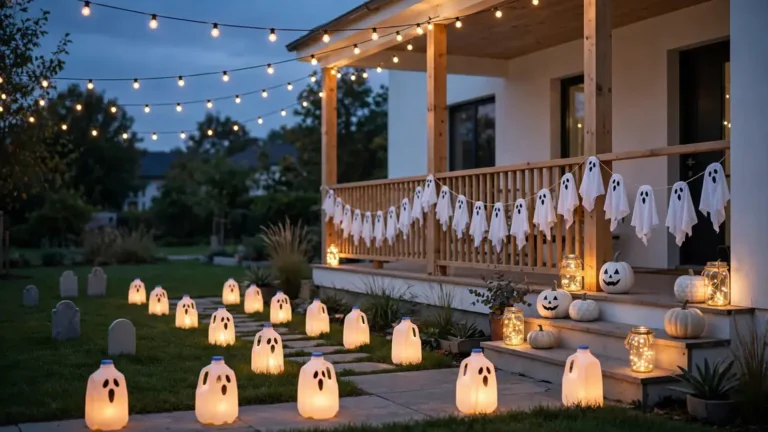
Cheesecloth ghosts are a Halloween classic because they look genuinely ethereal when done right. Drape white cheesecloth over a balloon-topped bottle form, then stiffen the fabric with a mixture of white glue and water brushed generously over every fold.
Once dry, pop the balloon and remove the form, leaving a hollow ghost that holds its shape. Hang several at different heights from your porch ceiling with fishing line. The stiffened cloth catches even slight breezes, making the ghosts appear to drift and dance. Add black felt eyes, and keep them out of direct rain to preserve the shape all season long.
Candy Corn Fence

- Cut candy corn shapes from foam board in three sizes for variety.
- Paint each with orange, yellow, and white horizontal stripes.
- Seal with outdoor mod podge so rain doesn’t ruin the paint.
- Zip-tie one candy corn to every other fence picket.
- Alternate sizes to create a playful rhythm along the fence.
This project turns a plain fence into a candy-themed border that kids absolutely love. The bright colors pop against green grass even in daylight, so your yard looks festive before the sun goes down. That’s why many experts recommend foam board over cardboard, since it survives an entire soggy October without sagging.
Witch Broom Parking
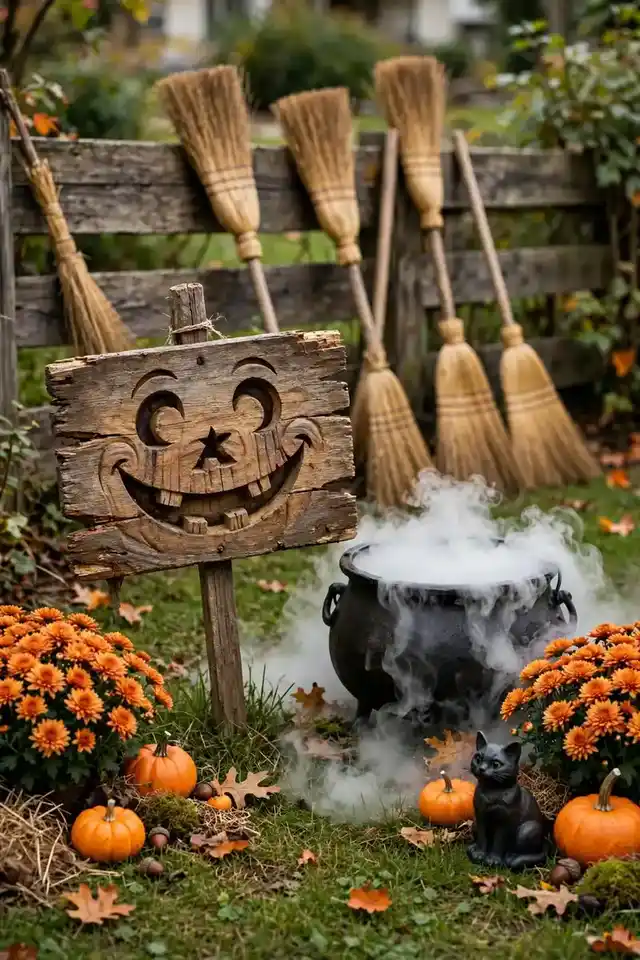
Quick Tip: Build the sign from a scrap wood plank and paint the words “Witch Parking Only, All Others Will Be Toad” in playful lettering. Lean three or four straw brooms against a fence or wall behind the sign, and add a black cauldron with dry ice at the base for fog on Halloween night. This display takes twenty minutes and becomes the most photographed spot in your yard.
The humor lands with every age group, from toddlers who giggle to grandparents who appreciate the pun. Position it near the sidewalk where foot traffic is heaviest. In my experience, adding a small spotlight on the sign after dark keeps the joke readable all evening.
Zombie Hand Planters
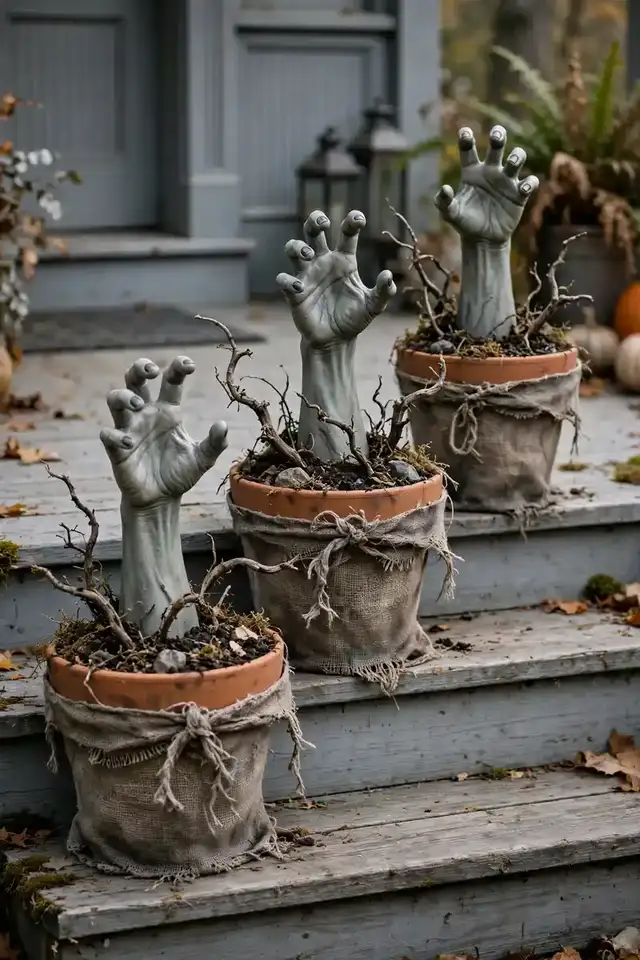
BEFORE: Empty terracotta pots sat on the front steps looking sad and forgotten after the summer flowers died. The entrance felt bare and uninviting as October arrived.
AFTER: Gnarled zombie hands now claw their way out of the soil, gripping dead branches and tattered cloth. The steps have become a miniature graveyard scene that makes every visitor do a double take.
Fill pots with soil, push plastic zombie arms deep into the center, and arrange dead branches around them. Spray the hands with gray-green paint for a rotting effect. This project costs almost nothing if you already own the pots, and the arms store easily for next year.
Floating Candle Pathway

- Choose lightweight LED pillar candles in three different heights.
- Tie clear fishing line securely around the middle of each candle.
- Hang the lines from a sturdy tree branch or a horizontal pole.
- Adjust heights so candles float between knee and shoulder level.
- Turn them on at dusk and watch the path come alive.
The floating effect is pure magic after dark, like something from a wizard movie. Because the candles are LED, there is no fire risk and no wax dripping on the pavement. I’ve noticed that hanging them over a slightly curved path creates the most enchanting perspective for approaching guests.
Monster Door Wrap
| Option | Effort | Durability |
|---|---|---|
| Paper wrap kit | 15 minutes | One season |
| Fabric door cover | 30 minutes | Multiple years |
| Hand-painted design | 2 hours | Permanent |
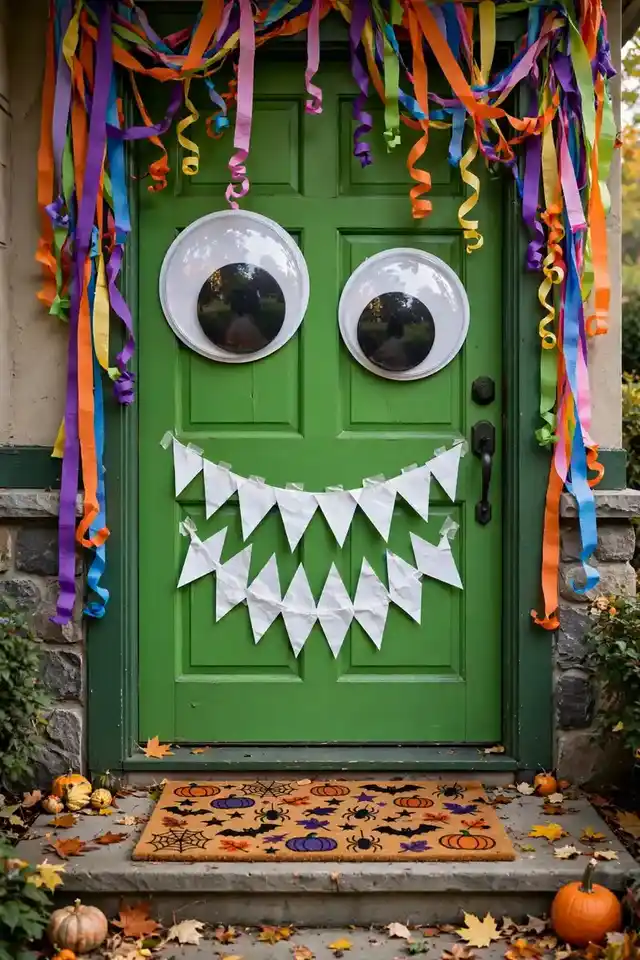
Turn your front door into a friendly monster with big eyes and a toothy grin. Paper kits are the fastest option and come in dozens of designs, from silly to spooky. Smooth the wrap over the door, trim around the handle, and secure the edges with painter’s tape that won’t damage the finish. Kids will race to knock on the monster’s mouth, which makes every trick-or-treat visit more fun and memorable. Choose a design that matches your yard theme, from goofy one-eyed monsters for young kids to fanged beasts for older crowds.
Eerie Fog Machine
DO:
- Place the machine behind decorations so the fog rolls forward naturally.
- Use fog fluid rated for outdoor use to avoid slippery residue.
- Run it in short bursts rather than continuously to save fluid.
- Position a fan nearby to push fog low across the lawn.
DON’T:
- Don’t aim fog directly at the walkway where guests might trip.
- Don’t run it during high wind, which scatters the effect instantly.
- Don’t leave it unattended around small children or pets.
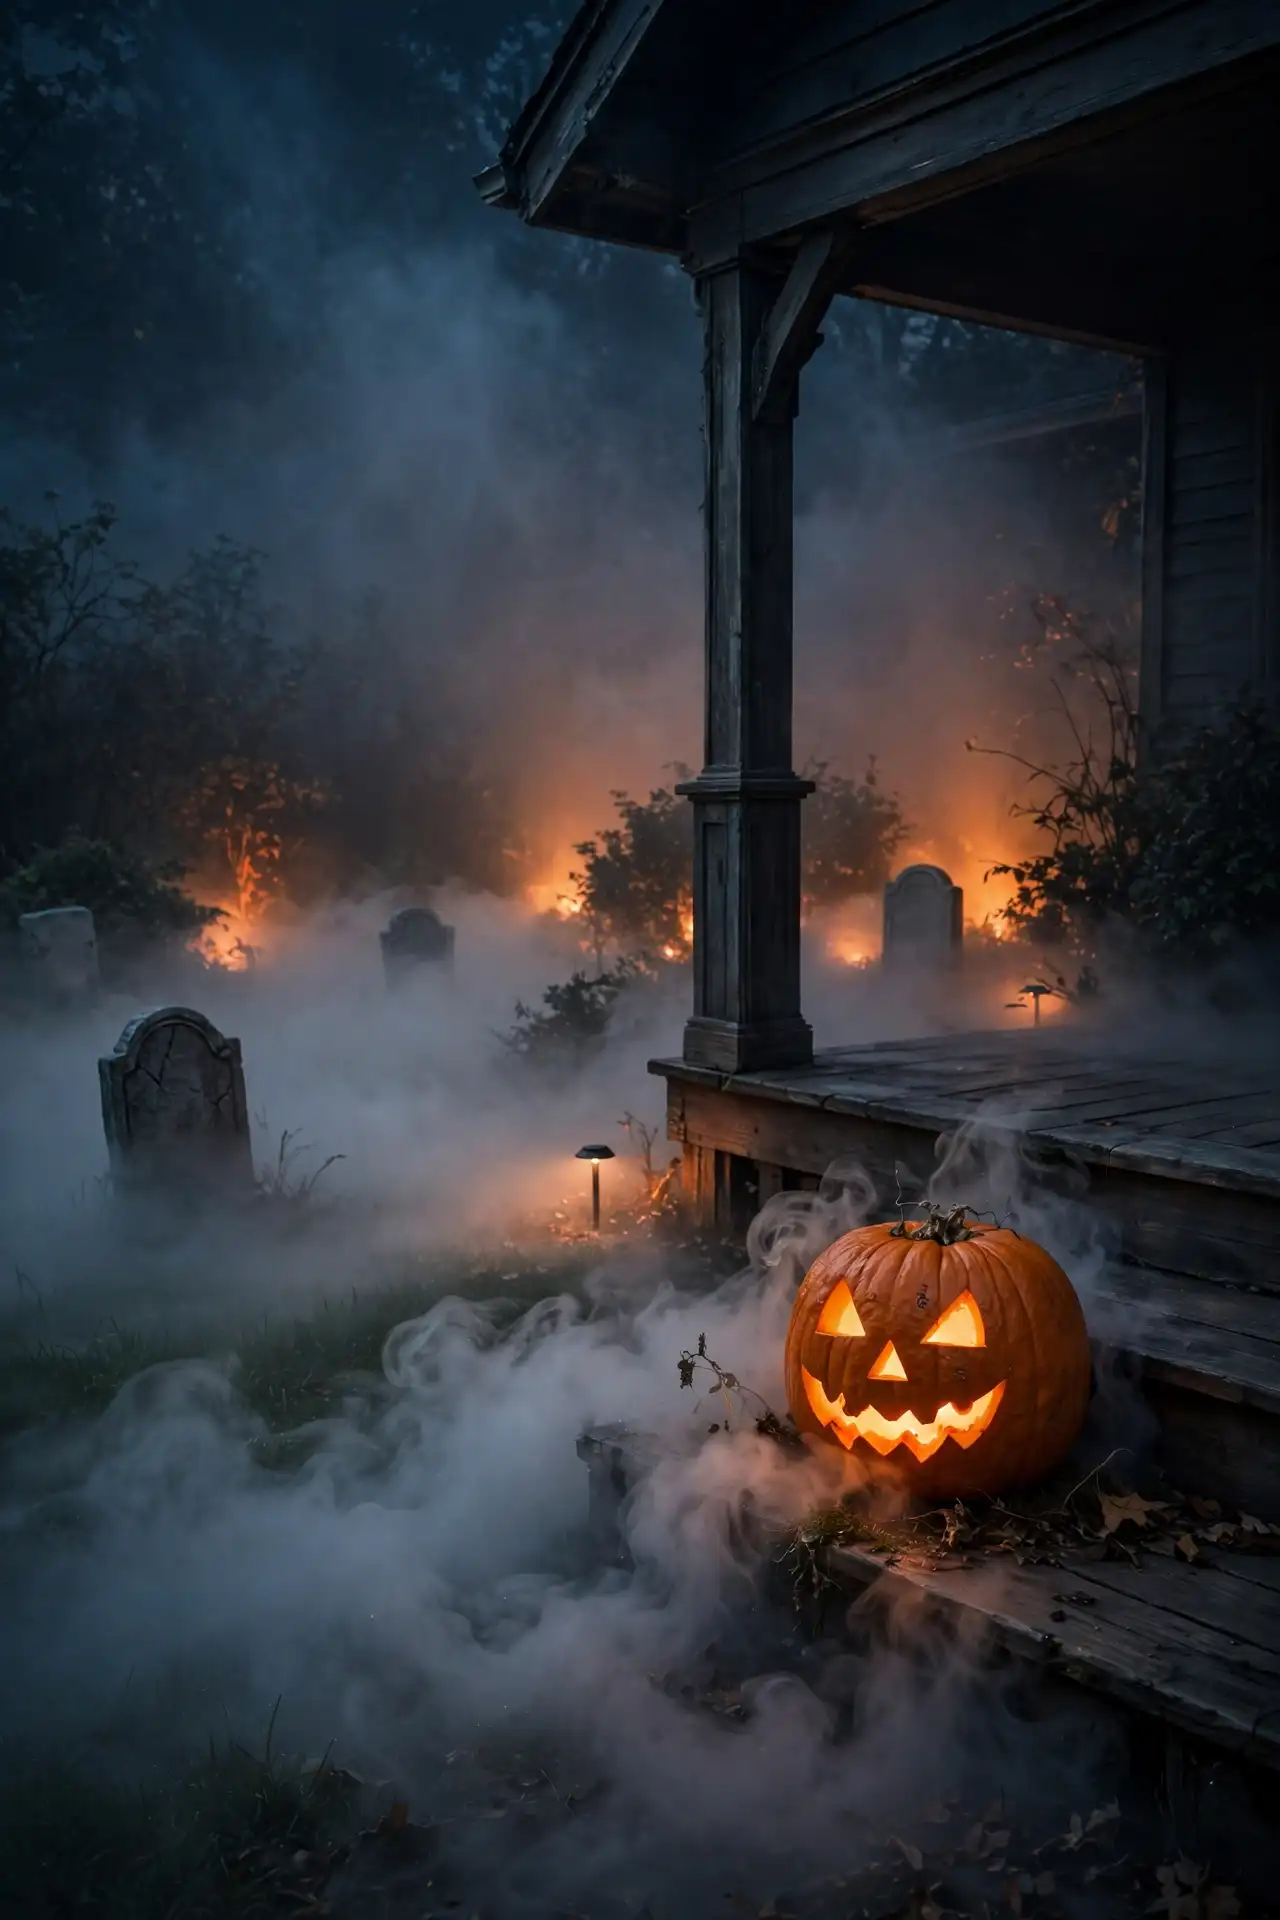
Nothing transforms a yard faster than ground fog drifting between tombstones. A basic machine costs less than a bag of candy and creates atmosphere that expensive props cannot match. In my experience, the fog looks best when paired with colored uplighting in orange or purple.
Pumpkin Totem Poles
Cost: Medium | Time: One weekend | Skill Level: Intermediate | Best For: Large front yards
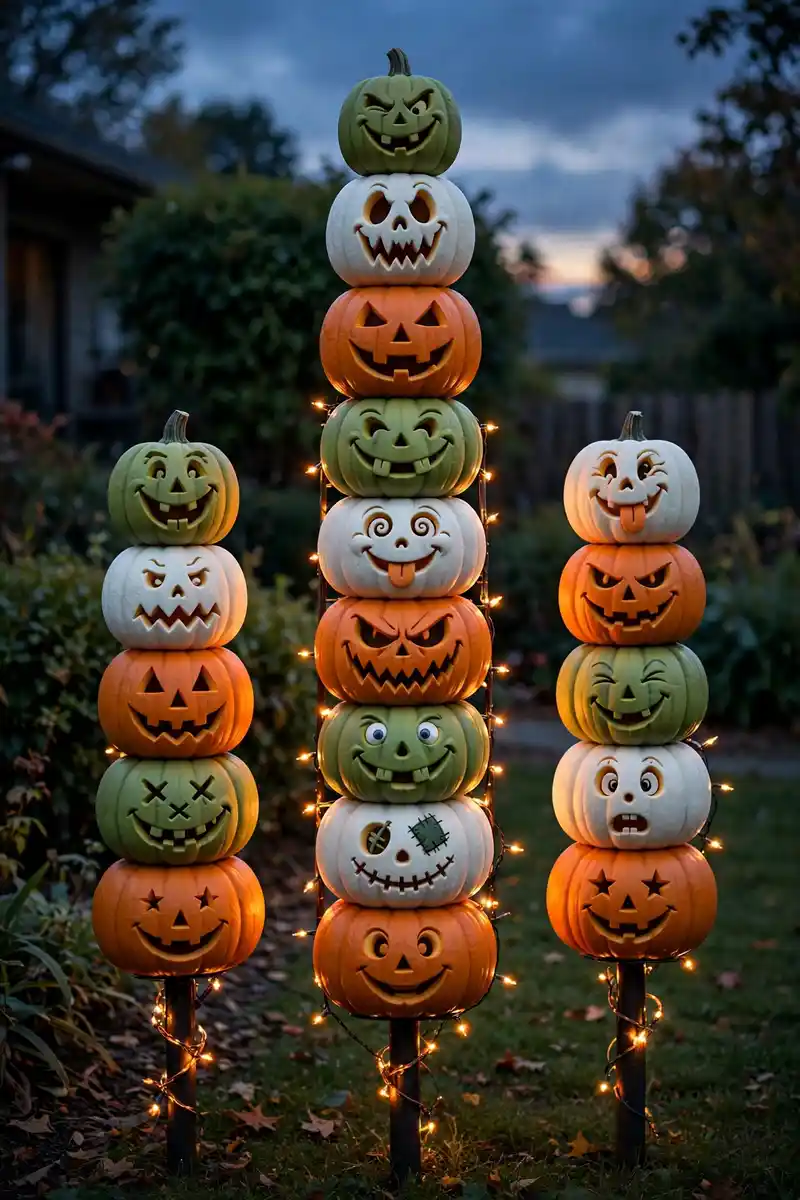
Stack foam pumpkins on sturdy metal poles to create towering totems that dominate the yard. Carve a different face into each pumpkin, alternating scary and silly expressions up the stack. I’ve seen this work well in many cases when the tallest totem goes in the center and shorter ones flank it, creating a balanced composition visible from down the street. Secure each pole deep in the ground so autumn winds can’t topple your display. Wrap the poles with orange fairy lights to make the totems glow dramatically after sunset.
Spider Egg Sacs
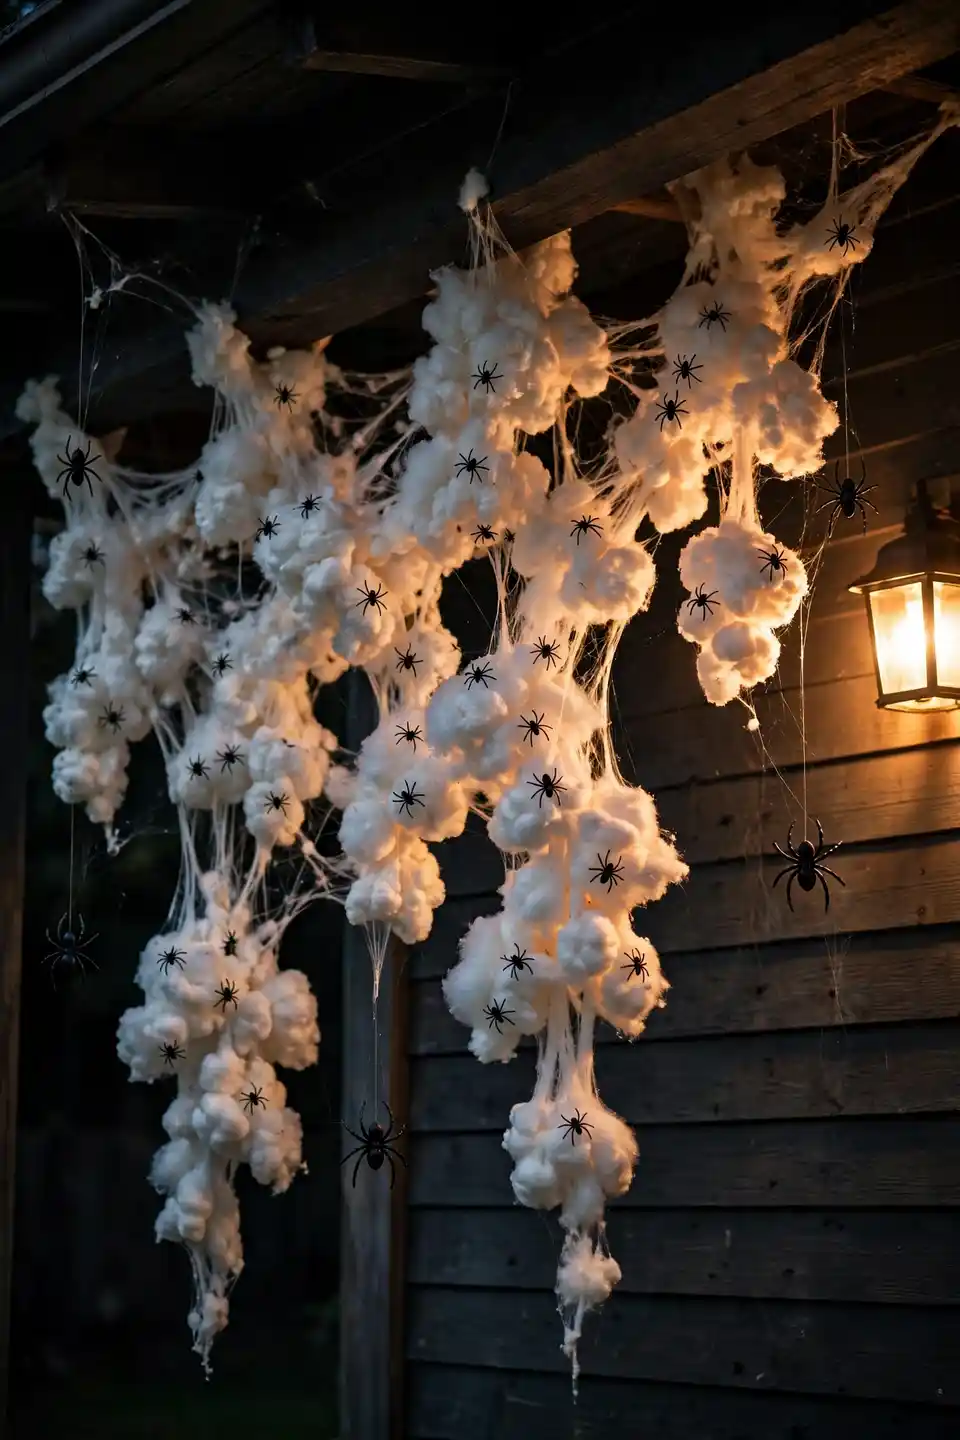
Stretch white polyester batting into lumpy sac shapes and staple them under your porch eaves. Scatter dozens of tiny plastic spiders across the sacs and the surrounding wall, with a few dangling from threads at different lengths.
The sacs look disturbingly organic, especially when backlit by porch lights that make the white batting glow. This decoration plays on a primal fear of spiders without showing anything graphic or gory. Keep the sacs dry, since wet batting sags and loses its lumpy texture. That’s why many experts recommend placing them under covered areas where rain cannot reach them. Add a few larger spiders rappelling down on threads for a truly skin-crawling finishing touch.
Ghostly Sheet Figures
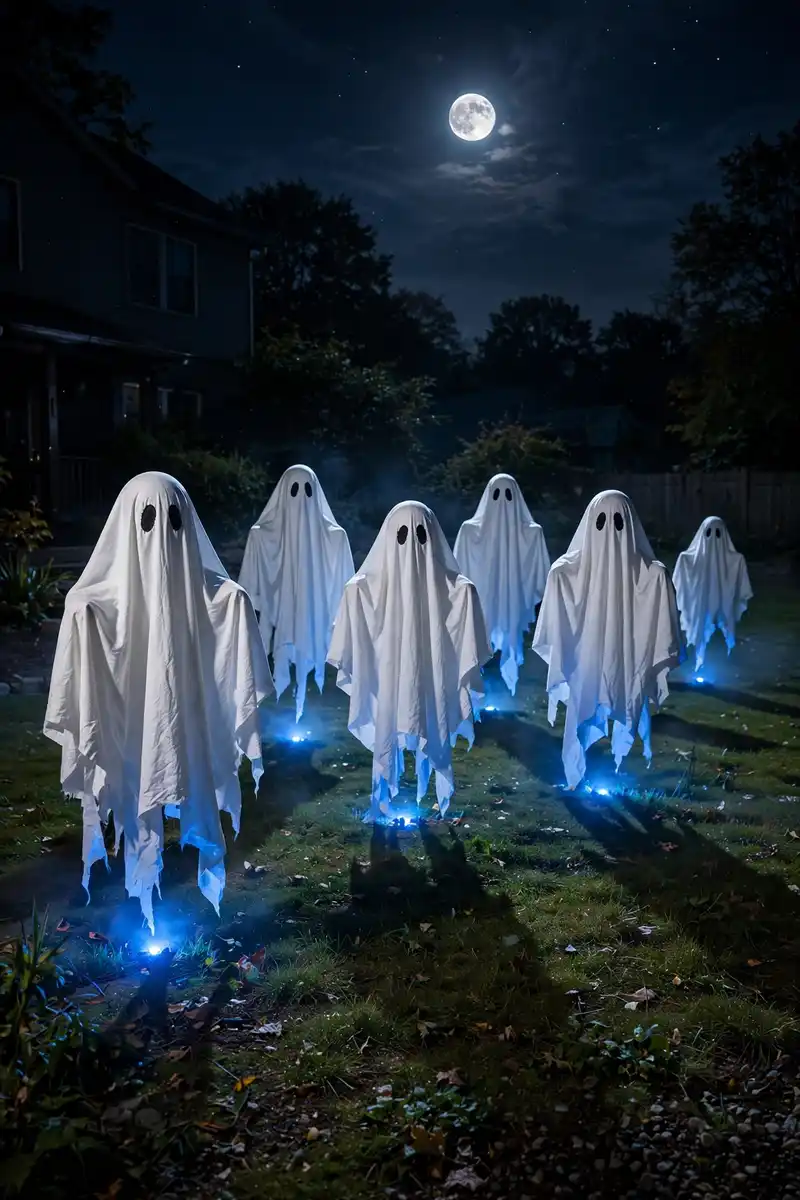
- Place a tomato cage upside down over a ground stake for each figure.
- Drape a white twin sheet over the cage, centering it carefully.
- Cut simple oval eyes from black felt and pin them in place.
- Let the bottom edges hang unevenly for a tattered look.
- Stake each figure firmly so wind doesn’t topple them.
These classic sheet ghosts never go out of style because they read instantly from the street. The tomato cage gives them a rounded head and shoulders that flat sheets lack. Arrange them in a loose group as if drifting together, and add a spotlight from below for dramatic upward shadows on Halloween night.
Lantern-Lit Pumpkins
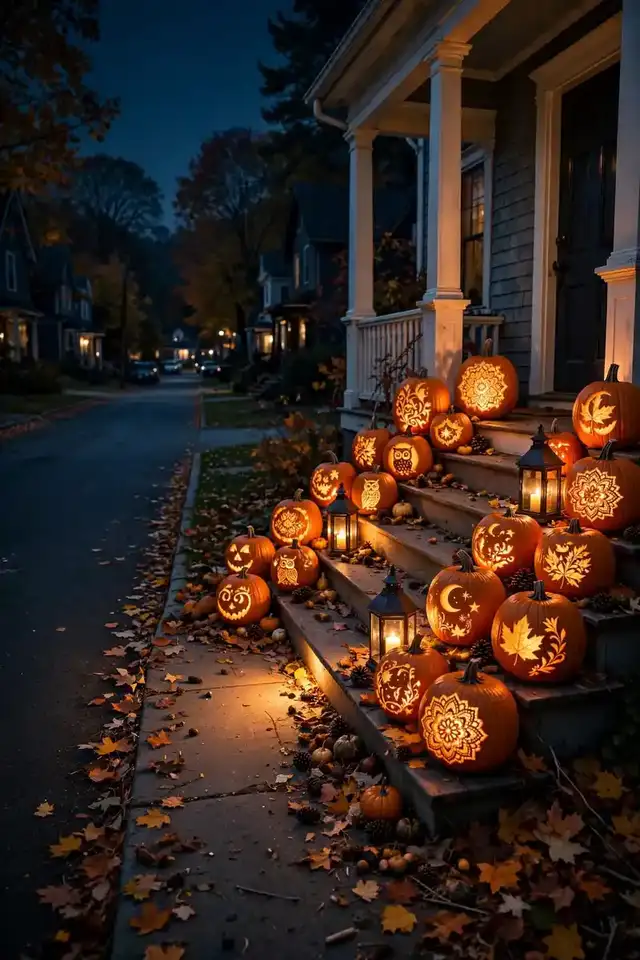
Quick Tip: Carve your pumpkins two days before Halloween at the earliest, since real pumpkins start collapsing after about a week. Rub petroleum jelly on the cut edges to slow moisture loss, and use LED candles inside instead of real flames for safety and longer glow time. Mix carved pumpkins with metal lanterns for a layered display that looks intentional rather than random.
Cluster pumpkins in groups of three and five on your steps, varying the heights with overturned crates hidden underneath. The mix of carved faces and plain glowing pumpkins creates visual rhythm. In my experience, guests always comment on this display first, so make it the centerpiece of your entrance.
Scarecrow Graveyard

BEFORE: The side yard was just a patch of grass that nobody noticed, wasted space between the house and the fence. It contributed nothing to the Halloween display.
AFTER: Crooked tombstones now lean at angles across the grass, a slumped scarecrow guards the largest stone, and Spanish moss drapes over dead branches. The forgotten corner has become the spookiest spot on the block.
Foam tombstones are lightweight and cheap, so buy more than you think you need for a crowded effect. Write funny epitaphs with permanent marker for personality. Angle each stone differently, since perfect rows look artificial and less haunted.
Bat Swarm Silhouettes
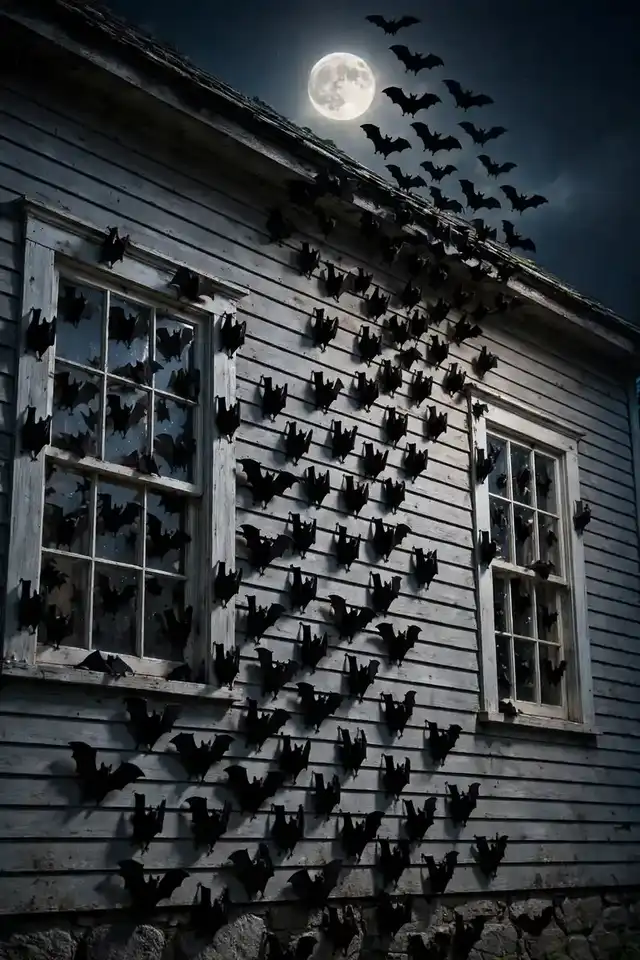
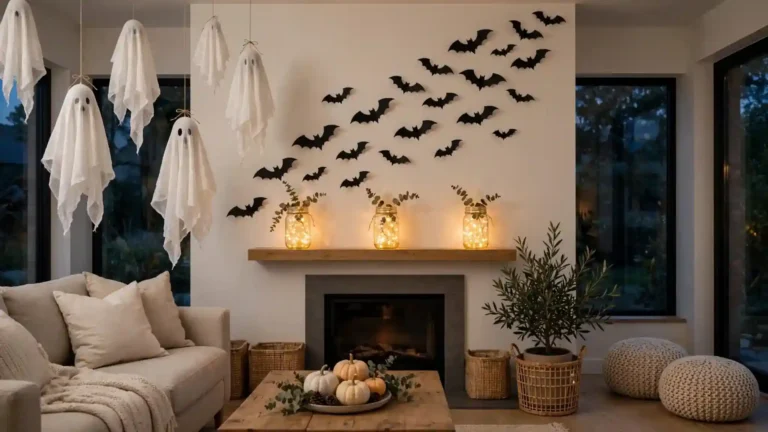
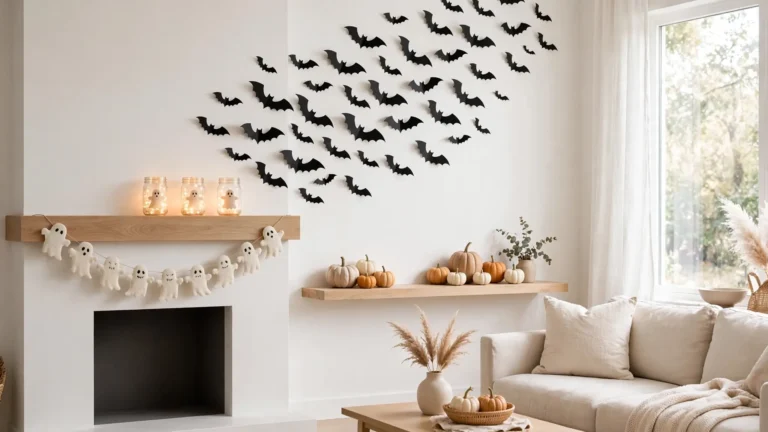
- Cut bat shapes from black cardstock in small, medium, and large sizes.
- Fold each bat slightly in the middle so the wings lift off the wall.
- Attach with removable adhesive dots, starting near a window.
- Arrange in a sweeping upward pattern toward the roofline.
- Add more bats each night leading up to Halloween for a growing swarm.
The 3D fold makes the bats cast tiny shadows that bring them to life. Start the swarm at one window and let it flow across the wall like the bats are escaping. I’ve noticed that adding a few bats to the inside of windows, visible from outside, doubles the effect for almost no extra effort.
Harvest Moon Backdrop
| Option | Size | Glow |
|---|---|---|
| Paper moon lantern | 2 feet | Soft |
| Projector image | 6 feet | Bright |
| Painted plywood | 4 feet | None |
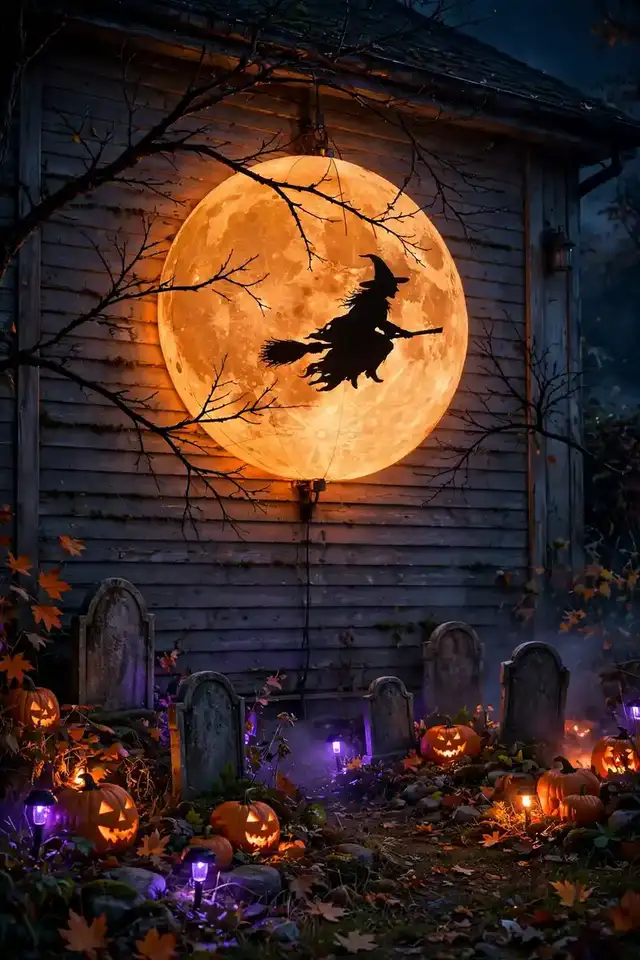
A giant harvest moon behind your display creates a storybook backdrop for photos. Paper lanterns are the easiest option and glow beautifully from within, casting a warm orange light. Hang the moon high on the garage or house wall, then place branch silhouettes in front for depth and drama. Pair the moon with silhouette cutouts of witches and cats for a storybook scene. For more Halloween inspiration beyond the yard, check out these funny halloween costumes for families to complete your spooky night.
Conclusion
These 22 diy outdoor halloween decorations prove that the spookiest yard on the block doesn’t require the biggest budget. A few pallets, some cheesecloth, and a free afternoon can transform your home into the neighborhood’s favorite Halloween destination. Start with two or three ideas this weekend, then add more each year as your collection grows. I’ve seen how small changes like these can completely shift the way a space feels. Save your favorites on Pinterest, grab the family for a crafting afternoon, and get ready for the best-dressed house on the street.


One Comment