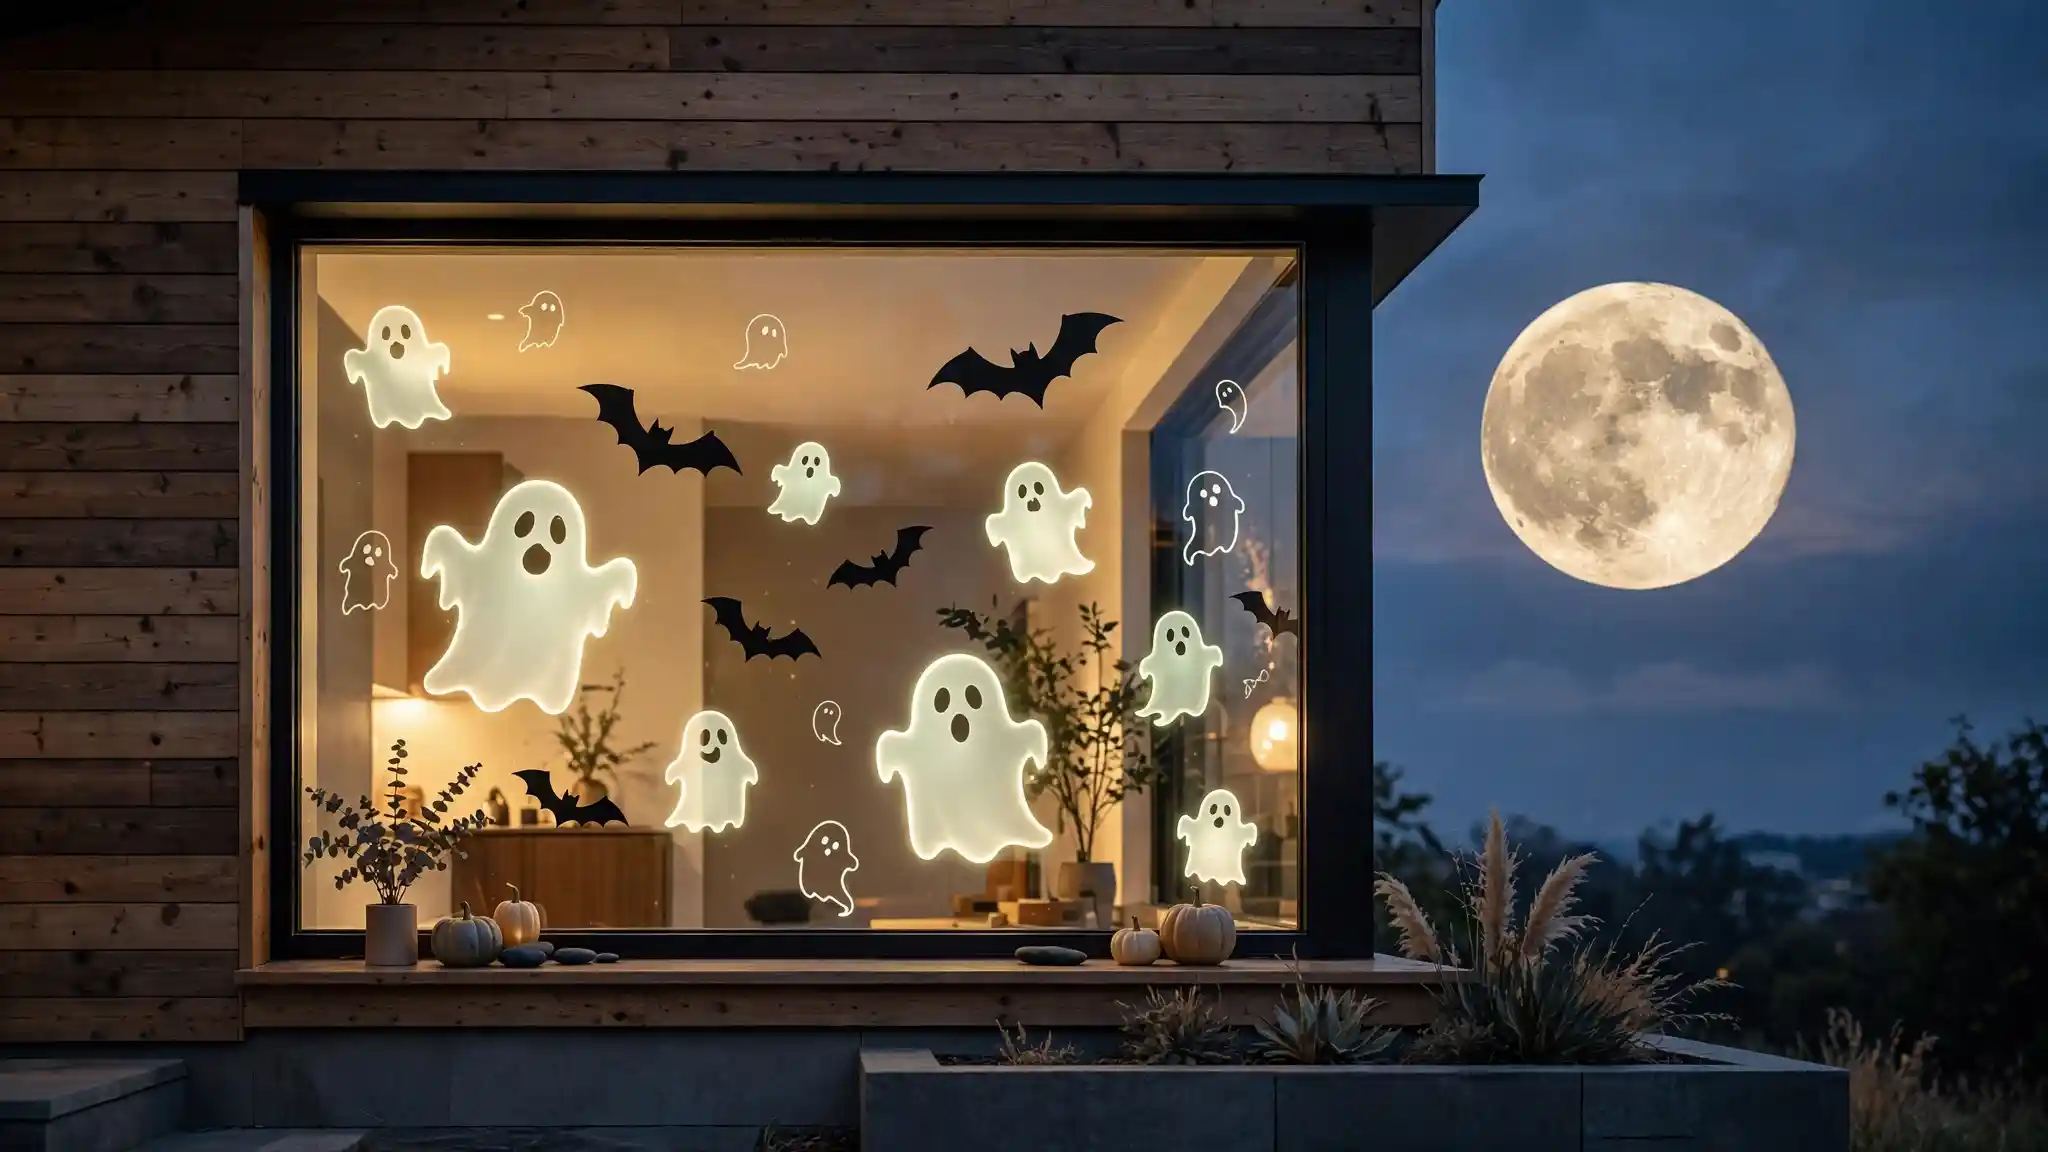
20 Halloween Window Art Ideas for a Spooky Seasonal Glow
Windows become the perfect canvas for Halloween magic, and halloween window art turns plain glass into a spooky seasonal statement that delights trick or treaters and neighbors alike. Whether you love cute and playful or dark and dramatic, window displays catch every eye on the street after dark. These ideas use simple materials like decals, paint, and paper cutouts to create glowing scenes that shine from inside your home.
Before you start decorating, gather inspiration from related projects like paint pumpkins to coordinate your whole Halloween look. Window art works beautifully alongside porch displays and indoor vignettes, tying your entire home together. The best part is that most of these ideas take under an hour and cost very little, yet they deliver serious curb appeal. Grab your supplies and pick a favorite to try this weekend.
Spooky Silhouette Scenes
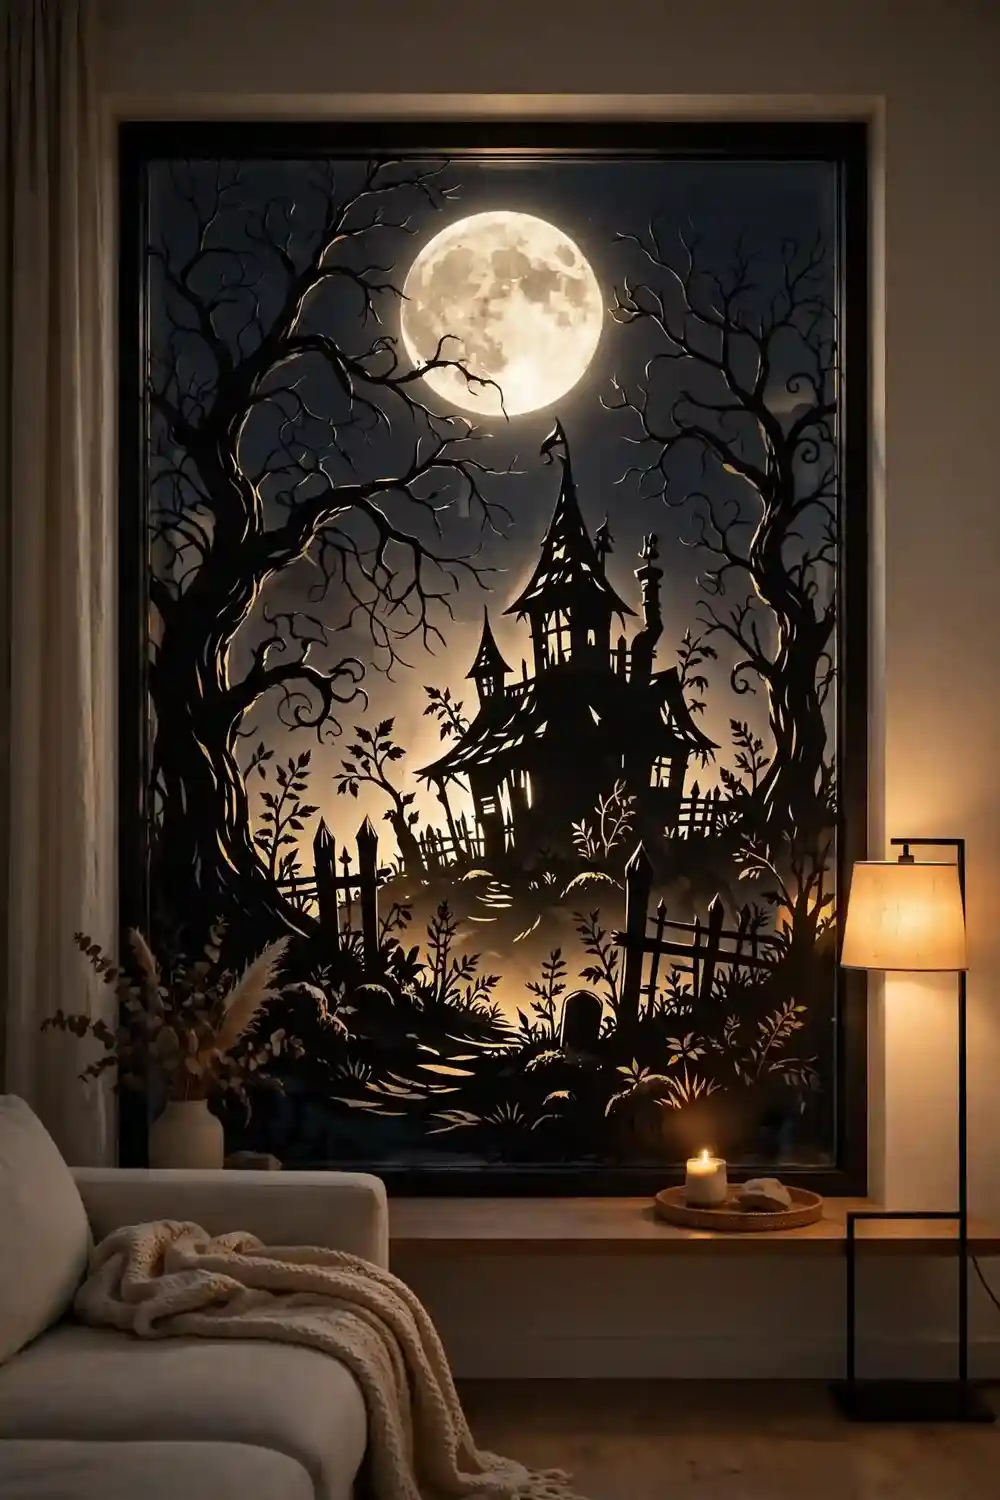
Haunted houses, twisted trees, and flying bats cut from black paper create instant drama on any window. Tape the silhouettes to the inside of the glass so they glow when interior lights turn on at night. Layer different sizes for depth, placing larger shapes at the bottom and smaller ones higher up. This classic look reads clearly from the street and photographs beautifully.
In my experience, black cardstock works better than construction paper because it blocks light more completely. Cut shapes with a craft knife for crisp edges, and use painter’s tape so removal is easy after the season. Add a few orange fairy lights behind the display to make the whole scene radiate warmth against the dark shapes.
Glowing Ghost Decals
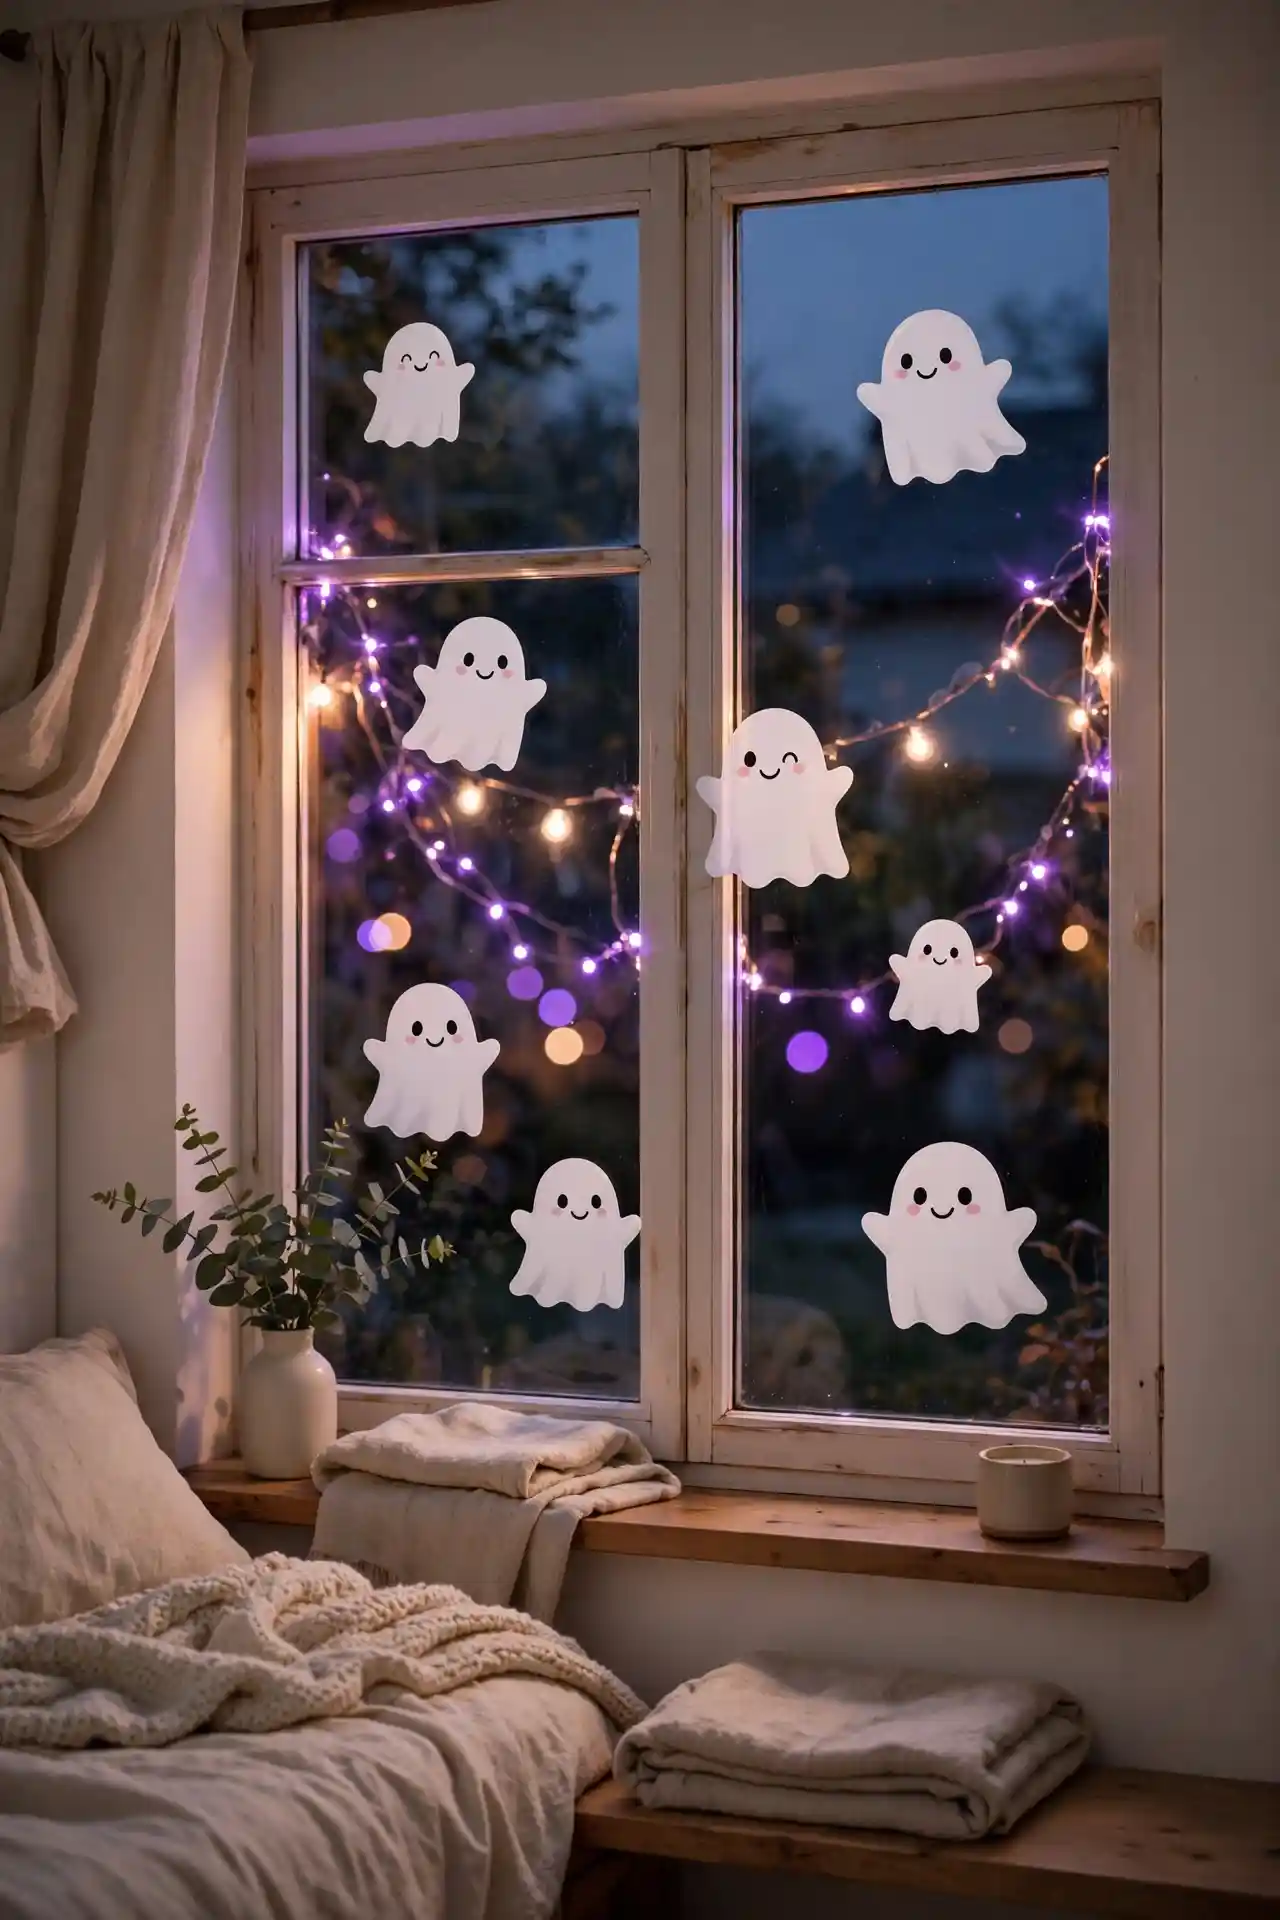
- Choose reusable static cling ghosts in varied sizes for a floating effect.
- Place larger ghosts at eye level and smaller ones drifting upward.
- Back them with warm white or purple fairy lights for a soft glow.
- Mix happy and spooky faces to suit your household’s style.
- Peel off easily after Halloween with zero residue on the glass.
Static cling decals are the fastest way to decorate windows because they need no tape or adhesive. I’ve noticed kids especially love arranging the ghosts themselves, making this a fun family activity. The translucent material catches light beautifully, so the ghosts seem to hover and shimmer when lamps glow behind them in the evening.
Creepy Crawly Clings
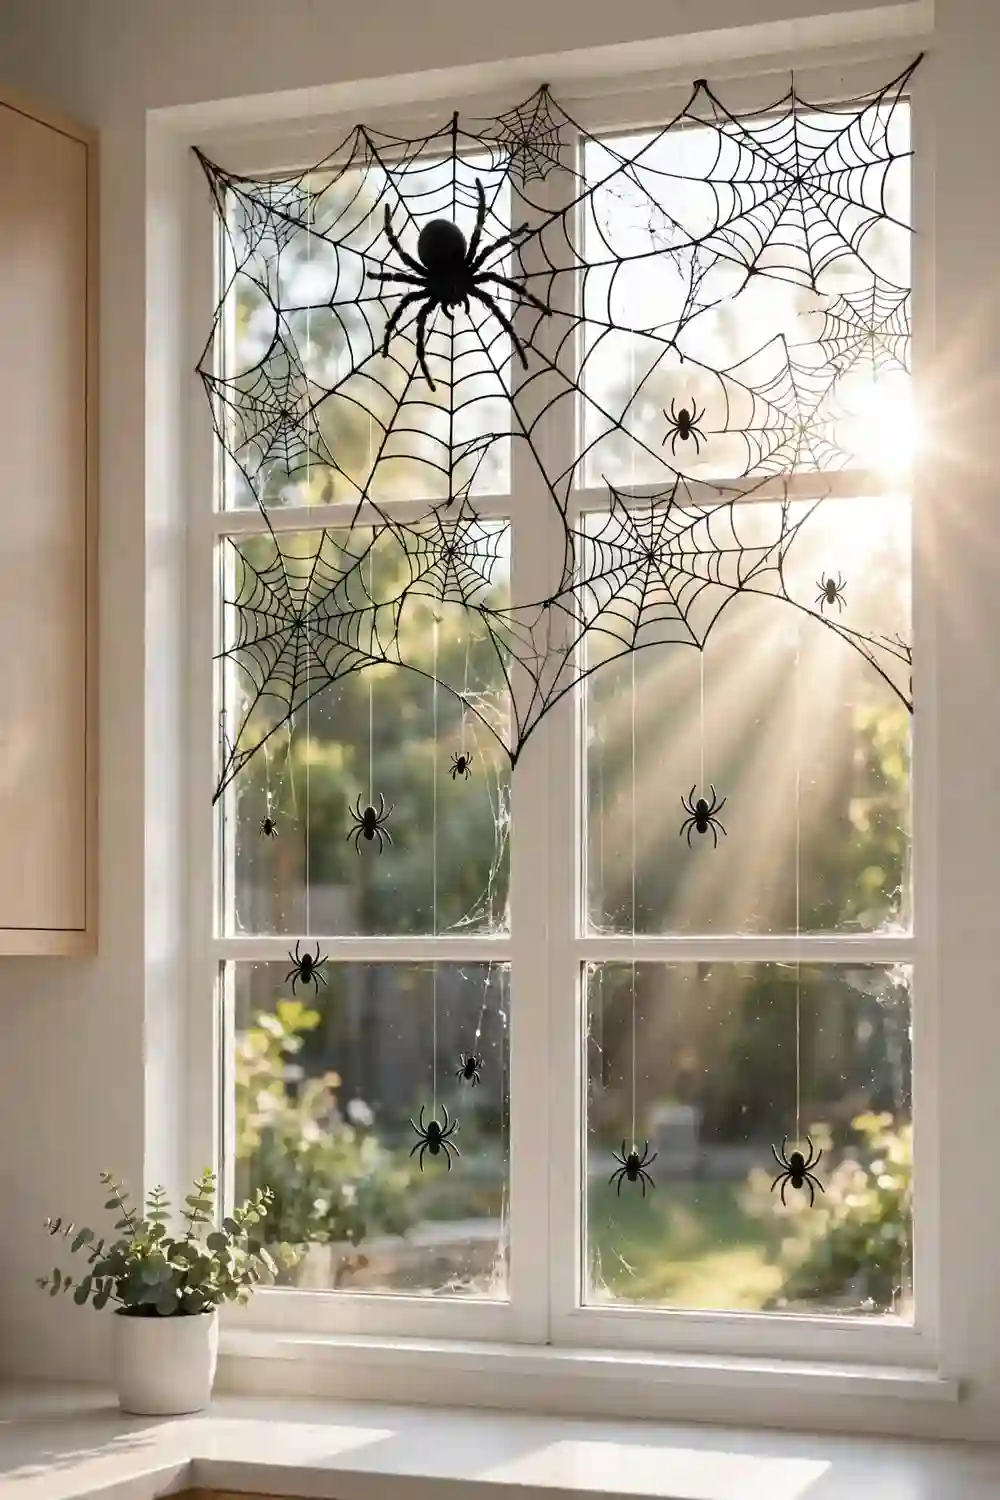
Quick Tip: Cluster spiders in one corner of the window rather than spreading them evenly. A dense nest looks far creepier than scattered singles. Let a few dangle from clear thread so they sway gently when the door opens, adding movement that startles in the best way.
Window cling spiders come in packs with webs included, and the whole set costs less than a pizza. Press them onto clean glass and smooth out air bubbles with a credit card. For extra fright factor, add one oversized spider near the center. Guests will do a double take every single time they walk past.
Witch Hat Windows
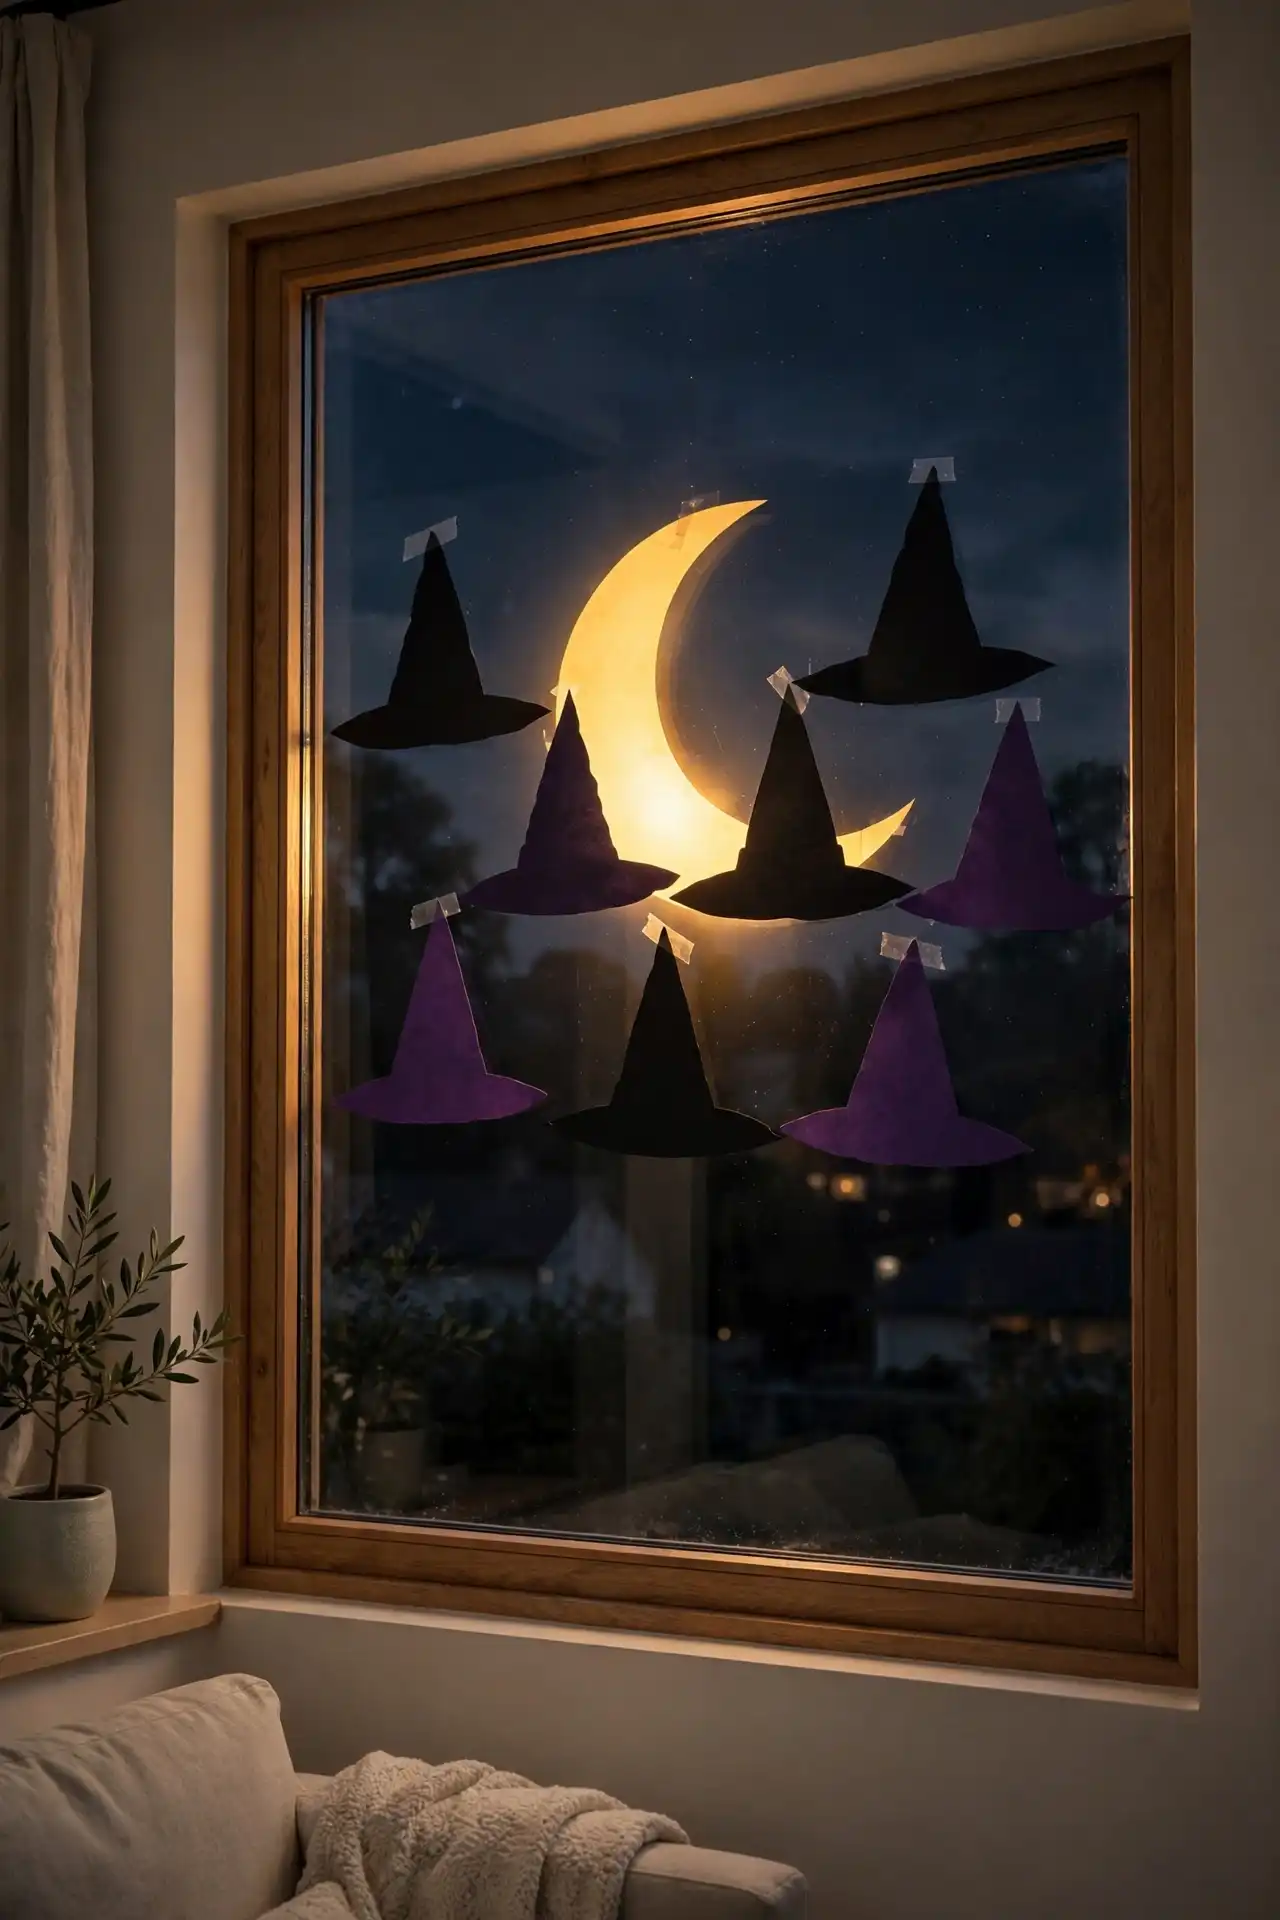
BEFORE: Plain windows that disappear into the house after dark, adding nothing to your Halloween curb appeal.
AFTER: Bold witch hat silhouettes floating across the glass, backlit by warm interior light, turning every window into a playful spell-casting scene that neighbors slow down to admire.
Cut tall pointed hats from black poster board and add purple bands for contrast. I’ve seen this work well in many cases where homeowners want big impact with minimal effort. Angle a few hats as if flying, and scatter small star cutouts around them. The whole project takes about thirty minutes per window and stores flat for next year.
Pumpkin Face Cutouts
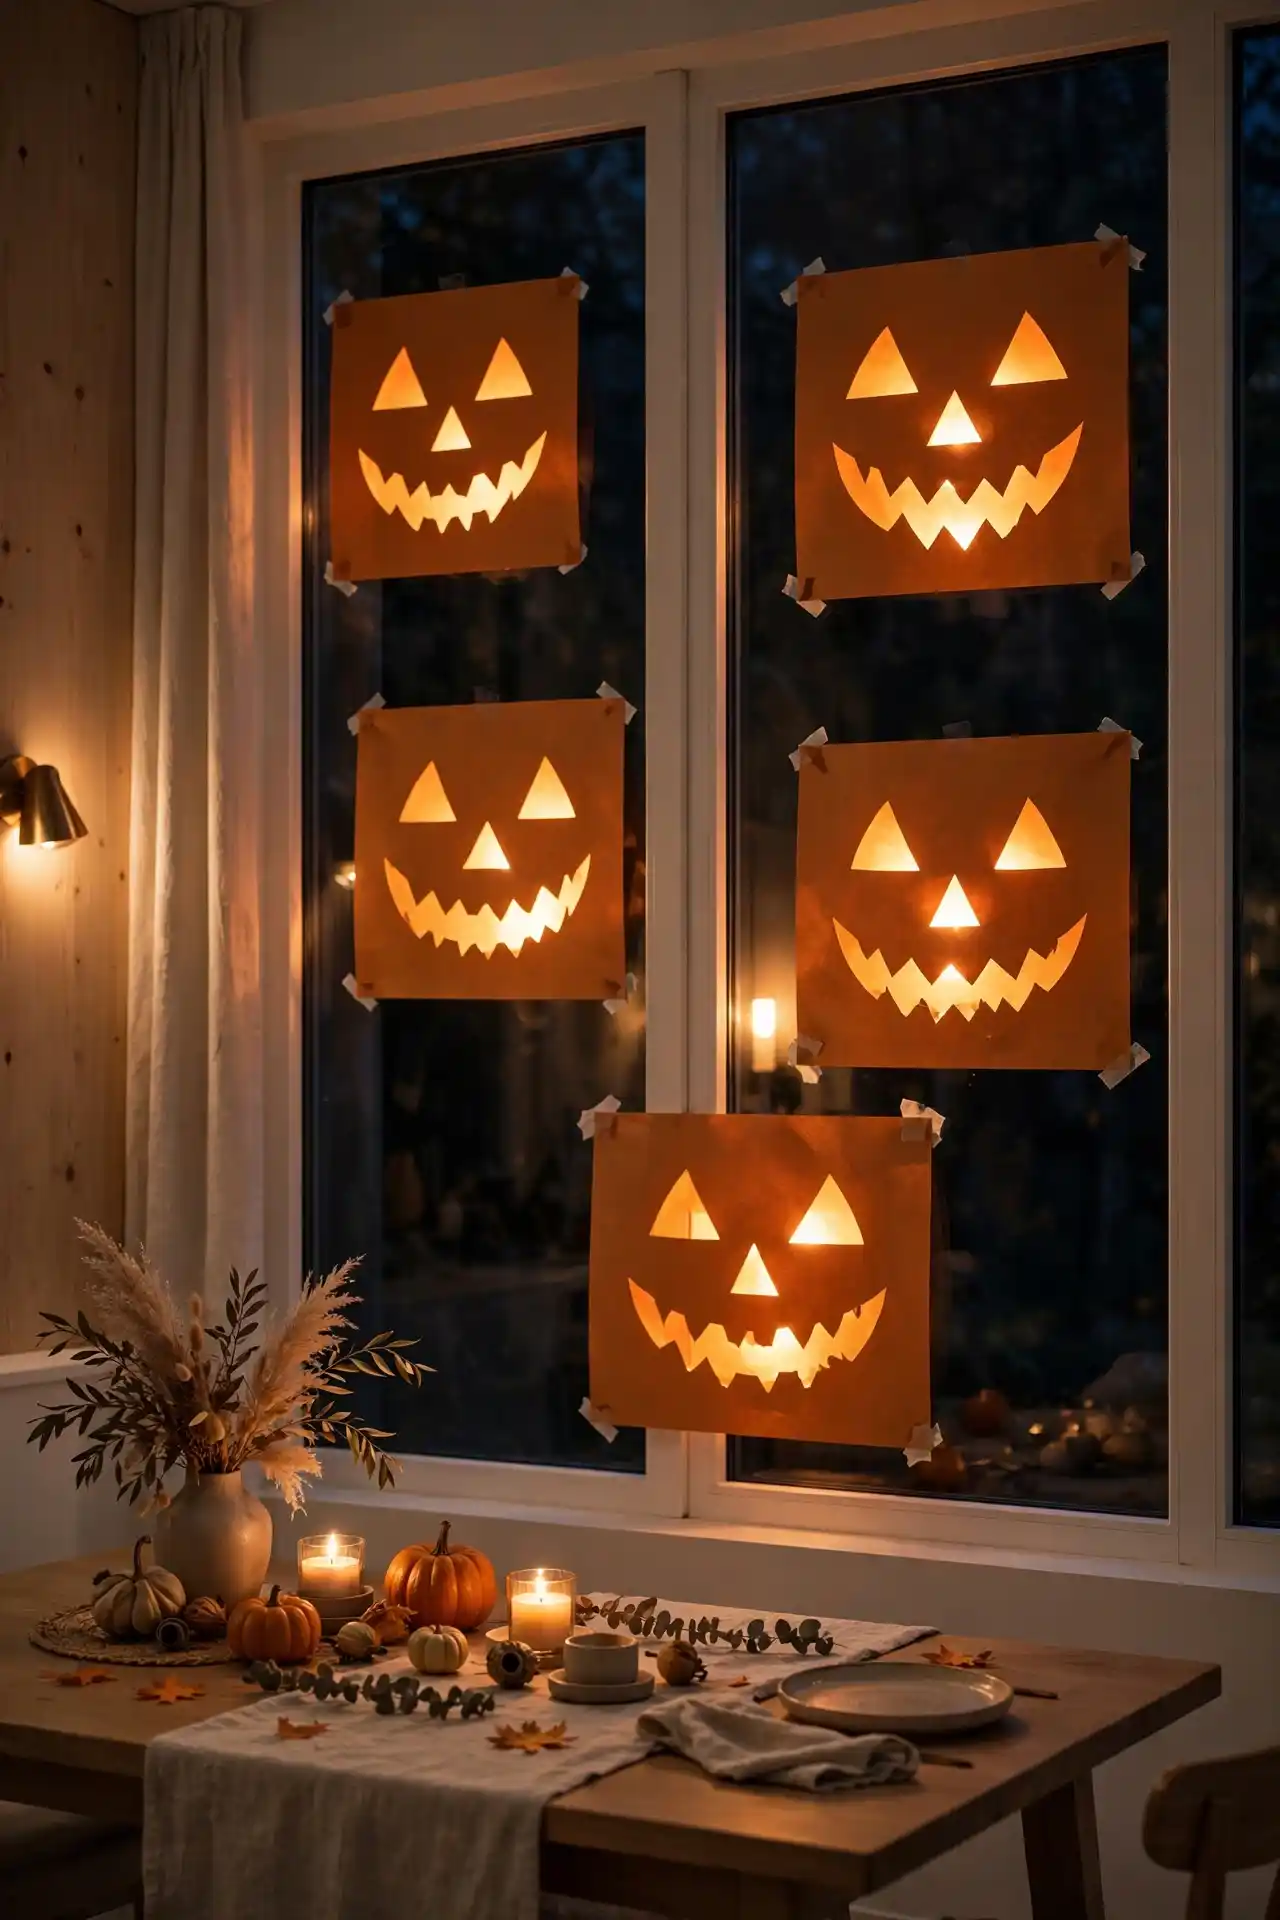
- Trace pumpkin shapes onto orange tissue paper or thin craft paper.
- Cut out triangle eyes, noses, and jagged smiles with small scissors.
- Tape the pumpkins to the inside of the window at varying heights.
- Place a warm lamp or string lights behind them after dark.
Tissue paper jack-o-lanterns glow like real carved pumpkins without any mess or rotting. That’s why many experts recommend paper versions for windows, since real pumpkins never sit well on glass. Make a whole patch of different faces, from silly grins to spooky snarls, and let the light do the rest. Overlap a few pumpkins at different heights for a playful patch effect that fills the window nicely.
Bat Swarm Stickers
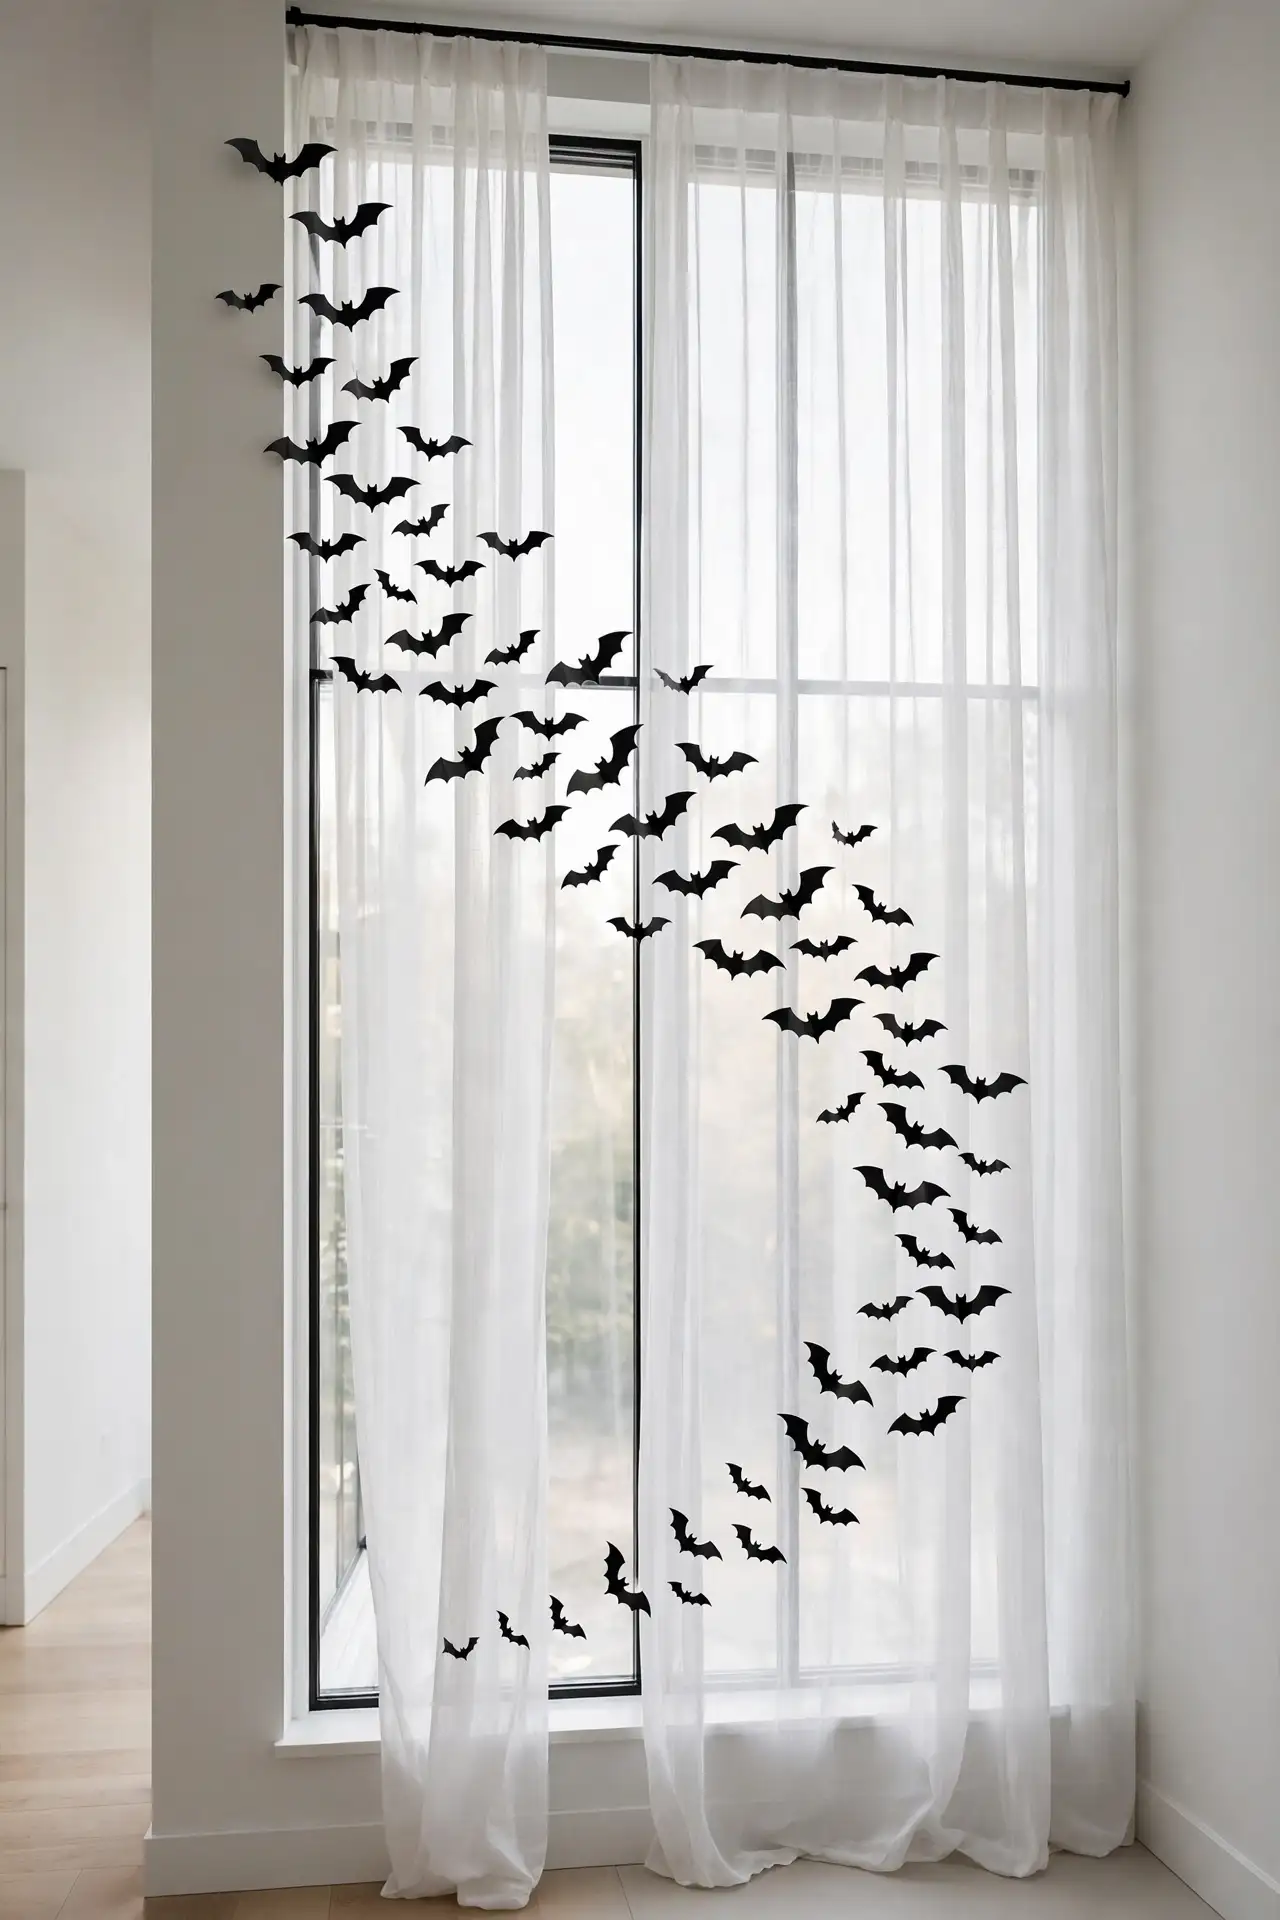
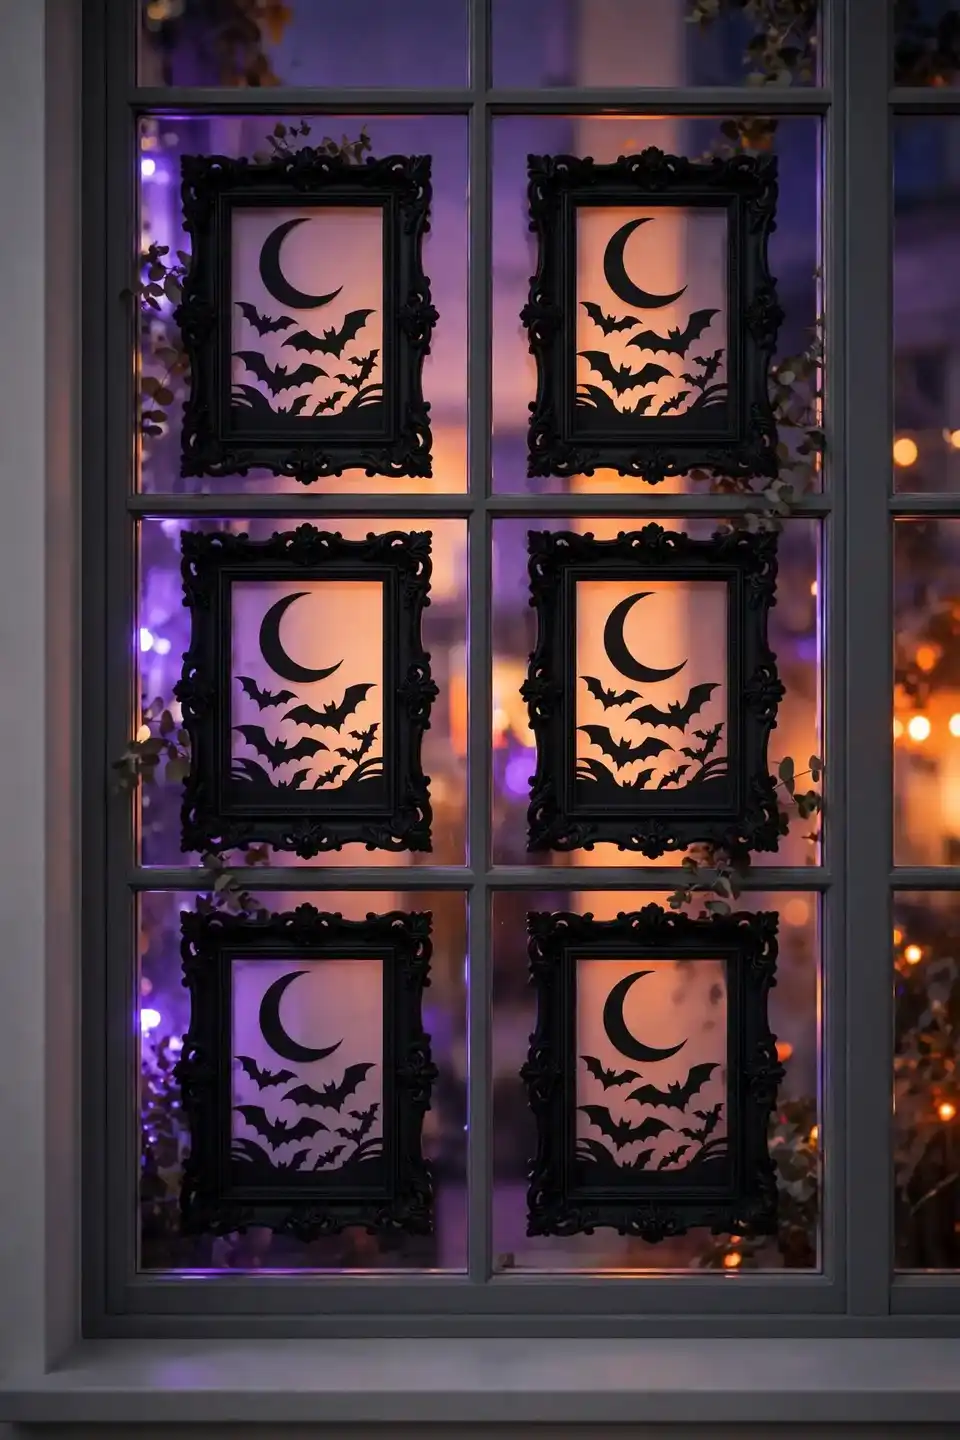
Material choice matters here. Vinyl bat stickers beat paper because they survive condensation on windows without curling. Arrange them in a sweeping curve like a real flock in flight, starting dense at one corner and thinning out across the glass. The movement implied by the pattern draws the eye naturally.
Peel and stick bats come in sheets of fifty or more, so one pack covers several windows. Press each firmly and smooth the wings flat. From outside at night, the black shapes pop against lit windows dramatically. Removal takes seconds, leaving glass spotless for the holidays ahead.
Eerie Moon Backdrops
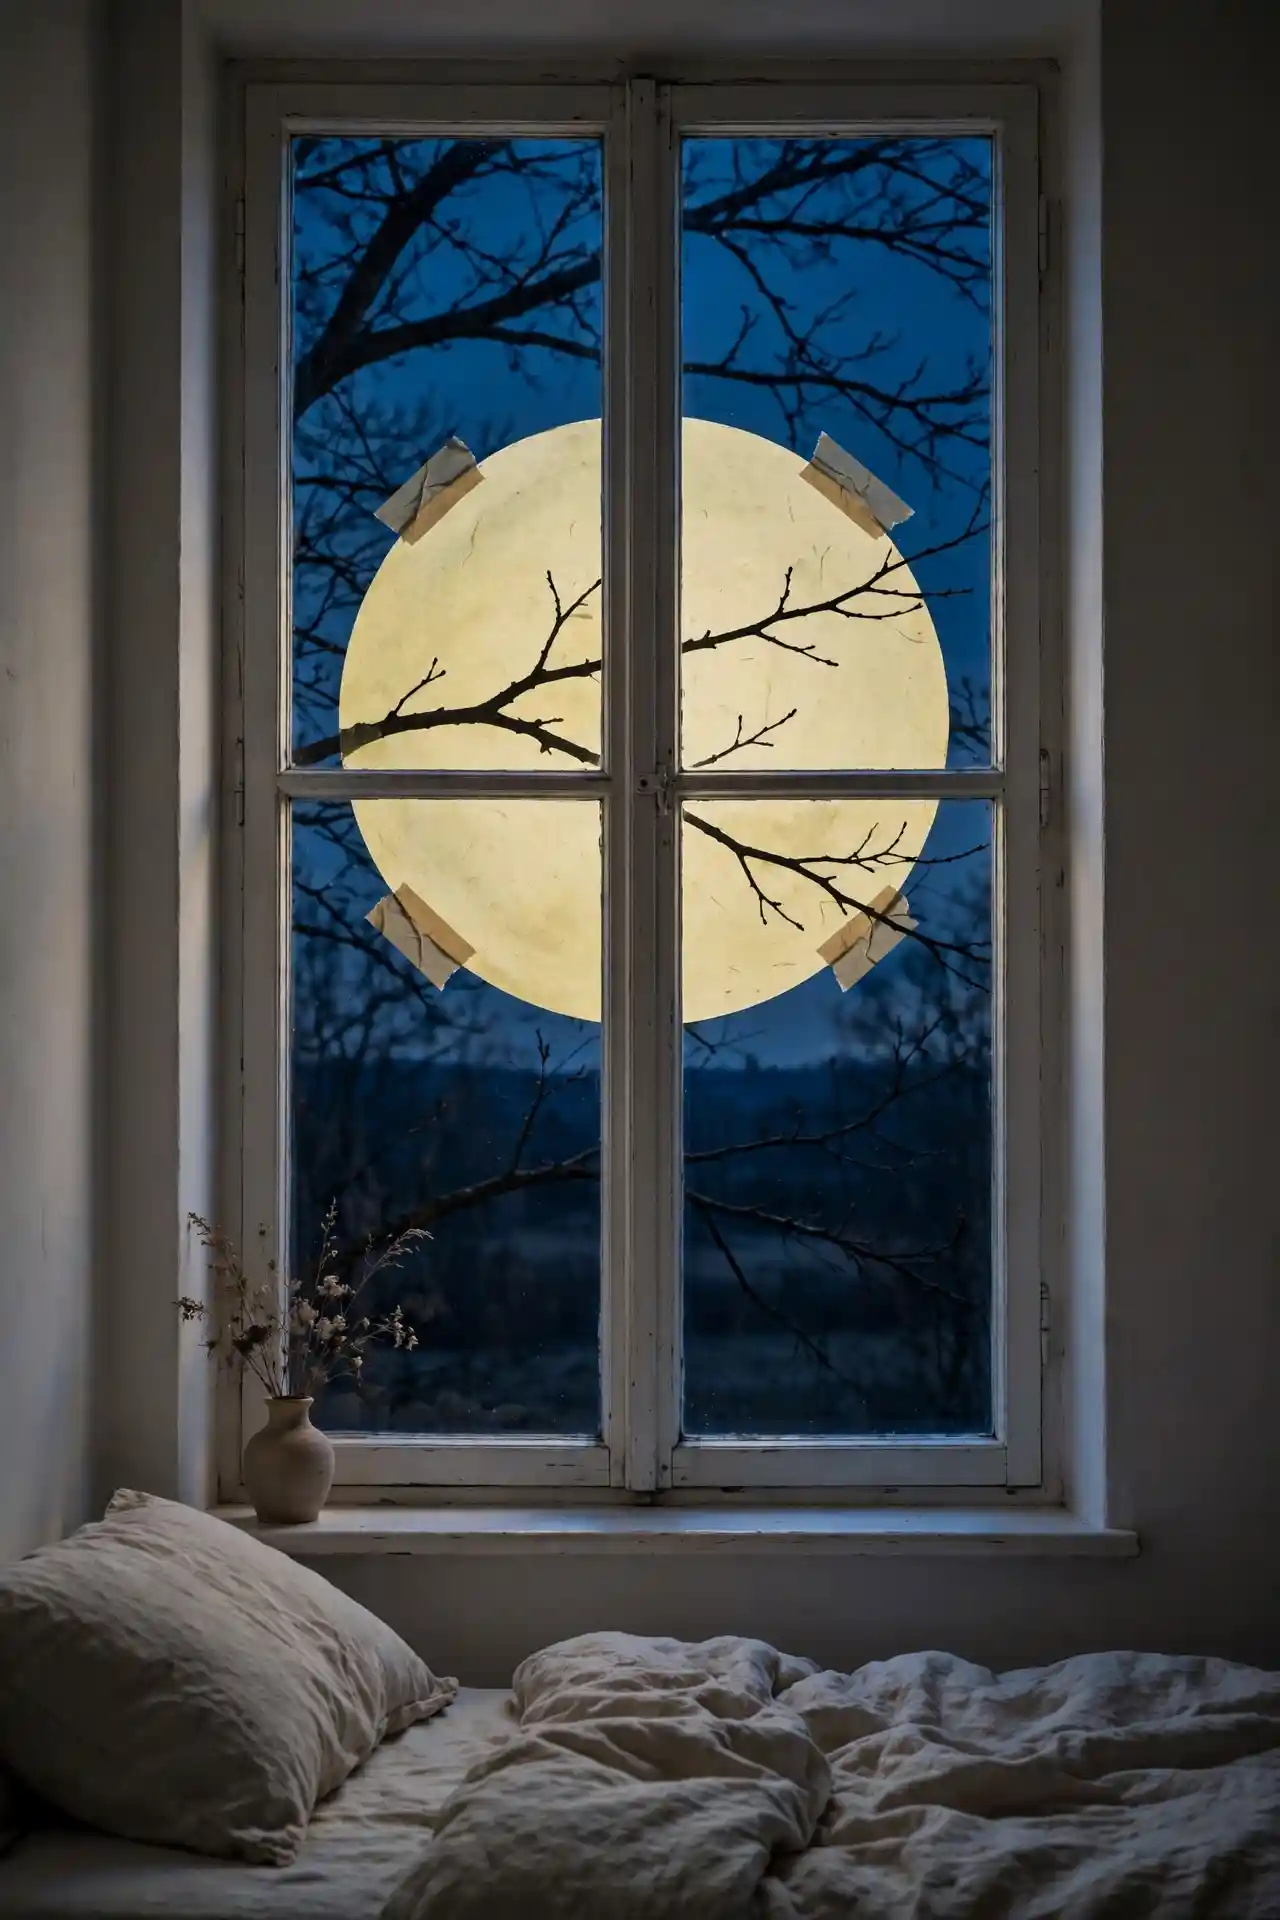
DO:
- Use pale yellow or cream paper for a realistic moon glow.
- Layer bare branch silhouettes in front for depth.
- Position the moon off center for a natural composition.
- Back it with a soft white light to simulate moonlight.
DON’T:
- Make the moon too small or it will look lost on large windows.
- Use pure white paper, which glares instead of glowing.
- Center everything symmetrically, which feels stiff and flat.
- Forget to check the view from outside at night.
A giant moon transforms any window into a storybook scene. Cut the circle at least two feet wide for real presence, and let branches cross in front for that classic spooky silhouette. I’ve tried smaller versions and they simply don’t read from the street.
Spider Web Corners
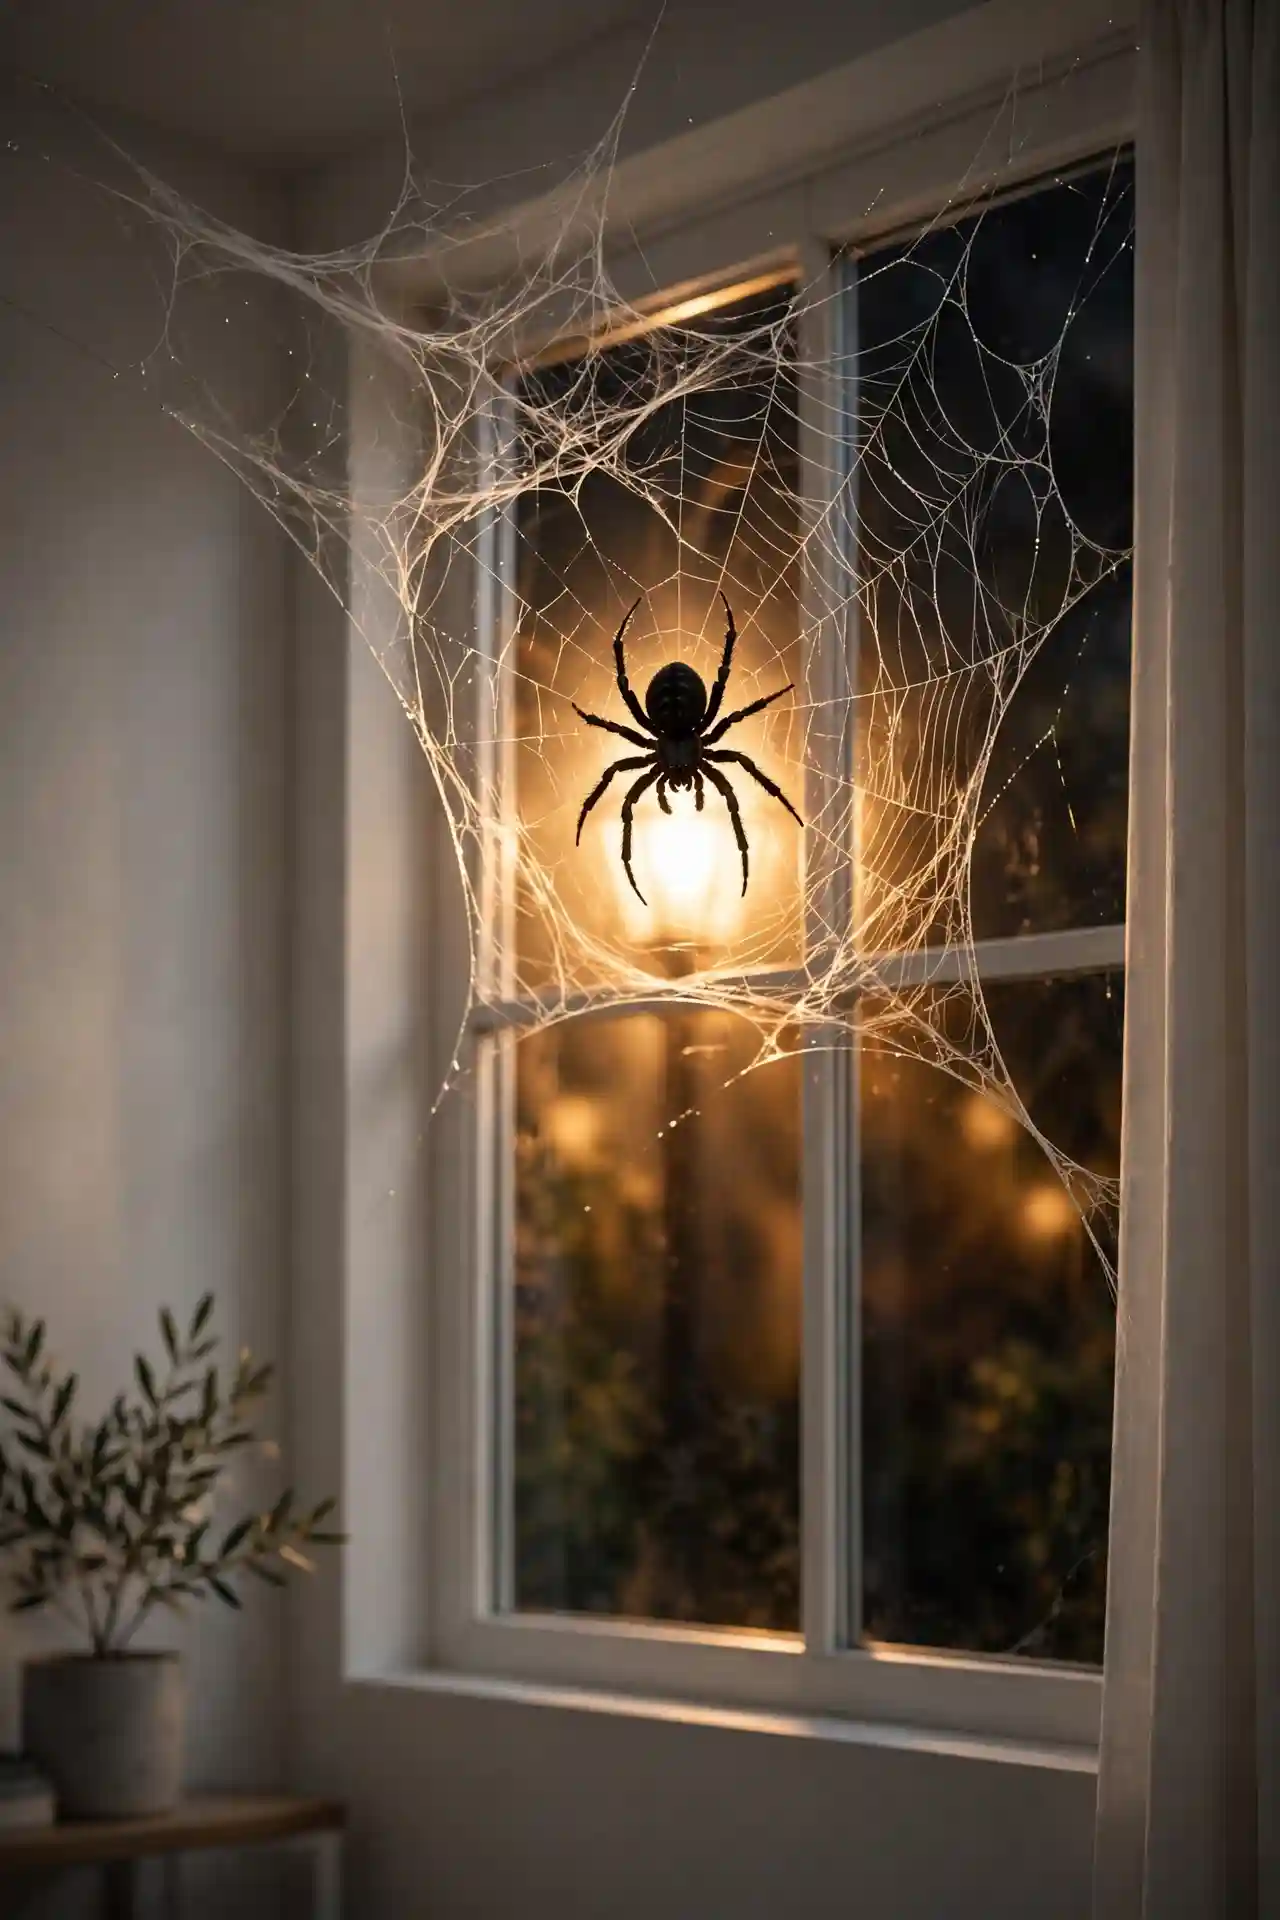
Cost: Under $5 | Time: 15 minutes | Skill Level: Beginner | Best For: Quick dramatic impact
Stretchy webbing pulls across window corners in seconds and instantly signals Halloween. Anchor it with small adhesive hooks, then stretch and loop the fibers into a web shape. Drop one big spider in the center and a few babies around the edges. The texture catches light beautifully, creating shadows that dance on the walls inside. For best results, stretch the webbing when the room is dark so you can see exactly how the shadows will look. A single strand of clear fishing line with a hanging spider adds movement that makes the whole display feel alive.
Haunted House Scenes
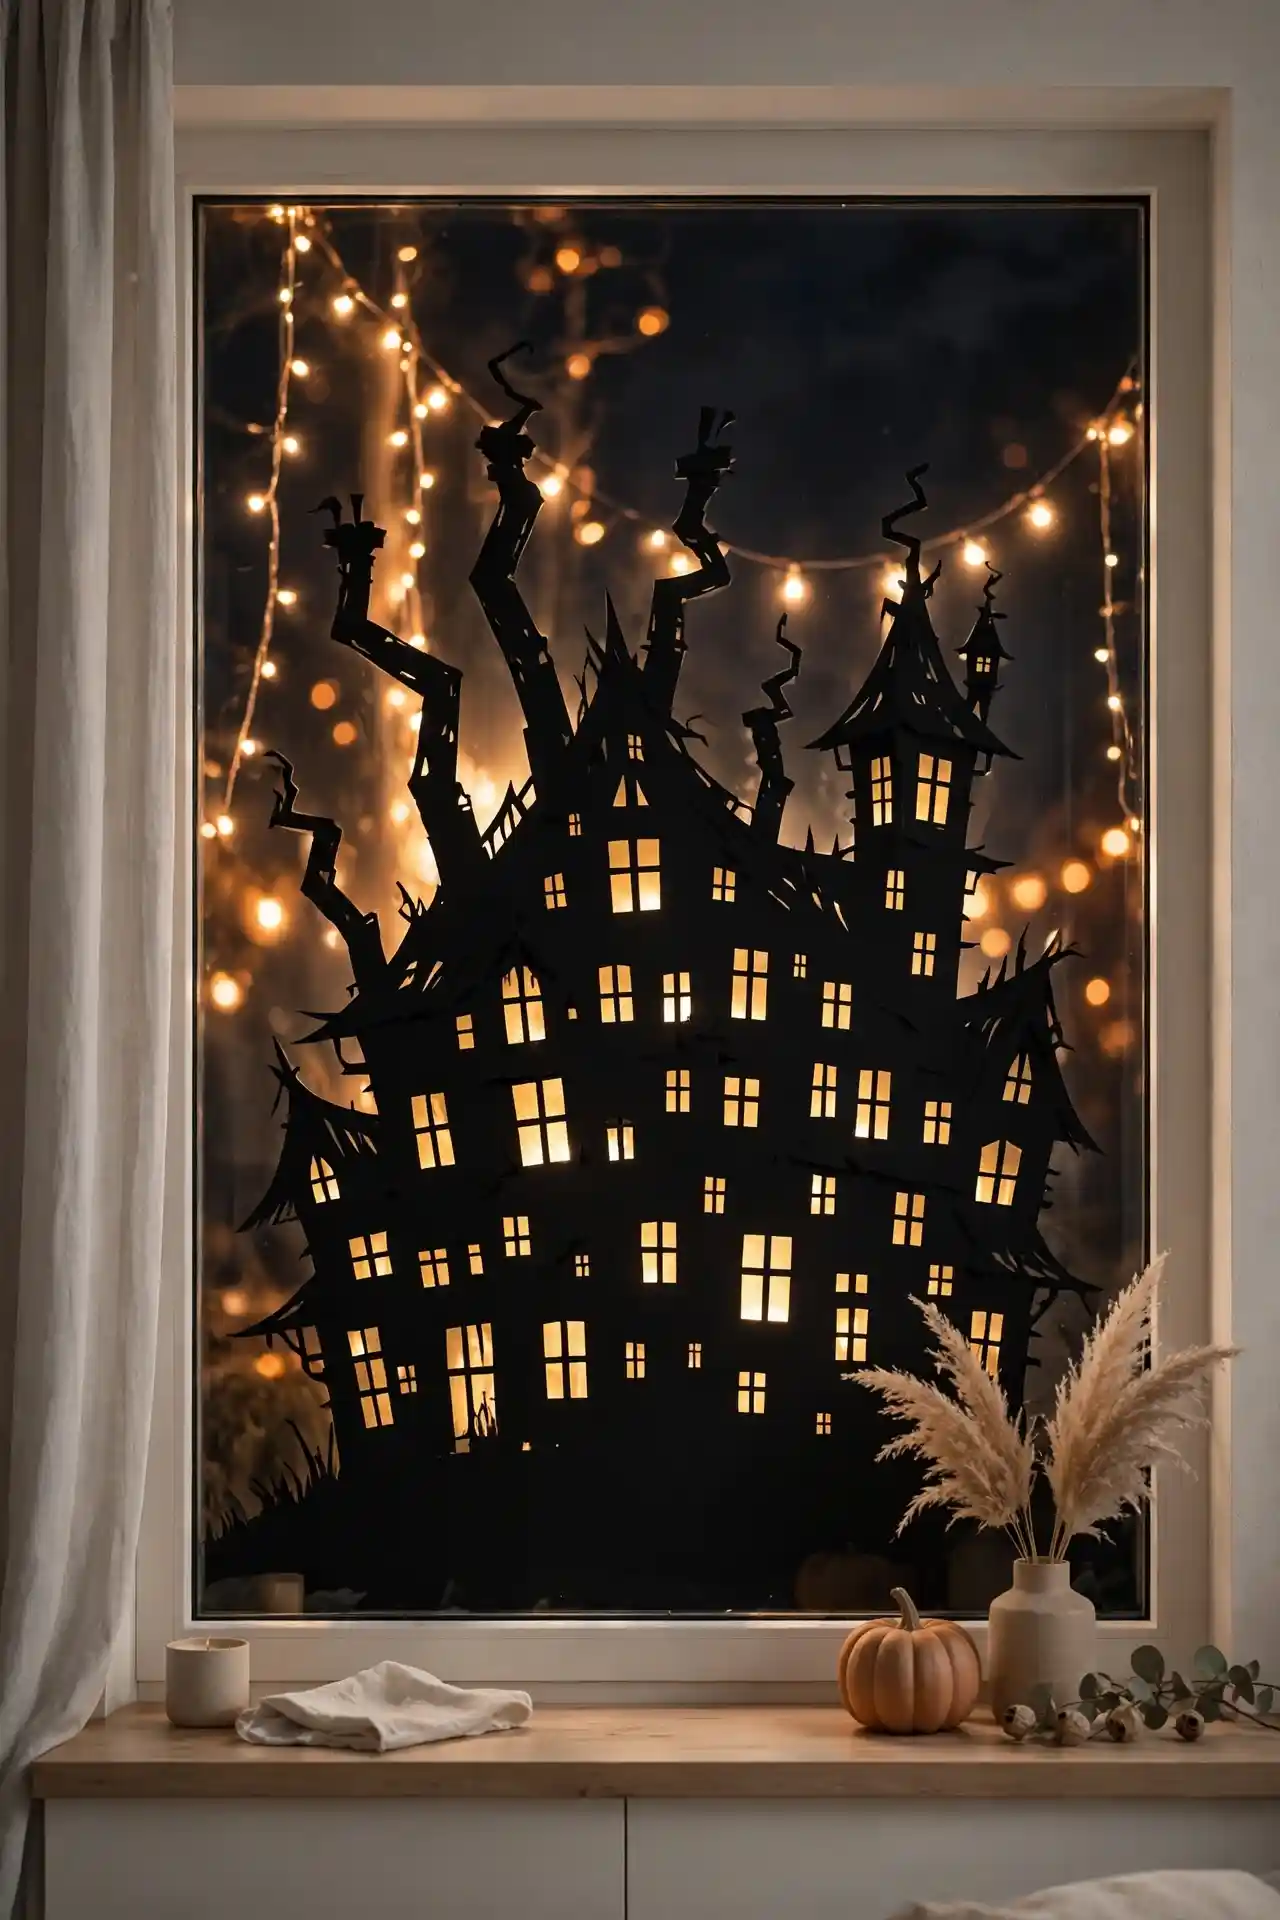
Detailed haunted house silhouettes reward a little extra cutting time with jaw-dropping results. Sketch the house on black poster board, then cut out tiny windows so light shines through like lit rooms inside. Add crooked chimneys, a leaning fence, and a dead tree for the full effect. The tiny glowing windows are what sell the illusion.
Work on a cutting mat with a sharp craft knife, taking your time on the small details. Tape the finished scene low on the window so the “ground” sits at the sill. From the sidewalk, it looks like a miniature haunted mansion glowing in the night. Kids will press their noses to the glass.
Candy Corn Borders
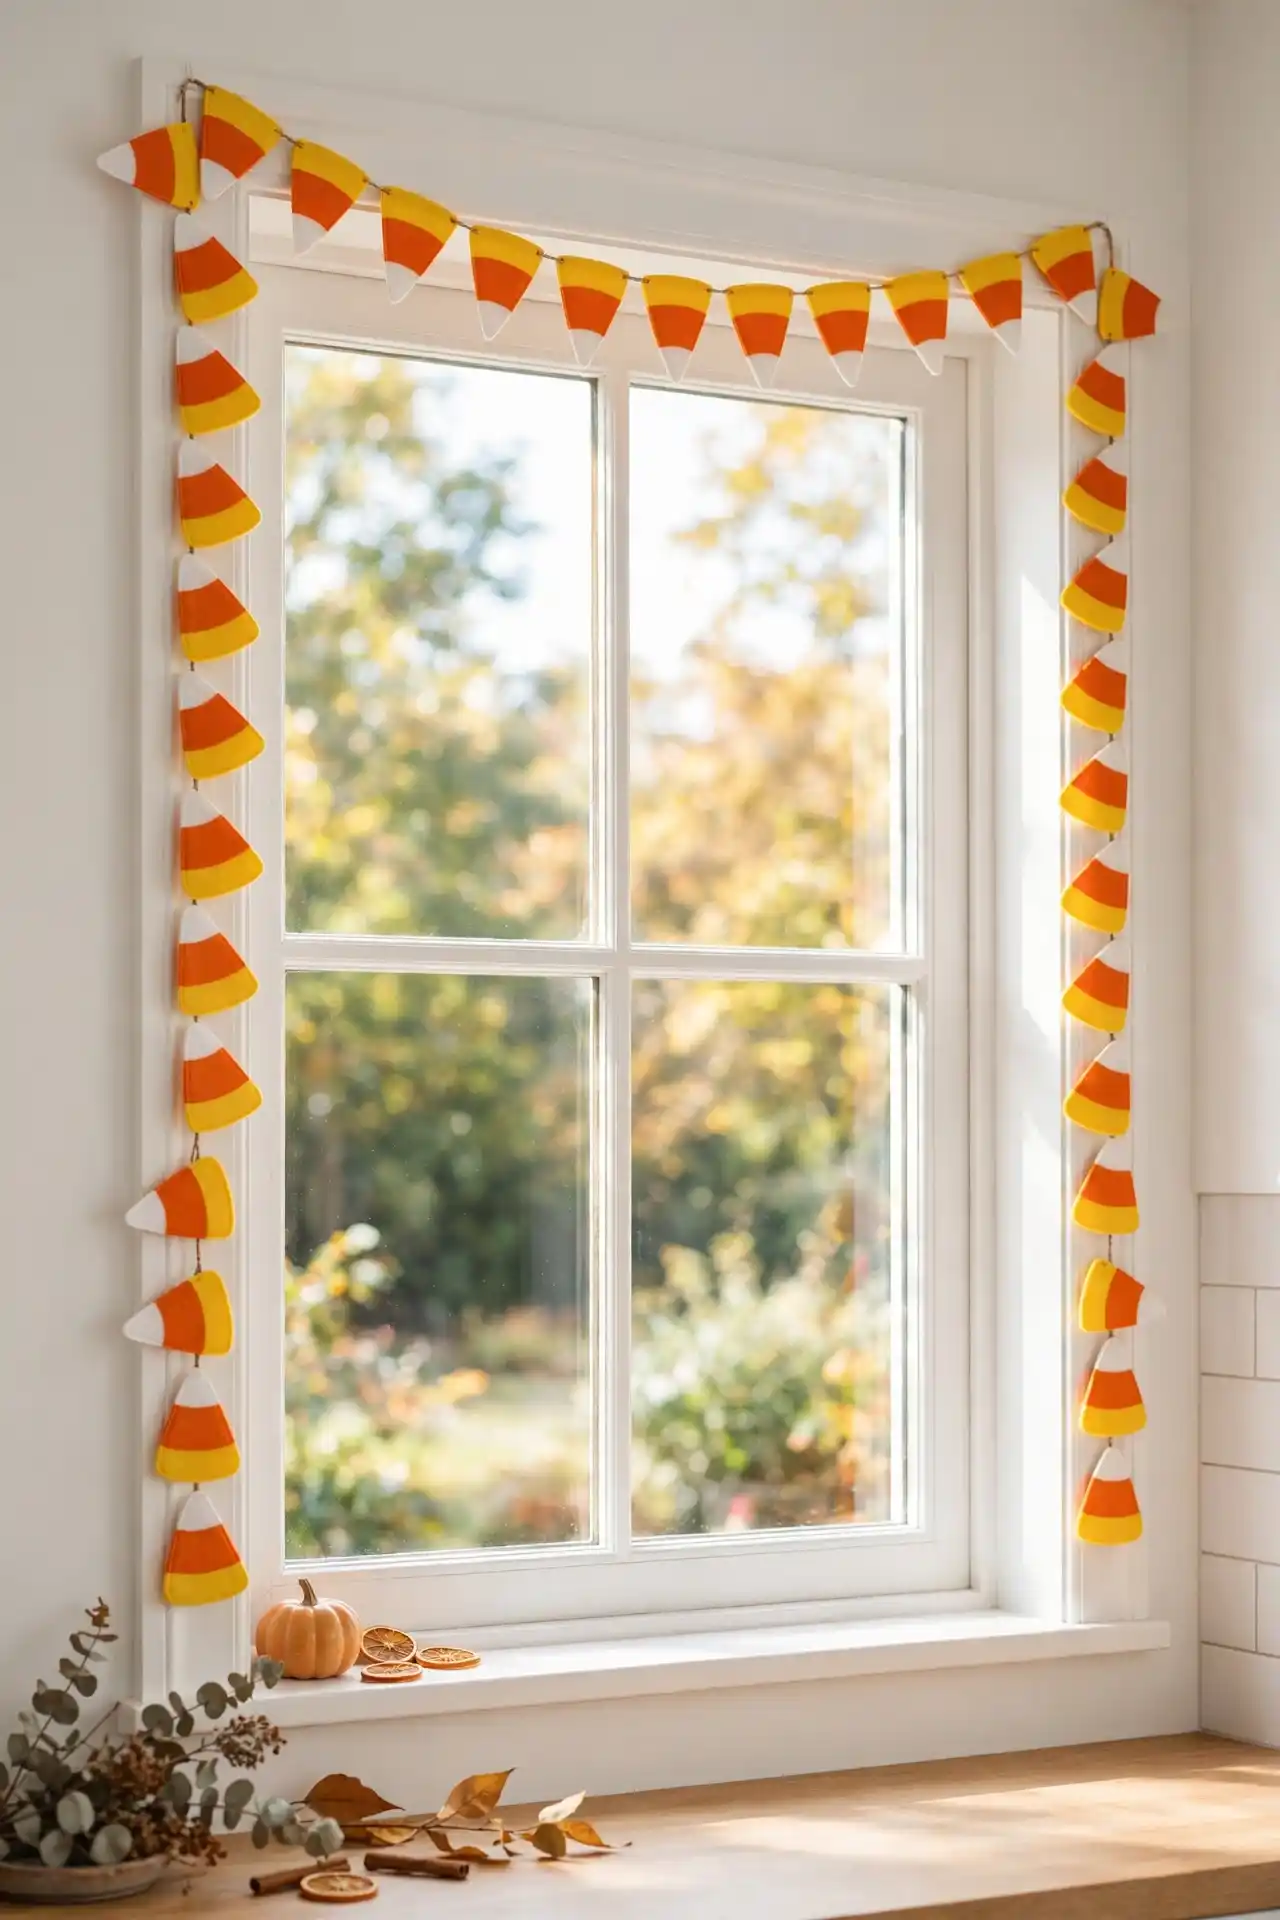
- Cut candy corn triangles from orange, yellow, and white felt.
- String them on twine to make a festive window border.
- Hang with small adhesive hooks that remove cleanly.
- Layer two strands for a fuller, more colorful frame.
Candy corn borders bring cheerful color to Halloween windows without any scariness. Felt pieces hold their shape well and can be reused for years. I’ve noticed this style works especially well in kitchens and playrooms where you want festive but friendly. The bright triangles pop against white window trim beautifully. Store the felt pieces in a zip bag after the season and they will look fresh for many Halloweens to come.
Vampire Fang Frames
Quick Tip: Cut fangs from white foam board so they have dimension and cast small shadows. Drip red paint from the tips for a freshly spooky look. Space them unevenly along the top of the window frame rather than in a perfect row. Imperfection reads as more menacing and natural.
Foam board fangs look surprisingly realistic because of their thickness. Hot glue them to a thin strip of black ribbon, then hang the ribbon across the top of the window. The three-dimensional teeth catch light and shadow in ways flat paper never could. This one gets reactions every time.
Skeleton Dance Decals
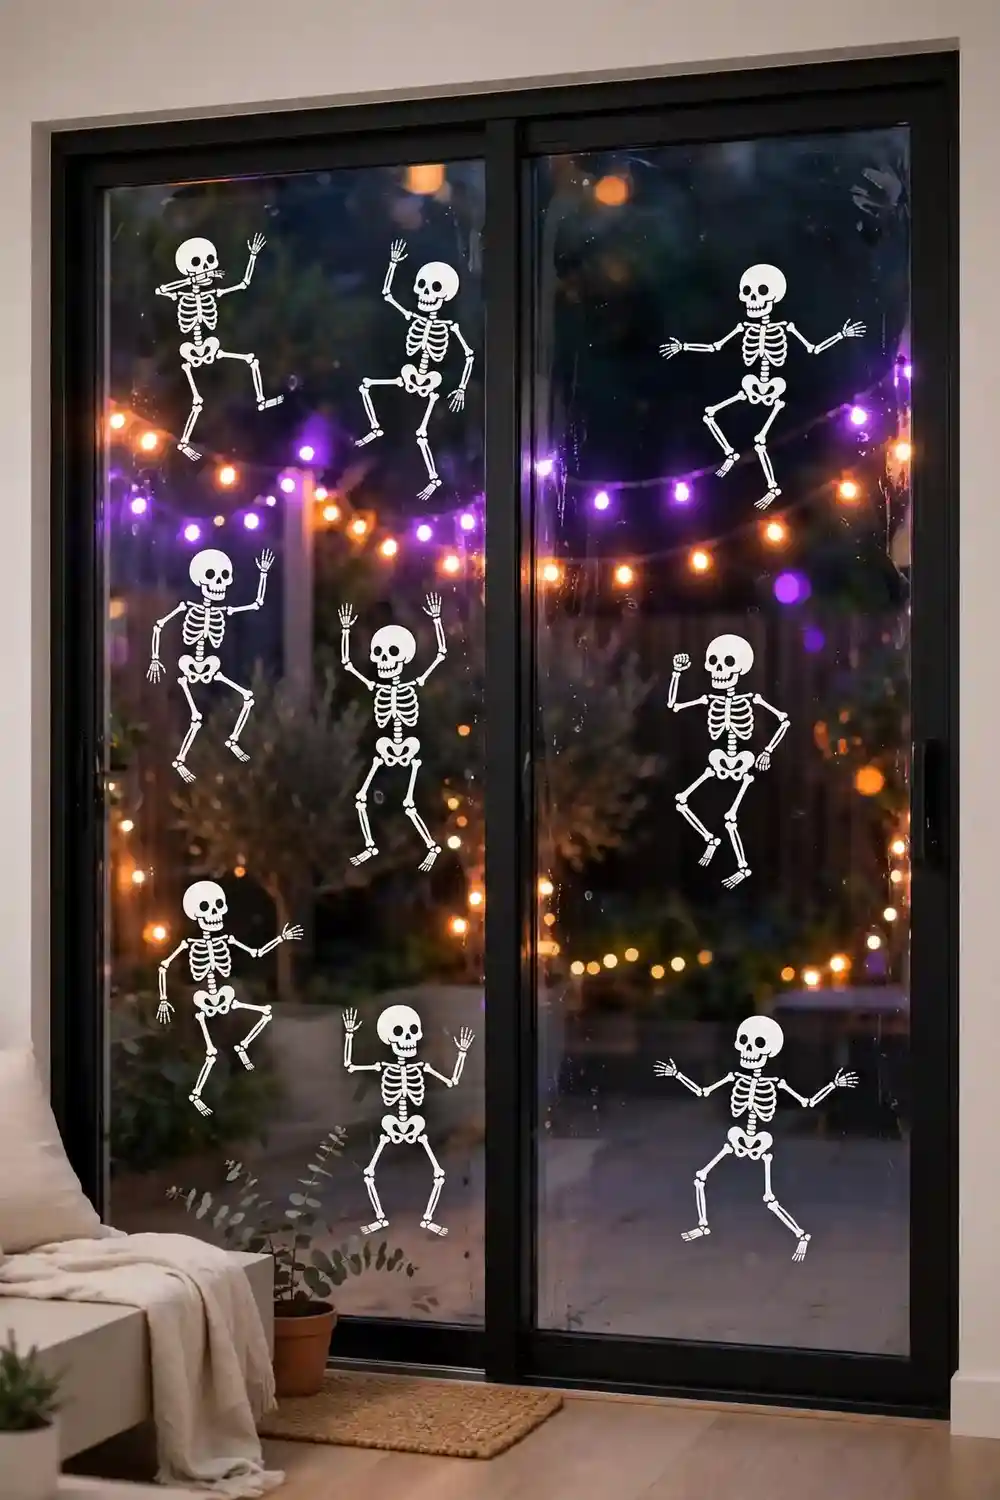
BEFORE: Bare sliding doors that look empty and uninviting during Halloween season.
AFTER: A troupe of dancing skeletons mid-twirl across the glass, glowing against colorful lights, turning your doors into the liveliest spot on the block.
Poseable skeleton decals let you create little scenes, with figures dancing, waving, or playing instruments. Arrange them as if caught mid-party for maximum charm. That’s why many experts recommend mixing sizes, with a few large skeletons anchoring the scene and smaller ones filling gaps. The playful energy is irresistible. Add music notes cut from black paper floating above the dancers to complete the party atmosphere.
Foggy Graveyard Views
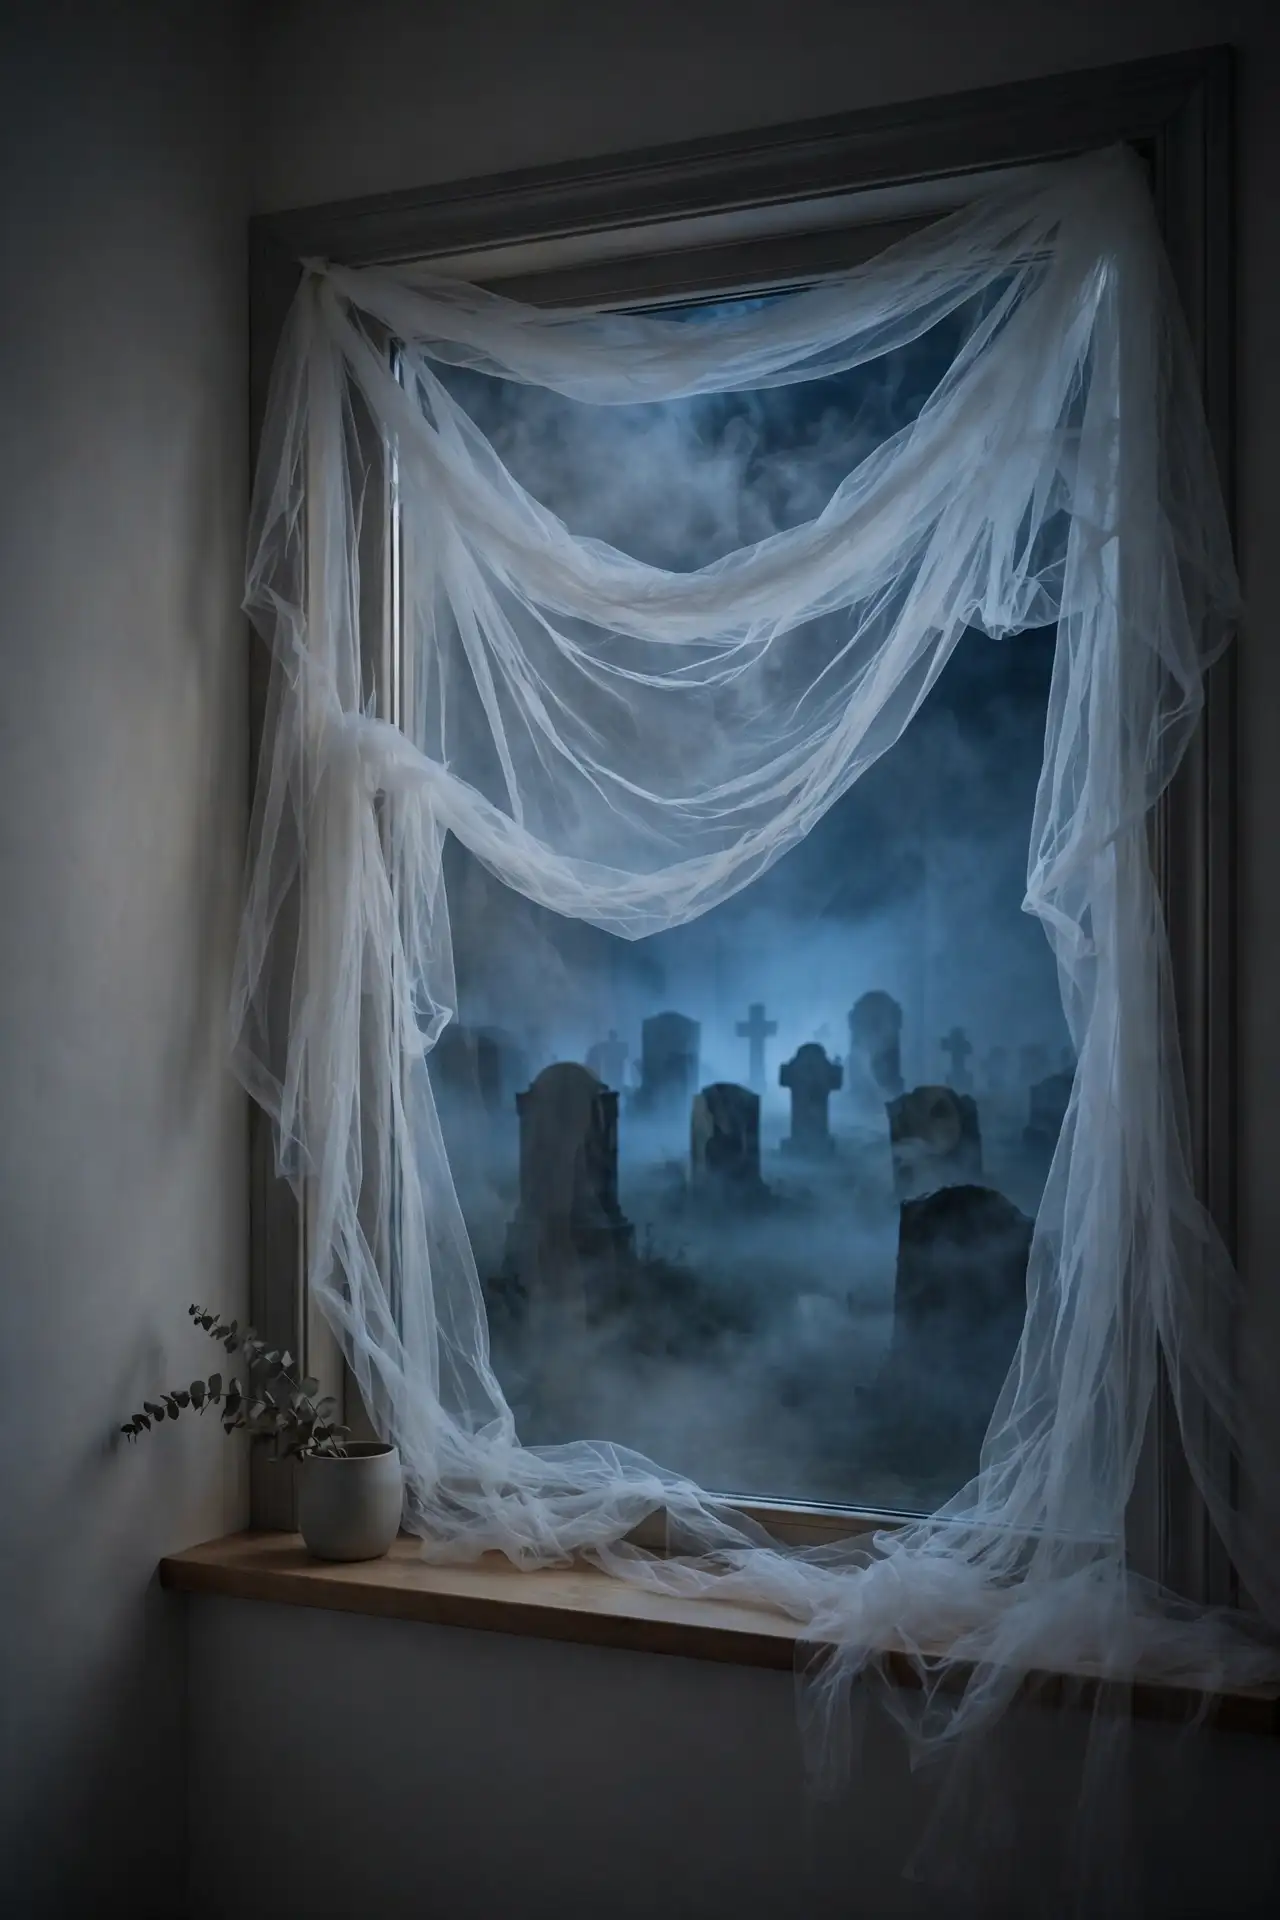
- Cut tombstone shapes from gray foam board in varied sizes.
- Drape white tulle loosely across the lower half of the window.
- Place tombstones behind the tulle for a foggy depth effect.
- Add a dim blue or purple light behind everything.
- Write funny epitaphs on the stones with a marker.
Tulle creates the most convincing fog effect indoors because it diffuses light softly. Layer two pieces for thicker mist near the bottom. Funny epitaphs like “Here lies my diet” get laughs from visitors. The whole graveyard glows eerily when backlit, and the fabric moves slightly with air currents for lifelike mist.
Owl Perch Silhouettes
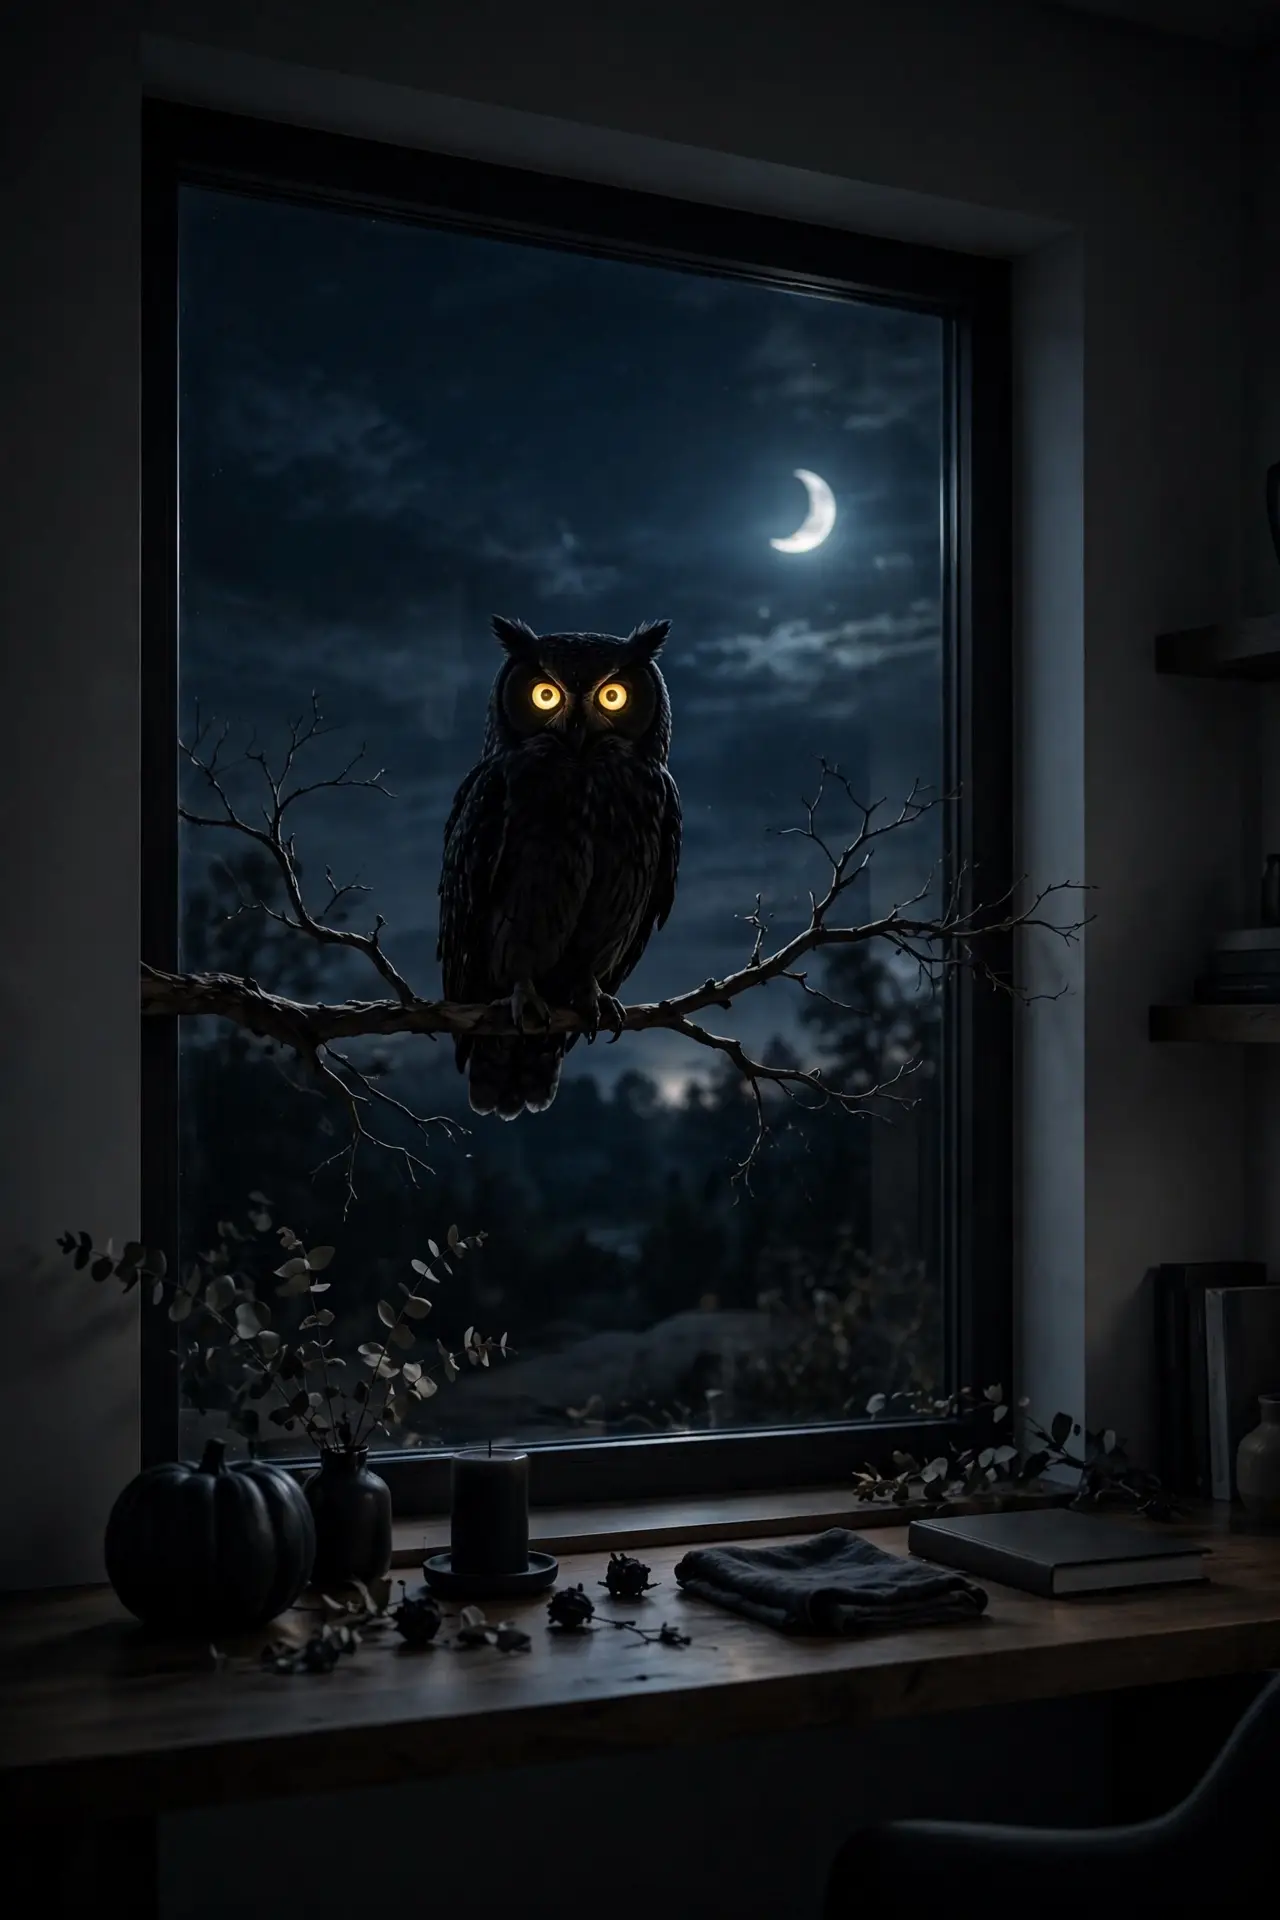
Wise old owls bring a touch of class to Halloween windows. Cut a large owl silhouette with big round eyes, then cut the eyes out so light shines through like glowing orbs. Perch it on a branch silhouette stretching across the window. The glowing eyes are mesmerizing after dark and slightly unnerving in the best way.
Use yellow tissue paper behind the eye holes to warm the glow. I’ve seen this work well in many cases as a subtler alternative to scarier themes. Owls suit elegant Halloween styling and pair nicely with autumn leaves. One large owl makes more impact than several small ones.
Black Cat Cutouts
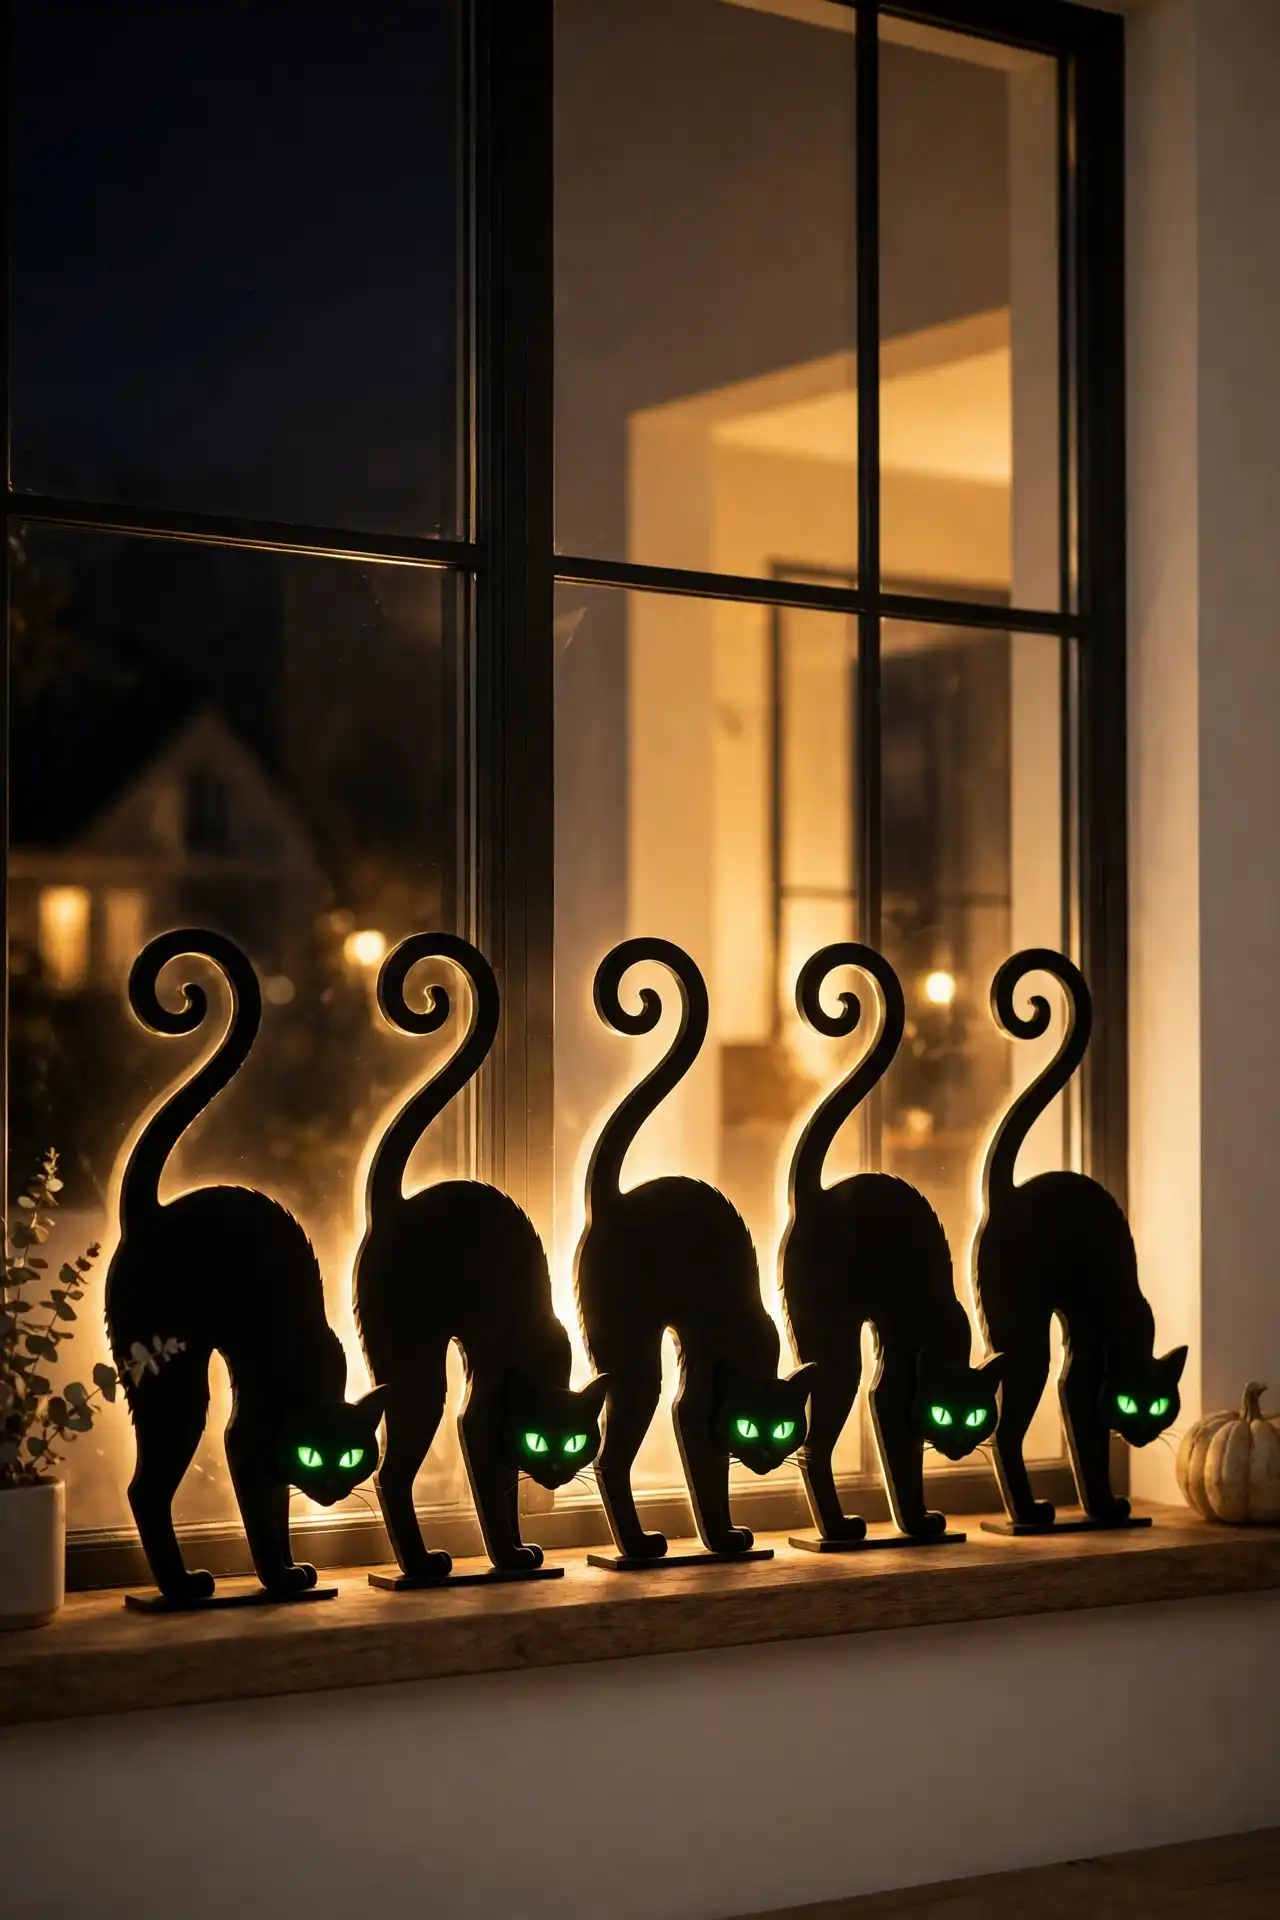
DO:
- Cut cats in varied poses: sitting, arching, stretching.
- Add green or yellow tissue behind the eyes for a glow.
- Place them along the sill like a parade of cats.
- Use thick black paper for solid, clean silhouettes.
DON’T:
- Crowd too many cats on one small window.
- Use flimsy paper that curls in window condensation.
- Skip the eyes, which are the whole charm.
- Place them where curtains will hide them at night.
Black cats are Halloween icons for good reason. Their sleek shapes read instantly as silhouettes, and glowing eyes add just the right spookiness. Line them along the bottom of the window like they’re patrolling the night. This theme works for the entire fall season, not just Halloween night.
Dripping Blood Borders
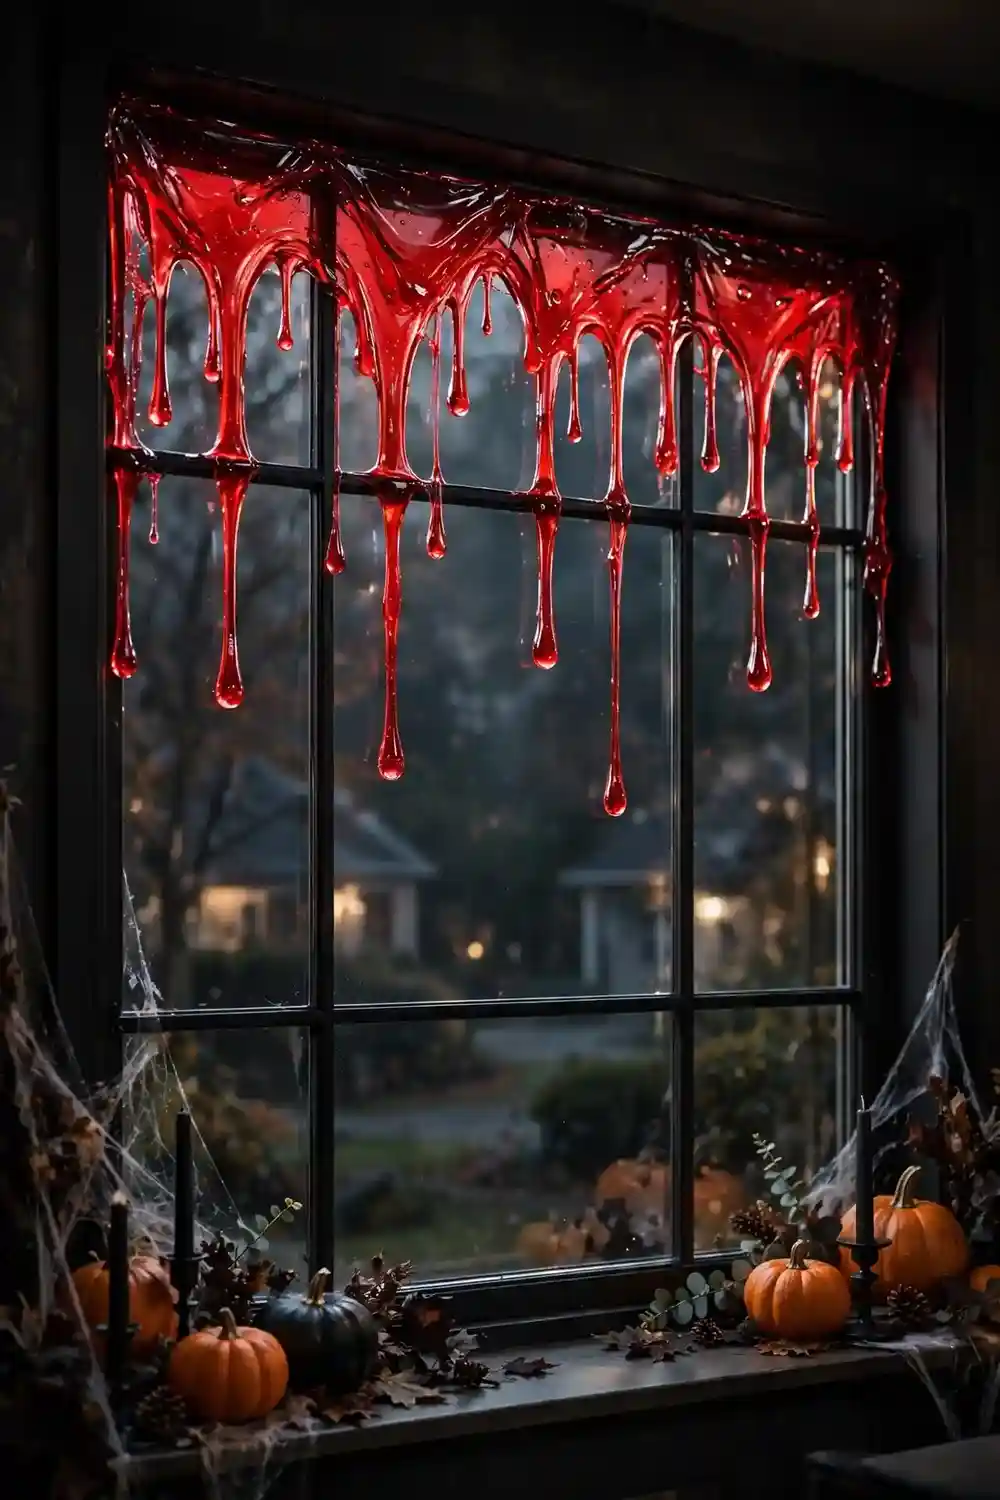
Cost: Around $8 | Time: 20 minutes | Skill Level: Beginner | Best For: Horror fans wanting maximum shock
Glossy red gel clings create a convincingly gory drip effect that horror lovers adore. Press the gel strips along the top of the window and let the drips run downward naturally. The translucent red glows eerily when backlit. This is definitely the boldest option here, so save it for houses that go all out on scares. Pair it with dim red lighting inside for a truly chilling effect that horror fans will love. Just be ready for some strong reactions from younger trick or treaters.
Monster Eye Peeks
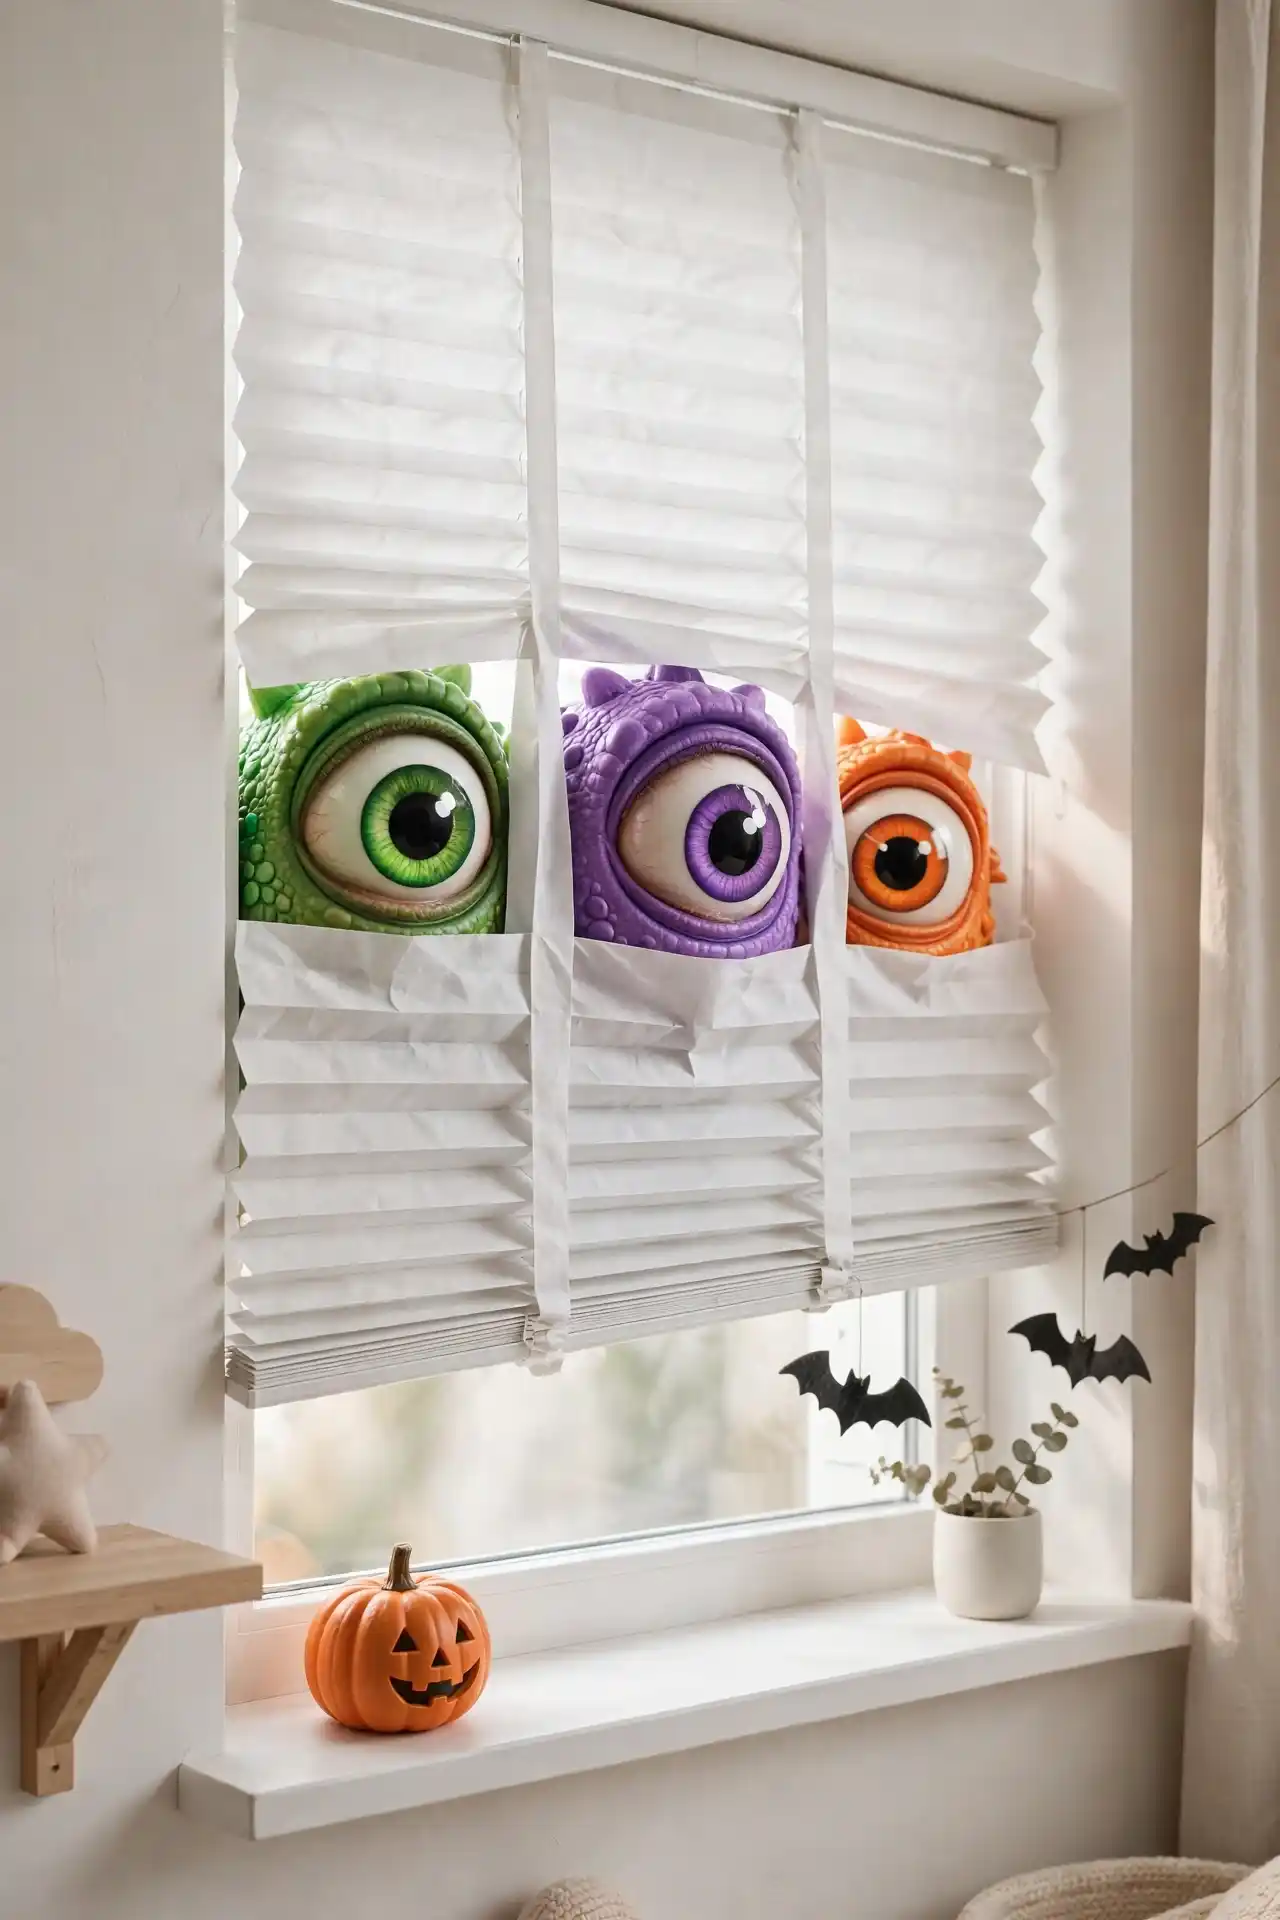
Giant googly-style monster eyes peeking from behind curtains or blinds delight kids and amuse adults. Cut oversized eye shapes from white paper, add colored irises and black pupils, then tuck them so they appear to peer out. Vary the sizes and colors for a crowd of curious monsters watching the street.
This is the friendliest idea in the collection, perfect for homes with young children. Let kids design their own monsters with markers and crayons before you cut them out. I’ve noticed handmade versions charm neighbors even more than store-bought ones. The silliness balances out scarier decorations elsewhere.
Autumn Leaf Overlays
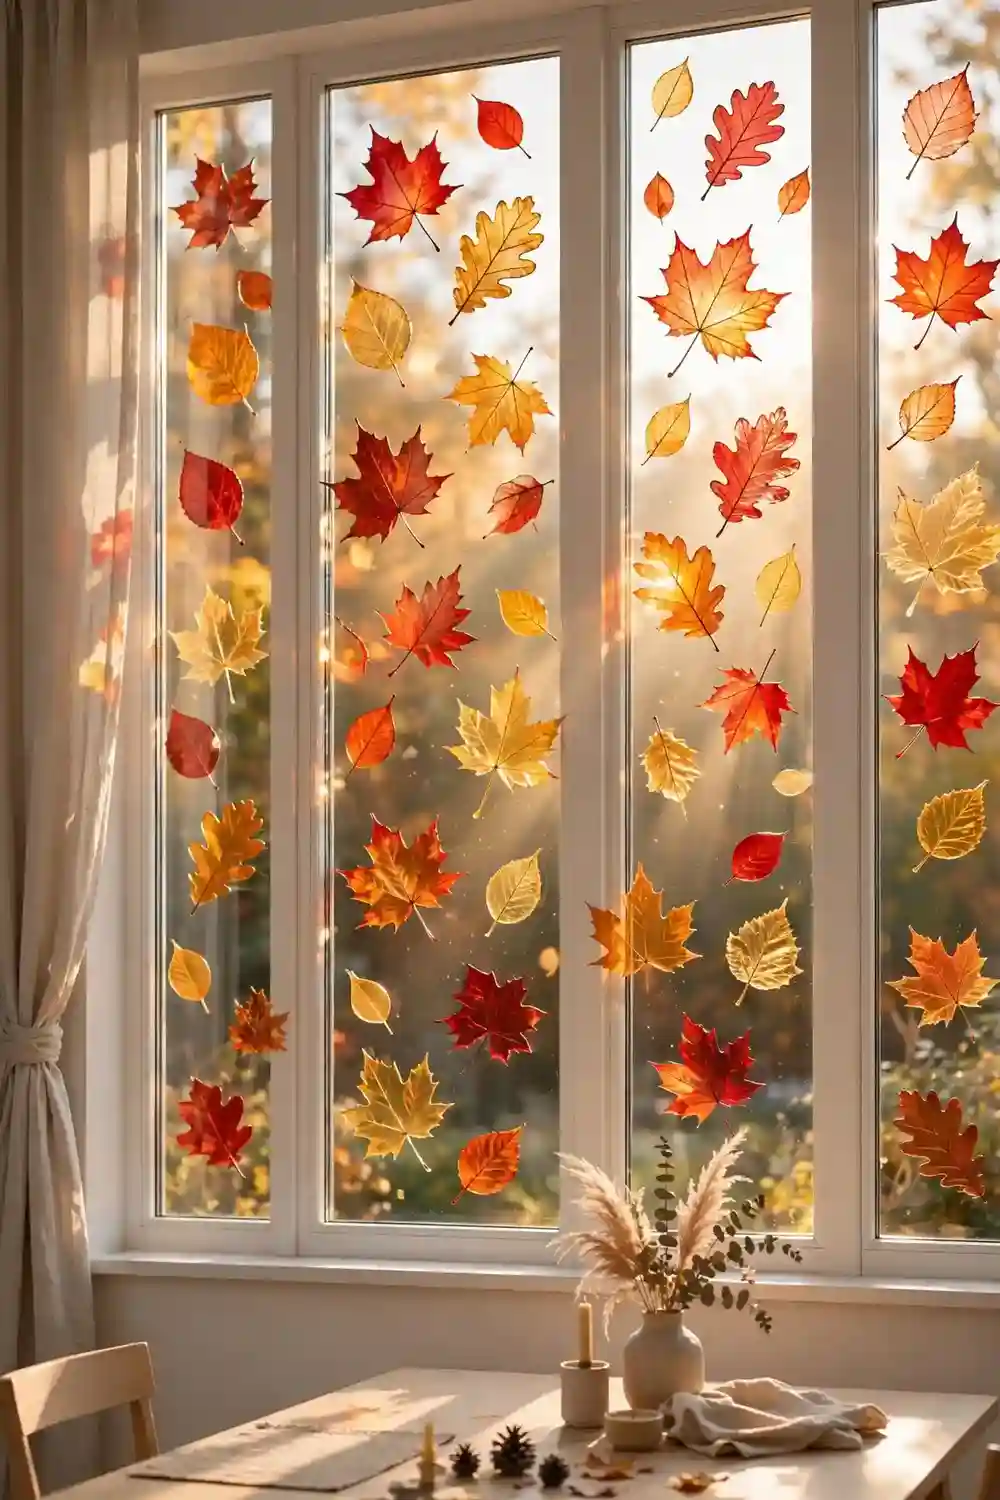
- Choose translucent leaf decals in classic fall colors.
- Scatter them naturally rather than in rigid patterns.
- Overlap a few for depth and realistic layering.
- Leave some glass clear so light still streams through.
Fall leaf overlays bridge Halloween and Thanksgiving beautifully. The translucent material glows like stained glass when sunlight hits it. This gentle approach suits homes that prefer autumn warmth over Halloween fright. Leaves stay up through November, giving you the longest display life of any idea here. Combine them with a few acorn or pumpkin decals for extra autumn richness. The warm colors complement any fall porch decorations you already have outside.
Candle Glow Effects
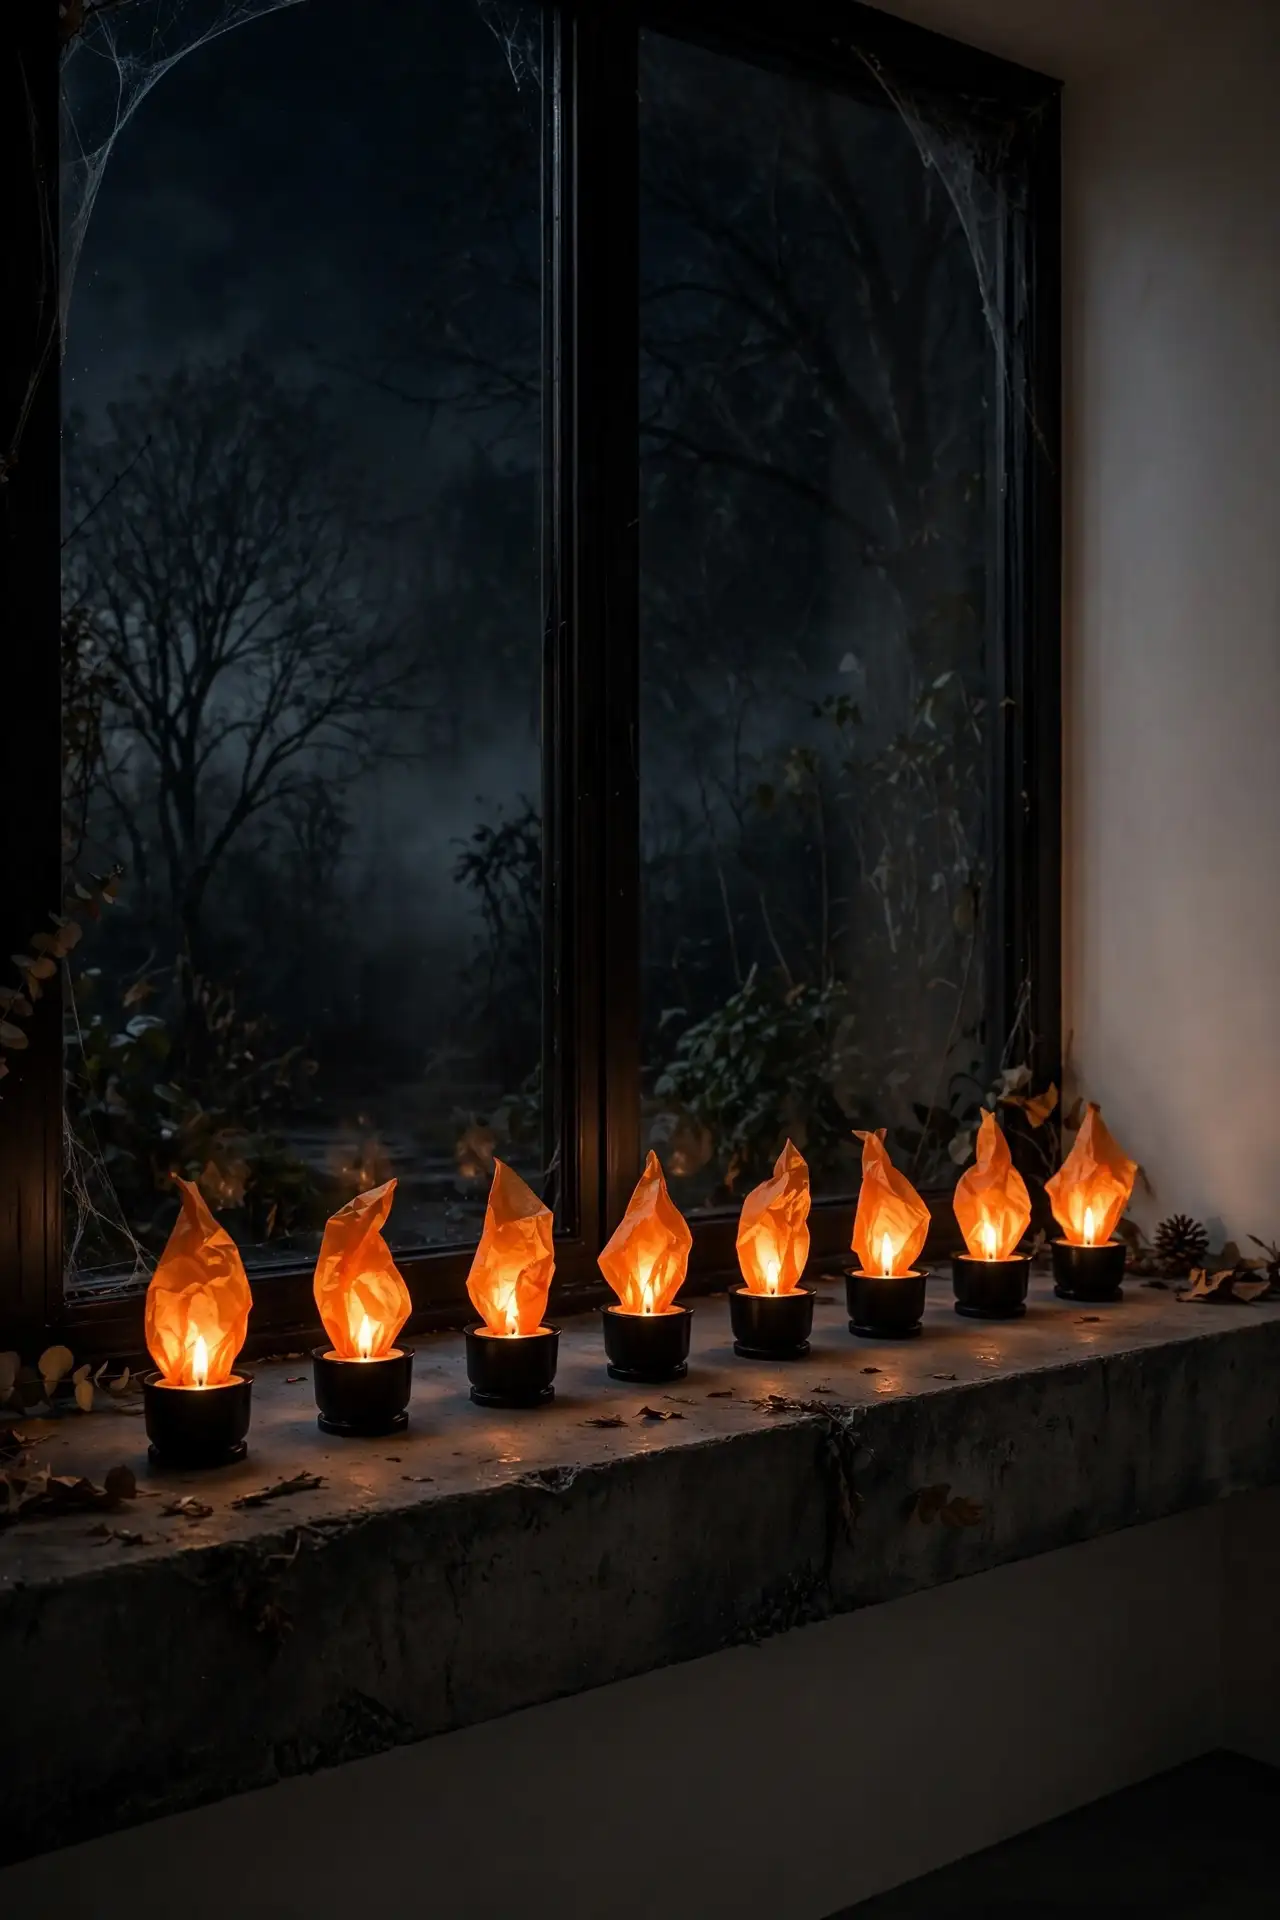
Quick Tip: Use battery LED tea lights behind orange tissue flames for a safe flickering effect. Real candles near paper decorations are never worth the risk. Cluster the candles at different heights using books or boxes behind the window. The uneven flicker looks remarkably like real candlelight from outside.
Glowing candles set a mysterious mood that suits haunted themes perfectly. Cut simple candle shapes from black paper and glue orange tissue flames on top. Arrange them along the sill in a row. For related mantel inspiration, see halloween mantel ideas to extend the candlelit mood indoors. The warm glow welcomes visitors while keeping things spooky.
Full Moon Portraits
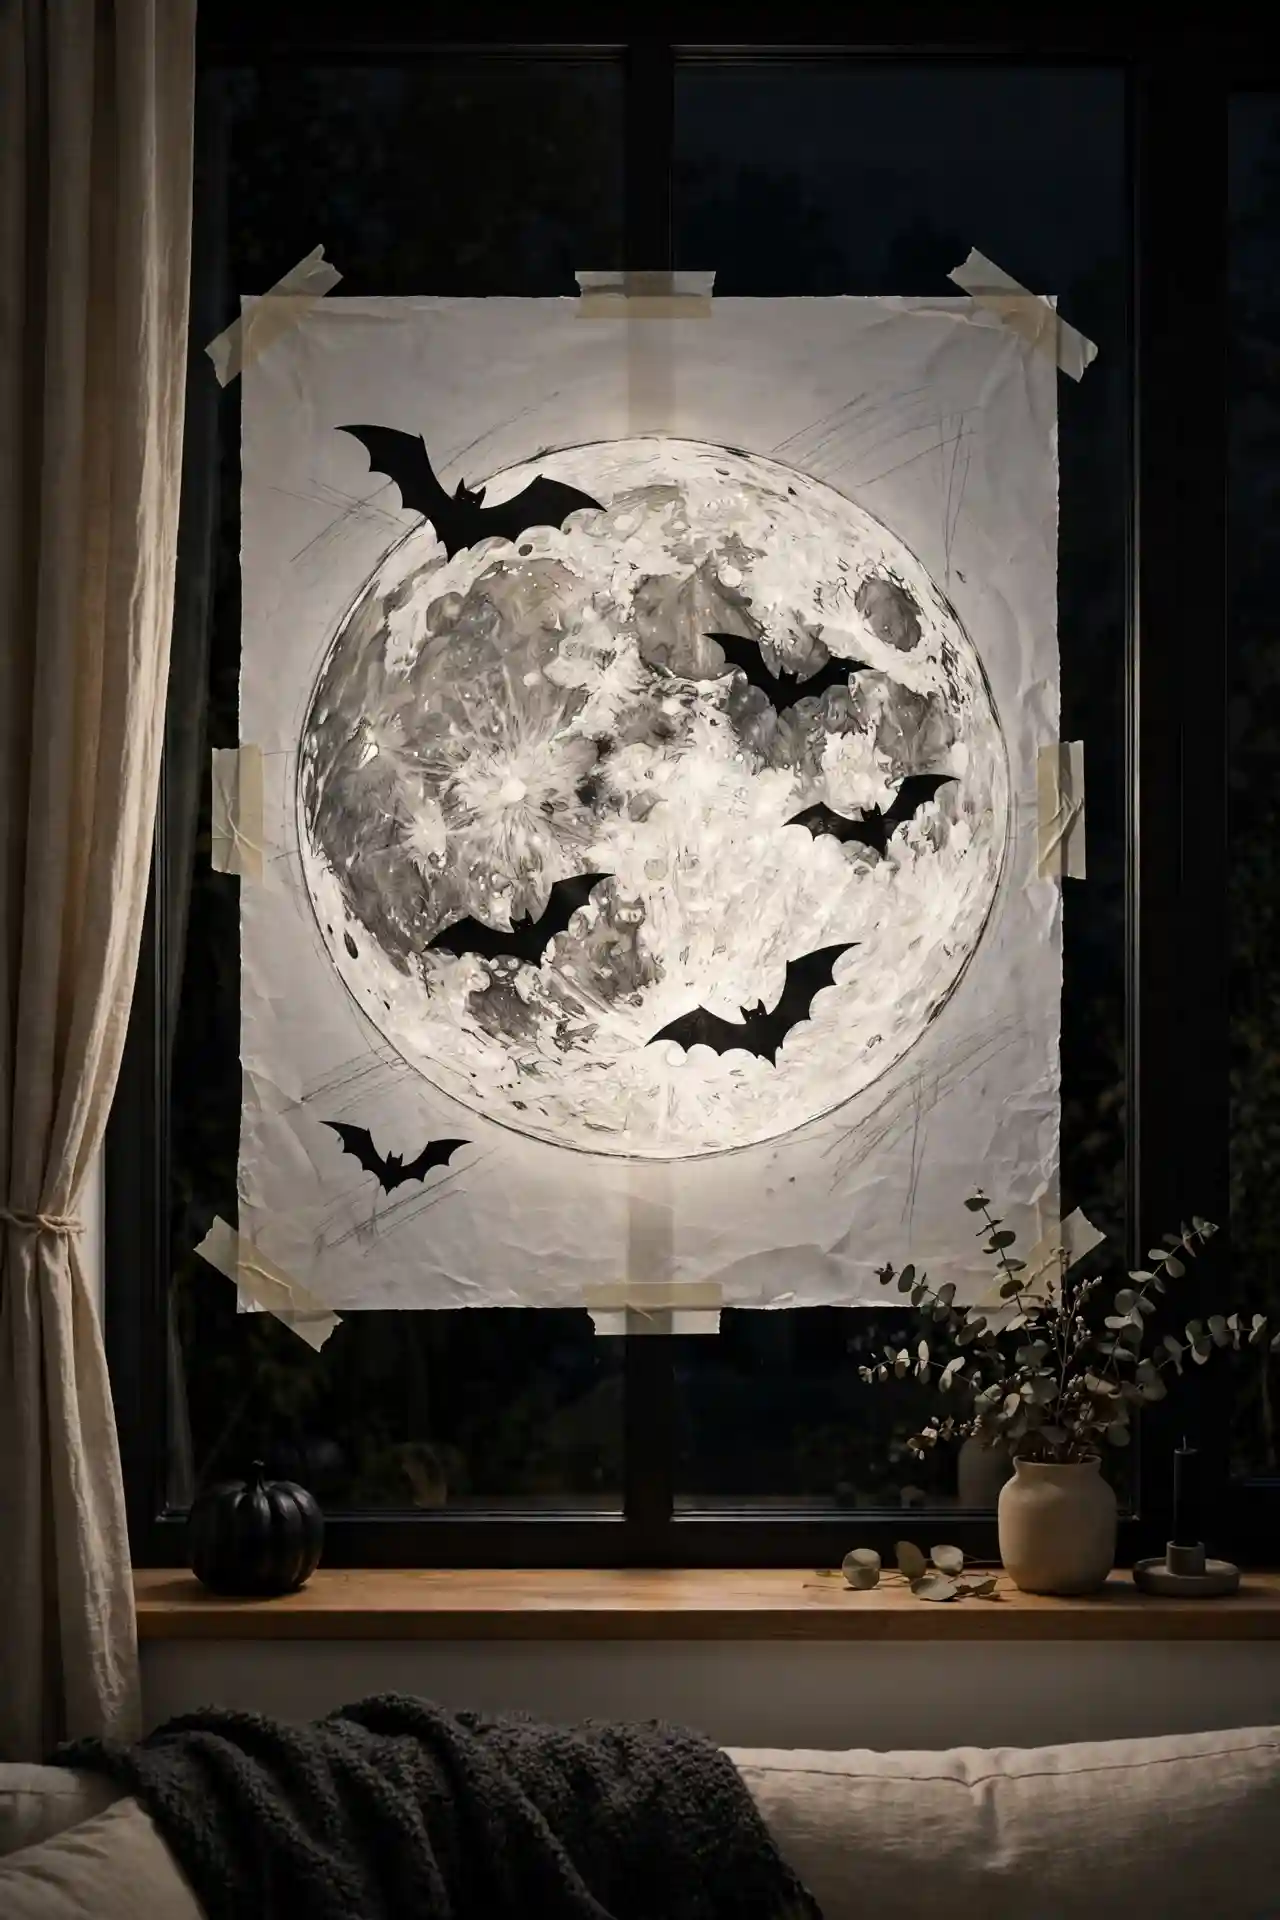
BEFORE: Empty windows that fade into the background on Halloween night.
AFTER: A massive textured moon dominating the glass with bats crossing its face, creating the single most dramatic window on the street.
Draw craters on a large white circle with gray markers for realistic lunar texture. Make it at least three feet wide so it commands attention. Add bats flying across for scale and movement. Backlight it softly so the moon seems to shine on its own. This showstopper takes an hour but stops traffic. Position it on your most visible street-facing window for maximum impact. Neighbors will ask how you made it look so realistic.
Conclusion
Your windows are ready to steal the show this Halloween, and halloween window art proves that a little creativity goes a long way. From glowing ghosts to dripping blood borders, these twenty ideas cover every style from cute to creepy. Pick the ones that match your home’s personality and start with just one window to see the magic happen. I’ve seen how small changes like these can completely shift the way a space feels. Save your favorites on Pinterest, gather your supplies this week, and enjoy the delighted reactions from everyone who passes by.

One Comment