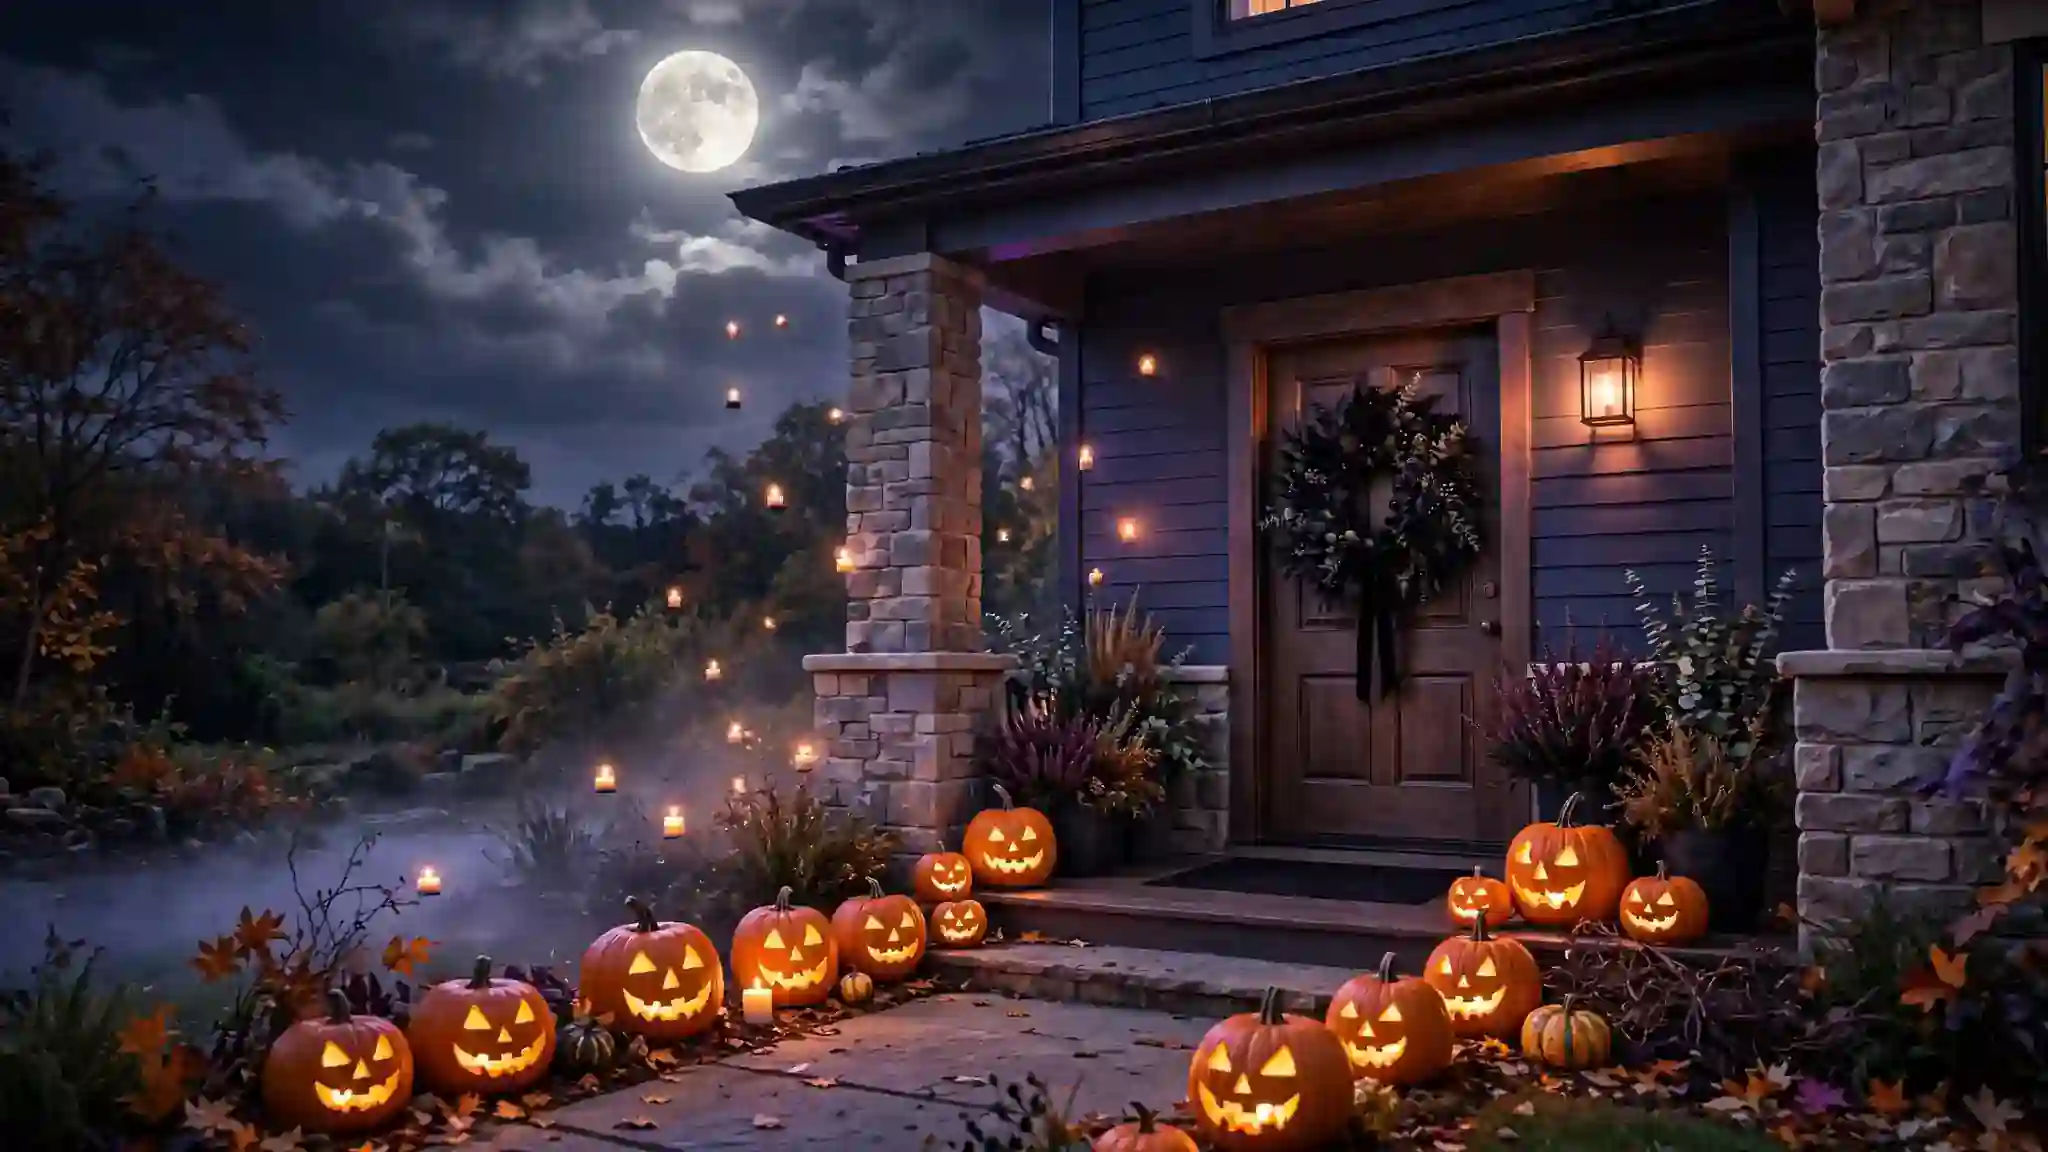
24 Halloween Door Ideas for a Frightfully Fun Entrance
Your front door makes the first impression long before anyone rings the bell, and halloween door ideas turn that blank entryway into a scene neighbors remember. A themed door tells visitors you love the season and sets a playful, spooky mood. I’ve noticed that houses with a clear focal point get more trick-or-treaters and better photos. You do not need expensive animatronics or a professional decorator. With a few smart layers, your entrance can look straight out of a Halloween movie.
Below you will find twenty-four fresh takes, from elegant gothic touches to full fright-night drama. Each one works with a standard front door and common craft supplies. If you love styling vertical spaces, you might also enjoy these shelf wallpaper ideas for indoors. Pick the style that matches your home, gather your supplies this weekend, and give your entryway the seasonal glow-up it deserves.
Spooky Wreath Welcome
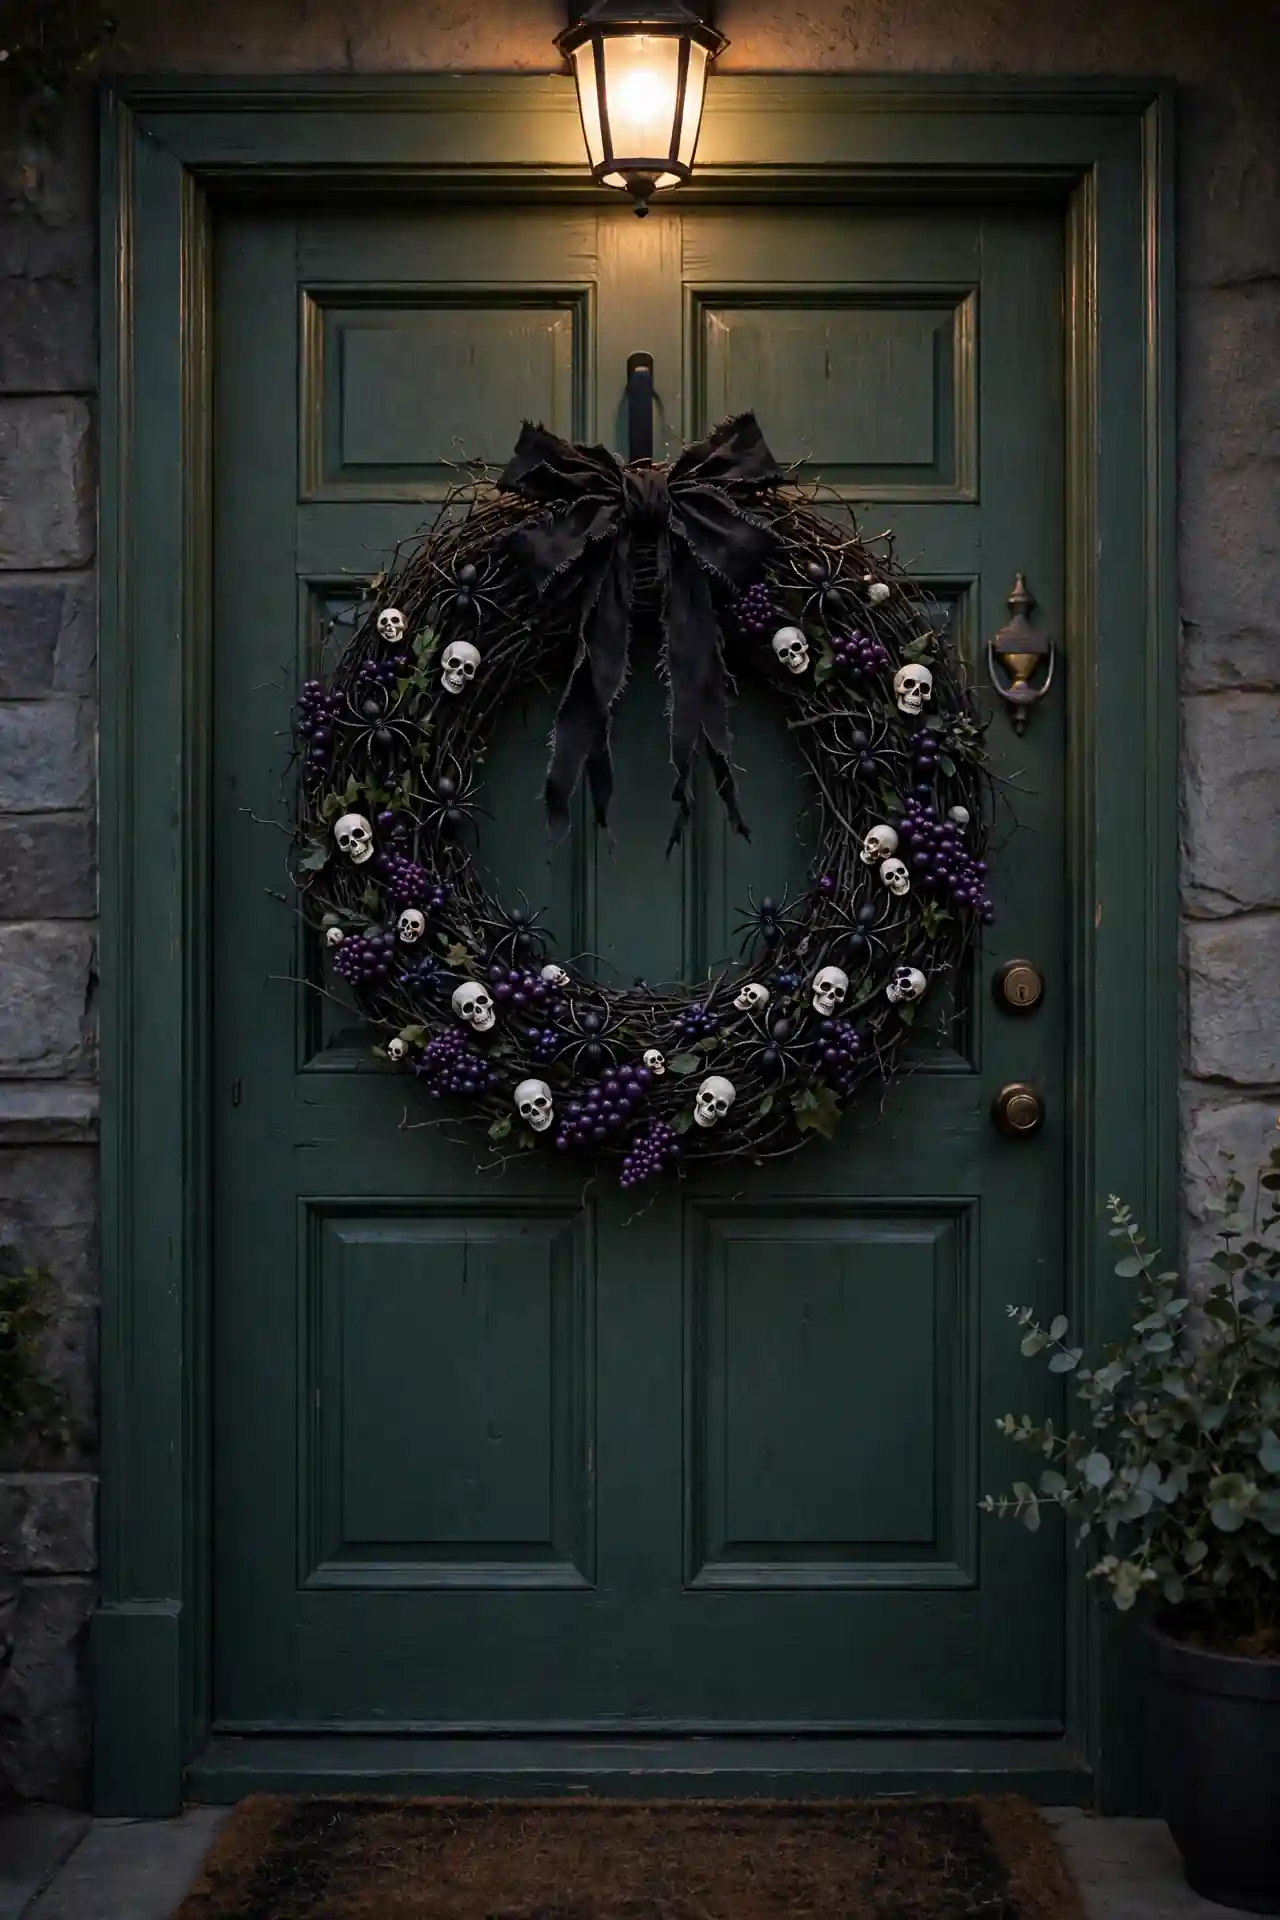
A wreath is the fastest way to signal Halloween, and a spooky version beats the usual fall florals. Start with a black grapevine base. Weave in plastic spiders, small skulls, and purple faux berries. A tattered black ribbon bow at the top adds instant drama. Hang it with wide black ribbon for a cleaner look. Crepe paper will not damage paint, which renters appreciate.
In my experience, scale matters more than detail here. A wreath spanning two-thirds of your door width reads bold from the street. Keep the palette tight: black, purple, and one metallic accent. Check the silhouette from the curb before you call it done.
Ghostly Drape Curtain
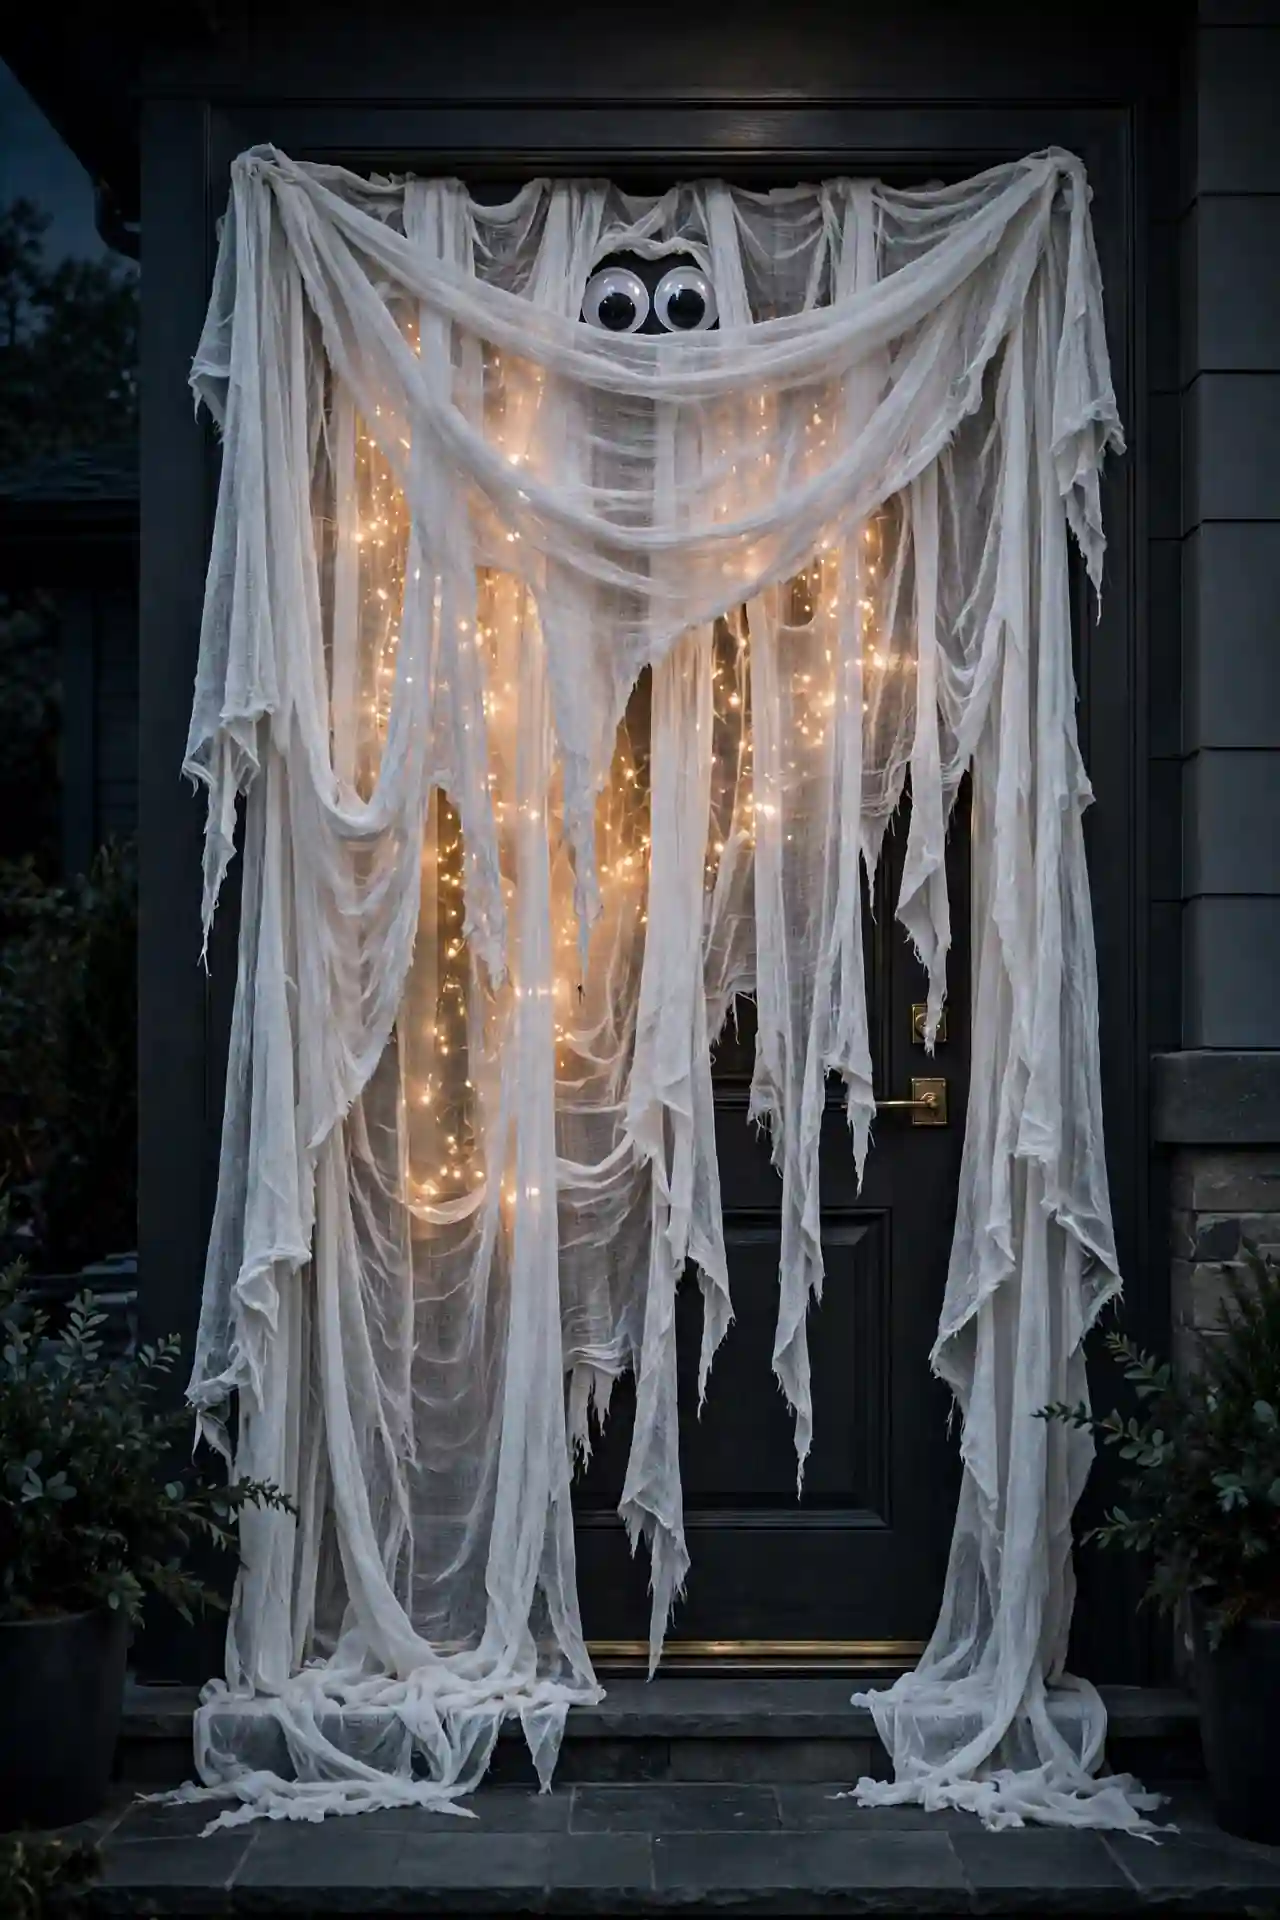
- Drape white cheesecloth from the top of the door frame, letting it pool slightly at the base.
- Cut jagged edges along the bottom so the fabric looks torn and ghostly.
- Tuck battery-operated fairy lights behind the layers for an eerie glow.
- Add two large googly eyes near the top to suggest a watching spirit.
- Secure everything with clear removable hooks to protect your paint.
The trick is layering. Single sheets look flat, but three overlapping panels create depth that reads beautifully after dark. I’ve seen this work well in many cases where renters needed something dramatic yet removable. Fluff the fabric outward at the corners so it catches the breeze and moves like a real apparition.
Pumpkin Stack Tower
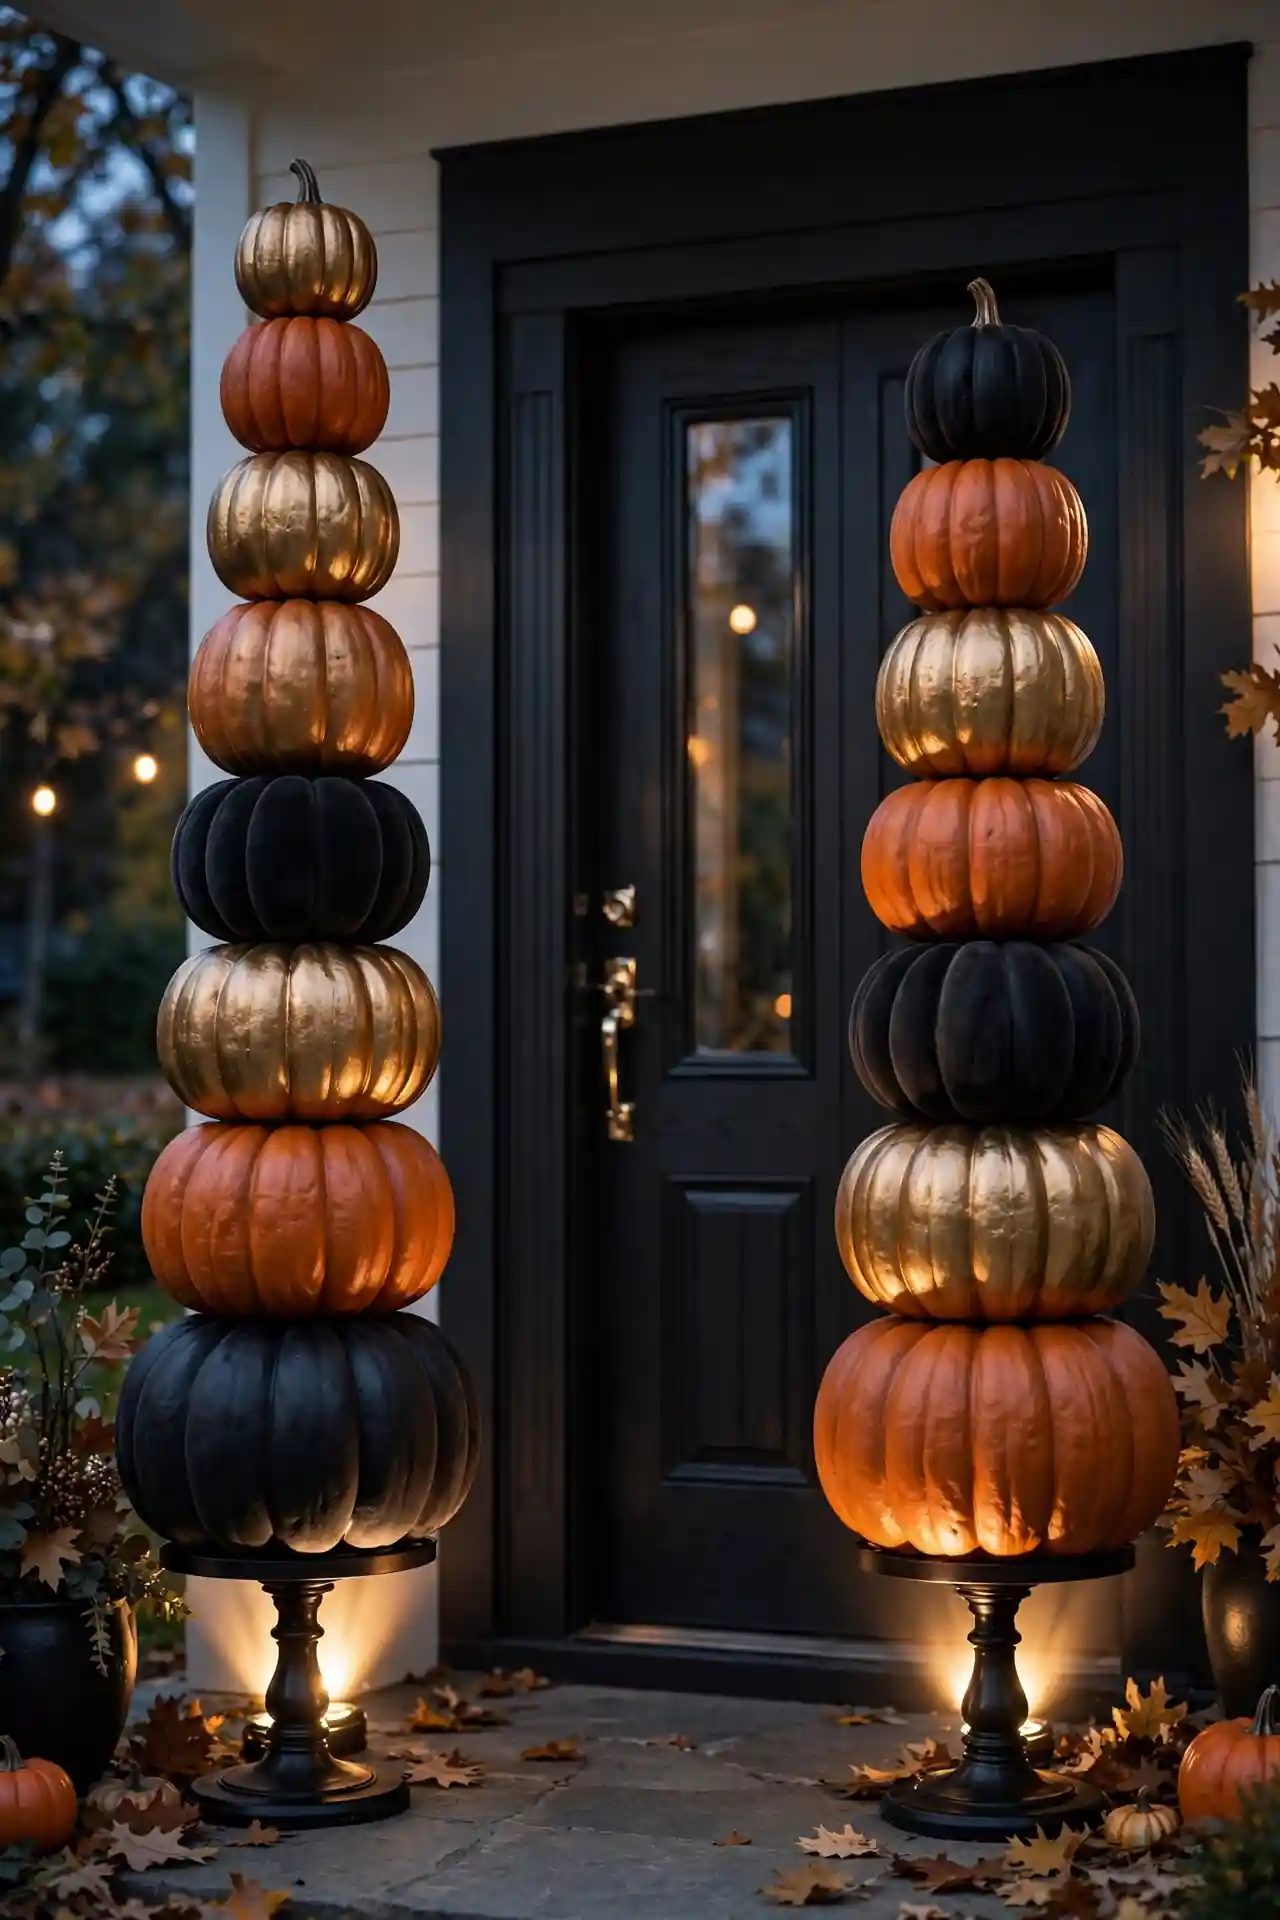
Quick Tip: Use faux pumpkins in graduating sizes so your tower survives the whole month without rotting. Stack the largest at the bottom on a sturdy plant stand, then secure each layer with a wooden dowel through the centers. Paint each pumpkin a different finish, matte black, burnt orange, and antique gold, for a designer look. Let each coat dry fully before adding the next color band.
Flank your door with one tower on each side for symmetry that photographs beautifully. I’ve noticed that odd-numbered groupings feel more natural, so three pumpkins per stack hits the sweet spot. Add a small spotlight at the base to make the tower glow after sunset.
Witch Hat Door Topper
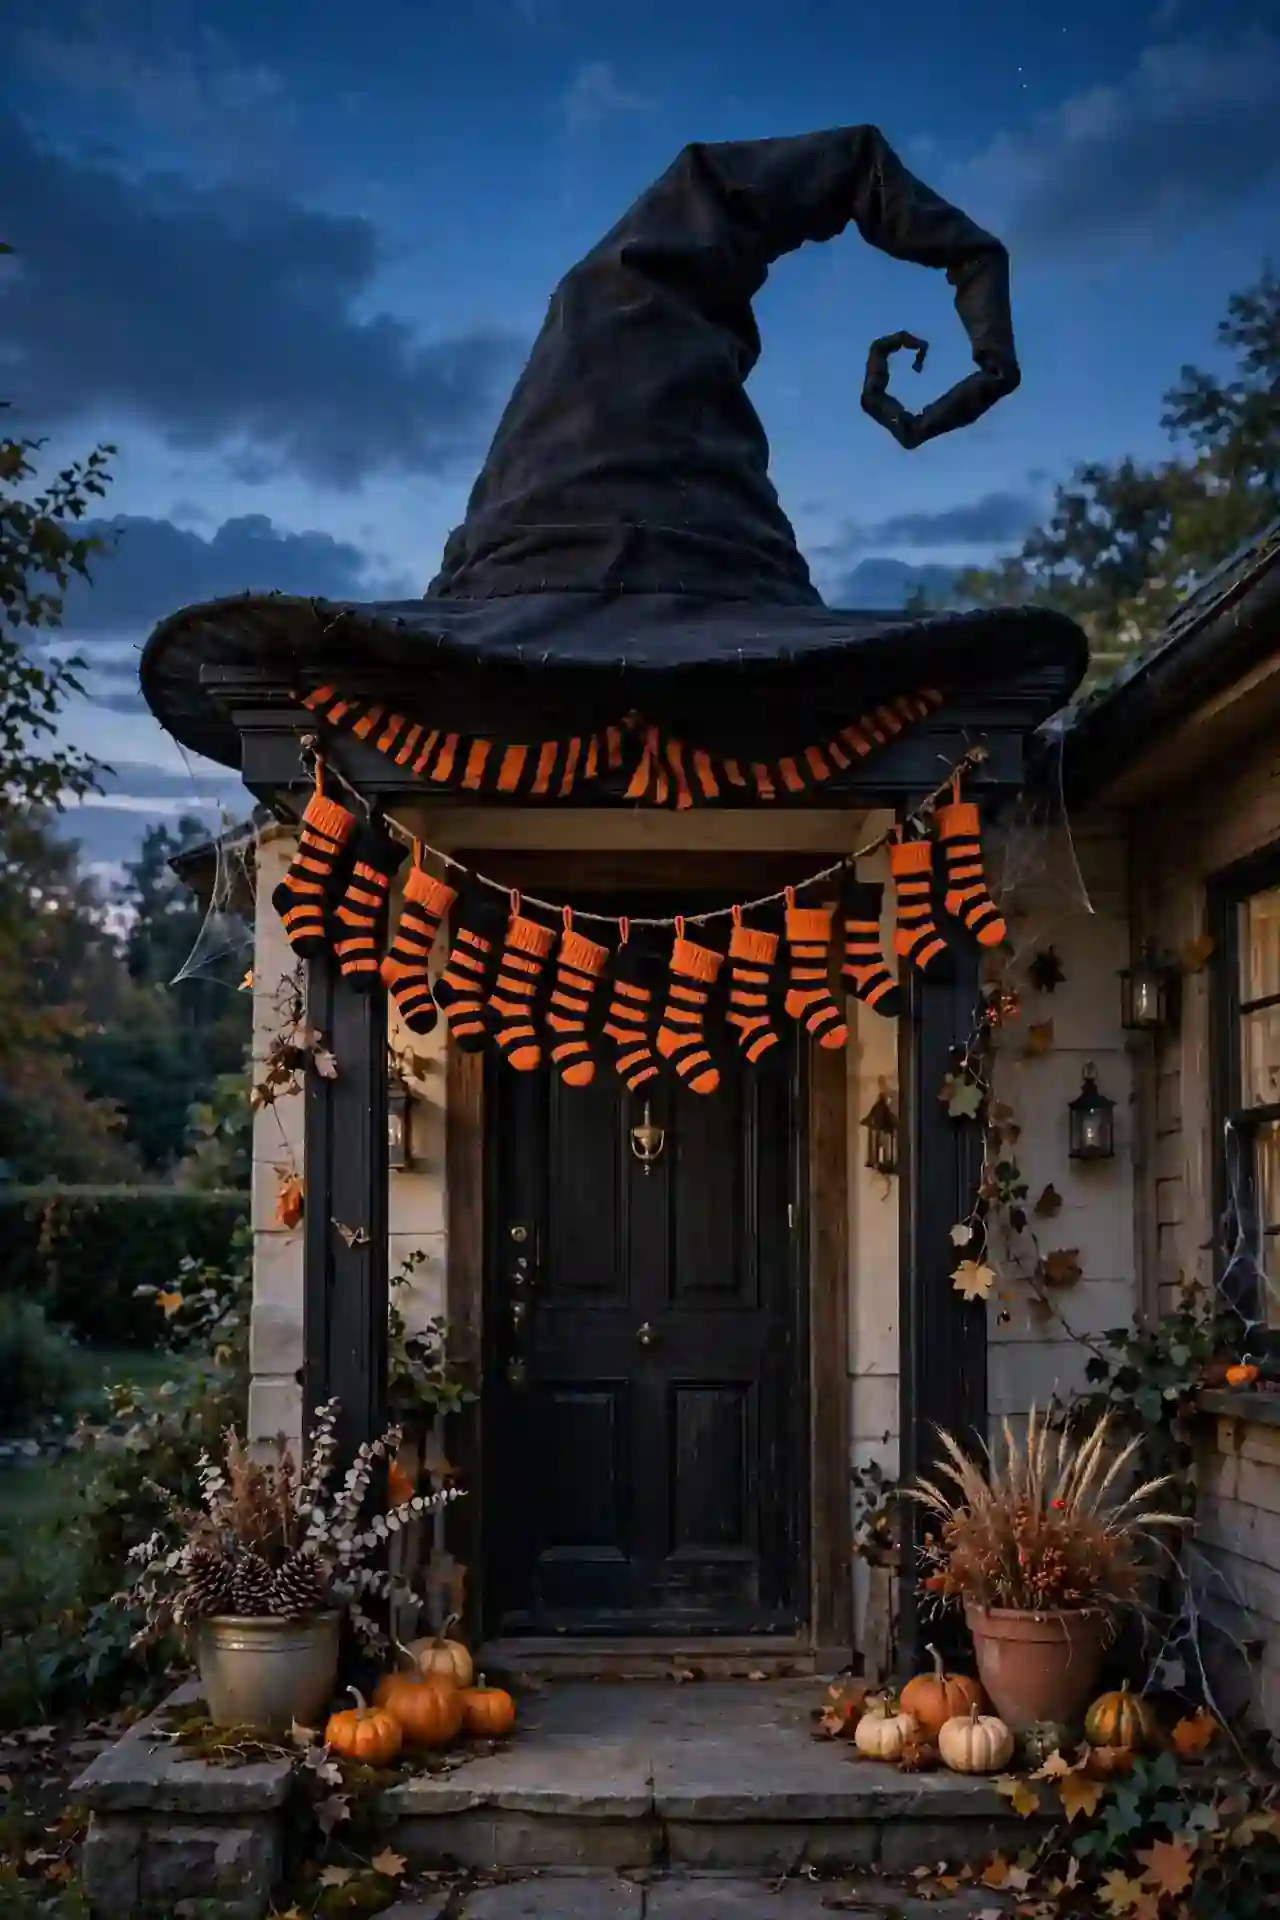
BEFORE: Your door looks plain and forgettable, blending into every other house on the street. Visitors walk past without a second glance, and the entryway feels disconnected from the season.
AFTER: A giant witch hat crowns the top of the door, its bent tip dangling over the frame. Paired with a striped stocking garland, the whole entrance now screams Halloween magic.
Build the hat from black poster board from any craft store, shaped into a cone, then crush the tip for that classic crooked look. That’s why many experts recommend adding wire inside to hold the bend. Hang it slightly off-center for a playful, lopsided charm that guests really love.
Creepy Crawly Webs
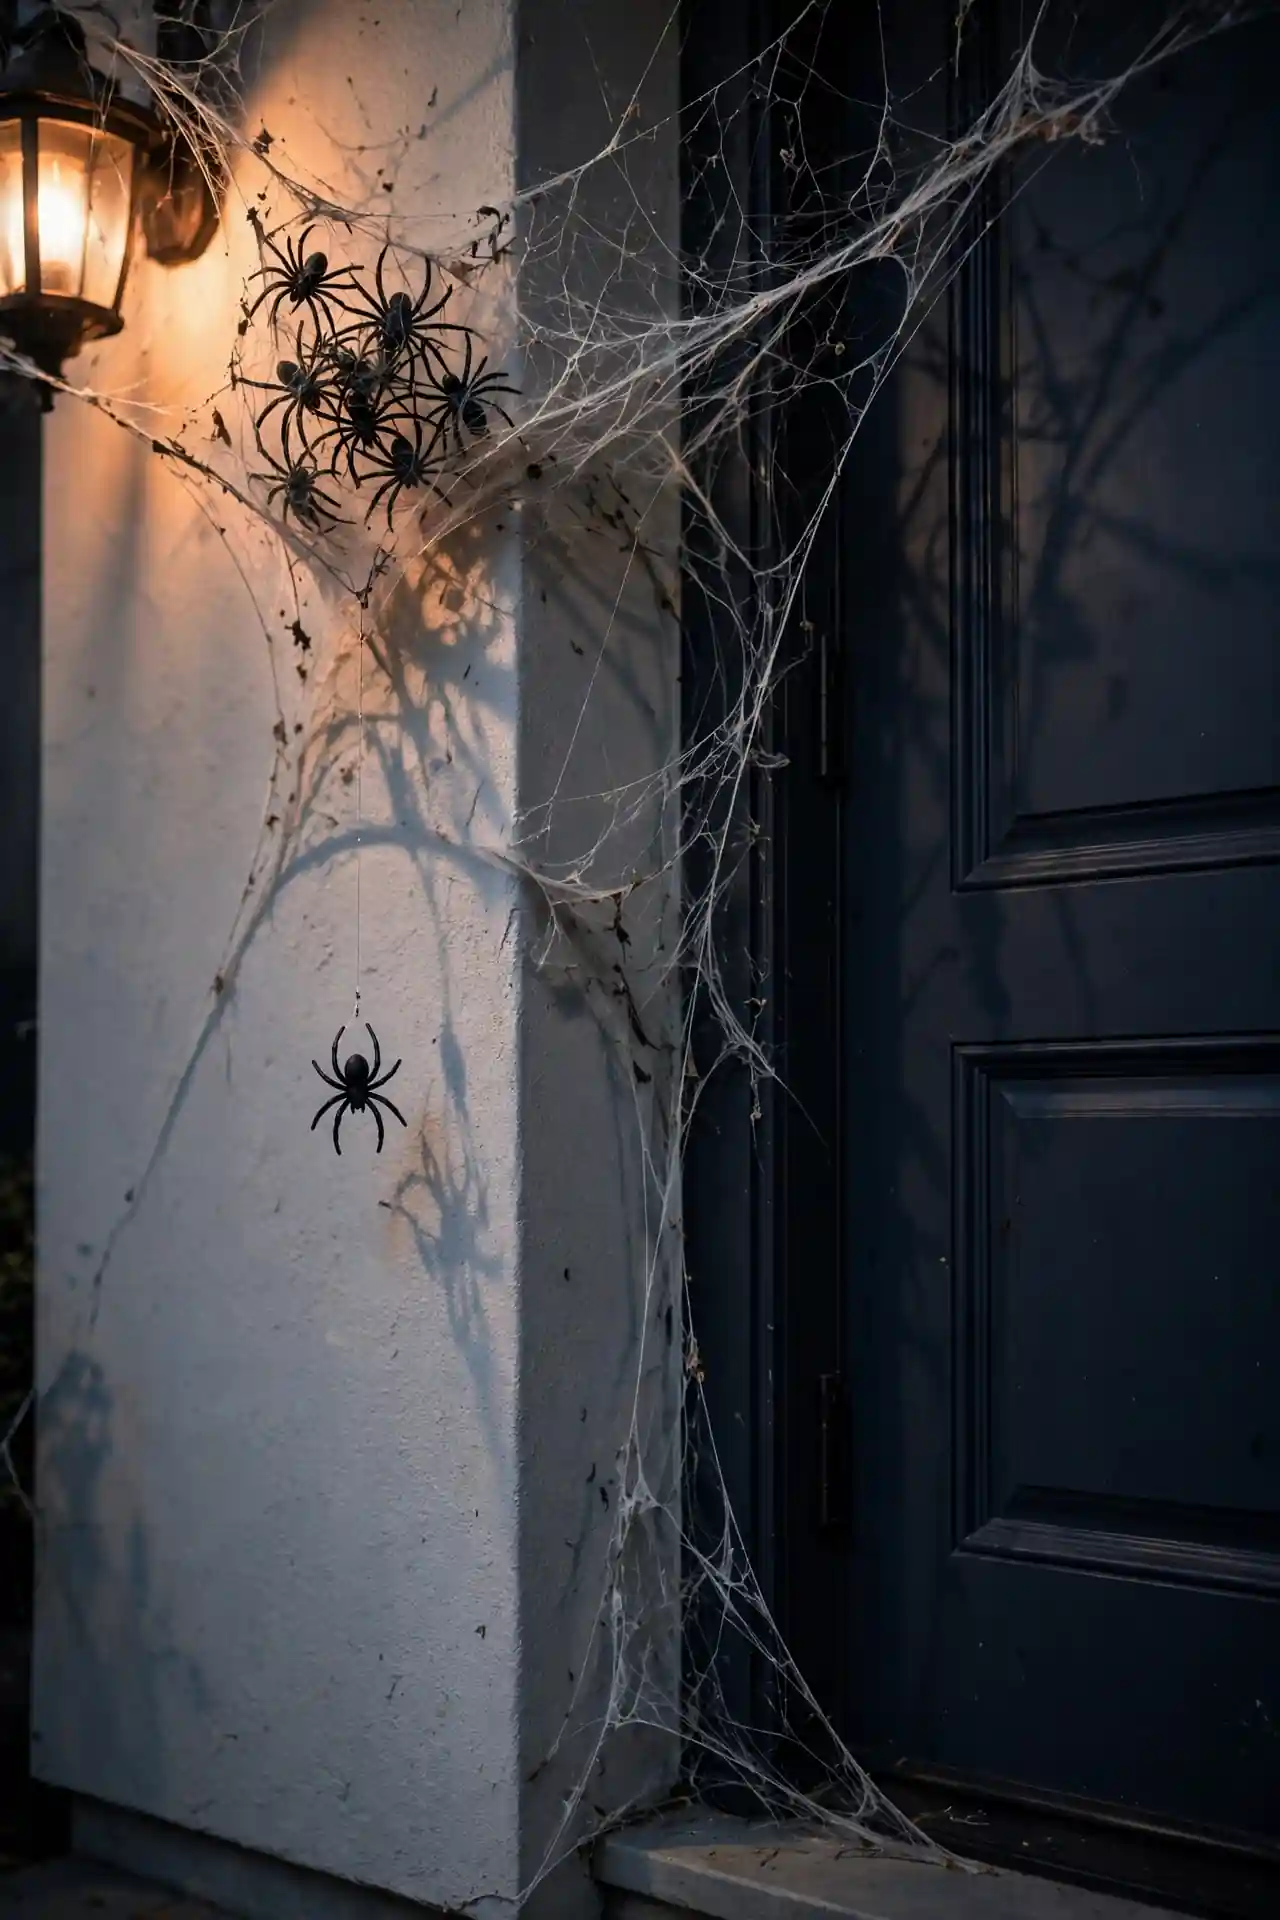
- Stretch a bag of spider webbing across one upper corner of the door, pulling it thin for realism.
- Anchor the web with small clear hooks, then tease out strands with your fingers.
- Nest three to five realistic plastic spiders of different sizes into the webbing.
- Mist the web lightly with white spray paint for an aged, dusty effect.
- Add a hanging spider on fishing line from the top of the frame for movement.
Less is more with webs. One well-placed corner web looks authentic, while full coverage can look messy. Focus on the upper corner opposite your door handle so guests see it immediately. A single web with good lighting beats a door smothered in webbing every time.
Monster Eye Peeper
| Feature | Googly Eye Style | Painted Eye Style |
|---|---|---|
| Cost | Under five dollars for a giant pair | Under ten dollars with craft paint |
| Setup time | Ten minutes with adhesive dots | Thirty minutes including drying time |
| Spook factor | Playful and silly for young kids | Creepy and realistic for teens |
| Durability | Lasts for years if stored flat | Needs touch-ups after rainy nights |
| Best placement | Center of the door | Peephole area for surprise effect |
| Lighting | Add purple uplight for drama | Add warm light for vintage charm |
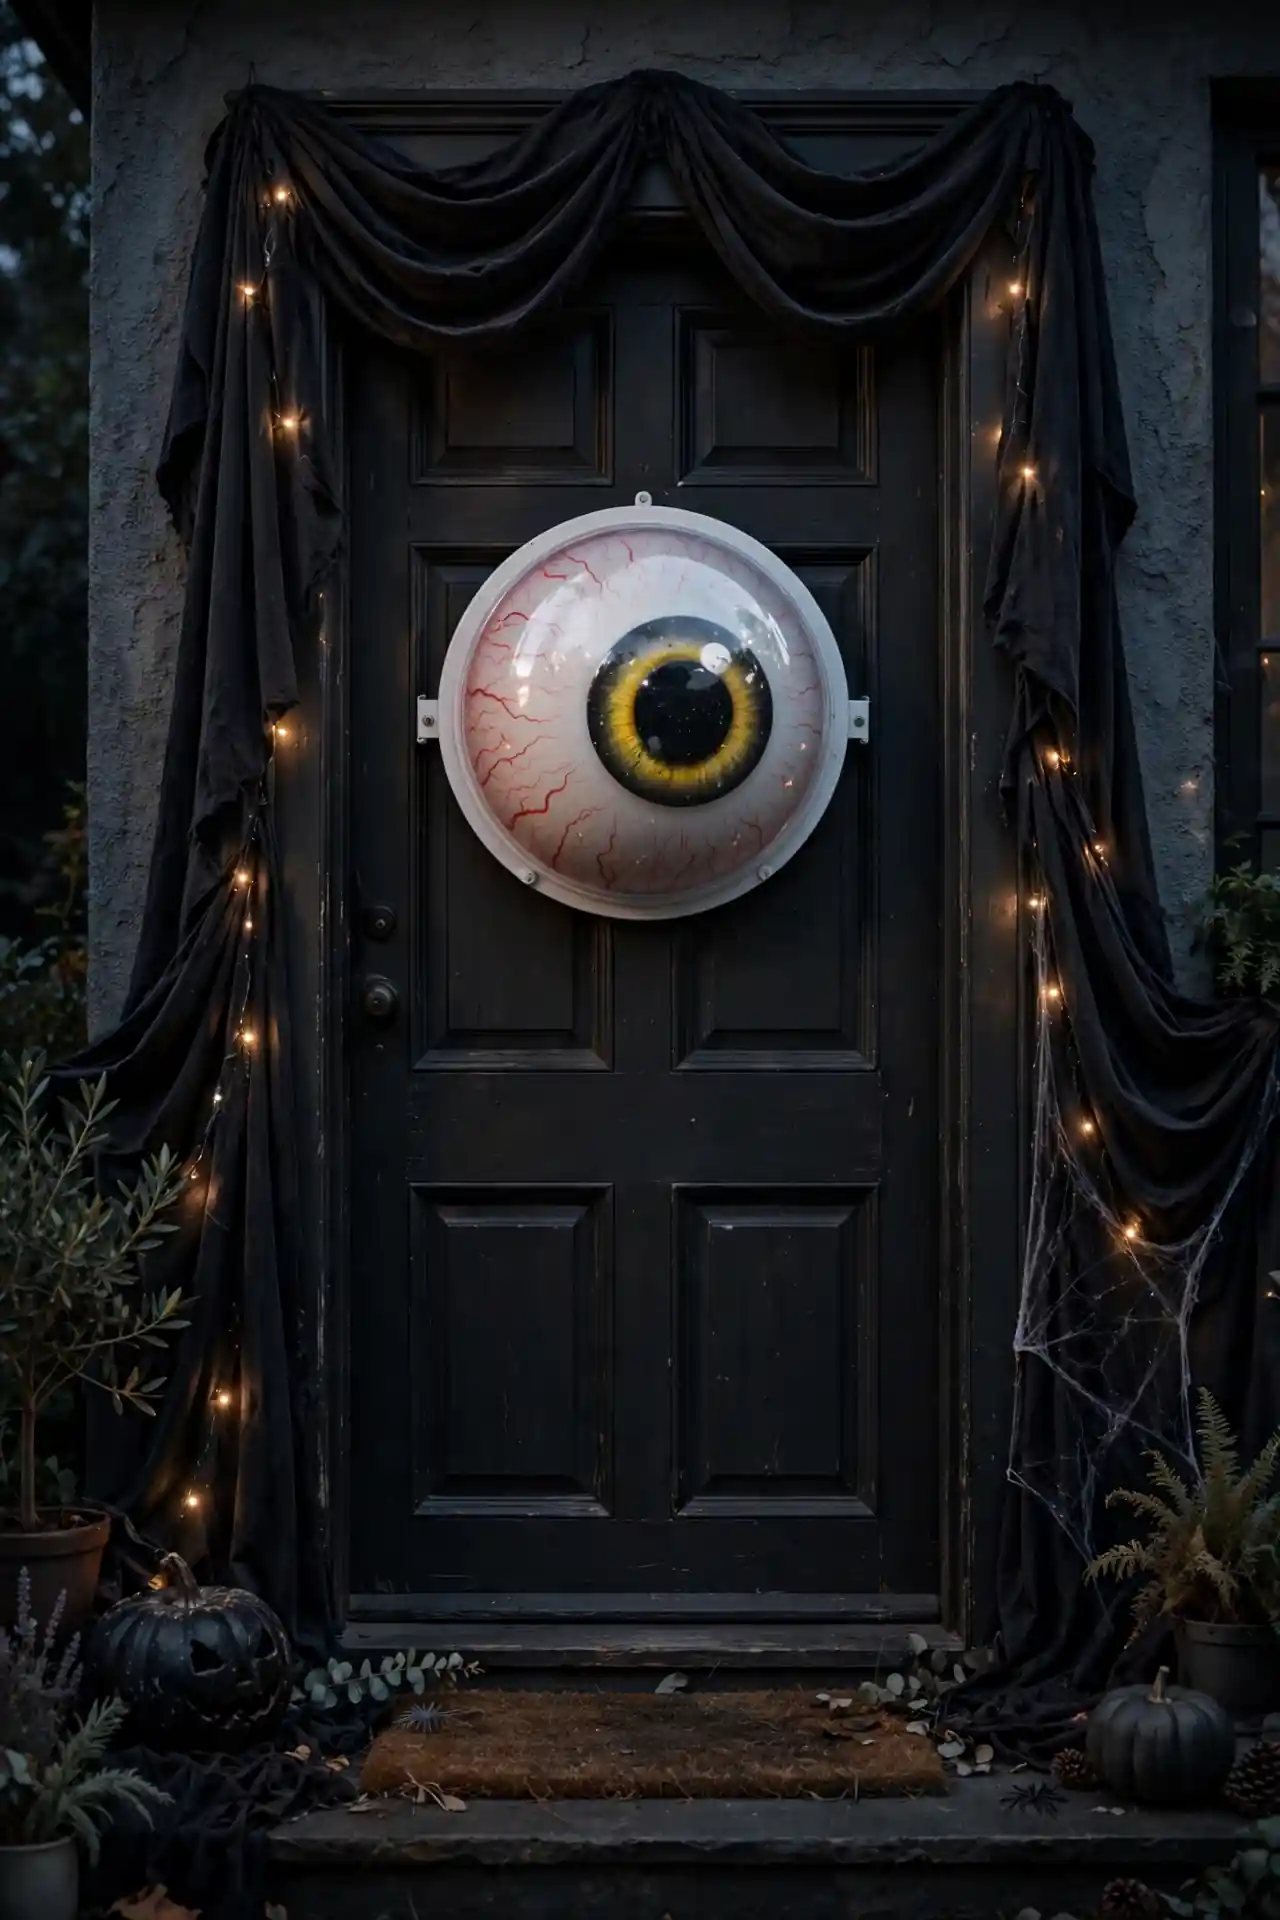
Mount one oversized eye at peephole height so it seems to watch everyone who approaches. I’ve seen this work well in many cases because the surprise factor never gets old. Pair it with a slightly ajar look by adding dark fabric around the door frame.
Haunted Garland Swag
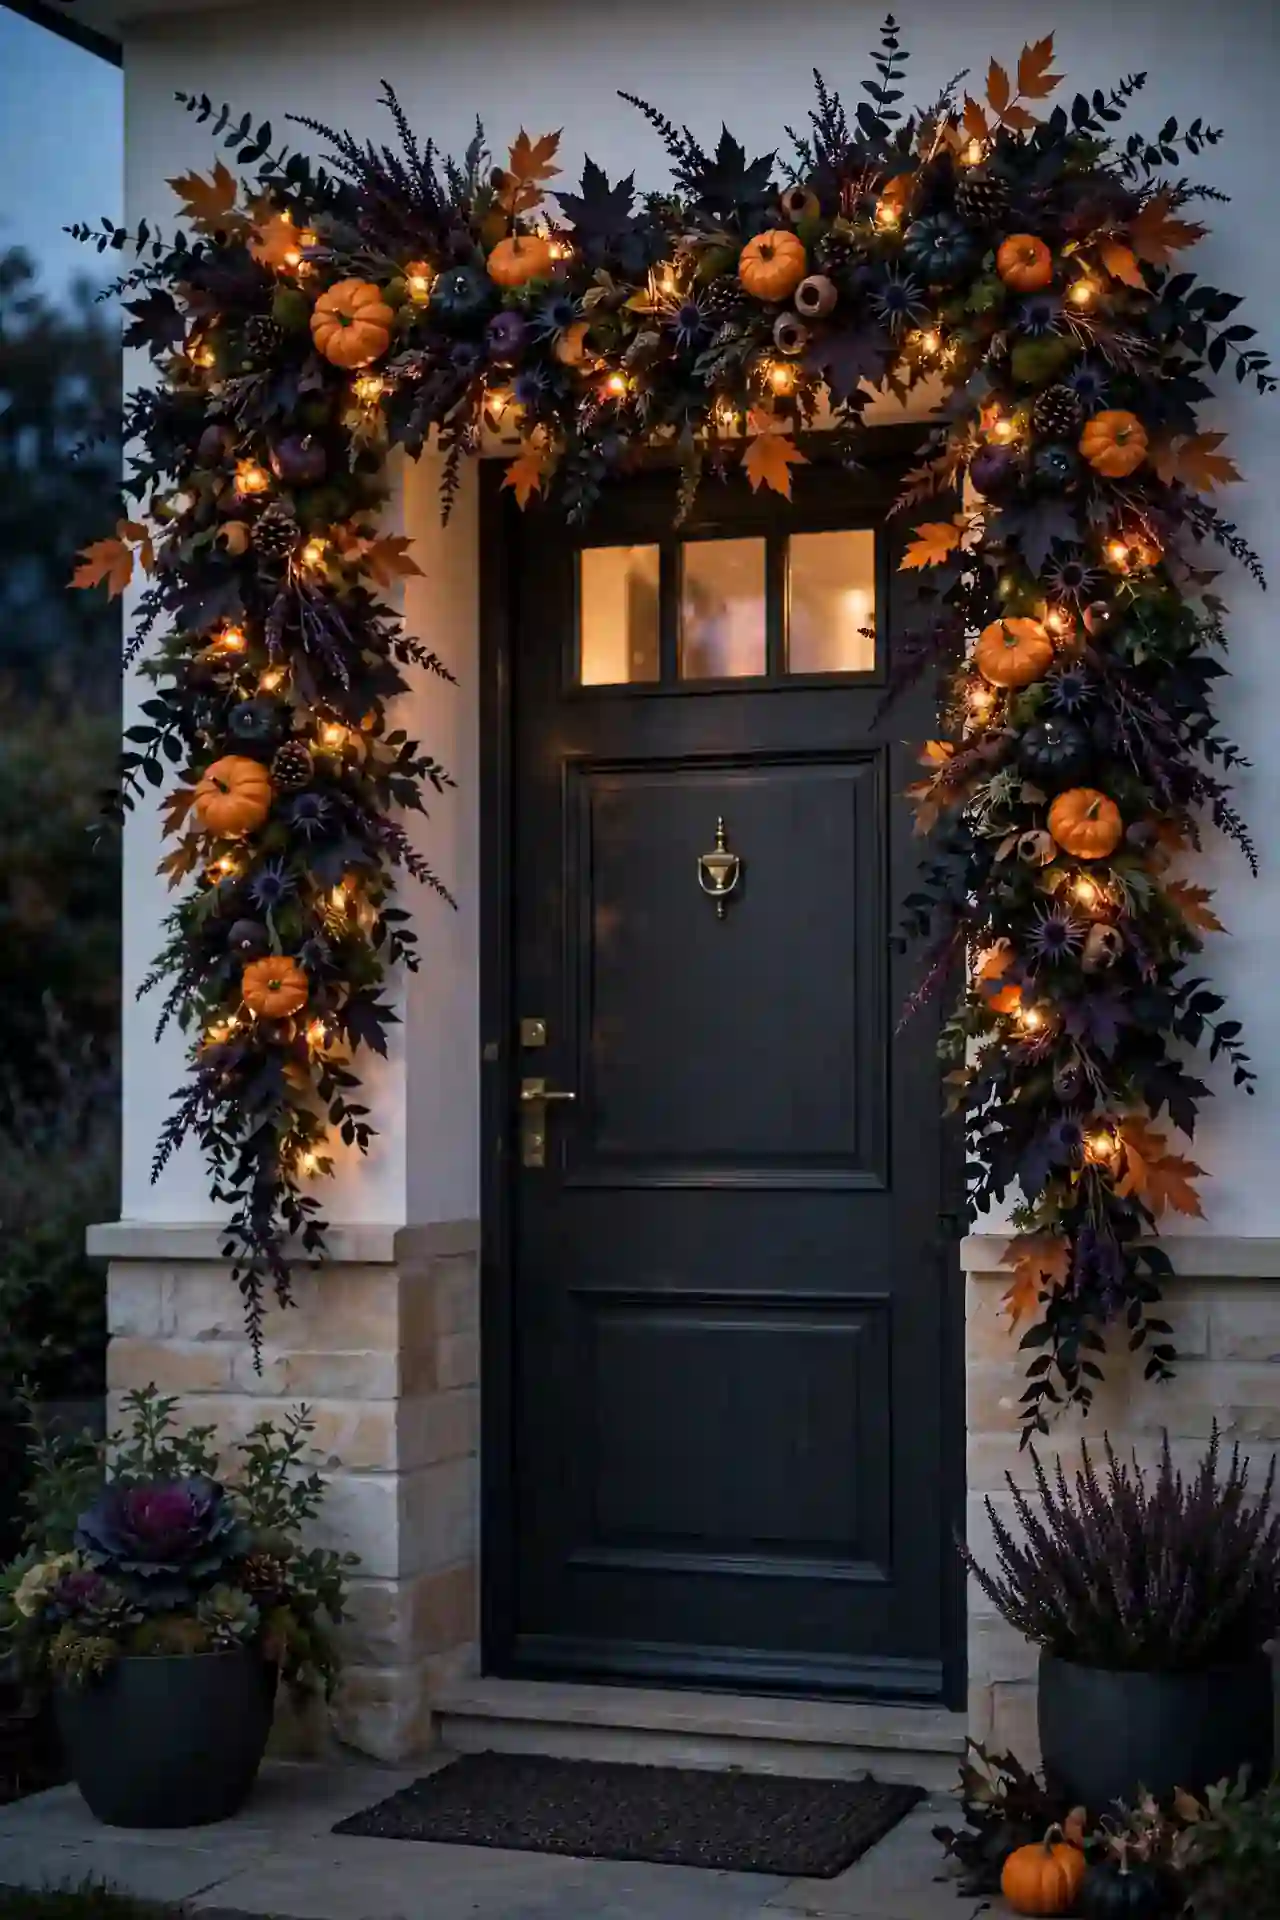
DO:
- Layer black, orange, and deep purple elements for a rich Halloween palette.
- Drape the garland in a deep swag so it frames the door like a valance.
- Weave in mini string lights for a glow that shows after dark.
DON’T:
- Don’t overload one side, or the swag will look lopsided and heavy.
- Don’t use real dried leaves that crumble and stain your doorway.
- Don’t hang it with nails if you rent; use damage-free hooks instead.
A swag garland softens the hard rectangle of a door and adds instant abundance. Secure the center first, then arrange each side to match. For a full party theme, pair it with funny halloween costumes for families that guests will all love this Halloween season.
Black Cat Silhouette
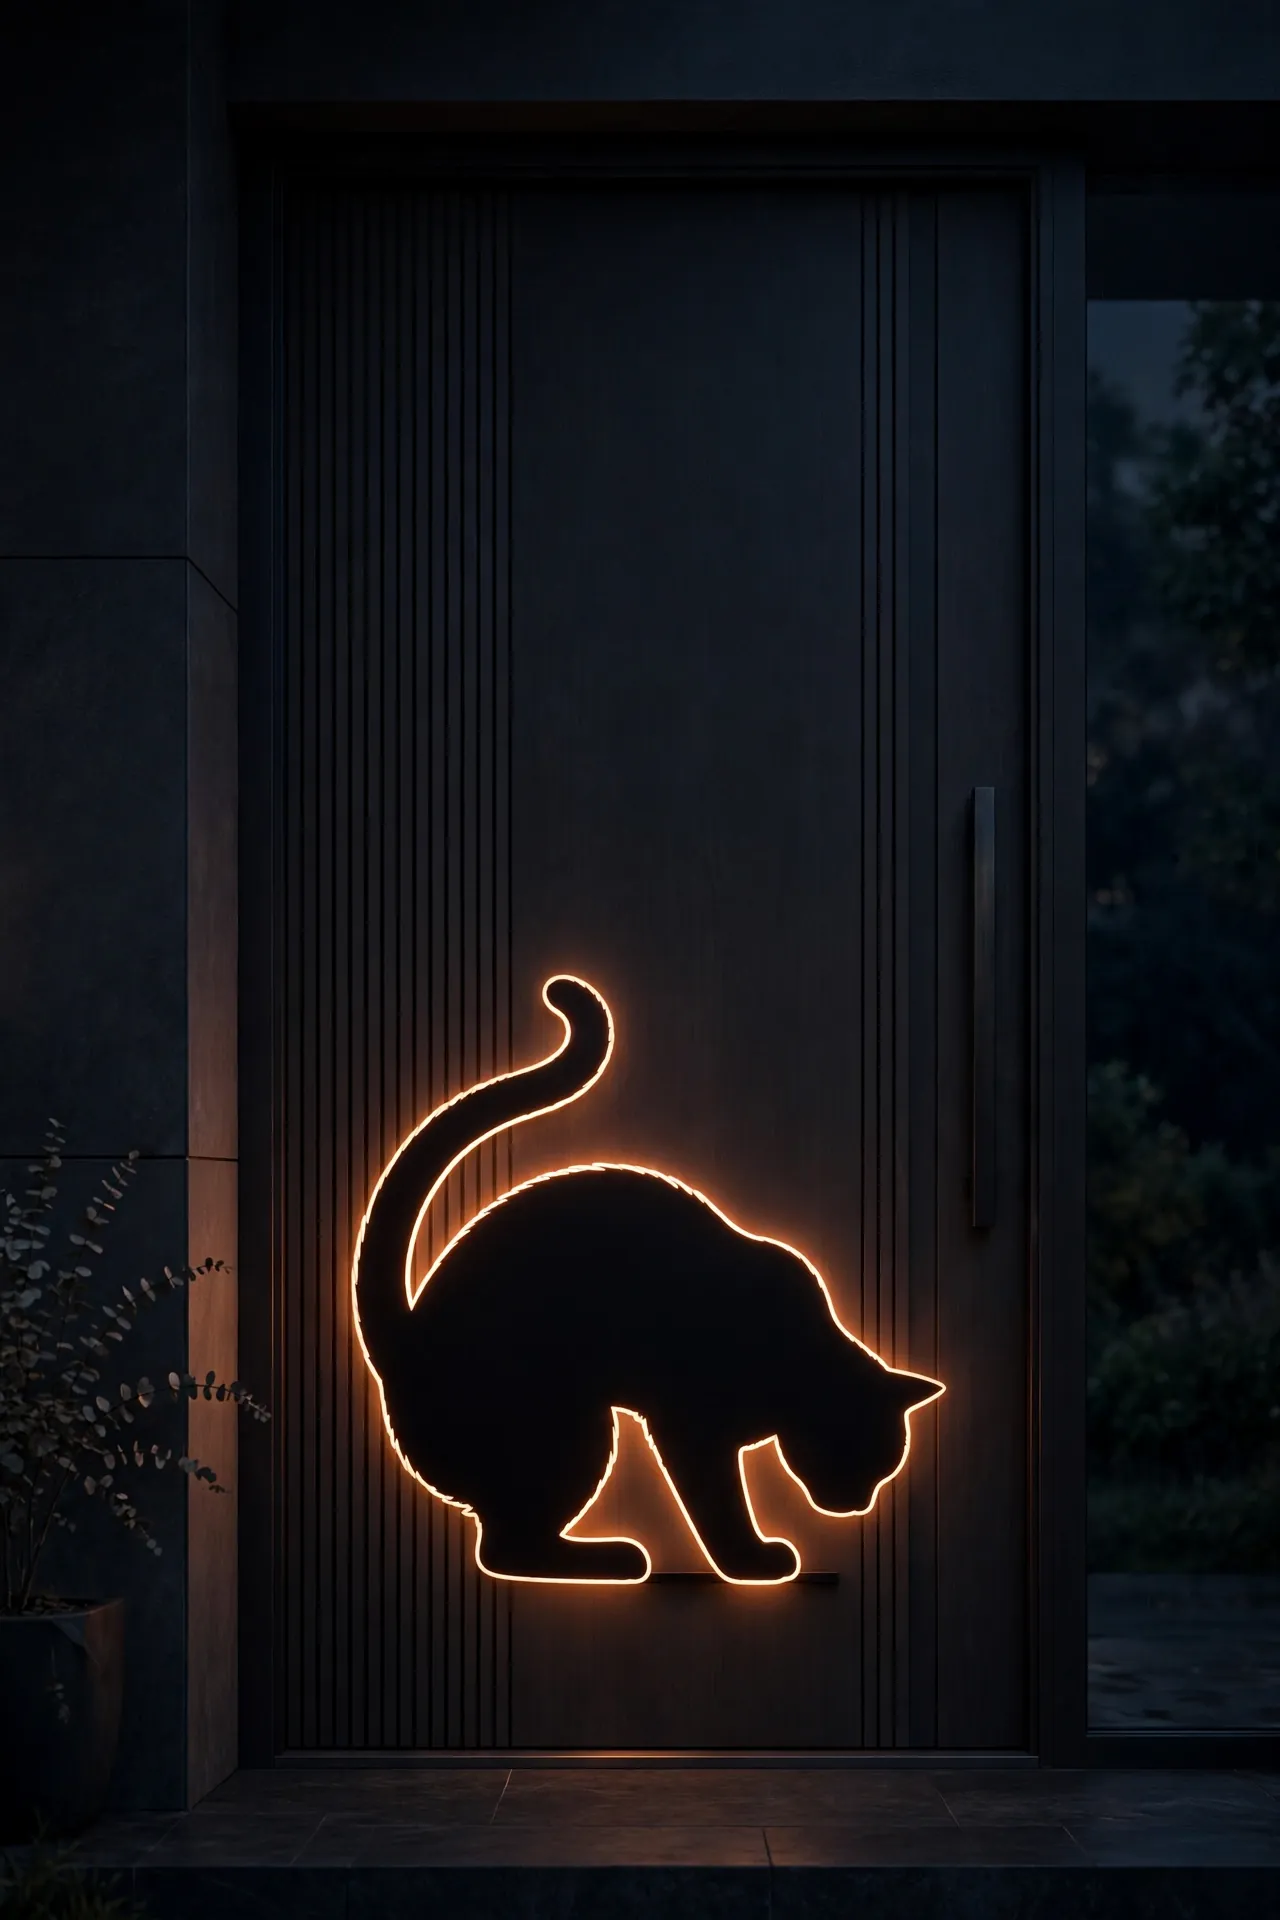
Cost: Under fifteen dollars for black foam board, a craft knife, and removable mounting strips. Time: About one hour including tracing, cutting, and mounting the silhouette. Skill Level: Beginner friendly, especially with free printable cat templates from craft blogs. Best For: Modern homes that want spooky style without clutter or gore, creating a striking focal point visible from the street.
Cut the classic arched-back cat shape and mount it low on the door so it looks ready to pounce. I’ve noticed that a single bold silhouette beats a crowd of small cutouts. Outline it with a thin orange glow using LED tape for nighttime drama.
Mummy Wrap Door
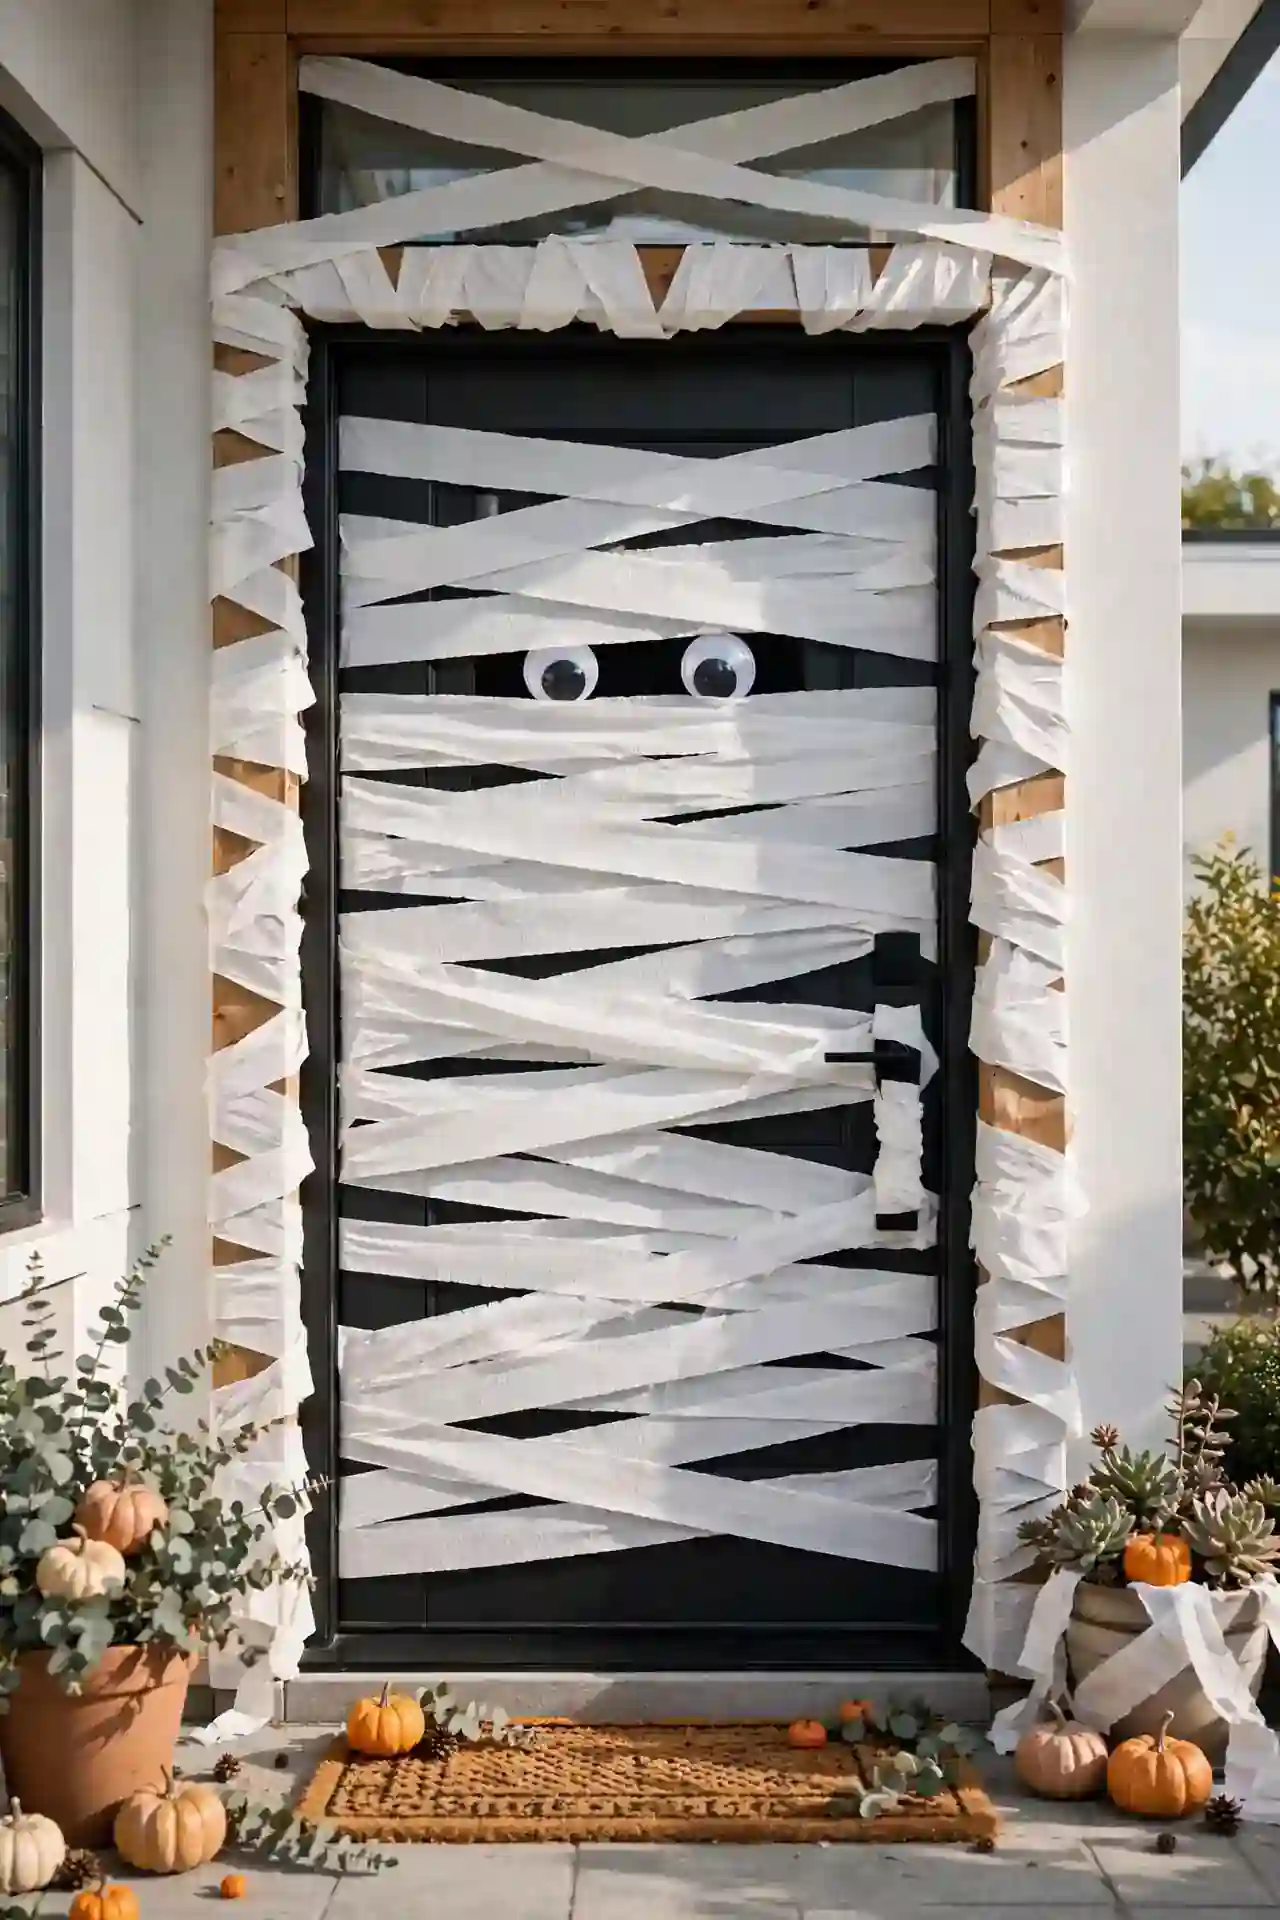
Wrap your entire door in white crepe paper streamers for a mummy that greets every guest. Overlap the strips horizontally, leaving gaps where the eyes will go. Two large adhesive googly eyes complete the face. The whole project costs less than ten dollars. Crepe paper will not damage paint, which renters appreciate. Choose bright white streamers for maximum contrast against a dark door.
In my experience, painters tape holds streamers better than regular tape on most door finishes. Work from top to bottom so each layer overlaps cleanly. Leave the handle area clear for easy opening, and your mummy door will survive the whole season.
Bat Swarm Flight
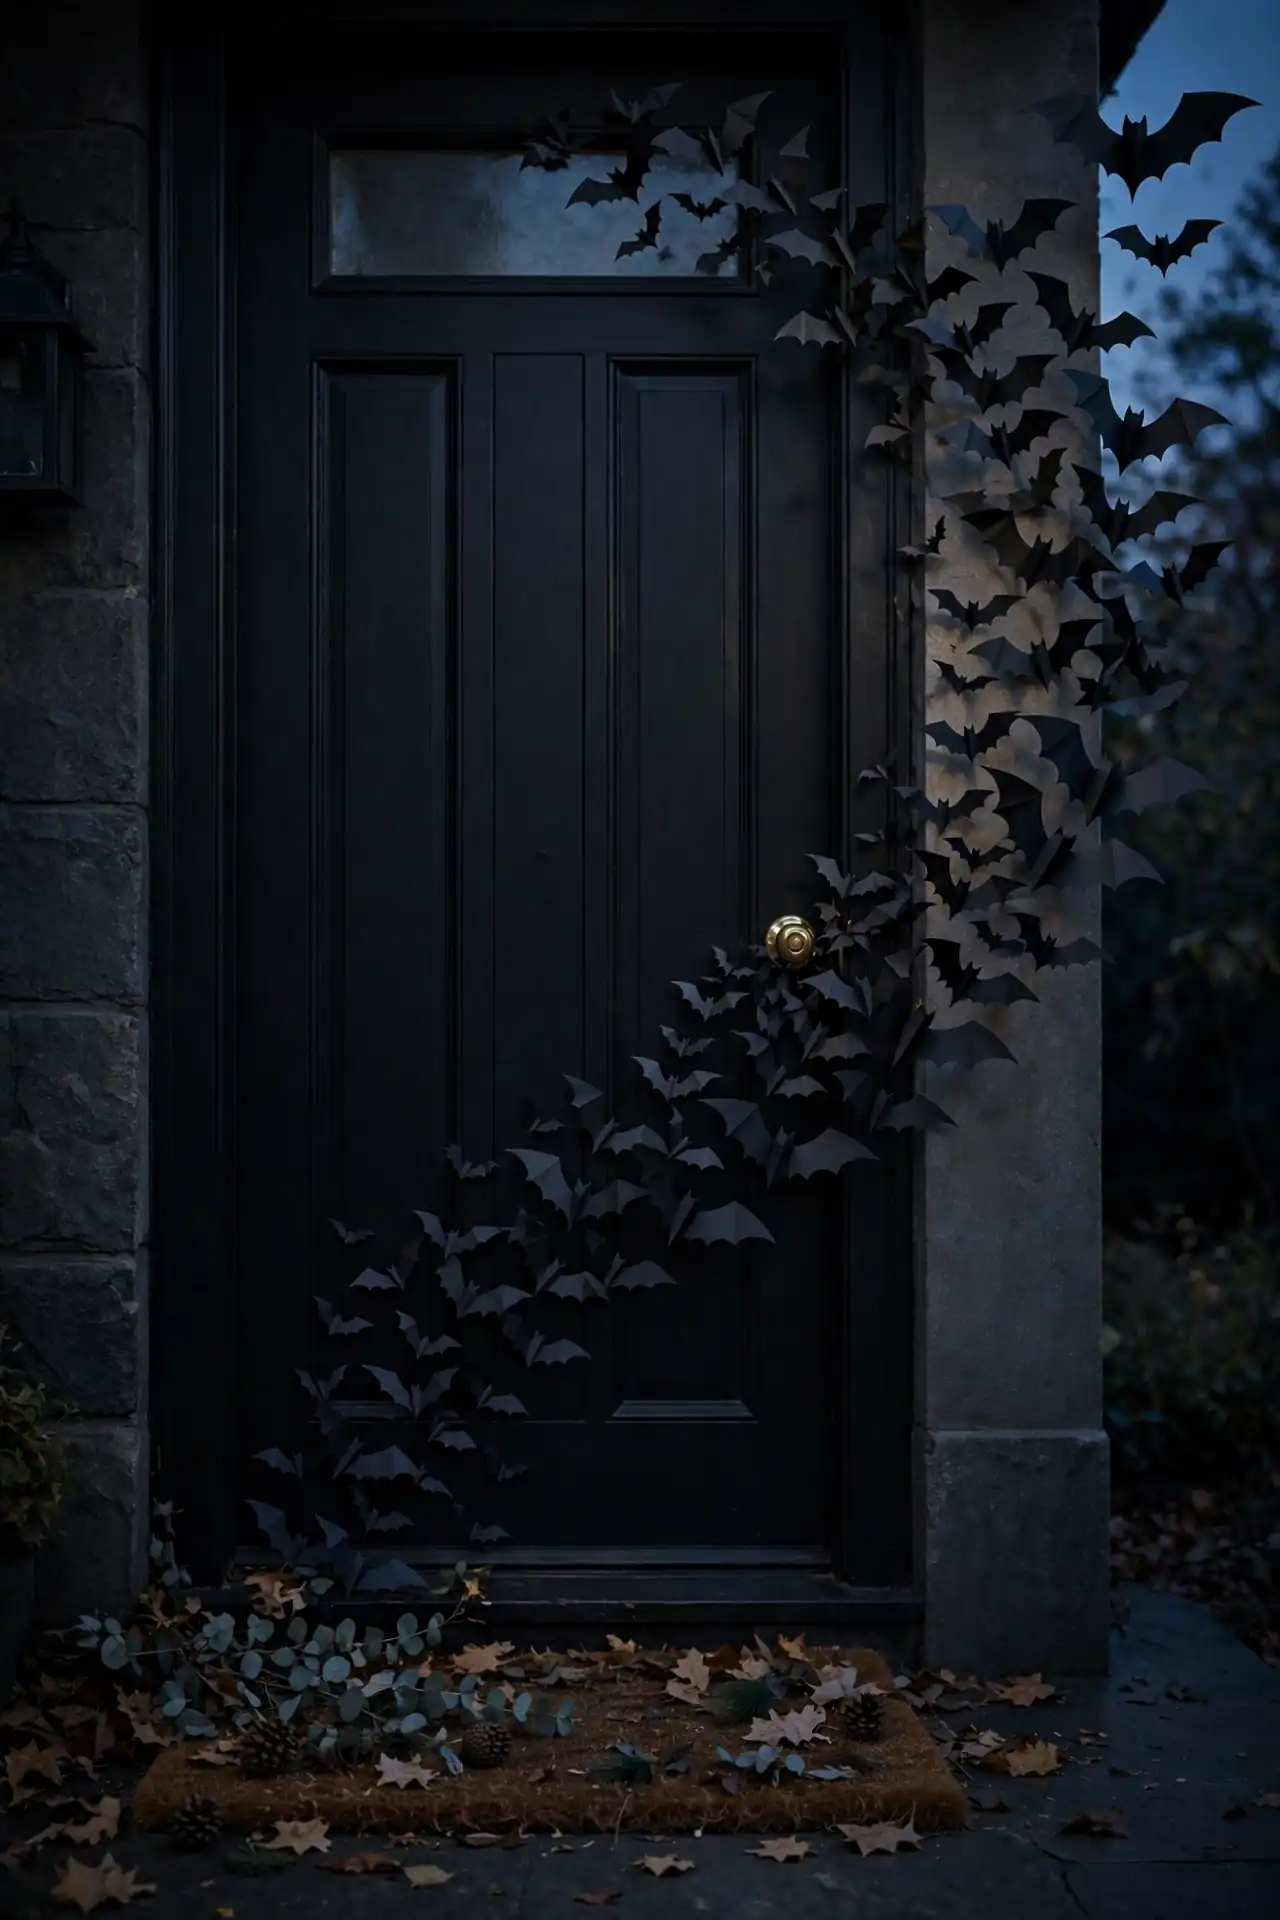
- Cut bat shapes from black cardstock using a printable template.
- Fold each bat slightly in the center so the wings lift off the door.
- Arrange them in a sweeping curve from the doorknob toward the top corner.
- Vary the sizes from tiny to large for a realistic flying formation.
- Stick them with removable adhesive dots for easy cleanup in November.
The curve is what sells this look. A random scatter looks messy, but a deliberate swooping path feels dynamic and intentional. Start with the largest bat at the bottom of the curve. I’ve seen this work well in many cases on dark-painted doors where the black shapes pop.
Candy Corn Columns
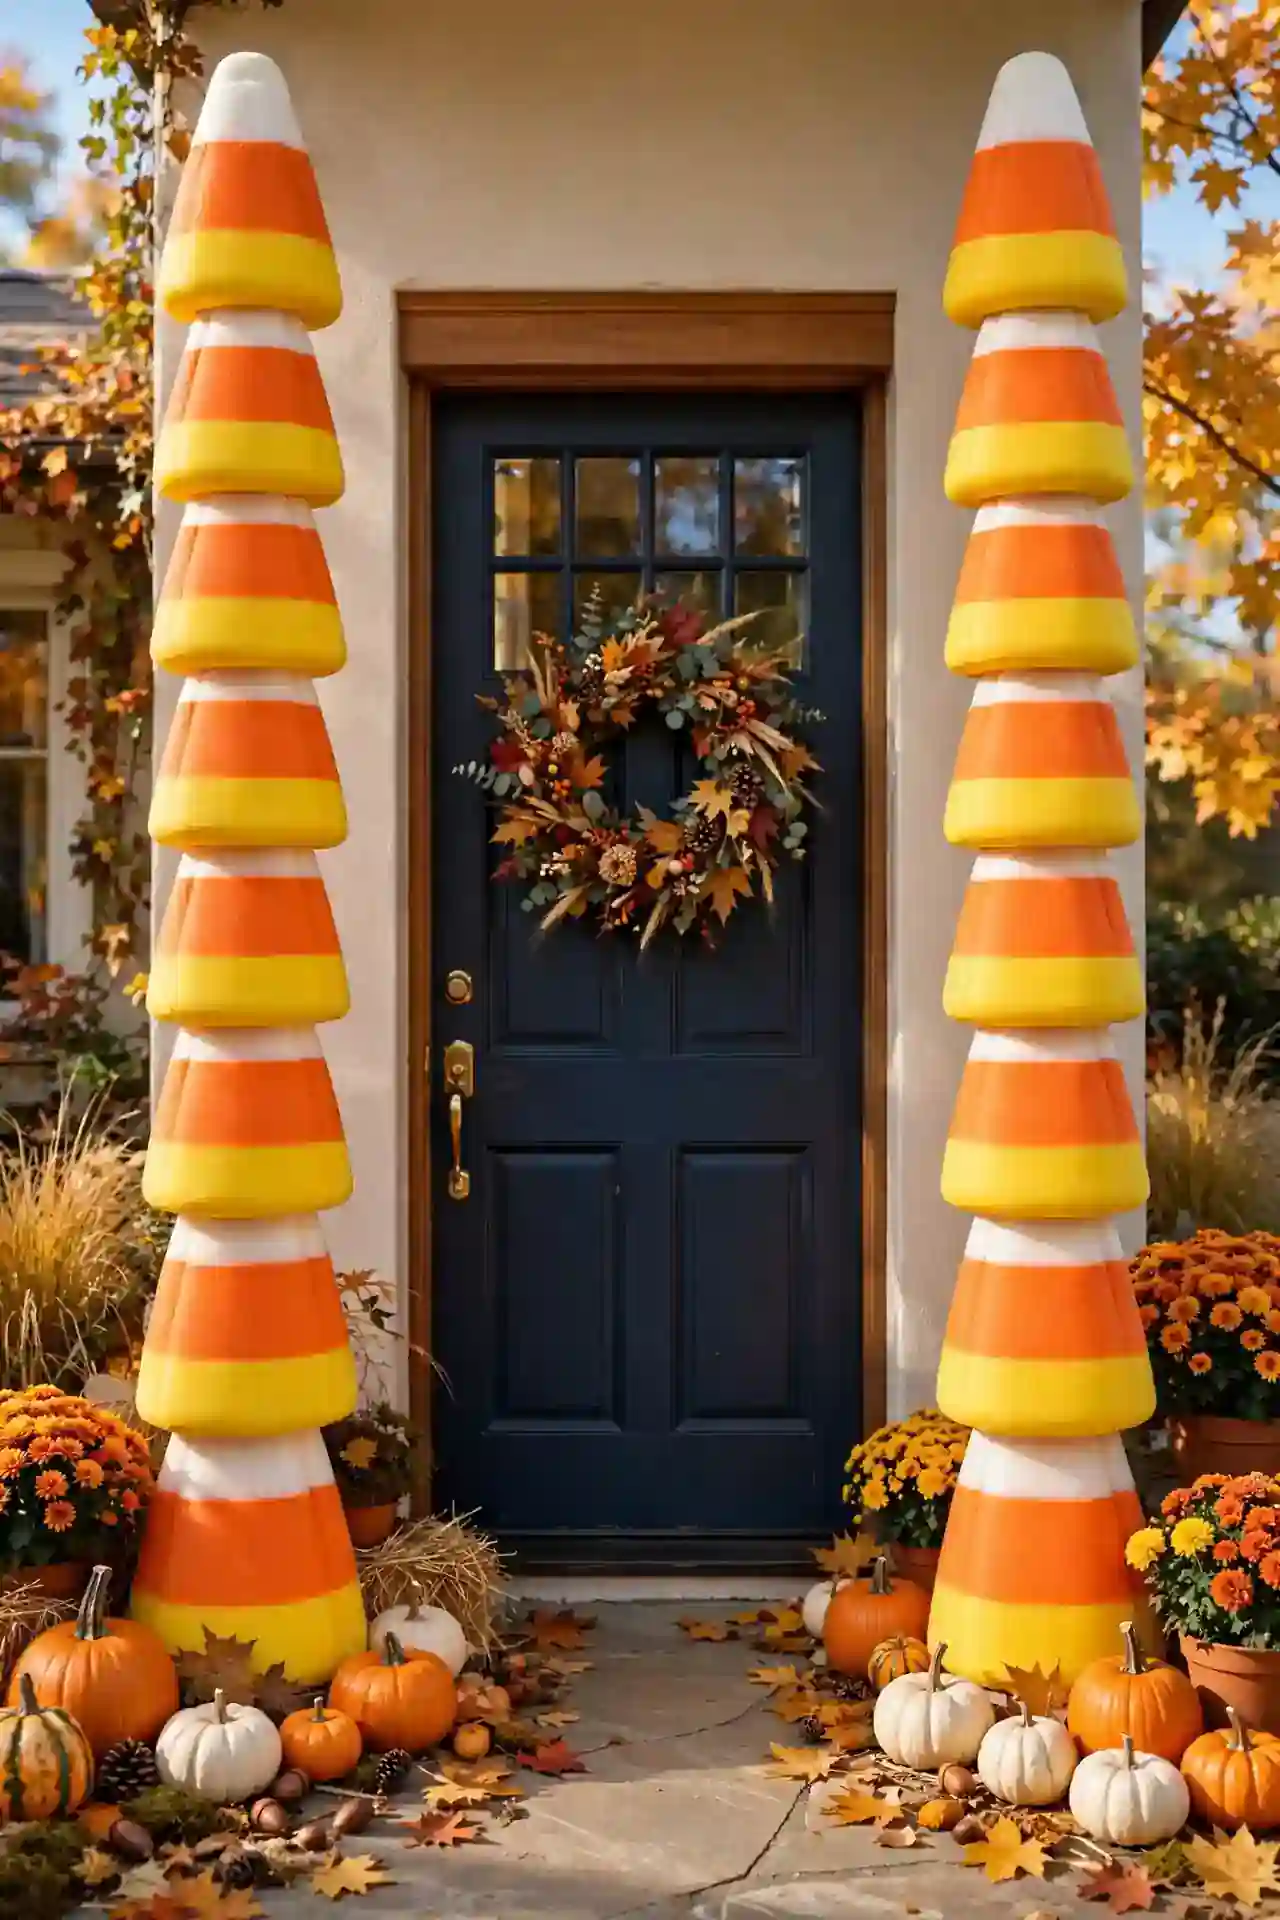
Quick Tip: Build candy corn columns from stacked foam cones painted in the classic white, orange, and yellow bands. A six-foot column needs three cones glued end to end over a PVC pipe core. Seal the paint with clear outdoor spray so October rain will not ruin your work. Let each coat dry fully before adding the next color band.
Place one column on each side of the door like sweet sentinels guarding your entrance. That’s why many experts recommend foam over real candy for outdoor displays. Add a small pumpkin at the base of each column to ground the composition and tie the colors together.
Skeleton Door Greeter
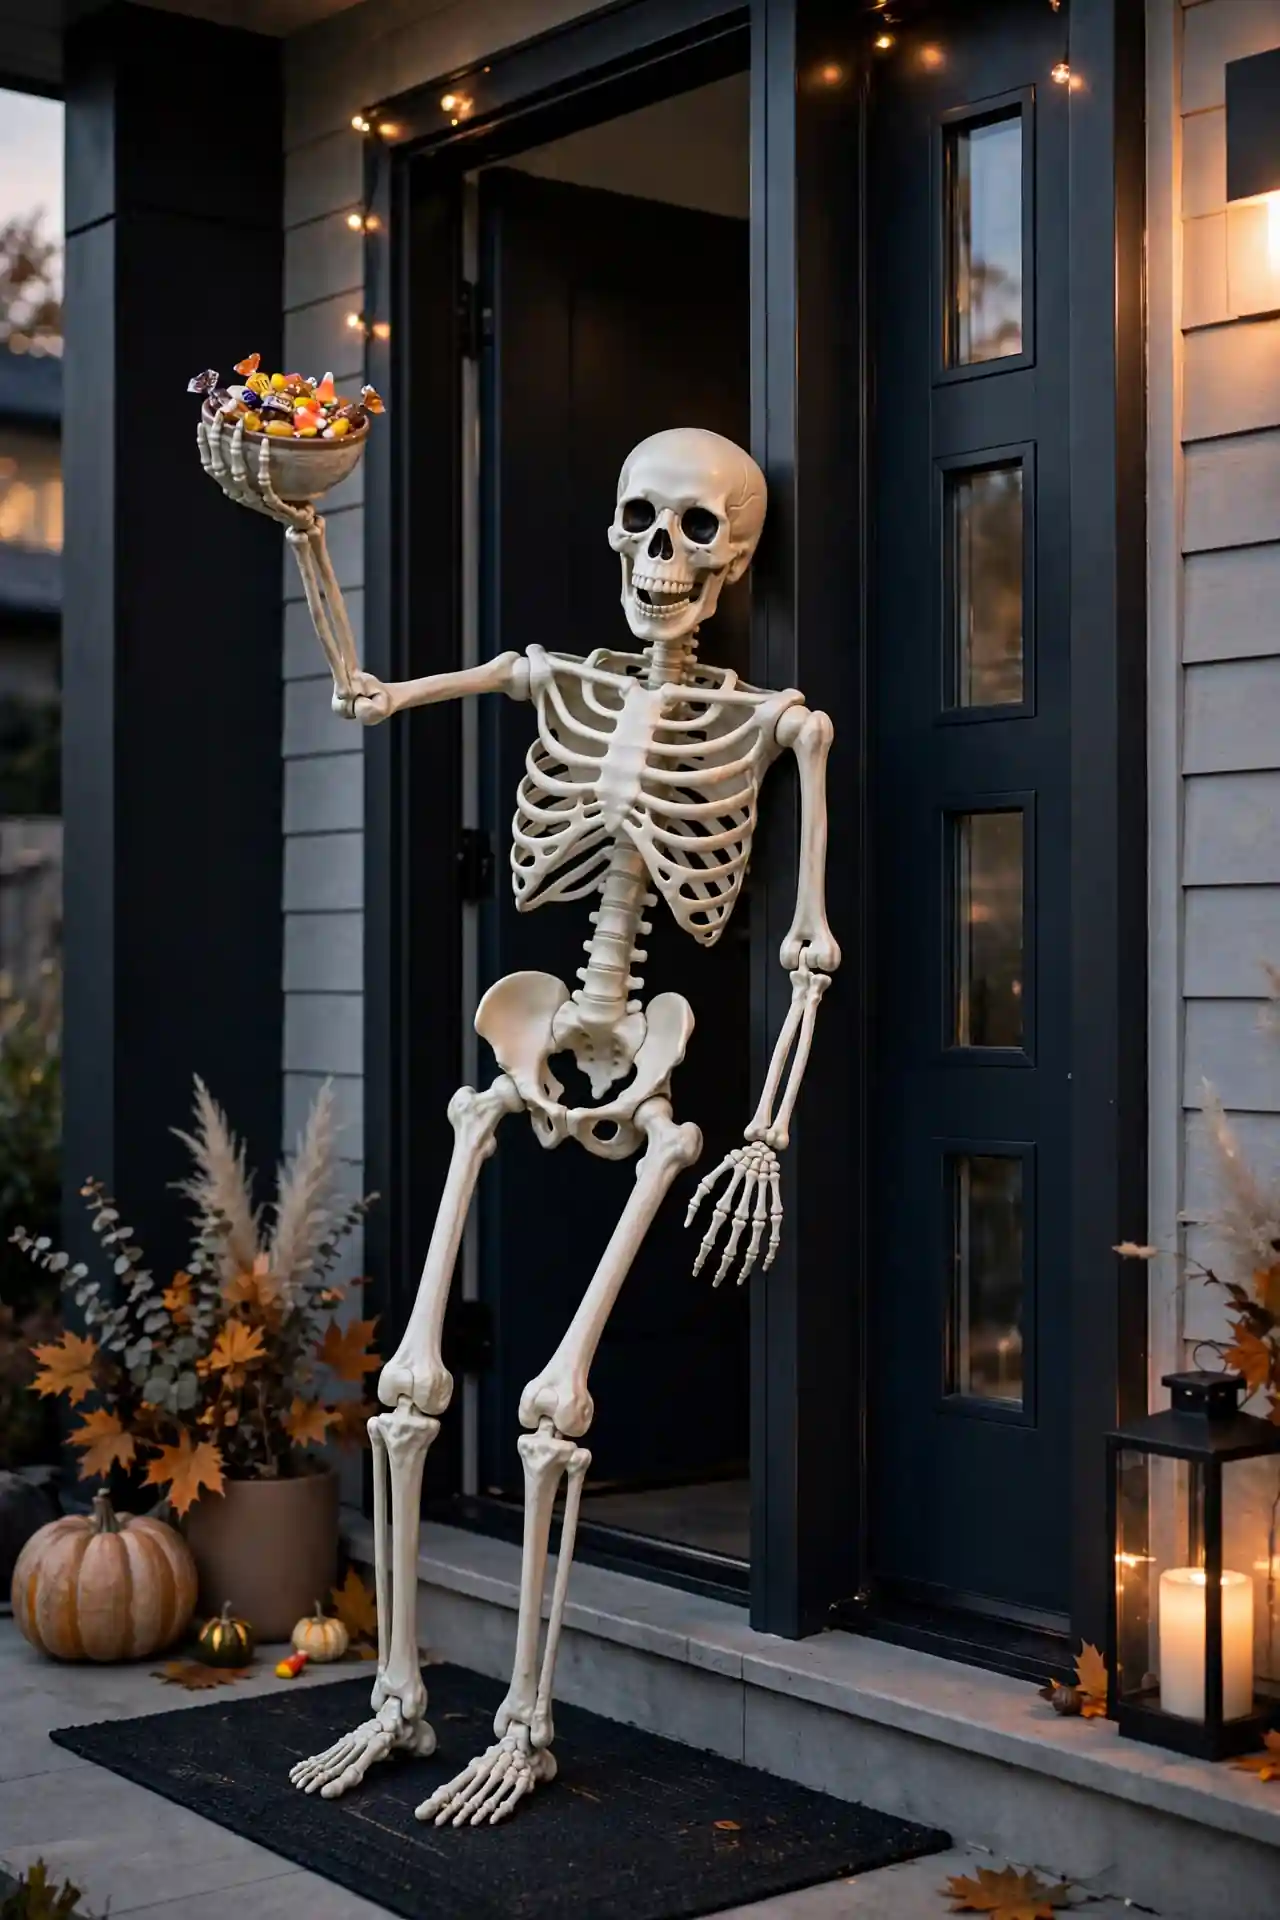
BEFORE: Your entryway feels empty and unwelcoming as October nights grow darker. Guests hurry past without stopping, and your door fades into the background of the block.
AFTER: A life-size skeleton now leans casually against your door frame, one bony hand raised in greeting. Trick-or-treaters stop to pose for photos, and your house becomes the street favorite.
Pose the skeleton with personality: a wave, a bow, or holding a candy bowl. I’ve noticed that slightly humorous poses get the best reactions from kids. Secure it with fishing line to the door frame so strong autumn wind will not topple your greeter overnight.
Floating Candle Glow
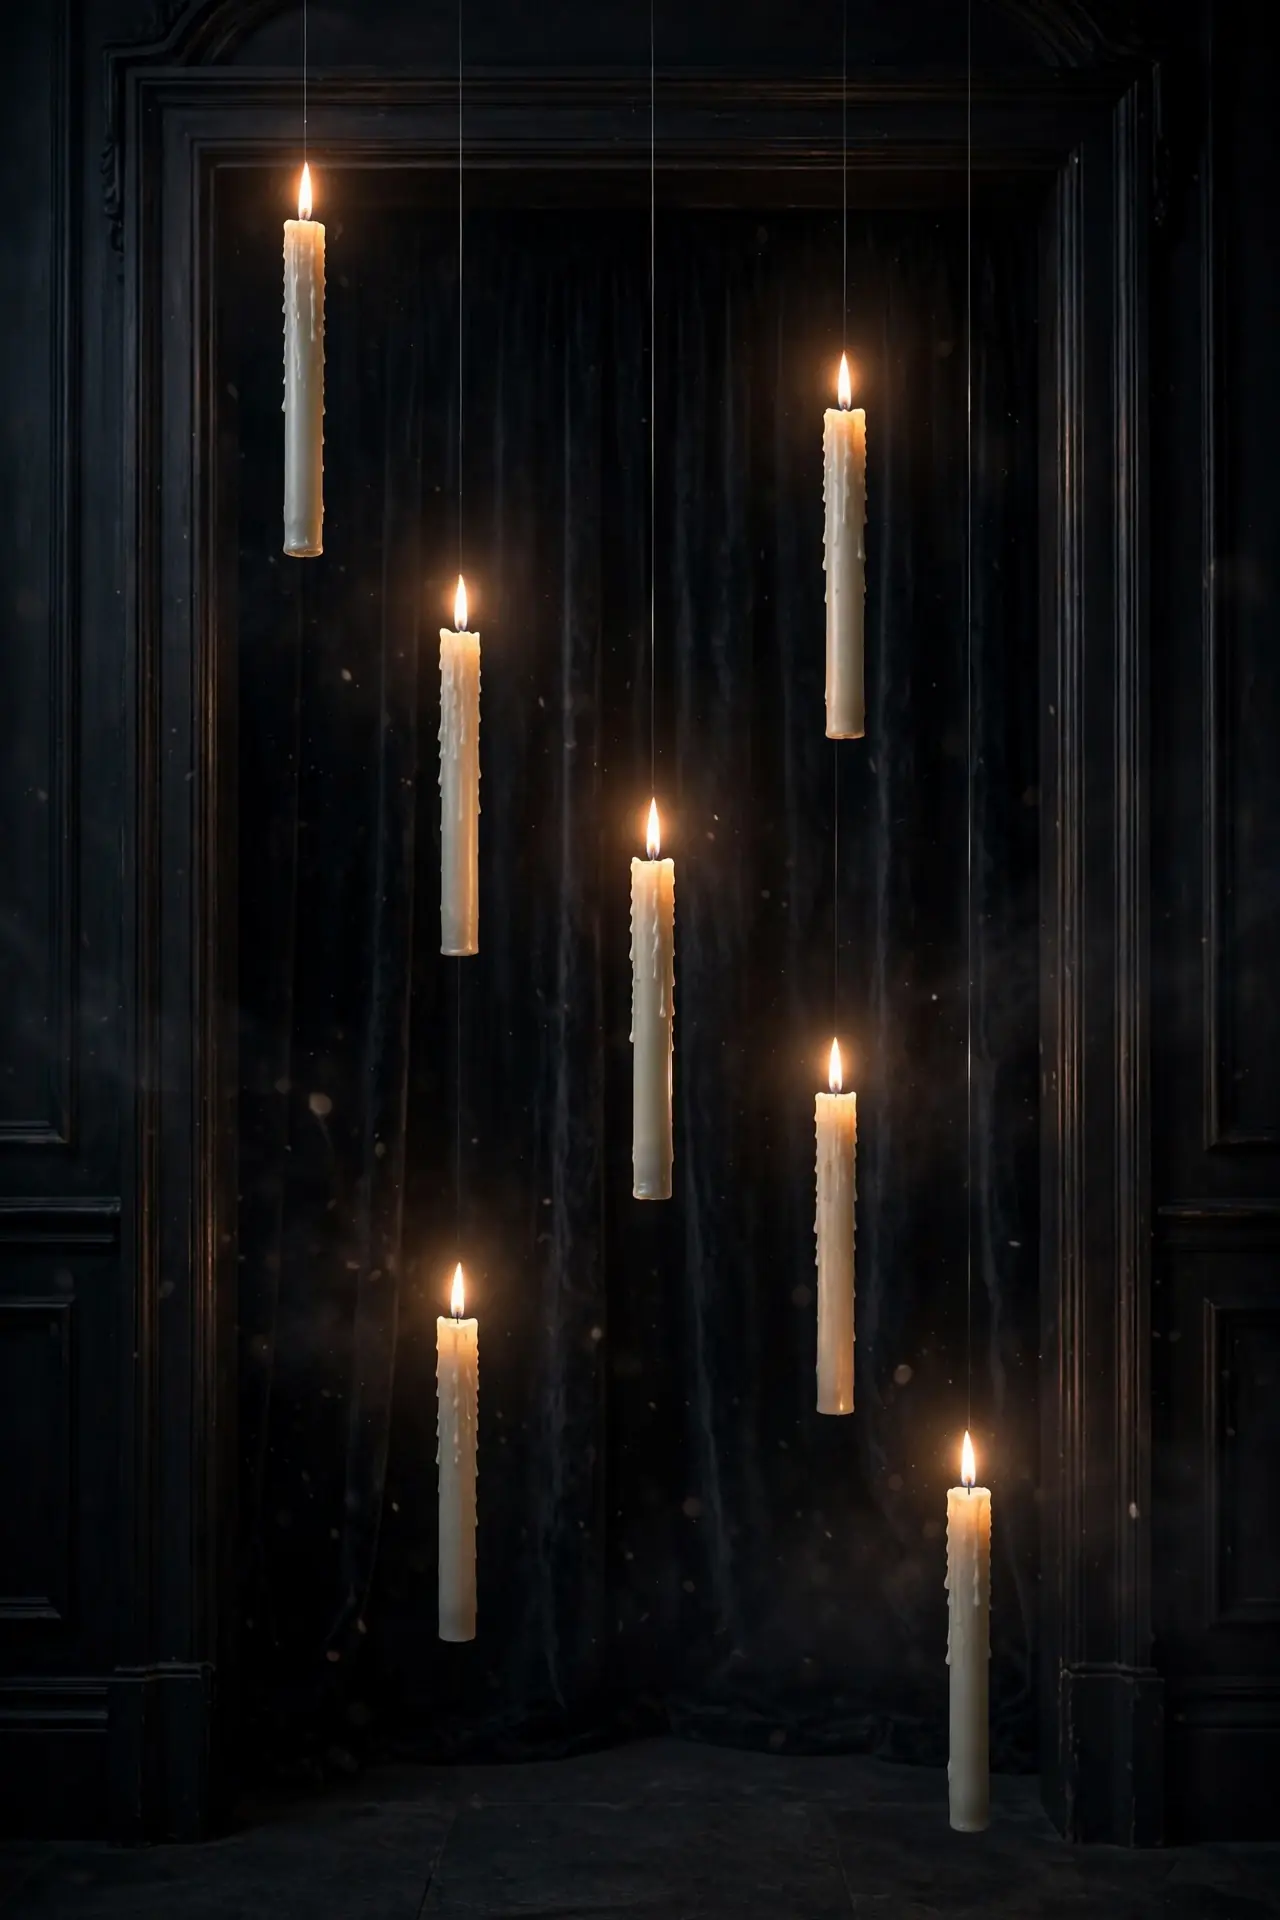
- Hang battery-operated taper candles at different heights with clear fishing line.
- Attach the lines to a tension rod mounted inside the door frame.
- Set the candles to flicker mode for a realistic flame effect.
- Add a dark backdrop curtain behind them to make the glow pop.
- Space the candles unevenly so the arrangement feels magical, not mechanical.
The floating effect works best after dark when the flames seem to hover in midair. Keep the rest of your porch lights off to maximize the drama. I’ve seen this work well in many cases where homeowners wanted pure elegance without gore for Halloween night.
Spiderweb Door Frame
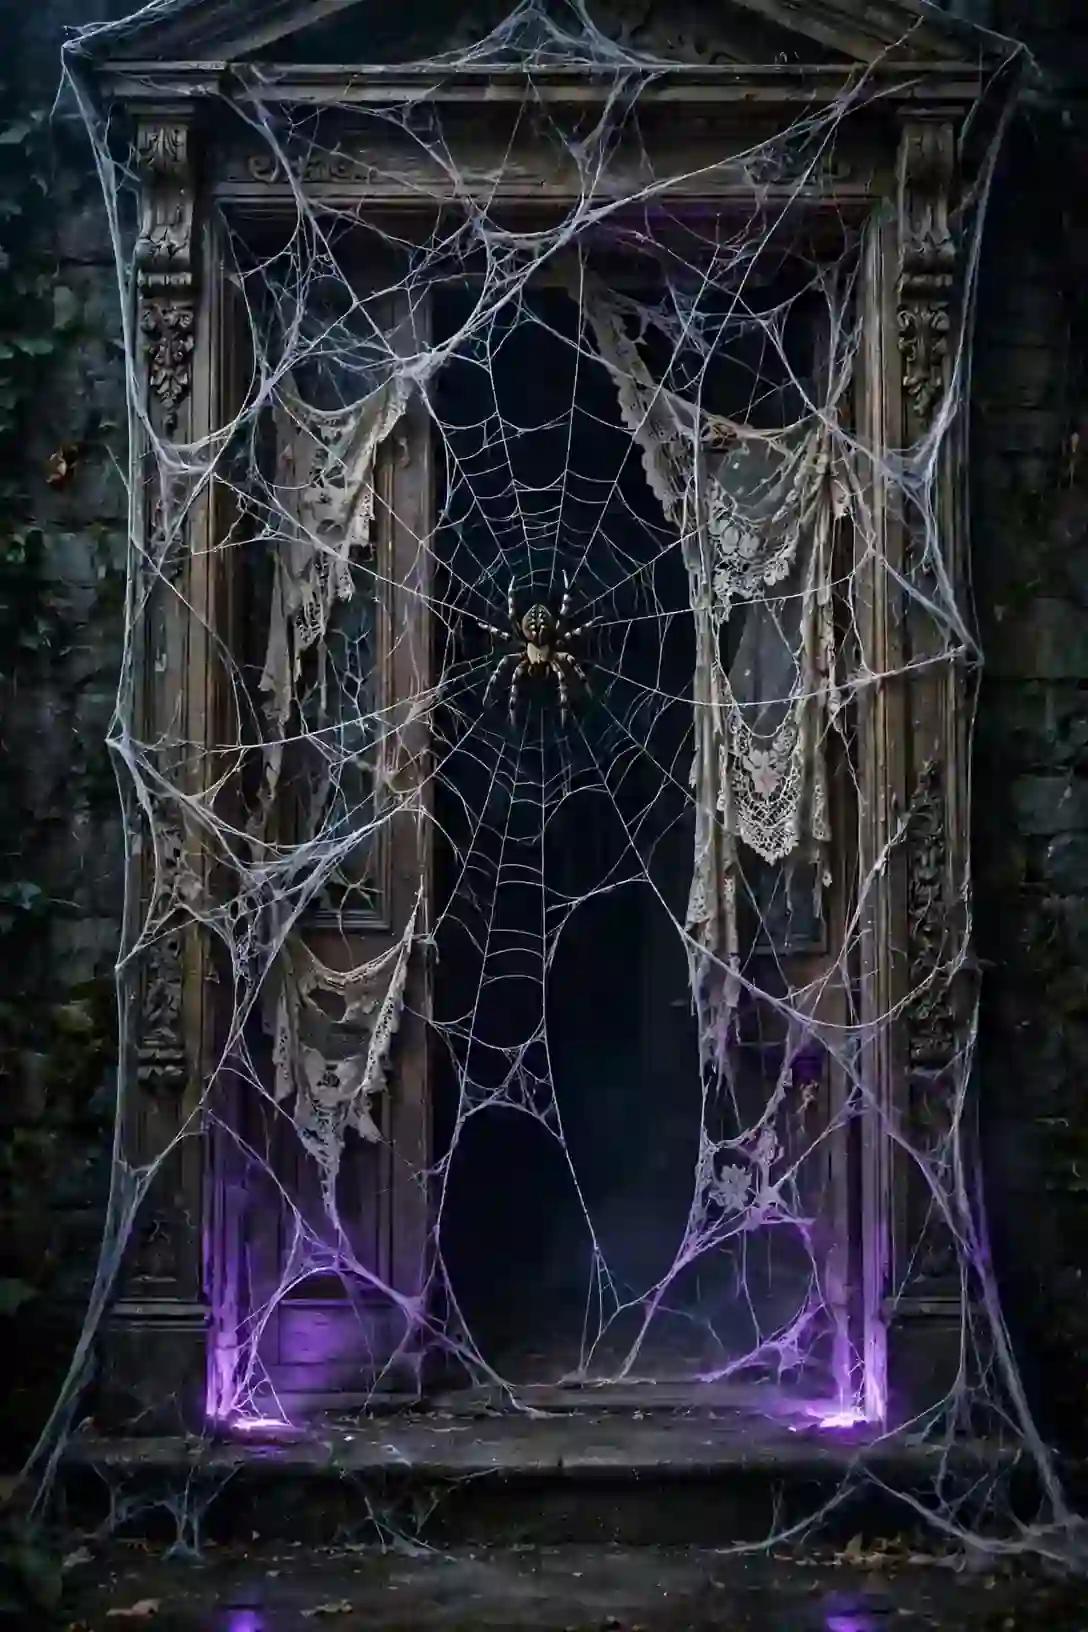
| Material | Stretch Web | Lace Web |
|---|---|---|
| Look | Classic thin strands with dew-like shine | Vintage ornate pattern with elegant detail |
| Price | About three dollars per bag | About twelve dollars per panel |
| Setup | Stretch and hook in fifteen minutes | Hang with curtain clips in five minutes |
| Reuse | Toss after one season | Wash and reuse for years |
| Lighting | Add purple uplight for drama | Add warm light for vintage charm |
Frame the entire door with webbing for a full haunted-house effect. Start at the top corners and work downward, stretching the material as you go. Add spiders last, placing the biggest one right at eye level for maximum startle where guests will see it first.
Jack-o’-Lantern Row
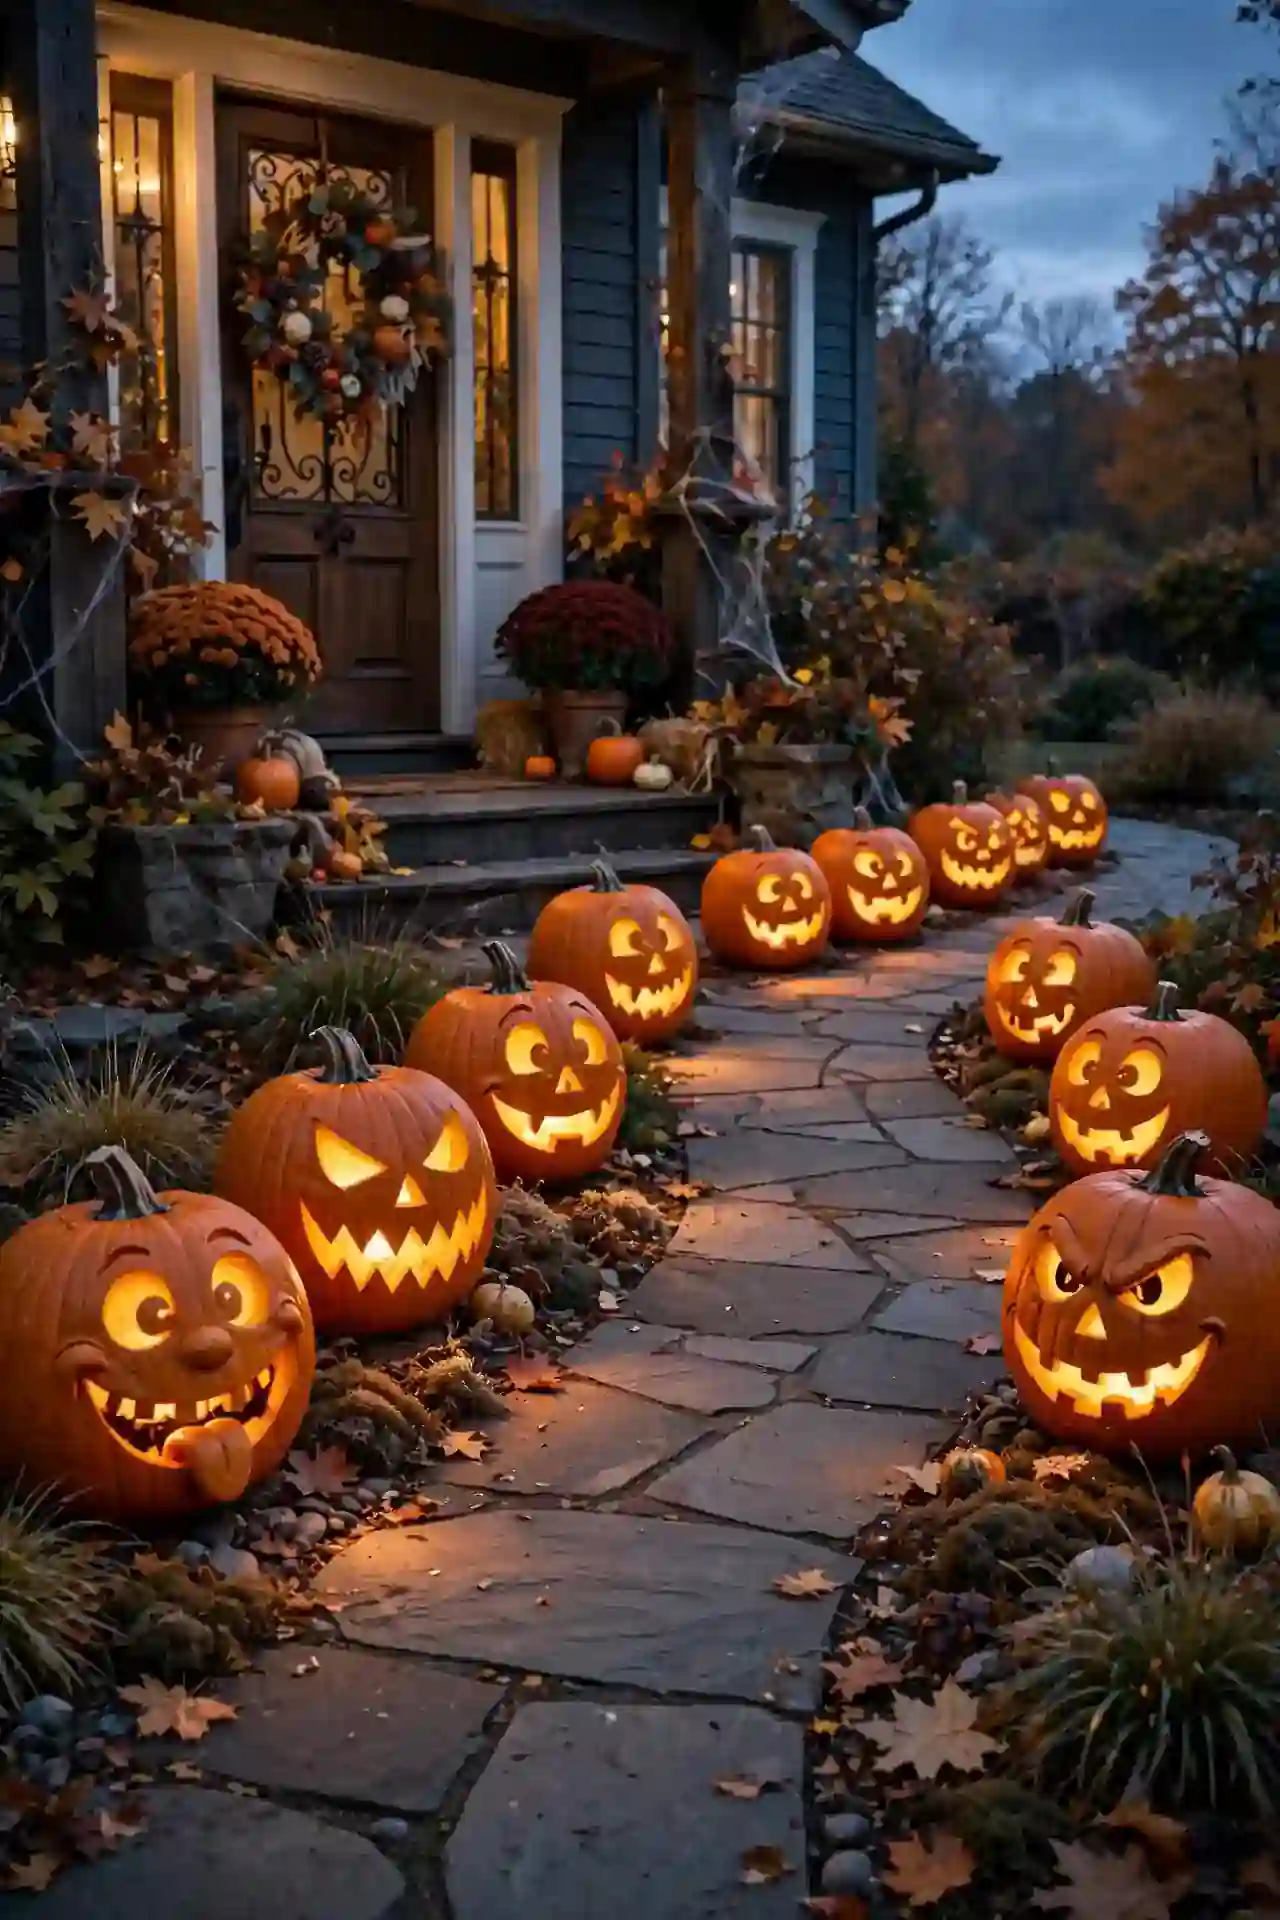
DO:
- Line the walkway with carved pumpkins in a mix of silly and scary faces.
- Use LED candles inside so the glow lasts all evening safely.
- Vary the pumpkin sizes for a natural, collected-over-time feel.
DON’T:
- Don’t carve real pumpkins more than two days before Halloween.
- Don’t place them where sprinklers will soak them overnight.
- Don’t skip the glow; unlit pumpkins disappear after dark.
A glowing row of jack-o’-lanterns guides trick-or-treaters straight to your door like a runway. In my experience, five to seven pumpkins create the perfect rhythm without overwhelming the walkway. Light them thirty minutes before sunset for the full truly magical effect on Halloween night.
Eerie Fog Entrance
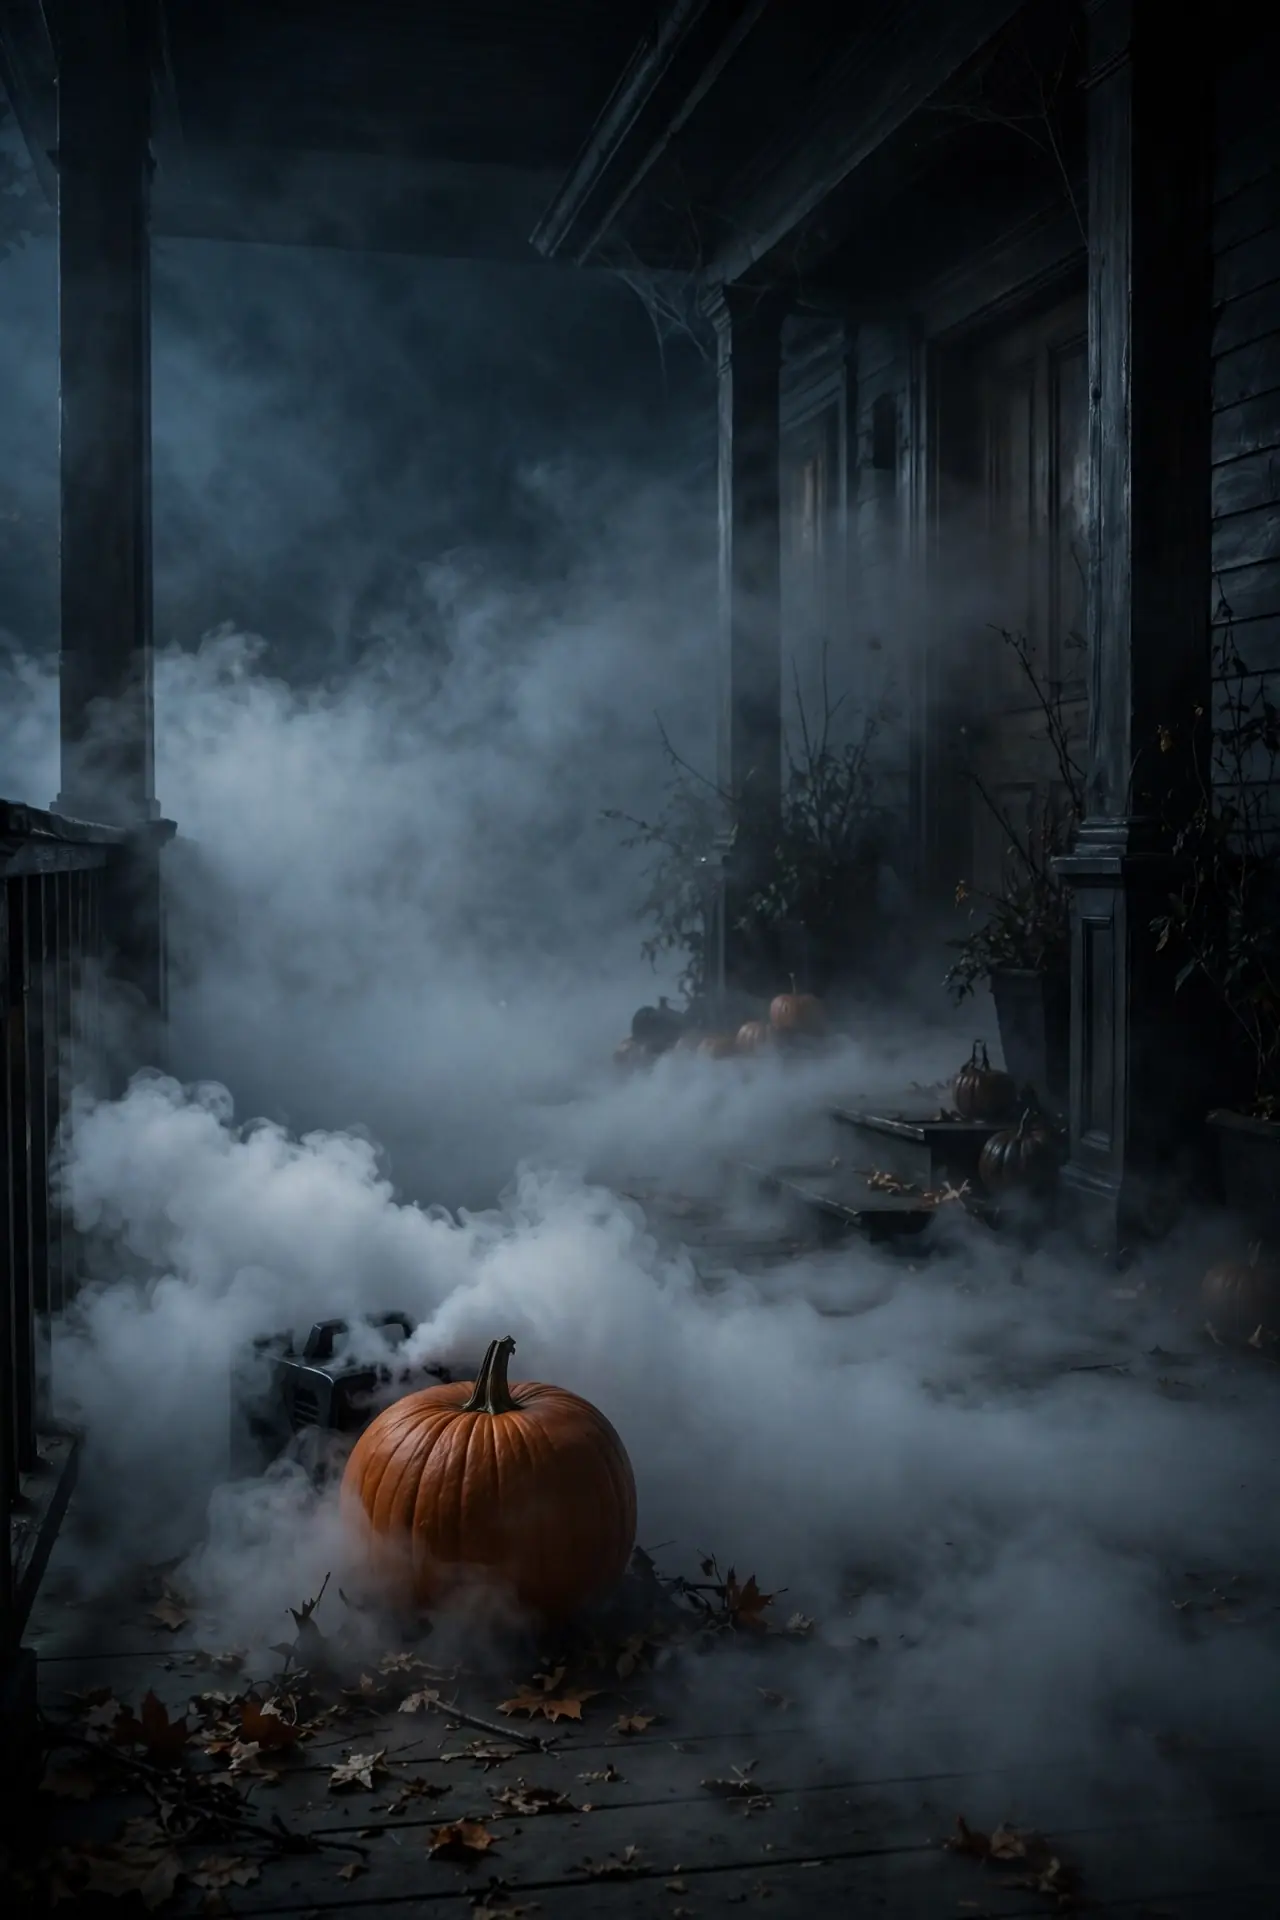
Cost: Around twenty dollars for a small fog machine plus a bottle of fog fluid that lasts several nights. Time: Ten minutes to set up, fill the machine, and test the output direction. Skill Level: Easy for anyone, just add fluid and press the button to start. Best For: Halloween night itself when maximum atmosphere matters most for trick-or-treaters.
Low-lying fog rolling across your porch turns an ordinary entrance into a movie scene. Place the machine behind a pumpkin so the fog seems to rise from nowhere. Run it in short bursts every few minutes to keep the effect fresh without wasting fluid at all.
Vampire Fang Arch
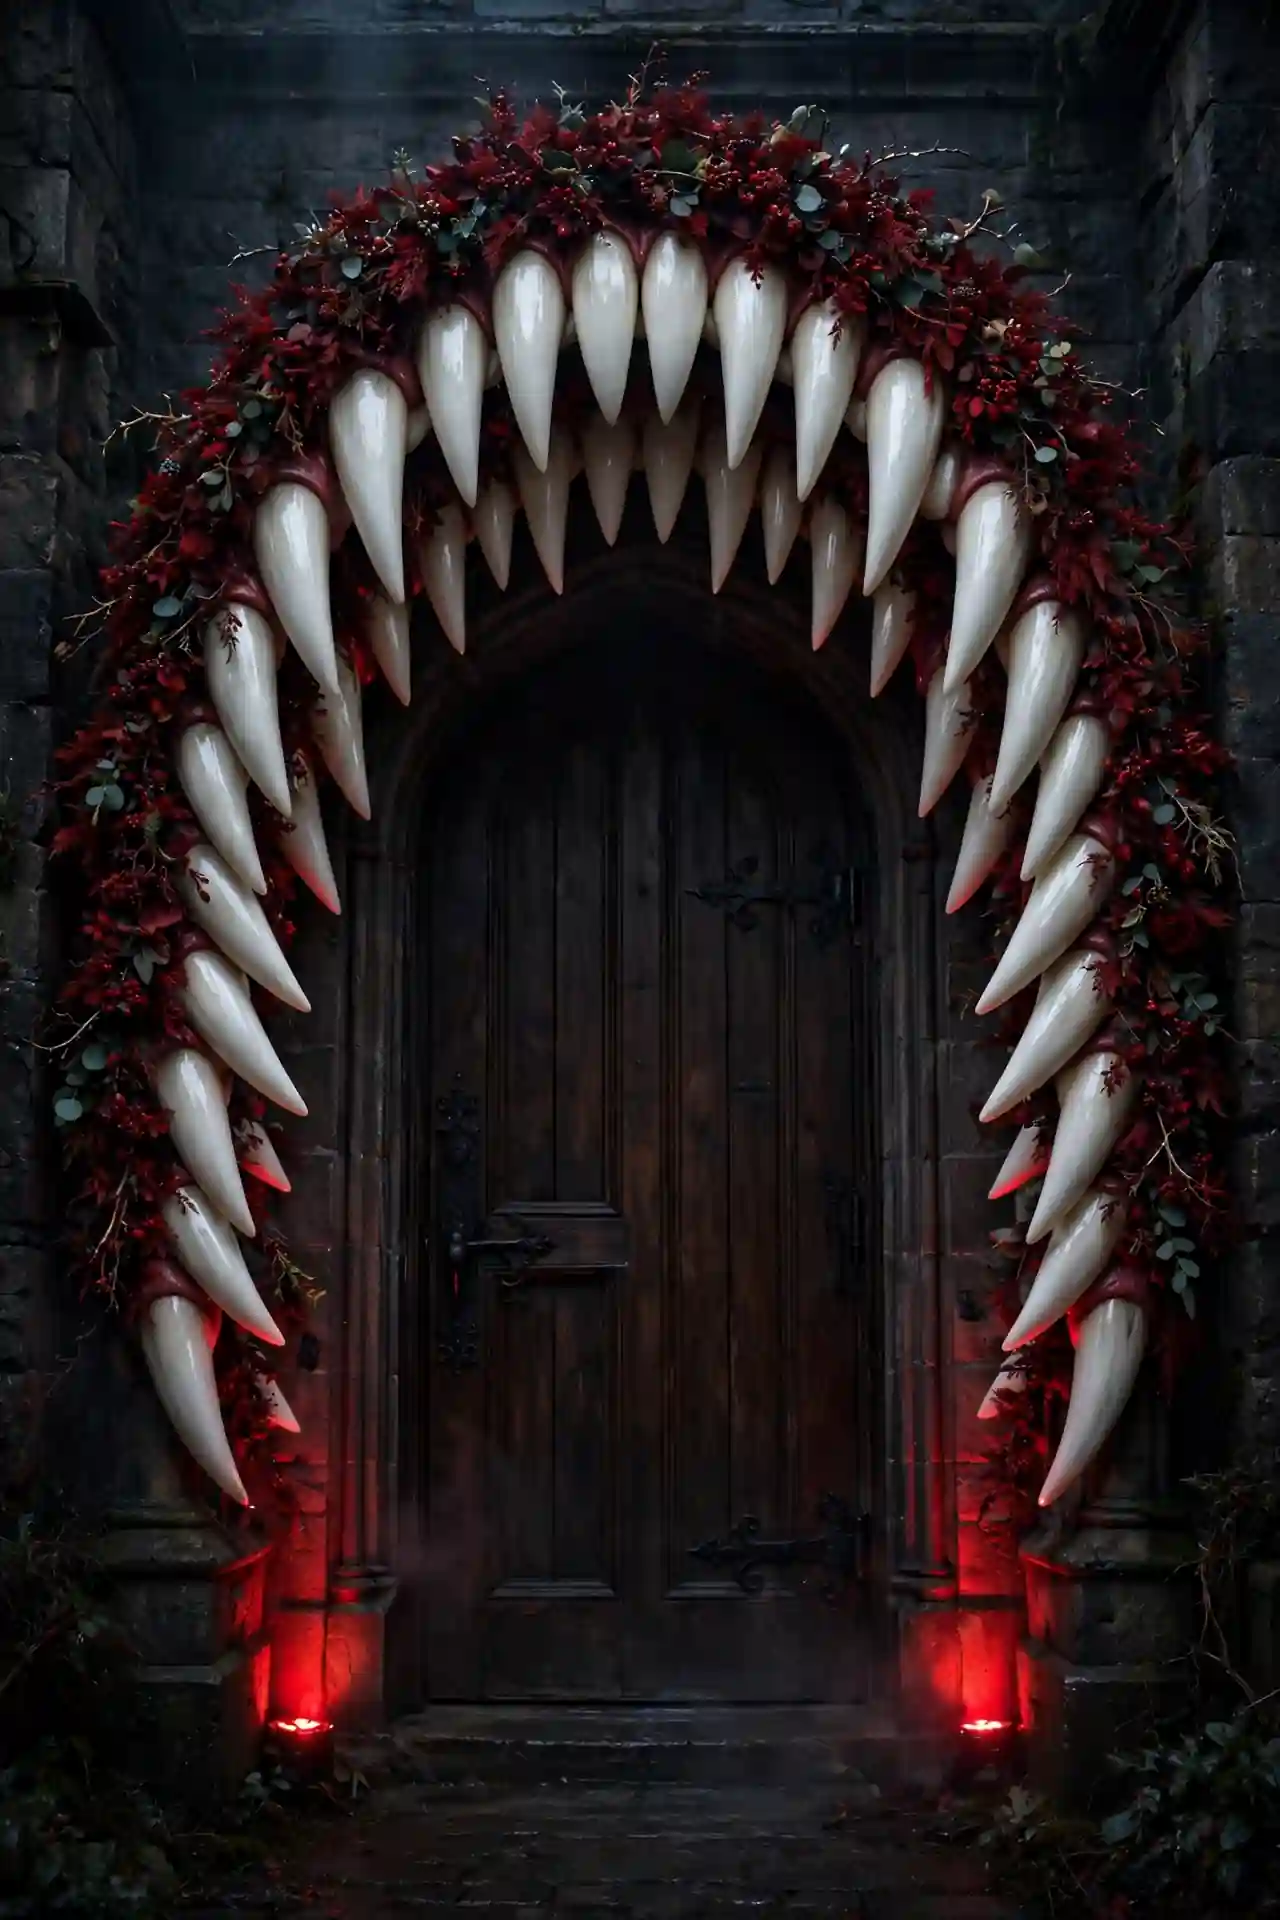
Frame your door with an arch of giant vampire fangs for a bite of gothic drama. Cut fang shapes from white foam board from any craft store and mount them pointing down around the frame. A deep red garland woven between the fangs suggests something deliciously dark. Space the fangs evenly so the arch looks deliberate and menacing.
In my experience, this look works best on doors painted black, navy, or deep green. The white fangs pop against dark backgrounds and read clearly from the street. Add two red uplights at the base for a sinister glow that completes the vampire vibe.
Zombie Hand Wreath
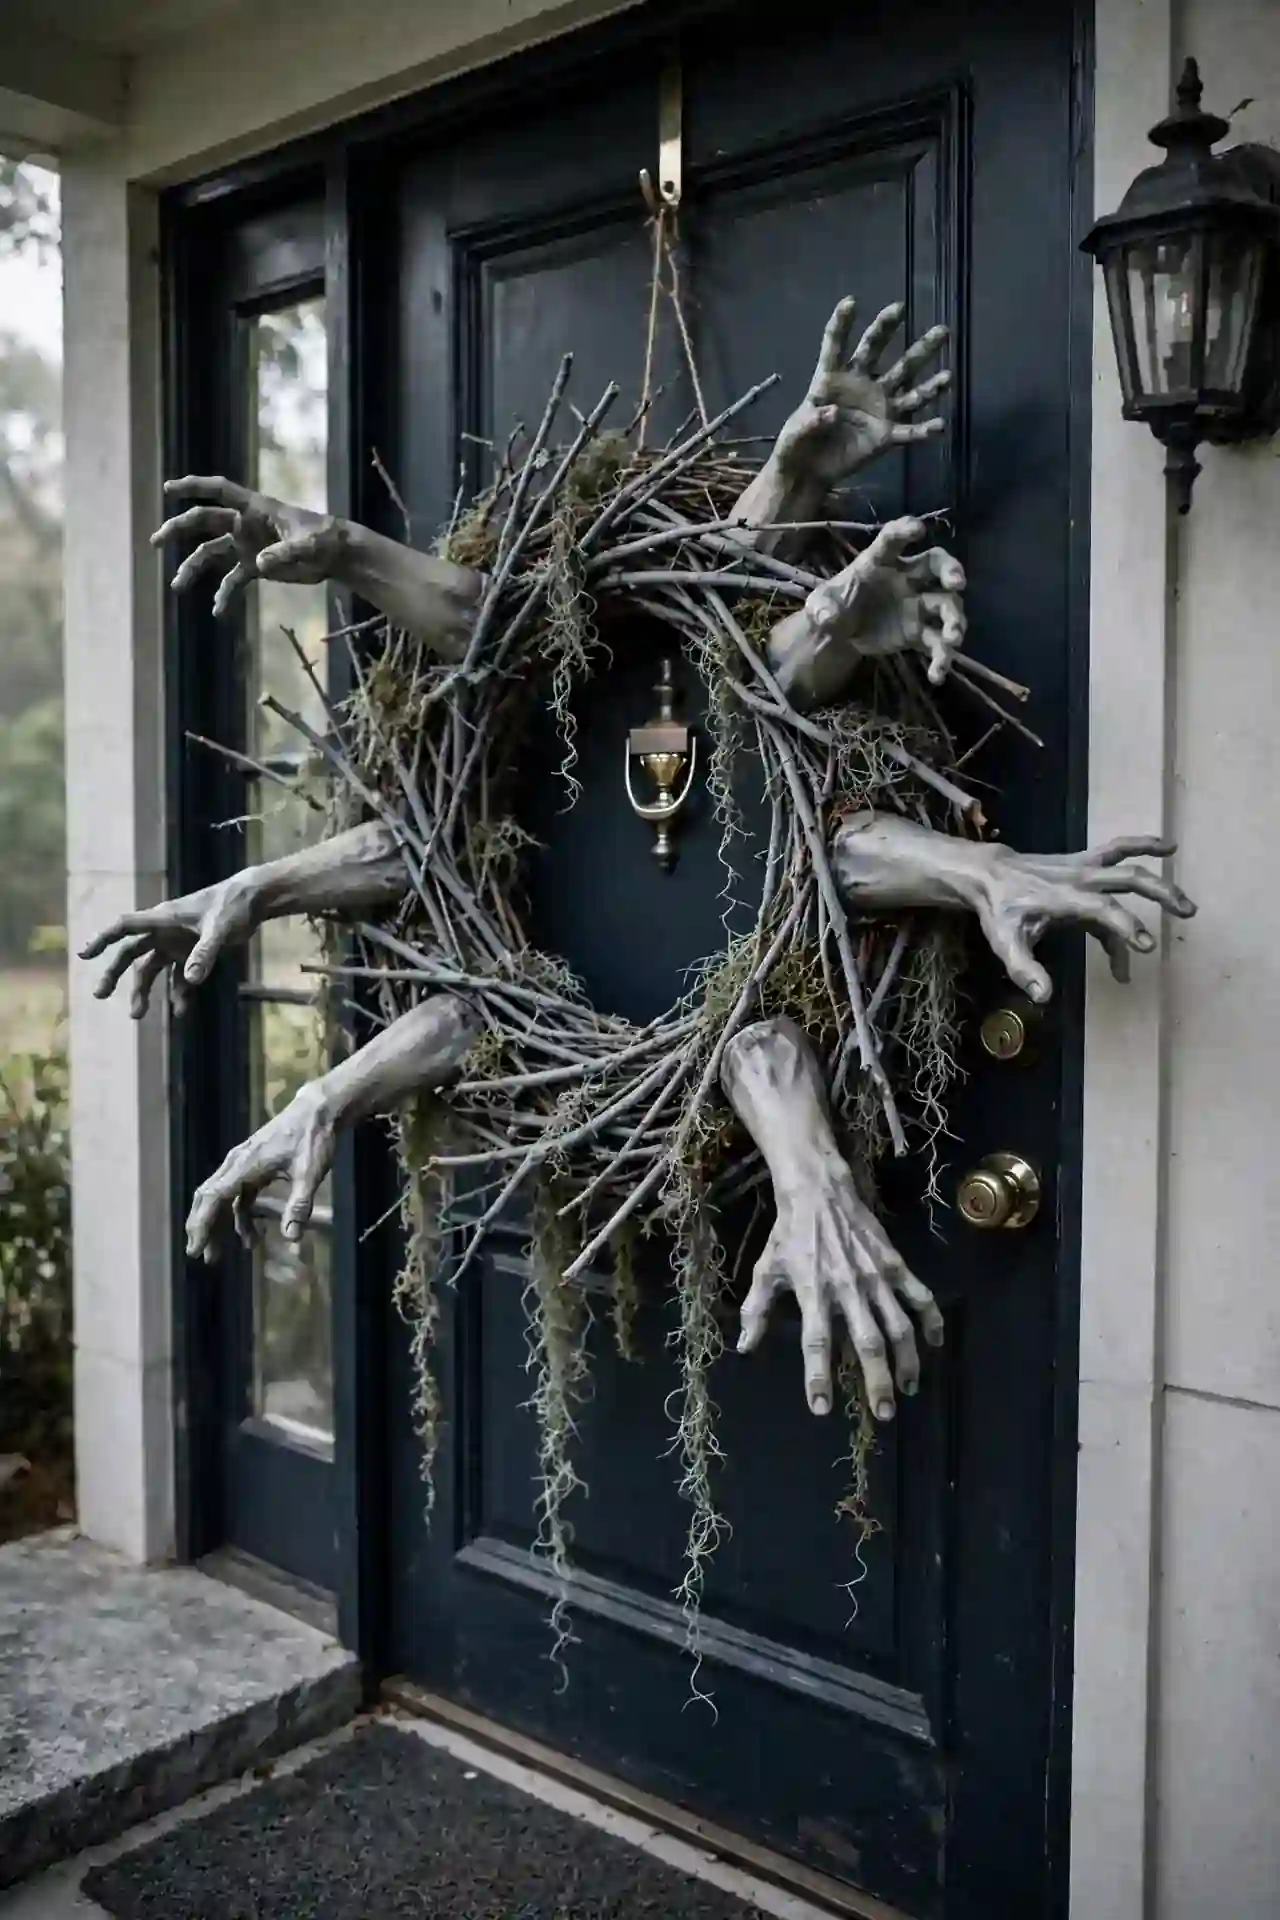
- Start with a plain twig wreath as your base for a natural, creepy foundation.
- Hot-glue plastic zombie hands reaching outward from the wreath at odd angles.
- Tuck in Spanish moss to hide the glue points and add texture.
- Spray everything with gray primer for a unified undead look.
- Hang the wreath slightly crooked for an unsettling, off-balance feel.
The reaching hands are what make guests do a double take. Angle a few hands toward the doorbell so it looks like they want to ring it. I’ve seen this work well in many cases because the 3D effect catches evening light and shadow beautifully.
Gothic Lantern Pair
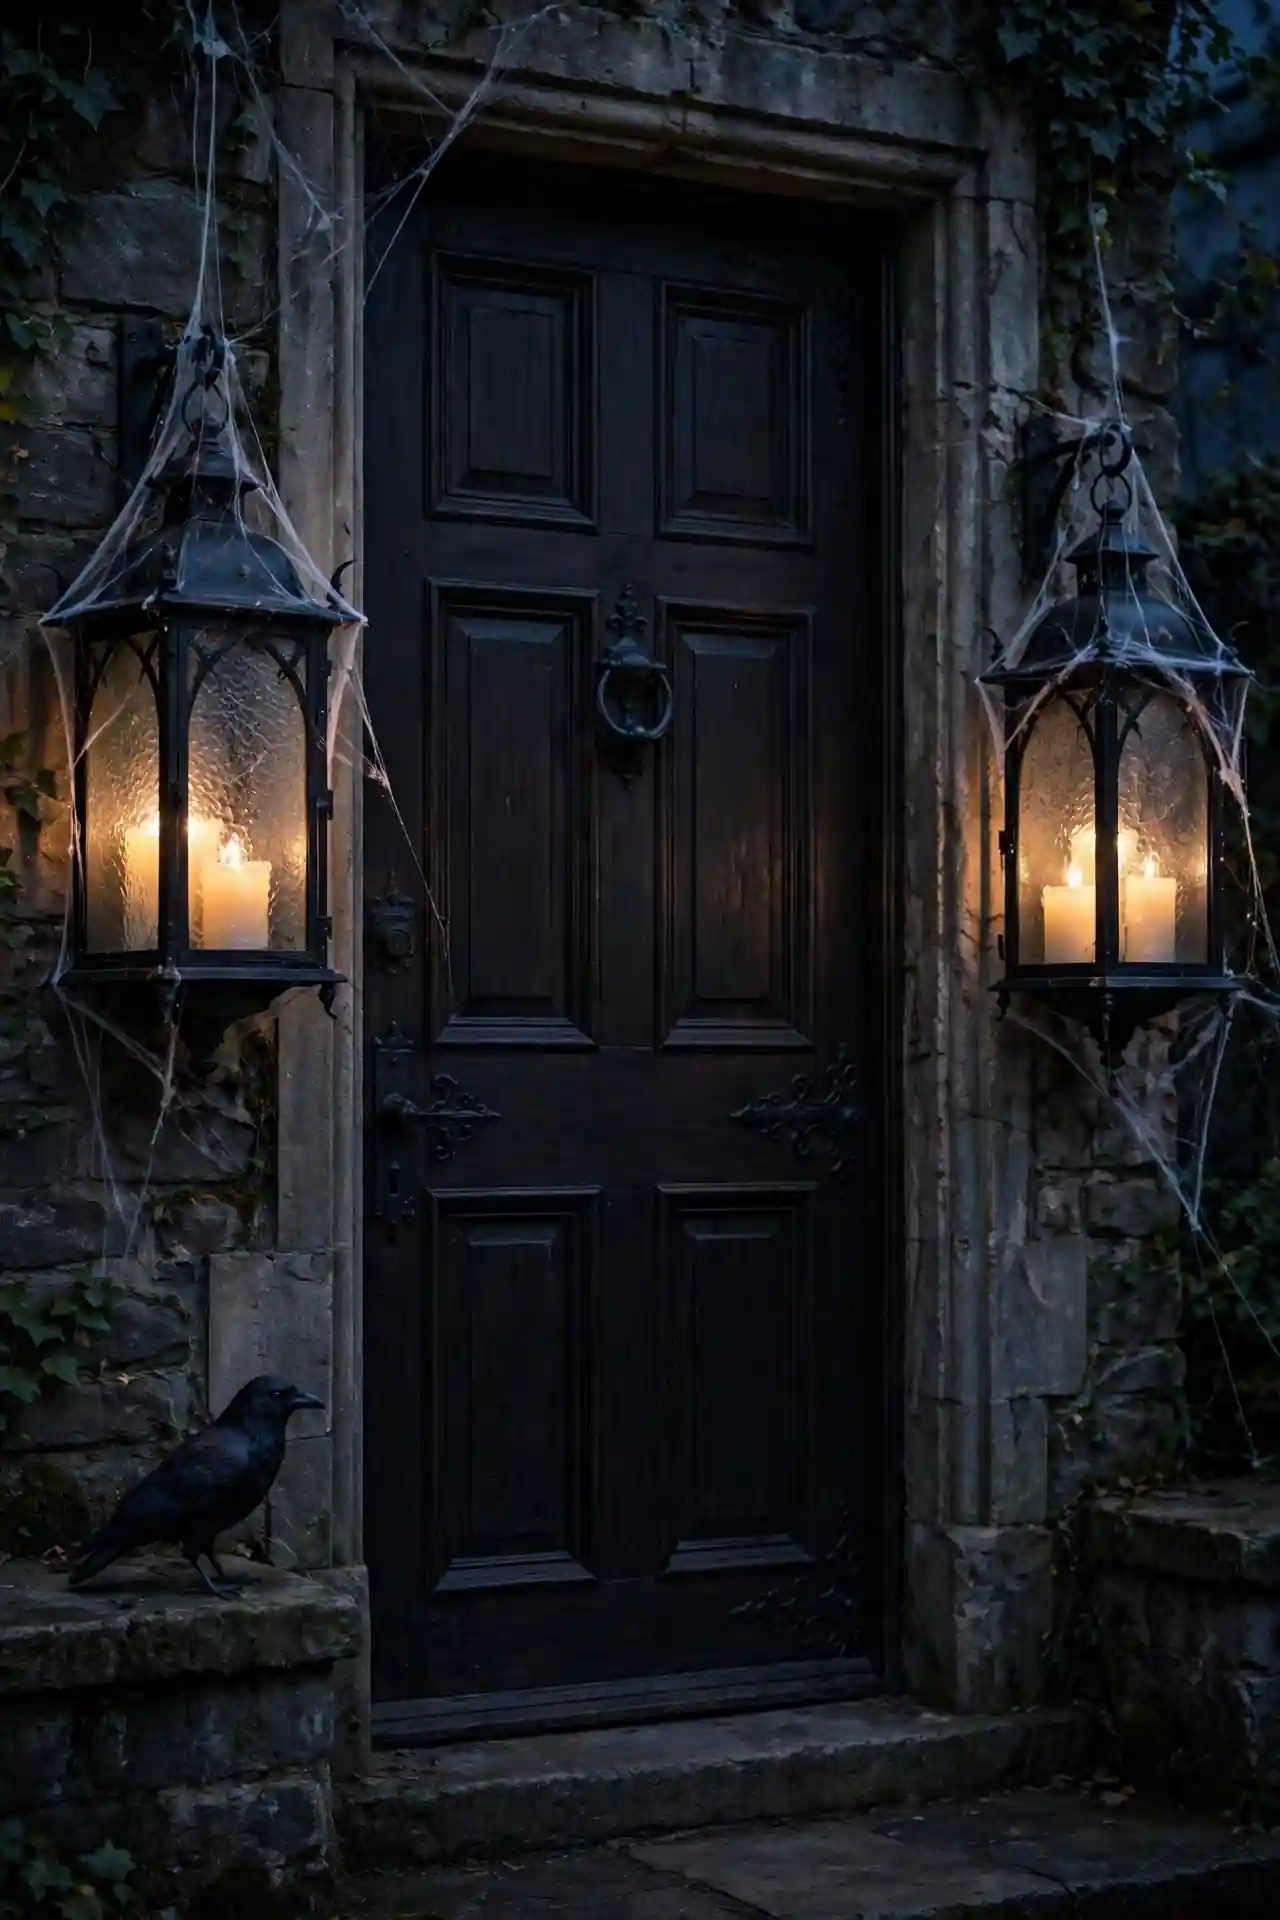
Quick Tip: Choose black metal lanterns with seeded glass for an authentic gothic feel. Place one on each side of the door at matching heights, then fill them with flameless pillar candles. The seeded glass softens the light into a warm, haunted glow. Dust the lanterns with artificial cobwebs for extra spookiness without much effort.
Lanterns bring a timeless elegance that plastic decorations cannot match. They work for the entire fall season, not just Halloween night. That’s why many experts recommend investing in quality lanterns you will reuse every October. Place a small black crow figurine beside one lantern for a finishing touch that guests always notice.
Poison Apple Basket
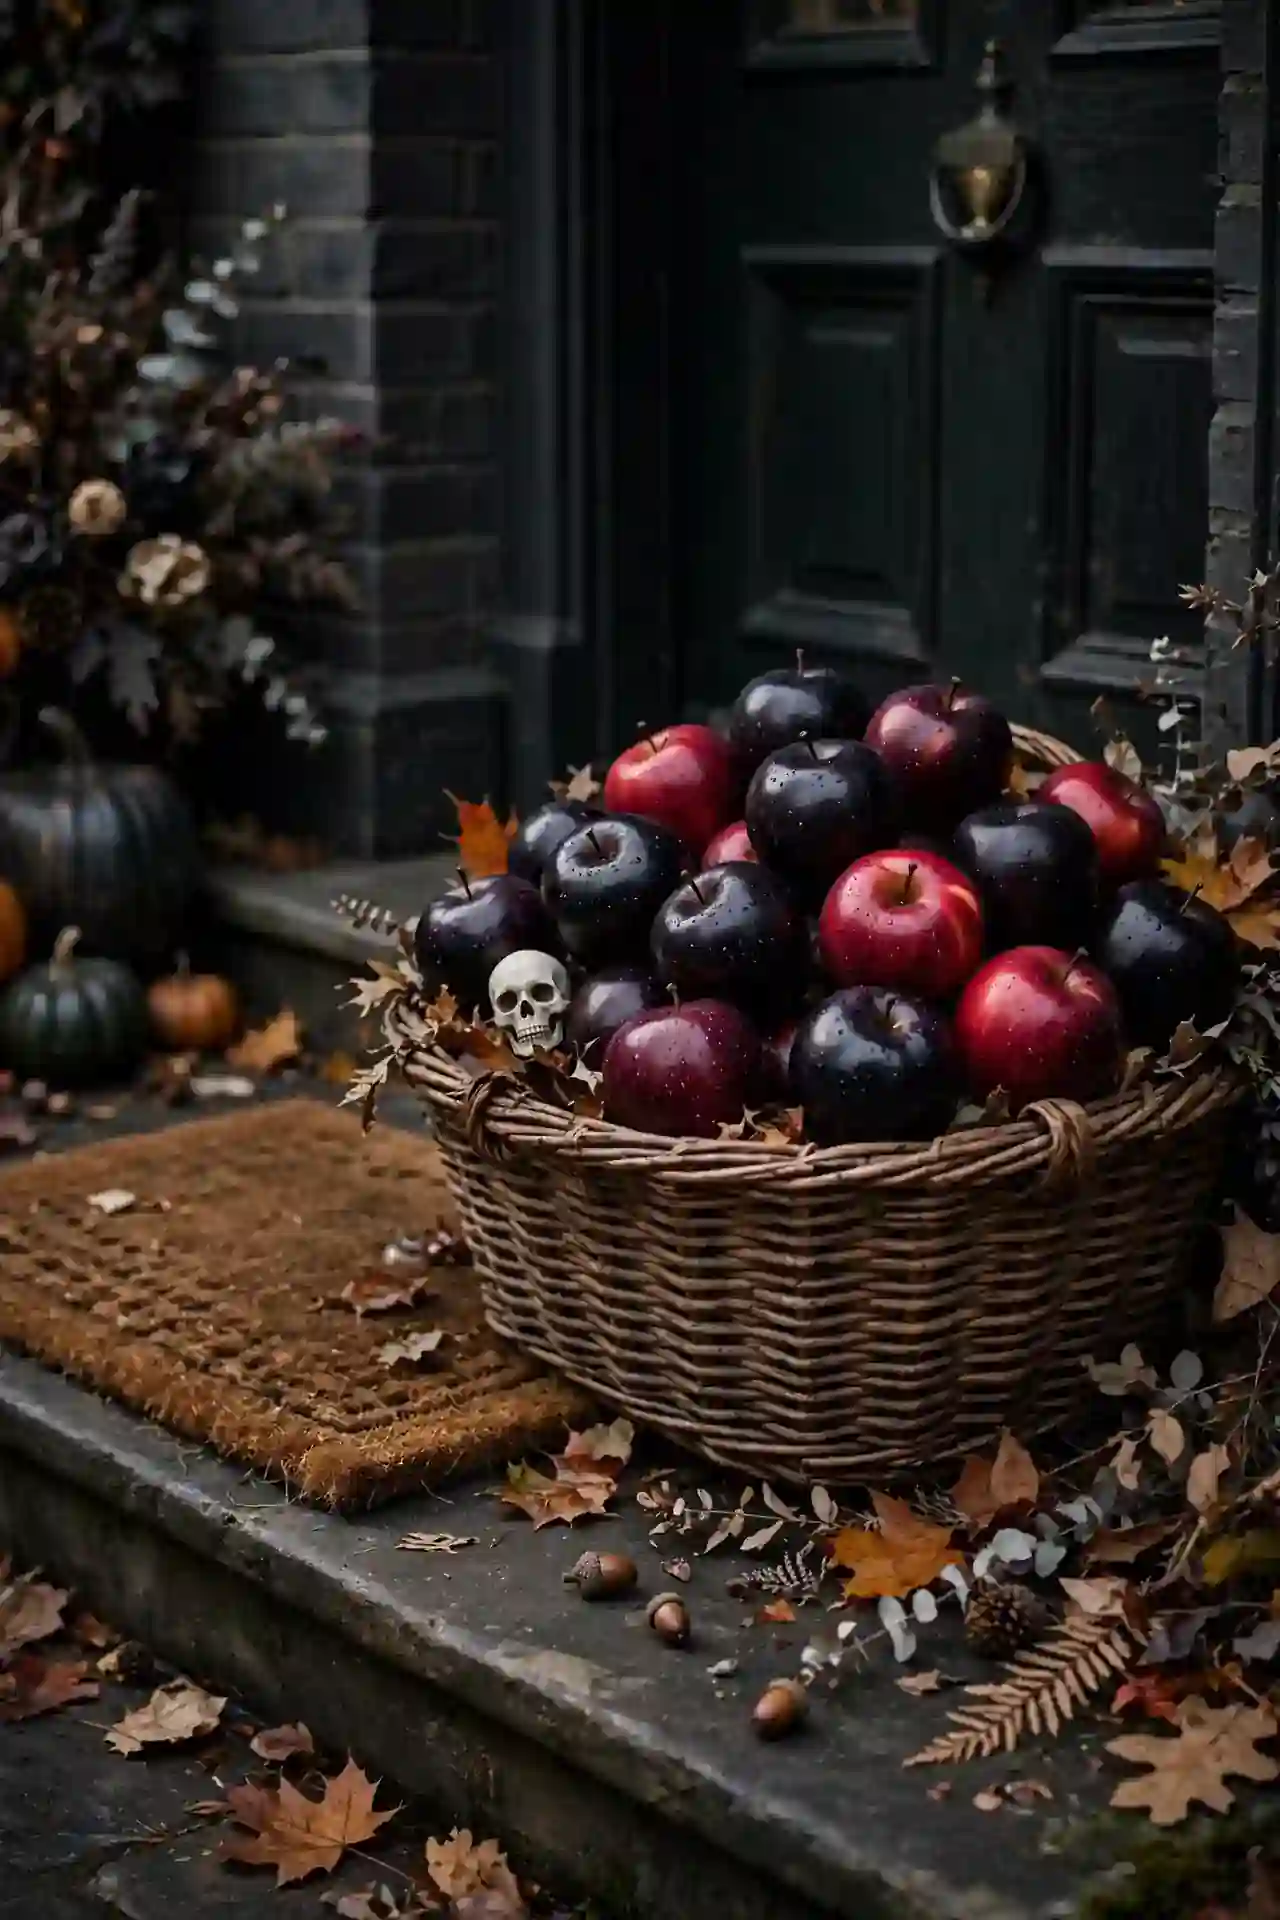
BEFORE: Your porch looks sweet but forgettable with the same pumpkins every neighbor has. Guests glance over and keep walking, because nothing about the display tells a story.
AFTER: A vintage basket now overflows with glossy black and deep red apples, a tiny skull tucked among them. A handwritten tag reads poison in elegant script, and visitors stop to inspect the wicked details.
Spray real apples with black gloss paint, or use faux apples for a lasting display. I’ve noticed that mixing matte and glossy finishes makes the basket look more expensive. Nestle the basket beside your doormat where every guest will clearly see it on Halloween night.
Creepy Cloth Drapes
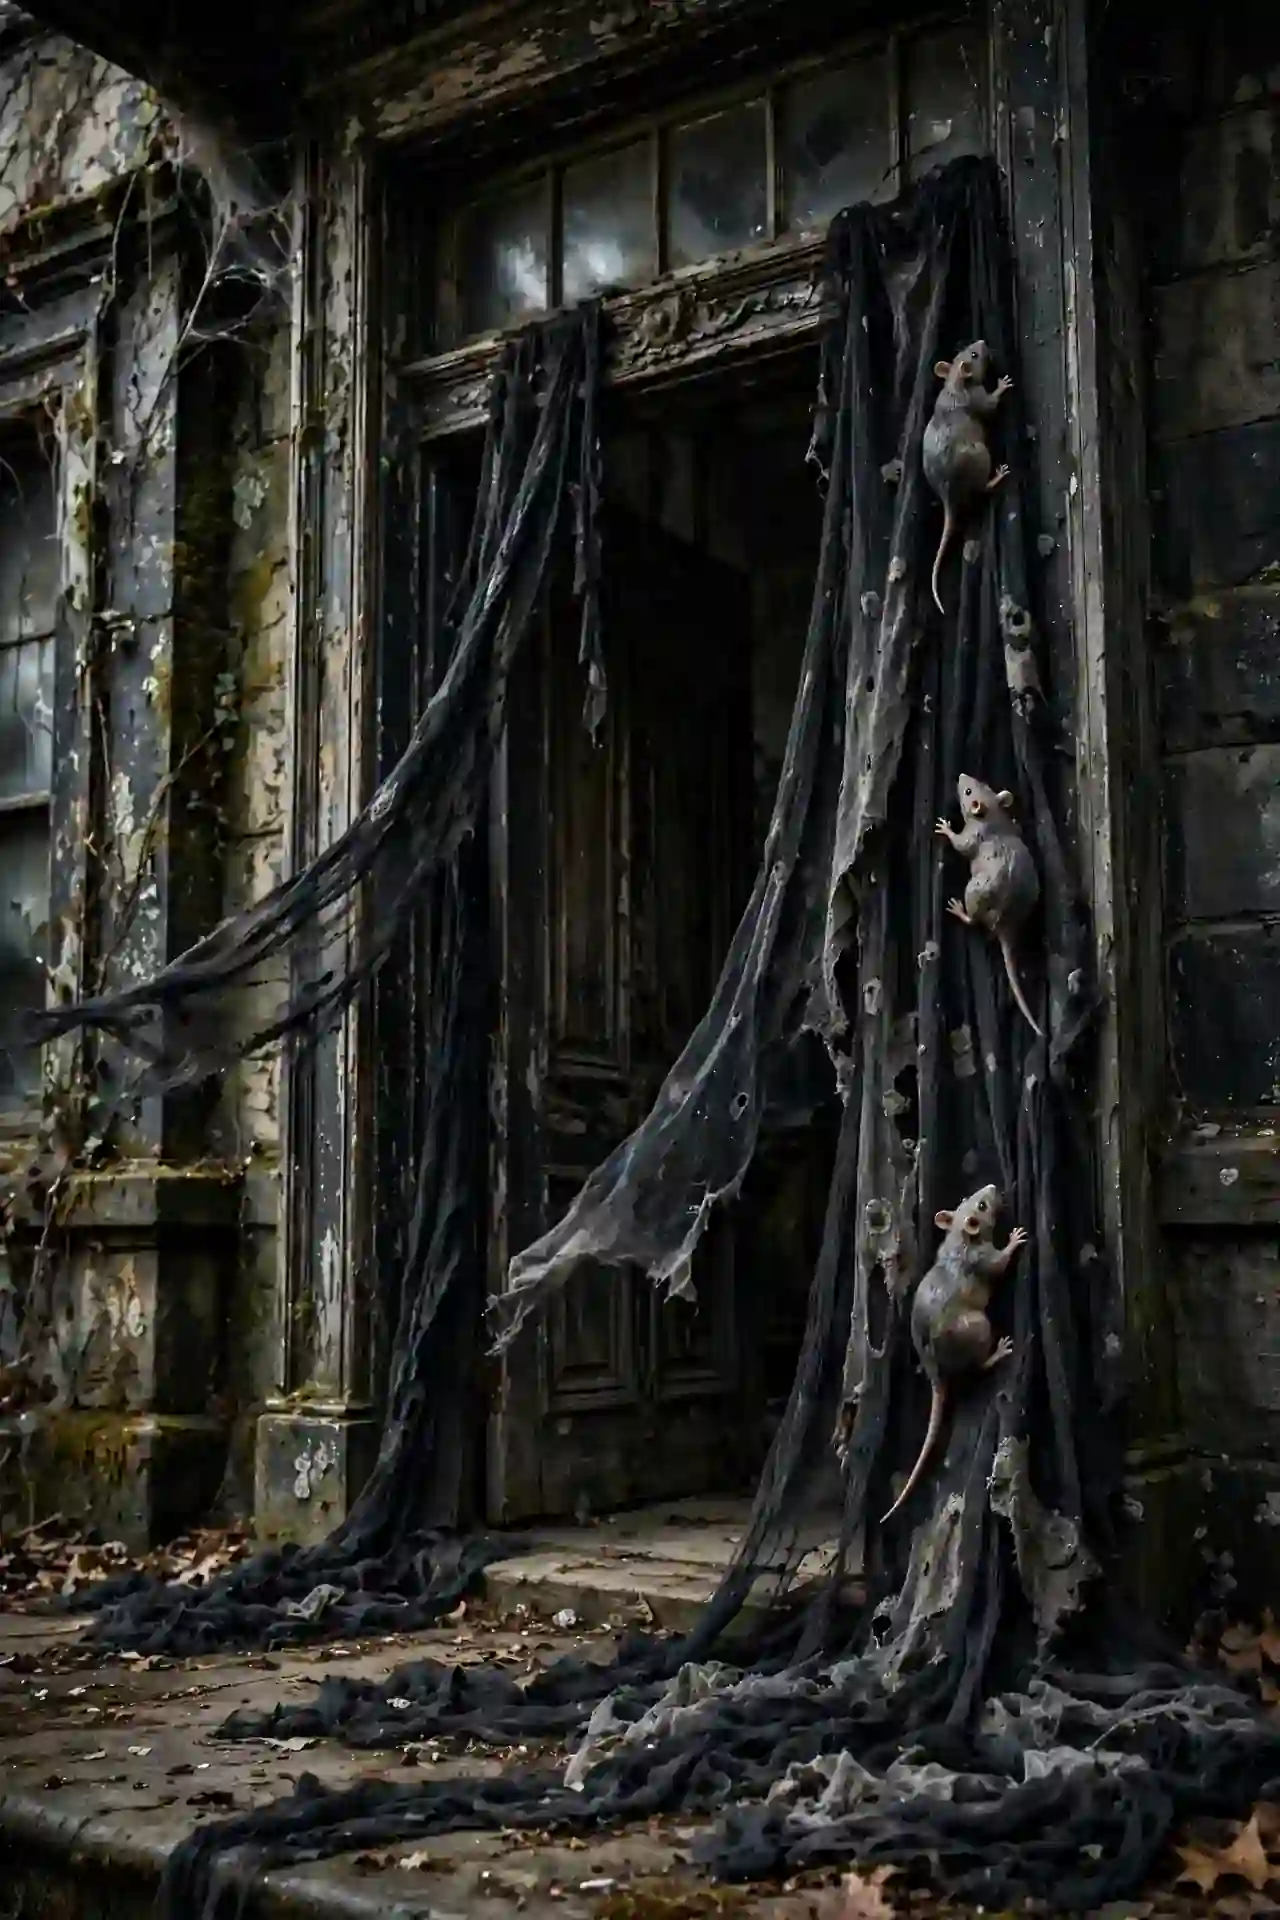
- Cut black gauze fabric into long strips, about six feet each.
- Drape the strips from the top of the door frame, overlapping them generously.
- Let the ends pool on the porch floor for a haunted mansion feel.
- Pin a few plastic rats climbing up one side for surprise detail.
- Mist the fabric with gray spray paint in patches for an aged, dusty look.
The flowing fabric moves with every breeze, which makes the whole entrance feel alive. Keep the center parted so guests can reach the doorbell easily. I’ve seen this work well in many cases on tall doorways where the extra drama really shines on Halloween night.
Tombstone Door Sign
| Style | Funny Epitaph | Scary Epitaph |
|---|---|---|
| Message tone | Playful puns that make kids giggle | Chilling words that give teens shivers |
| Example | Here lies Fred, scared to death | Enter if you dare, leave if you can |
| Best font | Rounded cartoon letters | Dripping horror-style letters |
| Placement | Eye level on the door | Slightly above eye level |
| Extra touch | Add moss at the base | Add fake cracks with paint |
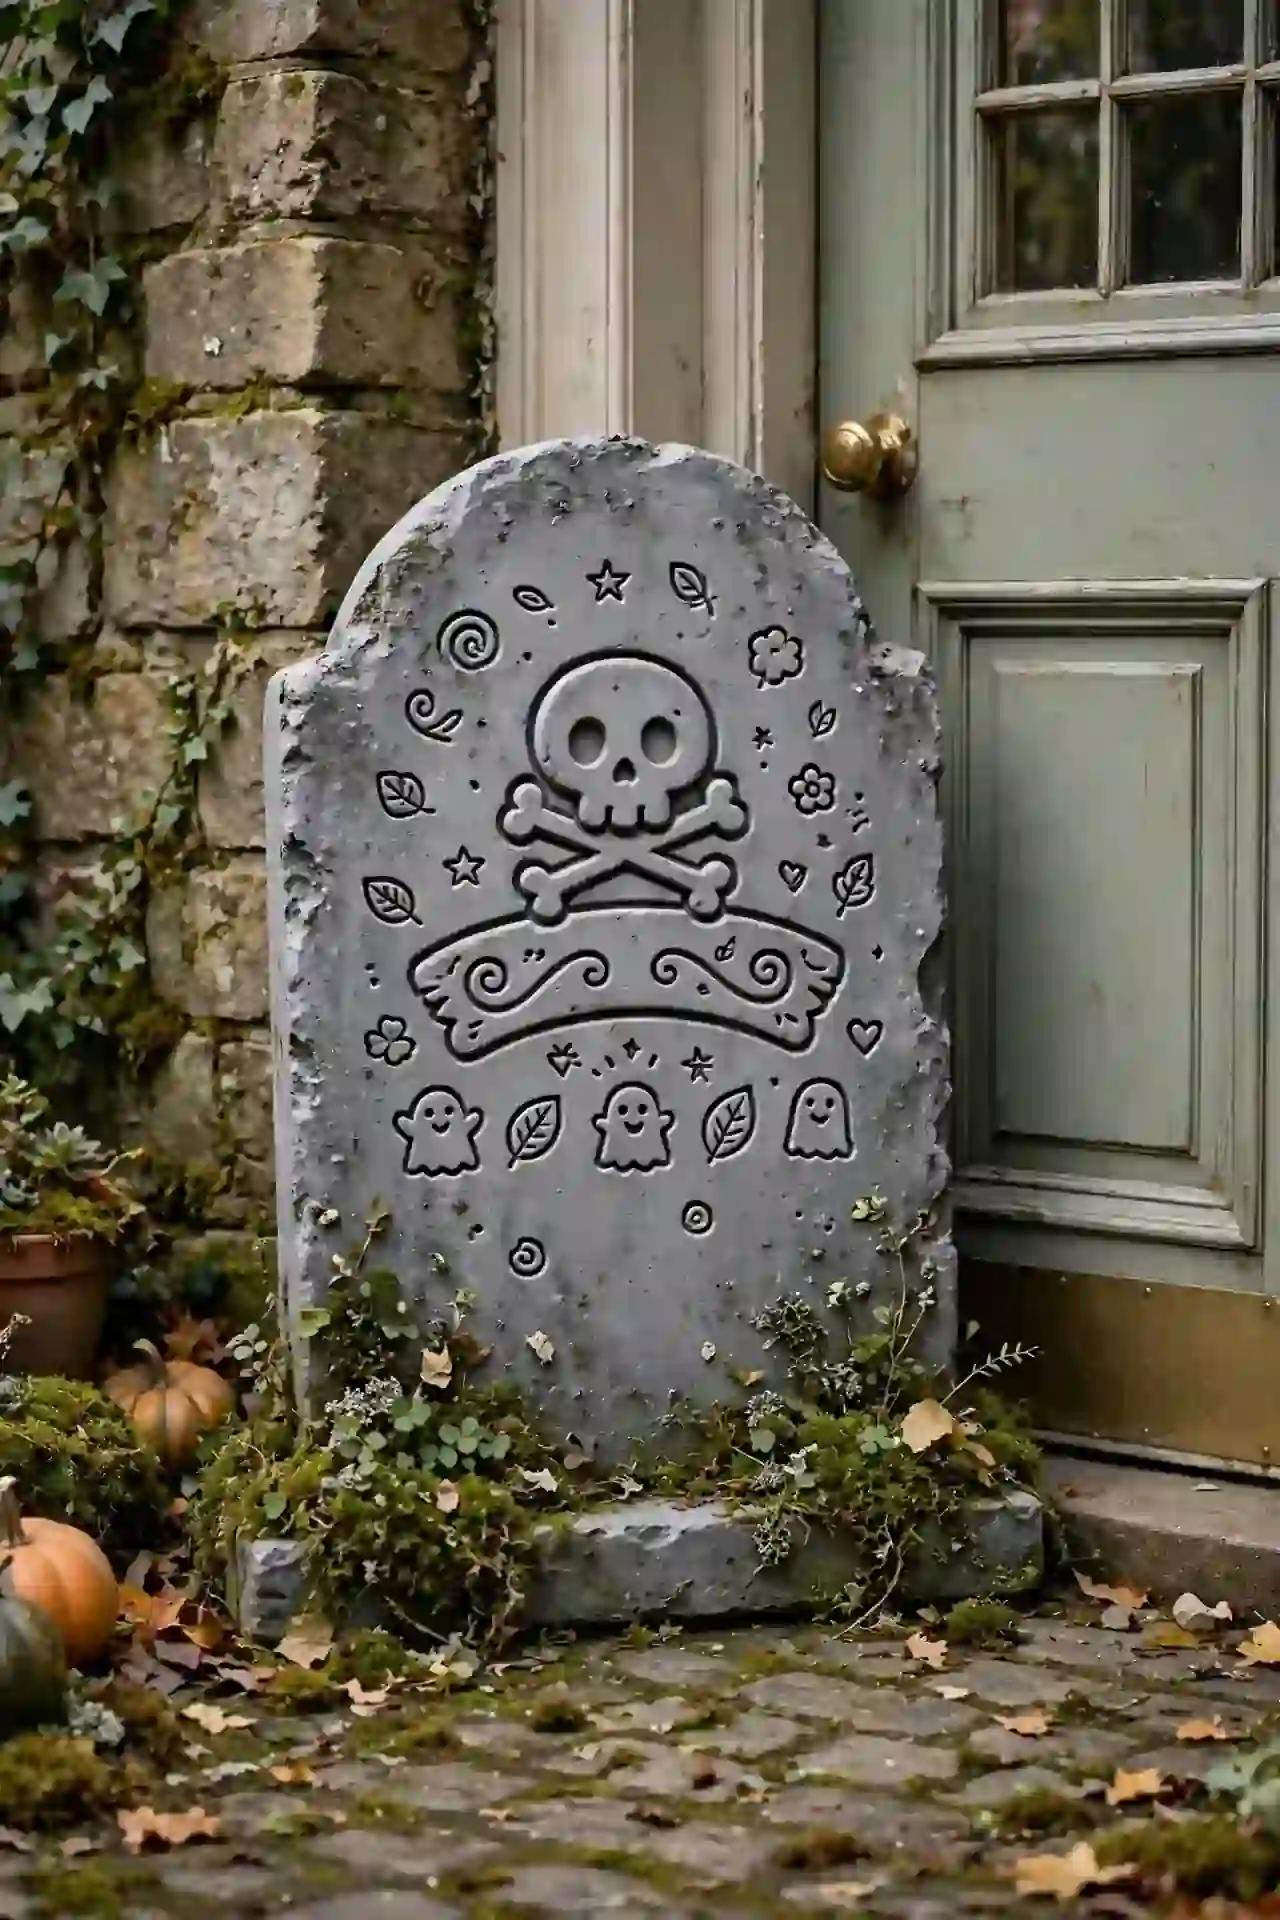
Build the tombstone from gray foam board cut into the classic rounded-top shape. I’ve noticed that a little dry-brushing with darker gray paint adds realistic stone texture. Lean it against the door or hang it with ribbon for a proper cemetery welcome on Halloween night.
Witch Broom Parking
DO:
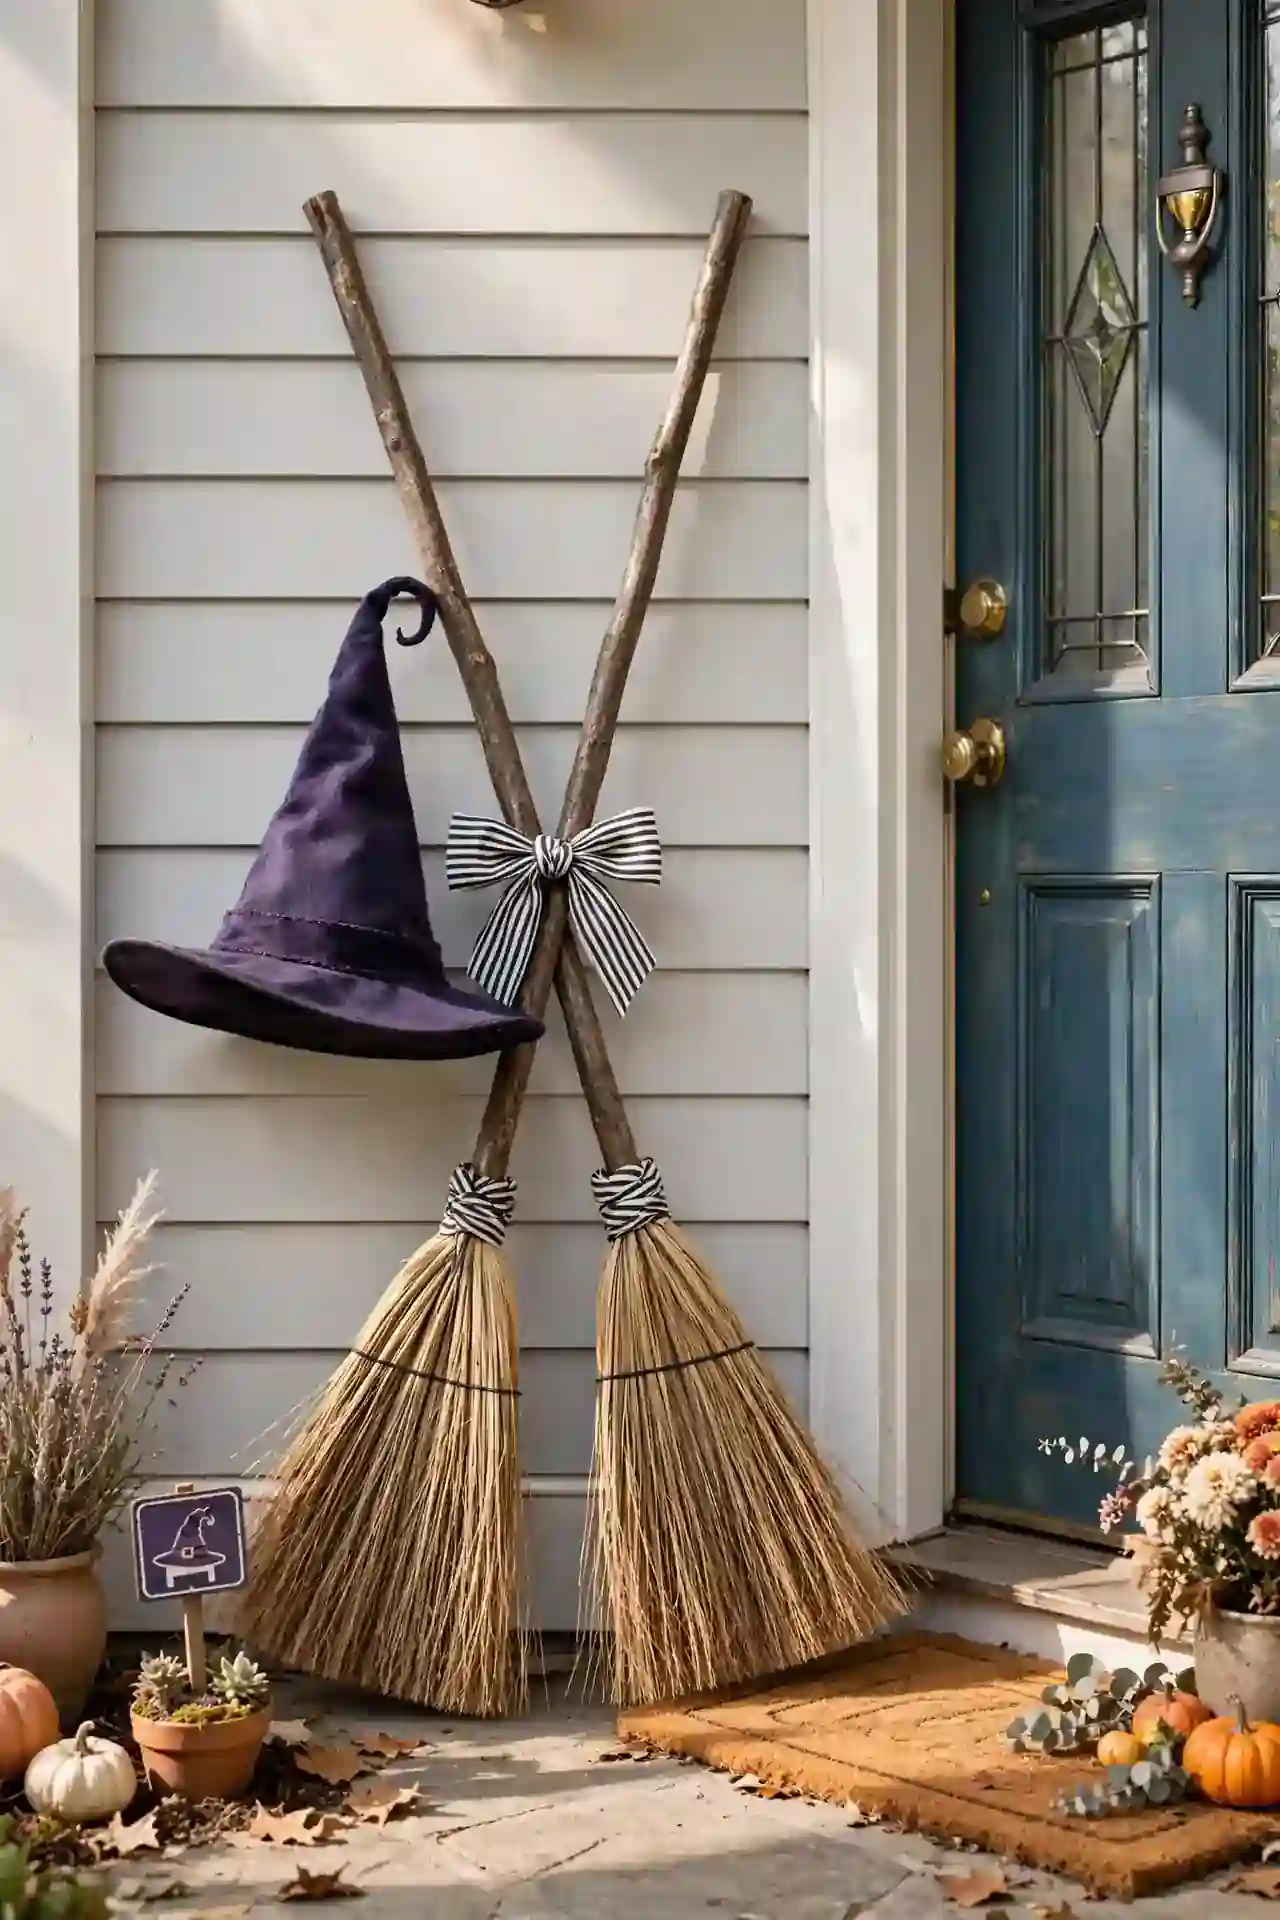
- Lean two brooms crossed against the wall beside your door.
- Tie a striped bow where the handles cross for a finished look.
- Add a pointed witch hat hanging from one broom handle.
DON’T:
- Don’t block the walkway; keep brooms flat against the wall.
- Don’t use real straw brooms that shed all over the porch.
- Don’t forget a small sign for the full parking-lot joke.
A tiny ‘Witch Parking Only’ sign completes this playful vignette that every guest will photograph. That’s why many experts recommend keeping the rest of the porch simple so the joke stands out. This one works especially well for homes with a sense of humor on Halloween.
Full Moon Backdrop
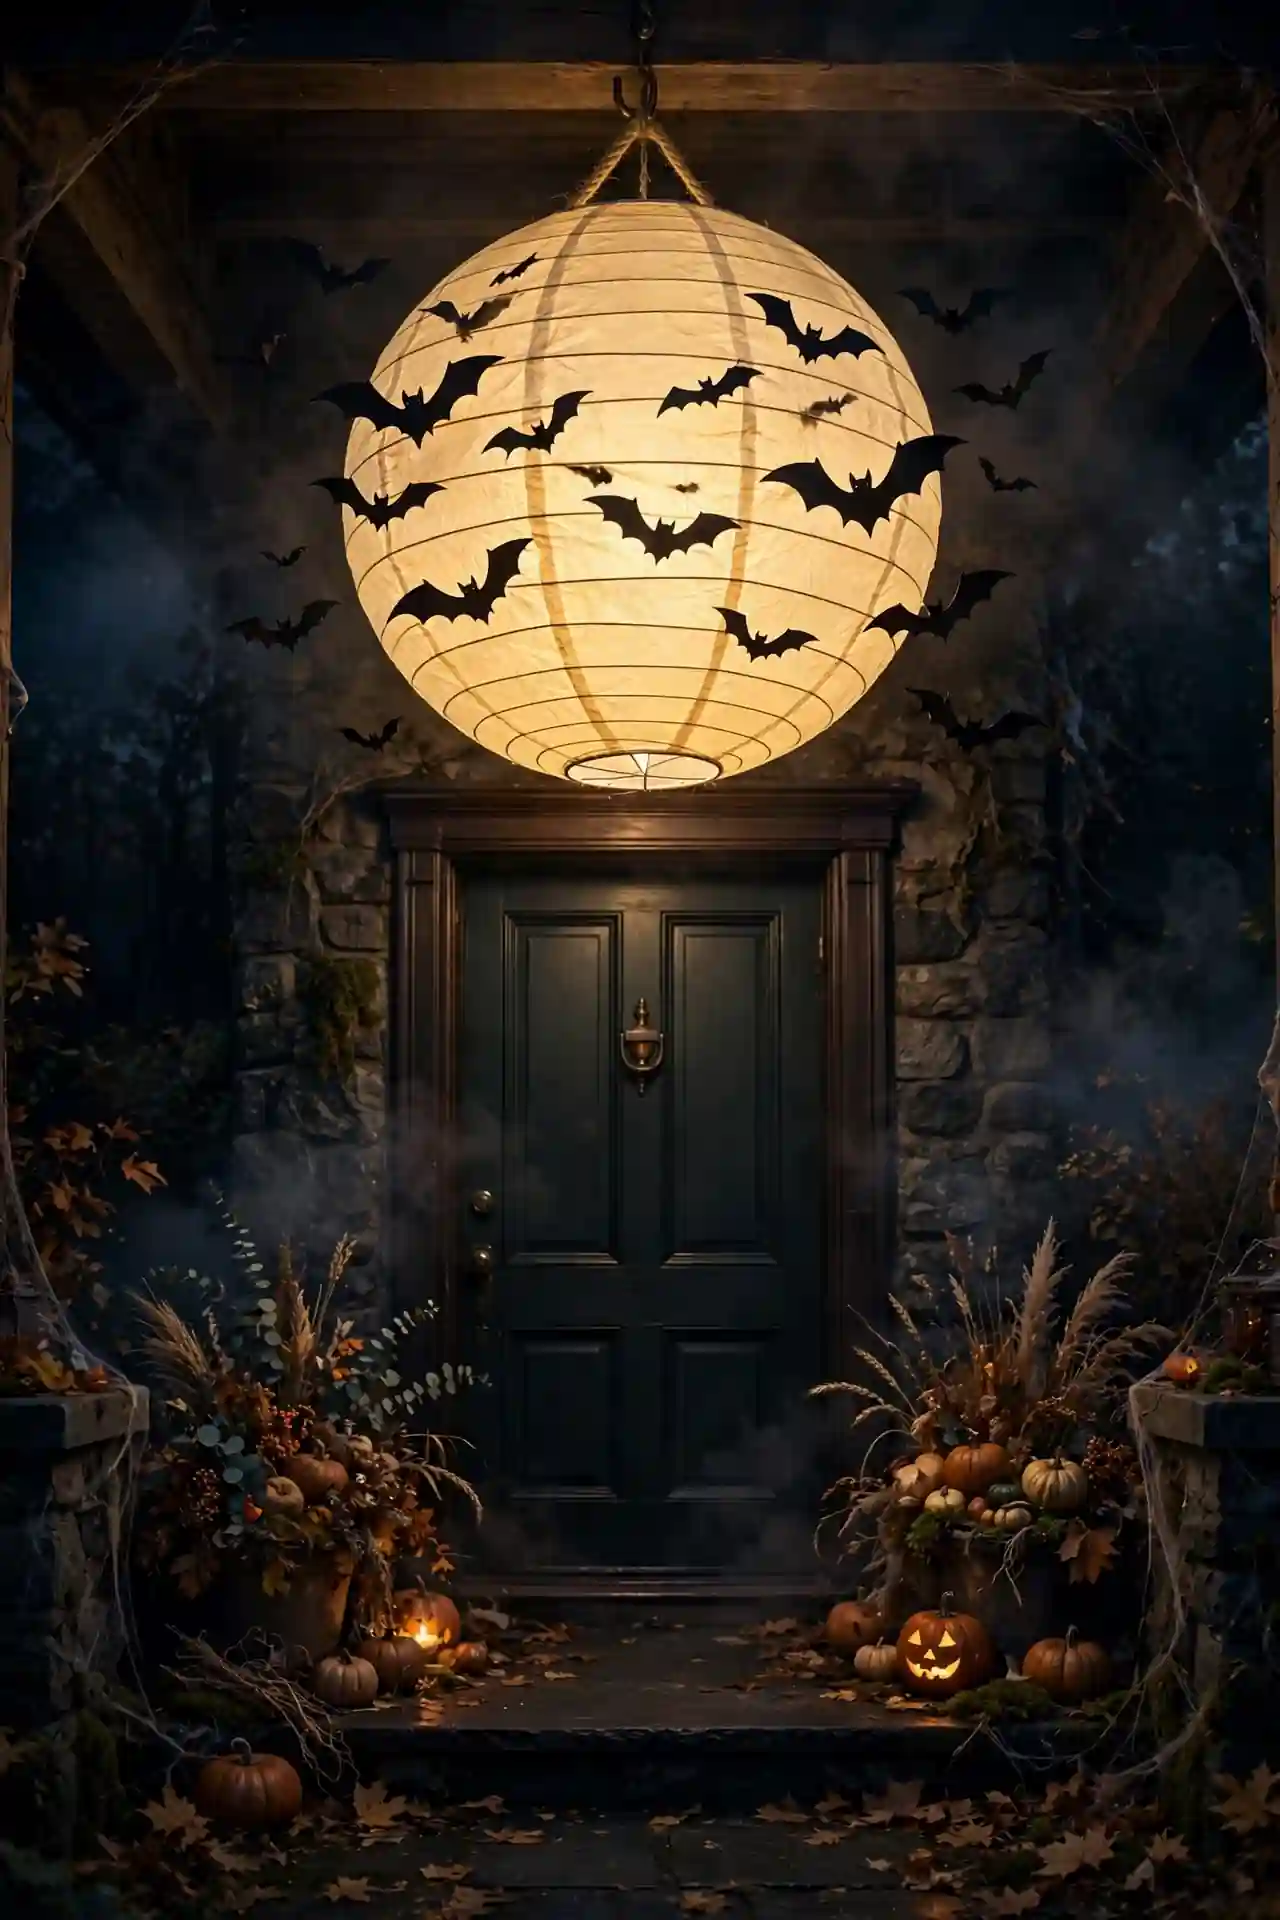
Cost: Under twenty-five dollars for a large round paper lantern and LED light. Time: Twenty minutes to hang and position the moon. Skill Level: Beginner, just hang the lantern like a pendant. Best For: Creating a dramatic nighttime focal point above the door. Result: Guests will photograph your entrance all night long.
Hang the glowing moon above your door so it looms over every visitor. Pair it with dark bat silhouettes for a classic Halloween sky. I’ve seen this work well in many cases because the soft round glow contrasts beautifully with spooky sharp shapes. Keep the porch dim so the moon stays the star.
Conclusion
Your front door is the handshake of your home, and this year it can be a spooky one. With these halloween door ideas, you have everything from quick five-minute touches to full weekend projects. Pick the look that fits your style, start with one statement piece, and build from there. I’ve seen how small changes like these can completely shift the way a space feels. Your neighbors will notice the effort, and trick-or-treaters will remember your house all season long. Save your favorites to Pinterest, snap a photo when the sun goes down, and enjoy every knock at your frightfully fun entrance.



One Comment