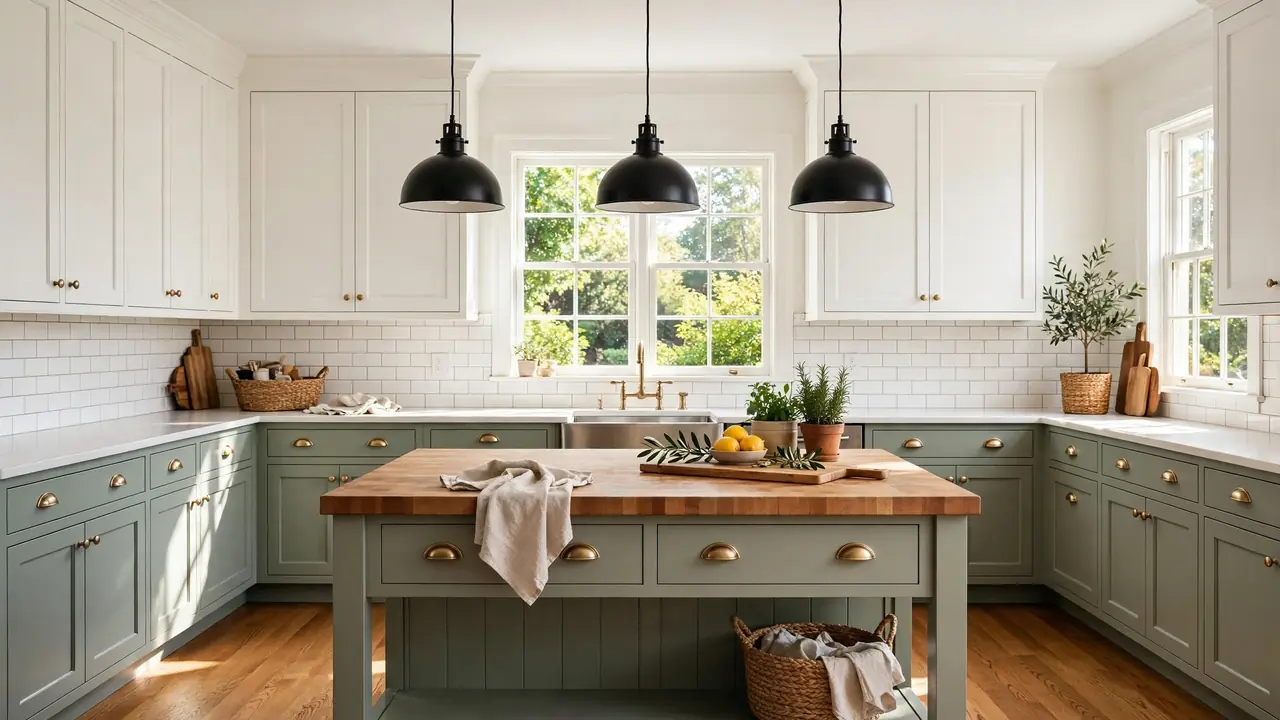
22 Kitchen Remodel Budget Upgrades for Savvy Savings
A full kitchen renovation can cost more than a car, but kitchen remodel budget upgrades prove you do not need a fortune to love your kitchen again. I have seen dated kitchens turn warm and current with nothing more than paint, new hardware, and a free weekend. The secret is spending where your eyes land first: cabinets, lighting, and the backsplash. Small swaps in these spots deliver the biggest visual payoff for the smallest price. You do not need a contractor or a demolition crew, just a clear plan and a little patience.
In this guide, you will find 22 affordable ways to refresh your kitchen, each one tested for real budgets and real life. If you love seasonal touches too, these fall kitchen decor ideas pair nicely with several of these updates. Pick the projects that fit your space and your wallet, start with the easiest win, and enjoy watching your kitchen come back to life one weekend at a time.
Fresh Cabinet Paint
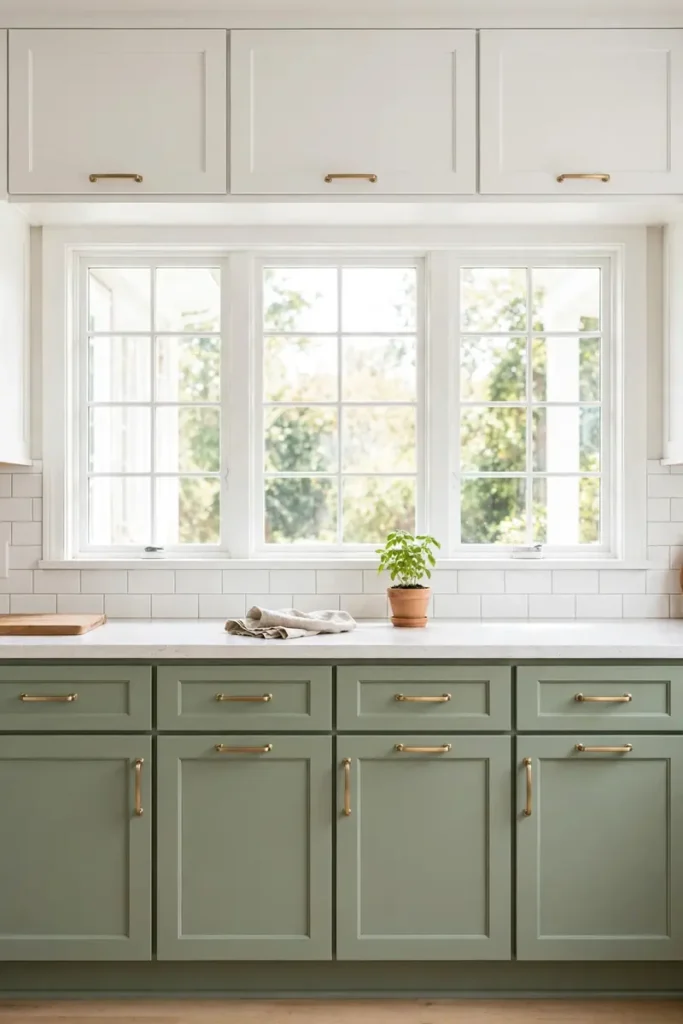
Paint is the cheapest remodel tool you own. A fresh coat on tired cabinets can make a twenty-year-old kitchen feel brand new for the price of a nice dinner out. Choose a cabinet-grade enamel so the finish stands up to daily cooking and wiping.
I have seen warm whites, soft sages, and deep charcoals all work beautifully. The trick is testing a swatch on one door first and living with it for two days. Light changes everything, and what looks perfect in the store can feel different at home.
New Cabinet Hardware
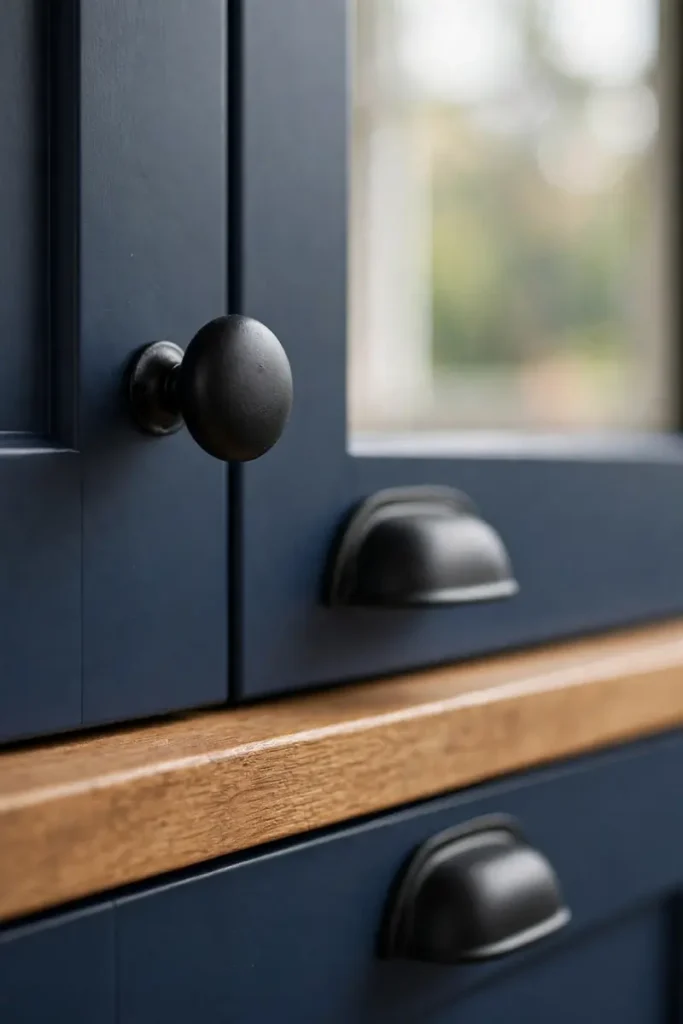
- Swapping knobs and pulls is the fastest facelift in this whole list. One afternoon and a screwdriver can change the entire personality of your cabinets.
- Measure the hole spacing before you shop. Most cabinets use standard three-inch pulls, but older kitchens can surprise you.
- Mix metals with care. Matte black and brushed brass play well together, but keep it to two finishes so the look stays calm.
- Buy one extra of each piece. If a pull loosens or chips later, you will be glad to have a match on hand.
- Remove one door and take it to the store. Testing pulls against the real cabinet beats guessing from memory every time.
Hardware is jewelry for your kitchen. It catches the light, invites touch, and tells guests you care about details. I have noticed this small swap photographs especially well, which is a nice bonus if you love sharing your home online.
Peel Stick Backsplash
- Clean the wall thoroughly with a degreaser. Peel and stick tiles grip best on a smooth, grease-free surface.
- Start from the center and work outward. This keeps the pattern balanced on both ends of the run.
- Use a sharp utility knife and a straight edge for cuts around outlets. Score, snap, and press firmly.
- Roll over every tile with a wallpaper seam roller. Firm pressure is what makes the adhesive bond for years.
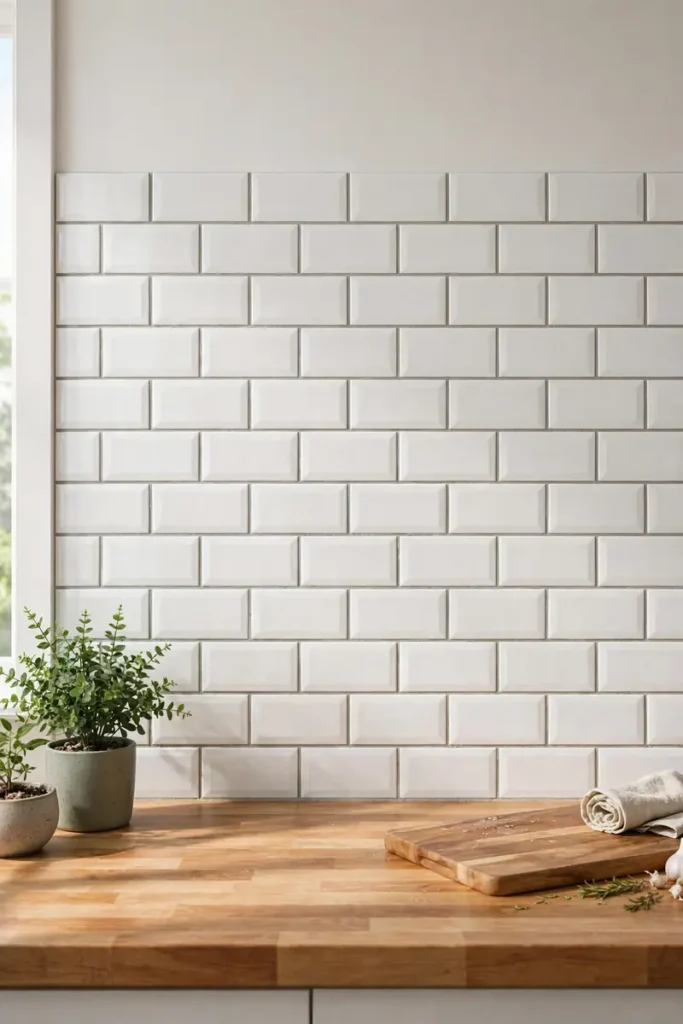
Peel and stick tile has come a long way from the shiny plastic sheets of the past. The new versions look convincingly like real ceramic. I have seen renters use it to fake a full renovation, then peel it off cleanly when they move.
Butcher Block Counters
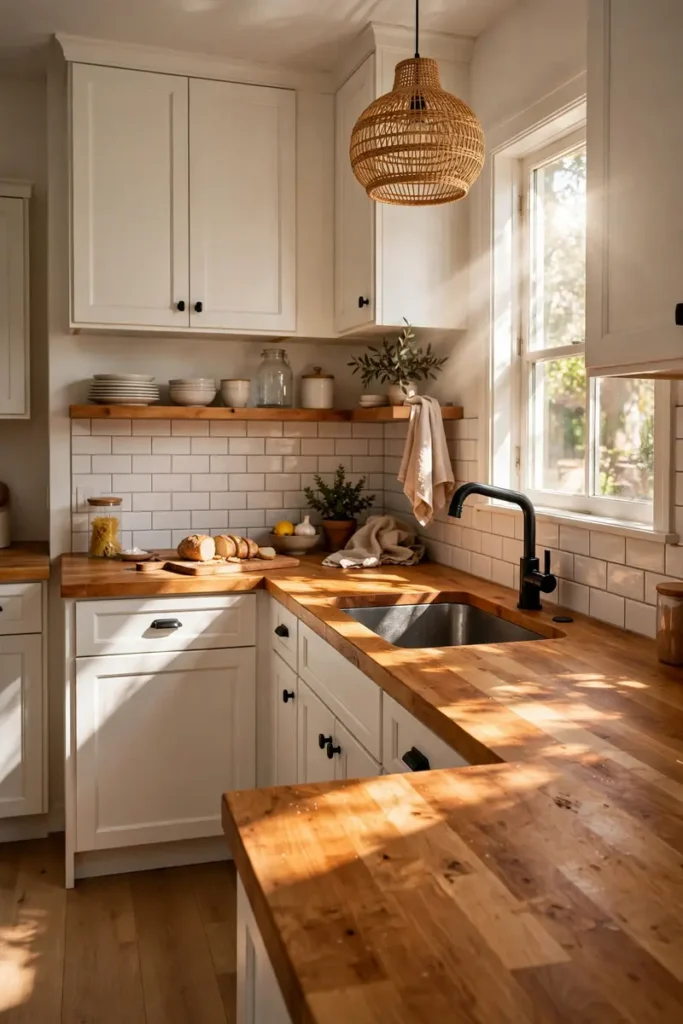
| Butcher Block | Laminate | |
| Cost | Low to mid | Lowest |
| Feel | Warm and natural | Smooth and uniform |
| Upkeep | Oil twice a year | Wipe and go |
| Best for | Cozy, farmhouse looks | Modern, crisp looks |
Butcher block brings a warmth that stone cannot match at twice the price. It dents and scratches, but that patina is part of the charm. I have seen busy family kitchens wear it beautifully for a decade with simple oiling.
Open Shelf Swap
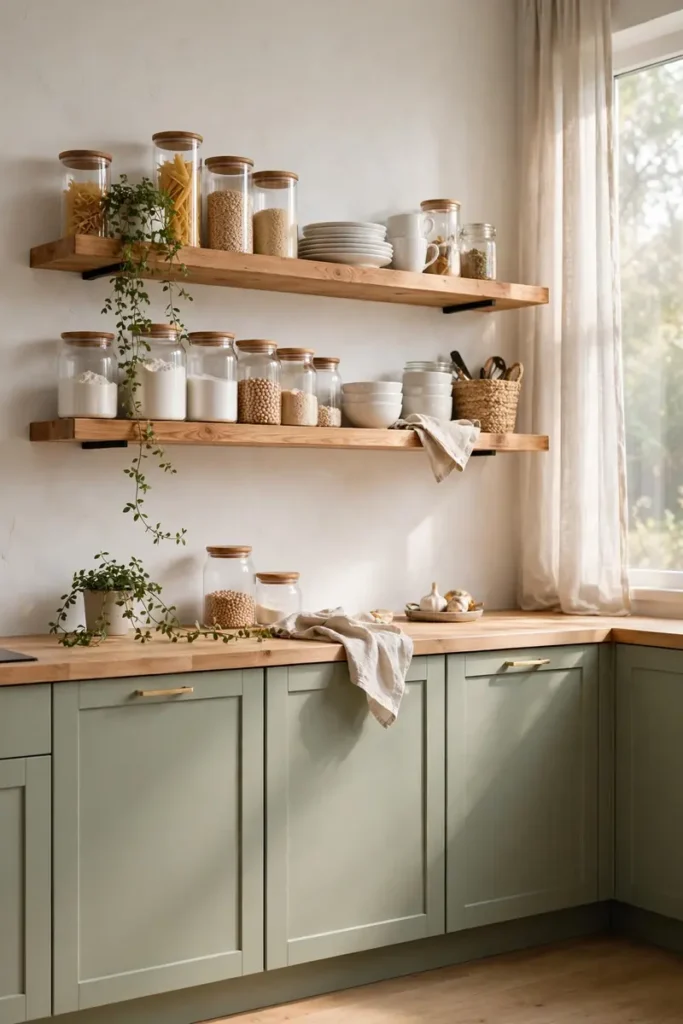
DO:
- Remove just one or two upper cabinets to test the look before committing to a full wall.
- Style shelves with everyday dishes you actually use. Pretty and practical beats precious every time.
- Add a small rail underneath for hanging mugs. It doubles the function of the same shelf.
DON’T:
- Do not overload the shelves. Crowded open shelving reads as clutter, not charm.
- Do not place shelves right above the stove. Grease settles there and makes cleaning a chore.
- Do not skip the brackets. Pretty floating shelves still need solid anchors into studs.
Updated Light Fixtures
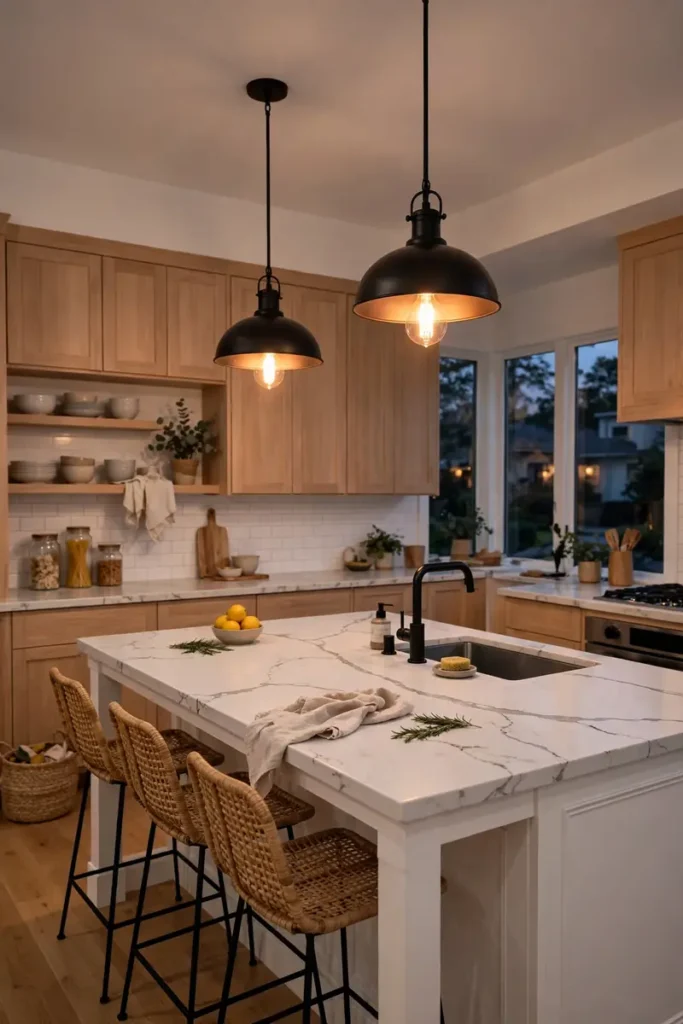
Cost: Low | Time: One hour | Skill Level: Beginner | Best For: Dated, dim kitchens
Lighting sets the mood more than any other single change. Swapping a builder-grade flush mount for a pair of pendants can make the whole kitchen feel designed. I always suggest warm bulbs around 2700K for that golden, welcoming glow.
Faucet Refresh
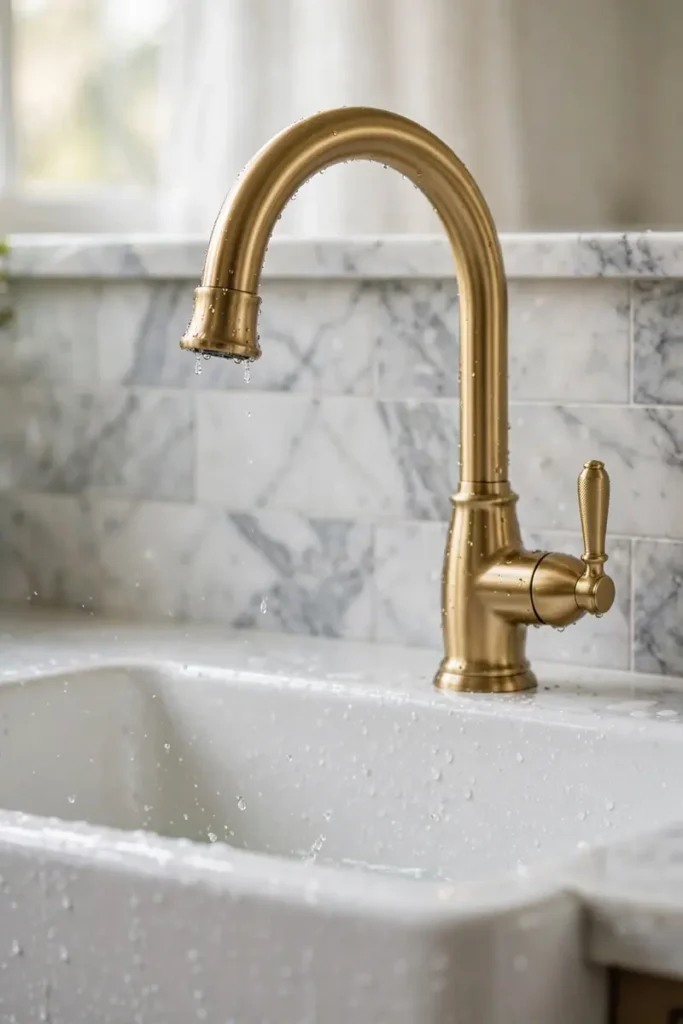
A new faucet is the handshake of your kitchen. It is touched dozens of times a day, so it pays to pick one that feels solid and smooth in the hand.
- Turn off the water valves under the sink before you start. Keep a bucket and towels nearby for the little water left in the lines.
- Take a photo of the old connections before disconnecting anything. It becomes your map for the new install.
- Choose a finish that matches your cabinet hardware. Cohesive metals make the whole kitchen feel intentional.
Painted Island Pop
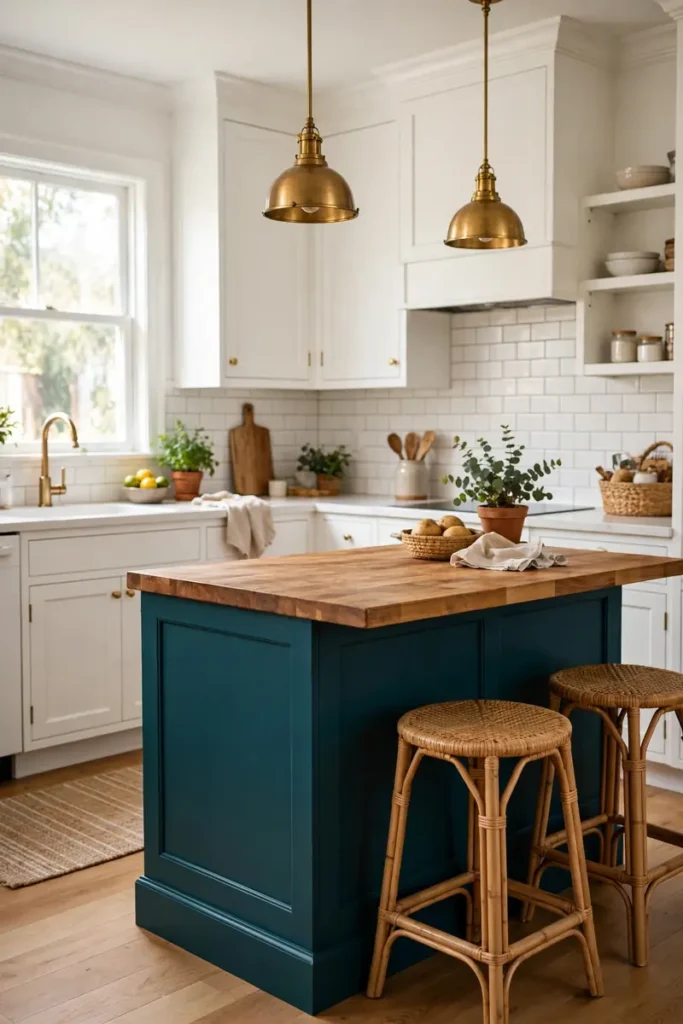
Painting just the island is my favorite low-commitment color move. You get all the drama of a bold hue with a fraction of the paint and effort. I have seen deep greens, navy blues, and even warm terracotta turn a plain kitchen into a room with real personality.
The best part is how forgiving it is. If you tire of the color in two years, one weekend repaints it. Start with a sample quart on the back panel, live with it for a week, then commit to the whole island.
Vinyl Floor Planks
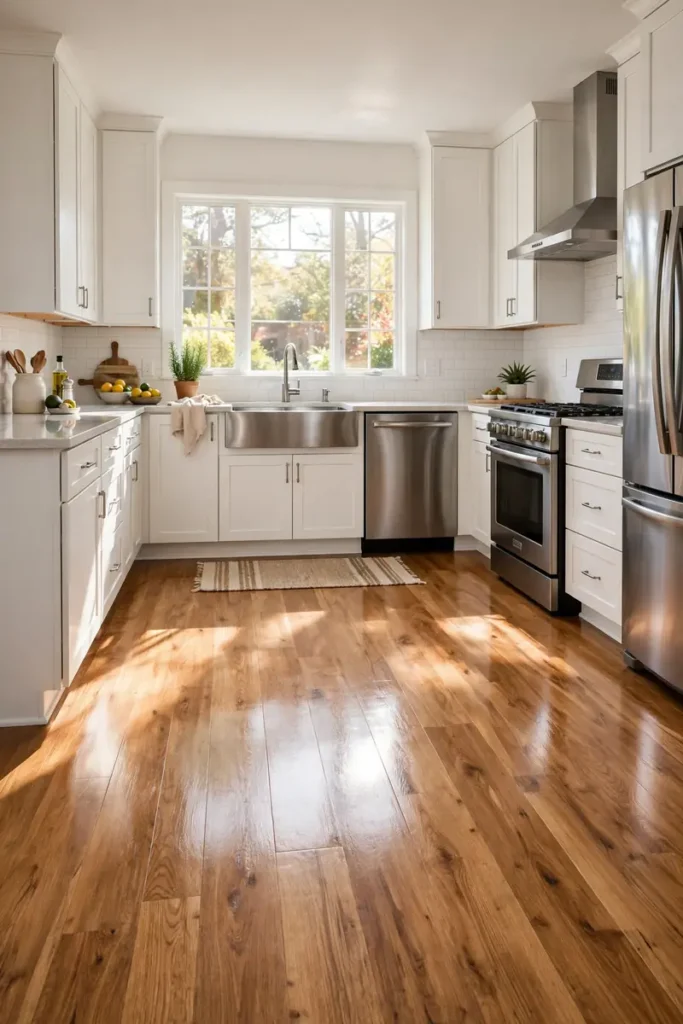
New floors change a kitchen more than almost anything, and vinyl planks make it affordable. The click-together versions install right over most old floors with no glue and no mess. Pick a warm wood tone to keep the space feeling cozy.
I suggest ordering one box first and laying a few planks in different light. Floors cover so much visual space that the undertone matters enormously. Get it right and the whole kitchen feels rebuilt.
Under Cabinet Lighting
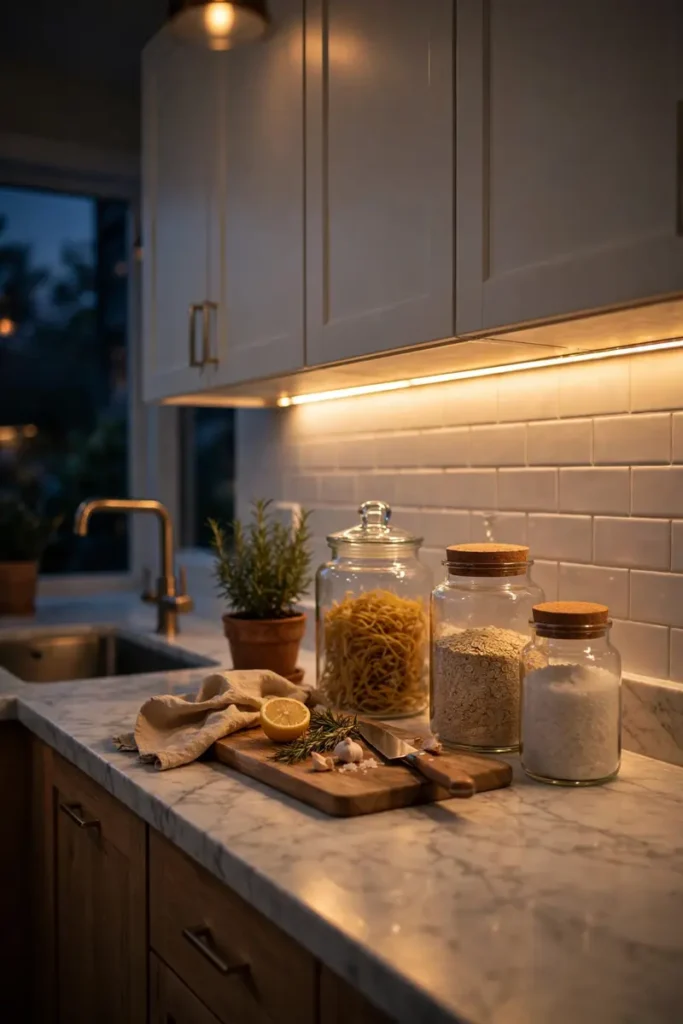
- Stick-on LED strips are the easiest win here. No wiring, no electrician, just peel, stick, and plug in.
- Choose warm white, around 3000K. Cool white under cabinets can make food look unappetizing.
- Place the strip toward the front edge of the cabinet. This throws light across the whole counter instead of just the backsplash.
- Use a motion sensor plug for hands-free light. Waving a hand with messy cooking fingers feels like magic.
- Hide the plug inside a cabinet. A visible cord trailing down the backsplash ruins the effect.
Under-cabinet light does double duty. It makes chopping safer and makes the kitchen glow beautifully at night. I have seen this one upgrade convince guests a full remodel happened.
New Outlet Covers
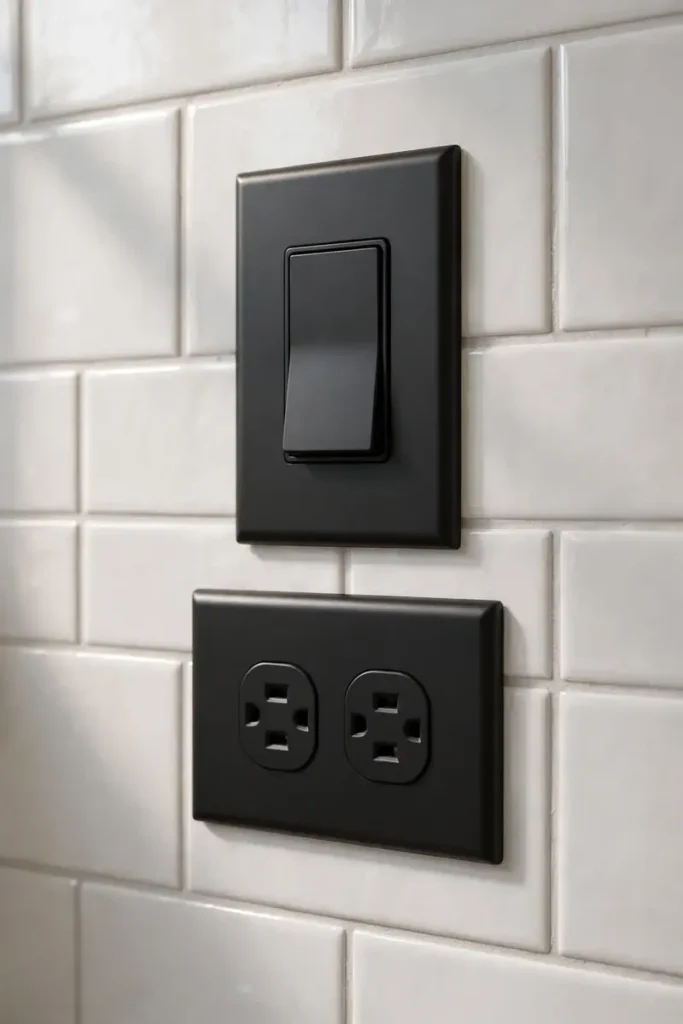
- Turn off the breaker for the kitchen outlets before touching anything. Test with a phone charger to be sure the power is off.
- Unscrew the old covers and wipe the area clean. Years of cooking film hide behind those plates.
- Screw on the new covers snugly but not too tight. Overtightening can crack the plate.
- Step back and admire the tiniest upgrade with the biggest smug satisfaction. Details matter.
This is the smallest project on the list and somehow one of the most satisfying. Crisp new plates in a modern finish erase years of yellowing plastic. I always do this last, like signing a finished painting.
Cafe Curtain Style
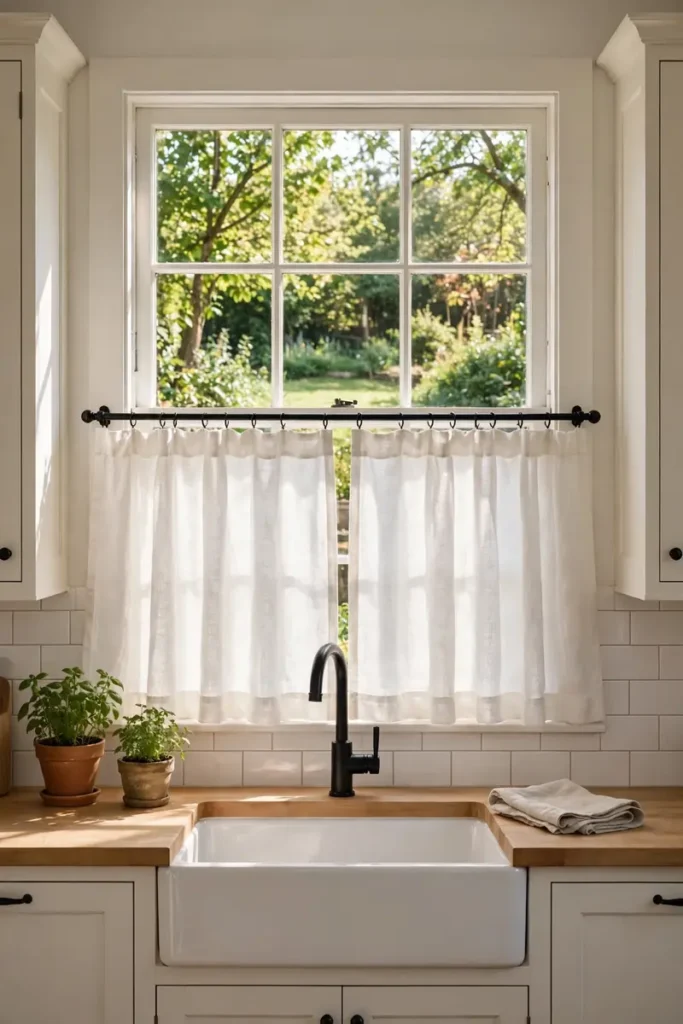
| Cafe Curtains | Full Curtains | |
| Light | Keeps the top bright | Can darken the room |
| Privacy | Covers sightlines | Full coverage |
| Cost | Very low | Low to mid |
| Best for | Street-facing windows | Tall, grand windows |
Cafe curtains are the farmhouse classic for a reason. They soften the window while leaving the daylight pouring in. I have hung them with simple tension rods in rentals and they always look intentional.
Painted Range Hood
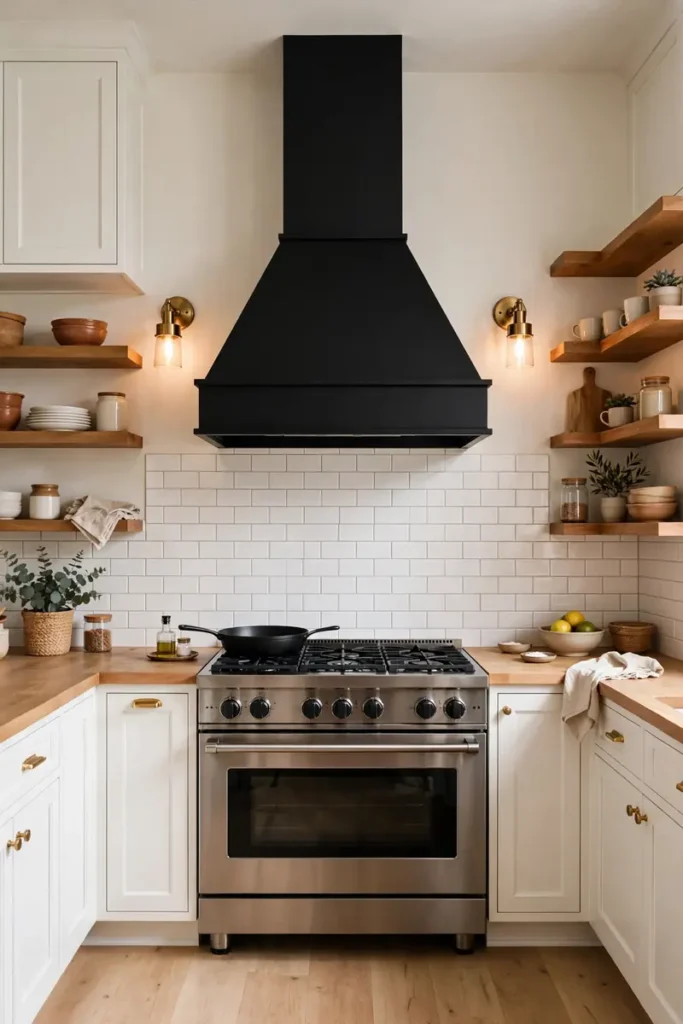
DO:
- Use a heat-resistant paint made for appliances or high-heat areas. Regular wall paint can discolor near the stove.
- Remove the filters and cover the cooktop completely before spraying or brushing.
- Sand lightly between coats. Two thin coats always beat one thick, drippy one.
DON’T:
- Do not paint while the stove is warm. Cool surfaces take paint evenly.
- Do not skip the degreasing step. Kitchen hoods collect a film that paint will not stick to.
- Do not forget ventilation. Open windows and run a fan while the paint cures.
Thrifted Bar Stools
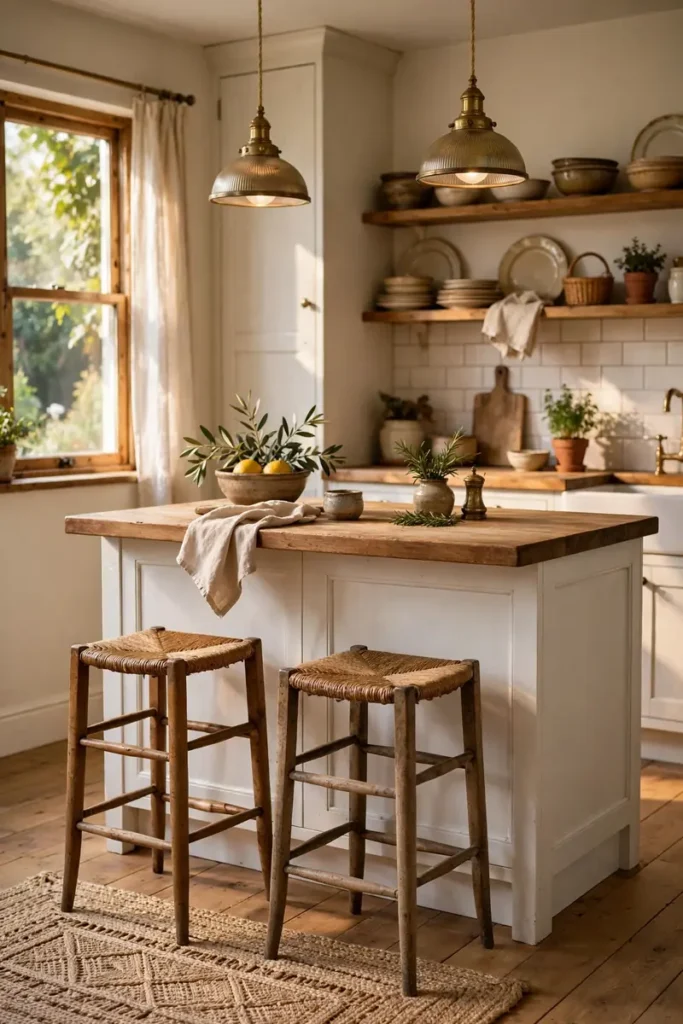
Cost: Very low | Time: One afternoon | Skill Level: Beginner | Best For: Eclectic, collected kitchens
Secondhand stools bring character that new ones cannot fake. A little chalk paint or fresh stain makes mismatched finds look like a curated set. I always check the wobble before buying and tighten every bolt at home.
Grout Refresh Trick
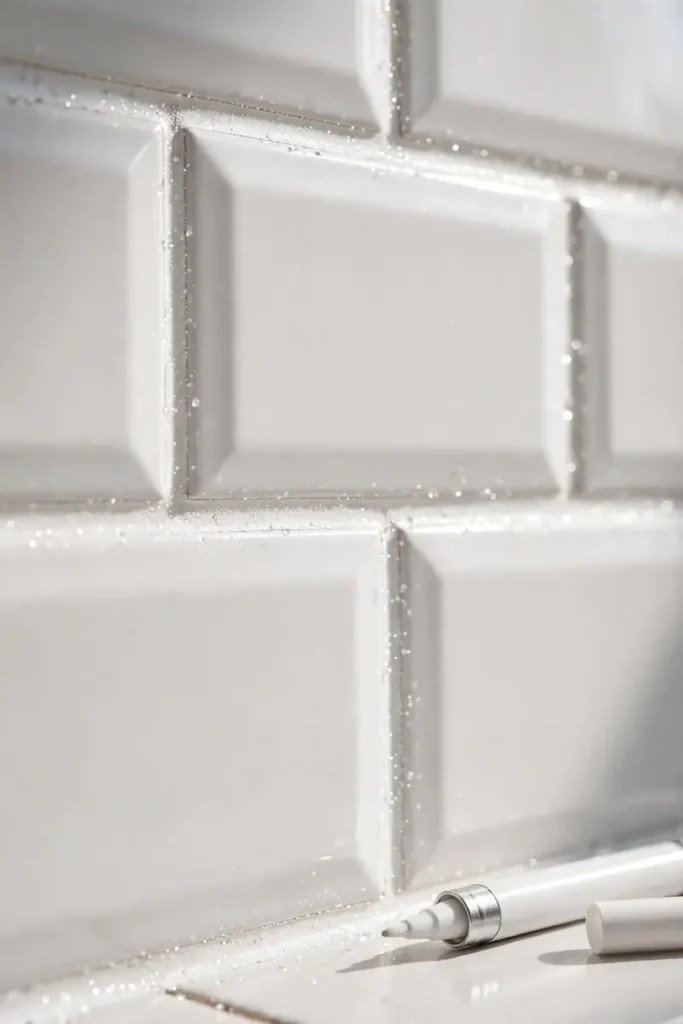
Dingy grout makes even pretty tile look tired. A grout pen or a careful scrub with baking soda paste can whiten lines in a single afternoon.
- Vacuum the grout lines first. Loose crumbs keep whiteners from bonding.
- Work in small sections and wipe excess immediately. Dried haze on tile is a pain to remove.
- Seal the grout after whitening. Sealer keeps your hard work looking fresh for years.
Statement Pendant Light
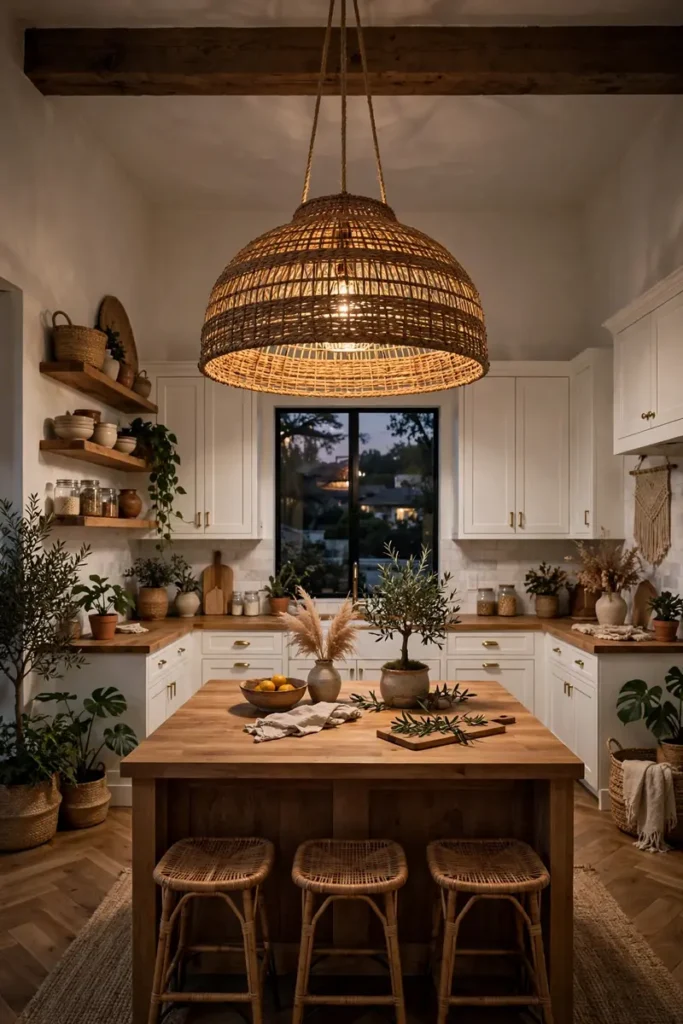
One oversized pendant can carry a whole kitchen. I have seen a single woven shade turn a plain island into the most photographed corner of a home. Scale is the secret here: go bigger than feels safe.
Hang it so the bottom sits about thirty inches above the counter. Too high and it floats away visually, too low and it blocks sightlines. This one rule makes any pendant look professionally placed.
Floating Spice Rack
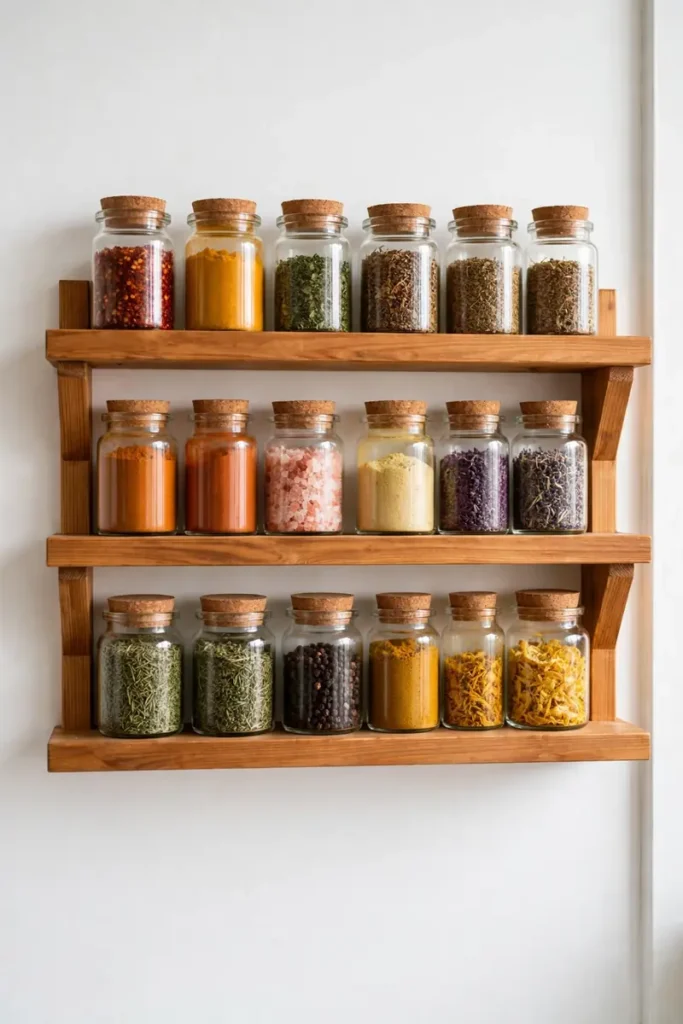
Spices deserve better than a dark cabinet abyss. A slim floating rack keeps every jar visible and turns your collection into wall art. Uniform jars with simple labels make even a ten-dollar rack look custom.
Mount it near the stove but not directly above it. Heat fades spices faster, and you want them fresh. I keep mine on the side wall where I can grab while stirring.
Refinished Wood Floors
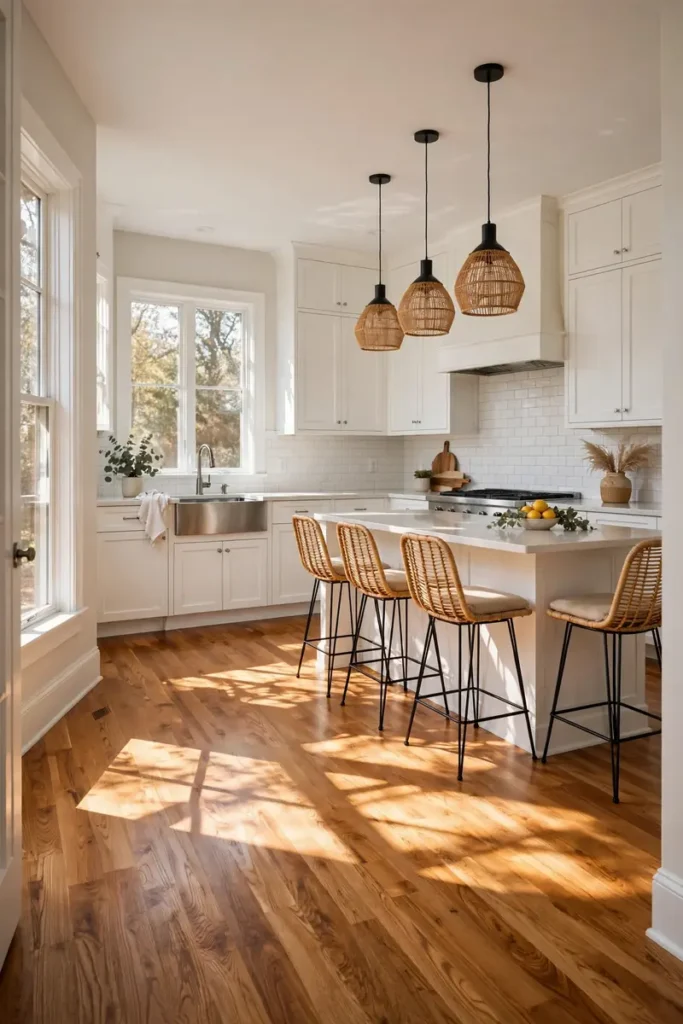
- Rent a random-orbit sander, not a drum sander. It is far more forgiving for first-timers and still gets the job done.
- Sand with the grain and work through the grits. Skipping from coarse to fine leaves visible scratches.
- Test your stain on a closet floor first. Wood takes color unpredictably, and closets hide experiments.
- Apply thin coats of polyurethane and let each cure fully. Patience here is what makes floors last decades.
- Keep pets and shoes off for three full days. Fresh finish dents easily before it hardens.
Refinishing beats replacing on both cost and character. Old wood has a patina new floors cannot copy. I have seen century-old pine come back golden and glowing with just sanding and oil.
New Sink Basin
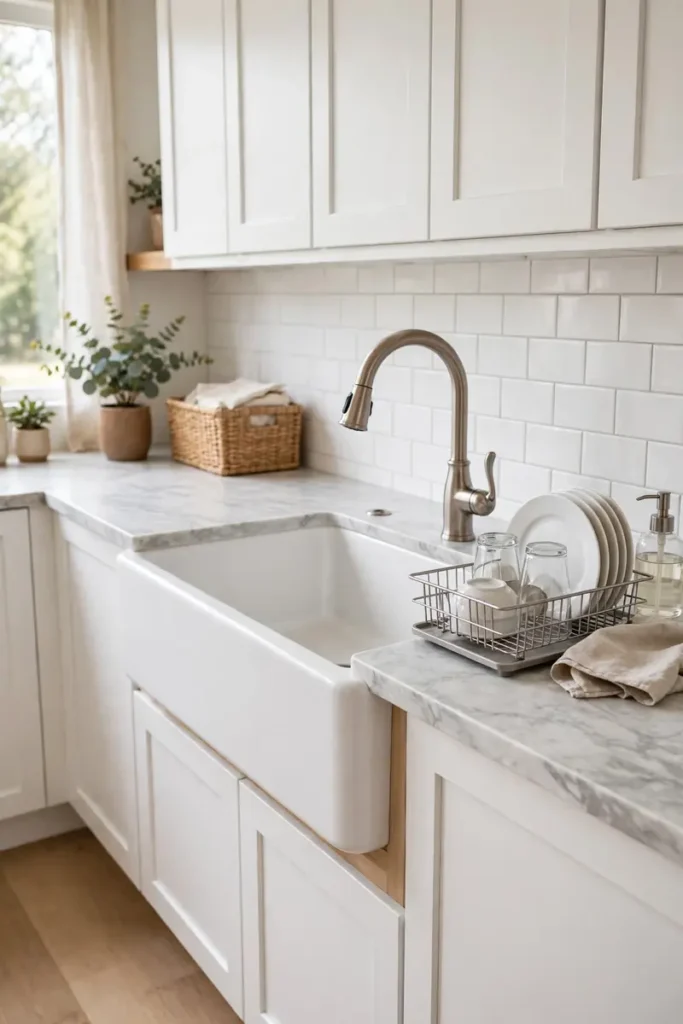
- Measure your existing cutout before shopping. Farmhouse sinks need a different cabinet setup than drop-in models.
- Shut off water and disconnect the old plumbing. Keep a bucket handy for the water trapped in the trap.
- Dry-fit the new sink before applying any sealant. Adjust the fit while everything is still clean.
- Caulk neatly and let it cure a full day. A clean caulk line is the difference between pro and amateur.
A new sink changes how the kitchen feels to use every single day. Deep basins hide the dinner dishes and make the whole cleanup routine calmer. I consider this the most lifestyle-changing upgrade on the list.
Chalkboard Pantry Door

| Chalkboard Paint | Chalkboard Vinyl | |
| Finish | Matte, authentic | Smooth, sleek |
| Application | Brush or roll | Peel and stick |
| Best for | Permanent fun | Renters |
| Upkeep | Re-season monthly | Wipe clean |
A chalkboard door turns dead space into family central. Grocery lists, dinner menus, and kids’ doodles all land in one spot. I have seen this tiny project become the most-used surface in the whole house.
Crown Molding Touch
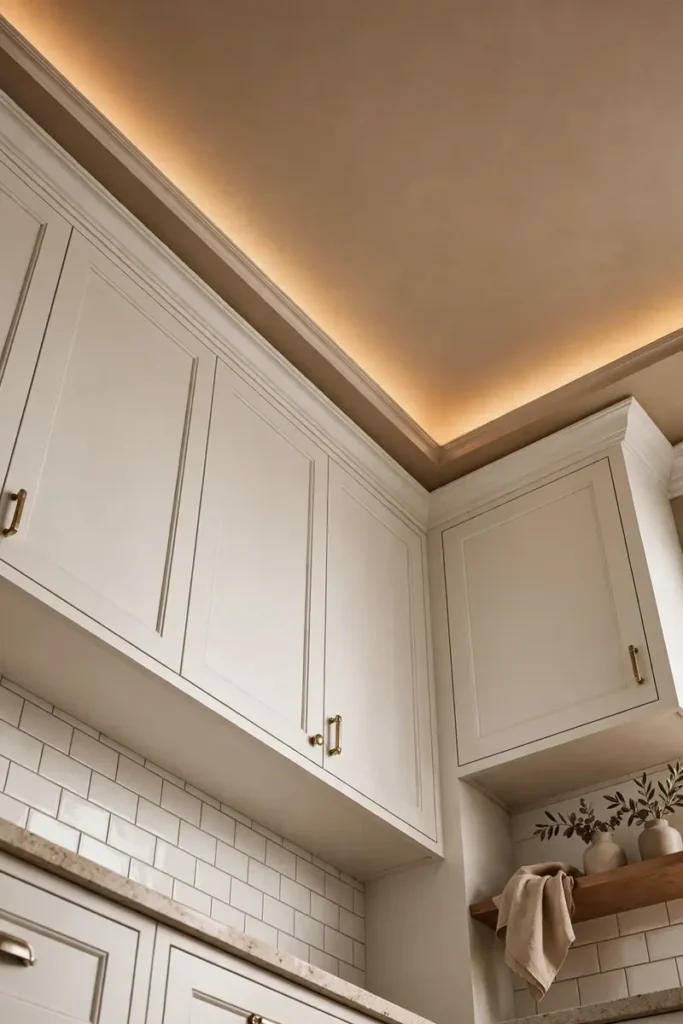
DO:
- Paint the molding before installing it. Cutting in against the ceiling afterward is miserable work.
- Use corner blocks instead of mitered joints. They forgive imperfect angles beautifully.
- Caulk every seam after nailing. Caulk is what makes molding look like one continuous piece.
DON’T:
- Do not use tiny trim on tall ceilings. Scale the molding to the room or it looks lost.
- Do not nail only into drywall. Find the studs or use proper anchors for a lasting hold.
- Do not rush the measuring. Measure twice, cut once is never truer than with trim.
Styled Counter Vignette
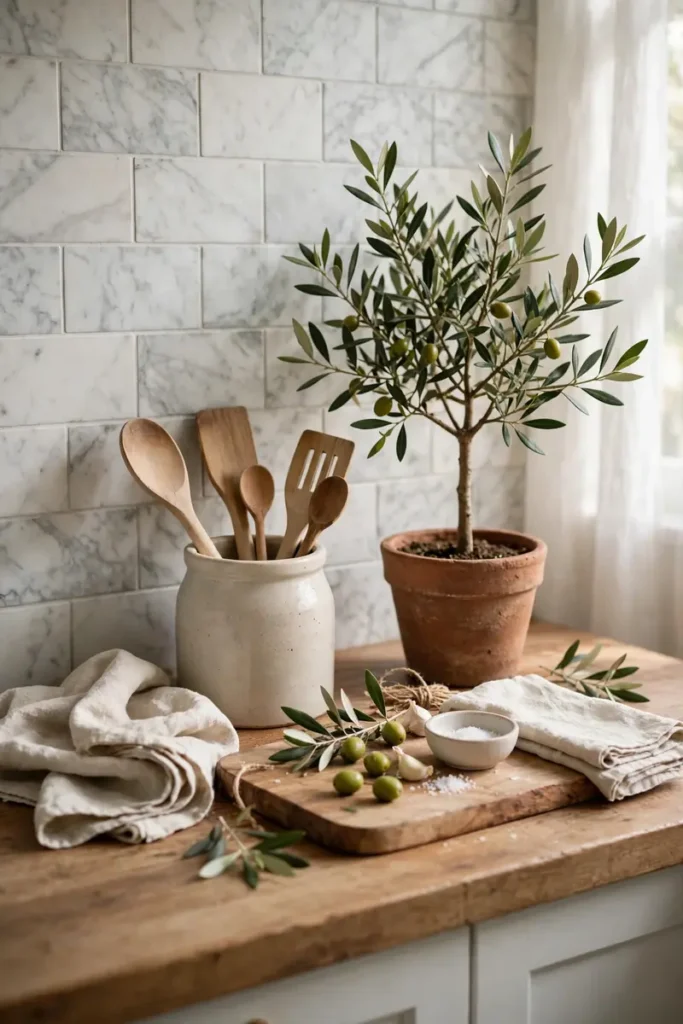
Cost: Very low | Time: 30 minutes | Skill Level: Beginner | Best For: Finishing touches
Styling is the zero-dollar remodel. Grouping a cutting board, a plant, and a crock of utensils turns a bare counter into a composed scene. I style in odd numbers and vary heights, and the counter suddenly looks magazine-ready.
Conclusion
These 22 ideas prove that kitchen remodel budget upgrades are about smart choices, not big spending. Whether you paint the cabinets, swap the hardware, or simply style what you own, each small change stacks into a kitchen that feels fresh and personal.
Save this collection to your kitchen board on Pinterest so it is ready when you are. Start with the easiest win this weekend and feel the momentum build. I have seen modest budgets create the most loved kitchens, because every choice was made with care. Share it with someone planning their own refresh, and when the kitchen feels fresh, carry that inviting warmth into your nights with these cozy fall bedroom ideas.
2 Comments