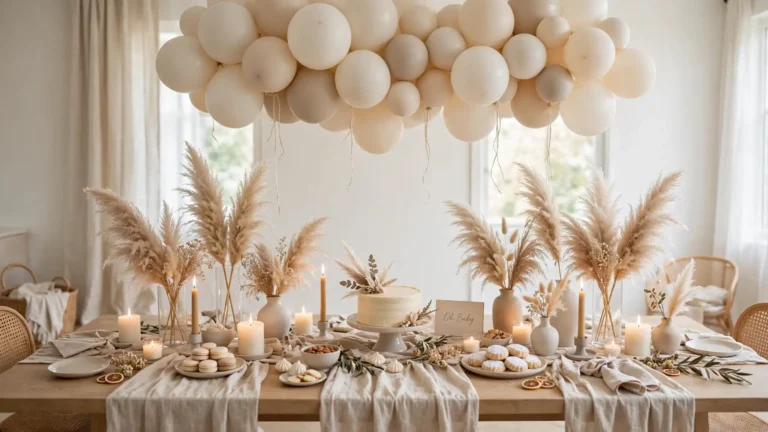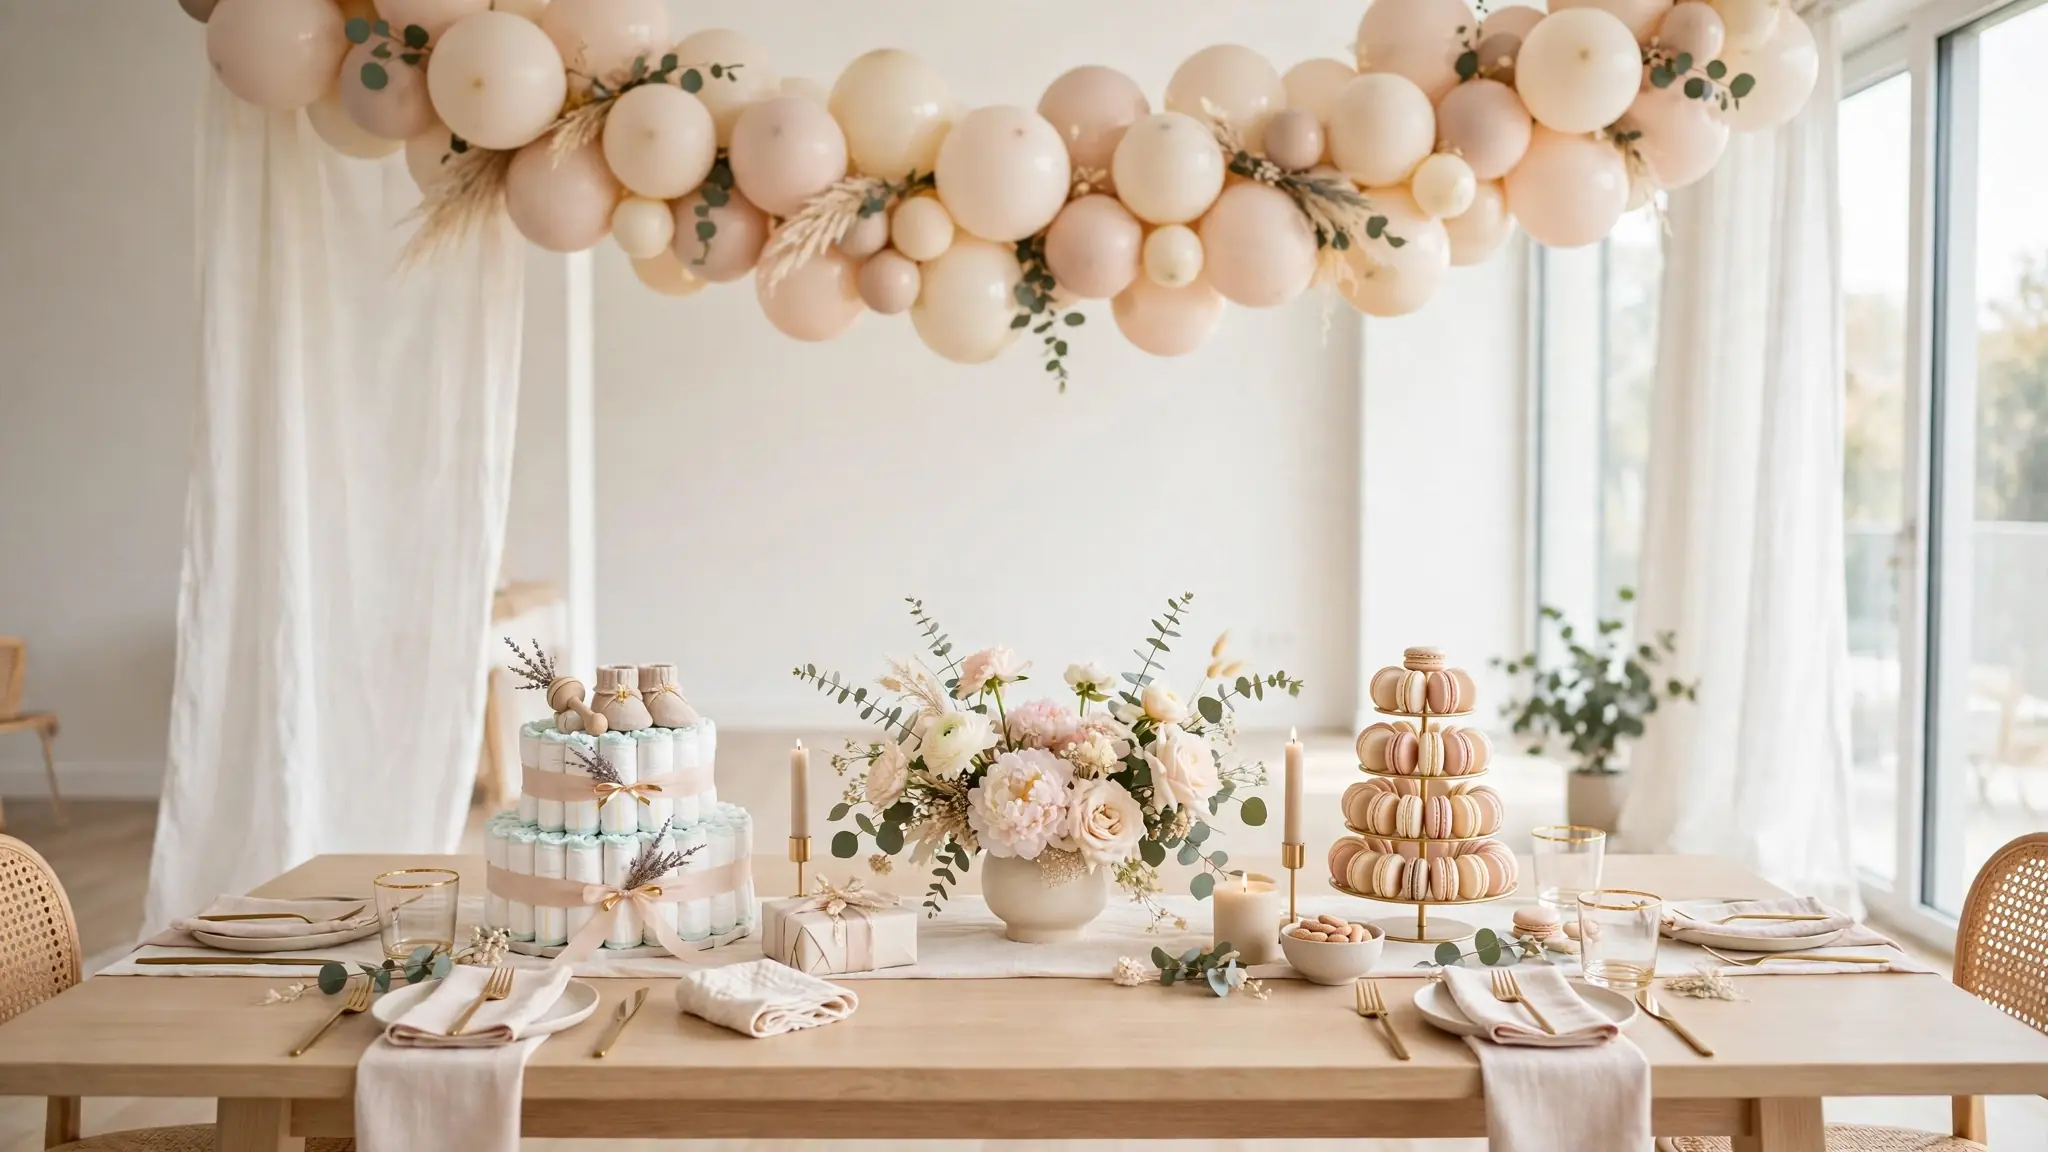
20 Baby Shower Table Decor Ideas for an Adorable Celebration
Planning a sweet celebration for the mom-to-be? These baby shower table decor ideas will help you create a warm, welcoming spread that feels both festive and personal. From soft pastel balloons to charming handmade centerpieces, the right table styling turns an ordinary room into a memory-filled space. In my experience, guests always remember the little details, so a little planning here goes a long way toward a day everyone will talk about for months.
Below you will find twenty looks that work for any theme, color palette, or budget. Some are quick afternoon crafts, while others are elegant showpieces worth a little extra effort. Mix and match the ones that fit your style, and do not forget to browse our favorite party table styling ideas for more inspiration. Let us make this celebration truly special.
Blush Balloon Garland
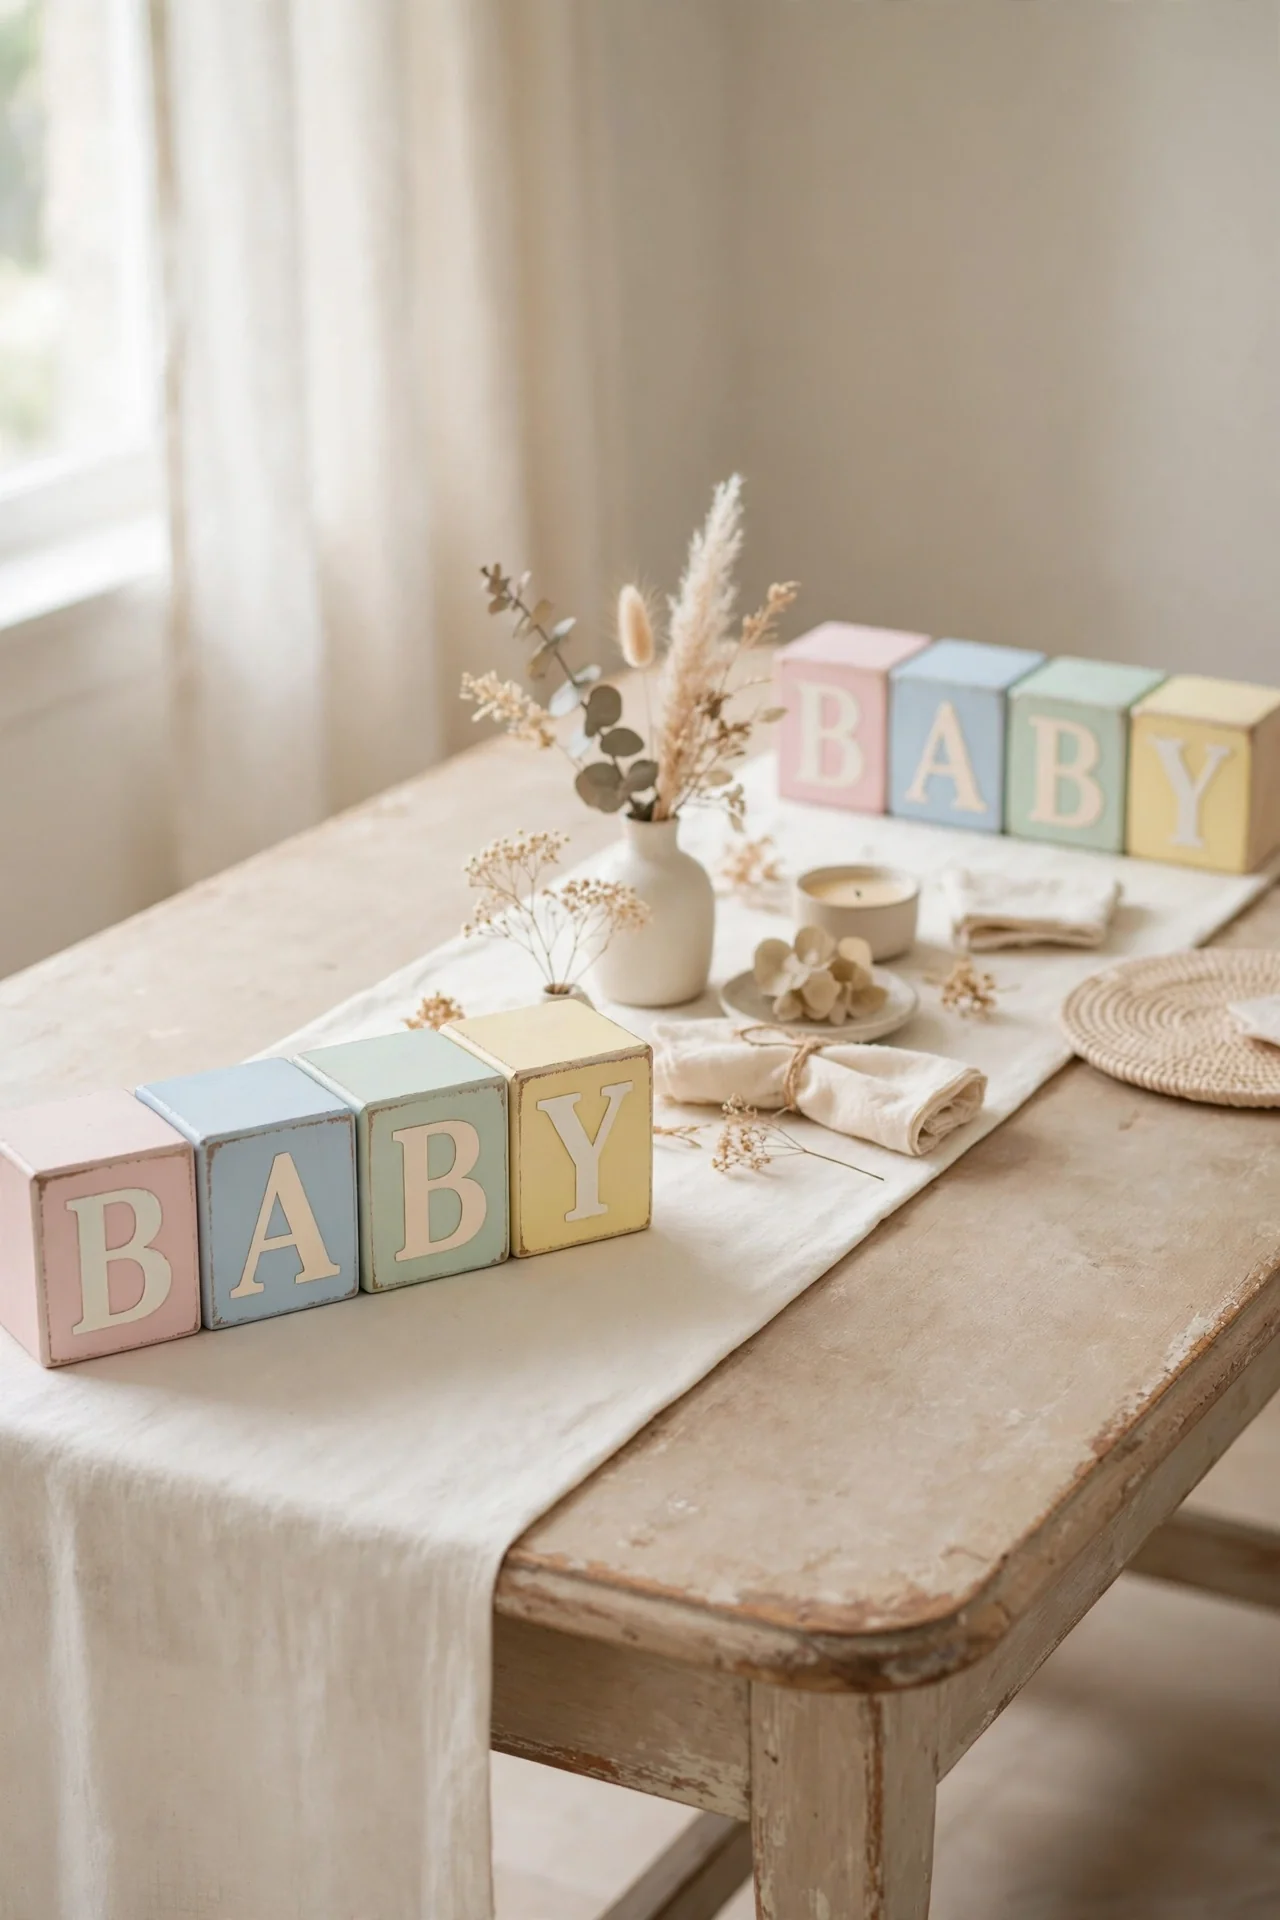
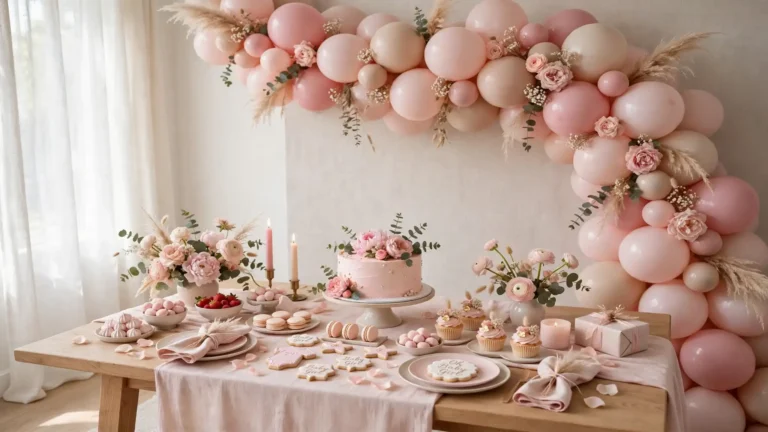
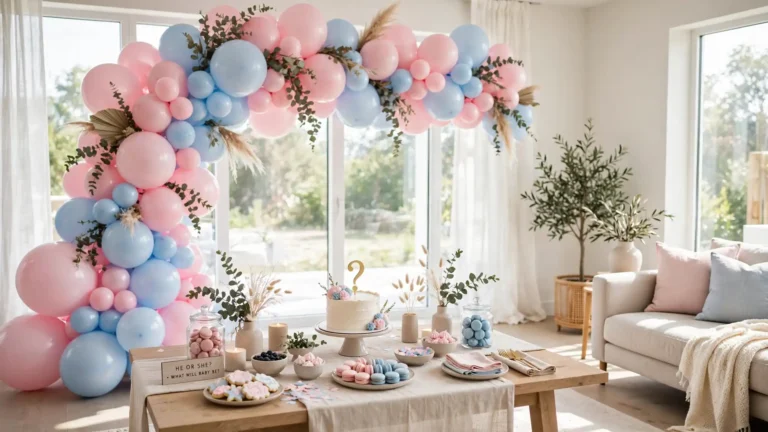
Nothing says celebration like balloons, and a blush garland draped along the table edge creates instant charm. Use three sizes of balloons in blush, cream, and soft gold, inflating them at slightly different fullness so the garland looks organic rather than stiff. Attach the balloons to a simple plastic strip, then twist in a few faux eucalyptus sprigs for texture and depth.
Hang the finished garland so it trails across the front of the table or arcs behind the dessert display. I have noticed this setup photographs beautifully in natural light, which makes your party pictures feel bright and airy. Deflate and reuse the strip for your next event to keep costs low.
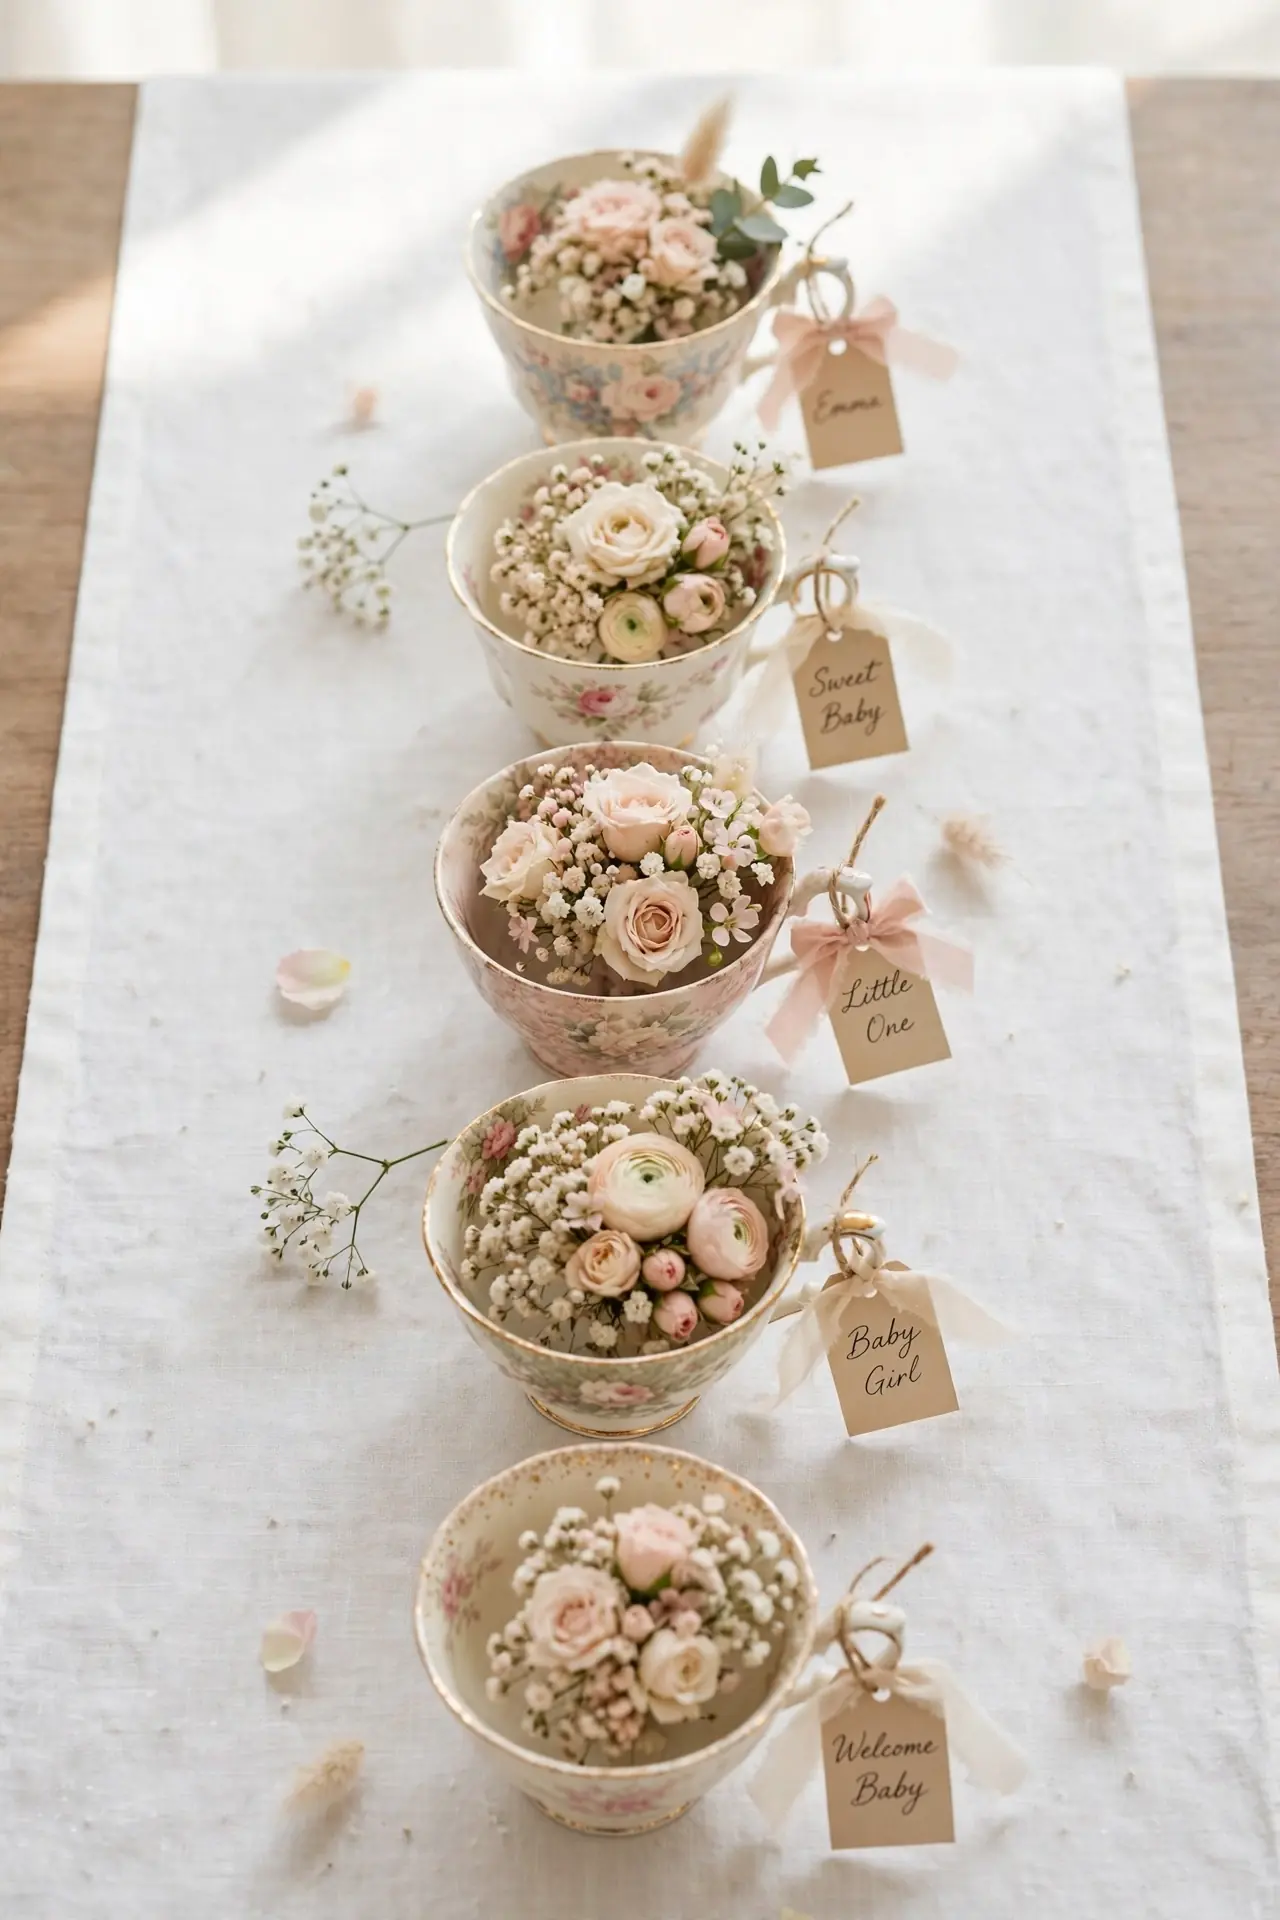
Vintage Teacup Centerpieces
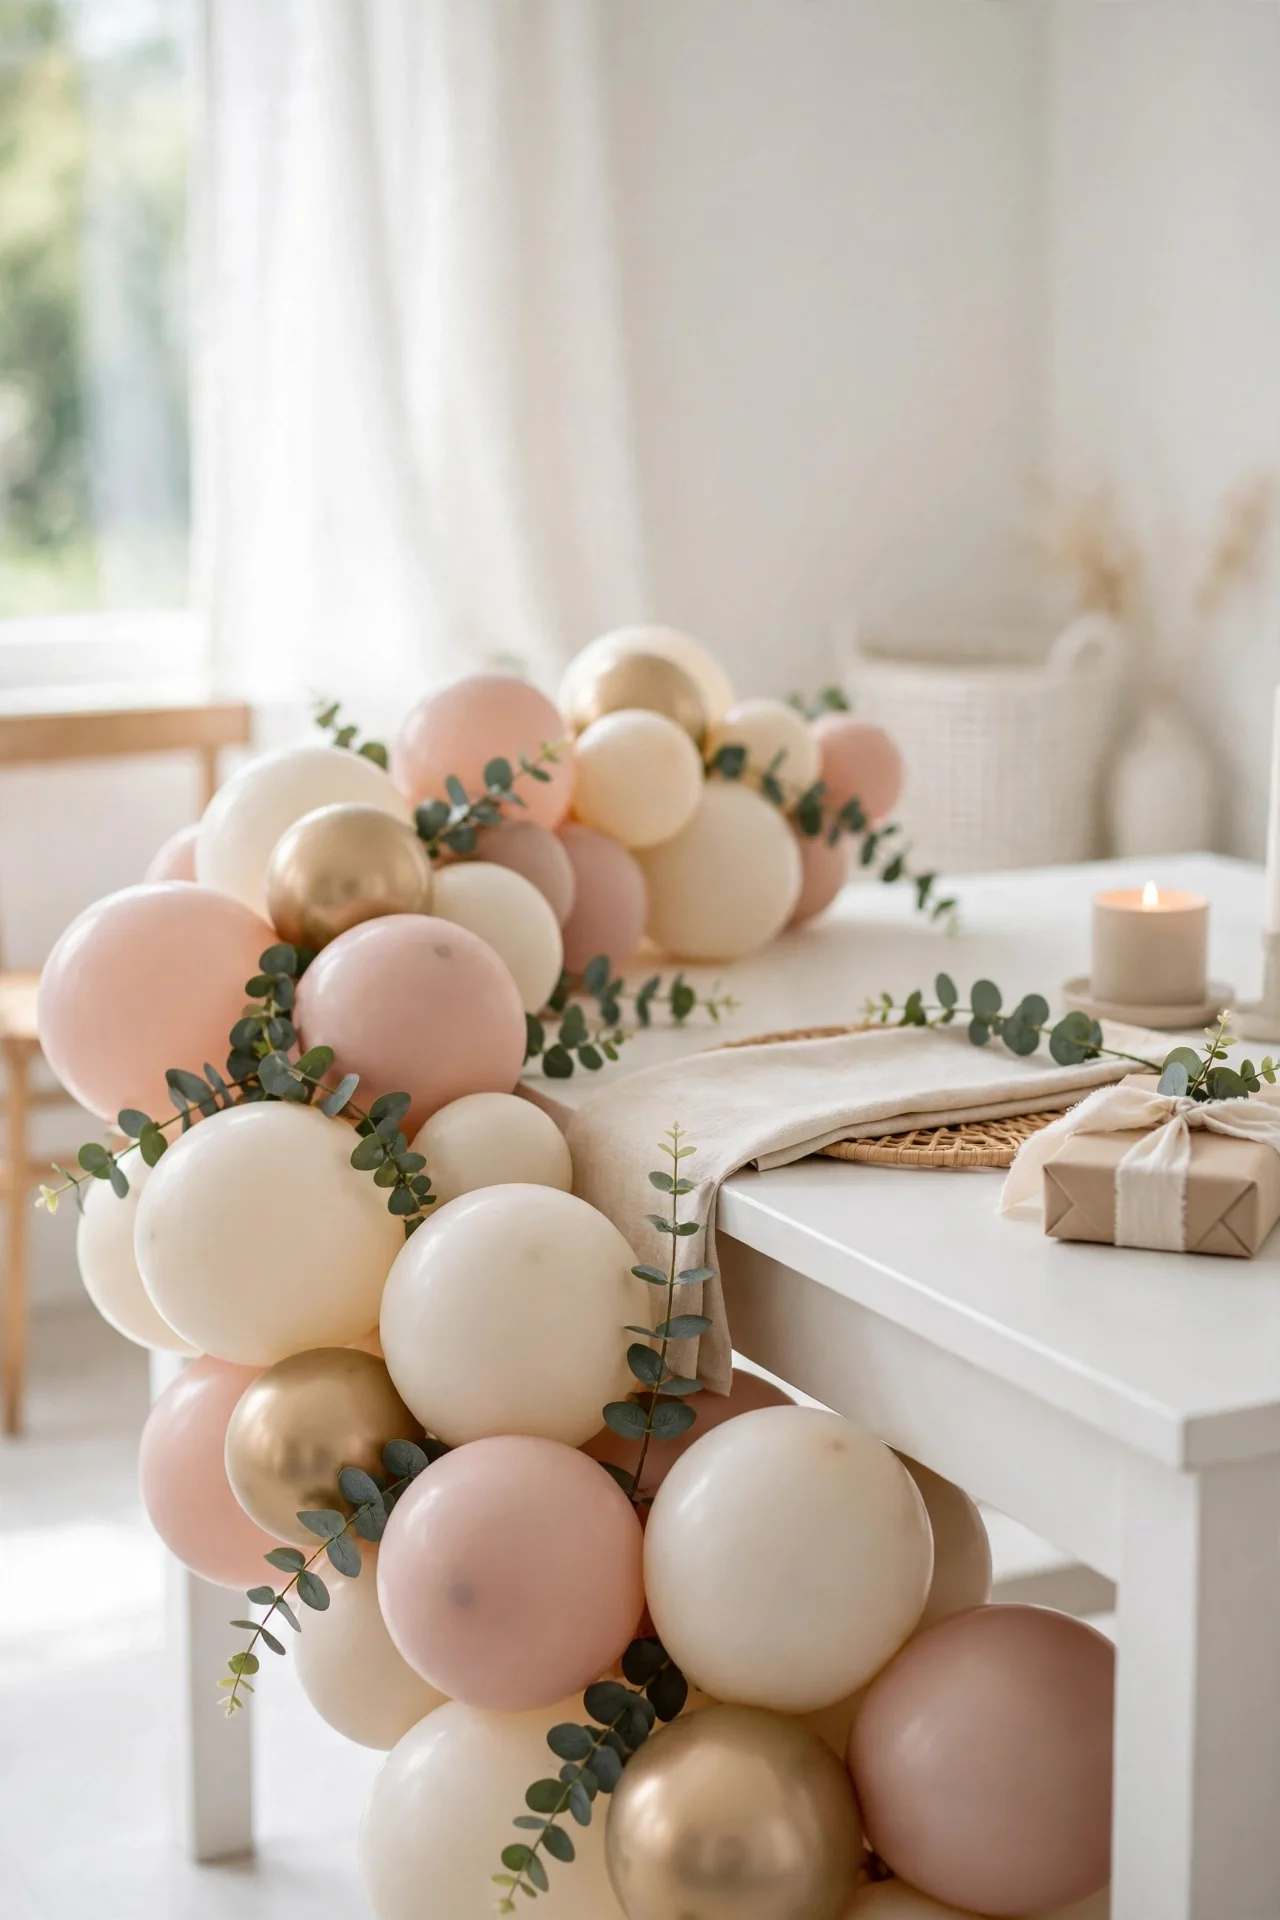
Thrifted teacups filled with fresh blooms bring a timeless, storybook feel to the table.
- Hunt thrift stores for mismatched floral teacups in pastel tones.
- Fill each cup with a small posy of spray roses, daisies, or baby’s breath.
- Set one teacup at each place setting or cluster three down the table center.
- Add a handwritten name tag tied with ribbon for a personal place card touch.
- Pour a little water in each cup and refresh the blooms the morning of the party.
I love how this idea doubles as decor and a sweet take-home gift. Guests get to keep their teacup, which means less cleanup for you and a lovely keepsake for them. Choose sturdy cups without chips so they survive the trip home in one piece.
Cloud Nine Backdrop
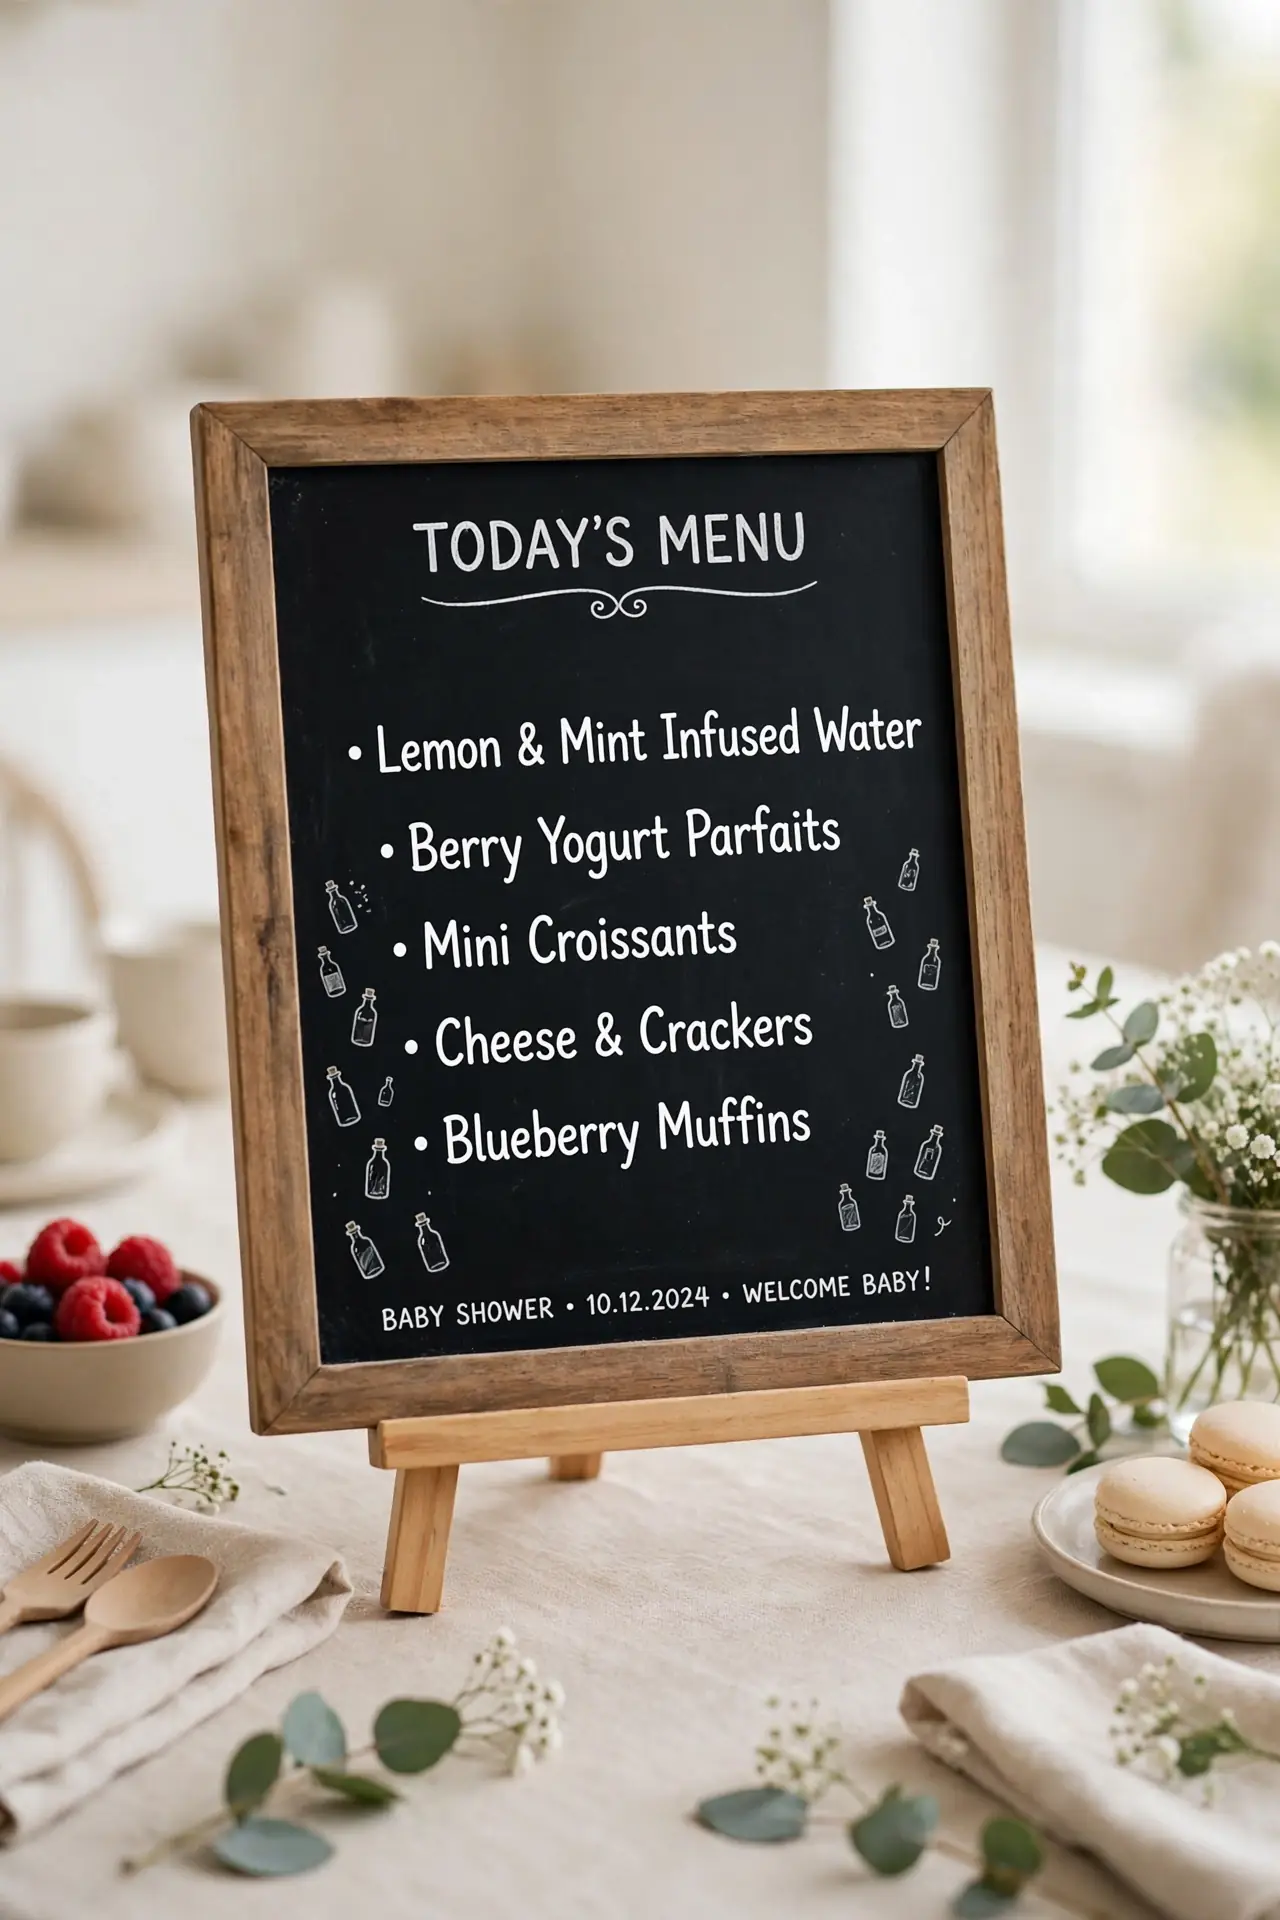
Quick Tip: Build the clouds the night before using two sizes of white paper lanterns. Cluster three to five lanterns at different heights with clear fishing line, then fluff cotton batting around the seams for a soft, full look. Test the arrangement against the wall first so you know exactly where each hook goes.
Hang the cloud cluster behind the main table so it frames the mom-to-be during gift opening and photos. I have seen this work well in many cases where the party space felt plain, because the clouds draw every eye straight to the table. Keep the fishing line taut and double-check each knot so nothing sags by party time.
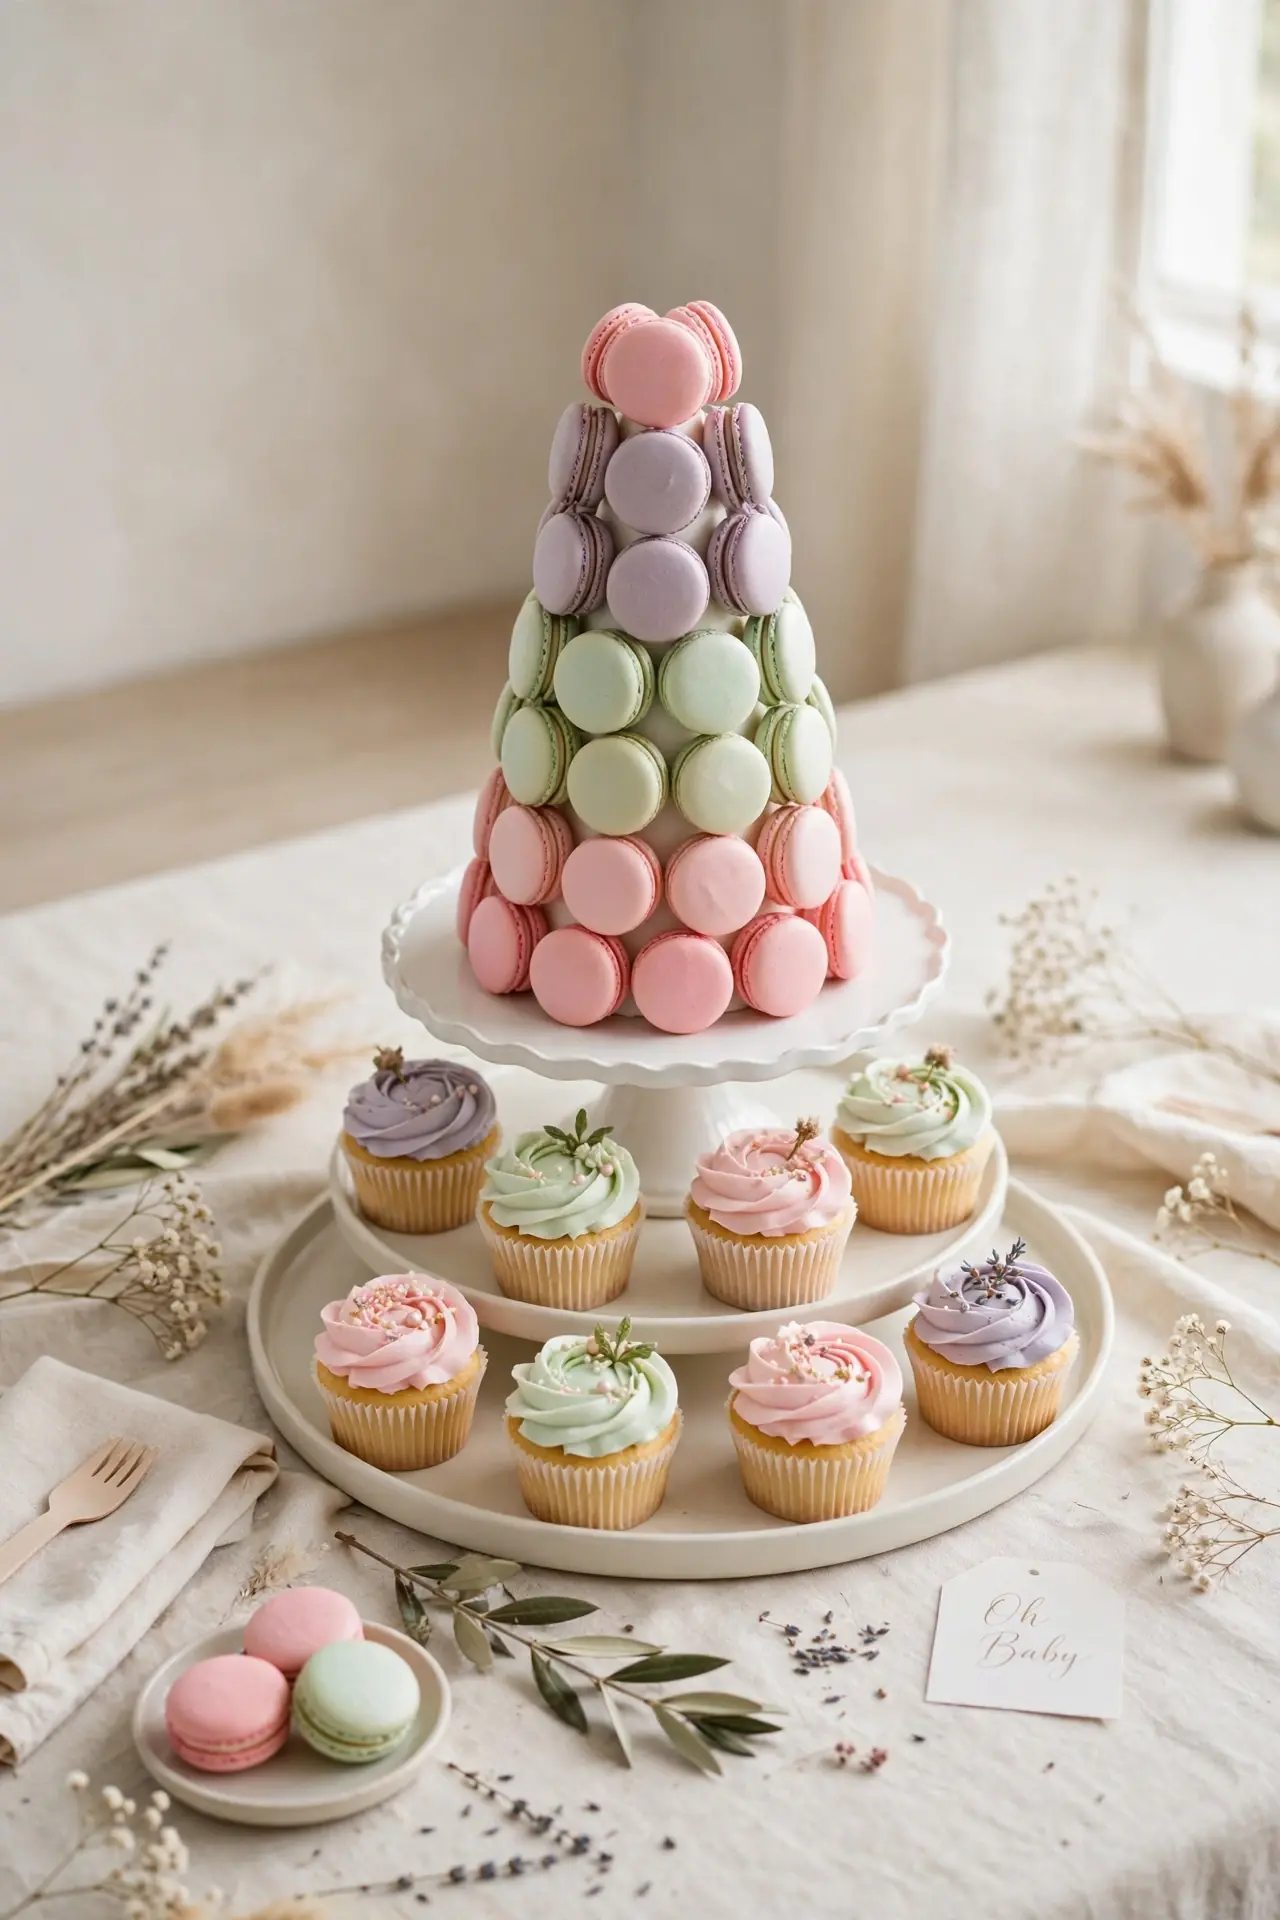
Pastel Macaron Tower
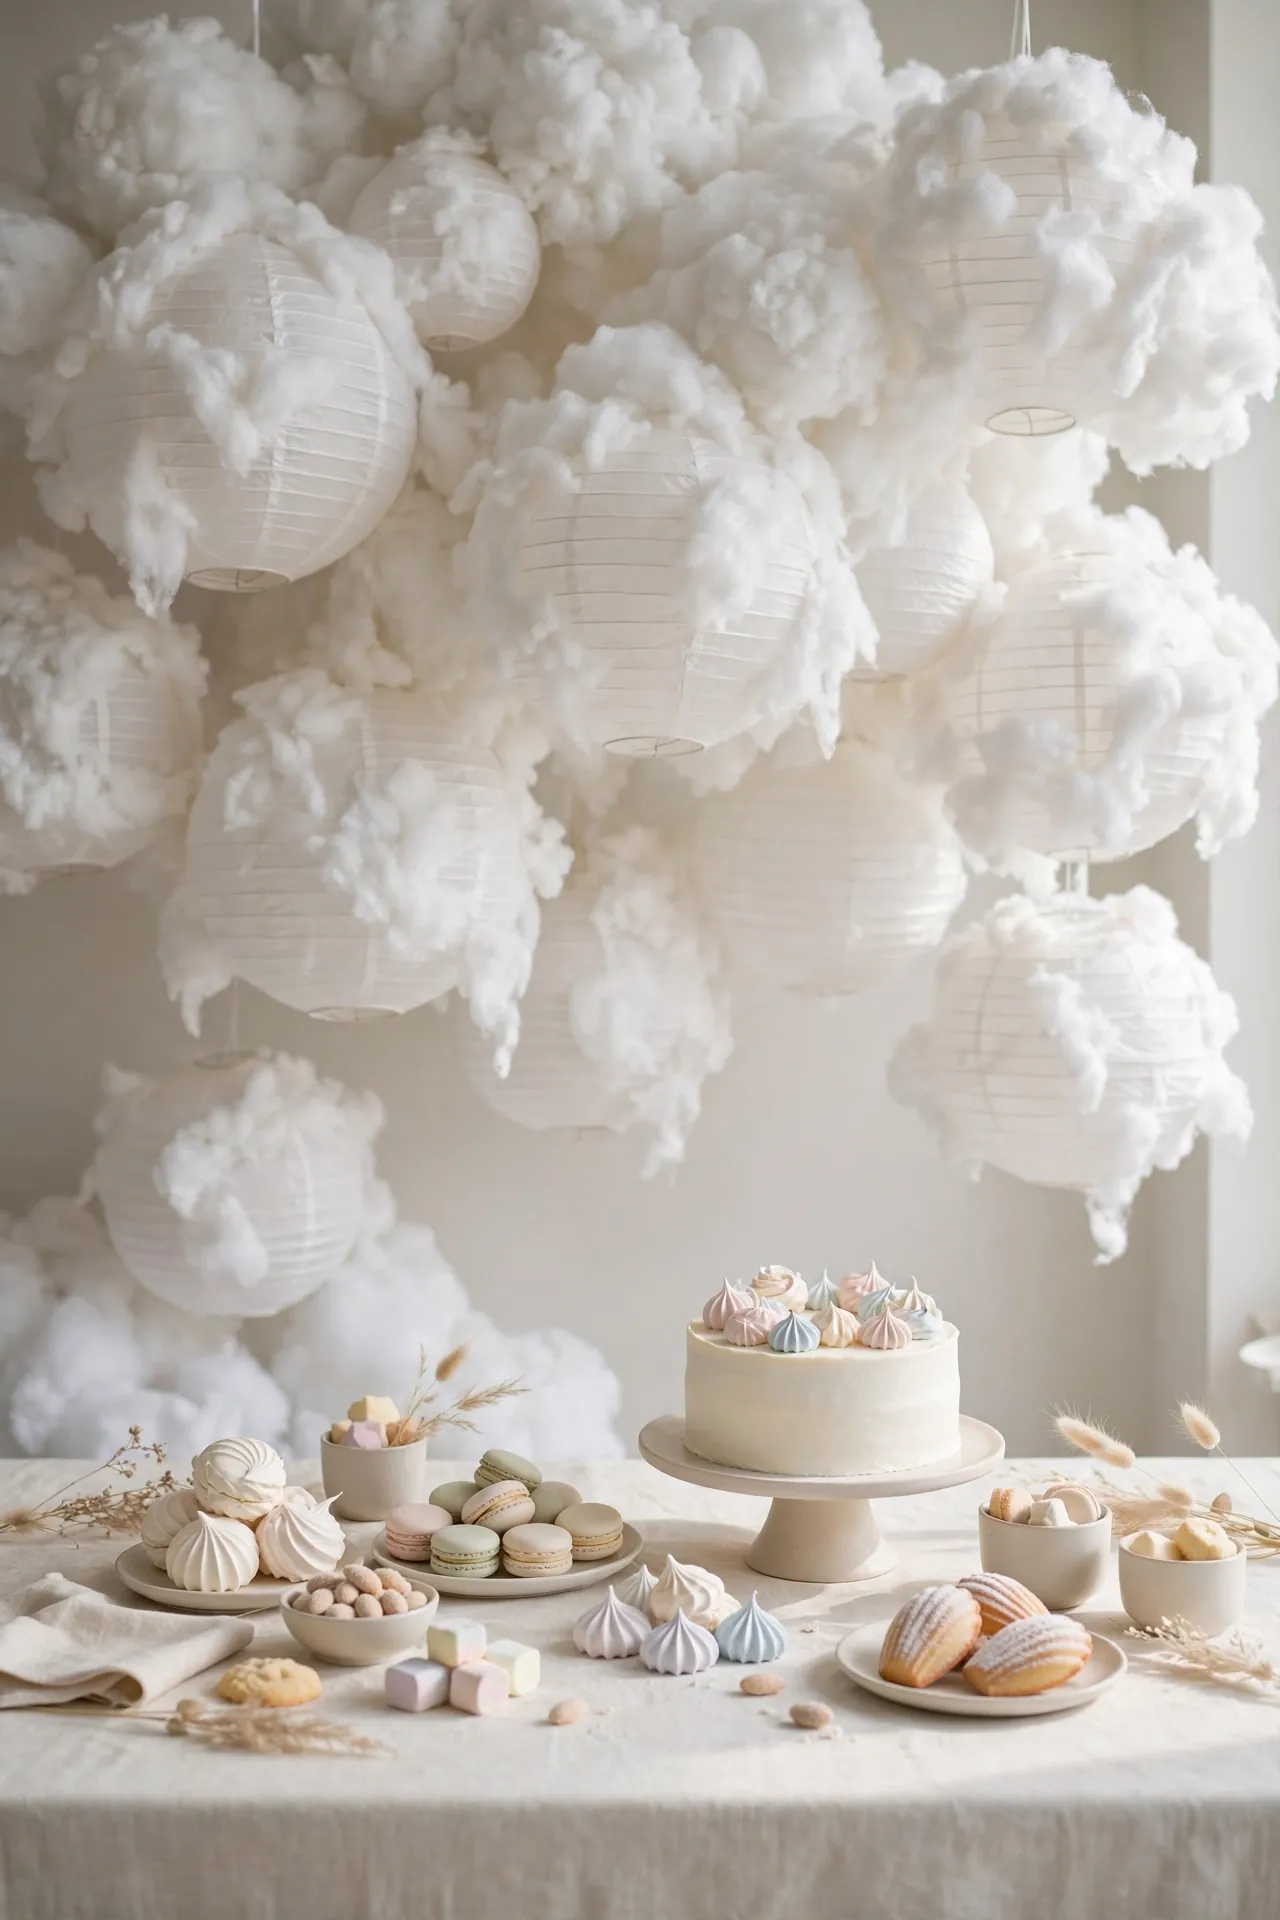
BEFORE: Your dessert table holds a flat plate of cookies and a box of cupcakes, and the whole setup looks like an afterthought. Guests walk past without a second glance, and the photos feel flat and uninspired.
AFTER: A tall macaron tower in pastel shades rises from the table center, with cupcakes fanned on a tiered stand beside it. The height draws every eye, the colors tie the theme together, and the table suddenly feels like the heart of the party.
Buy macarons in bulk from a local bakery to keep costs reasonable, or bake simple sugar cookies with pastel icing instead. That is why many experts recommend building height at dessert tables, since the eye travels upward and the whole spread feels more generous.
Onesie Clothesline Display
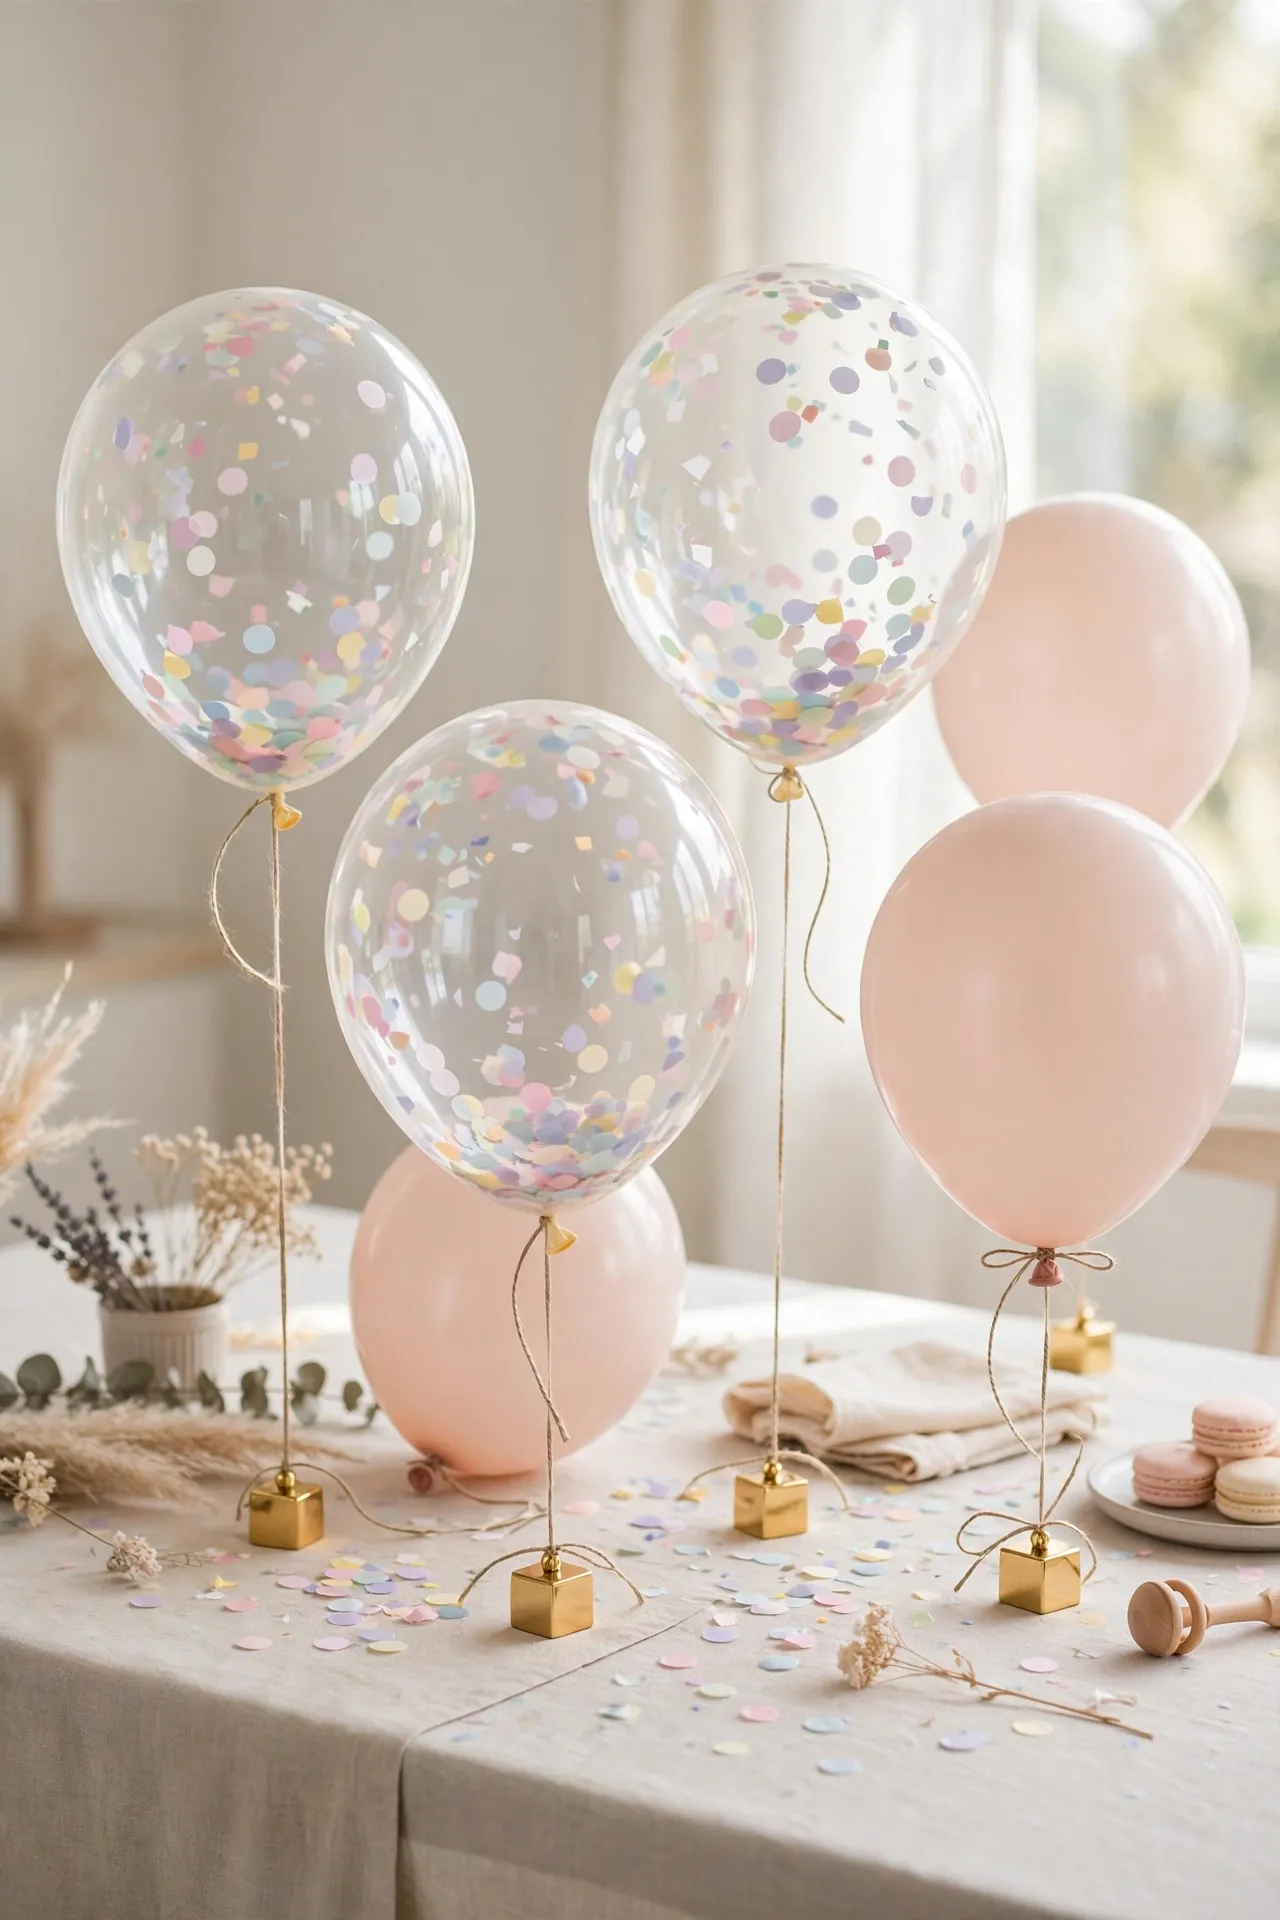
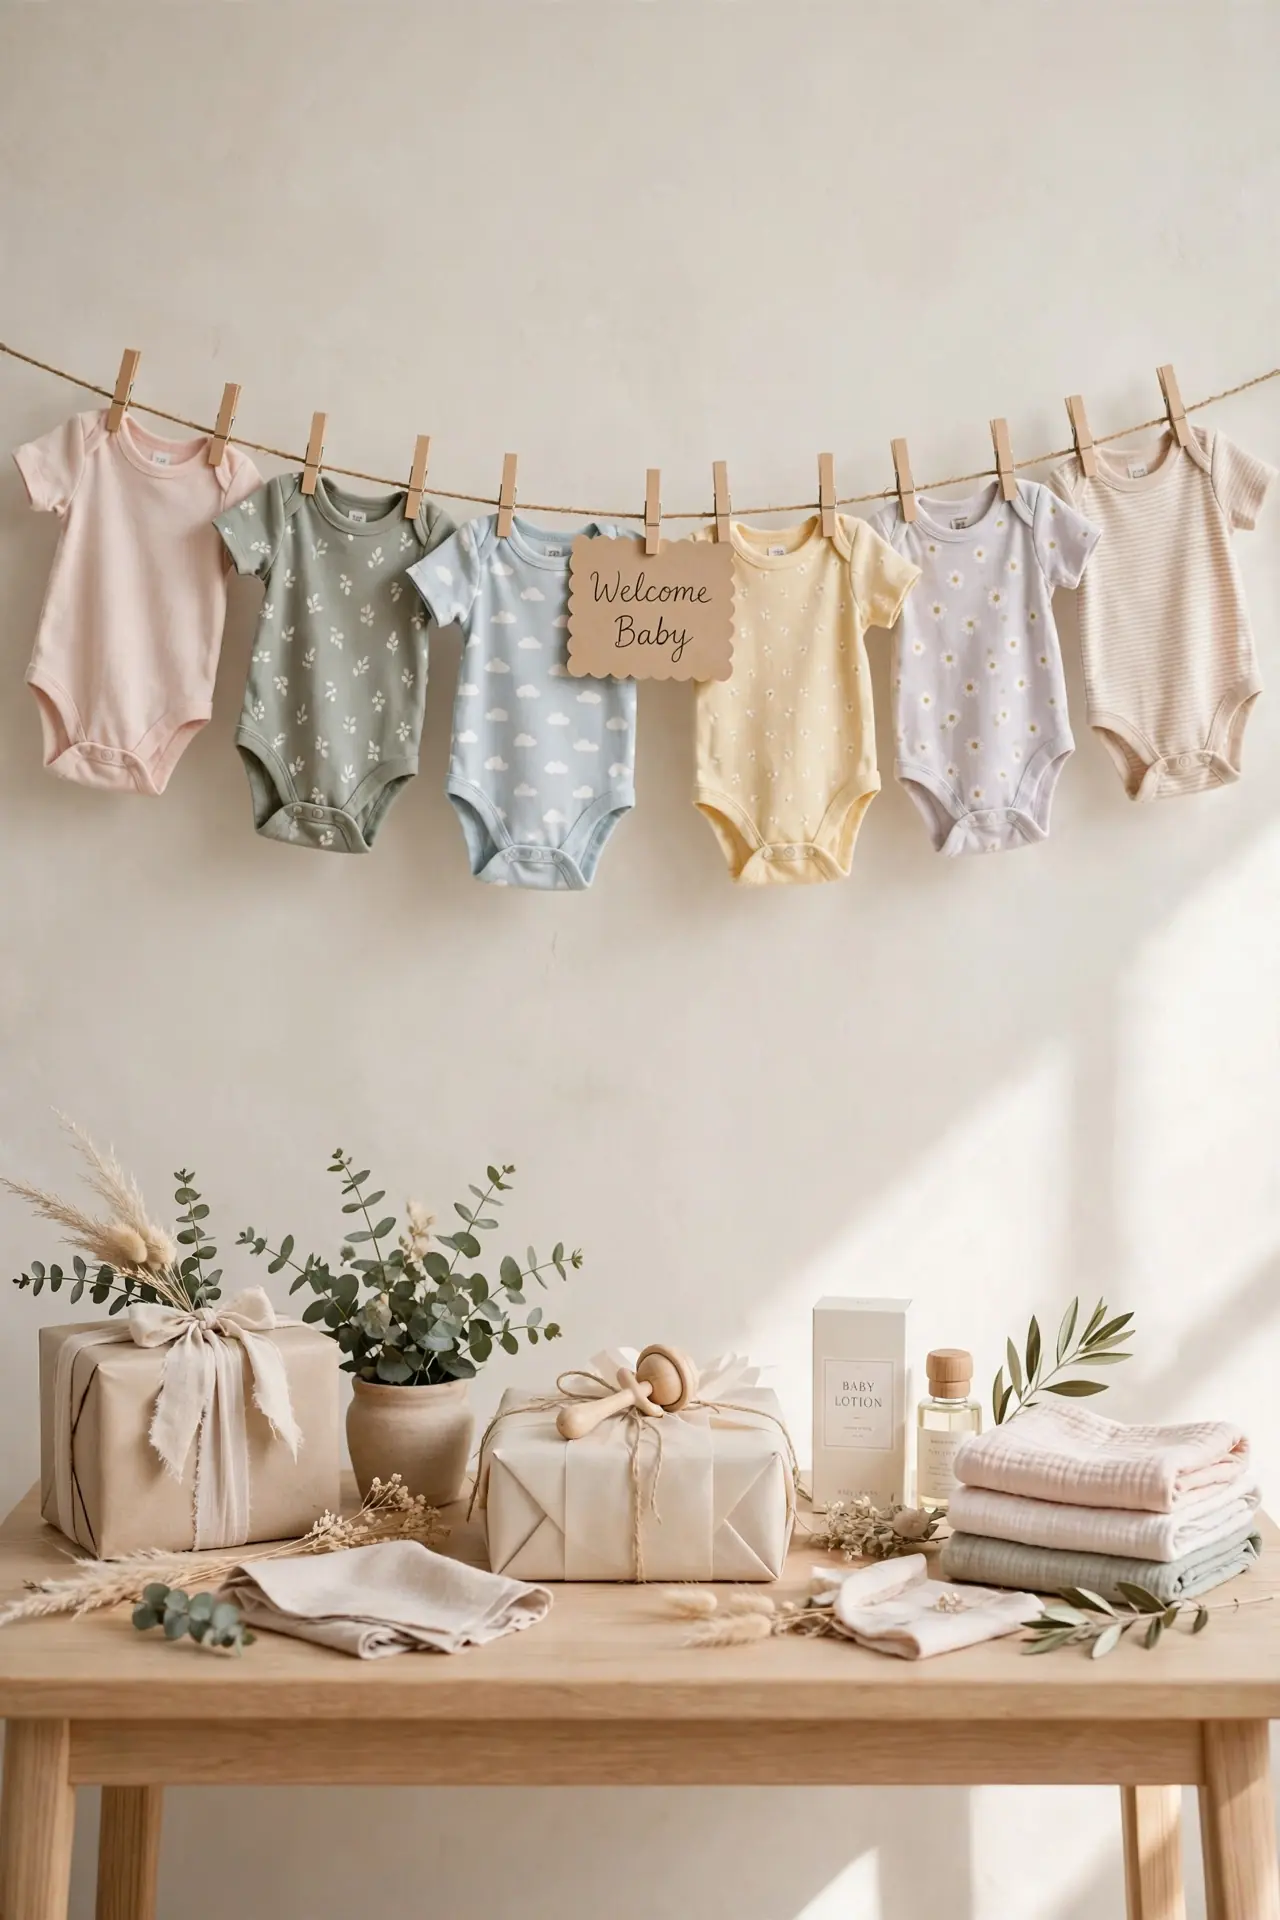
- String a length of twine between two small tabletop stands or taped chopsticks.
- Clip tiny newborn onesies along the line with miniature clothespins.
- Alternate solid pastels with a few patterned onesies for visual rhythm.
- Tuck a small sign reading “Welcome Baby” at the center of the line.
- Place the display behind the gift table so it frames the presents nicely.
Ask guests to bring an extra onesie to add to the line when they arrive, which turns the decor into a group activity. The mom-to-be keeps every piece afterward, so nothing goes to waste. I have noticed this display gets photographed more than almost anything else at the party.
Floral Letter Monogram
| Fresh Flowers | Faux Flowers | |
| Cost | Higher, about $30 to $50 | Lower, about $12 to $20 |
| Look | Natural scent and soft texture | Consistent color, never wilts |
| Prep | Assemble the morning of the party | Assemble several days ahead |
| Best For | Hosts who love real blooms | Busy hosts planning ahead |
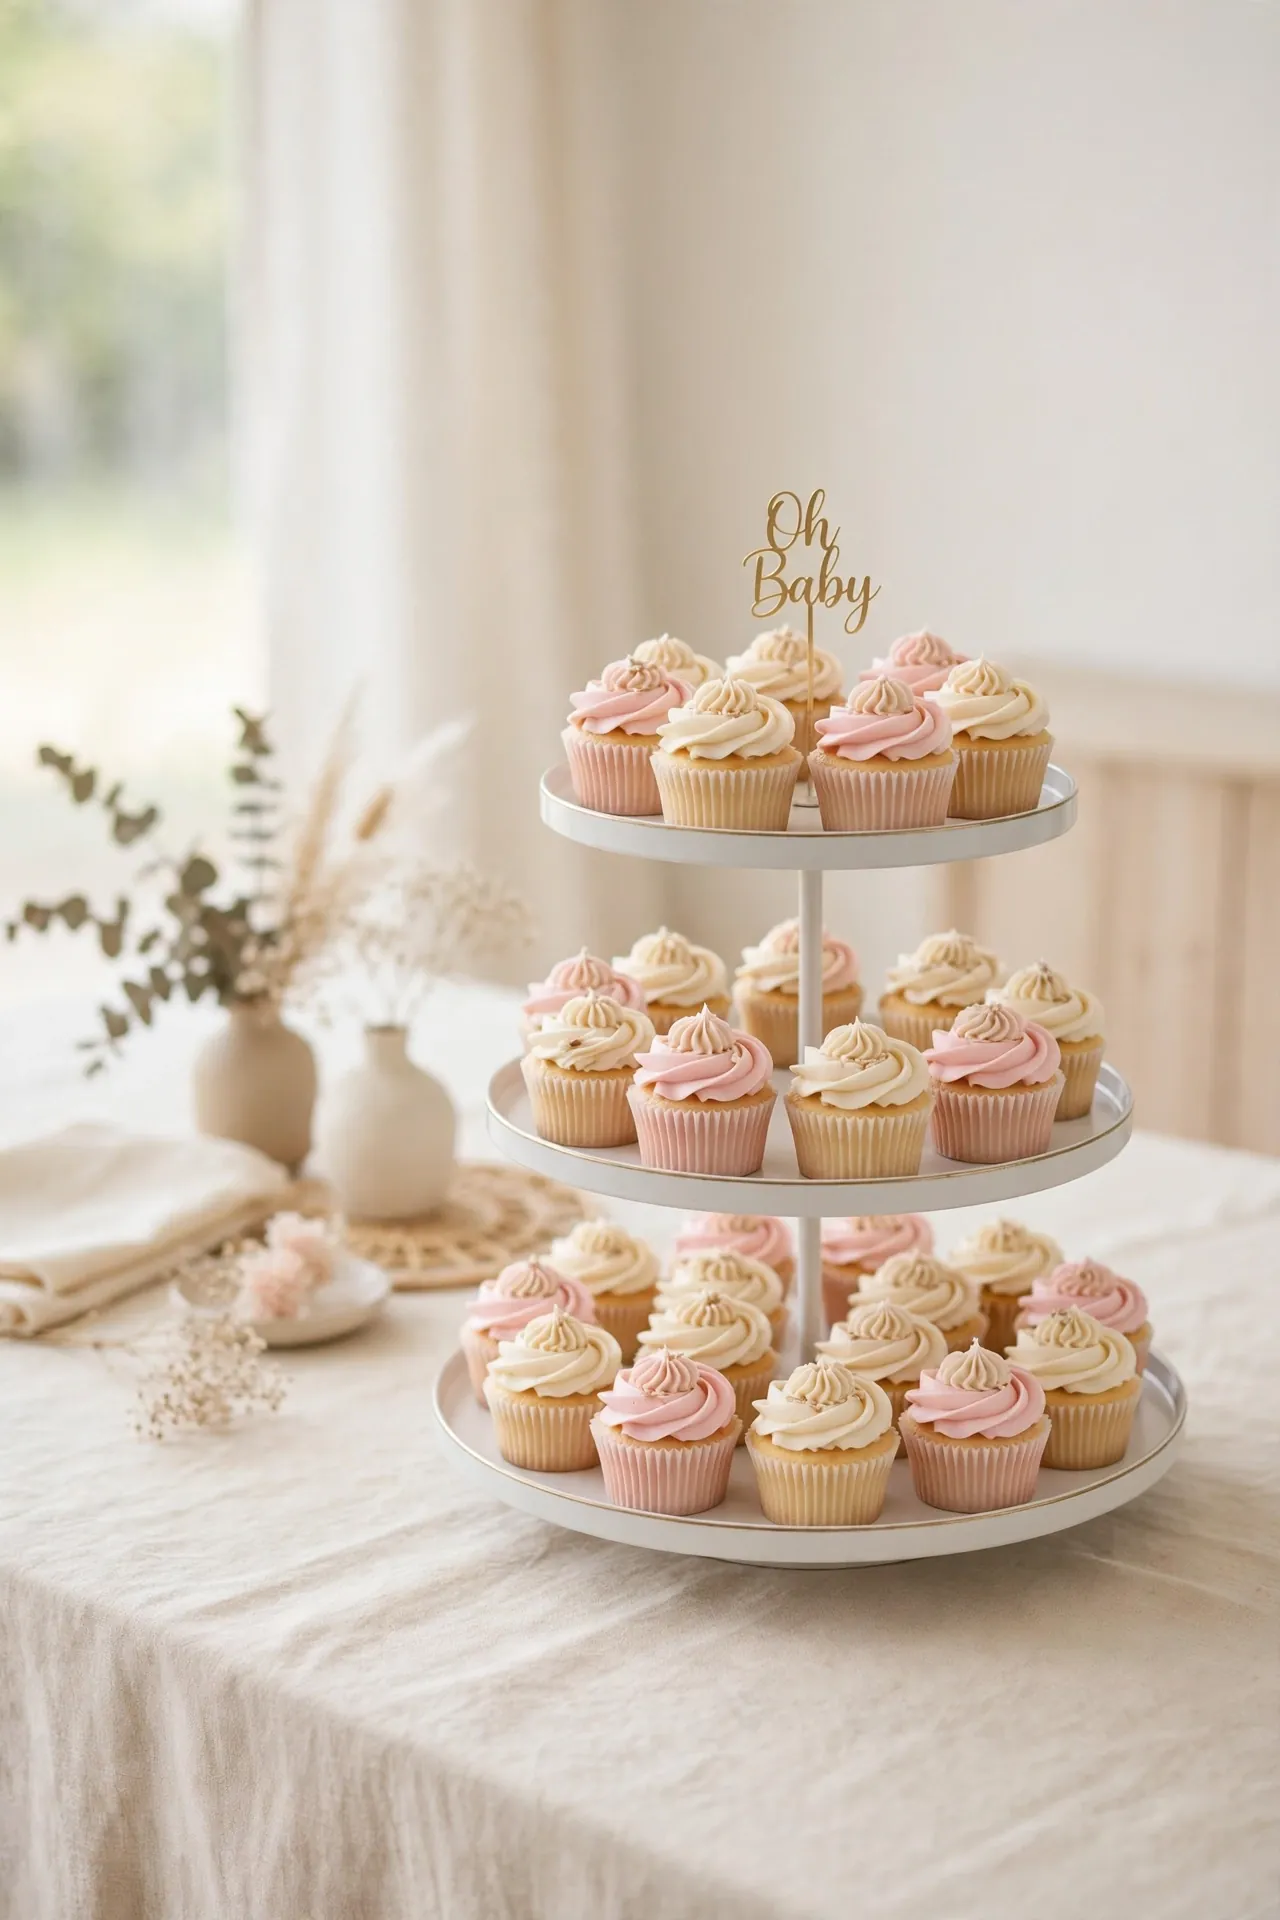
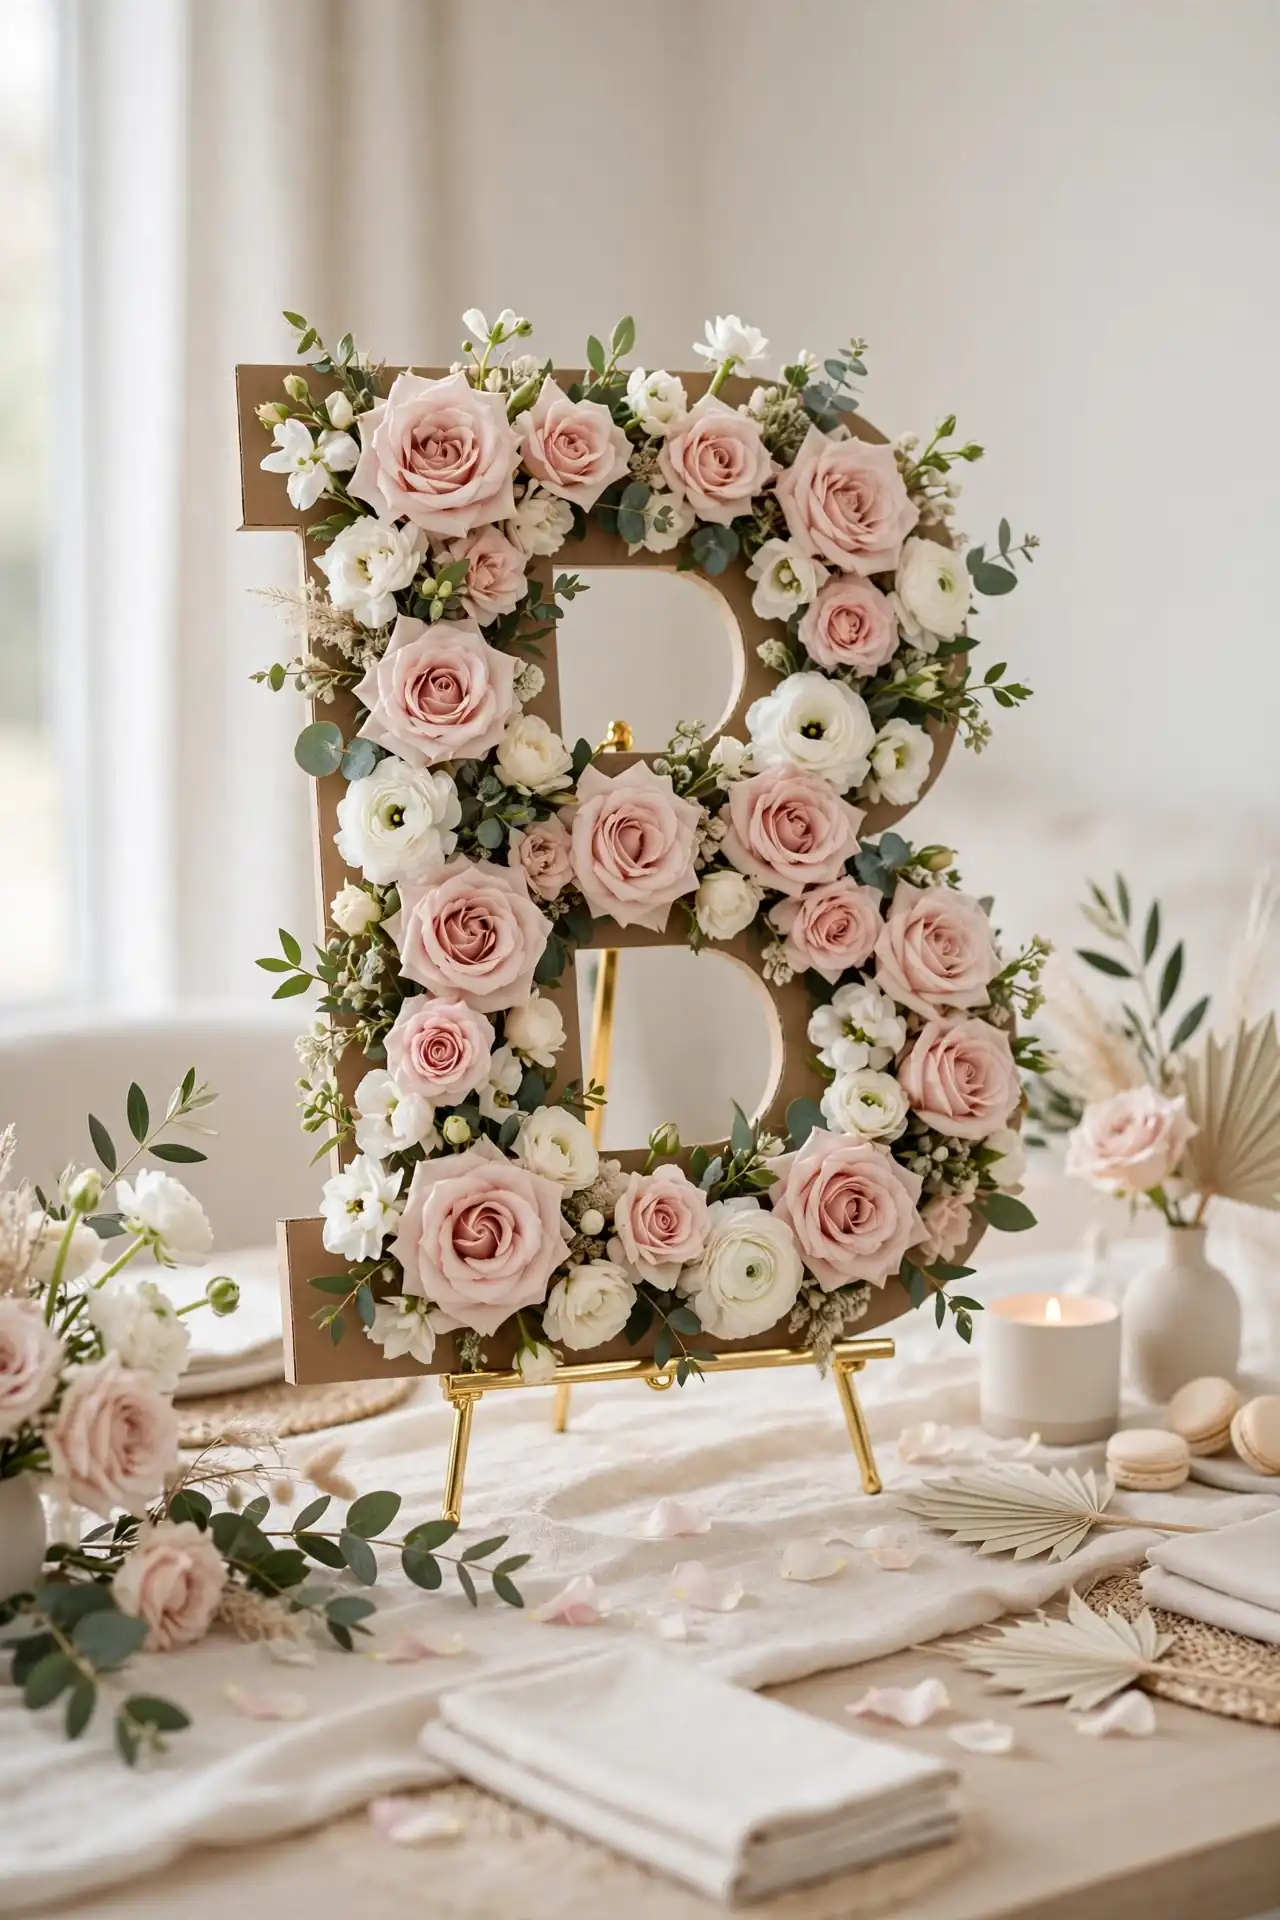
Trace the baby’s initial on sturdy cardboard, cut it out, and hot-glue blooms across the surface until no gaps show. Prop the finished letter on a small easel at the table center where guests can see it as they arrive. Either flower type looks lovely, so choose based on your budget and schedule.
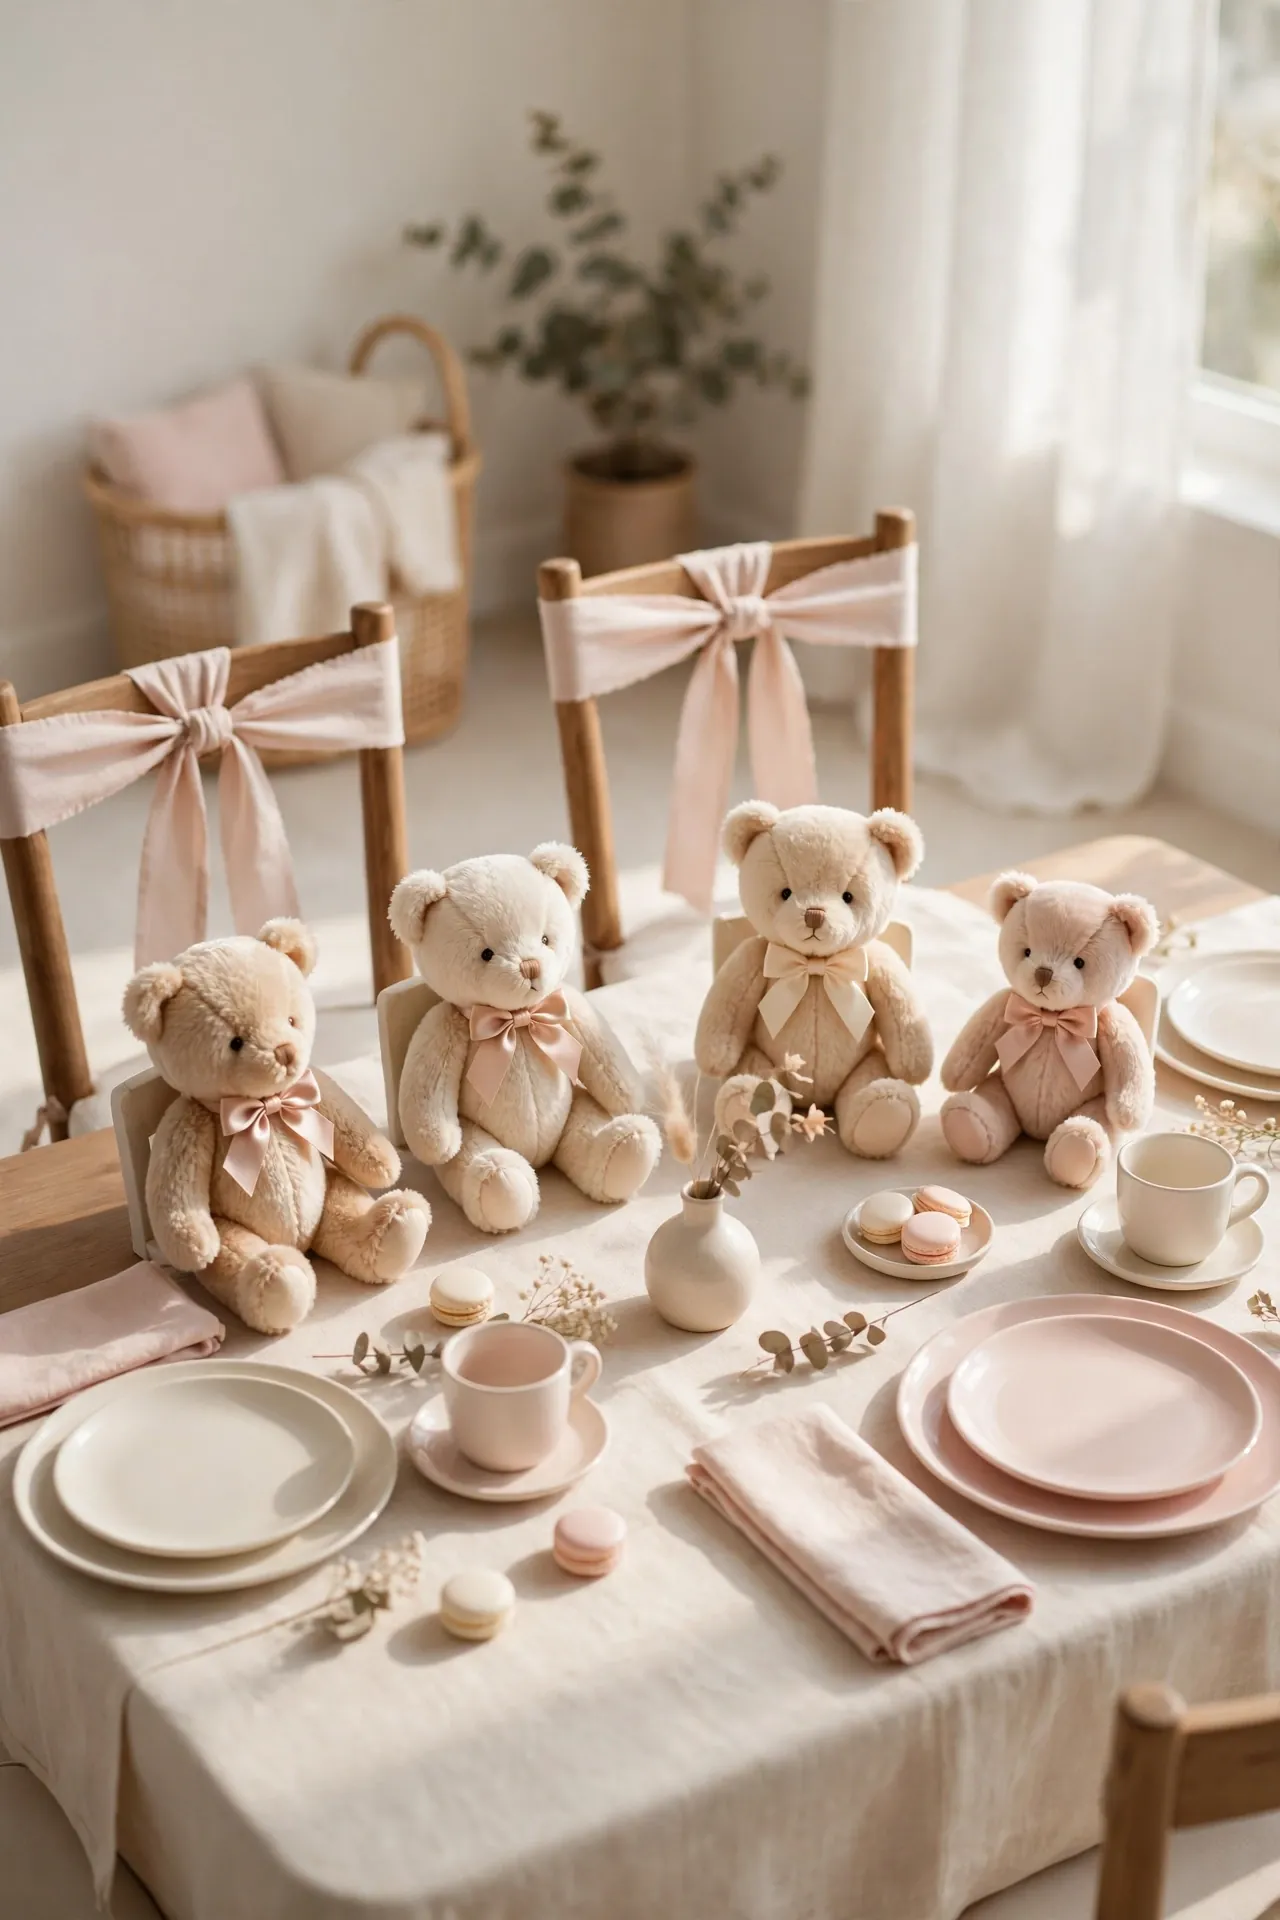
Teddy Bear Table Setting
DO:
- Seat one plush teddy at the head of the table as the guest of honor.
- Dress bears in tiny bows or bow ties matching the color scheme.
- Gift the bears to the nursery after the party ends.
DON’T:
- Do not overcrowd the table; one bear per place setting is plenty.
- Do not use worn or dirty plush toys; buy new or wash them first.
- Do not place large bears where they block guests’ views.
Soft toys bring instant warmth, and little ones at the party will love them. Keep the bears small enough to sit beside plates without crowding the food. I have seen this work well when the bears match the nursery colors the parents already chose.
Moon and Stars Theme
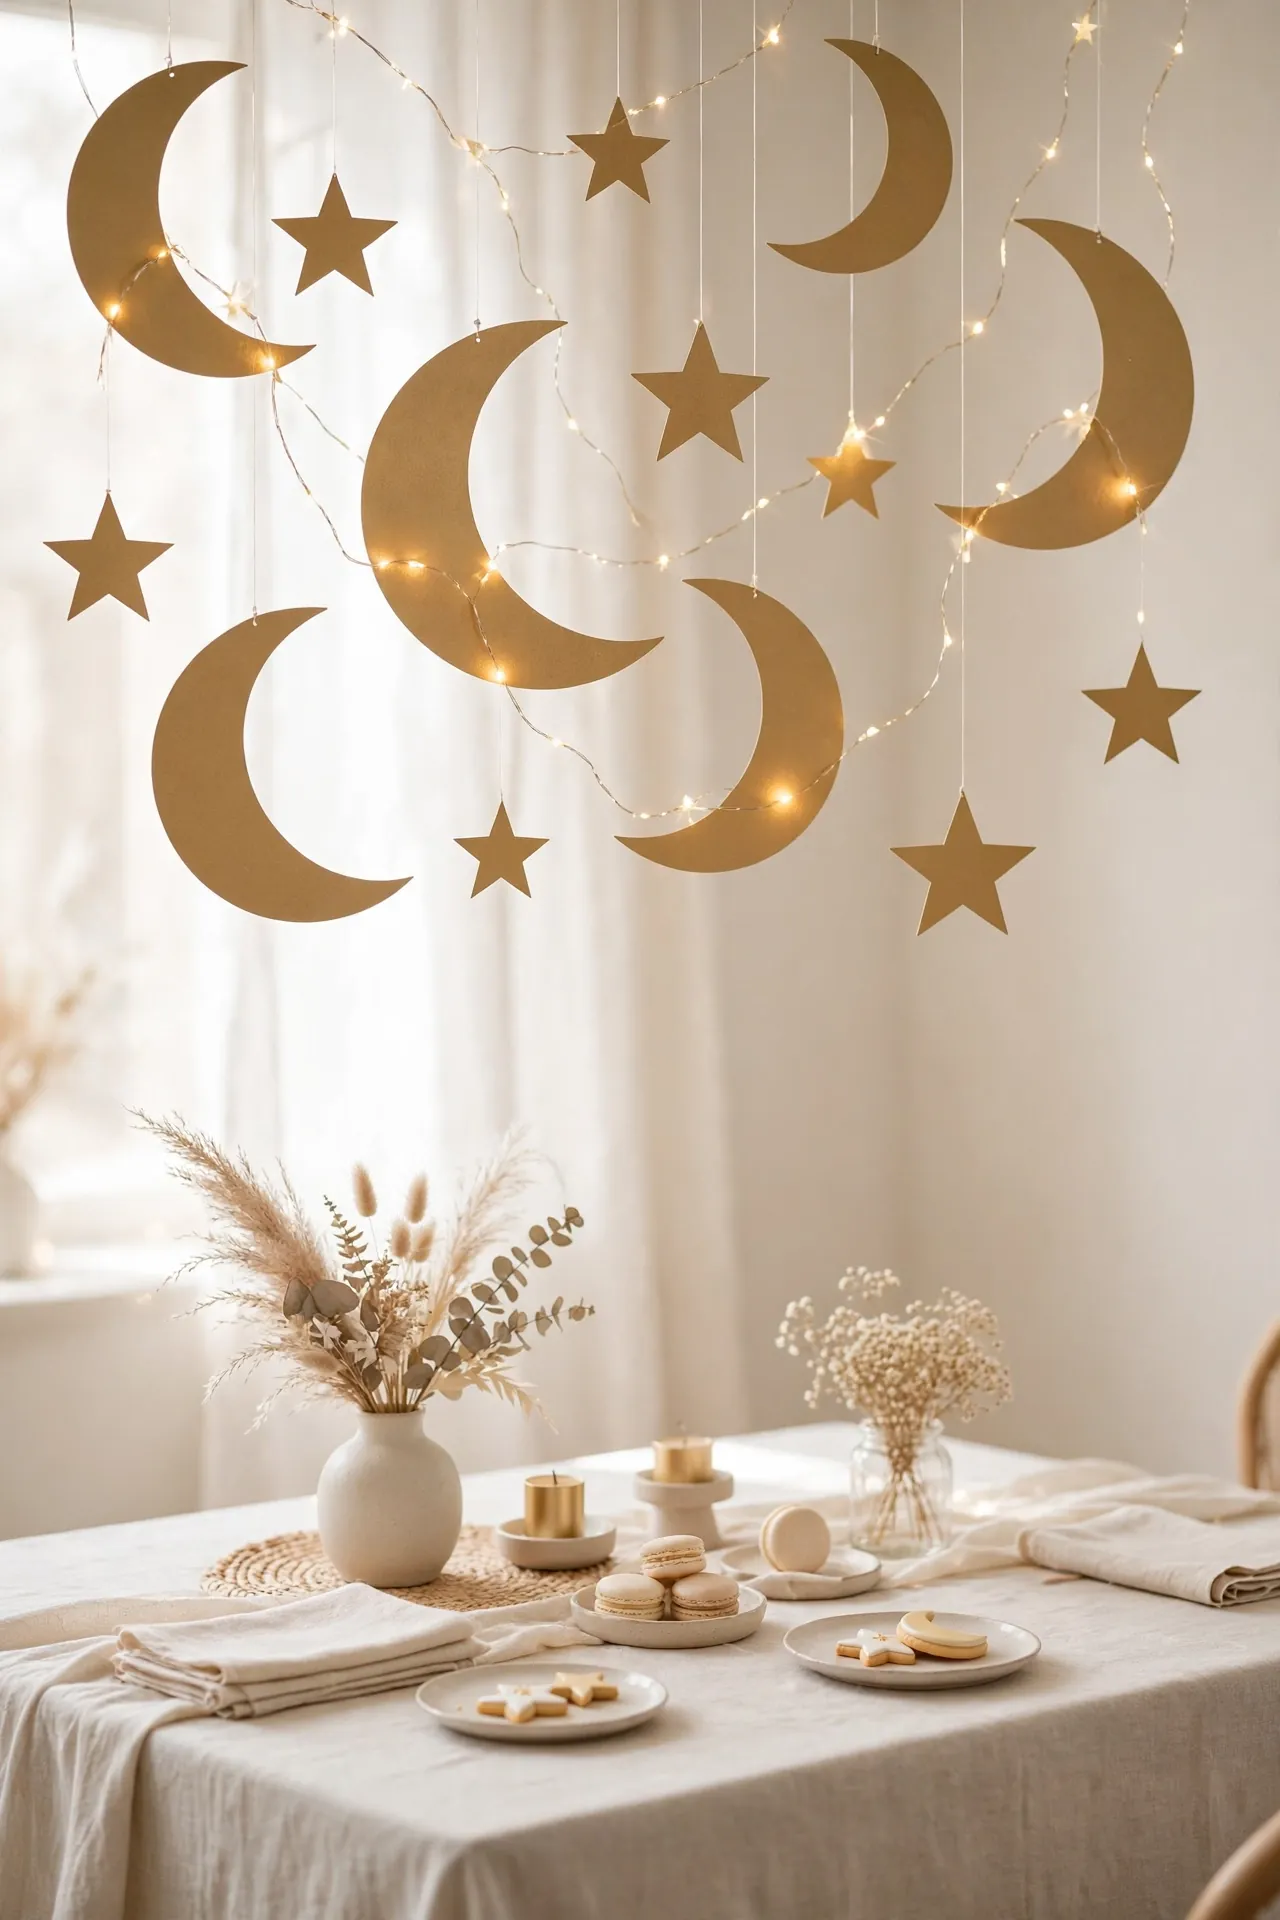
Cost: Low | Time: One evening | Skill Level: Beginner | Best For: Evening or twilight parties
Cut crescent moons and stars from gold cardstock and hang them at different heights with clear thread above the table. Weave warm fairy lights between the shapes so they glow softly as the sun goes down. The result feels dreamy and calm, which suits a nighttime celebration perfectly. Guests will love how the shapes catch the light in photos and create a truly magical backdrop. Keep the threads long enough that nothing hangs in anyone’s face while they eat and chat together happily.
Diaper Cake Centerpiece
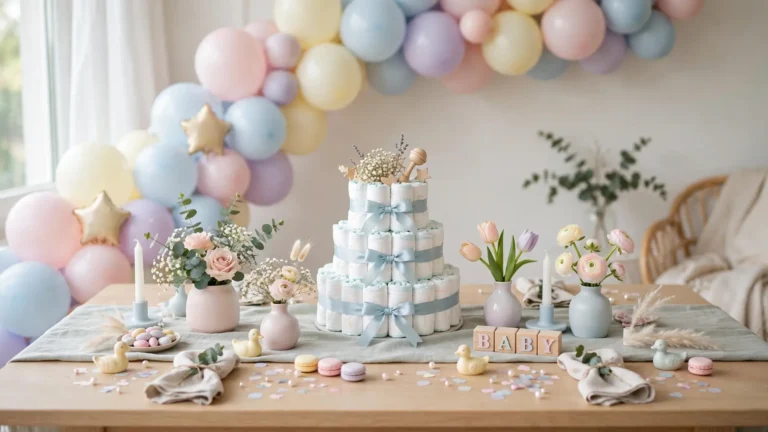
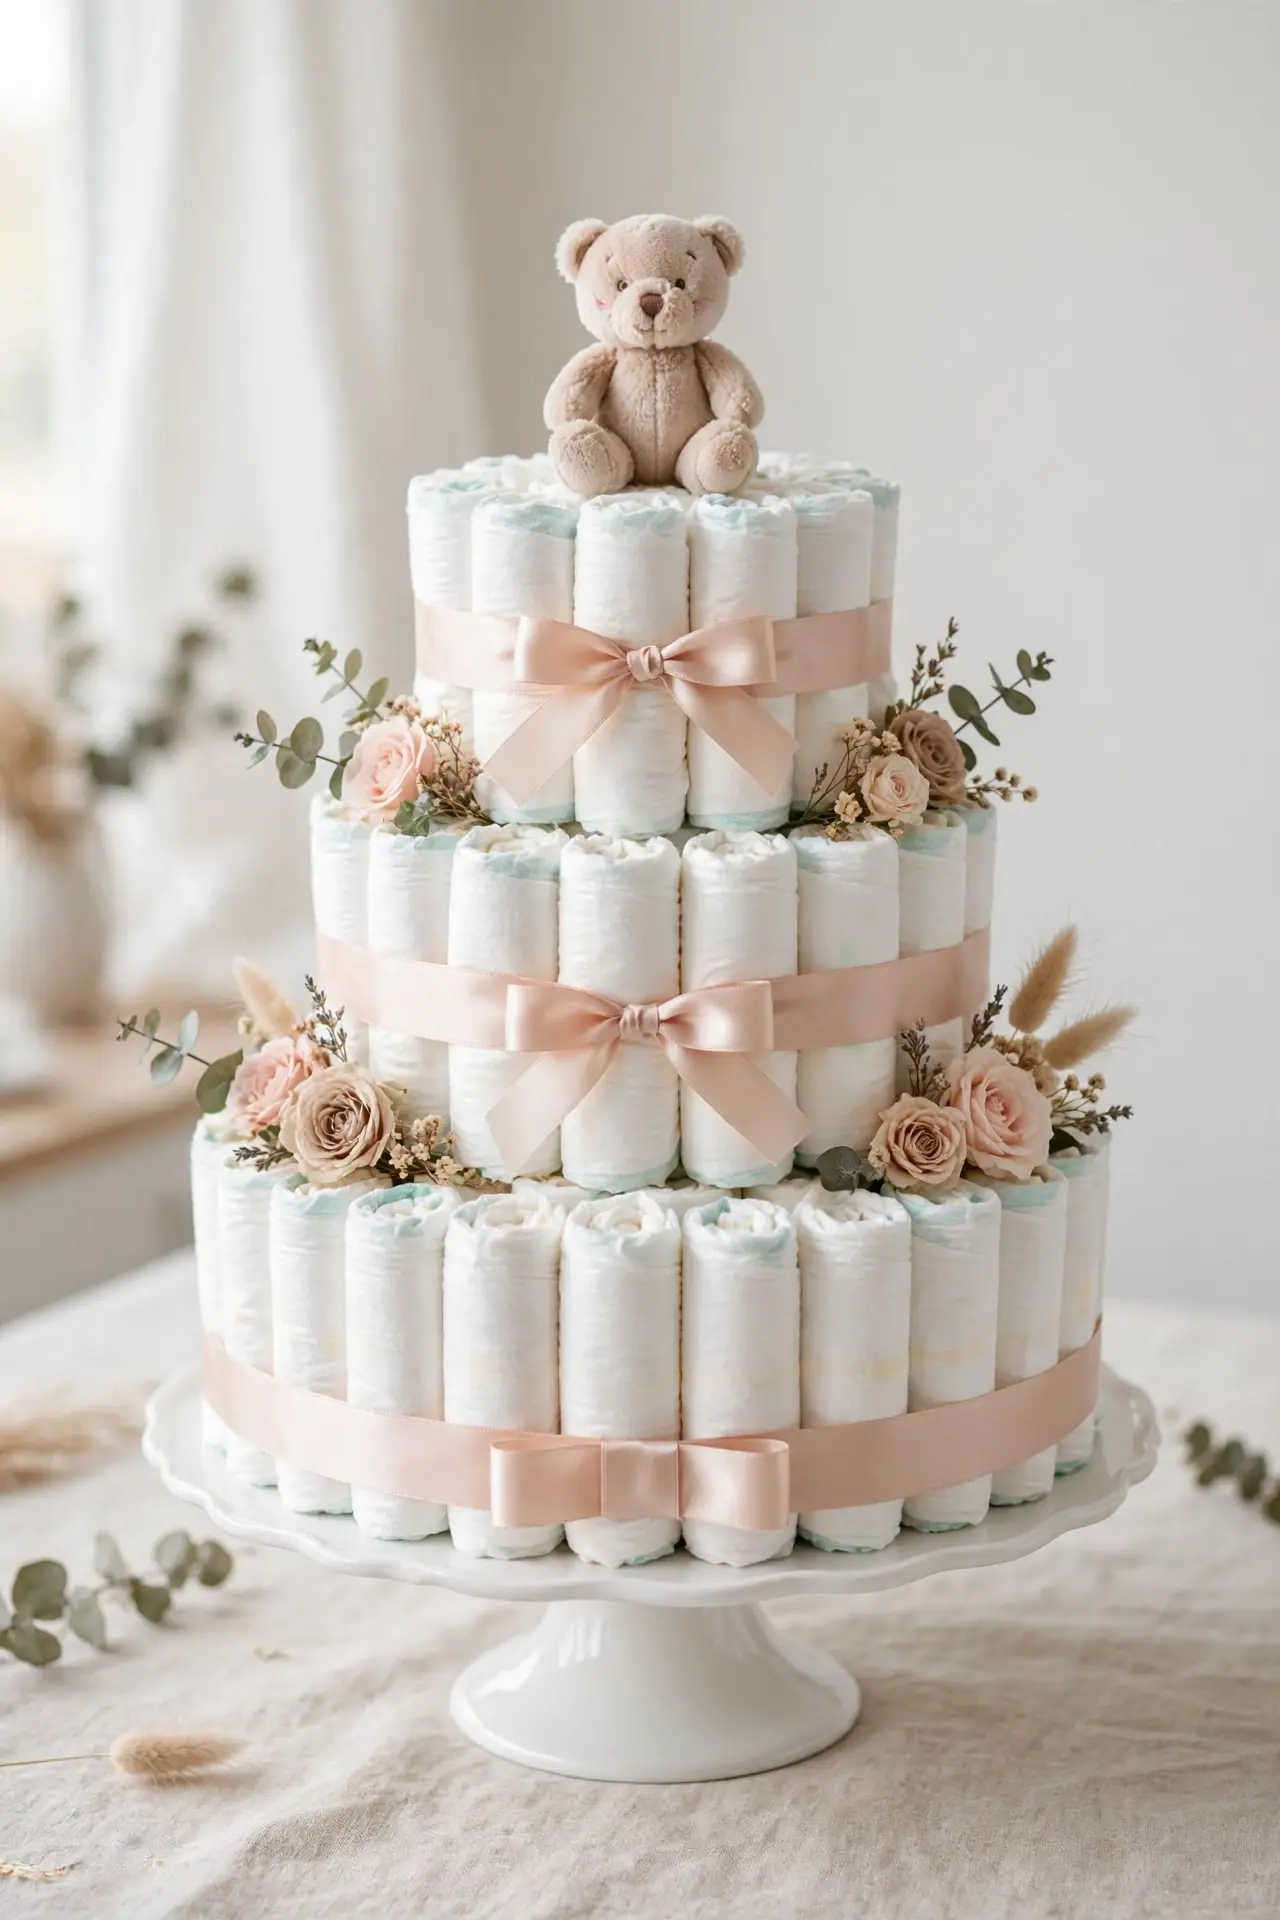
A diaper cake looks impressive but costs far less than a floral arrangement. Roll newborn diapers tightly, secure each with a clear rubber band, and stack them in three tiers on a cake stand. Wrap each tier with wide satin ribbon in the party colors and pin a small plush toy on top for a sweet finishing touch.
Tuck a few silk flowers between the layers to soften the look and add color. After the party, the mom-to-be takes the whole cake home and uses every diaper, so nothing goes to waste. I have noticed guests love snapping photos of this one before anyone dares to take it apart.
Ribbon Wands Favors
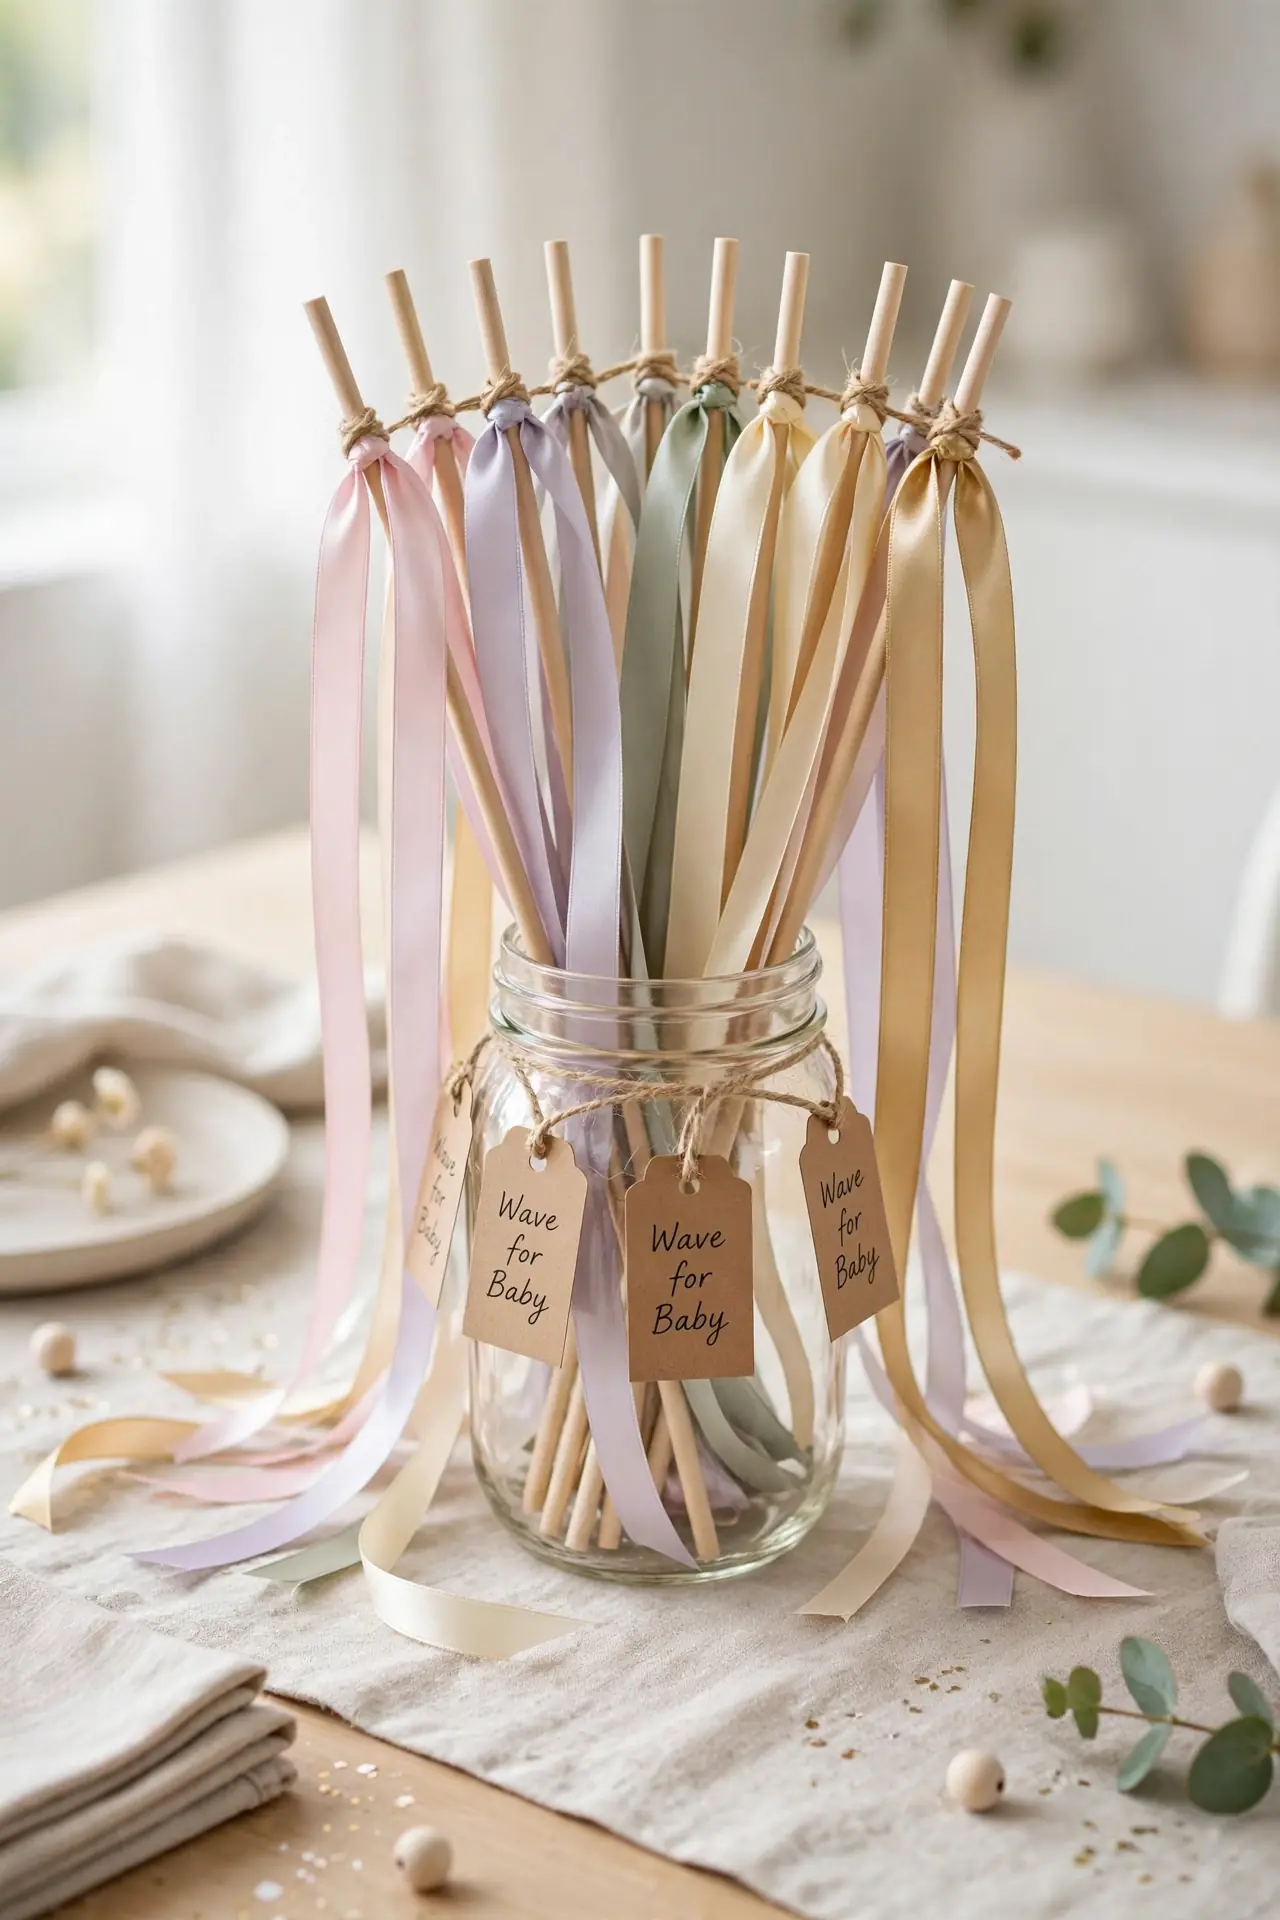
Hand each guest a ribbon wand to wave during the big gift reveal moment.
- Tie three ribbons, each about twelve inches long, to a wooden dowel with a tight knot.
- Choose ribbons in the party palette plus one metallic gold for shine.
- Bundle the wands upright in a mason jar so guests grab one on arrival.
- Demonstrate the wave during the toast so everyone joins in together.
- Add a small tag that says “Wave for Baby” as a sweet keepsake.
These cost pennies to make and create the best send-off photos of the day. Kids especially love them, and the ribbons photograph beautifully against a plain wall. Make a few extras since guests always ask to take them home as souvenirs.
Honeycomb Tissue Decor
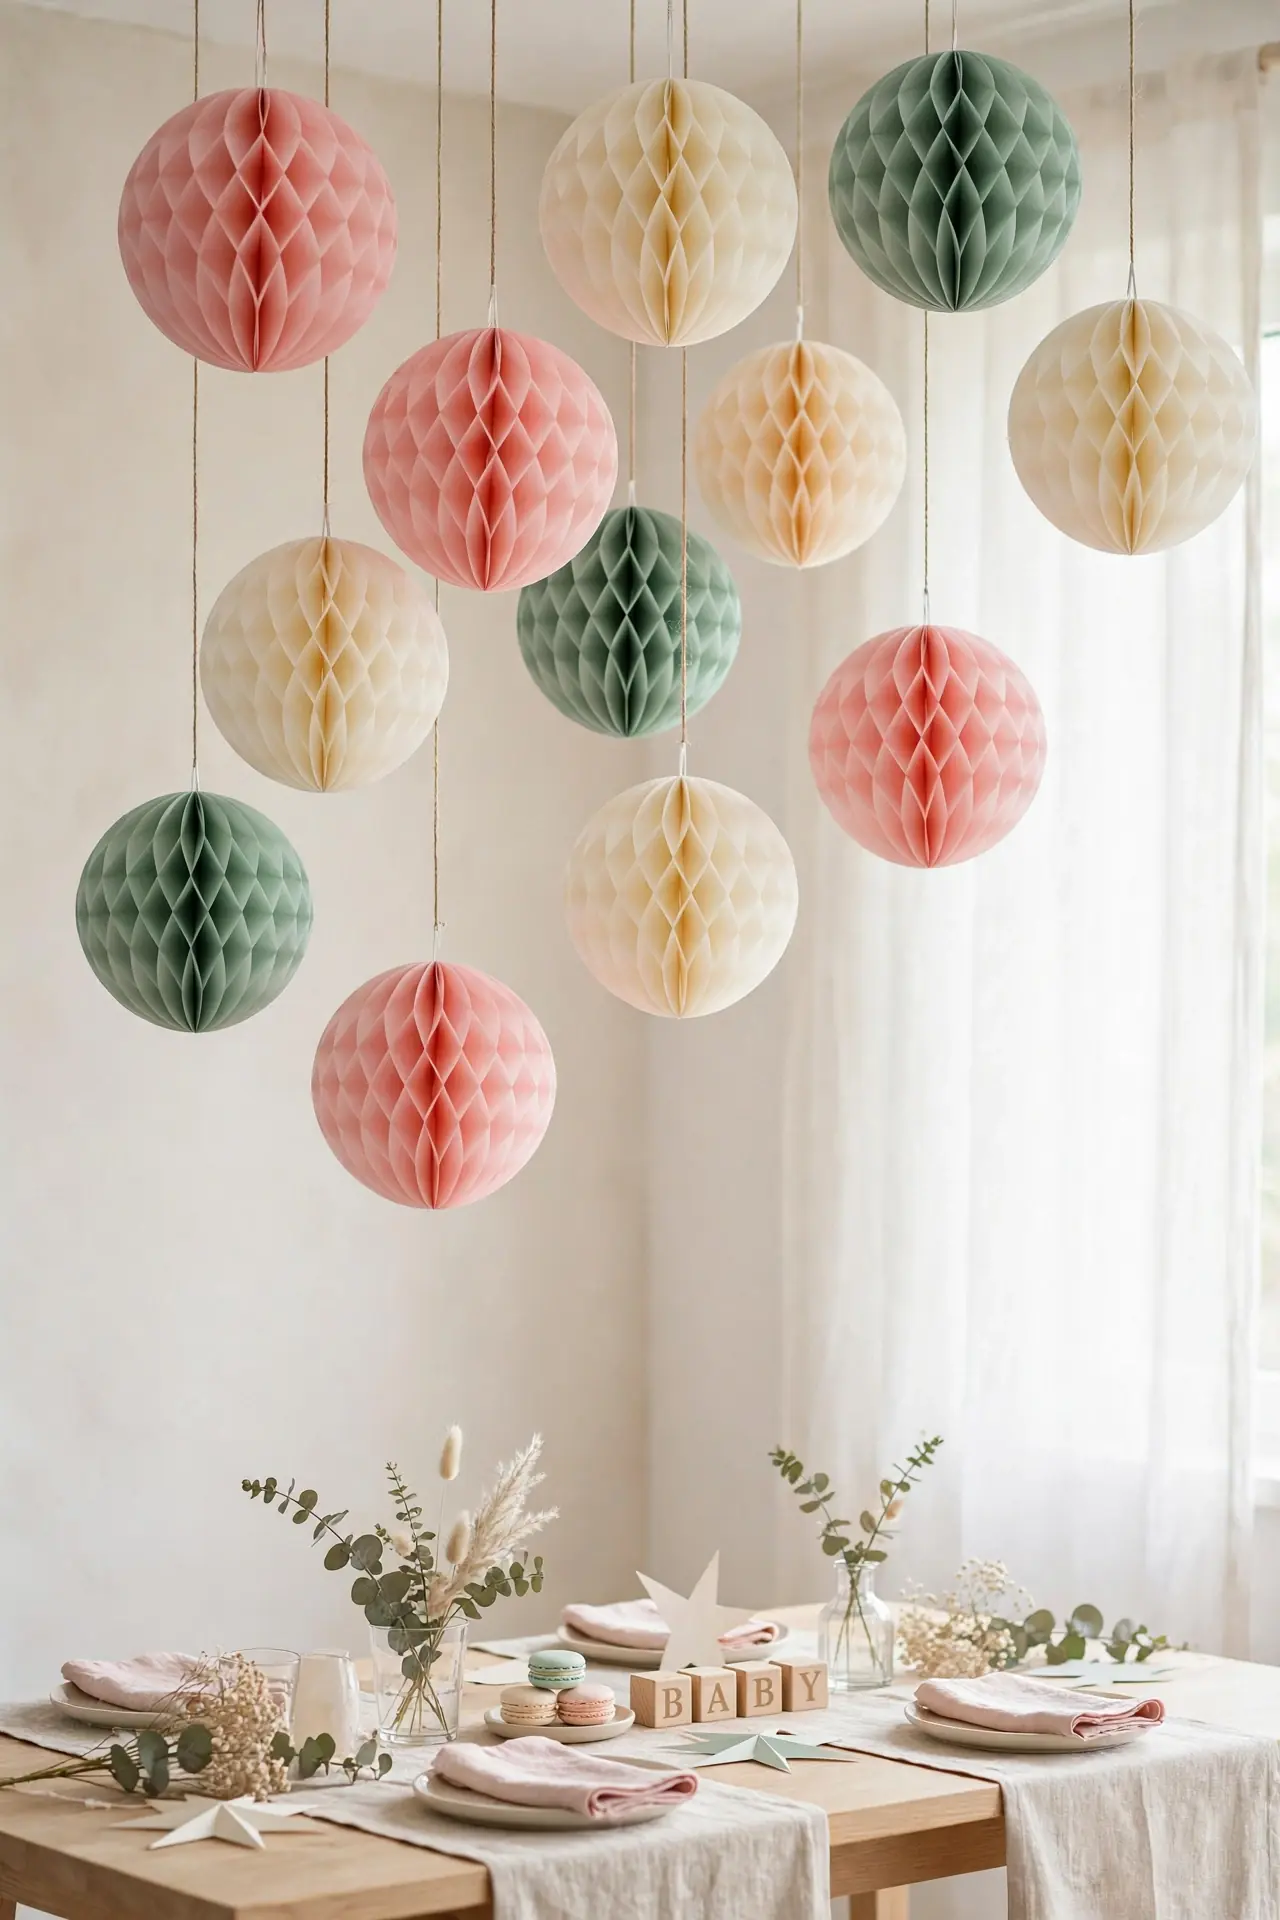
Quick Tip: Hang honeycomb balls at staggered heights using removable ceiling hooks. Start with the largest ball in the center and work outward with smaller ones. Keep the palette to two or three colors so the display looks intentional rather than busy. Step back often to check the balance.
These lightweight decorations fill vertical space above the table without any heavy lifting. I love how they catch the light and add texture to plain ceilings. Buy them in bulk online to save money, and store them flat for the next celebration. They work just as well for birthdays and bridal showers.
Baby Block Stacks
BEFORE: The table ends look bare and unfinished, with empty corners that make the spread feel sparse. Guests notice the gaps even if they cannot name what feels off about the setup.
AFTER: Stacked wooden baby blocks spelling BABY anchor each end of the table with charming height. The corners feel complete, the theme reads instantly, and the whole table looks professionally styled.
Paint unfinished wooden blocks with non-toxic craft paint in pastel shades, then sand the edges lightly for a vintage feel. Stack them two or three high at each table end. For more nursery inspiration, browse our baby shower theme ideas before you start. The parents can reuse the blocks in the nursery afterward, which makes this decor double as a gift.
Chalkboard Menu Sign
- Wipe a small chalkboard clean and frame it with a simple wooden border.
- Write the menu in neat chalk lettering, adding small doodles of bottles or rattles.
- Prop the sign on a mini easel at the start of the food table.
- Add the party date and baby’s name at the bottom for a personal touch.
A menu sign makes the food table feel thoughtfully planned and helps guests with dietary needs spot their options quickly. Use a chalk marker instead of real chalk for crisp lines that will not smudge during the party. I have seen this work well at buffet-style showers where guests serve themselves at their own pace.
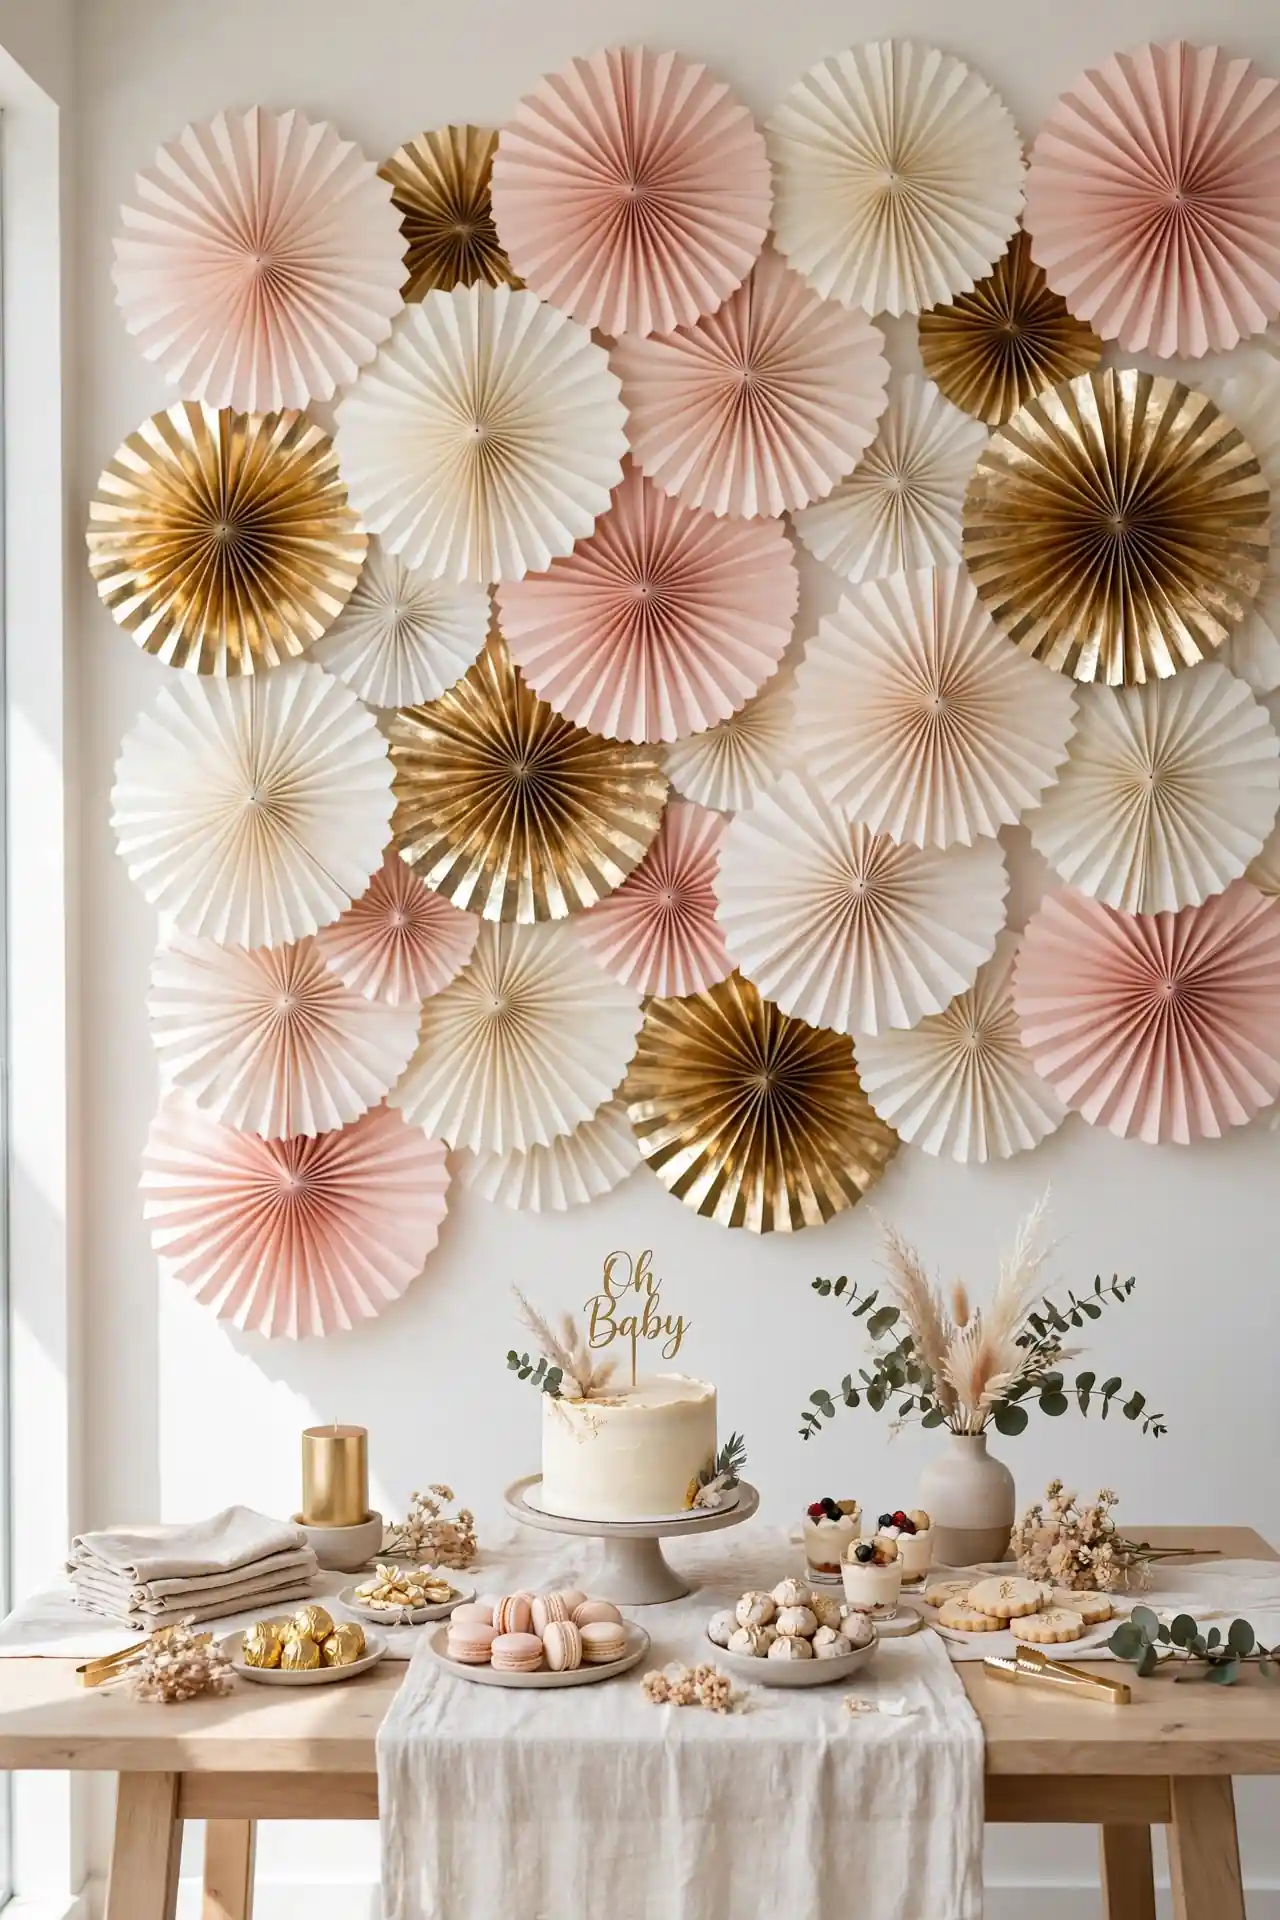
Paper Fan Wall
| Store-Bought Fans | DIY Paper Fans | |
| Cost | $15 to $25 for a full set | Under $5 in craft paper |
| Time | Zero assembly needed | About one hour of folding |
| Look | Polished and uniform | Handmade and personal |
| Best For | Busy hosts short on time | Crafty hosts who love DIY |
Fan out paper medallions across the wall behind the main table, overlapping the edges for a full, lush look. Stick to the party palette with one metallic accent for depth and shine. Either option covers a plain wall beautifully, so pick the one that fits your schedule. Secure each fan with removable strips to protect the paint.
Confetti Balloon Toppers
DO:
- Fill clear balloons with pastel confetti before inflating them fully.
- Tie each balloon to a small weight so it stays put on the table.
- Mix confetti balloons with solid ones for visual balance.
- Pop one during the toast for a fun and memorable photo moment.
DON’T:
- Do not overfill; a tablespoon of confetti per balloon is enough.
- Do not use metallic confetti near food; paper confetti is safer.
- Do not inflate until the morning of the party to avoid deflation.
- Do not place them where they block conversation across the table.
The confetti swirls every time someone brushes past, which keeps the table feeling alive all afternoon. Clear balloons show off the colors inside without adding visual weight. Kids love shaking them gently to watch the confetti dance.
Rustic Wooden Crates
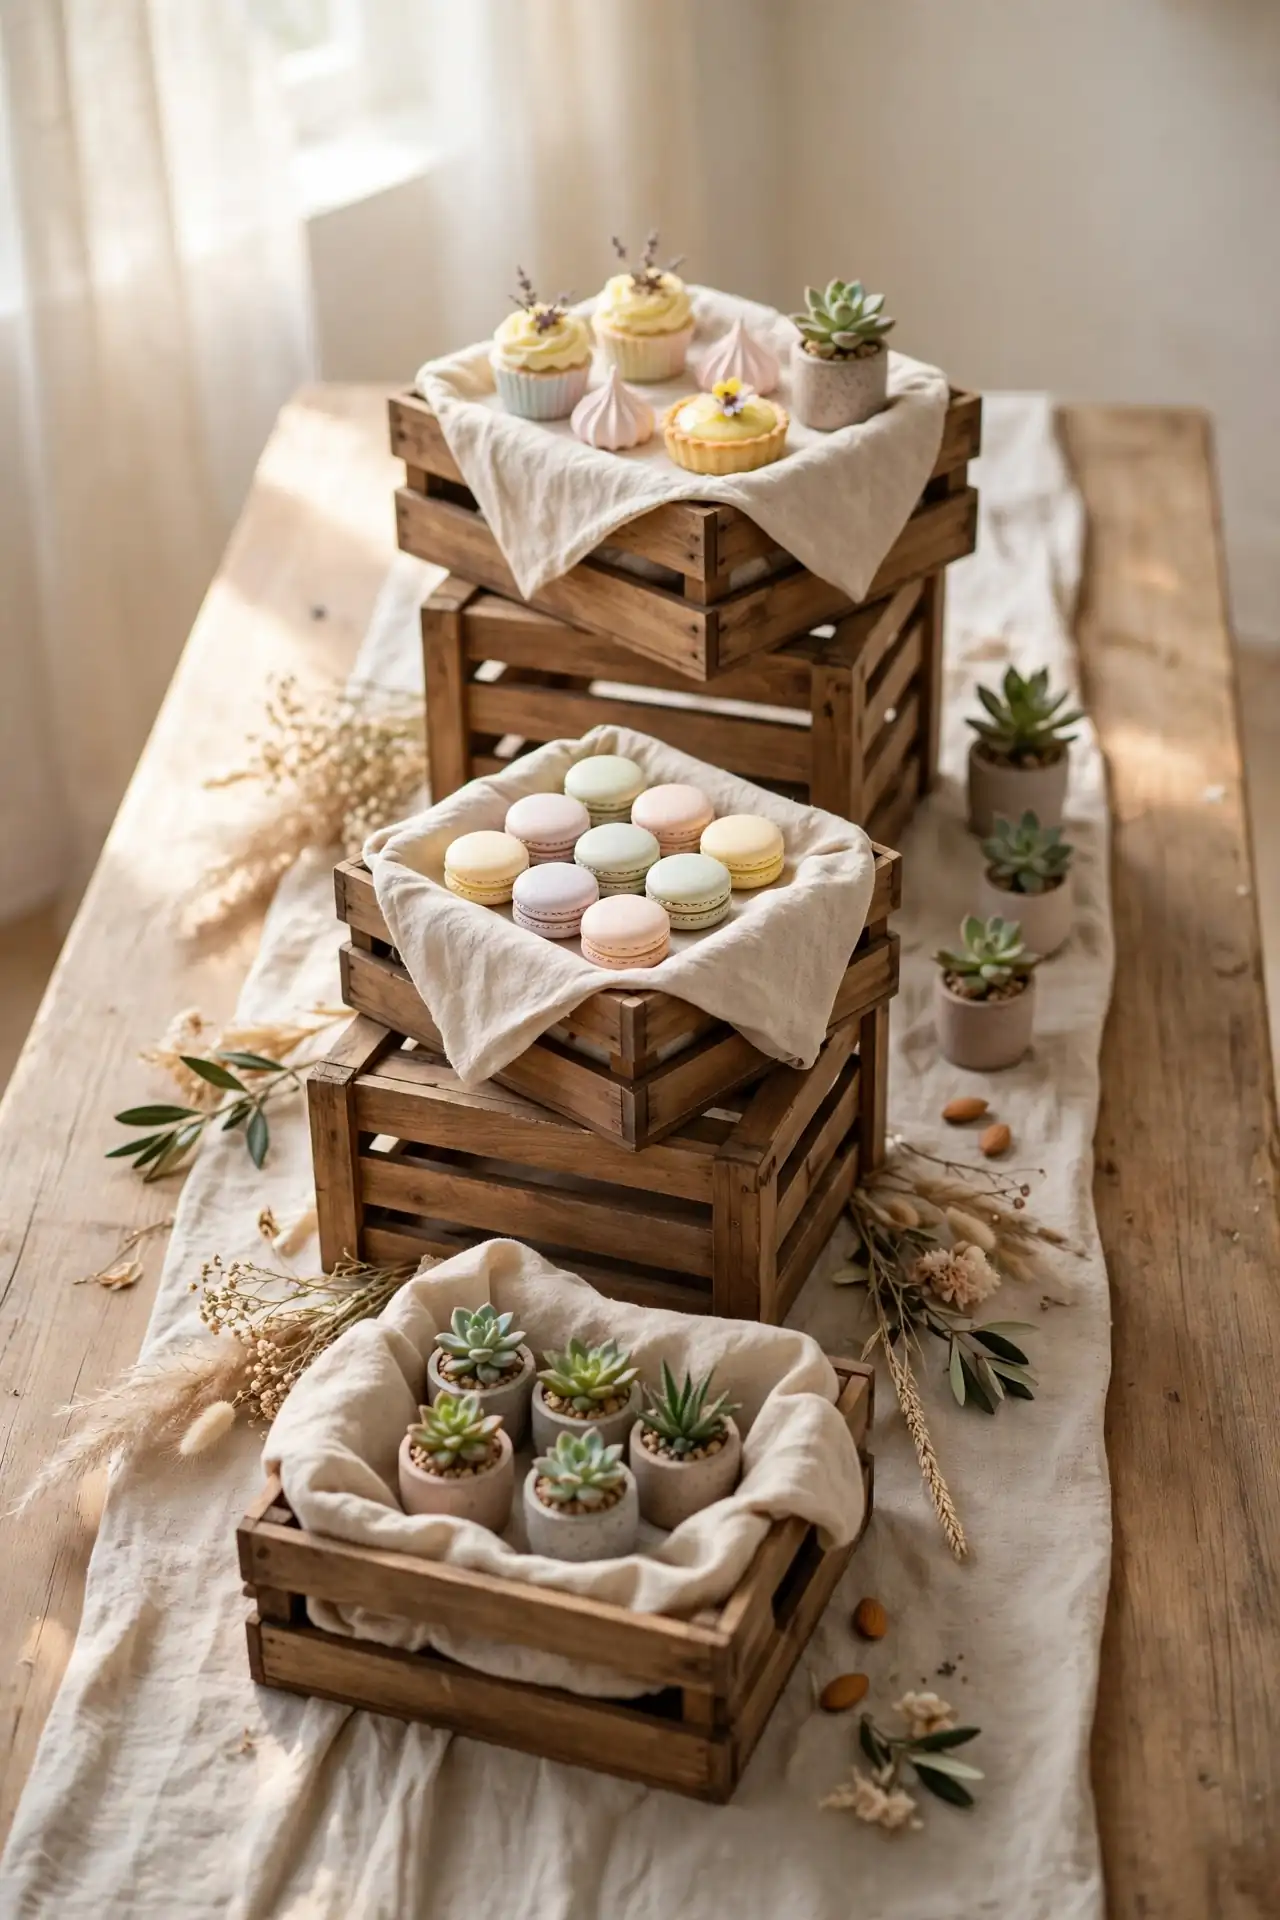
Cost: Very low | Time: One afternoon | Skill Level: Beginner | Best For: Rustic or farmhouse themes
Stack small wooden crates on their sides to create risers of different heights along the table. Set desserts, favors, or small potted succulents on top so the eye moves up and down the spread. Sand any rough edges and line the crates with a soft cloth before placing food directly on them. Borrow crates from a craft store or buy them unfinished and stain them to match your palette. This trick adds instant dimension to a flat table without spending much, and the crates work for storage long after the party.
Cupcake Tier Display
A three-tier stand turns ordinary cupcakes into the star of the table. Arrange the cupcakes in alternating colors so the tiers look full and inviting from every angle. Top the stand with a tiny “Oh Baby” cake topper for a finished look that ties the whole theme together beautifully.
Place the stand slightly off-center so it does not block the view across the table. In my experience, guests reach for cupcakes first when they are displayed at eye level rather than flat on a plate. Bake a few extra to refill the stand halfway through the party so it always looks abundant.
Greenery Table Runner
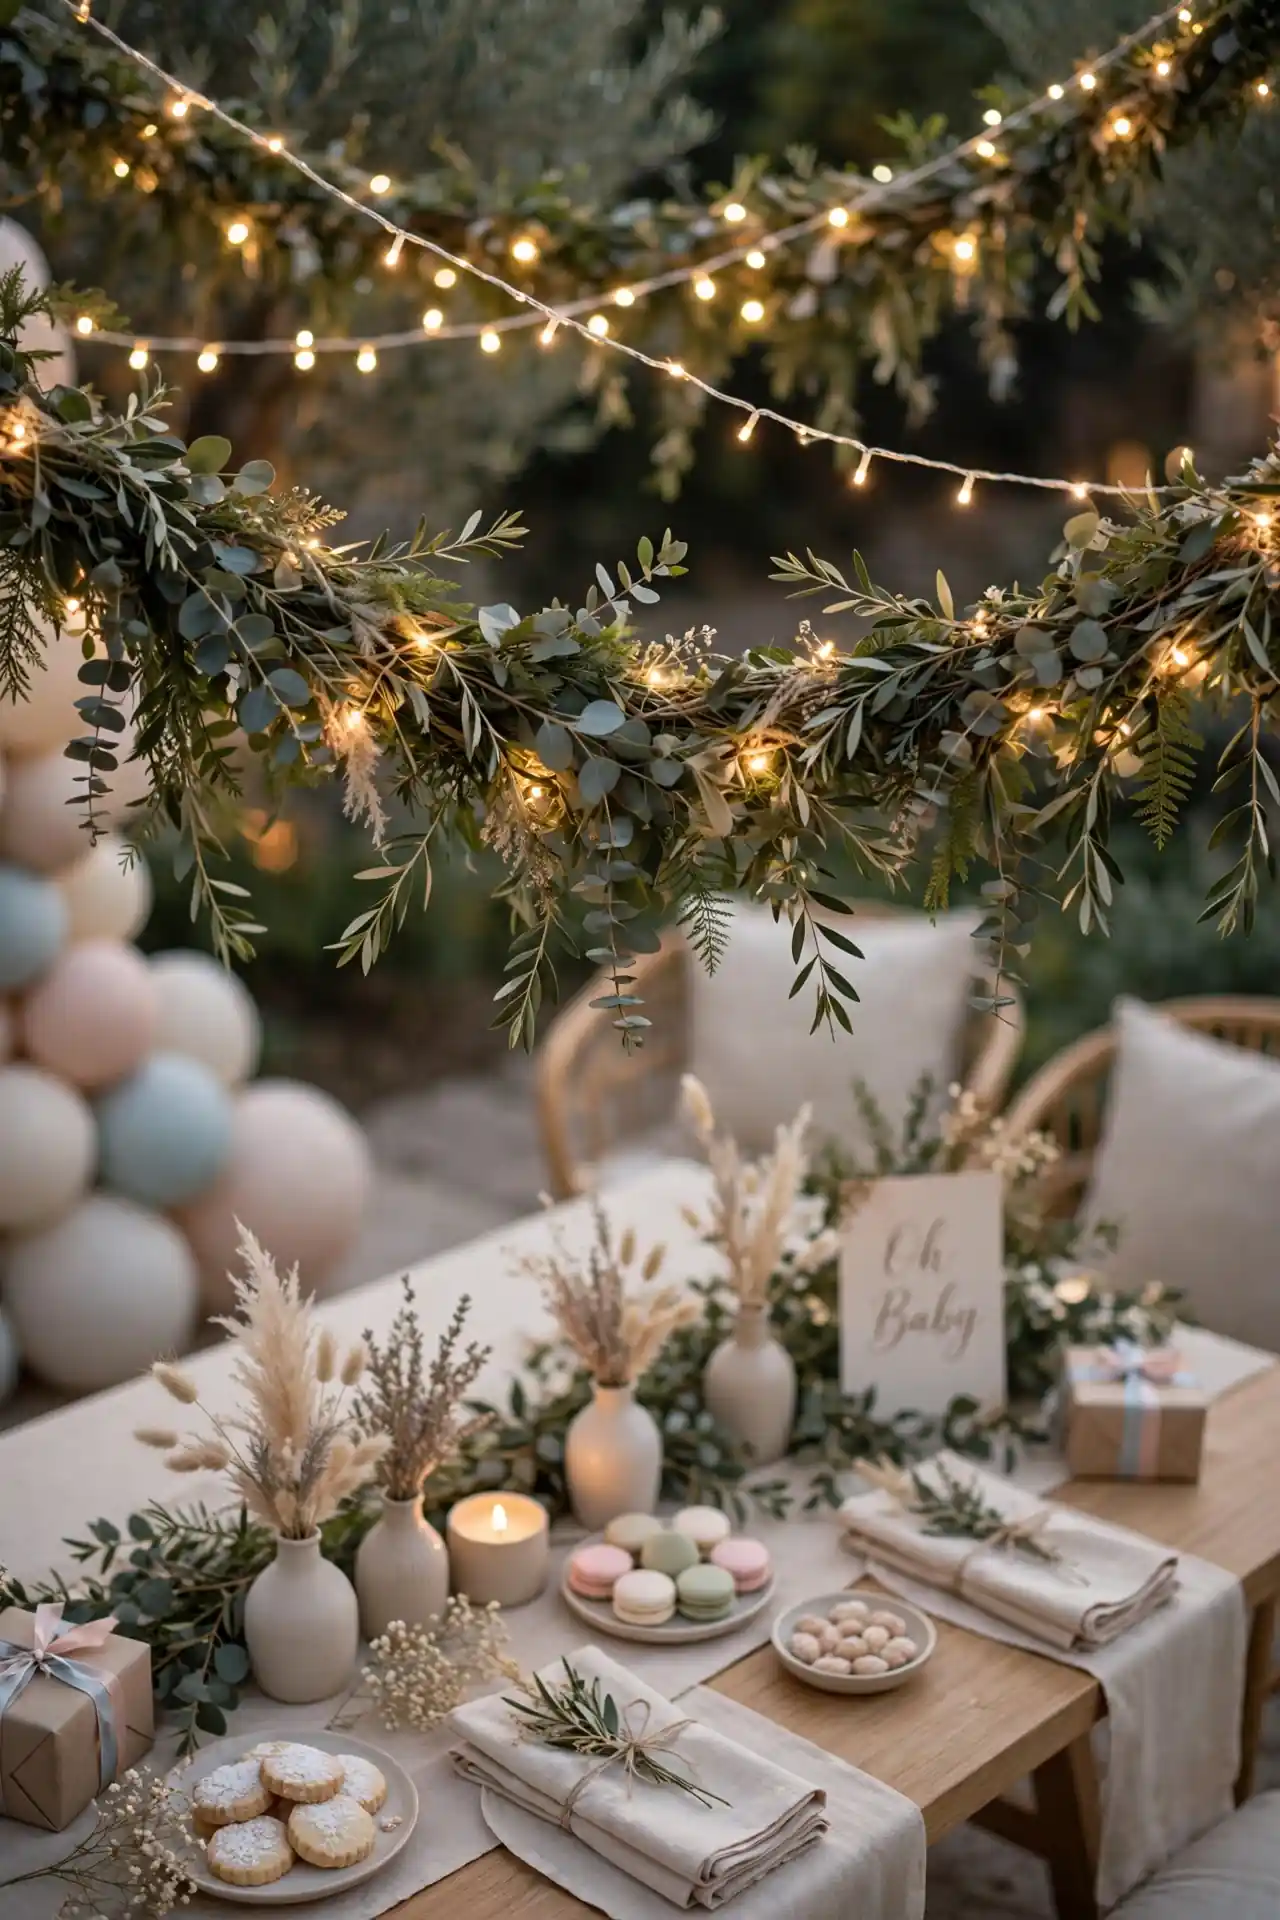
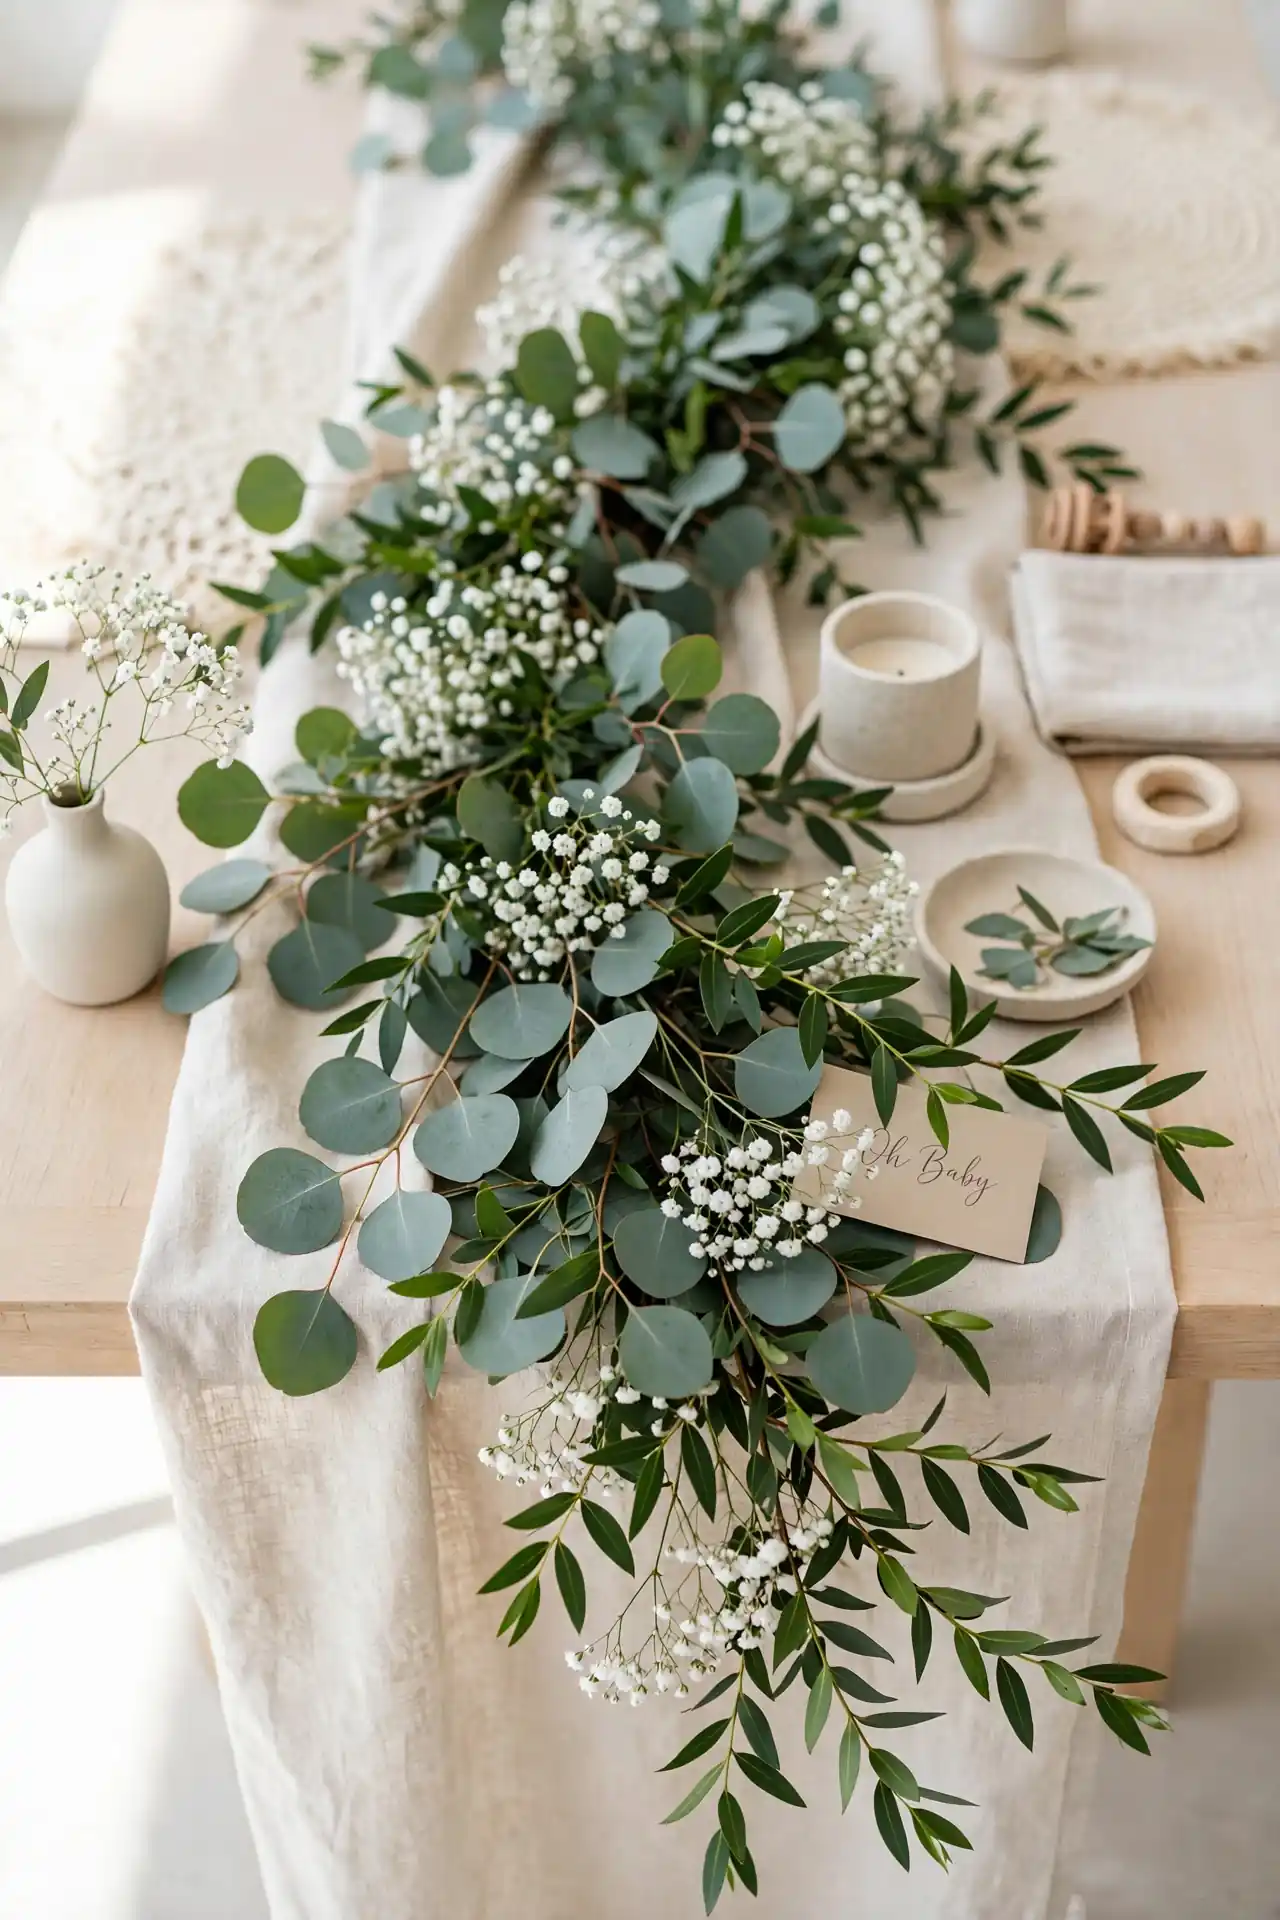
A fresh greenery runner brings life to the table without competing with the other decor.
- Lay faux eucalyptus garland down the table center as your base layer.
- Weave in a few fresh sprigs of ruscus for scent and natural texture.
- Tuck small white blooms like baby’s breath between the leaves.
- Let the ends trail over the table edges for a relaxed, organic feel.
- Mist the fresh sprigs lightly so they stay perky through the party.
Greenery works with every color scheme and costs far less than full floral arrangements. The runner doubles as a base layer that makes every other decoration look more polished. I have seen this trick used at weddings too, and it never fails to impress guests.
Photo Milestone Garland
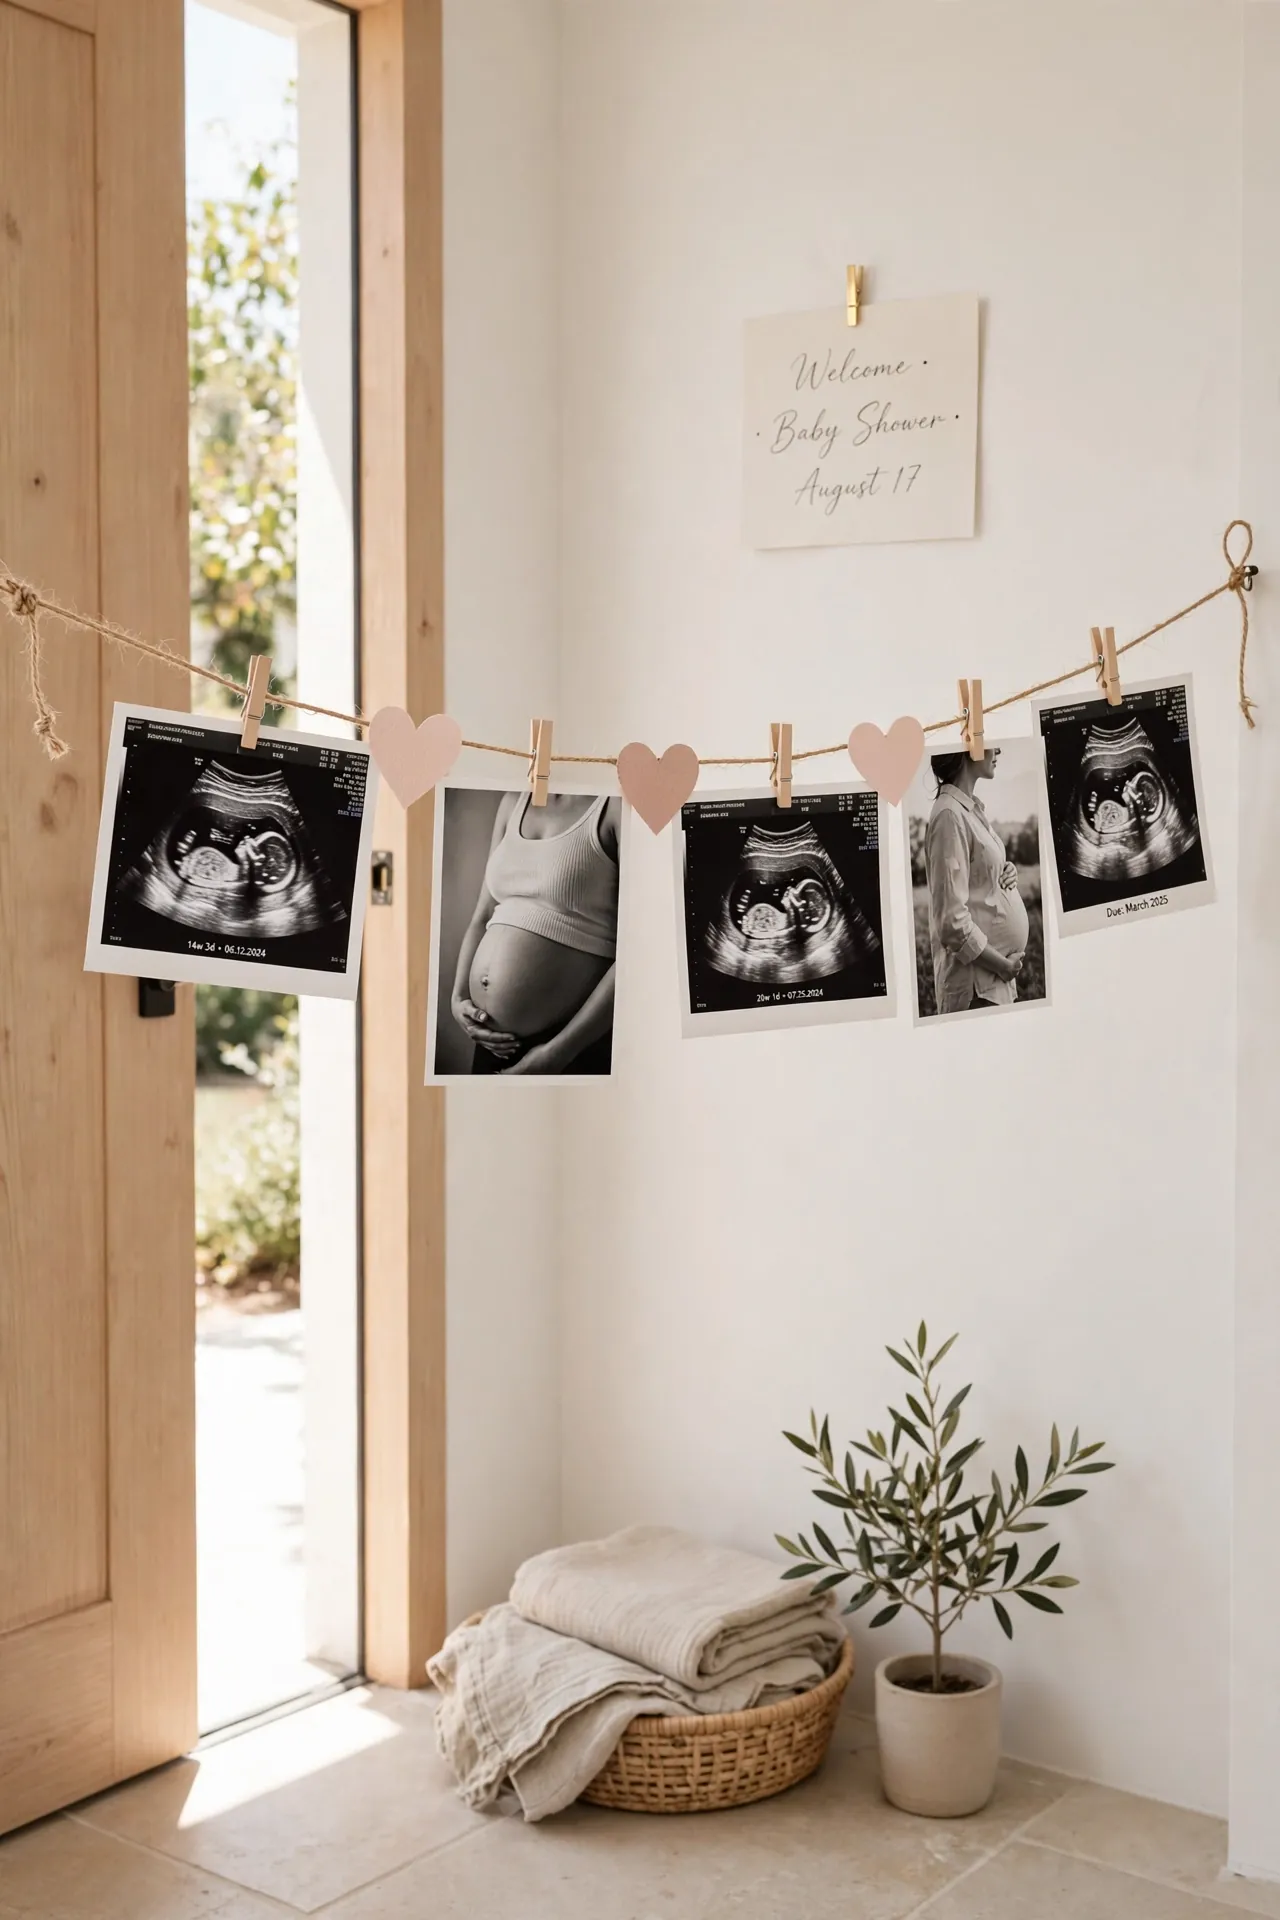
Quick Tip: Print ultrasound and monthly bump photos in black and white for a cohesive look. Clip them to twine with tiny gold clothespins, alternating photos with small paper hearts. Hang the garland where guests will see it as they arrive at the party.
This personal touch always gets guests talking and sharing their own stories. Keep the photos small, about three by four inches, so the garland does not overwhelm the table display. The mom-to-be will treasure this keepsake long after the party ends, so use prints you can spare or make copies at a local print shop first.
Starry Night Lights
BEFORE: Once the sun sets, the party area feels dim and the table decor fades into shadow. Guests squint at the food, and the festive mood starts to slip away as the light dies.
AFTER: Strings of warm fairy lights draped above the table cast a soft golden glow over everything. The decor shines, faces look warm in photos, and the celebration feels magical well into the evening.
Drape battery-operated fairy lights along the table edge and through any overhead garlands. Choose warm white over cool white for a cozy feel that flatters every skin tone. That is why many experts recommend layering light sources at evening events, since one overhead bulb never feels festive. Hide the battery packs behind centerpieces.
Conclusion
Bringing these baby shower table decor ideas to life is easier than it looks, and the mom-to-be will feel so loved walking into a room styled just for her. Start with one or two favorites that match your theme, then layer in the smaller touches as time allows. Do not forget to save this post on Pinterest so you can find it again when party day arrives.
I have seen how small changes like these can completely shift the way a space feels. Grab your supplies, gather your friends, and create a celebration everyone will remember for years to come.